When you click on links to various merchants on this site and make a purchase, this can result in this site earning a commission. Affiliate programs and affiliations include, but are not limited to, the eBay Partner Network.
Tim:
Looking good! You've come a long way with this car. I admire your determination (and your pace); you have accomplished much in 2 years! Just remember, when you start hanging the sheetmetal, start with the doors and work your way forward. Get the rear gap the way you want it and then move on to the fenders setting the gap at the leading edge of the doors then align the hood to the fenders. Also, make sure the car is on level ground. I found this out the hard way and still fighting an overly large door-quarter gap on the RH side of my car. I can't figure out way the right rear of my car is 1/4" higher than the left rear.
Rodney
I can't figure out way the right rear of my car is 1/4" higher than the left rear.
That's exactly what I was thinking, I've asked the body shop to check the spring clocking. Unfortunately, the body shop owner is not willing to let me do any work on the car while it's in his shop because of insurance issues; which I completely understand. It's just frustrating to be dependent on him. The car is currently sitting on the original springs and God only knows what they've been through and how much they might be sagging. I've bought a new pair of Moog 5379 springs to replace them but might have to pay the body shop to install them if he determines the springs are the problem. Thanks for the tip.
Oh, what fun. (Not)
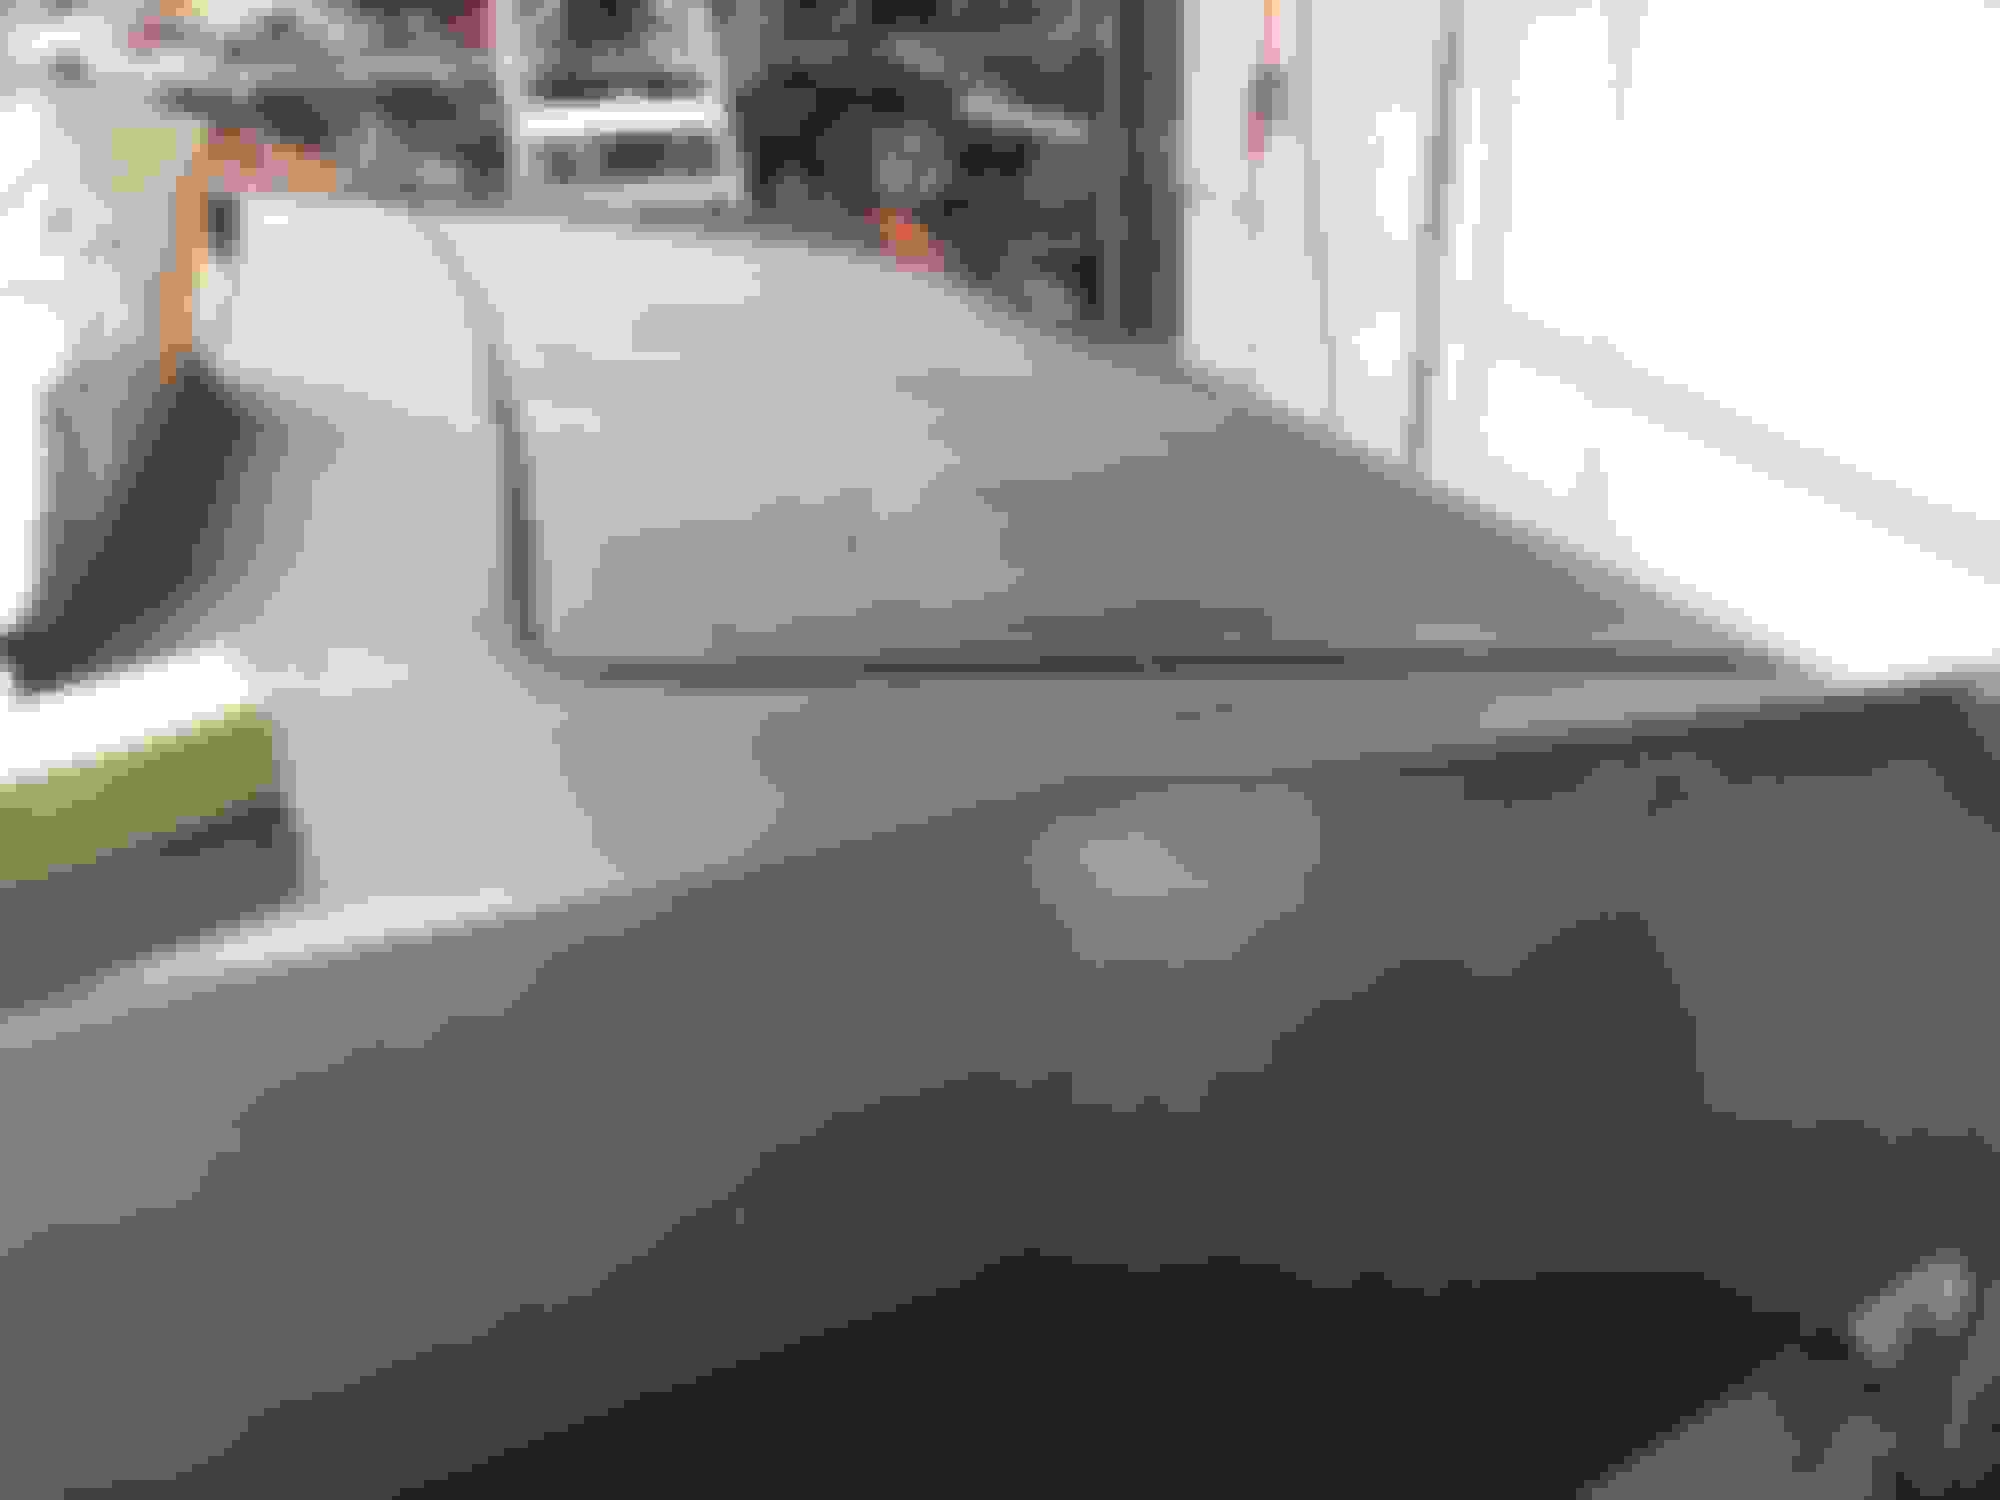
Setting door gaps just when you think close, one little misstep and you're back to square one.
I think the door is pretty close.
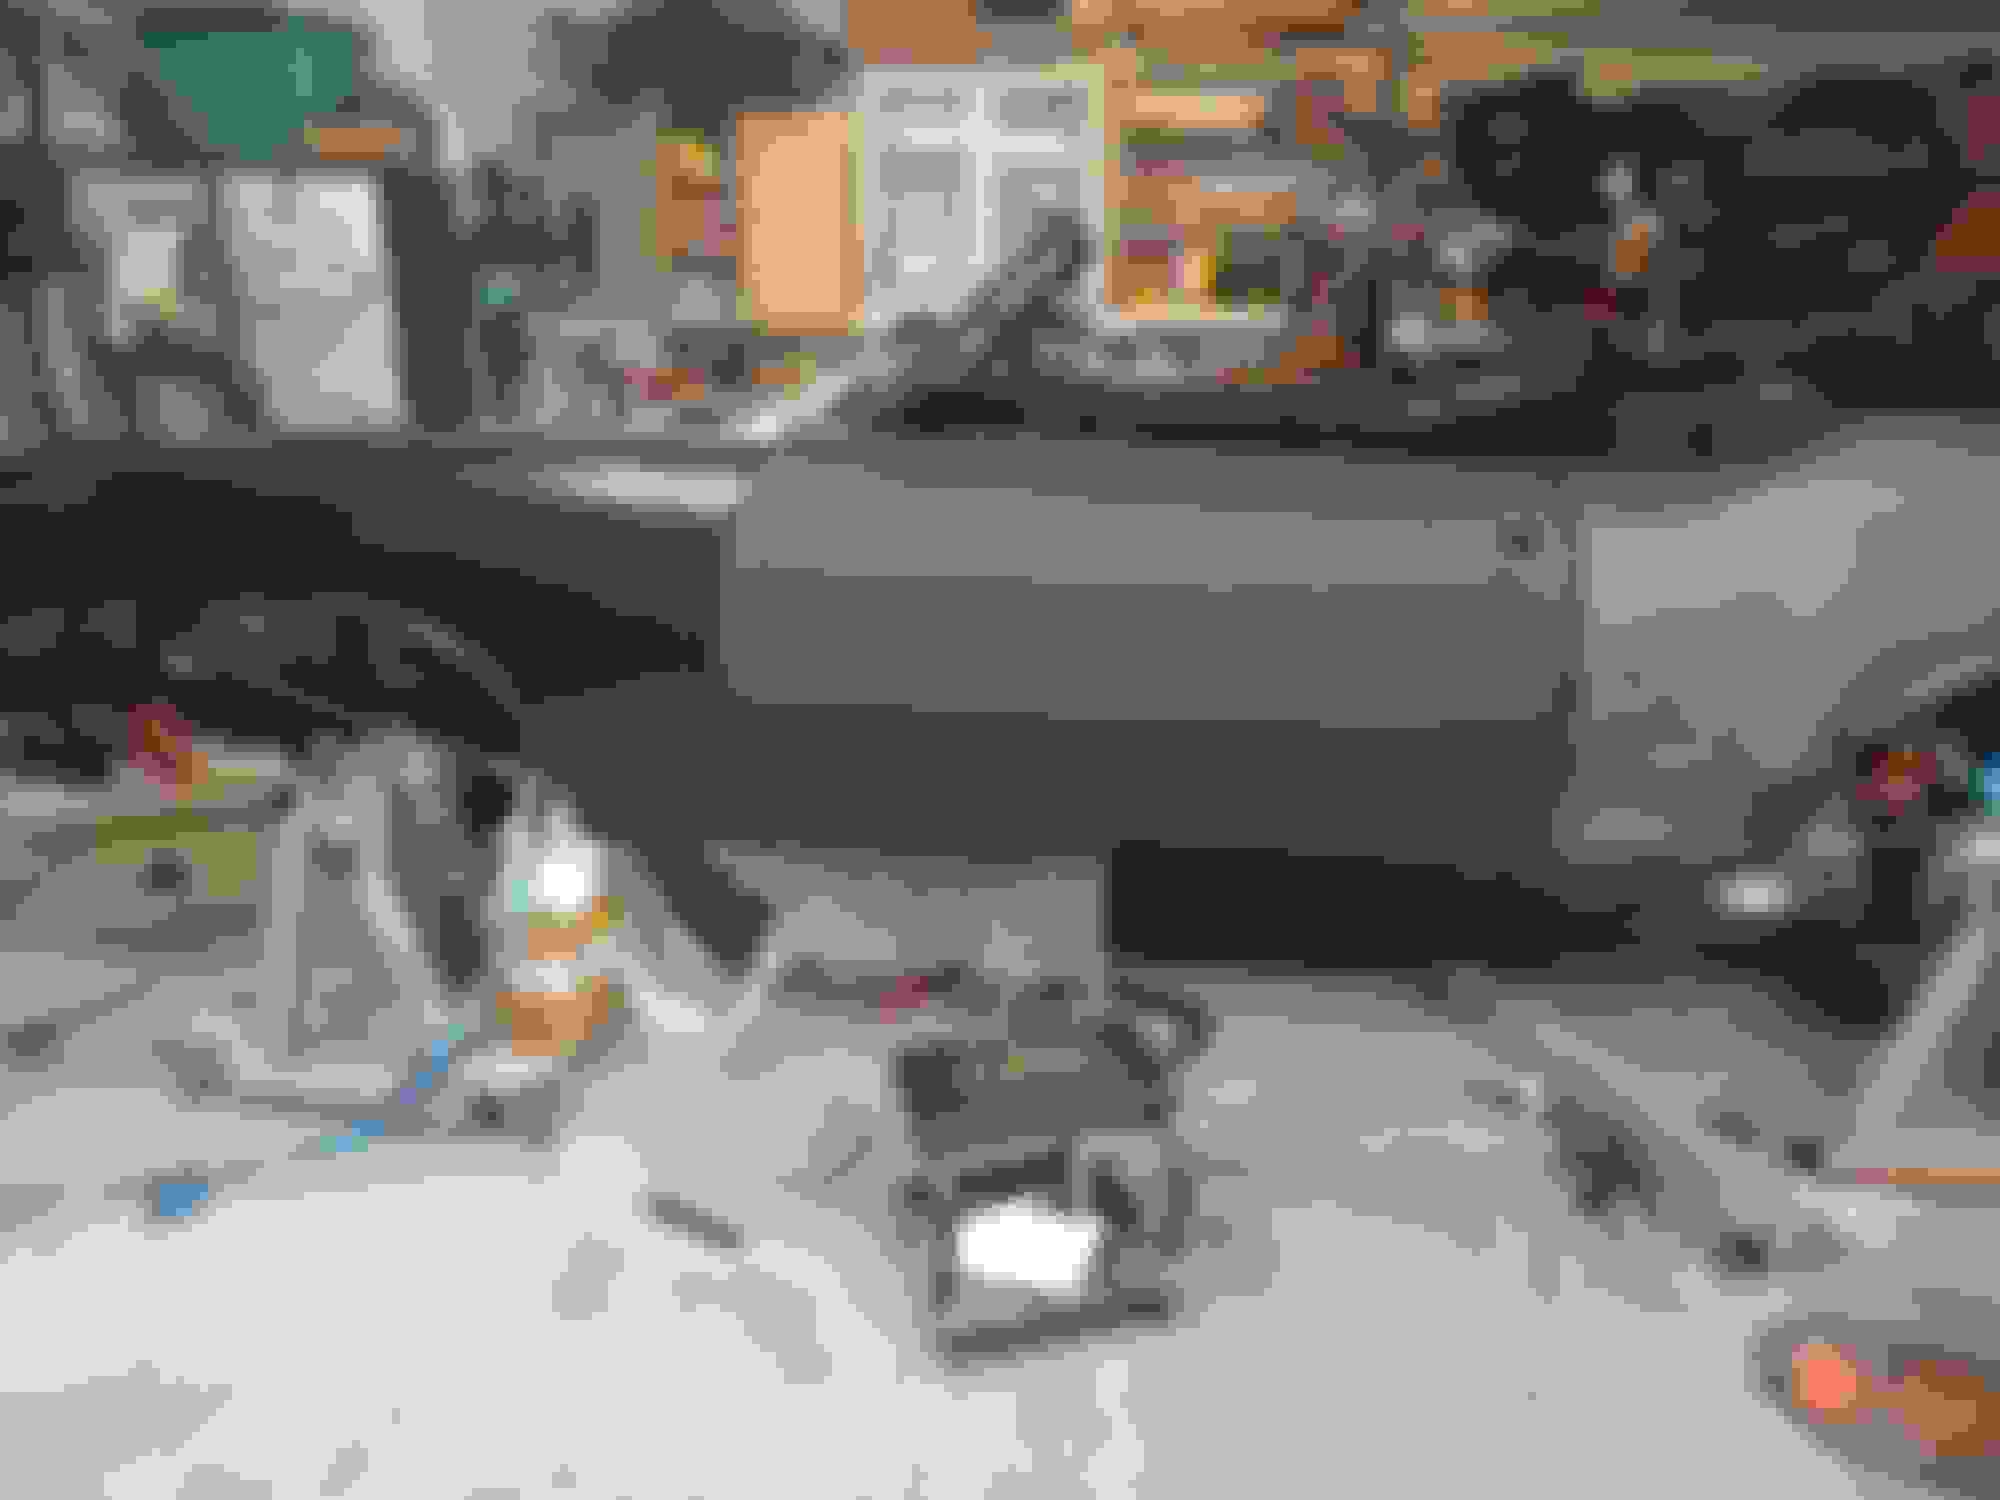
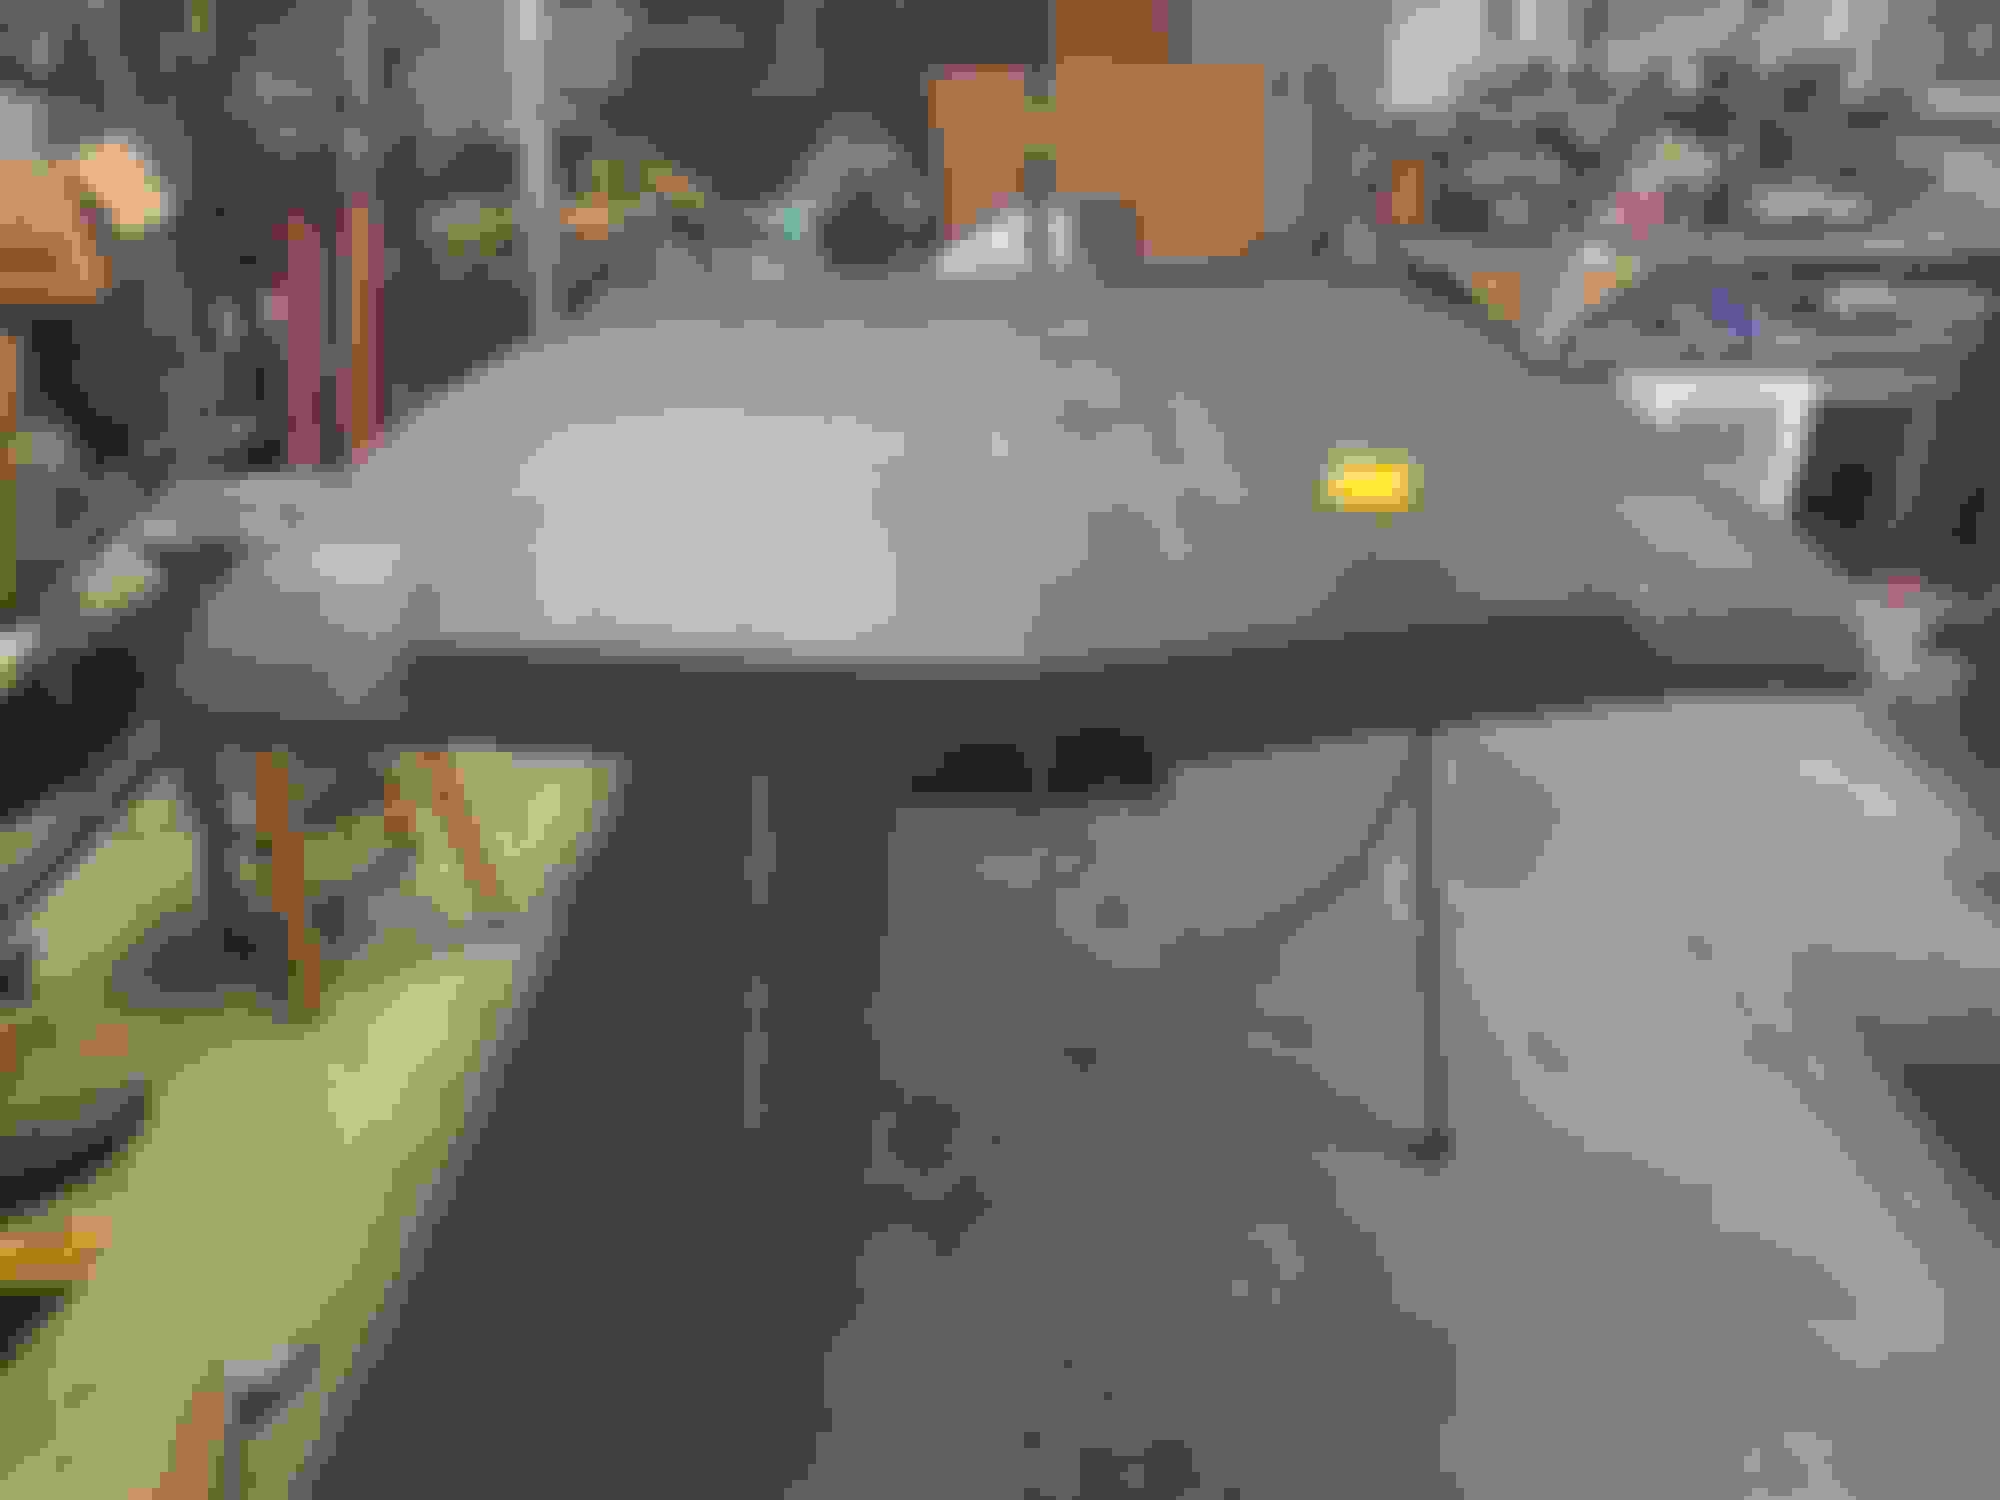
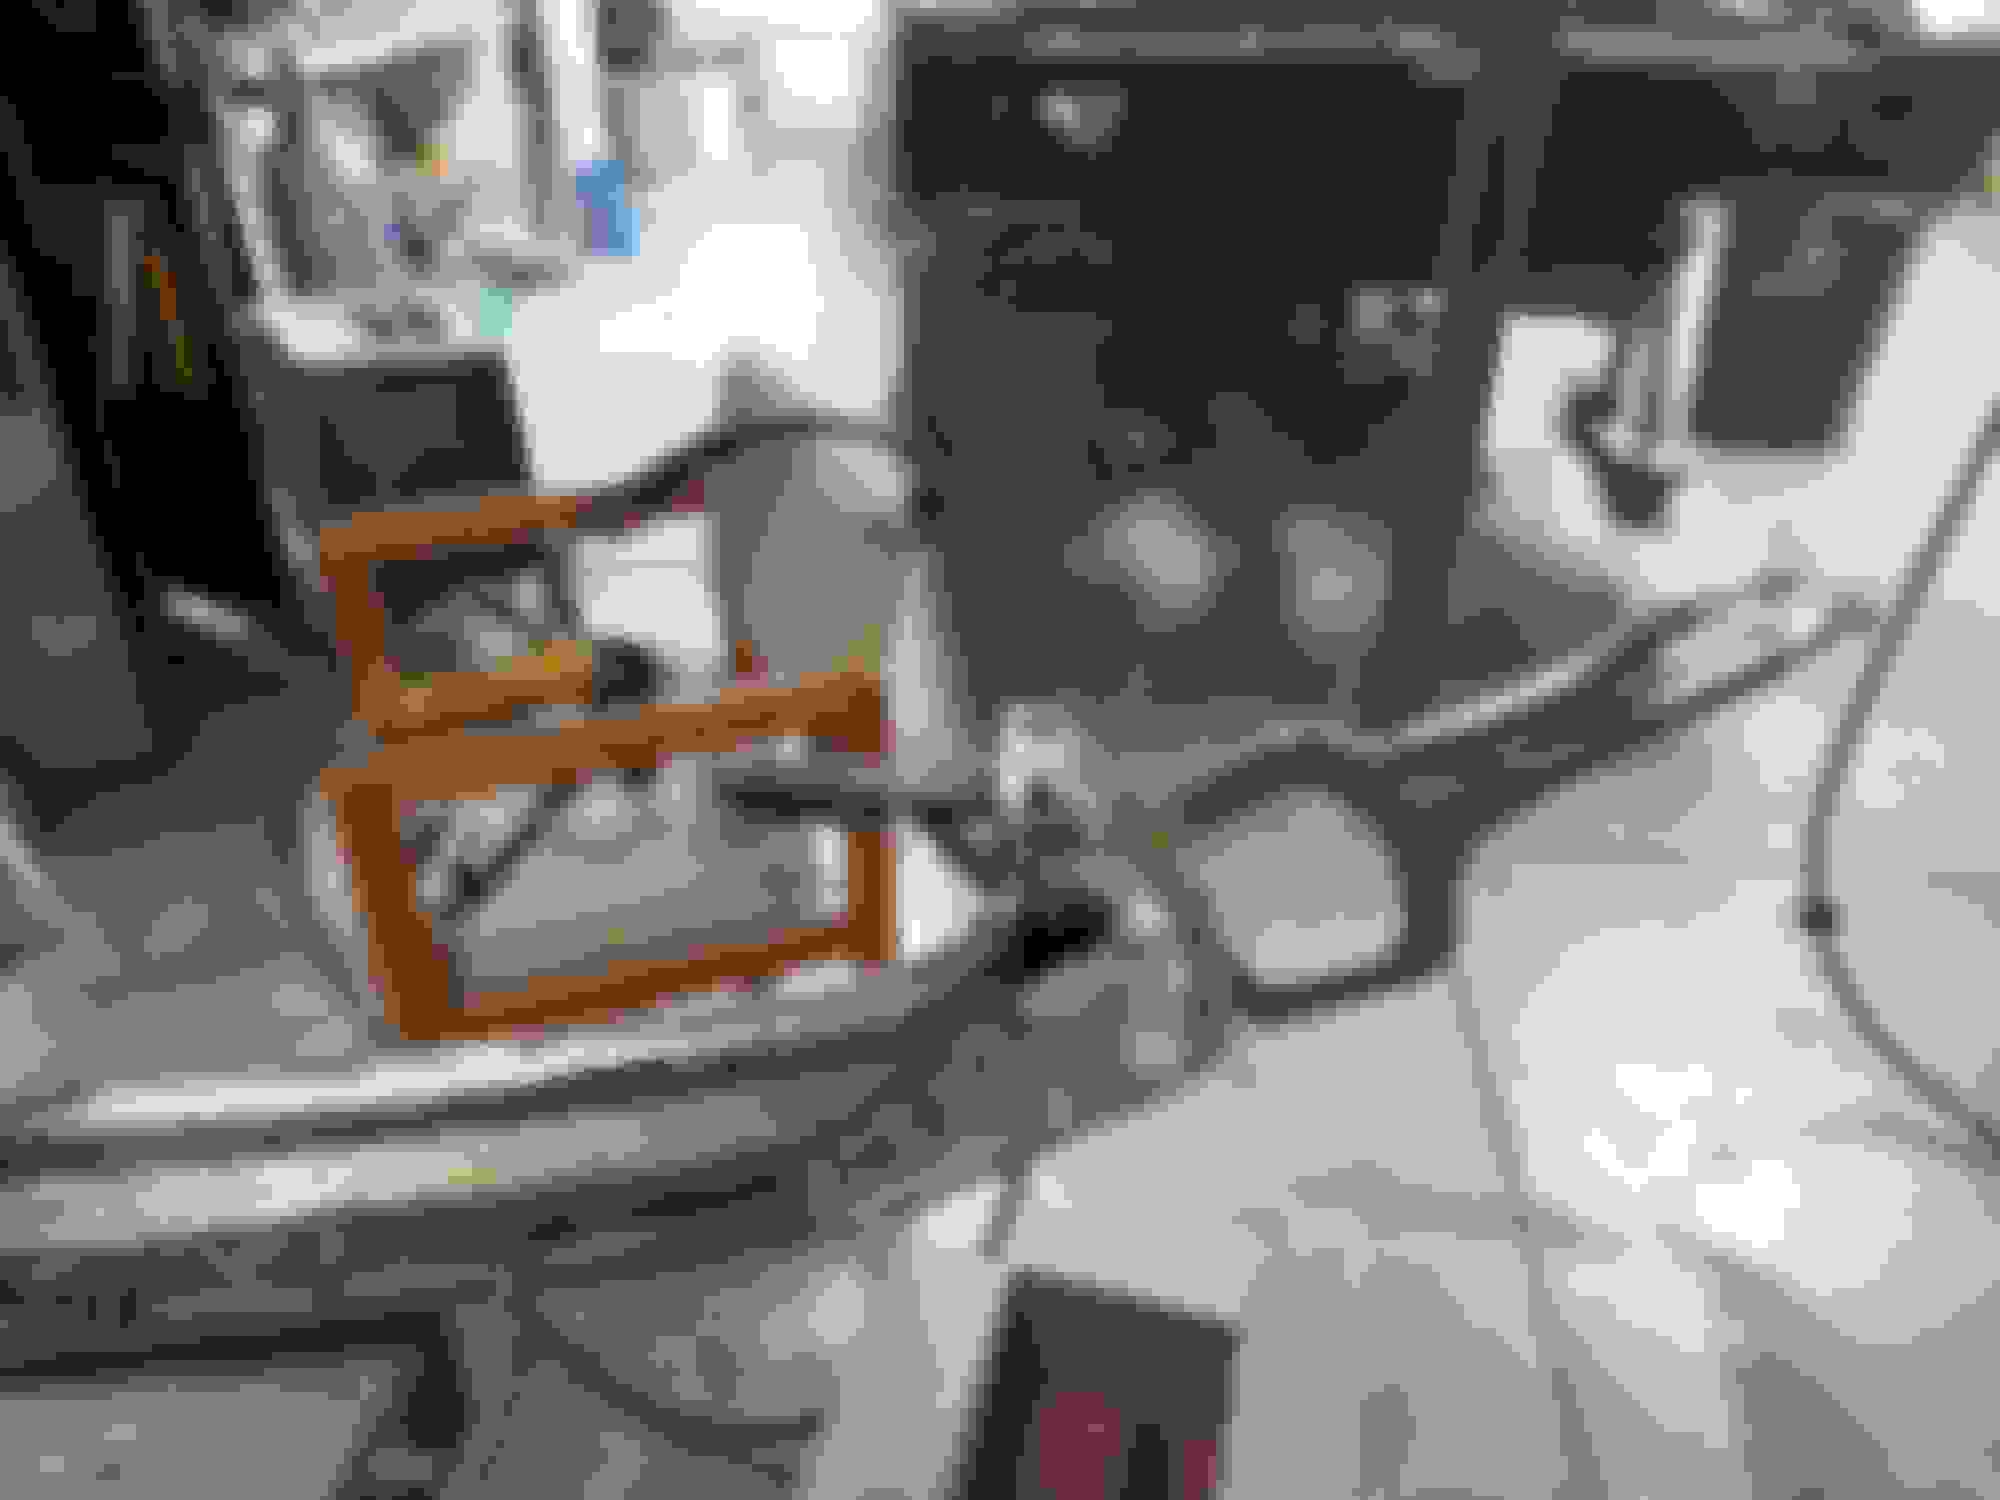
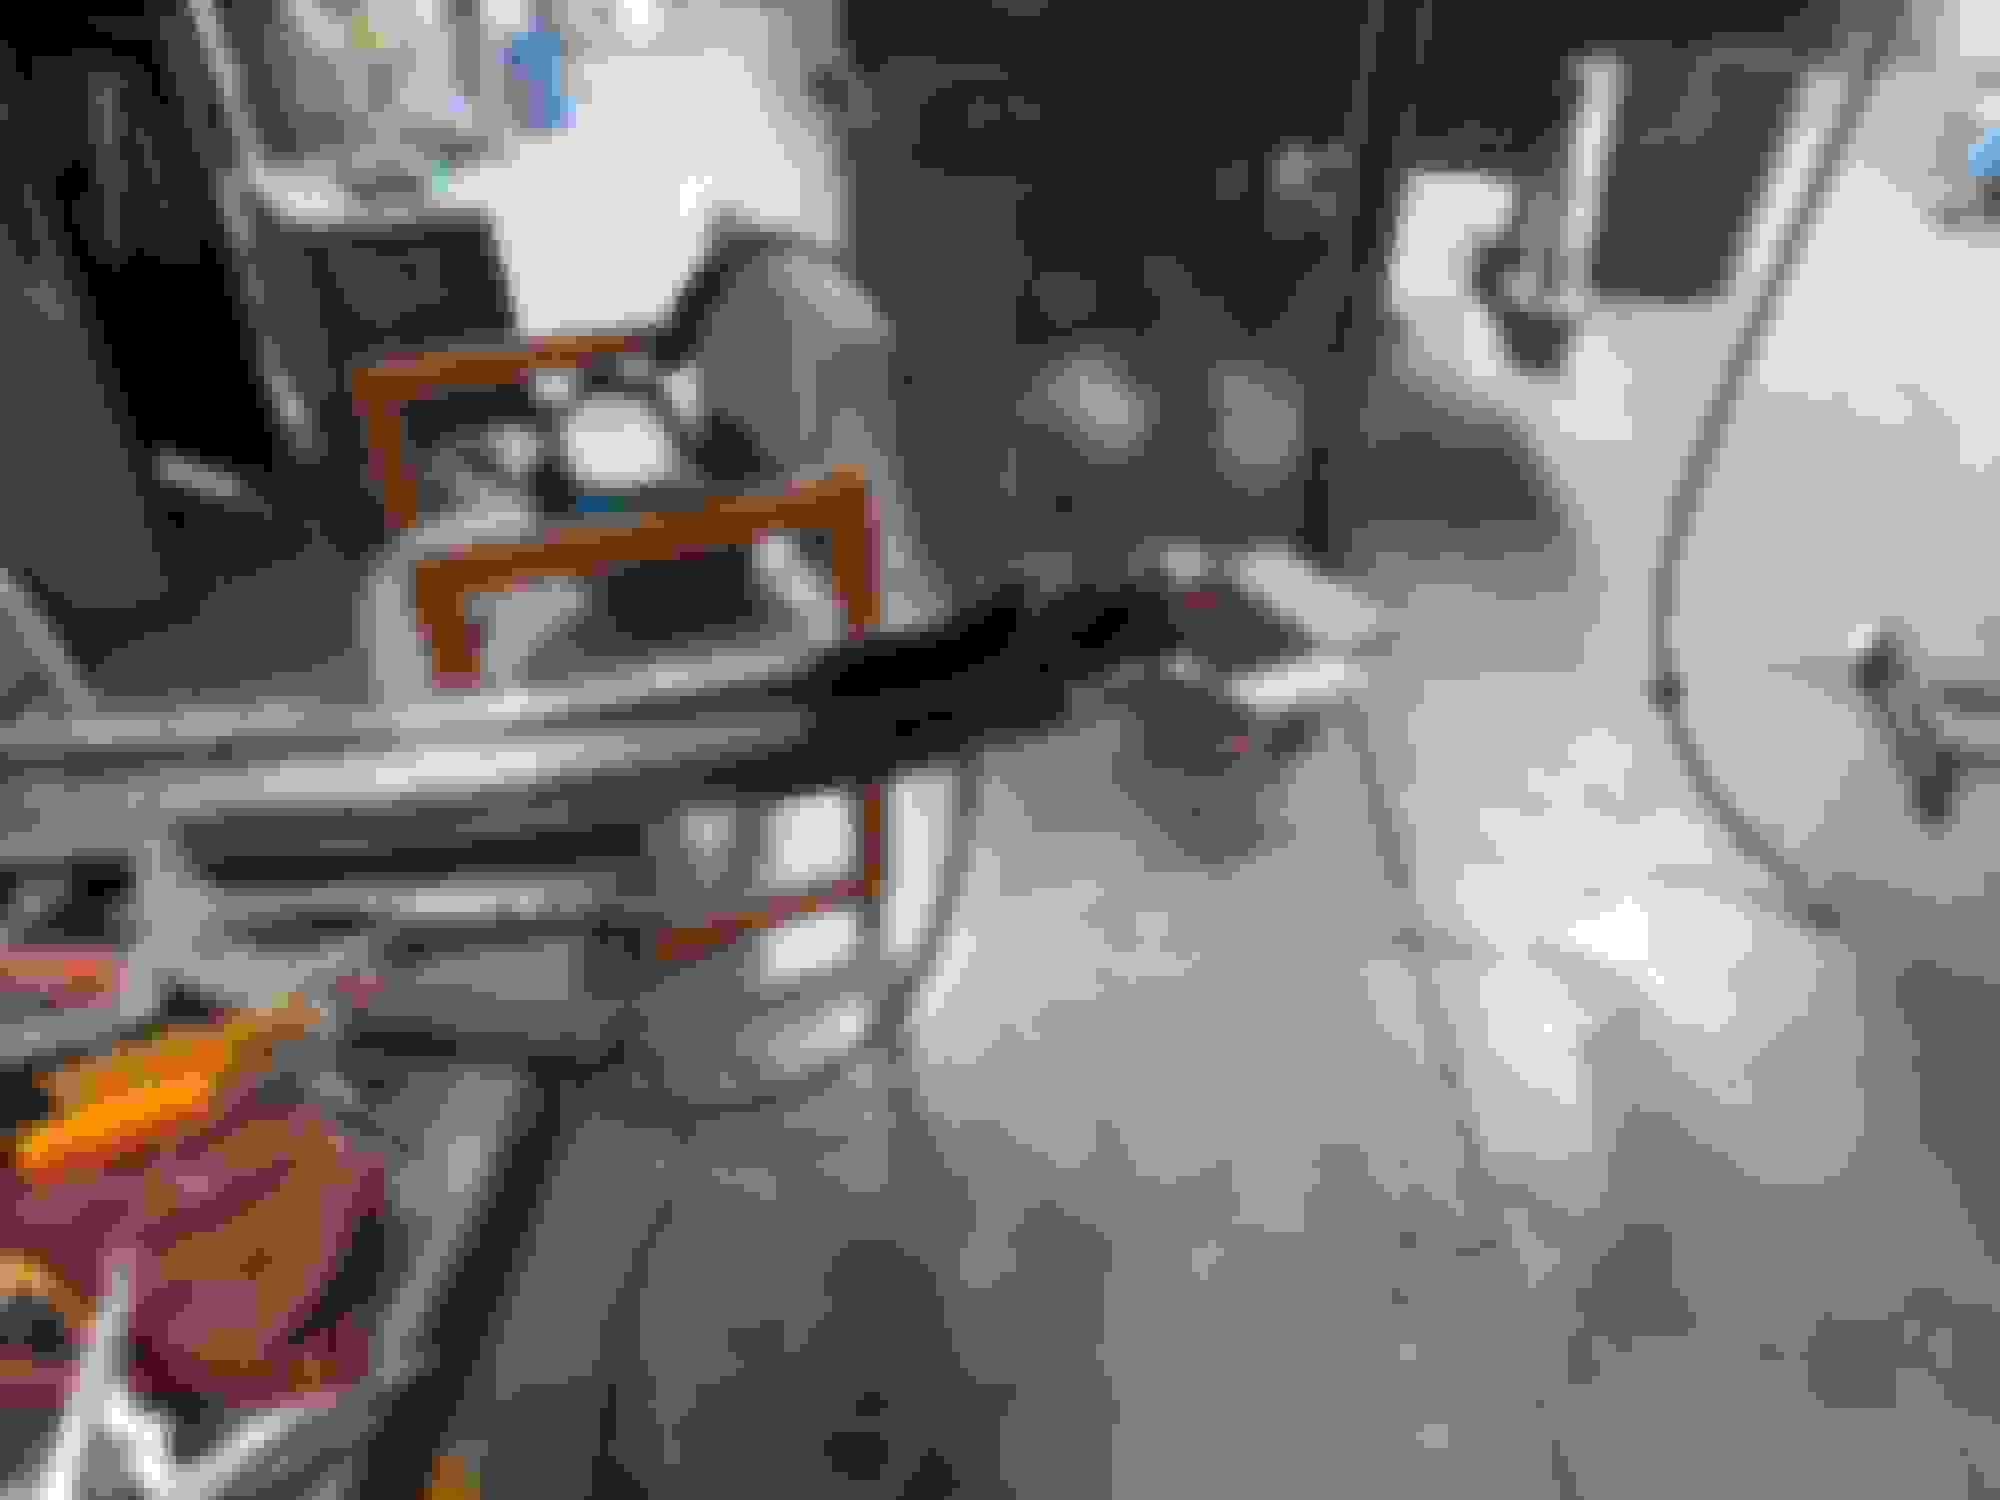
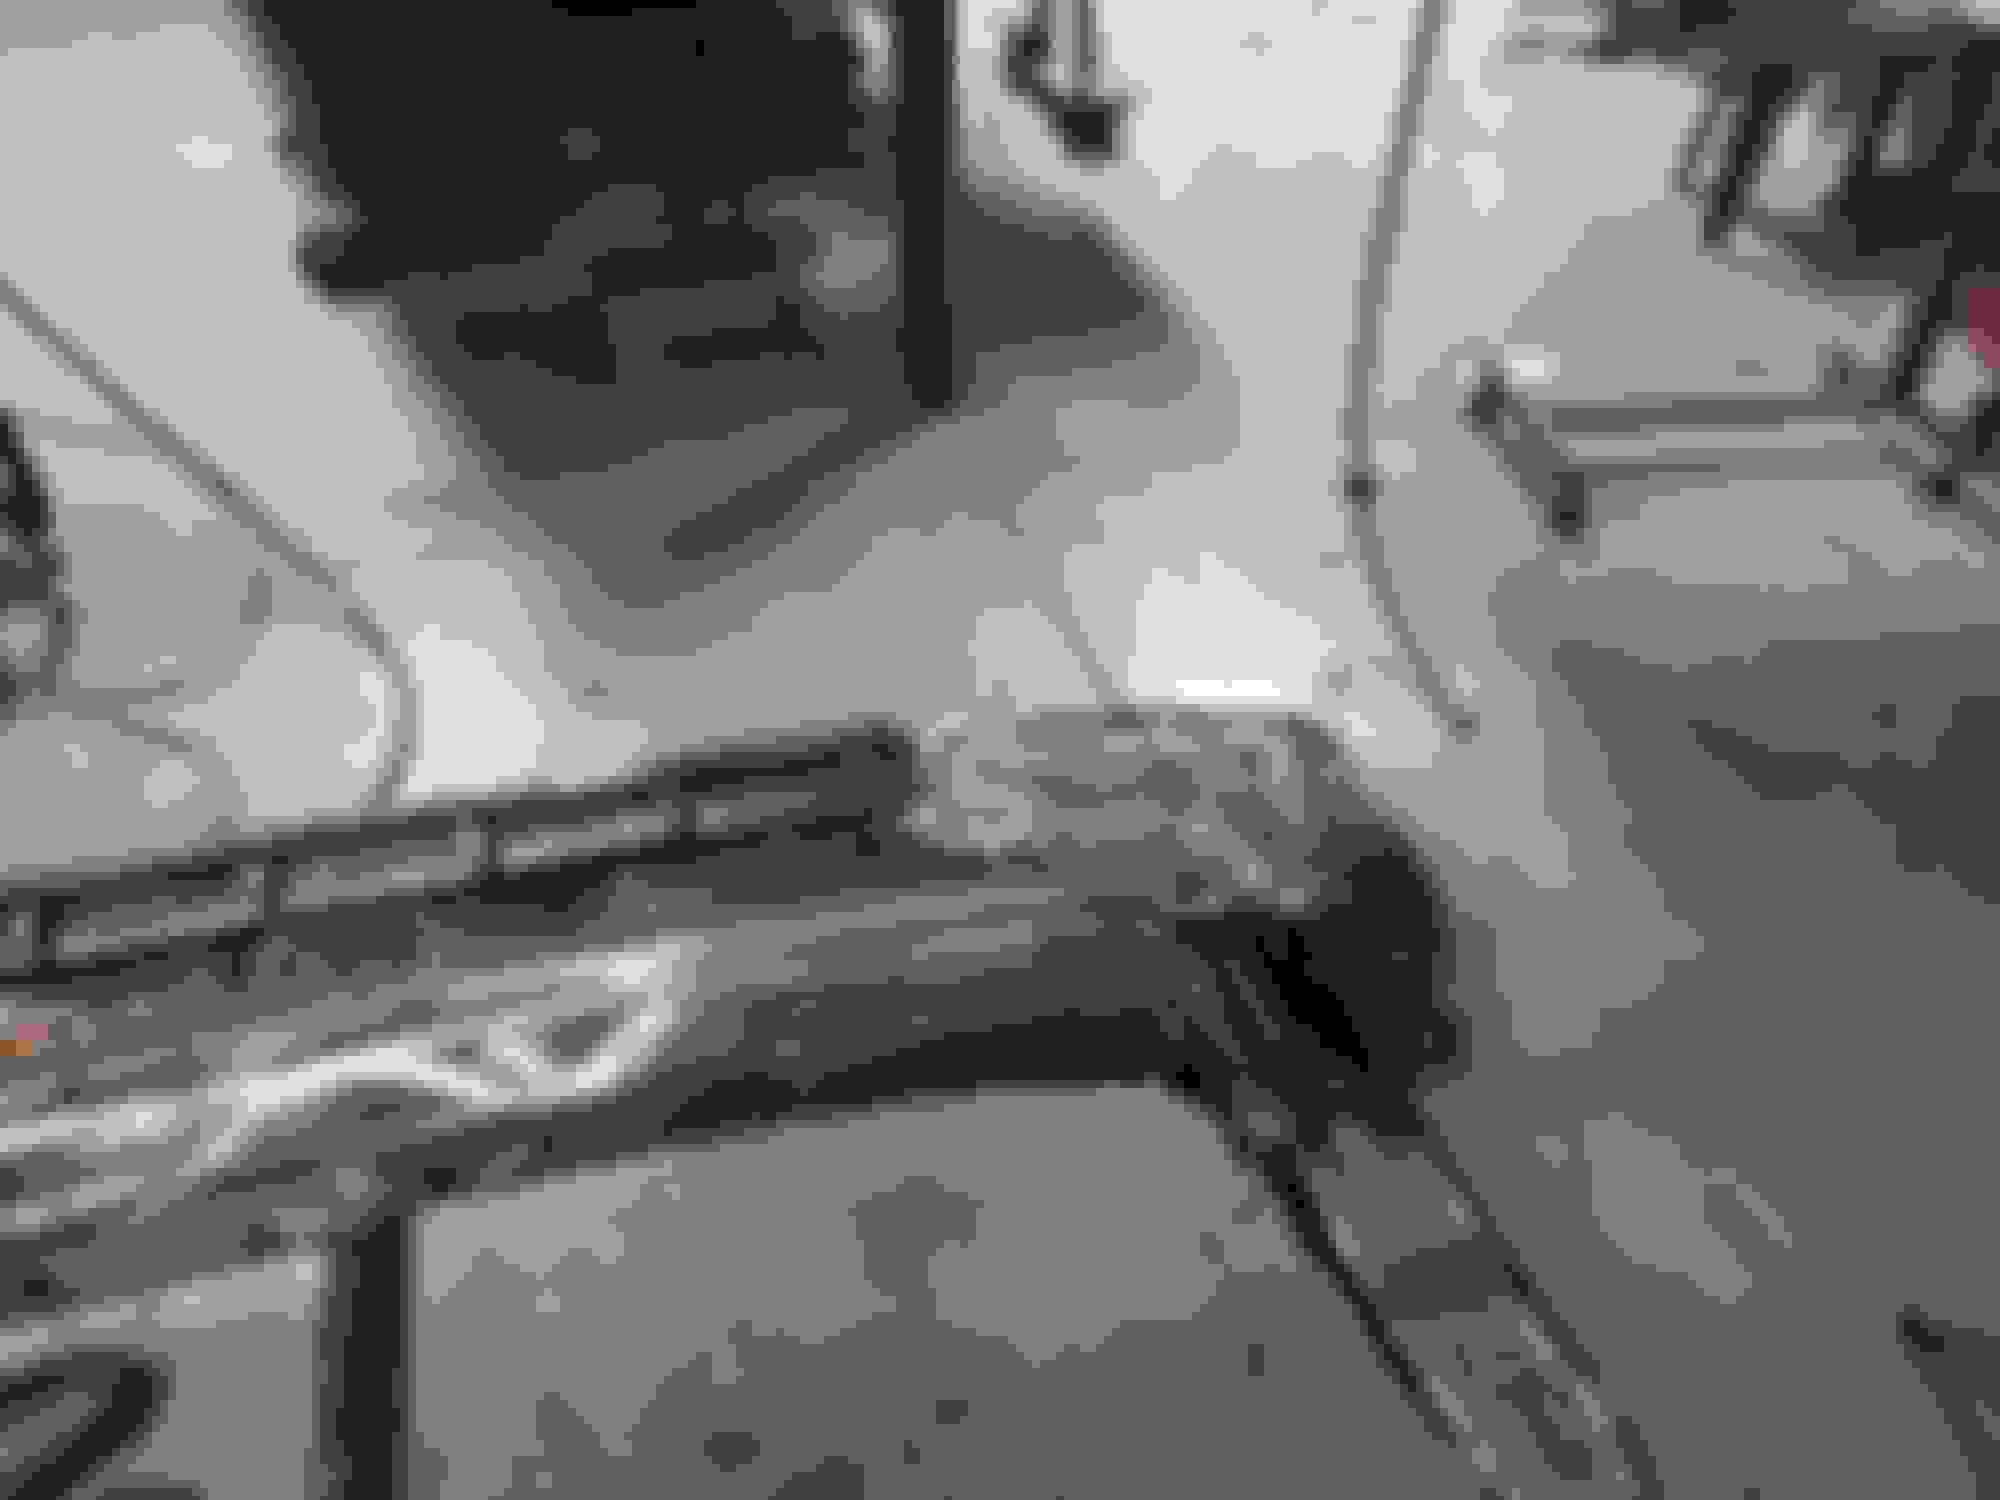
Just hung the fender to get a preliminary view.
Thats a nice cradle you have for the door. I can only imagine what kind of contraption I would come up with! Is that designed just for that and if so where did you buy it?
Steve
Thats a nice cradle you have for the door. I can only imagine what kind of contraption I would come up with! Is that designed just for that and if so where did you buy it?
Steve
The repo fenders had the baffles welded in.
I had to remove them and attach the 70 baffles.
Having trouble getting the fender body line matched to the door.
The whole fender needs to come out a tiny bit.
May have to enlarge one of the holes.
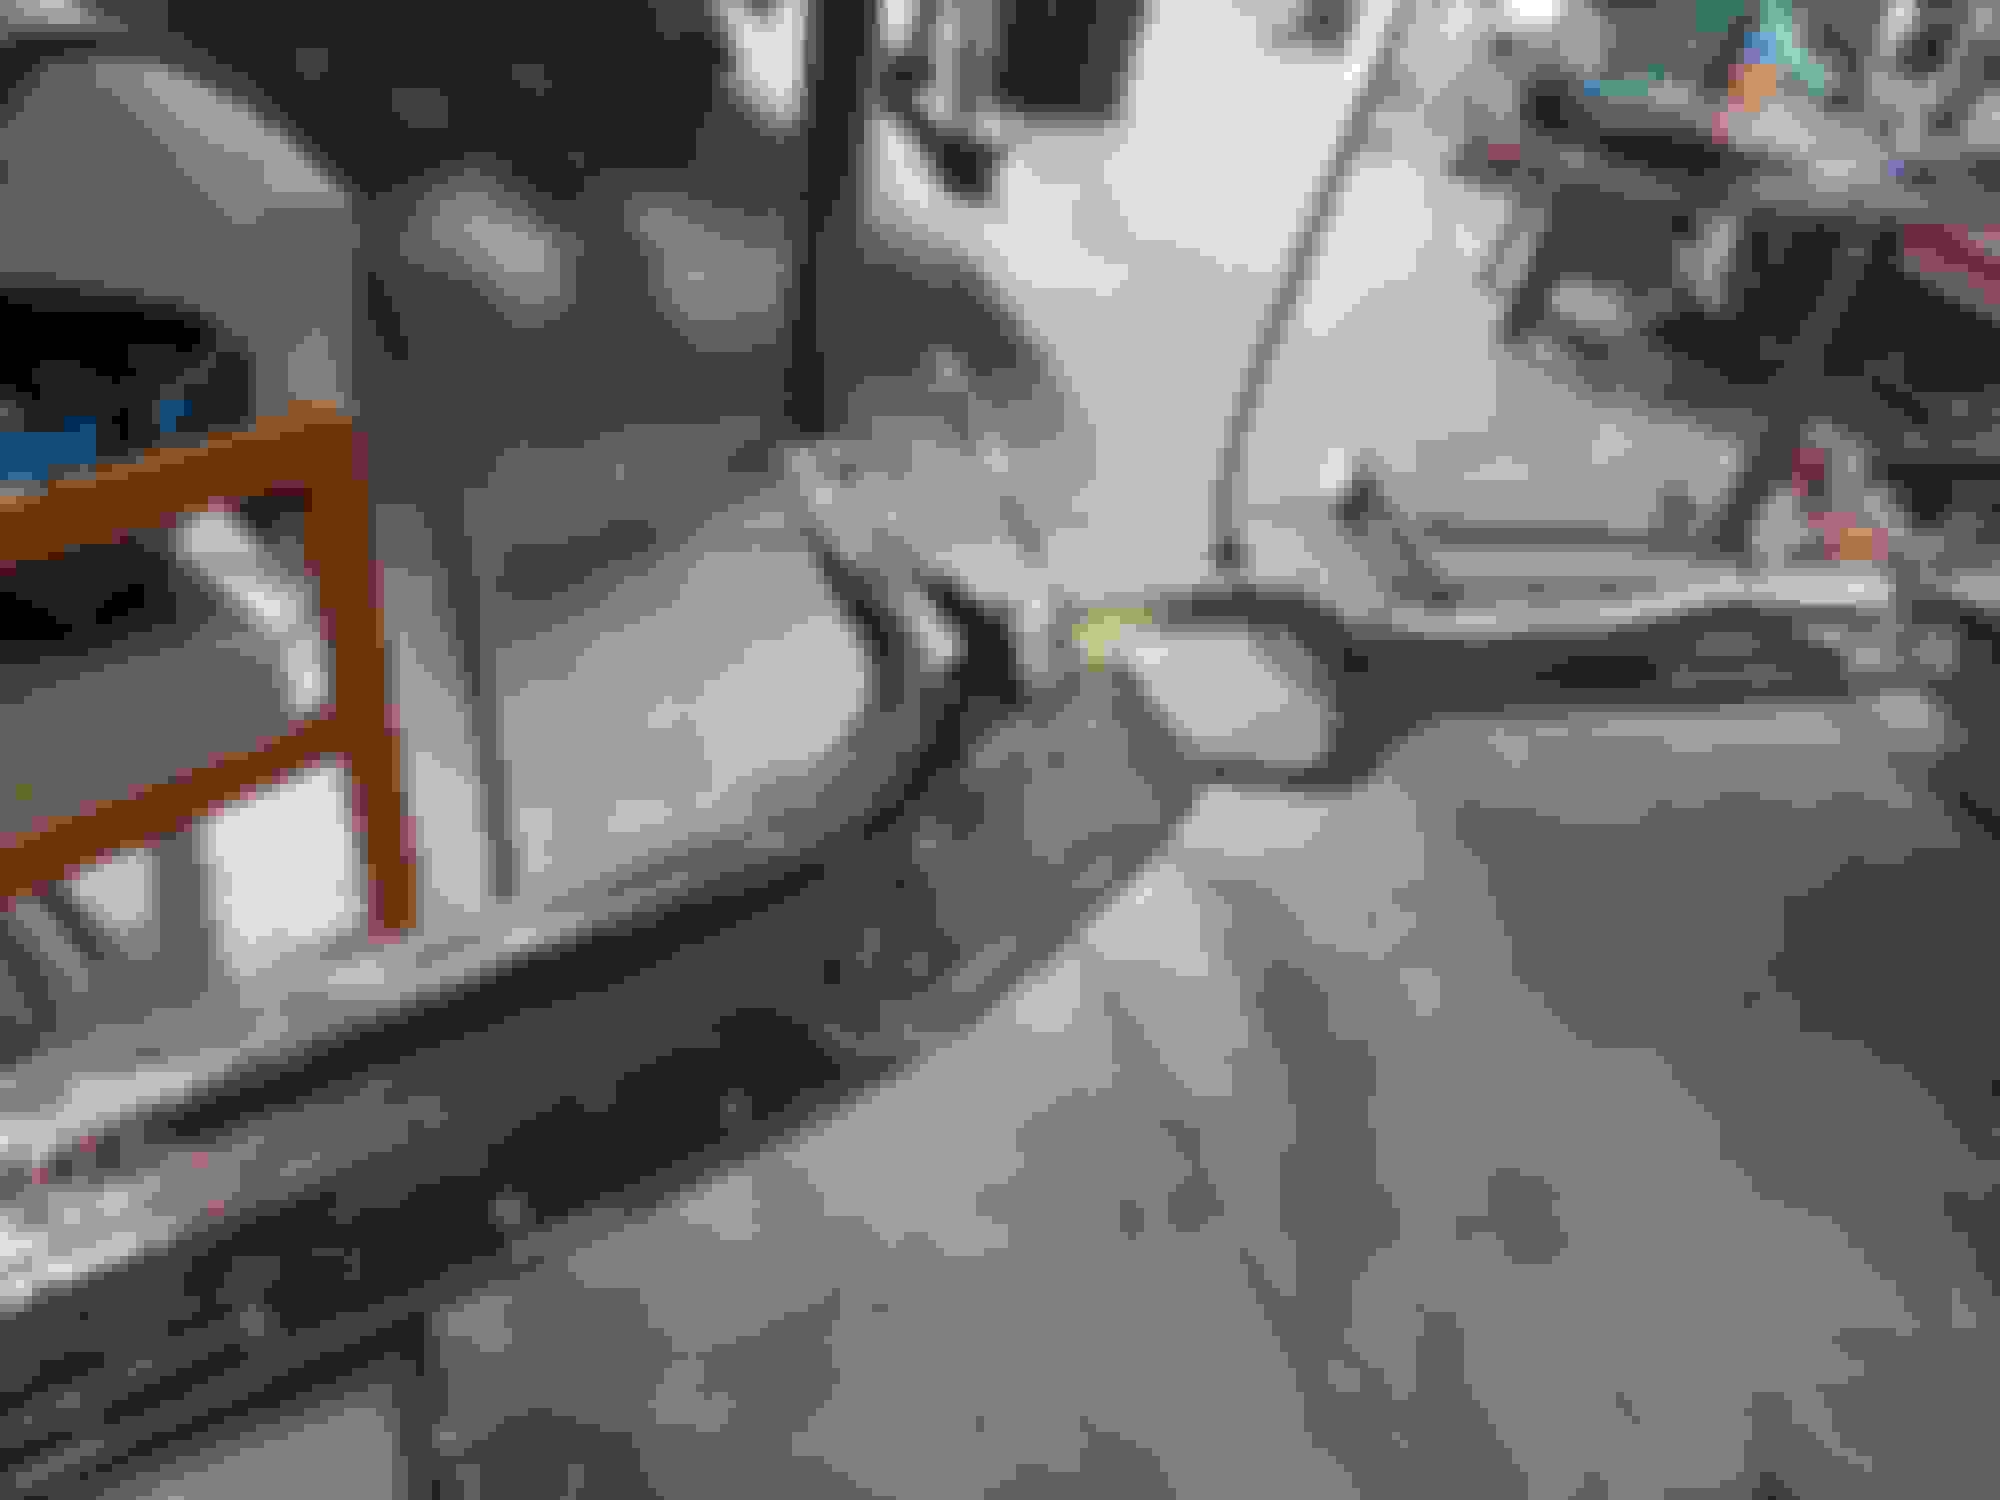
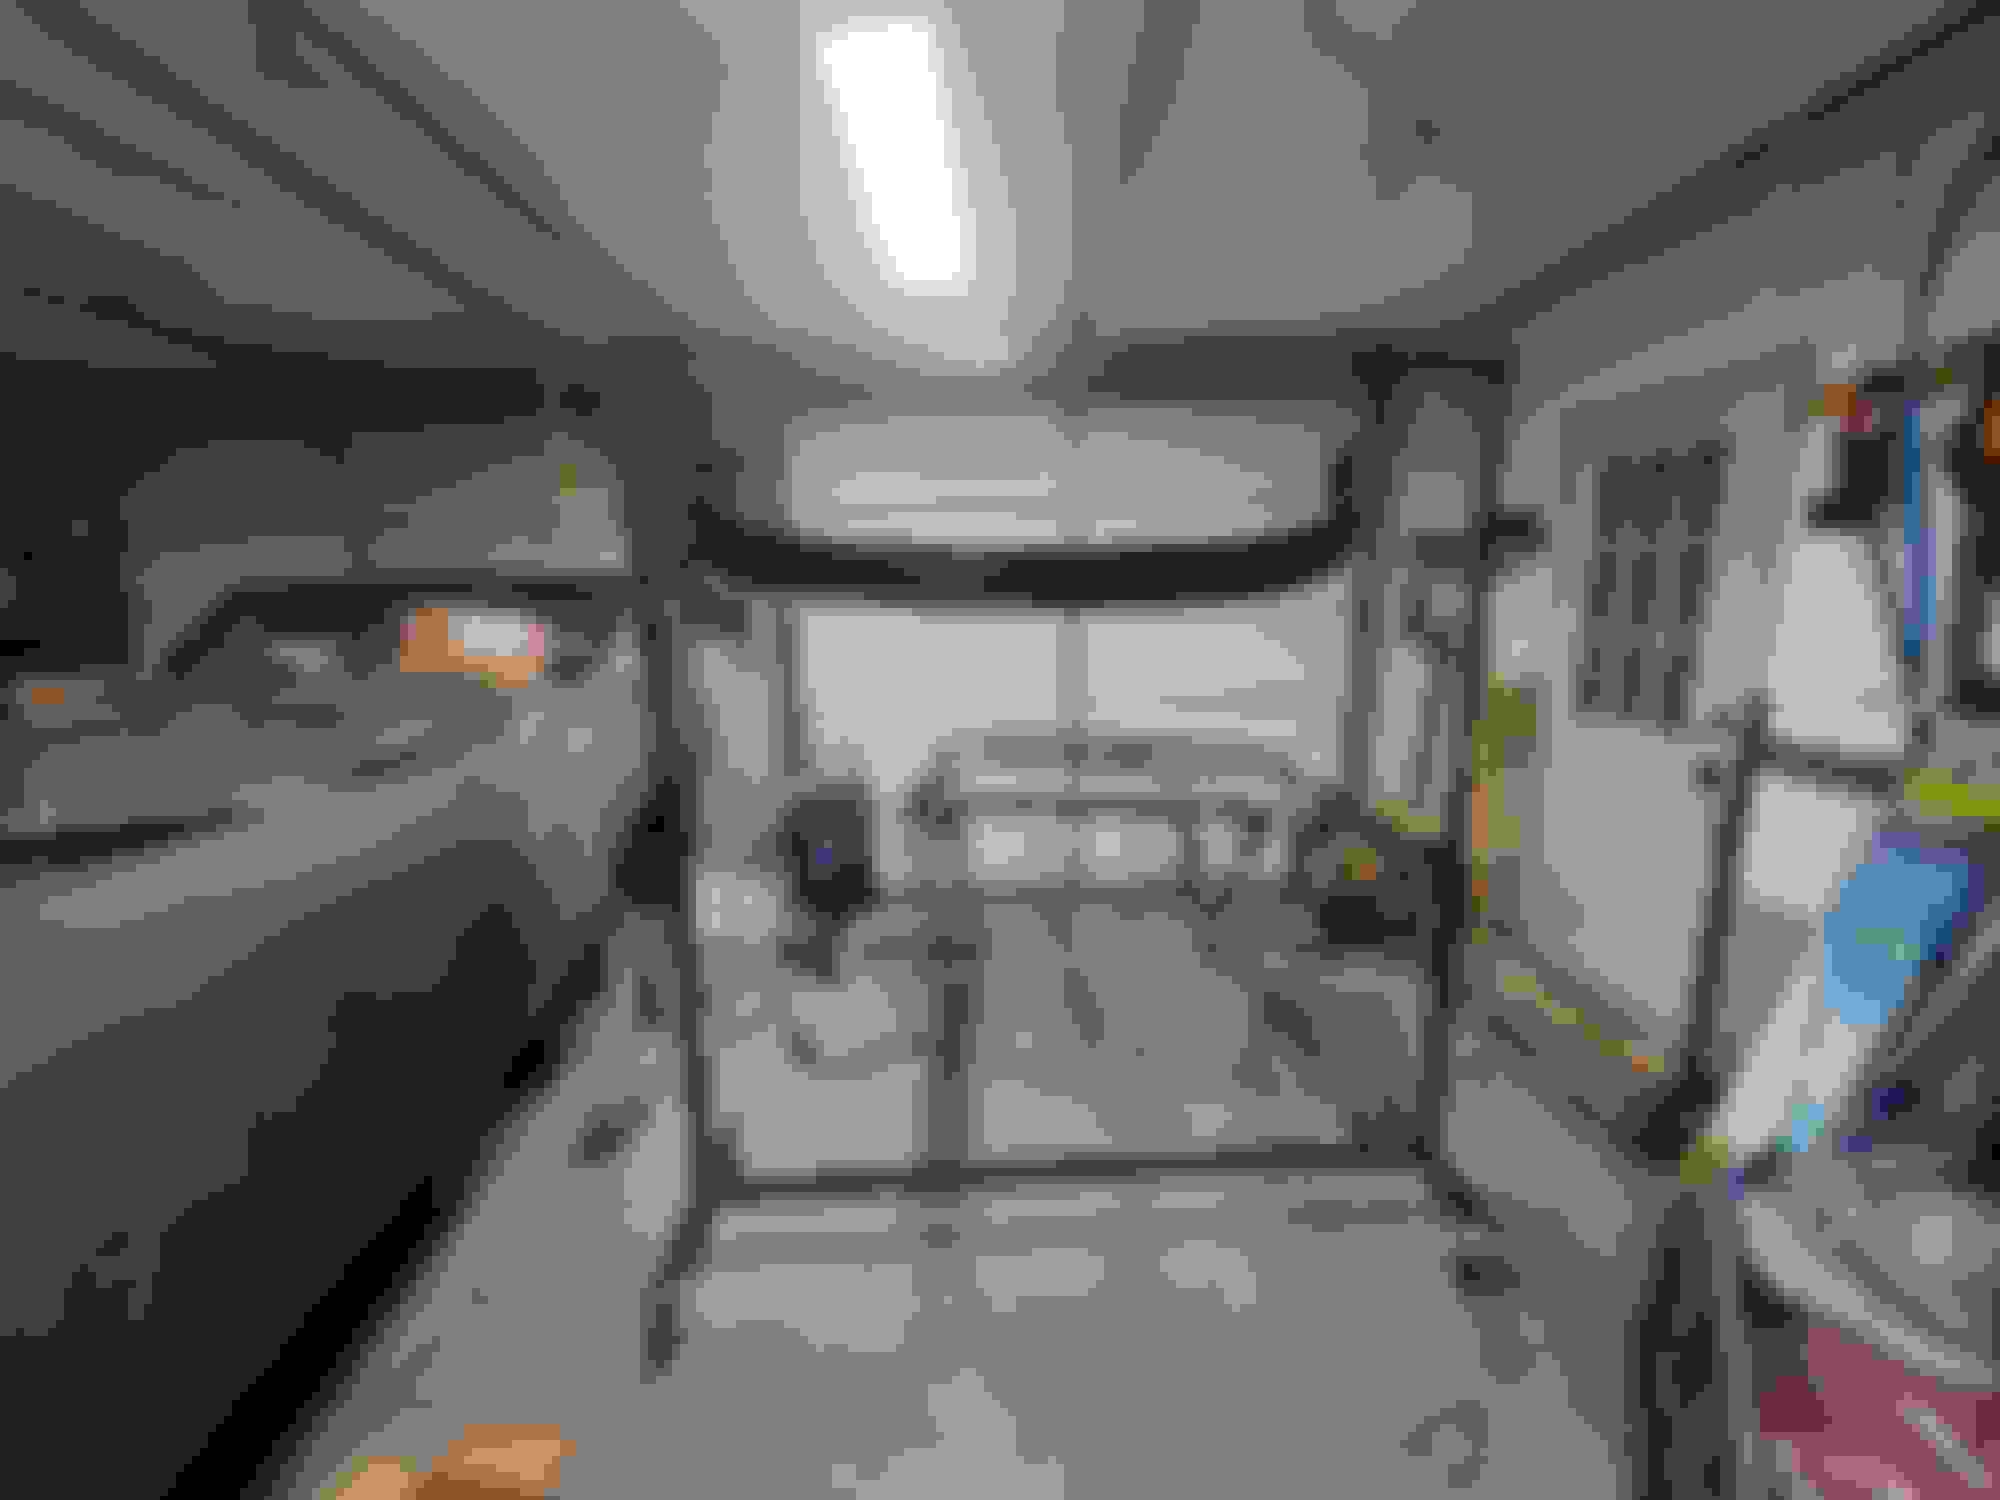
Took the fender off to tweak the door alignment AGAIN!
This time I added weight to compensate for the window and regulator motor etc. (motor and reg @9lbs window @14lbs)
I added three weights totaling 47.5 lbs I am thinking this is 10-15 lbs overweight.
I used a couple straps one to allow the air wedge to not open the door without it being latched, the other to pull the door rearward .
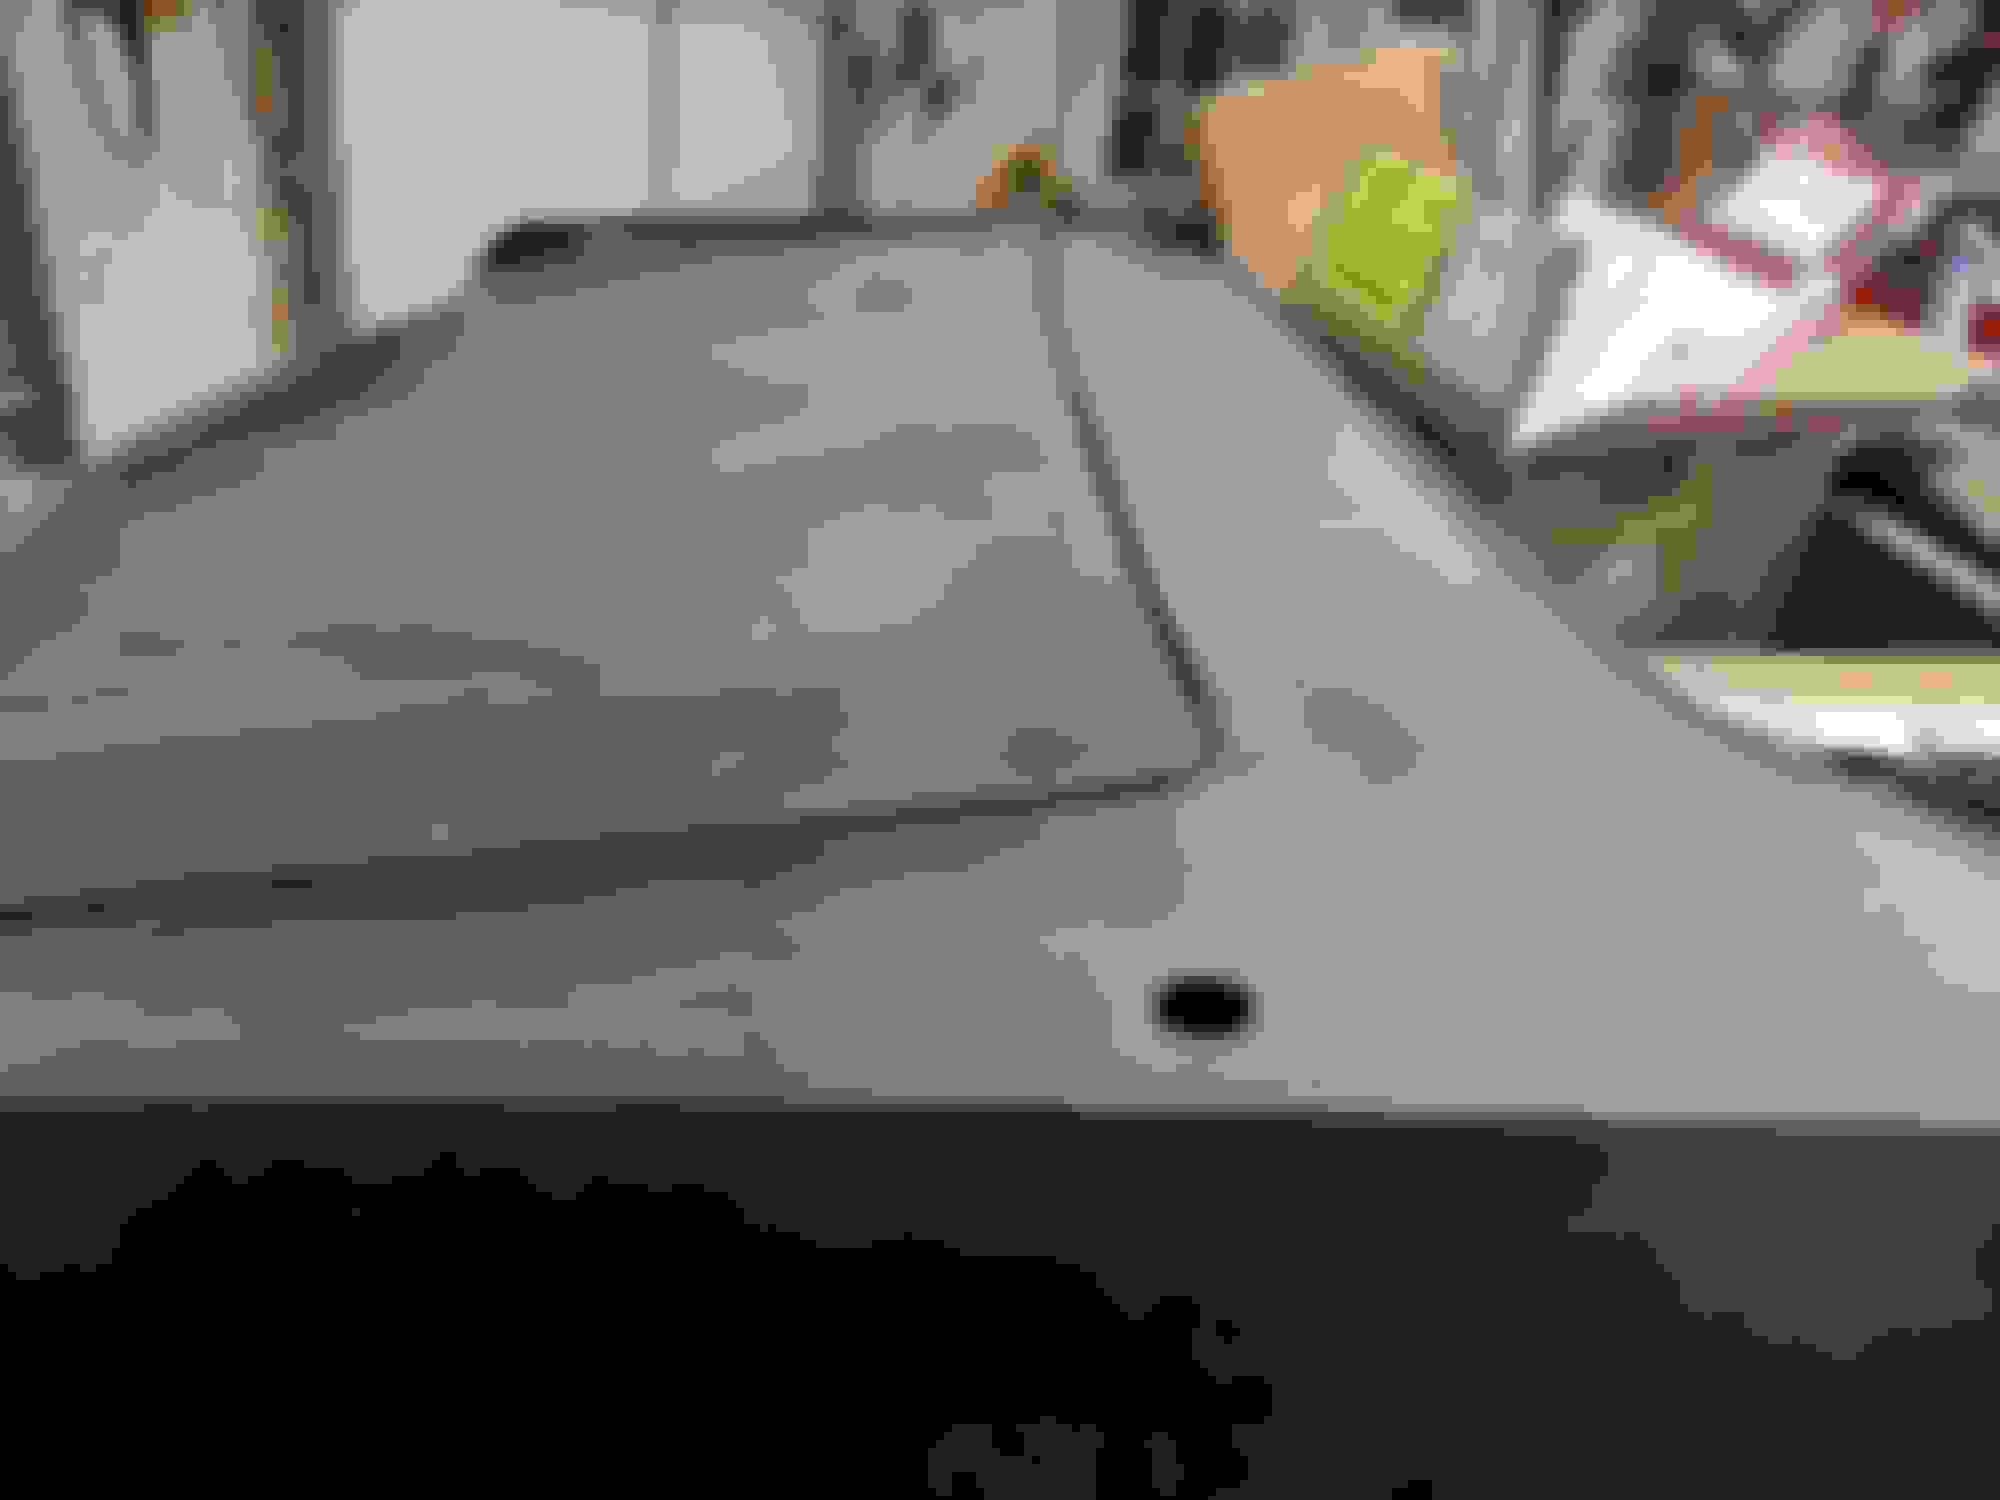
I've got the gap to 3/16 for the door to the quarter panel (curved part at the top of door 1/4)
The bottom gap needed to be 1/4 to get the top of door to be level with the quarter.
By allowing the door to be unlatched I was able to adjust the door so there is no sag when opening even with the extra weight.
That is why you see many cars with gap spacing varying, because it is a real pain and time consuming to get this stuff right. I think most folks with this issue find the "good enough" point and know they tried . It's looking good, you've done a great job on a huge project.
Steve
That is why you see many cars with gap spacing varying, because it is a real pain and time consuming to get this stuff right. I think most folks with this issue find the "good enough" point and know they tried . It's looking good, you've done a great job on a huge project.
Steve
Thanks Steve!
I found the "good enough point" several times only to come back the next day and say nope not quite.
(being a slob and the furthest thing away from being a perfectionist it's tough for me not to say "good enough", I am sure there will be plenty of "good enoughs" on this project)
At least "good enough" for a slacker like me
Not sure if the extra weight made the almost 1-inch sag in the door when initially added, or the fact a 25 lb plate slipped out of my hand while passing it in through the windows slot.
I understand, I have had many "good enoughs" only to come back at a later date and spend more time trying to get it right. Sometimes I even do make it better, other times no difference at all. You have taken on a massive project and have really done a great job. Most people would have walked away at some point. Keep Going!
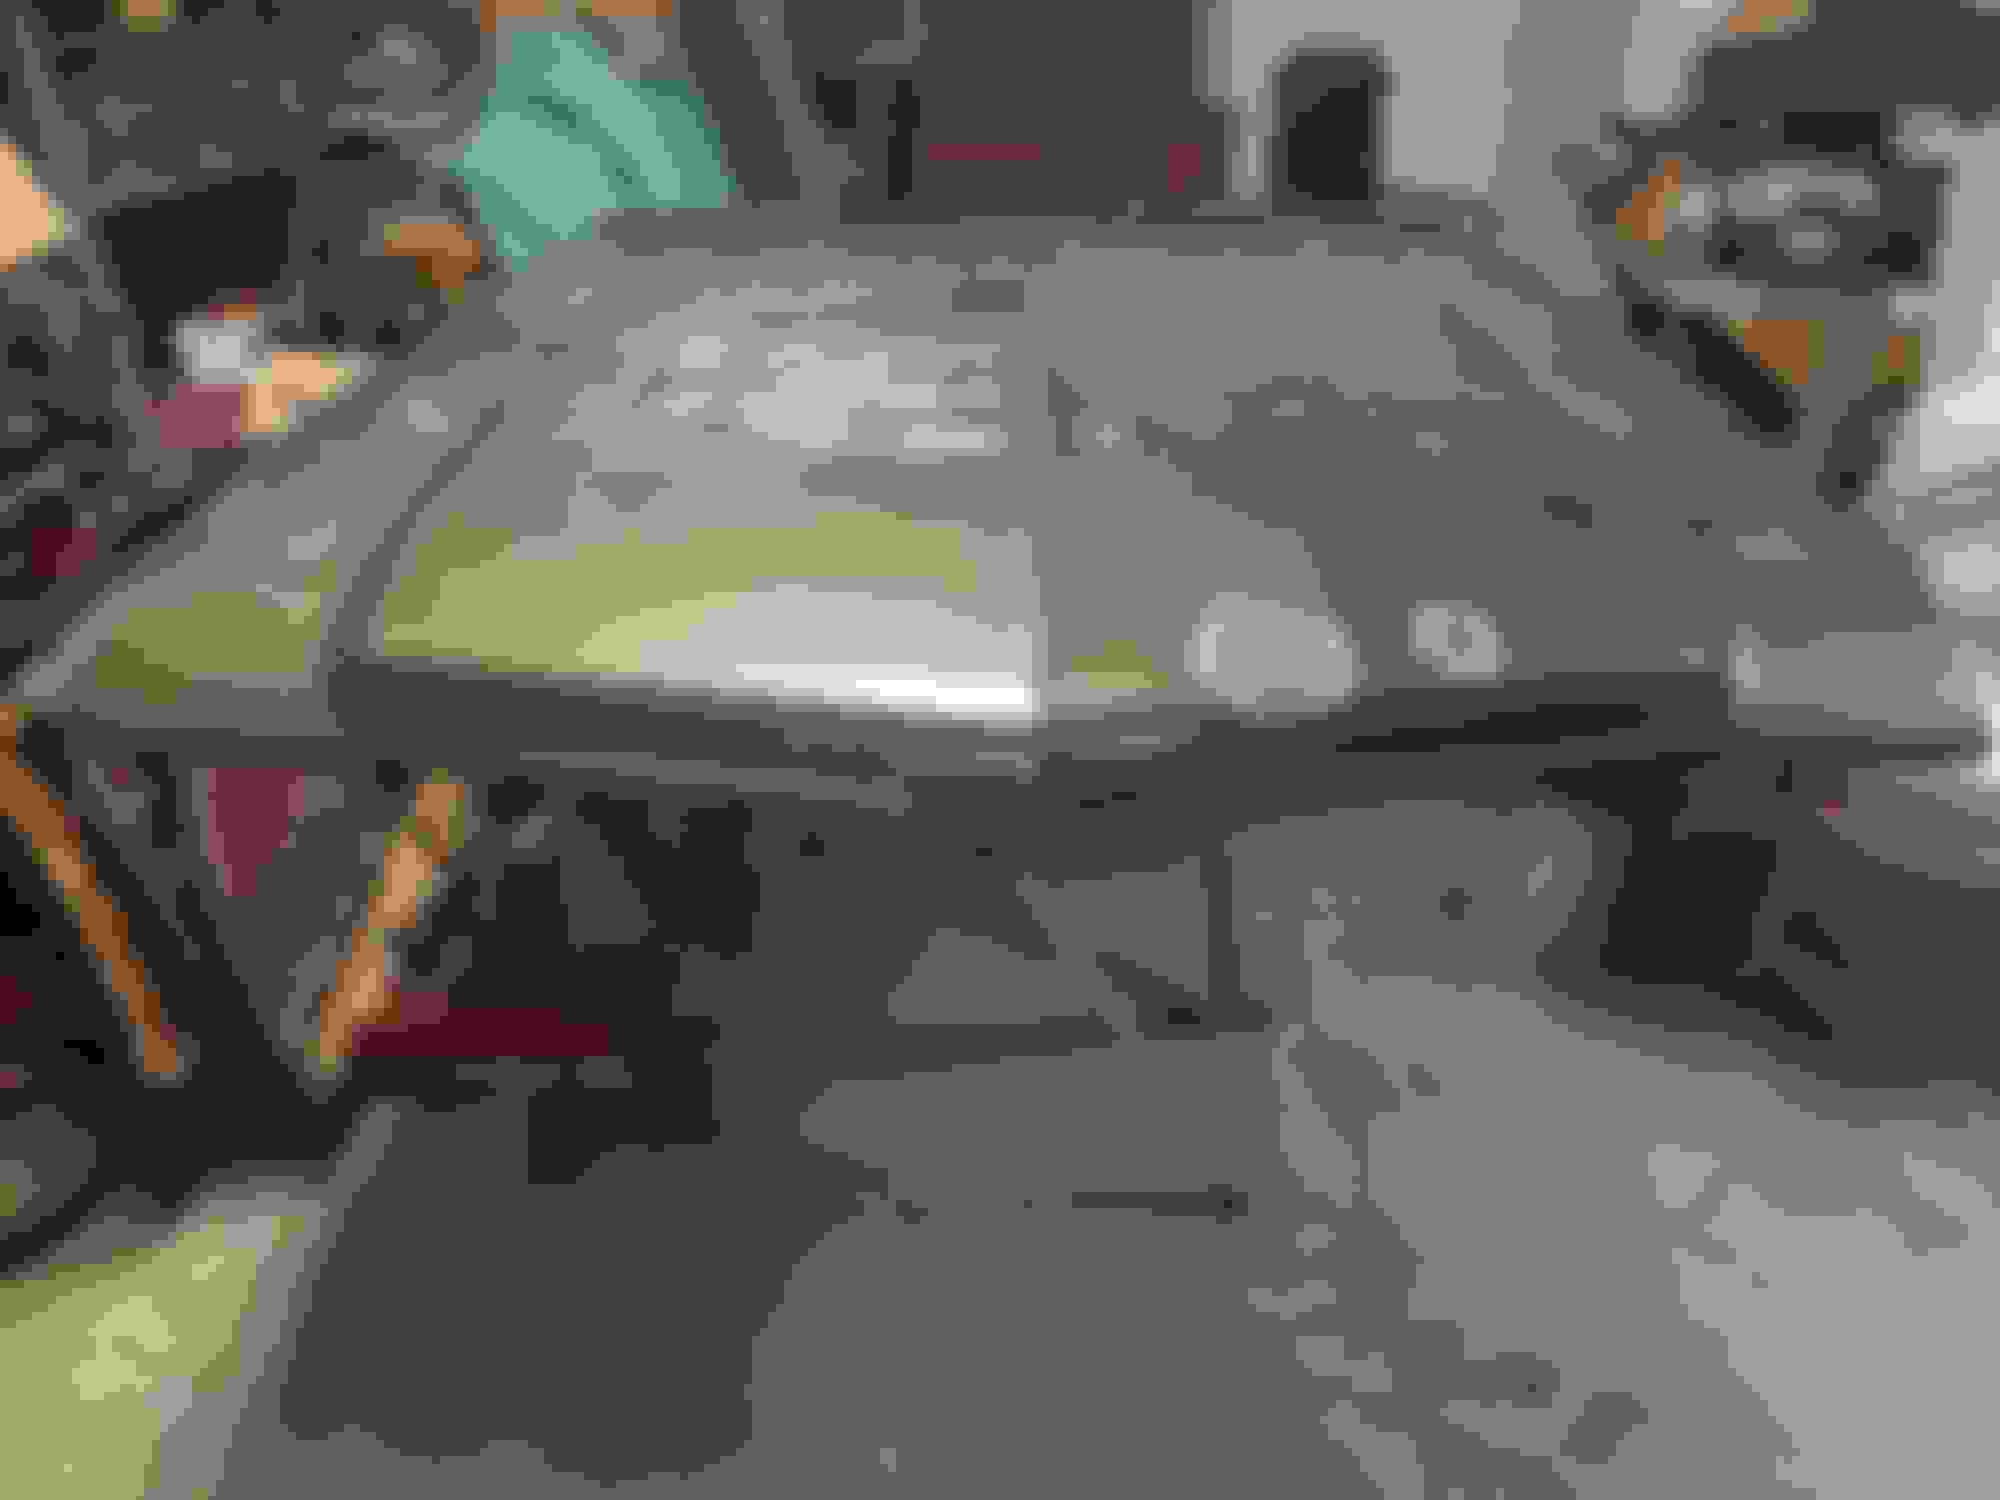
So the fender came off again and the front of the door raised a tiny bit to match the fender.
With experimenting with various shims I got the fender gap to just over 1/4.
In an effort to get 3/16 gap the fender started to rub when opening the door.
I managed to get the gap between the door and fender .20 - .23 without rubbing.
Kind of lost my stride didn't really stop working, just seems like I haven't been getting anything accomplished.
Bumps along the road with exhaust fitting wrong bracket for transmission cable steering column issues have slowed progress.
After stripping and painting a 69 hood (which I thought was 70) I have finally stripped a 1970 hood.
Didn't get as much done as I wanted this summer but I guess I a few things done.
Going to try to get this thread caught up.
A few projects just got a start like the center console.
Bunch of repairs with the plastic welder and even found the top collar on craigslist.
Go the steering column finally finished after collapsing a couple of intermediate shafts and taking it apart a few times.
found the bottom sponge seal which I was going to leave out, the firewall sponge seal also needs to be put in place prior to assembly.
After a few attempt I finally got the dual gate shifter and reverse lockout sorted out.
Had a problem with lockout linkage with a worn out spring washer.
Took a few attempts to get the shifter adjusted.
Not sure what's up with the battery cable tube, need to pivot the tube for clearance with the lockout linkage.
cleaned up the shroud and hit with engine brightener looks good we'll see how long it lasts.
Got the radiator mounts in and the radiator painted.
Not happy with the sheen on the radiator top plate I used satin trim paint. I think I am going to repaint it with the underhood black to match the air cleaner.
You can the difference in the spot I missed
Last edited by tkcutlass; Oct 16, 2022 at 07:38 PM.
Working on the hood trying to close up the holes that someone put in for hood pins.
Had to repair a split near the latch receiver and a few rot holes on the underside.
While filling a couple holes it ended up blowing through so I had to make a square patch
not sure if I warped the top while filling the hole on the driver's side but I had to pull it out a bit and will require a little filler.
Put some filler on the patched holes.
The driver's side was a little low I think I may have warped it a little.
I used the slide hammer with the spot welder pins to pull it out a bit.
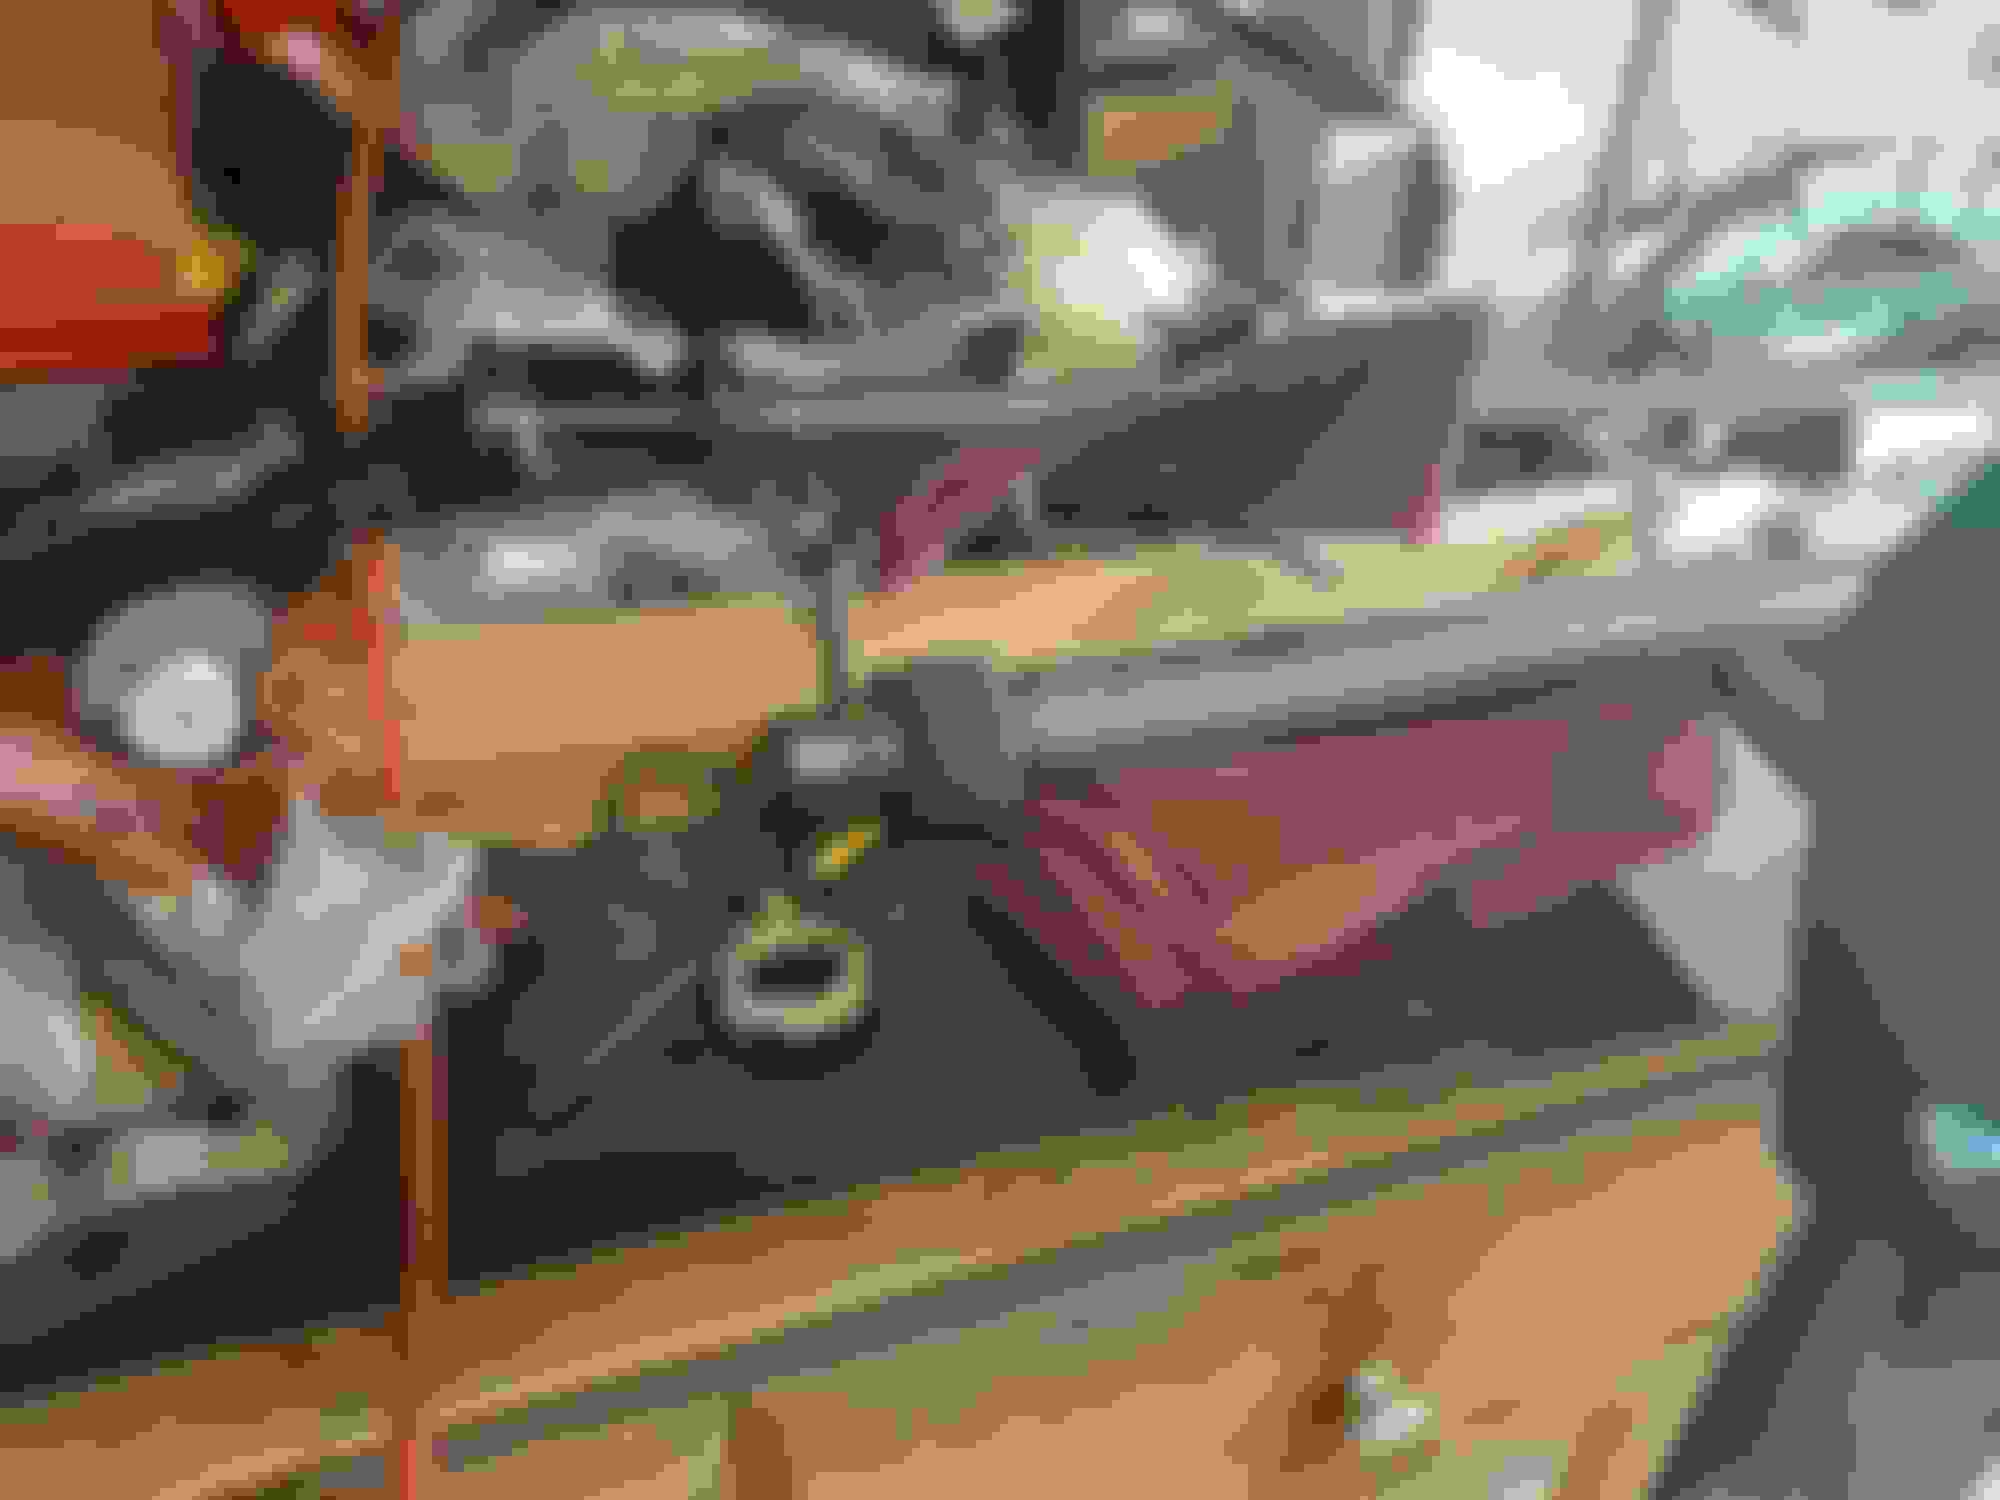
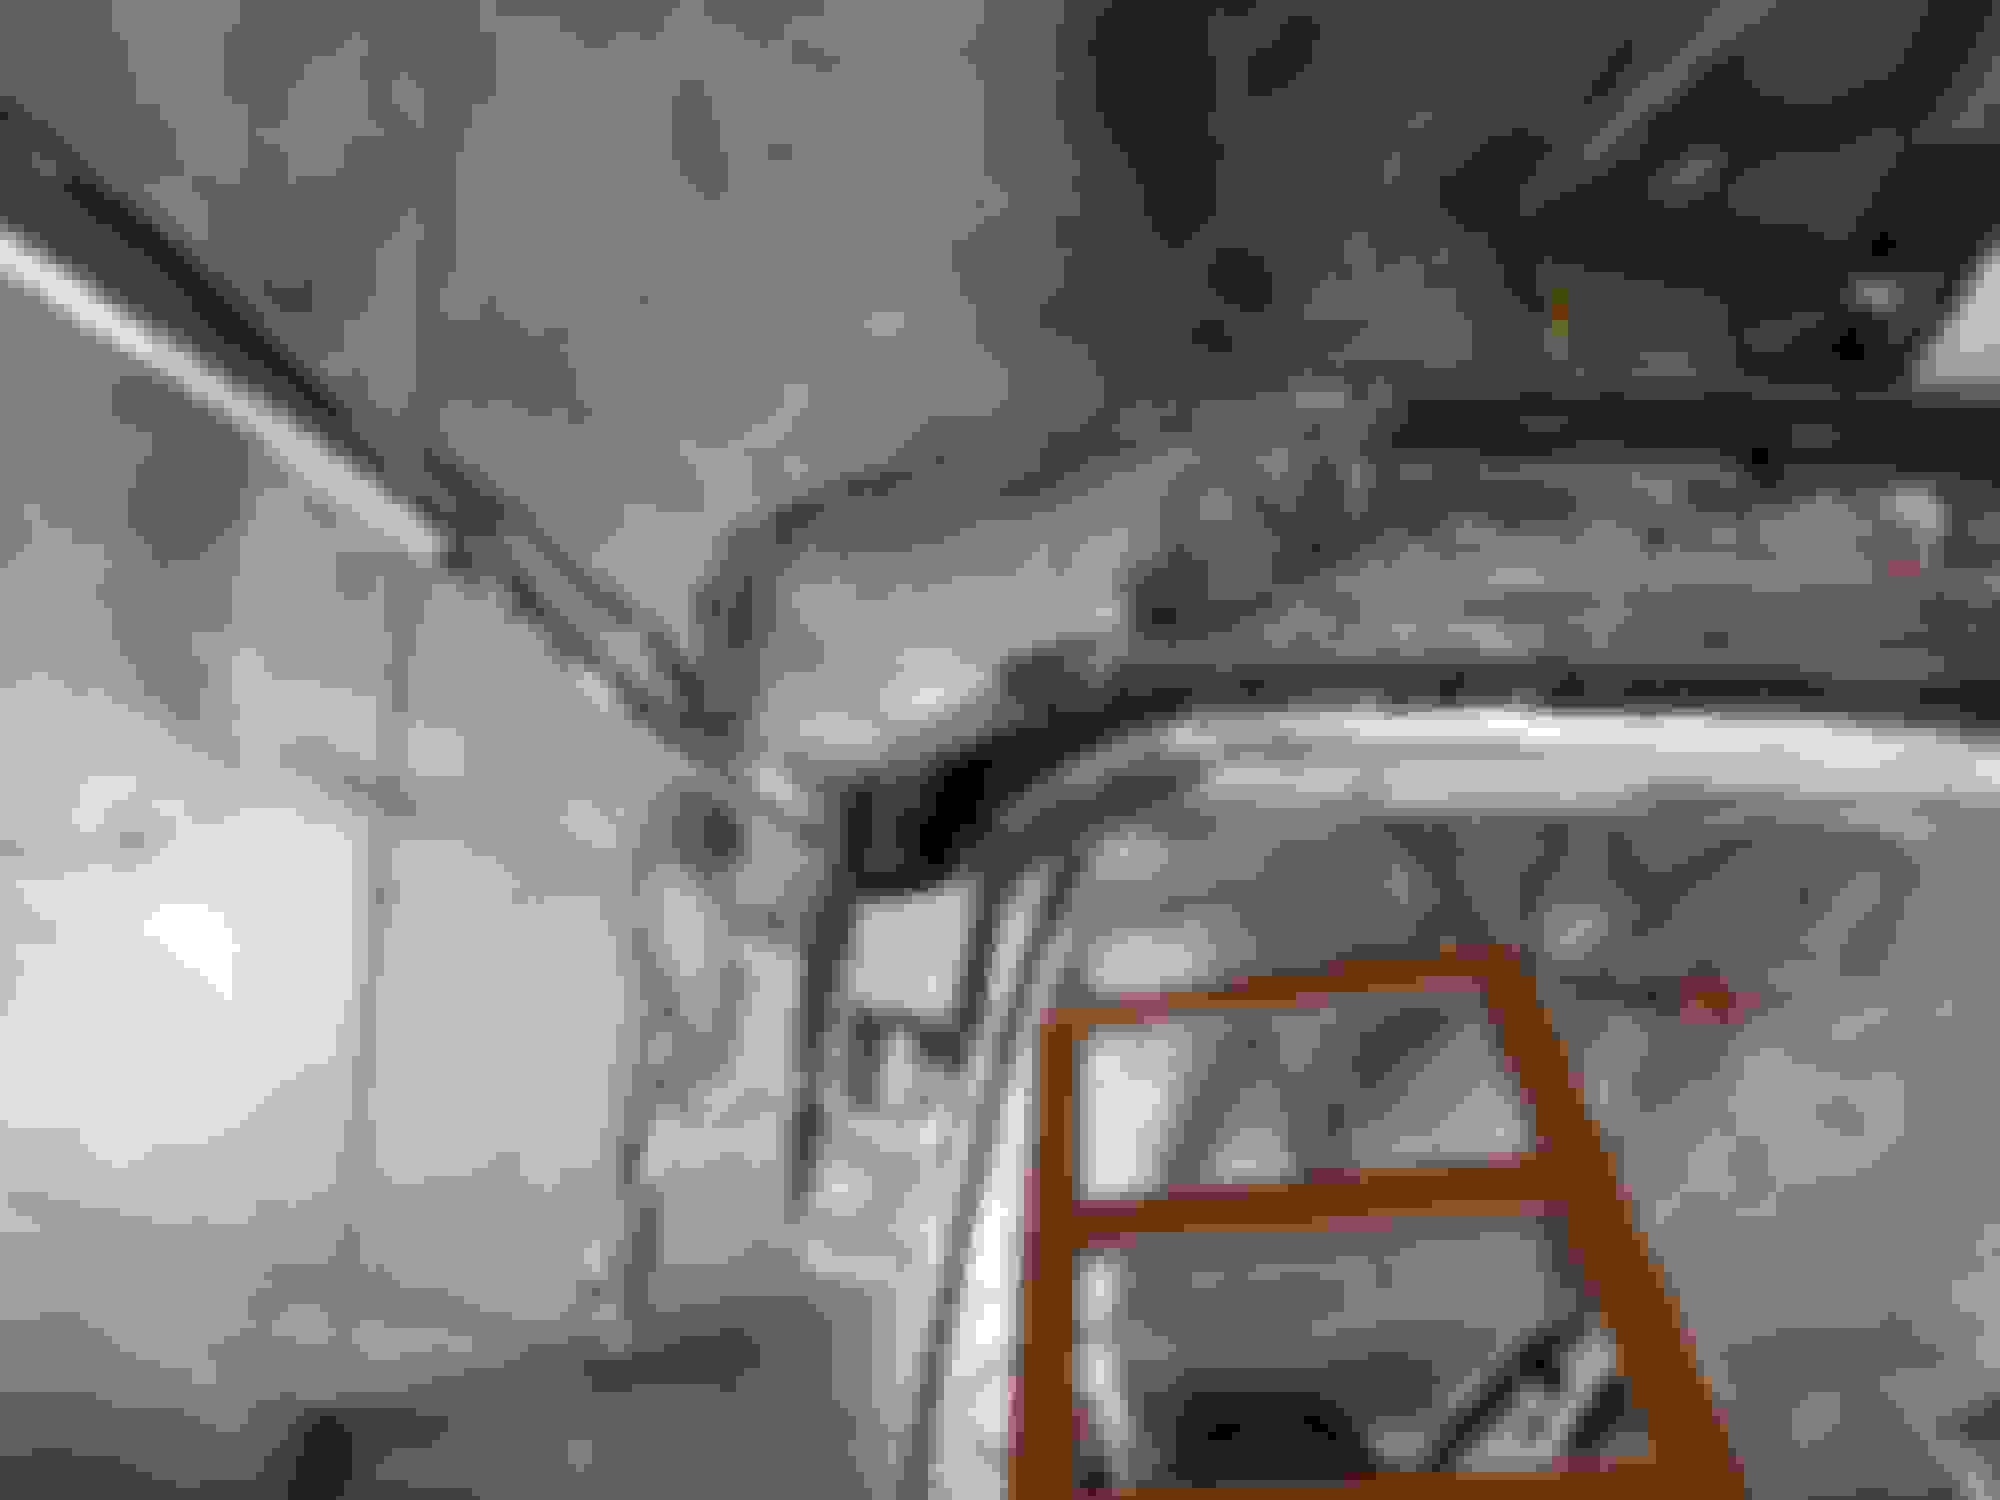
Started cleaning up and tearing down the convertible top frame.
Gonna need a couple of patches on the header bow, the rest of the frame seems pretty solid
Got a few hours to work on the header bow.
Probably should have taken Joe's advice.
Got the outside patch welded in not bad.
Welded the inner patch came out good,
heard some metal expansion noises while doing the inside patch. (should of went slower or cooled it somehow)
Flipped it over and discovered what the noises were, the outside was warping.
Looks like I'll have to break out the spot welder and slide hammer.
You are getting really good at metal repair. You've had a lot of practice! If I remember correctly you started with a much worse car. Imagine what that one would have entailed!! Great job!!
Tim:
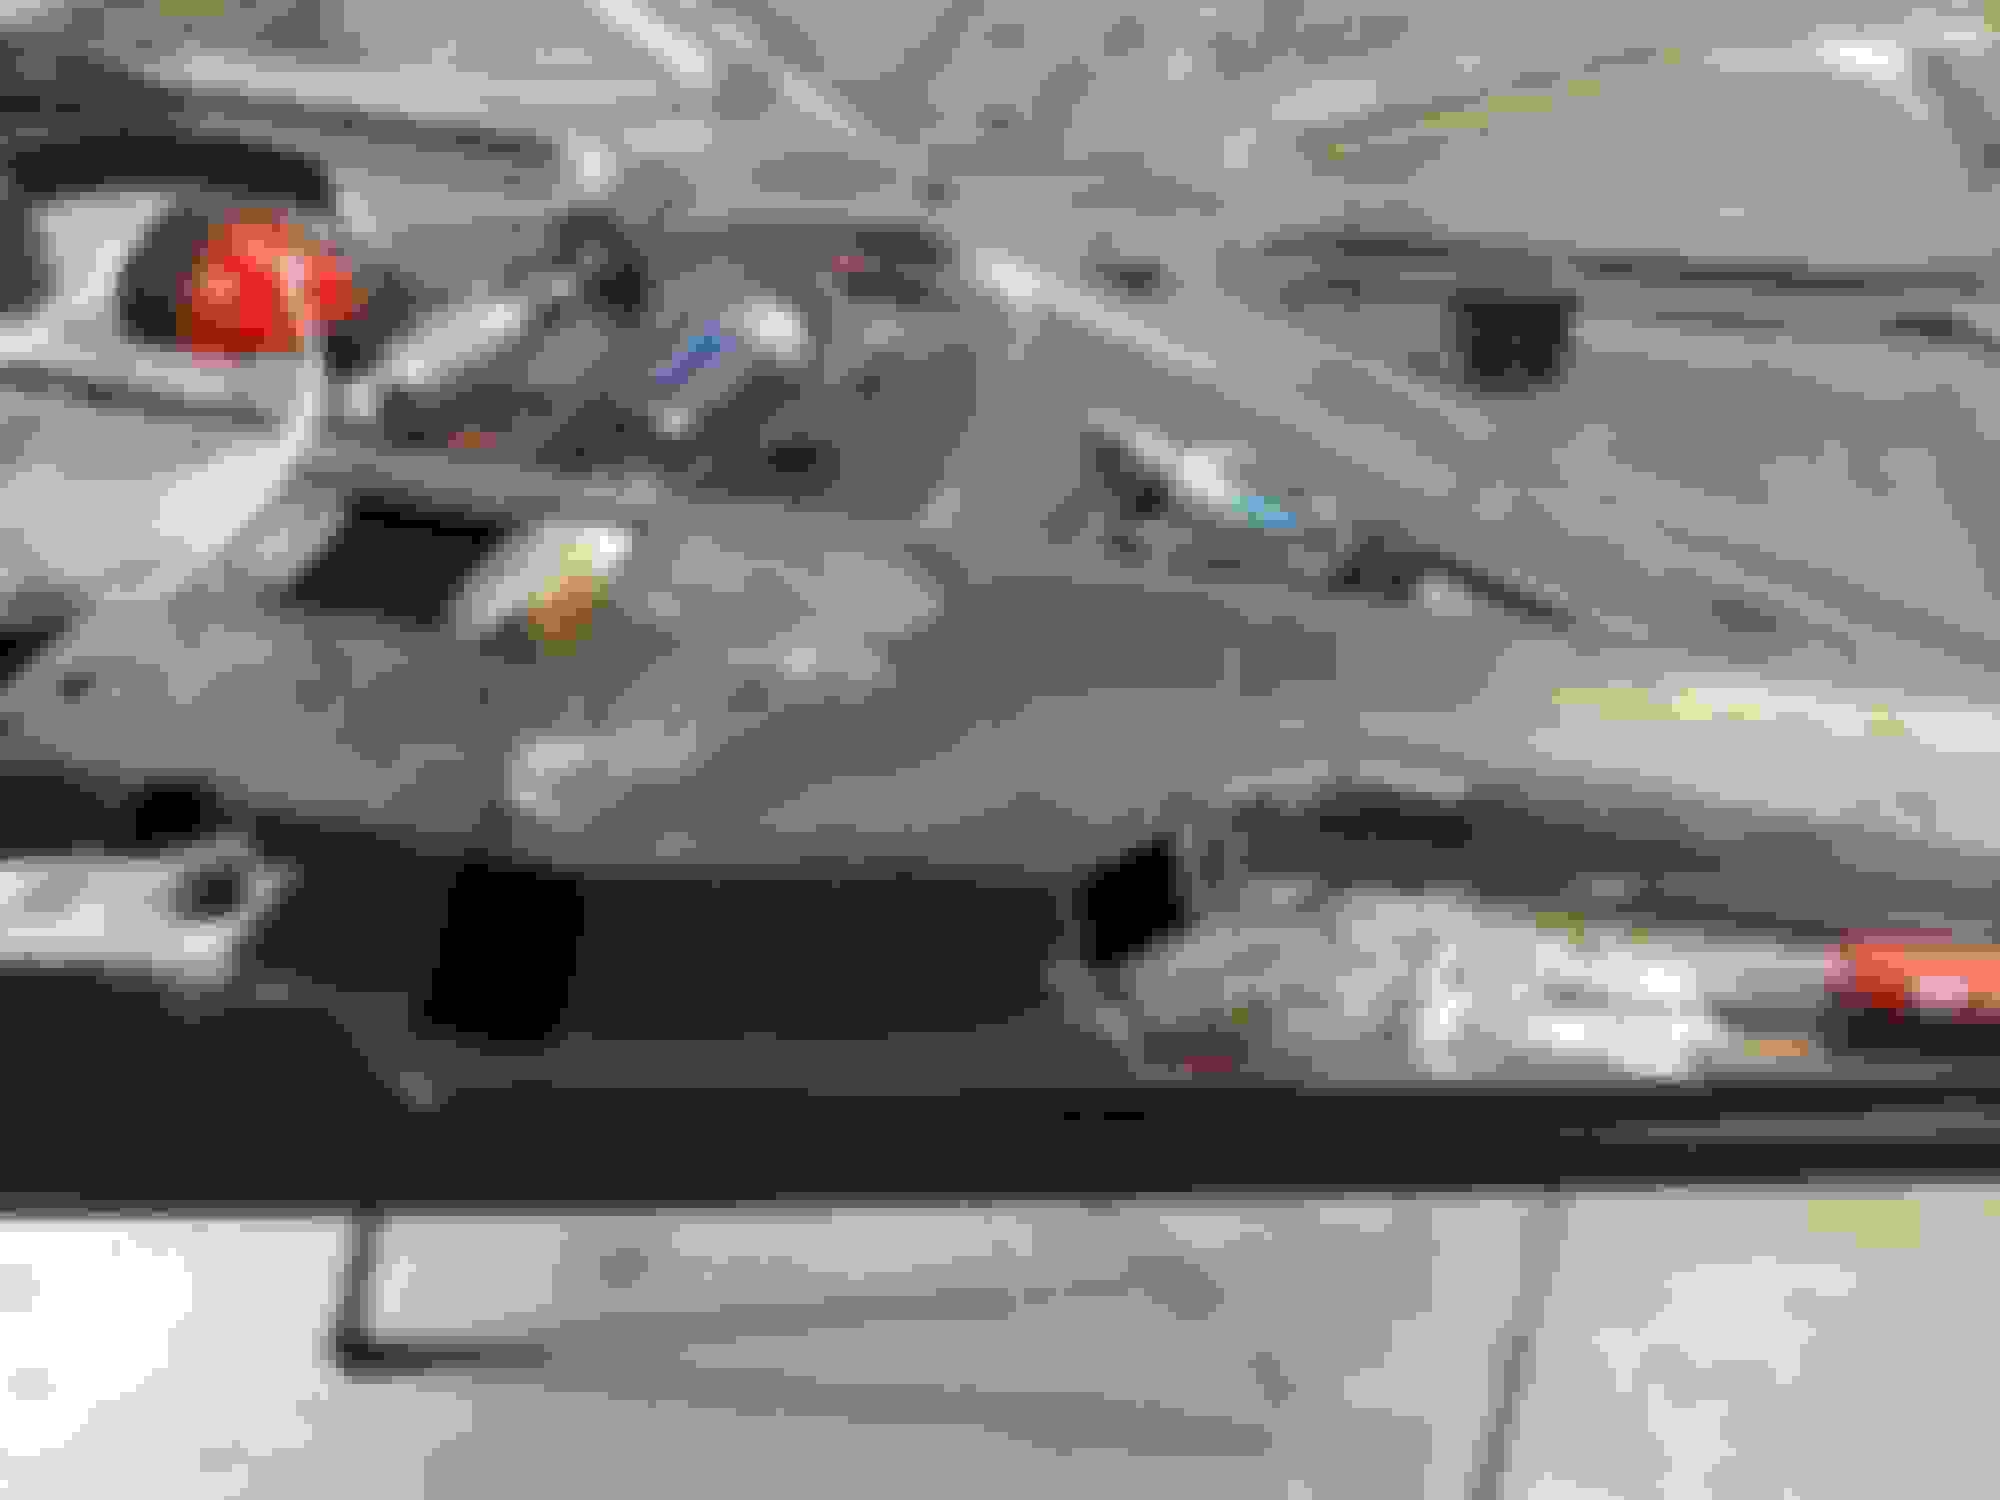
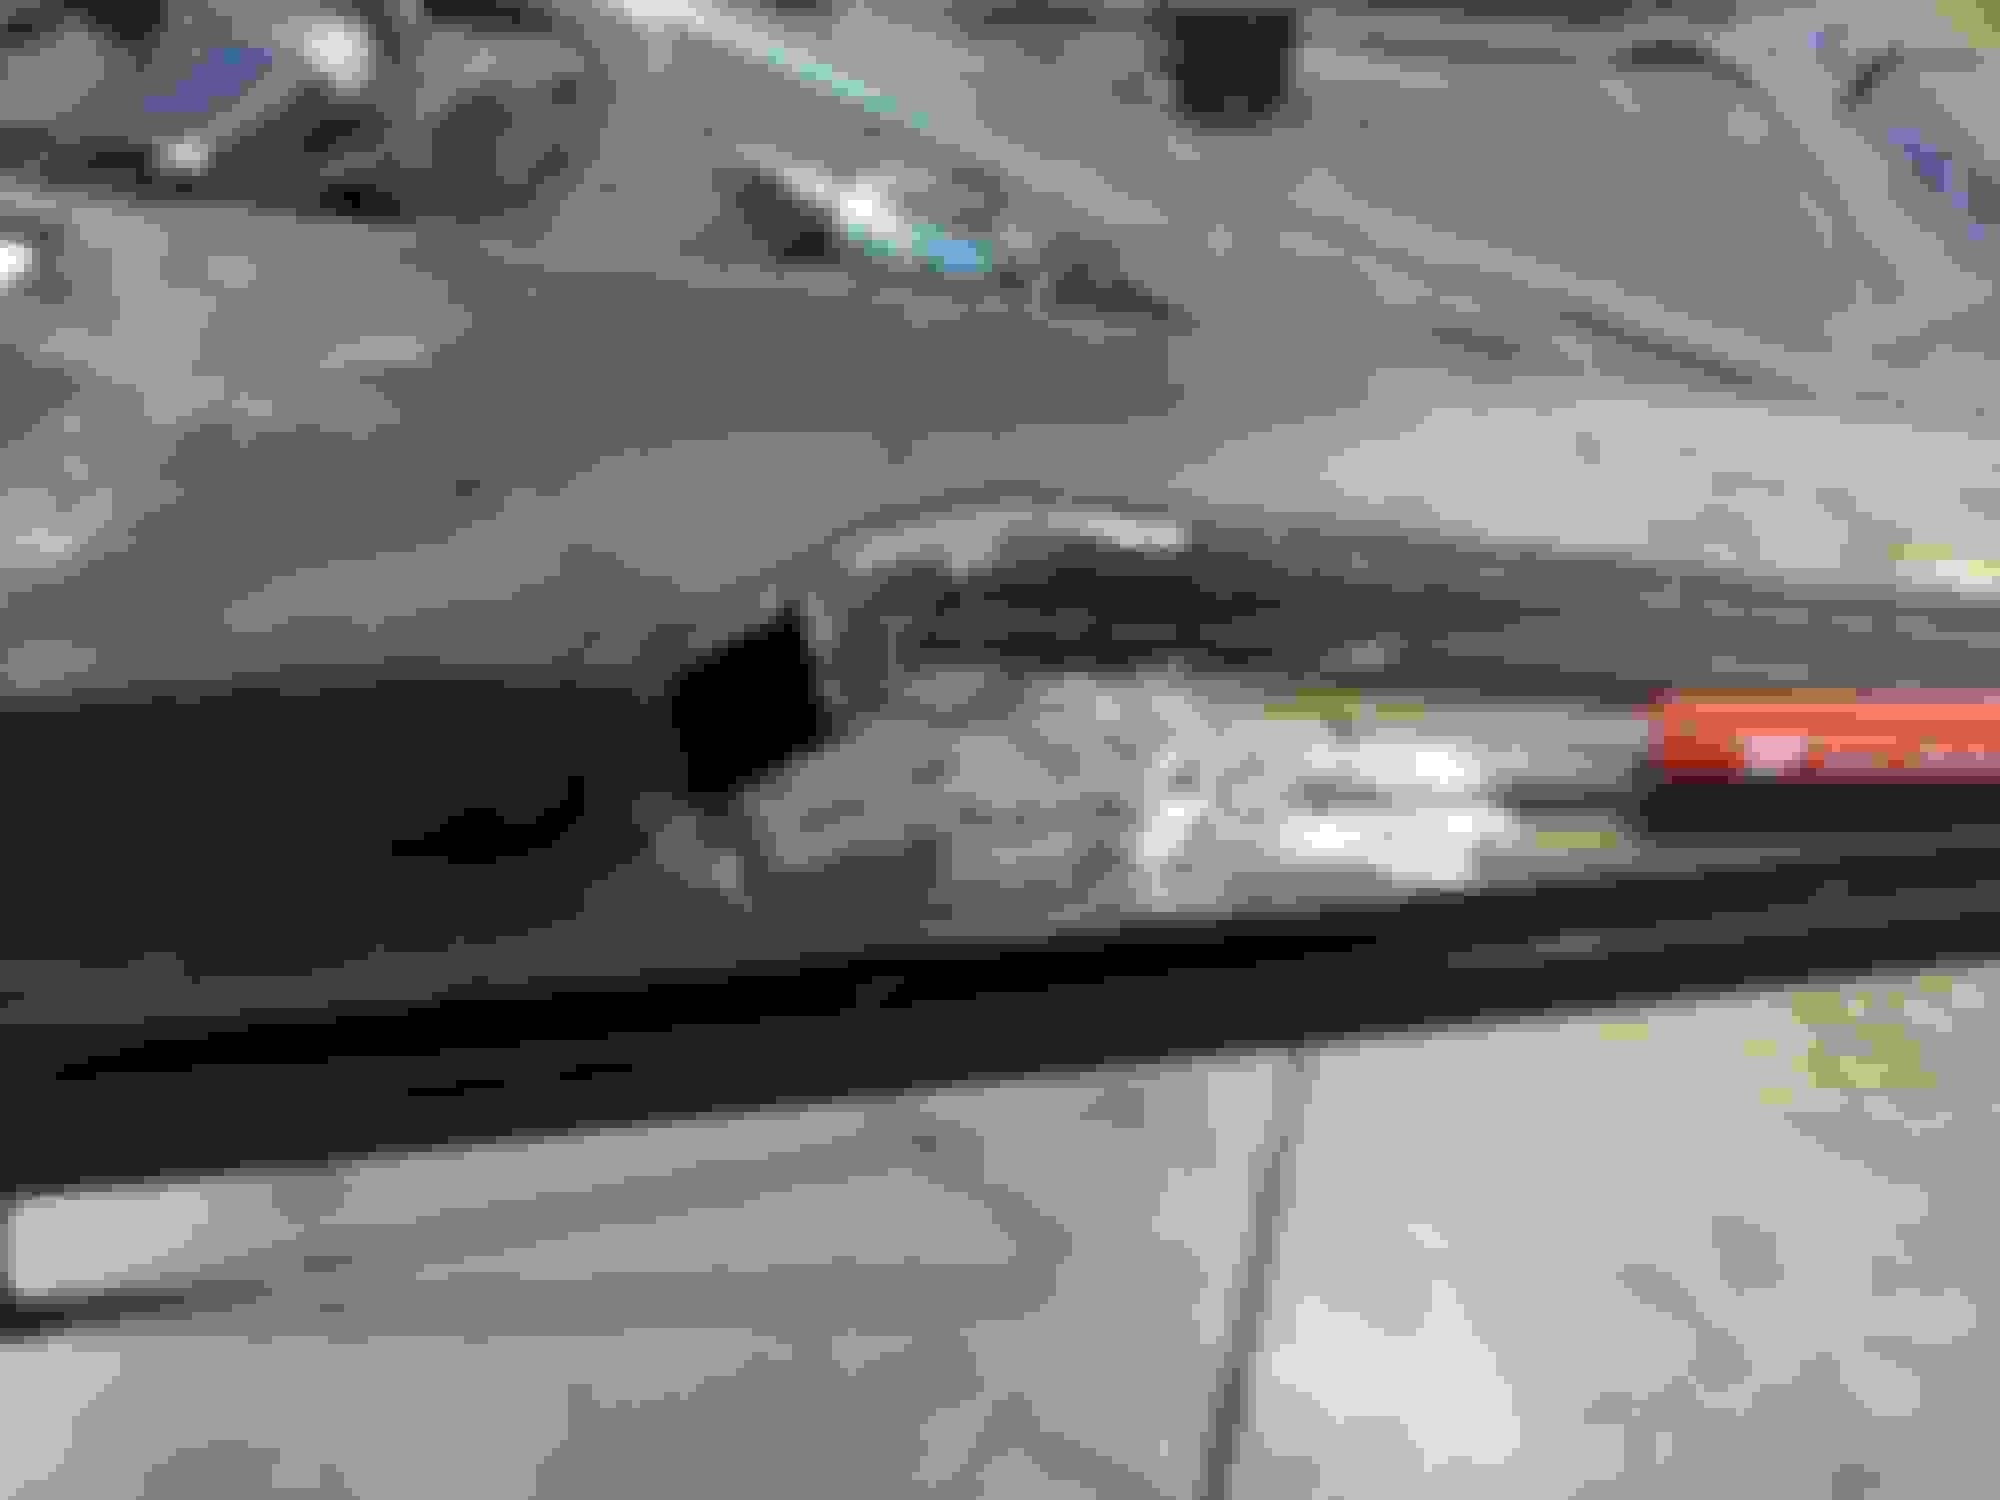
I don't mean to rain on your parade, but I think you may have problems with your header bow repairs. The underside of the header bow has a recessed channel where the tacking material fits and to the rear of that channel the metal sits a bit higher, this is where the weather stripping fits. It looks like your repairs don't have this offset, so the weather strip may not fit tightly against the windshield header and may leak in the rain or when you wash the car. Take a look at these pics from my header bow repairs.
Rodney
The section by the red arrow is recessed a little to allow for the thickness of the tack strip.
See how the area behind the the tack strip channel is higher. The weather strip snaps into the small holes. If your repairs are flat where the tack strip and weather strip fit, the top may not seal properly and could leak at this point. I'm not certain it will leak but something to check when you rework your welds.
Tim:
I don't mean to rain on your parade, but I think you may have problems with your header bow repairs. The underside of the header bow has a recessed channel where the tacking material fits and to the rear of that channel the metal sits a bit higher, this is where the weather stripping fits. It looks like your repairs don't have this offset, so the weather strip may not fit tightly against the windshield header and may leak in the rain or when you wash the car. Take a look at these pics from my header bow repairs.
Rodney
The section by the red arrow is recessed a little to allow for the thickness of the tack strip.
See how the area behind the the tack strip channel is higher. The weather strip snaps into the small holes. If your repairs are flat where the tack strip and weather strip fit, the top may not seal properly and could leak at this point. I'm not certain it will leak but something to check when you rework your welds.
Thanks, for the heads up Rod,
I see what you're talking about.
It's hard to tell but the edge is recessed.
I will take a look and see if the profile needs tweaking.
On another subject, I see you put a new wiring harness in, what did end up using for your alternator?
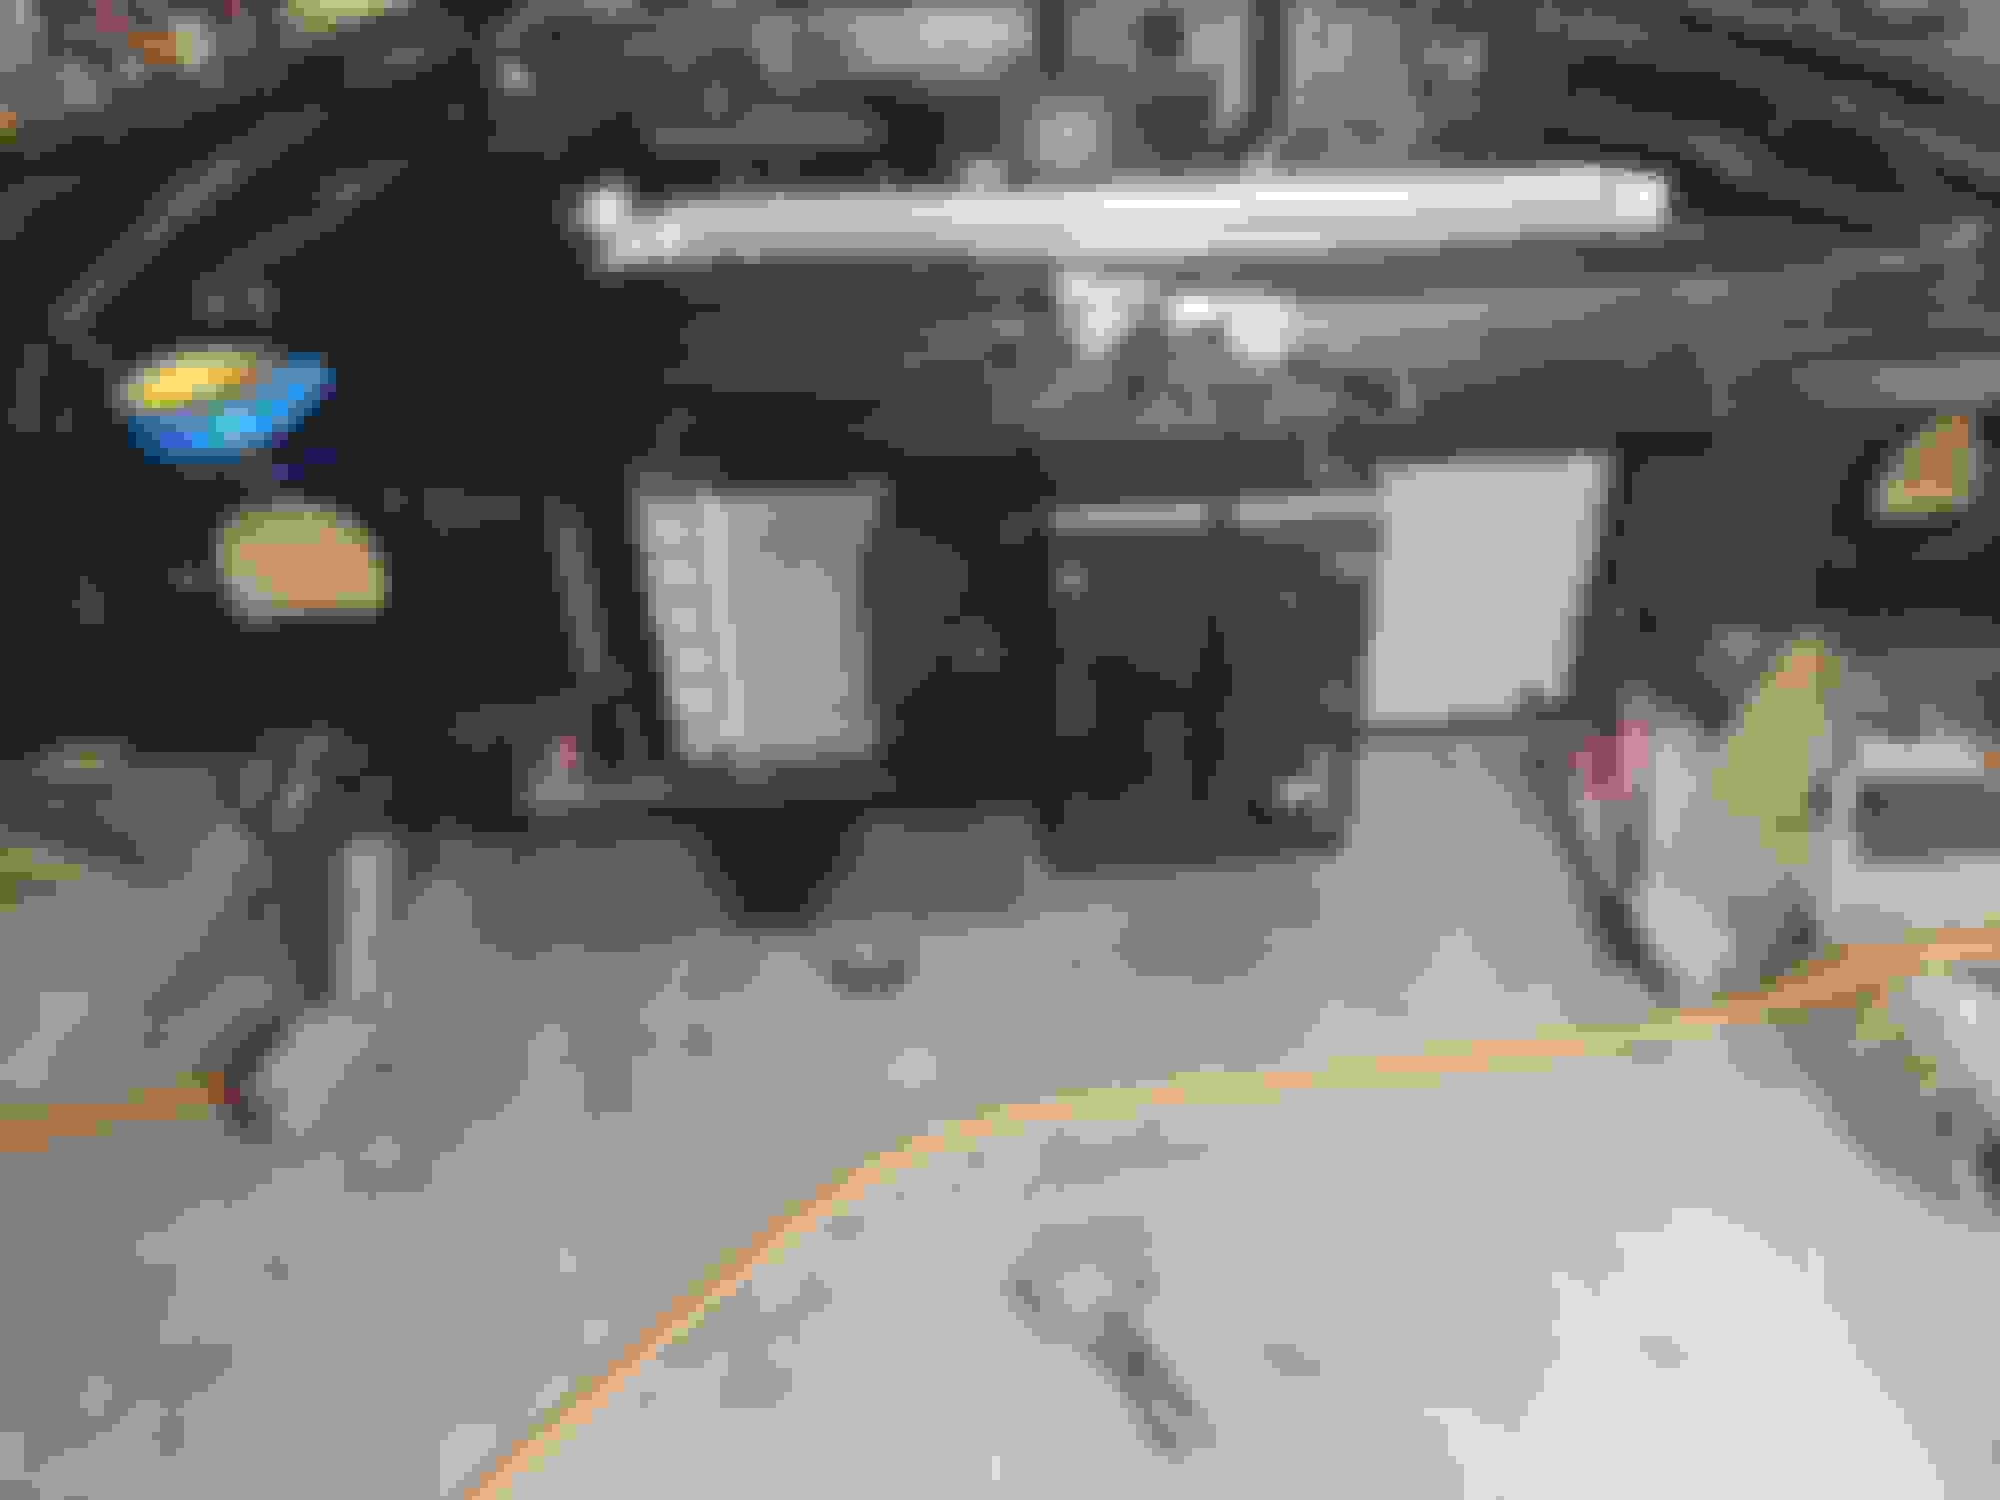
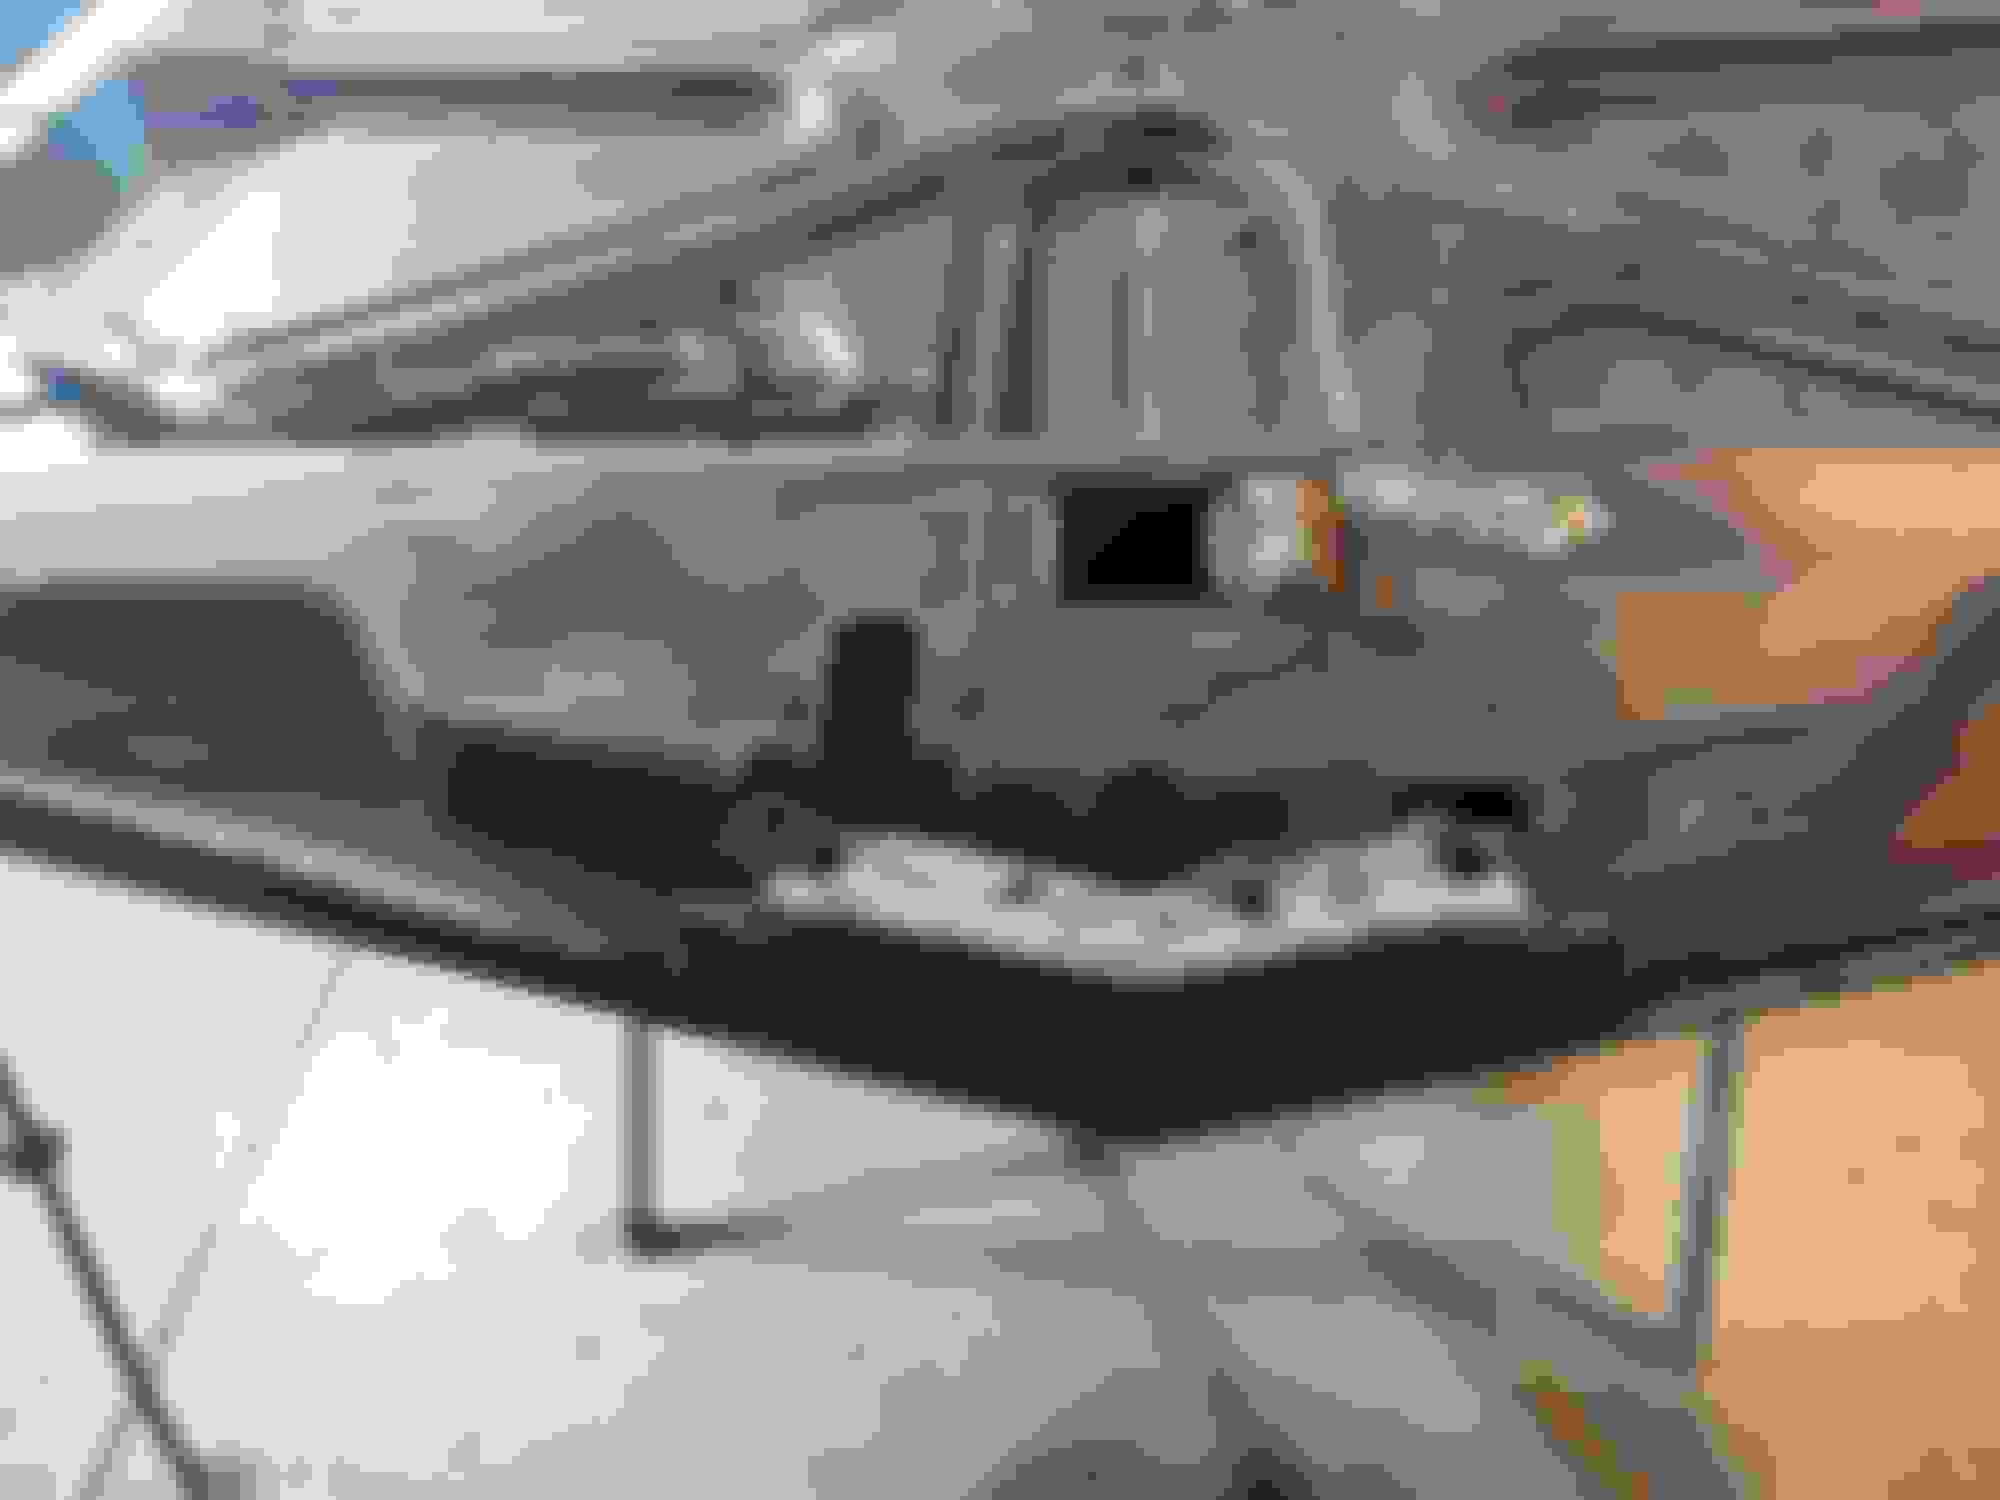
I've added a few modern amenities and a powerful 800w sound system so I wanted to make sure the charging system could keep up with the electrical demand. I went with a 175Amp alternator from TuffStuff.com. They offer a CS130 style with the v-groove pulley, and upgraded "Iceberg" regulator and cooling fins. The 7935K-11G model is internally regulated, has the correct clocking of the mounting ears and fit the stock Olds brackets without any issues. I fabbed up a fuse/relay panel to safely distribute all this extra power. All the new cars seem to have a high-amperage fuse inline with the alternator; using parts from Eaton and Bussmann I set up what you see in the pic below. The large fuses are for the factory fuse panel, alternator, auxillary fuse panel and the stereo amp. The Bussmann fuse panel has fuses, circuit breakers and/or relays for the EFI, headlights, cooling fans, AC high-speed blower, power windows & convertible top. This decluttered the firewall of all the extra fuse holders, and relays and puts everything in one place a water-tight box.
Here's some pics.
Rodney
TuffStuff 7935K-11G.
My custom power distribution panel
The top 3 fuses have a bus bar on the LH side connecting them to the battery, the top fuse feeds the factory fuse panel under the dash, the 2nd fuse protects the alternator feed, the 3rd fuse feeds the Bussmann aux. fuse panel and the bottom fuse feeds the stereo amp directly from the battery.
Finished up the header bow and had to make a couple more patches.
I managed to make a patch with the folded edge for the other end other than the lack of curve I am pretty happy with how it came out.
Hopefully, the profile is close enough for the weather strip not to leak. (Thanks again Rod for the heads up and your posts)
For all the fancy metal tools I bought other than a vise the ones I use the most are shown below.
The bag and hammer are very useful in creating subtle profile bends in multiple directions.
Managed to get the trunk a little better.
It's tough not to get discouraged, not sure if I can get it perfect, the passenger side is dam close.
Got the driver's side down a bit but the gap is a little tight and not exactly the same throughout.
After looking closer at these photos be nice if I can shift it to the left a bit.


")