70 Cutlass S Build


 September 19th, 2010, 07:29 PM
#44
wait.... what....
Thread Starter
Join Date: Mar 2009
Location: London Ont Canada
Posts: 817
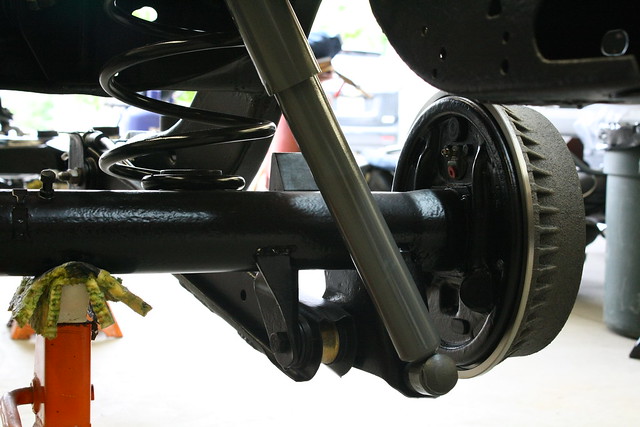
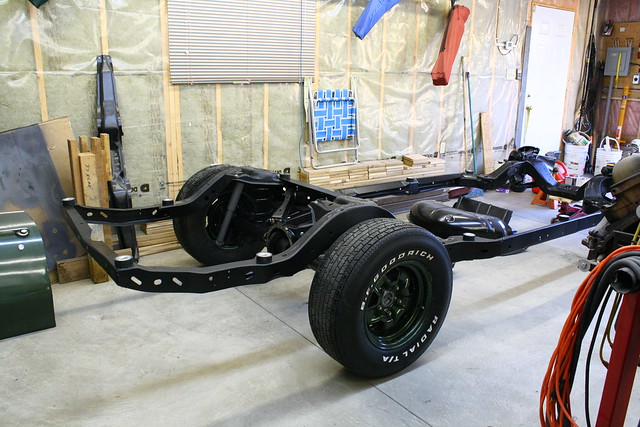
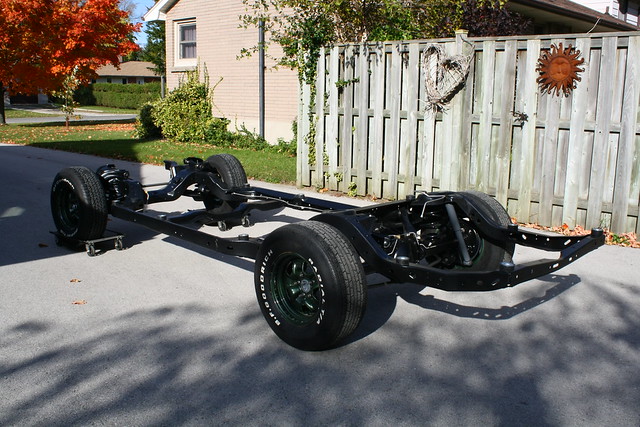
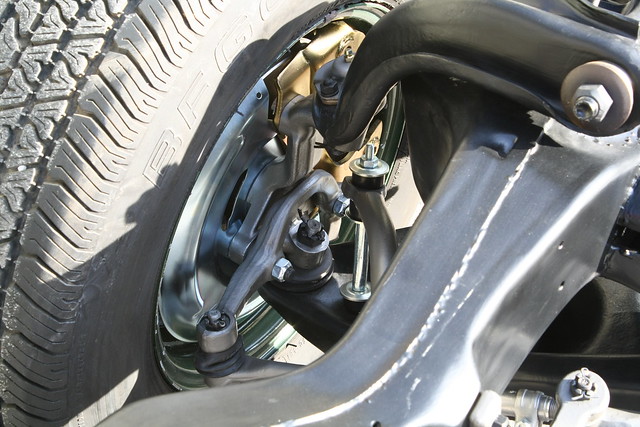
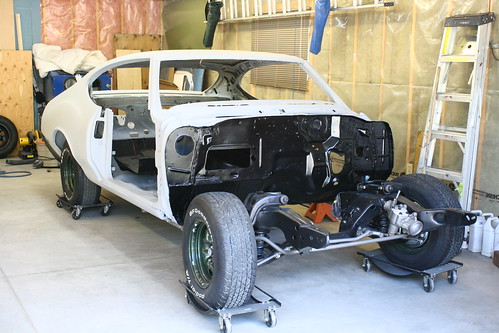
I have been working a lot on the car lately, it's coming along slowly. I have been running into problems with new parts that i have bought that ended up not fitting properly, being wrong, and even being poorly built. I bought replacement shocks (AC Delco) and the lower bolts that come with the shocks are supposed to be torqued to 75 ftlbs according to the chassis manual, and i didn't even get to 30 before the threads stripped. I put the nut on the other bolt and it had a lot of play. I also had problems with one of the rear bushings that goes in the rear end. After installing it i realized that the inner collar that the bolt for the control arm wasn't 1/2", more like 7/16". So i ended up reaming it out with a 1/2" drill bit.
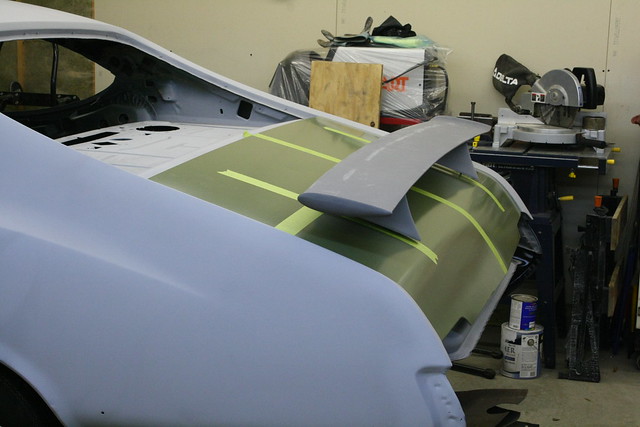
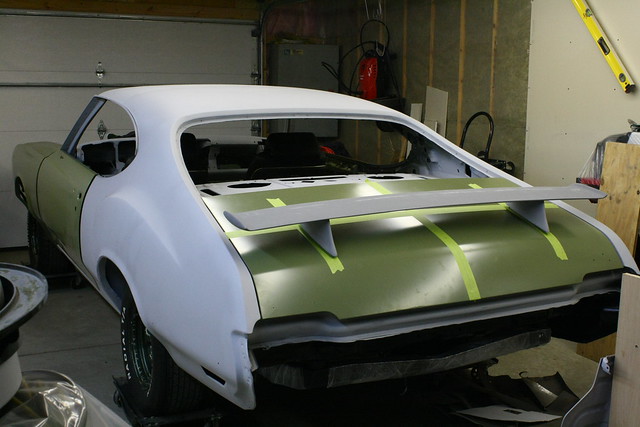
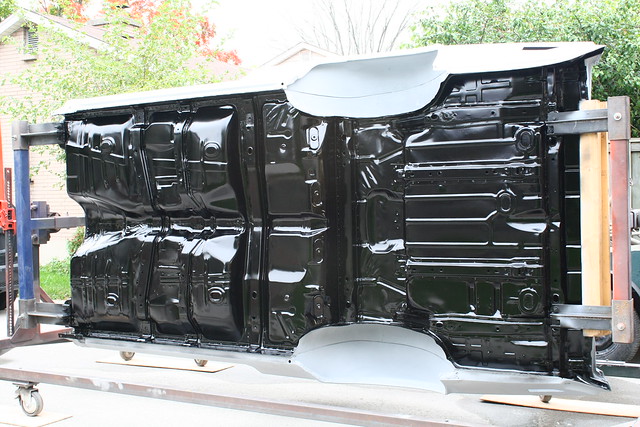
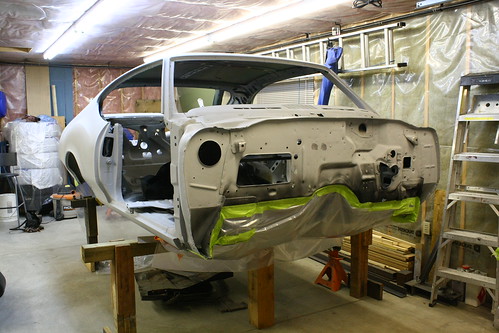
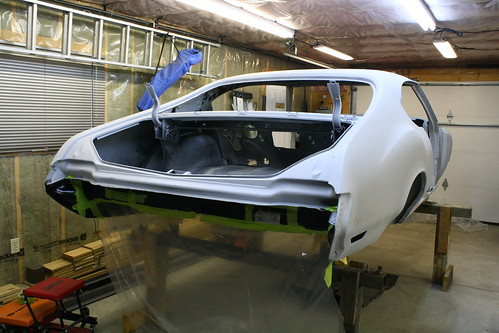
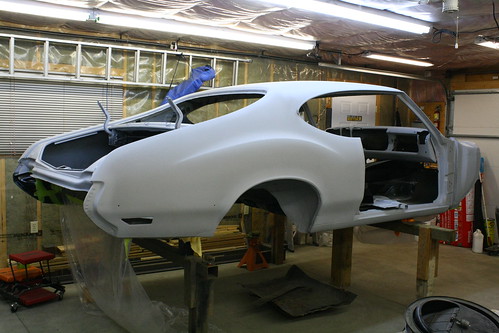
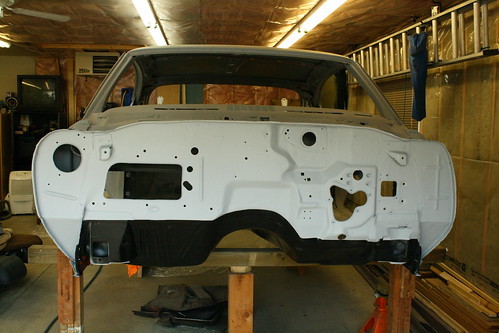
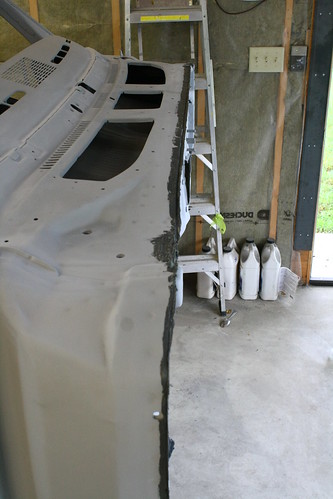
On the body i finally got the roof primered, so the body is now all finished in primer.
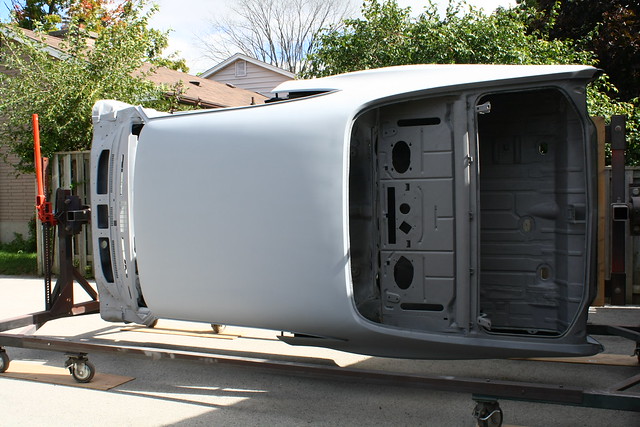
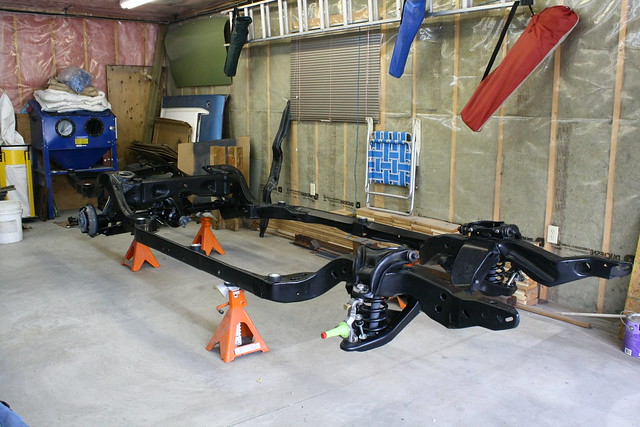
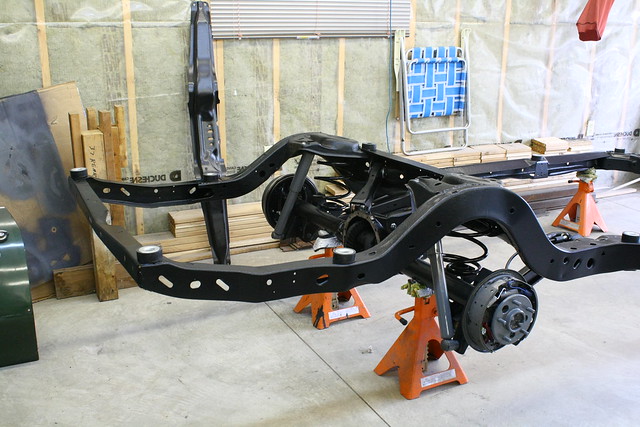
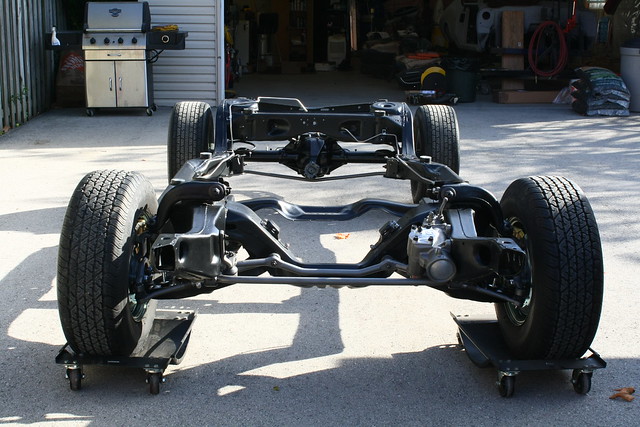
Now for the frame progress..
On the body i finally got the roof primered, so the body is now all finished in primer.
Now for the frame progress..

 October 15th, 2010, 04:59 AM
#53
Registered
Join Date: Jul 2006
Location: Northeast Ohio
Posts: 4,430
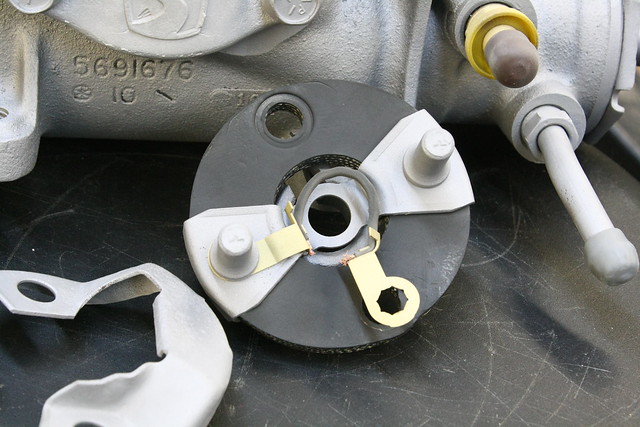
Mine has natural metal parts and those pins sticking out are painted black or have some kind of black metal treatment. It's NOS and that's the way it came out of the box.
NOS parts aren't the same finish as the line parts sometimes, it seems like some originals had painted black parts too?
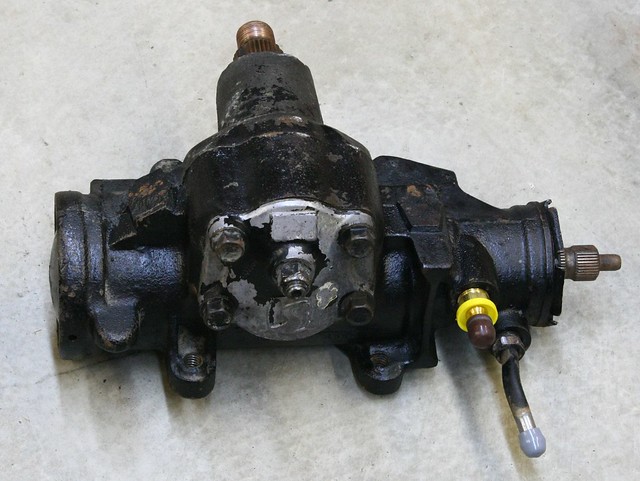
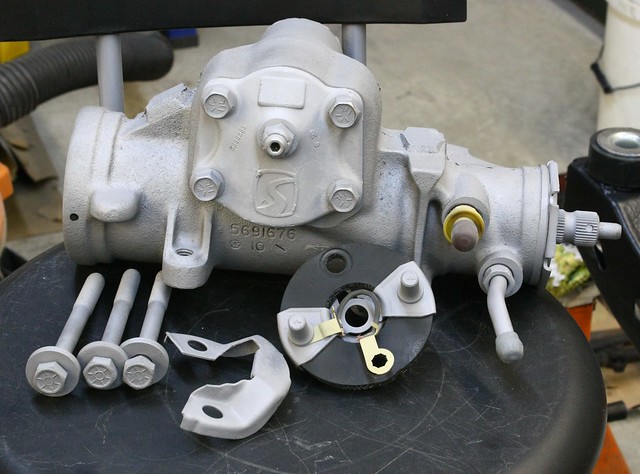
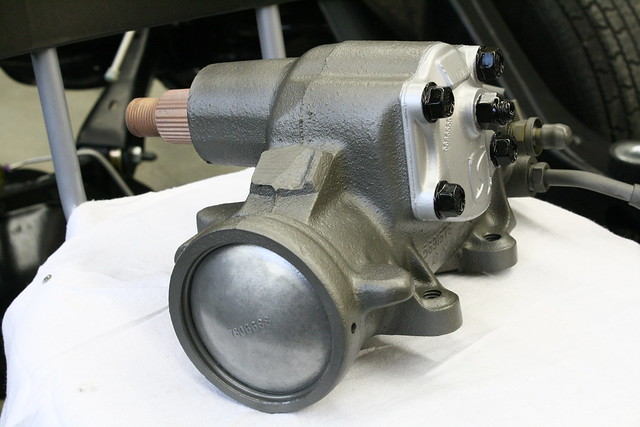
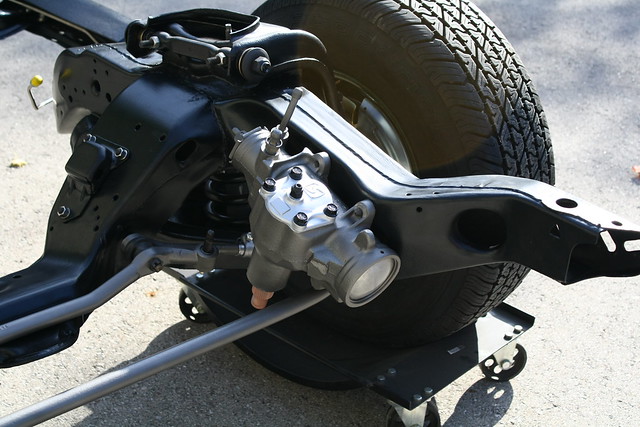
The steering box should be natural cast iron and the top plate is supposed to be natural aluminum, the round end plate in front is also natural metal, nothing is painted on them except for a paint mark or two they did on the line, should be a little round green or yellow sticker on the top plate too IIRC.
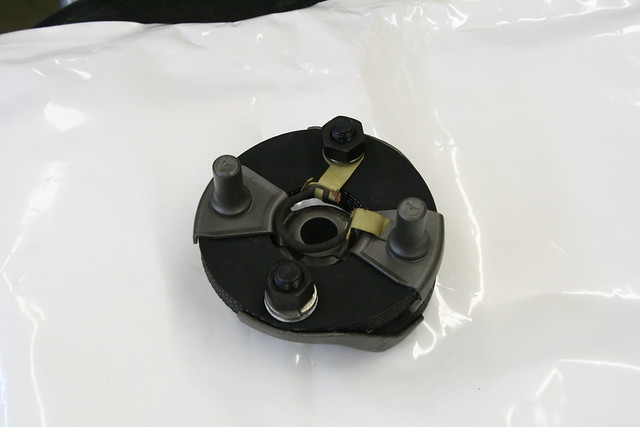
Those rag joints are tough to find NOS now, I got mine from Year One about four years ago, the repros look different.
NOS parts aren't the same finish as the line parts sometimes, it seems like some originals had painted black parts too?
The steering box should be natural cast iron and the top plate is supposed to be natural aluminum, the round end plate in front is also natural metal, nothing is painted on them except for a paint mark or two they did on the line, should be a little round green or yellow sticker on the top plate too IIRC.
Those rag joints are tough to find NOS now, I got mine from Year One about four years ago, the repros look different.
October 15th, 2010, 10:49 AM
#55
Registered User
Join Date: Aug 2010
Location: Dallas/Fort Worth, Texas
Posts: 310
Oldzzy, welcome aboard!
Impressive work!
As mentioned previously, that rotisserie is awesome! Ask your buddy if he wants to "wing" another one?
Wish I had one...I've been working on my 77 442 for a little over three months now and I've decided to do a frame off resto even though I didn't start out with that thought.
Keep up the awesome work. Can't wait to see your car once you complete the resto.


 July 21st, 2011, 08:04 PM
#63
wait.... what....
Thread Starter
Join Date: Mar 2009
Location: London Ont Canada
Posts: 817
Now that i got some home renovations done i can get back to working on the car.
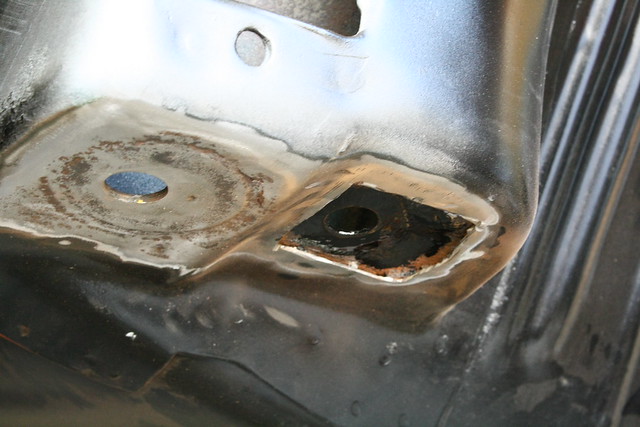
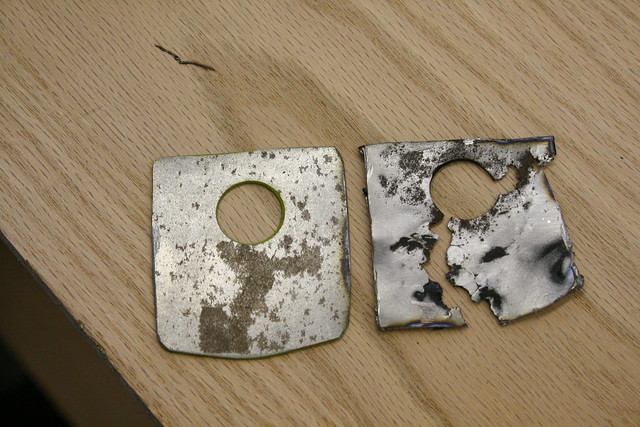
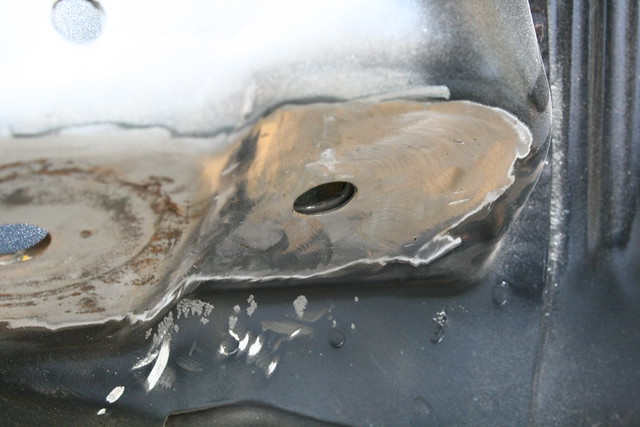
I disconnected the car from the rotisserie so i can clean and paint the spots that the rotisserie was attached to. I found a spot that was rotten so i cut it out, made a patch, and welded it in.
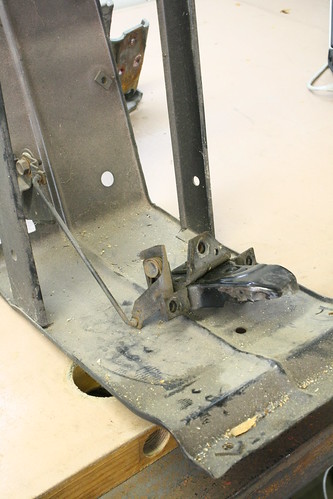
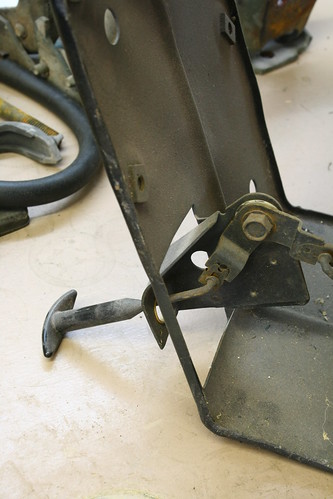
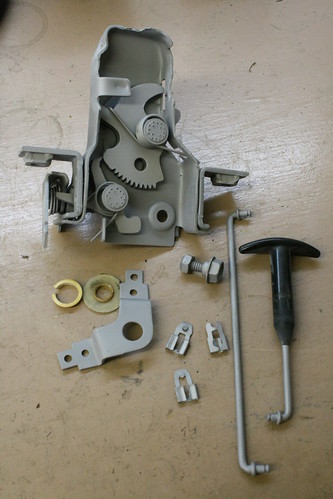
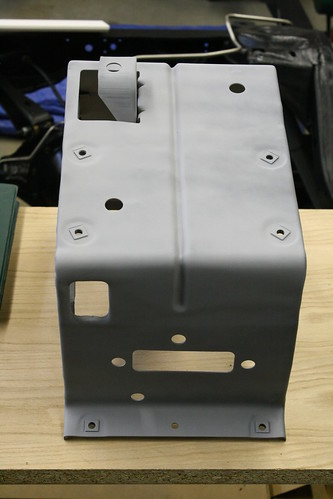
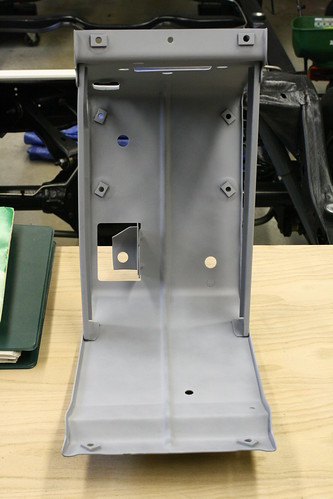
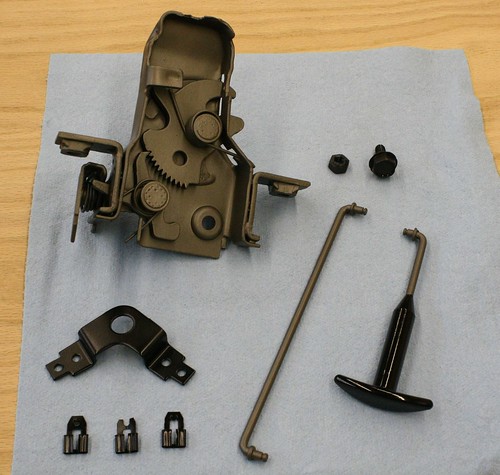
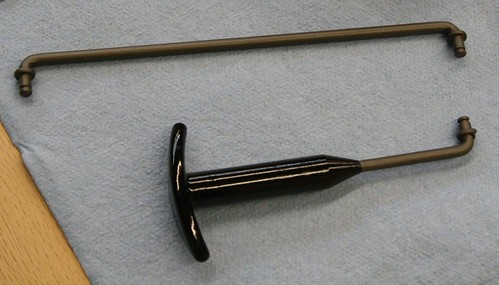
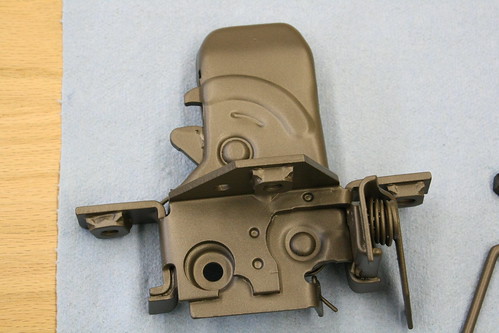
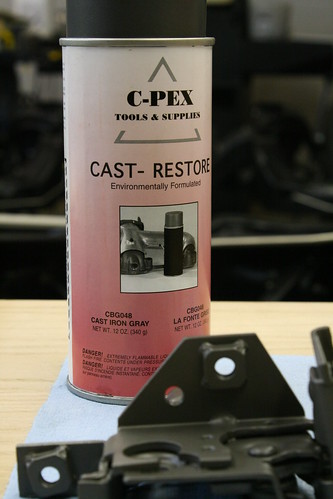
I kept kicking the middle piece of the rad support that the hood release linkage is in. I put it under my work bench and every time i would work on something i would end up kicking it so....
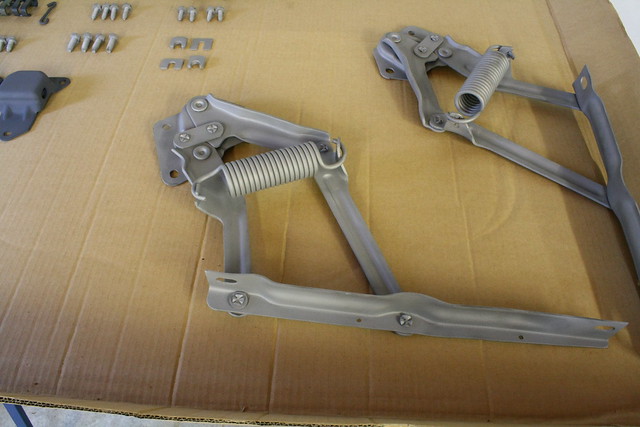
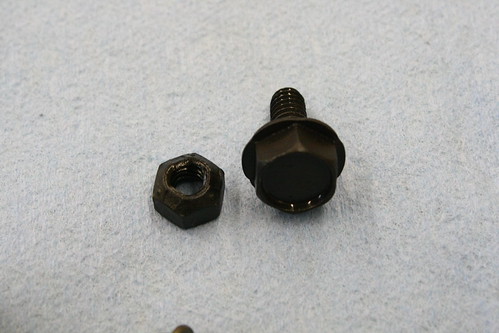
As for the bolt i have been using a heat and oil dip method i seen on the net. I use a butane torch, heat the bolt (or nut), then dip it in used motor oil for 1 1/2 mins, and then repeat the process over again. The end result is a fairly close to looking factory bolt. I wouldn't use this process on any bolts that have a lot of stress applied on them, like suspension bolts.
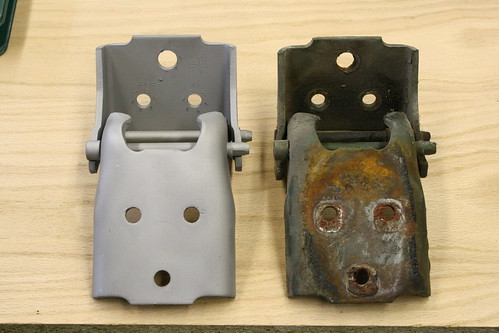
I also started the door hinges too.
I disconnected the car from the rotisserie so i can clean and paint the spots that the rotisserie was attached to. I found a spot that was rotten so i cut it out, made a patch, and welded it in.
I kept kicking the middle piece of the rad support that the hood release linkage is in. I put it under my work bench and every time i would work on something i would end up kicking it so....
As for the bolt i have been using a heat and oil dip method i seen on the net. I use a butane torch, heat the bolt (or nut), then dip it in used motor oil for 1 1/2 mins, and then repeat the process over again. The end result is a fairly close to looking factory bolt. I wouldn't use this process on any bolts that have a lot of stress applied on them, like suspension bolts.
I also started the door hinges too.
July 22nd, 2011, 02:06 PM
#65
wait.... what....
Thread Starter
Join Date: Mar 2009
Location: London Ont Canada
Posts: 817
 August 9th, 2011, 10:11 AM
#67
wait.... what....
Thread Starter
Join Date: Mar 2009
Location: London Ont Canada
Posts: 817
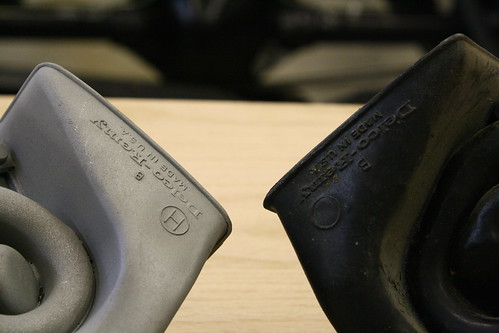
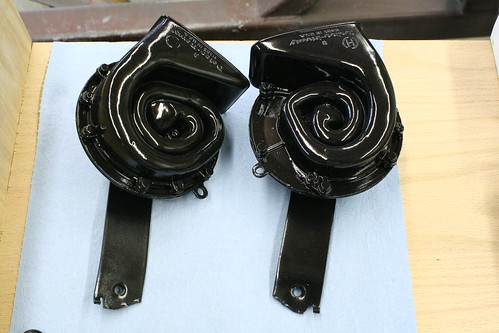
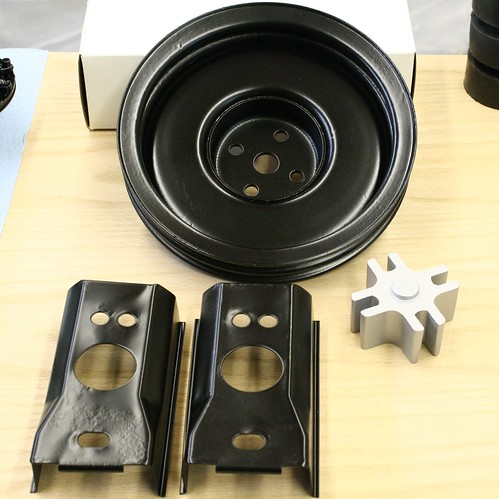
I managed to pick up some parts this week as well. I got some of the parts form Fusick, hood screen form Thortons, and some NOS stuff.
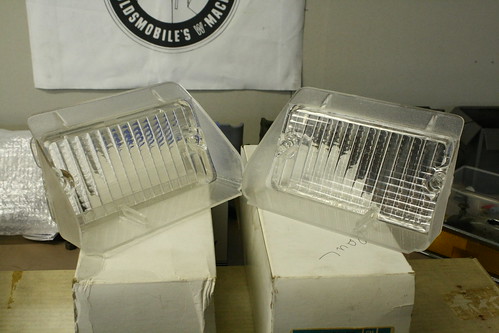
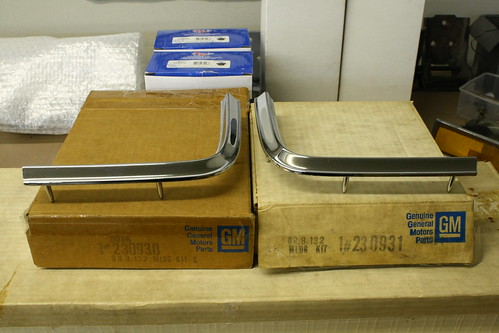
Fuscicks:

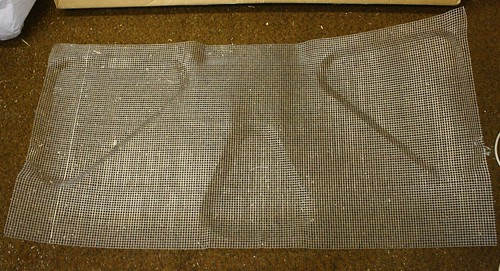
Screen from Thortons:
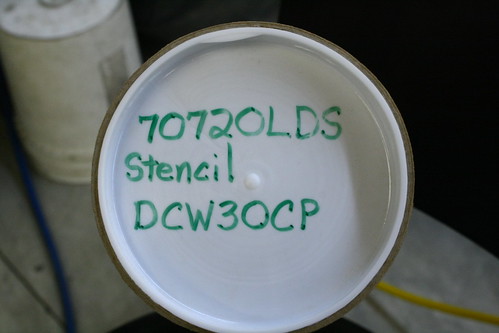
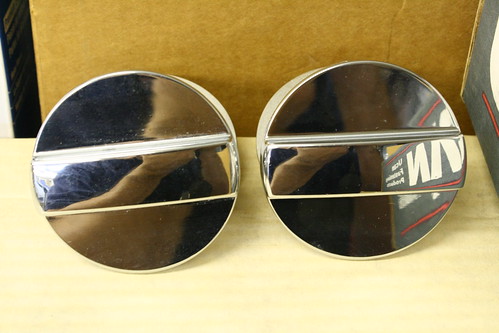
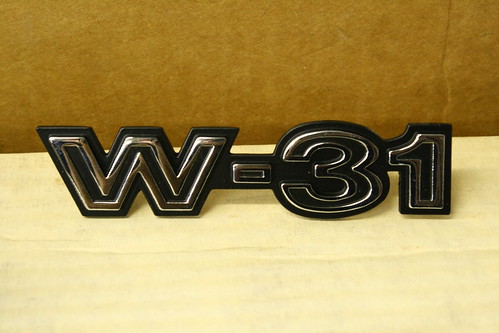
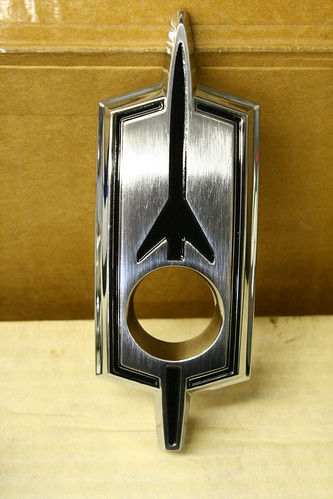
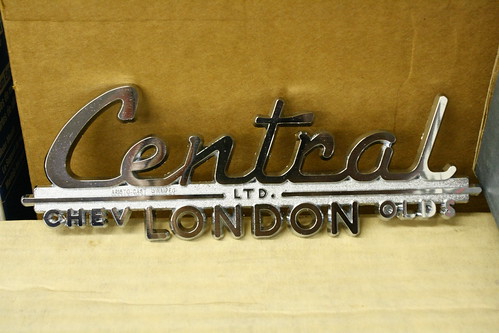
NOS Stuff:

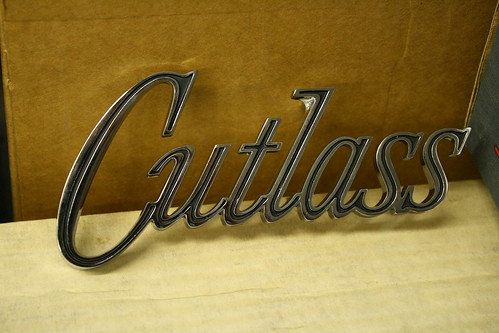
I also got an NOS dealer emblem from where my dad used to work as a mechanic.
Fuscicks:
Screen from Thortons:
NOS Stuff:
I also got an NOS dealer emblem from where my dad used to work as a mechanic.
Last edited by oldzzy; August 9th, 2011 at 09:57 PM.
August 9th, 2011, 10:18 AM
#69
wait.... what....
Thread Starter
Join Date: Mar 2009
Location: London Ont Canada
Posts: 817
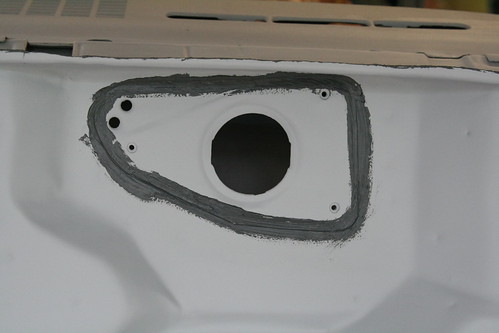
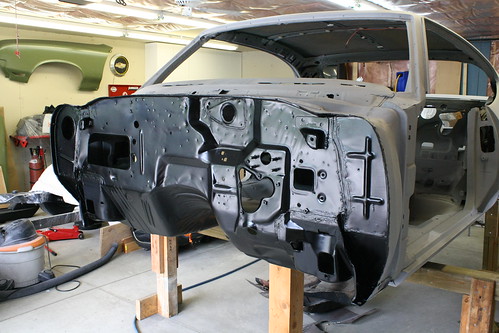
I am trying to get the body back onto the frame within the next couple of weeks, so i took it off the rotisserie to clean up the spots where it was attached to the car. I sanded the firewall, epoxy primed it (again), and then i seam sealed it. I am not real happy with my first attempt at seam sealing. It kind of looks like one of those Monday after a long weekend, or a Friday before a weekend kind of jobs! Oh well it will look better after paint i hope!
August 12th, 2011, 10:25 PM
#71
wait.... what....
Thread Starter
Join Date: Mar 2009
Location: London Ont Canada
Posts: 817
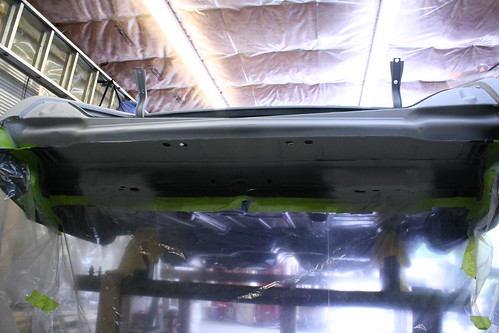
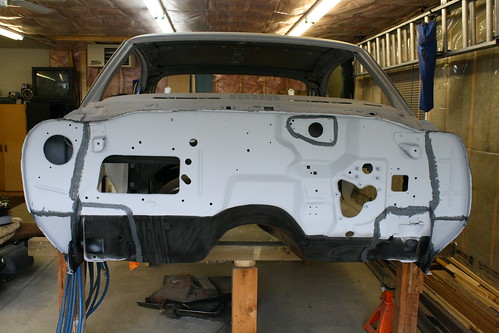
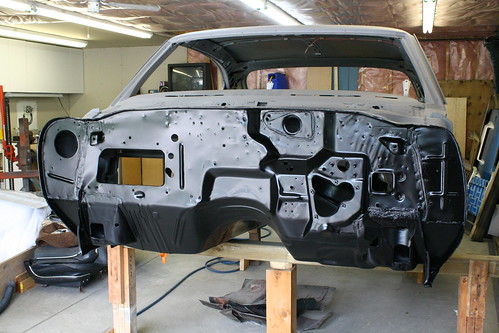
Painted the firewall today, and i think the finish turned out pretty good. Not to flat with just enough shine i think. I am also happier with the seam sealer now that it is painted, it looks a lot more like the how the factory looked.
August 15th, 2011, 12:05 PM
#72
wait.... what....
Thread Starter
Join Date: Mar 2009
Location: London Ont Canada
Posts: 817
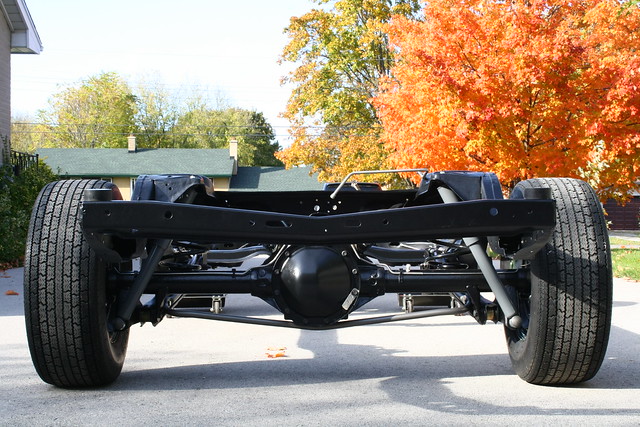
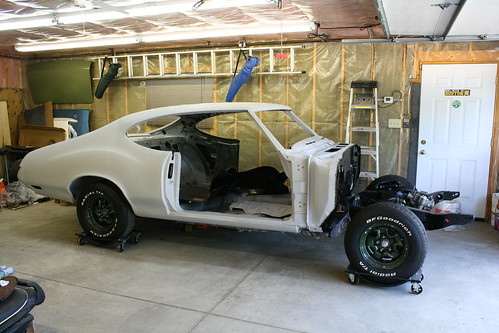
Well today was HUGE day for me. My car is finally back on the frame after a few years! We had what could have been a huge mishap by forgetting to lock the wheels on the rotisserie at the back. when we jacked up the front of the car the body slid off to the side and if it wasn't for an air hose lying on the floor that the caster got stuck on, the body would have went crashing to the floor! Only thing that got damaged was, the top of the shock mount on the frame got scratched. I touched it up with paint and it's good to go!
August 16th, 2011, 10:07 PM
#74
wait.... what....
Thread Starter
Join Date: Mar 2009
Location: London Ont Canada
Posts: 817
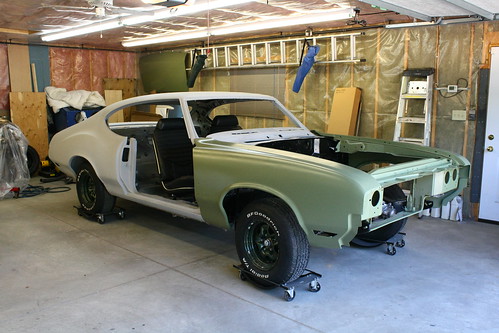
While i was out messing around in the garage i thought i would put the fenders and rad support on. I'm going to talk to the guy that i want to do the body and paint on my car tomorrow... wish me luck! lol
October 12th, 2011, 06:11 PM
#75
wait.... what....
Thread Starter
Join Date: Mar 2009
Location: London Ont Canada
Posts: 817
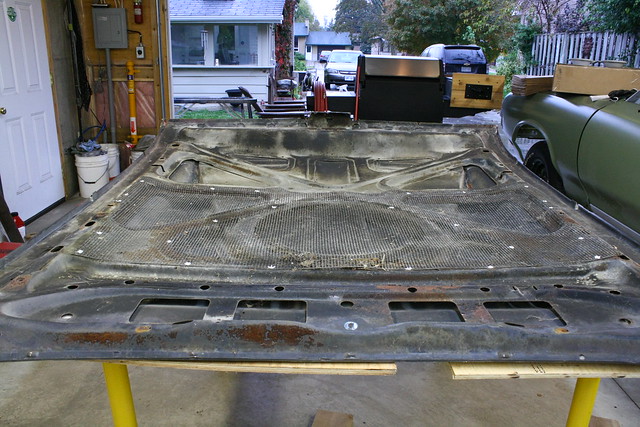
I started working on my OAI hood today. There is some light surface rust on the steel frame, so i will try and sandblast that. As far as the fiberglass goes, does anyone know of a good way to clean it? I am talking about the underneath of the hood, not the top. I think i am going to cut cardboard pieces to cover the fiberglass sections so they don't get damaged when i sandblast the metal frame. I used a paint marker to document where all the factory spot welds were.