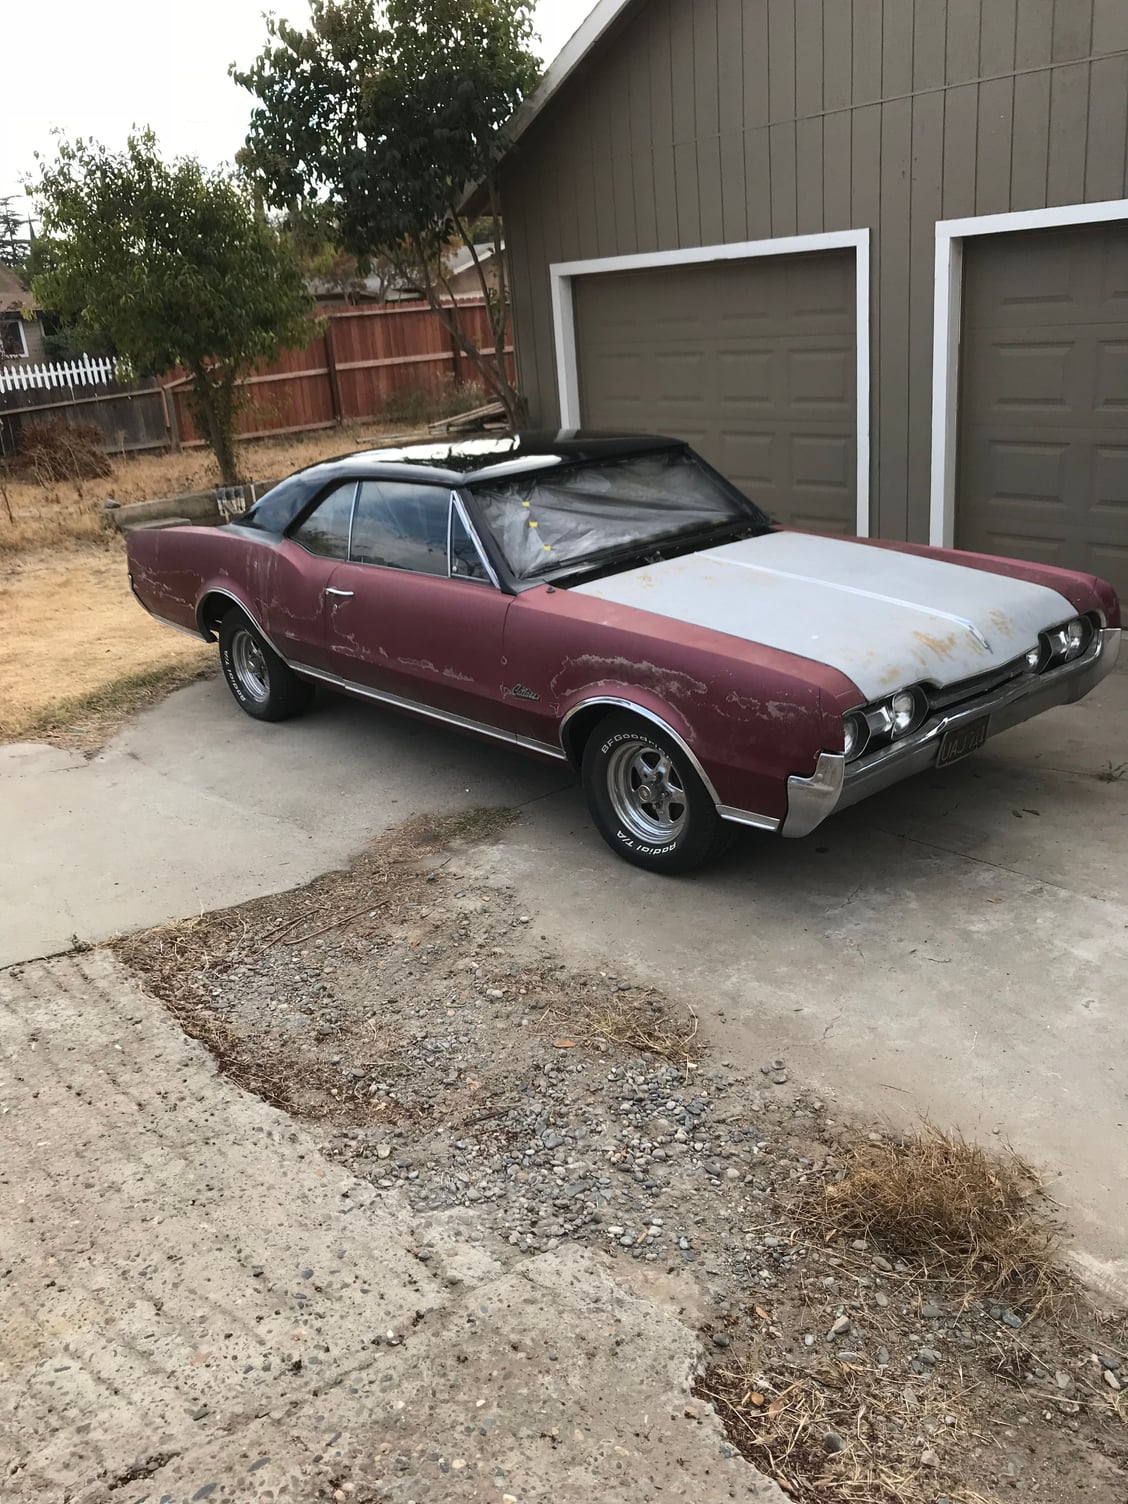
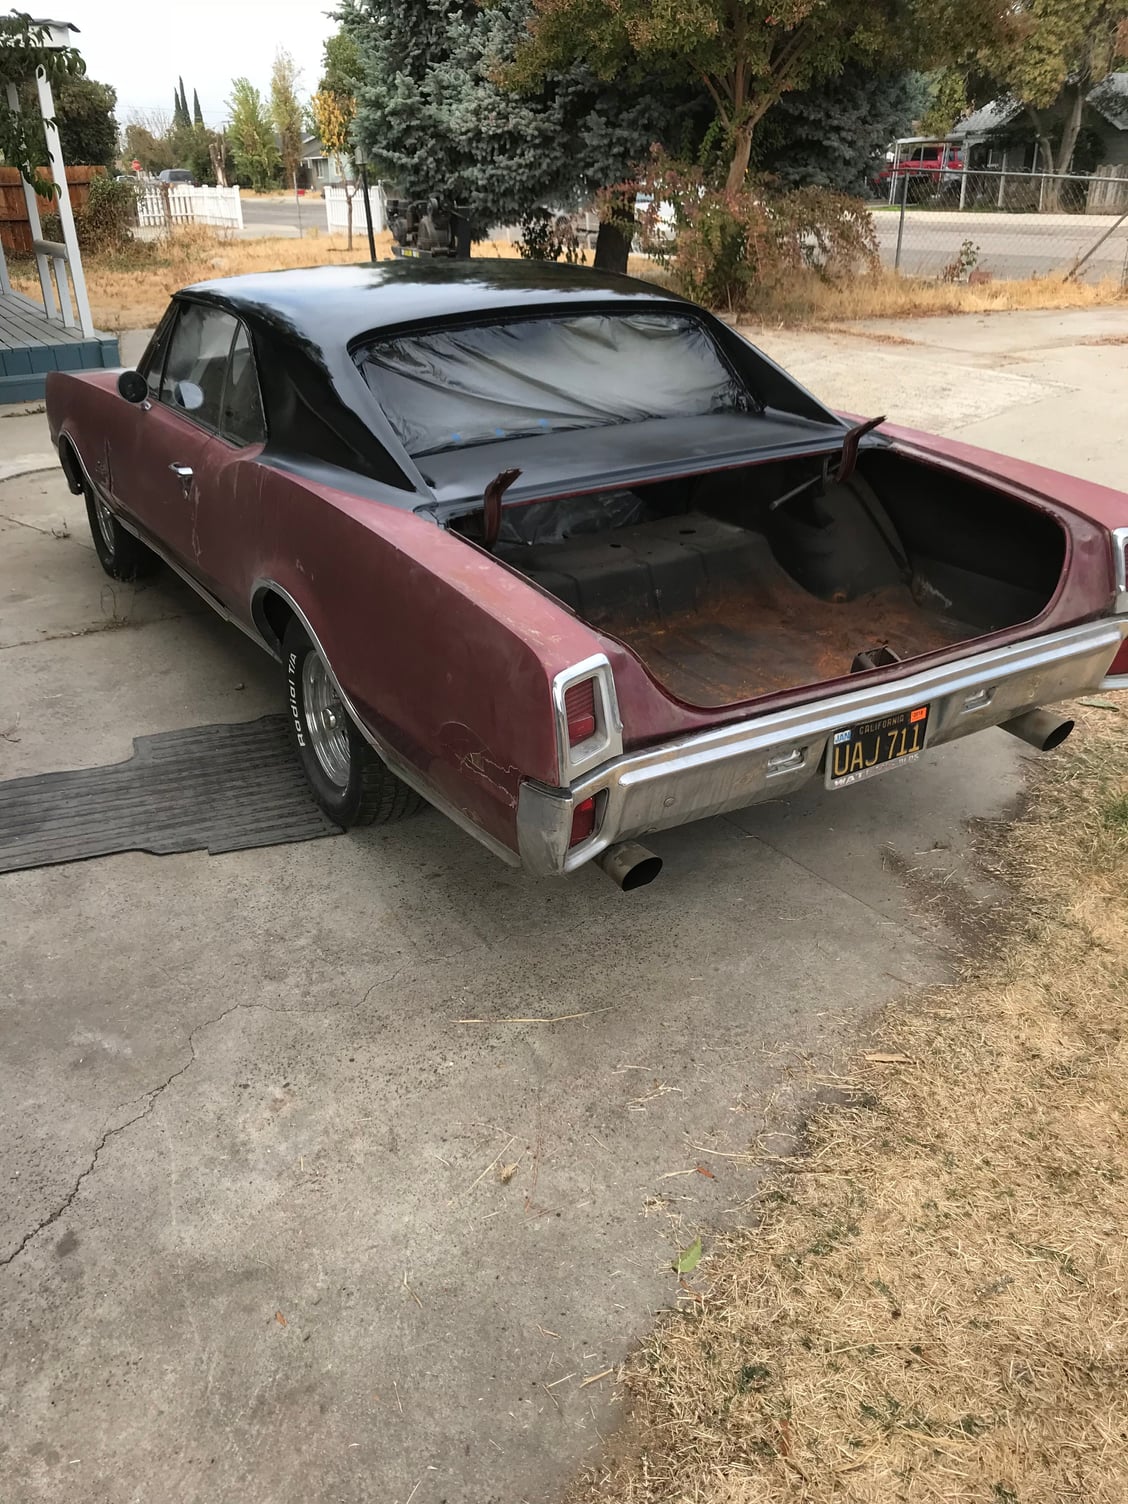
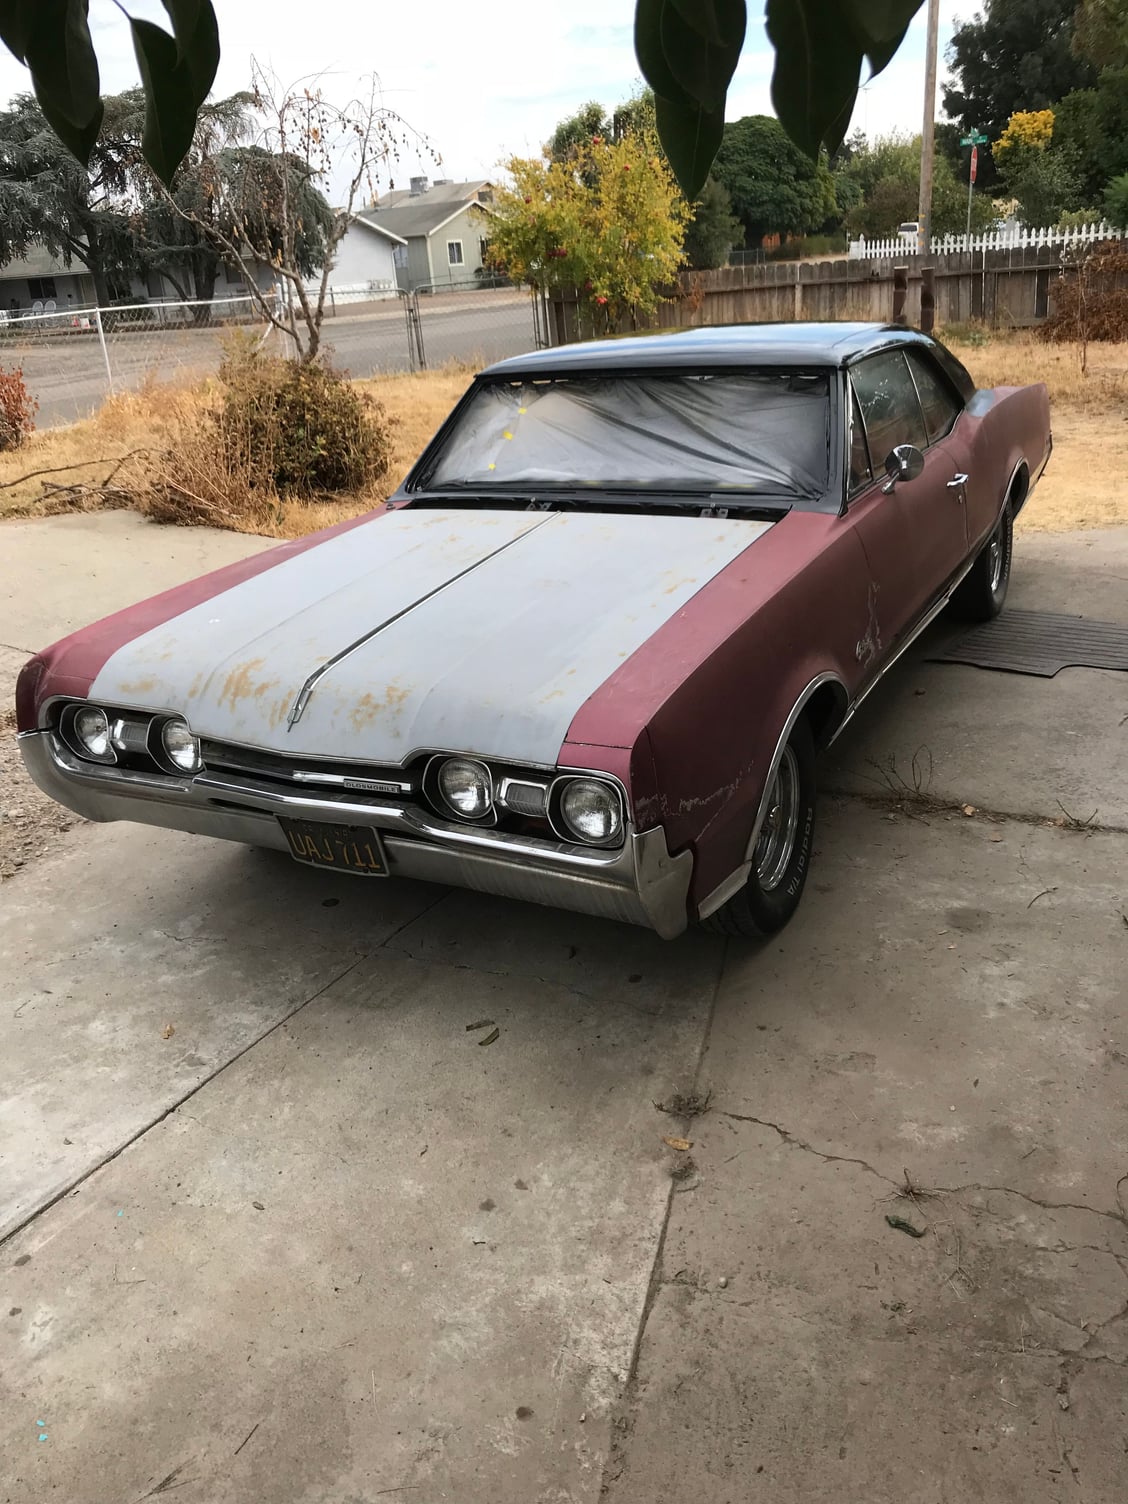
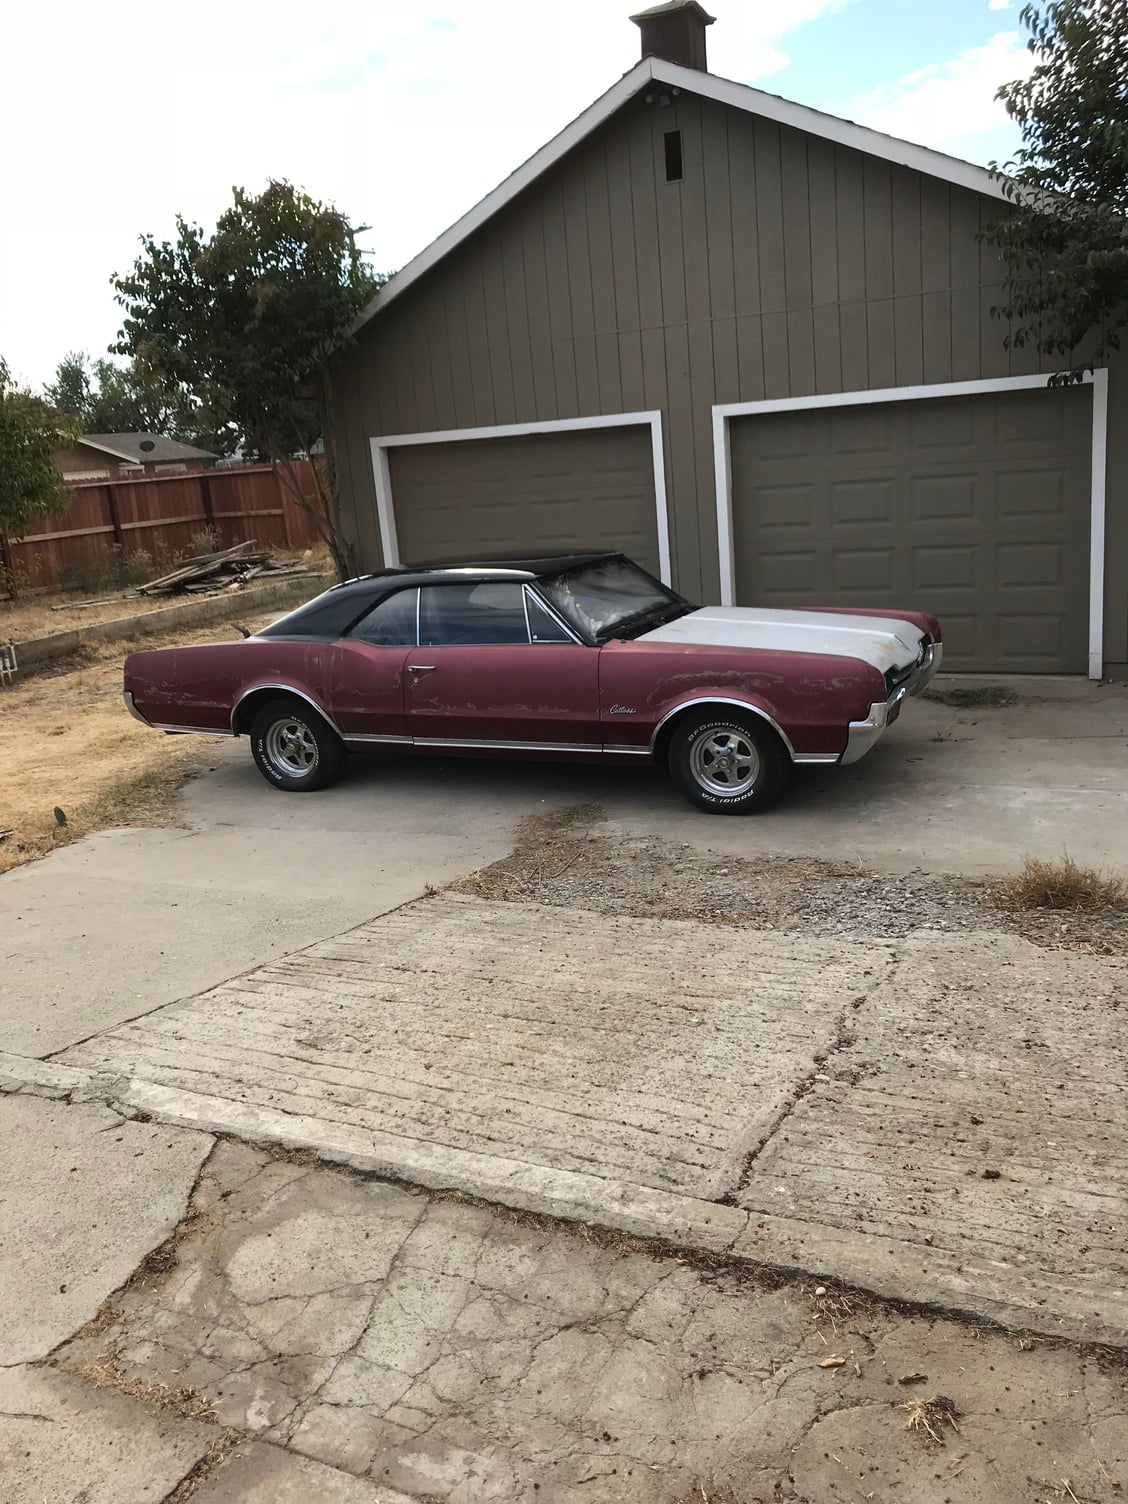
67 Cutlass that begged to be saved!
#41
That Bus looks like a good cruiser Copper. My problem is my Bus addiction is for split windows, so I may never be able to afford one ever again after the $230,000 Barret Jackson 23 window destroyed the hobby market for them.
I bought my 60 truck a few months before that sale in 2009 and all of a sudden, you could find NO Bus parts even here in dry farm area central California. It took me months to find a windshield that didnít have to be shipped. Took 2 YEARS to find a tail gate that was rusty, but fixable. I try to use original parts when I can find a good deal and condition is ok but wow it kills me. I canít pay $20,000 for a clapped out, rusty pre 67 Bus. Iím glad I love me a sweet Cutlass and itís refeshingly affordable compared to say a 69 Camaro, 70 Chevelle, 67 GTO..... And a 67 GTO was my favorite muscle car forever, but the Cutlass is so similar that I basically own 3 of my all time favorite classic cars.
I bought my 60 truck a few months before that sale in 2009 and all of a sudden, you could find NO Bus parts even here in dry farm area central California. It took me months to find a windshield that didnít have to be shipped. Took 2 YEARS to find a tail gate that was rusty, but fixable. I try to use original parts when I can find a good deal and condition is ok but wow it kills me. I canít pay $20,000 for a clapped out, rusty pre 67 Bus. Iím glad I love me a sweet Cutlass and itís refeshingly affordable compared to say a 69 Camaro, 70 Chevelle, 67 GTO..... And a 67 GTO was my favorite muscle car forever, but the Cutlass is so similar that I basically own 3 of my all time favorite classic cars.
Last edited by 1967Supreeeme; October 4th, 2017 at 12:25 PM.
#42
The bus has a been fun. I got it to run on really crappy fuel. atleast for a few seconds . rebuilt the carb, cleaned the tank and in a few weeks fire it up and hopefully get it it idle. I kinda fell into oldsmobiles by luck. My mentor in the body shop was and is a hardcore olds drag racer i bought mine from him as i had mentioned i had a 79 malibu i was gonna stick a buick 350 into. chucked all that and got my 72.
#44
#45
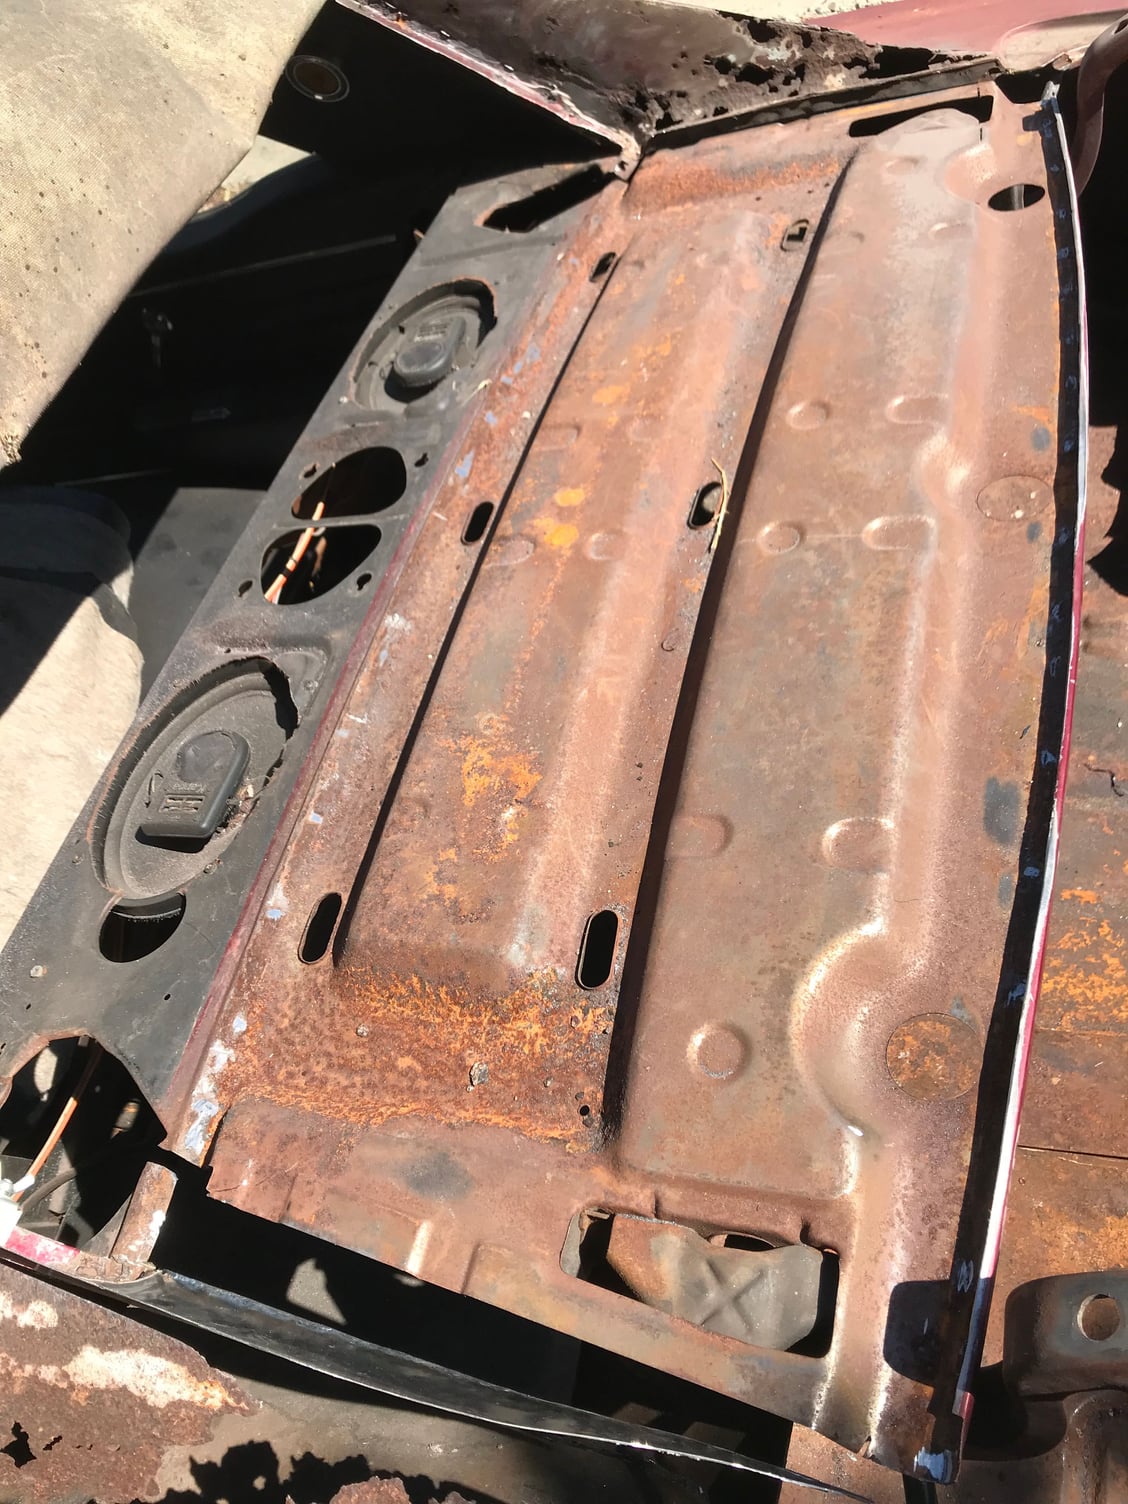
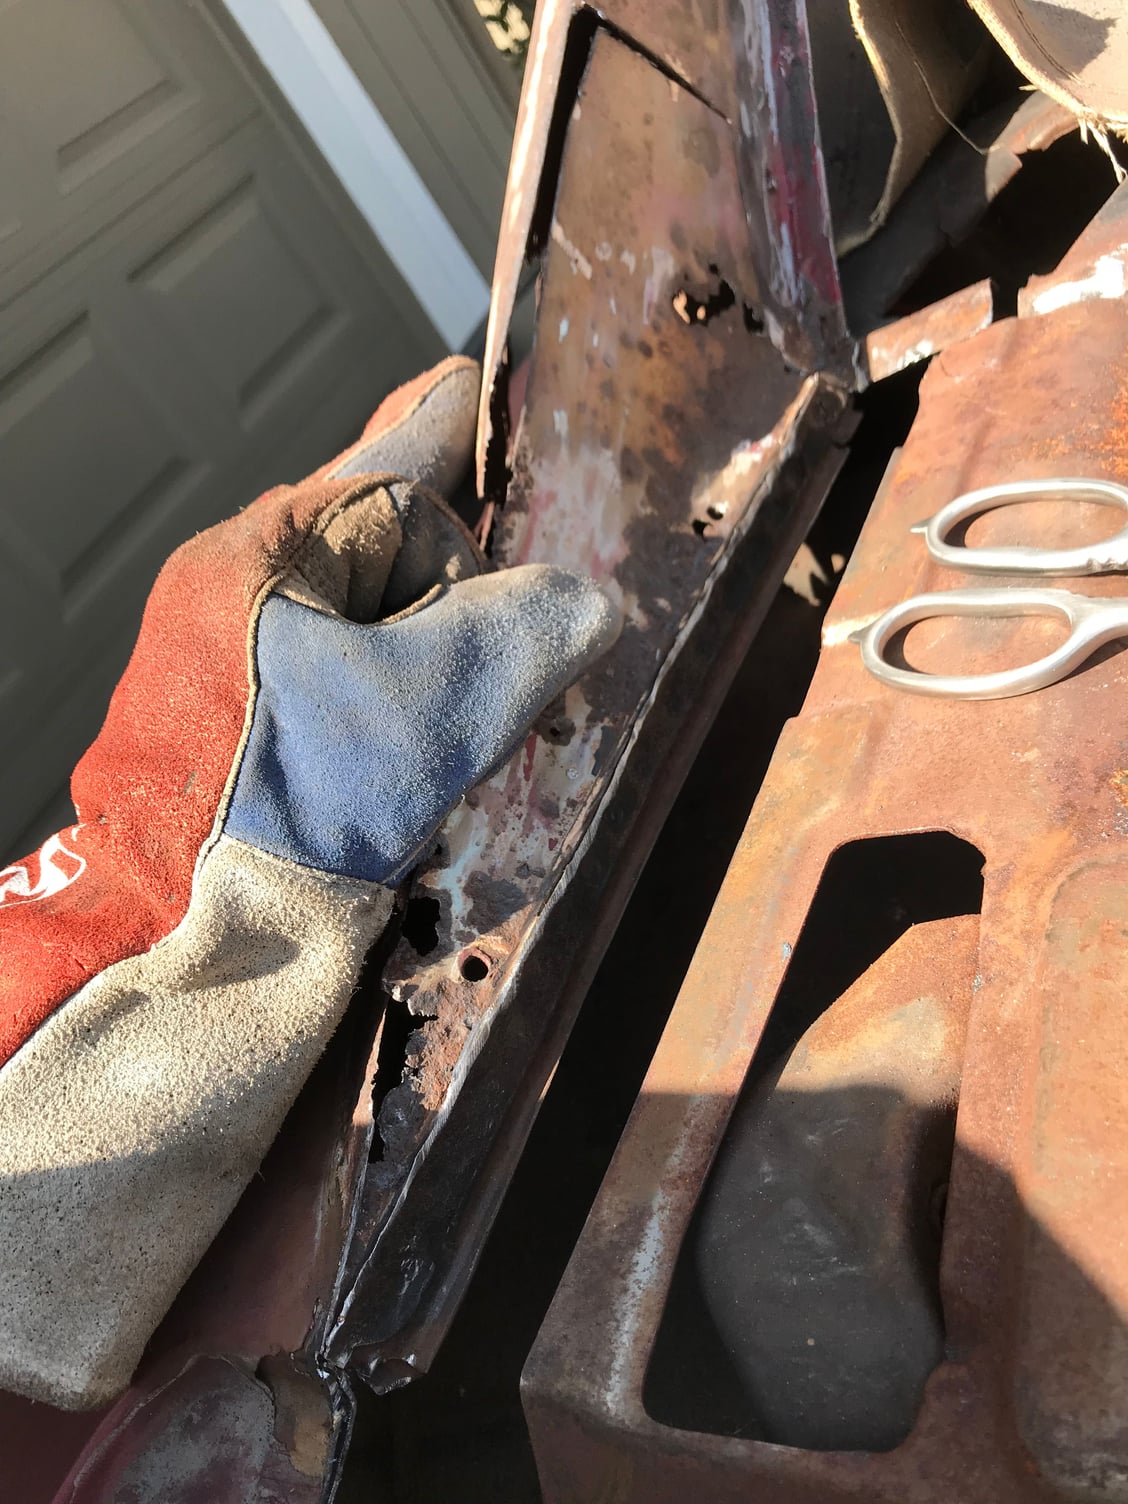
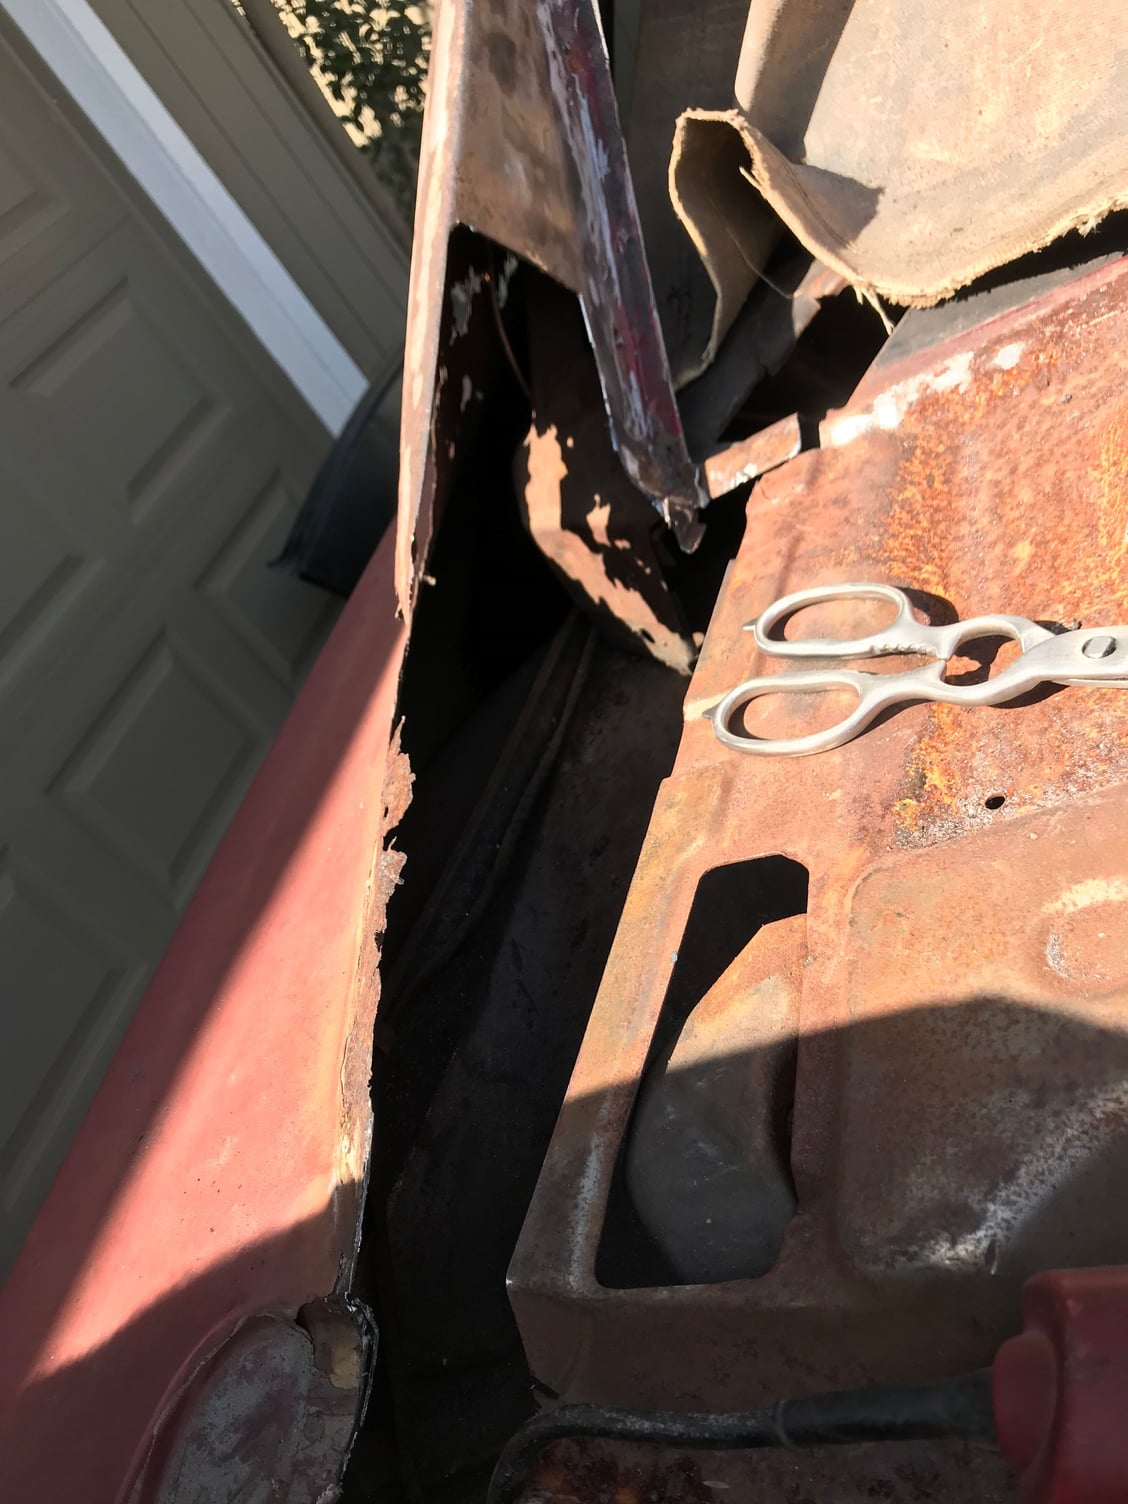
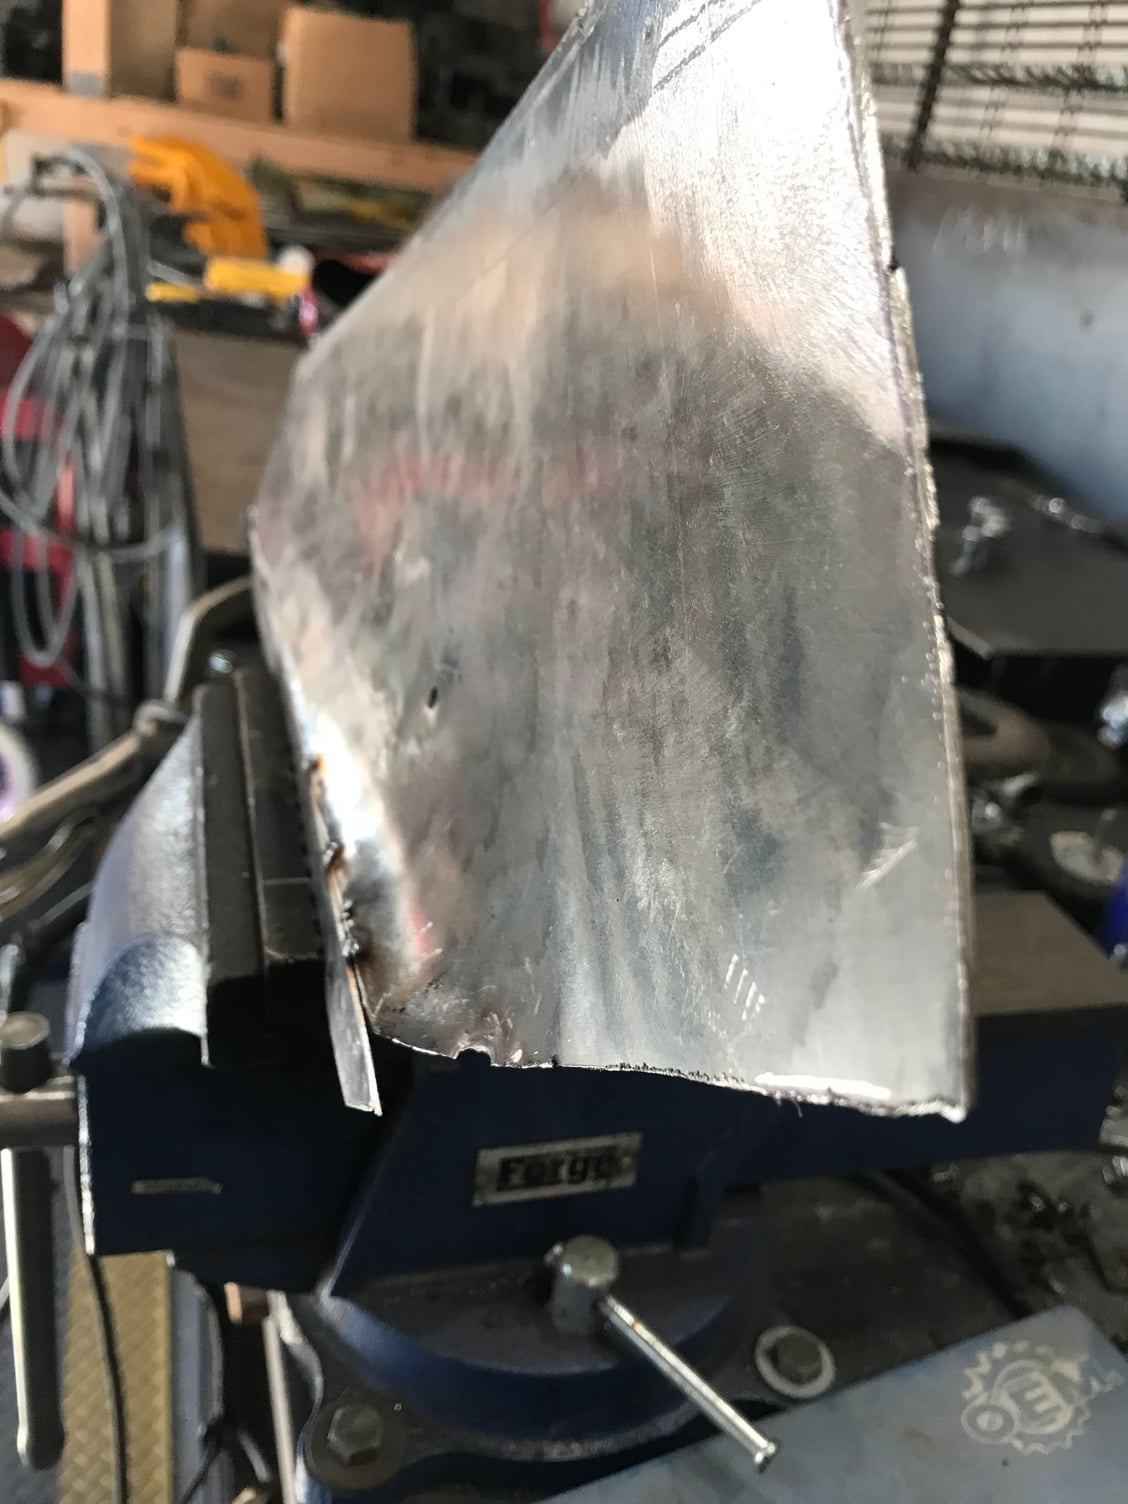
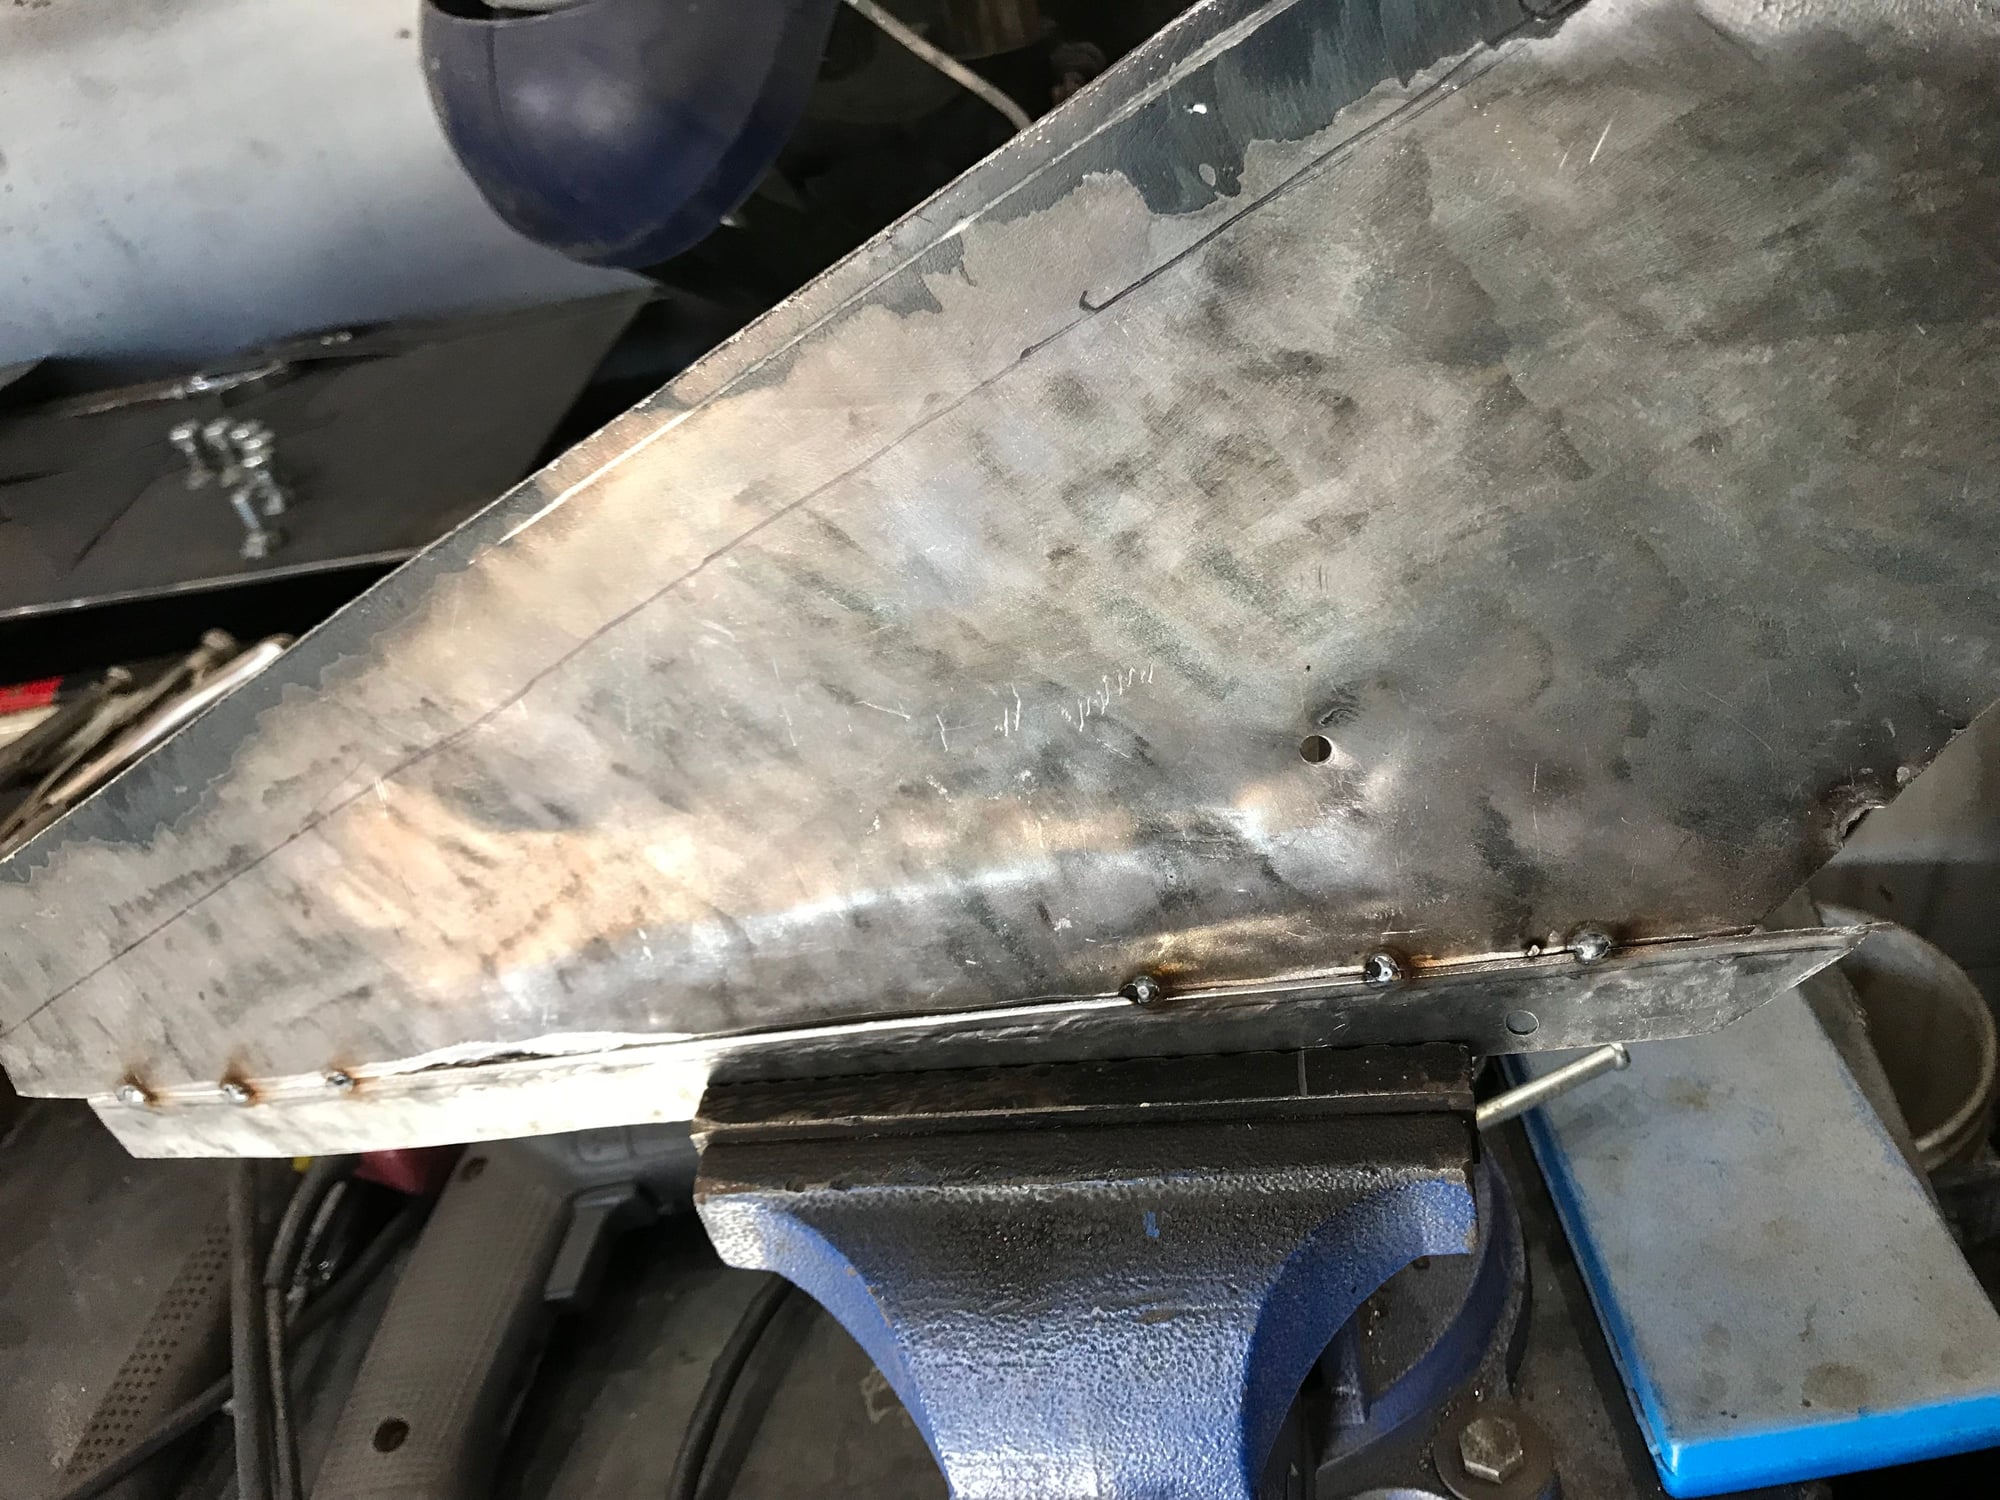
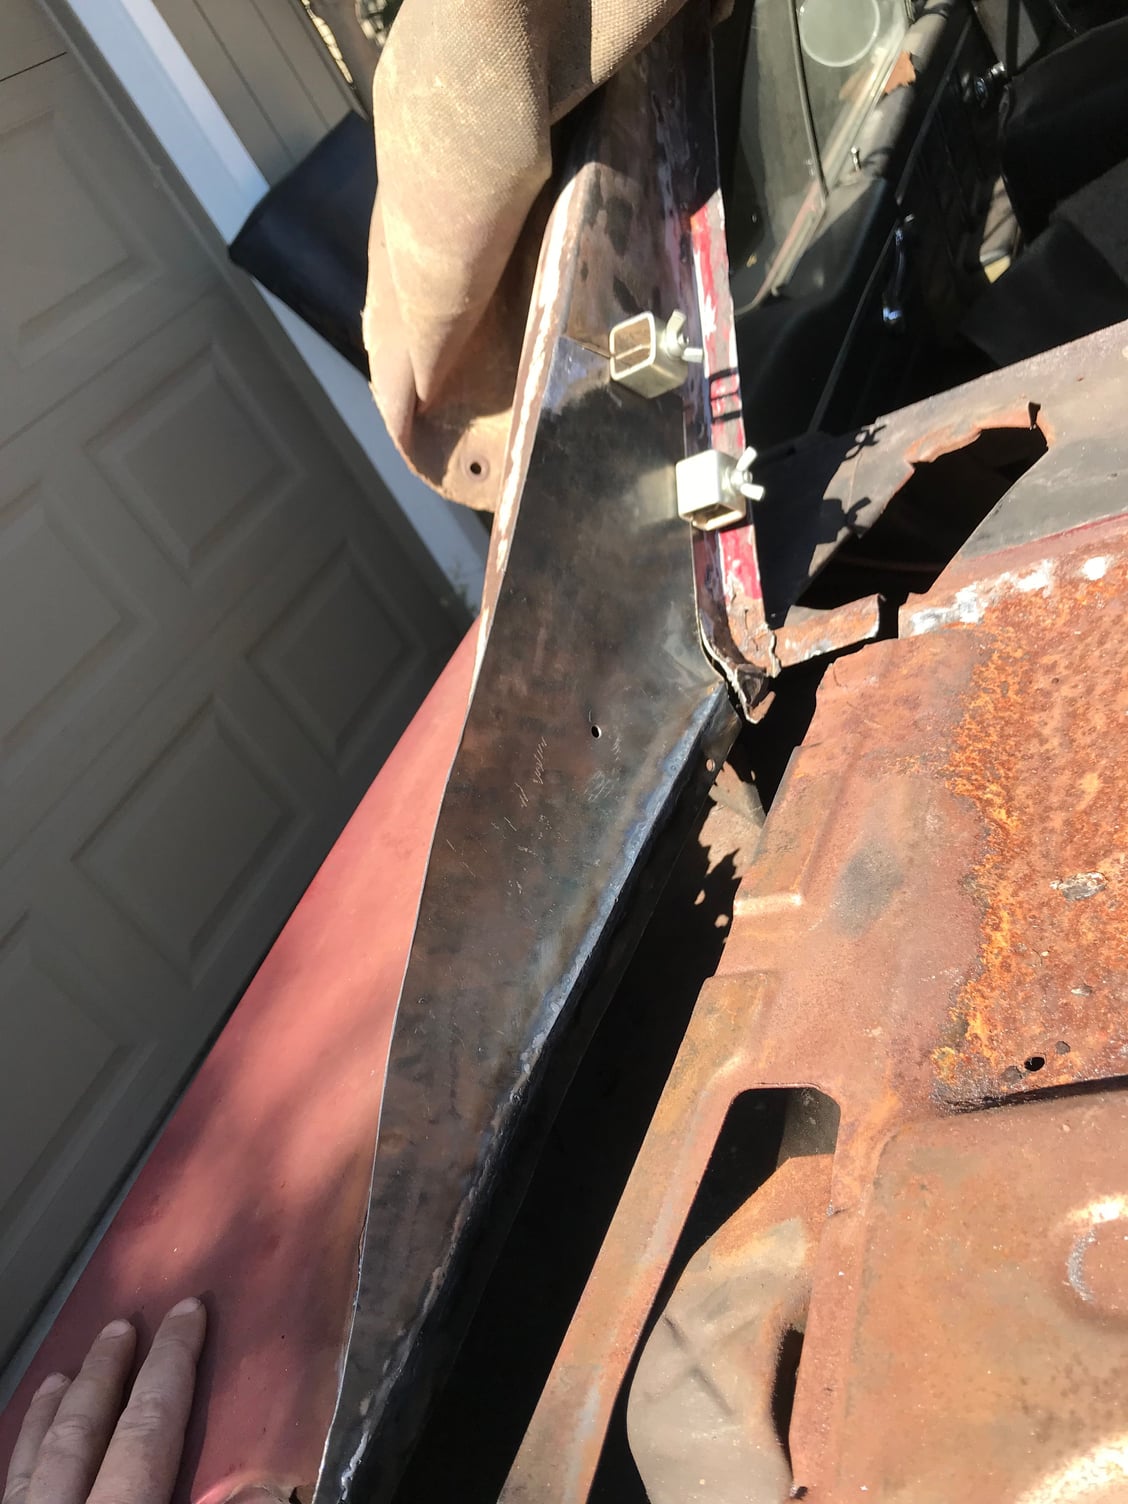
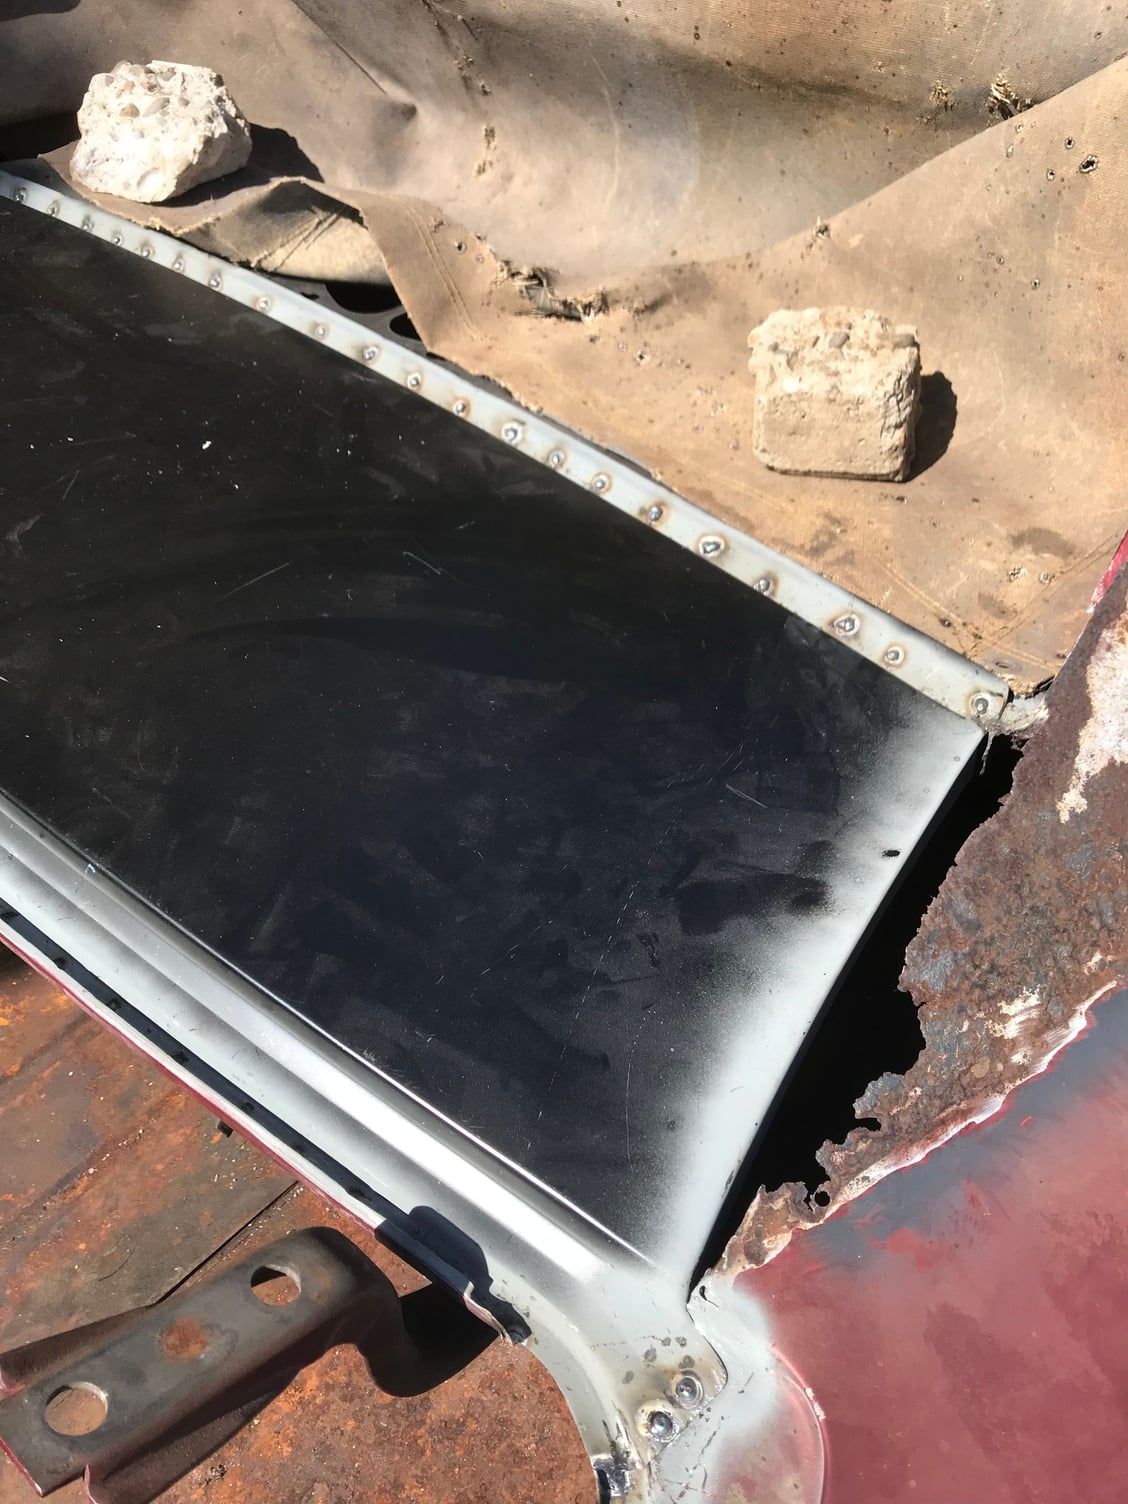
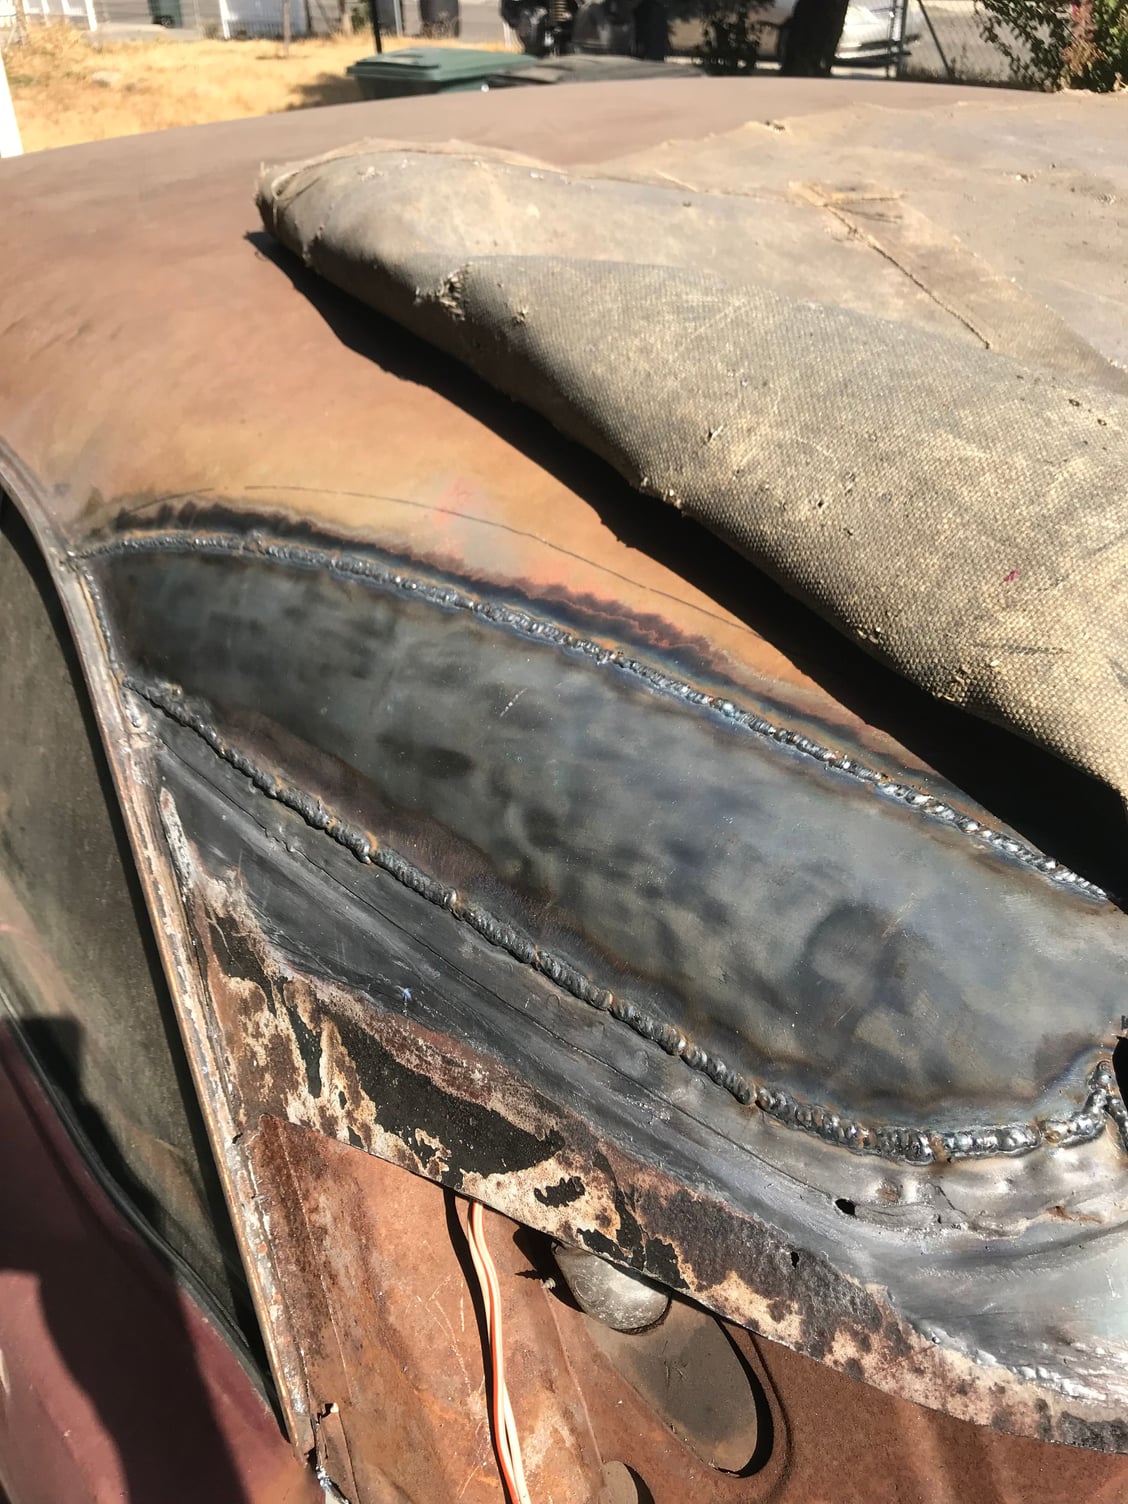
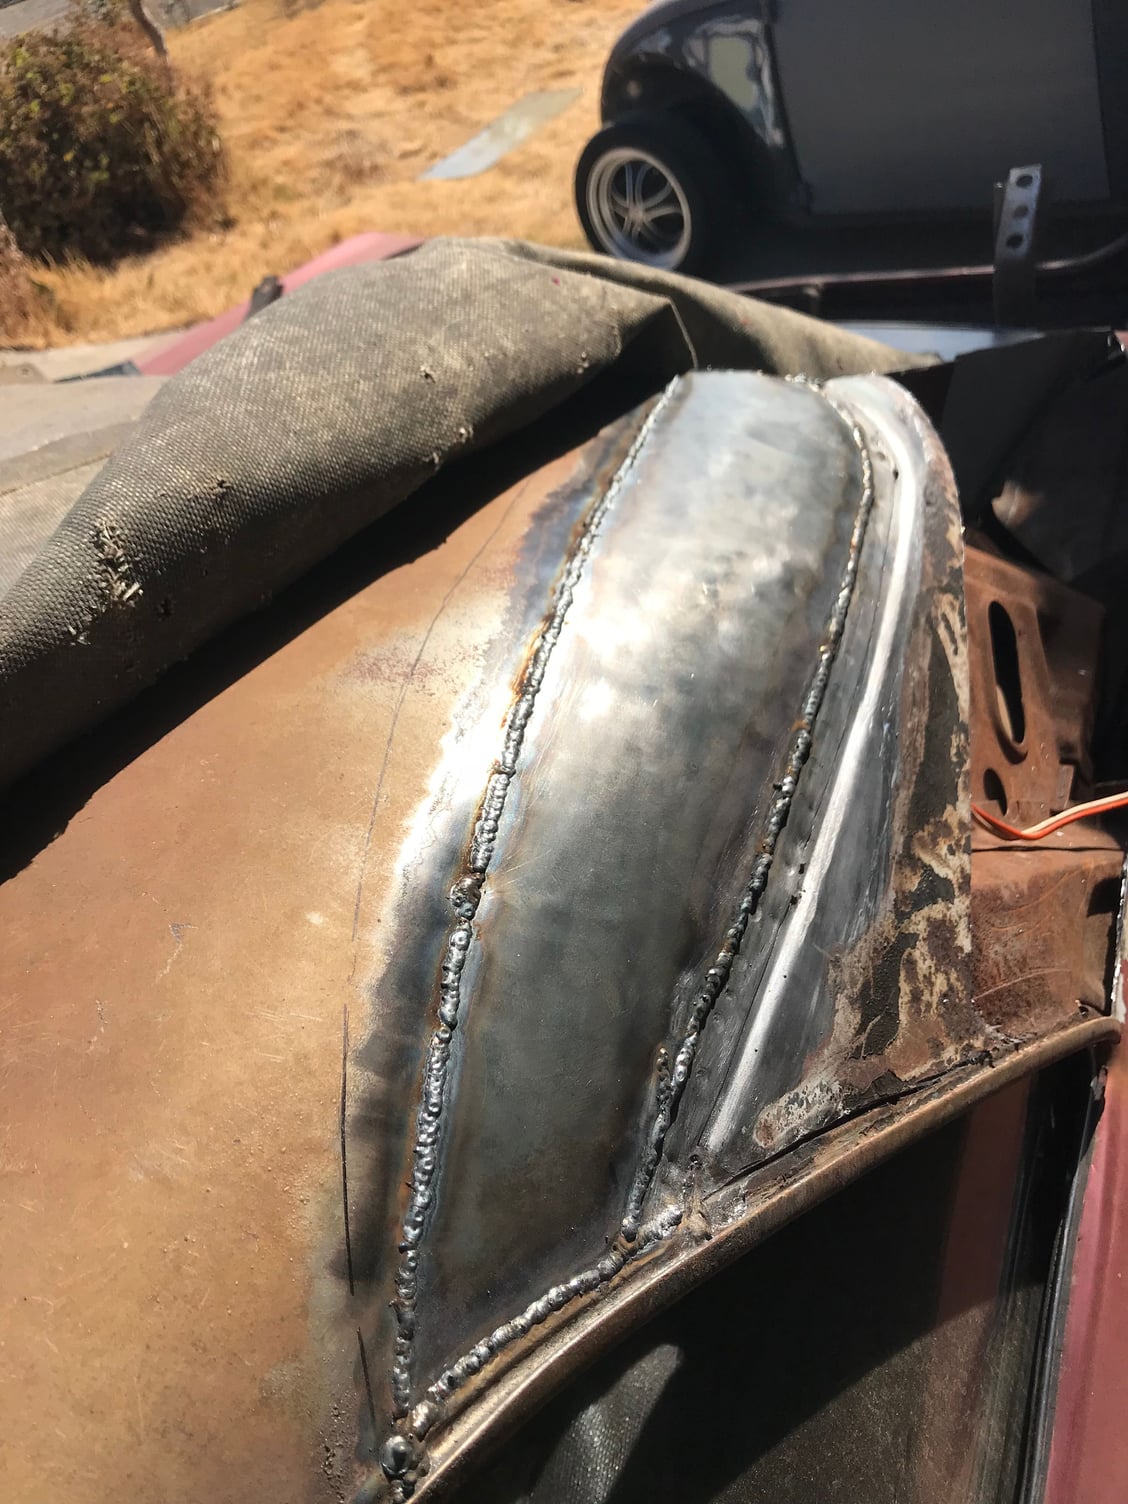
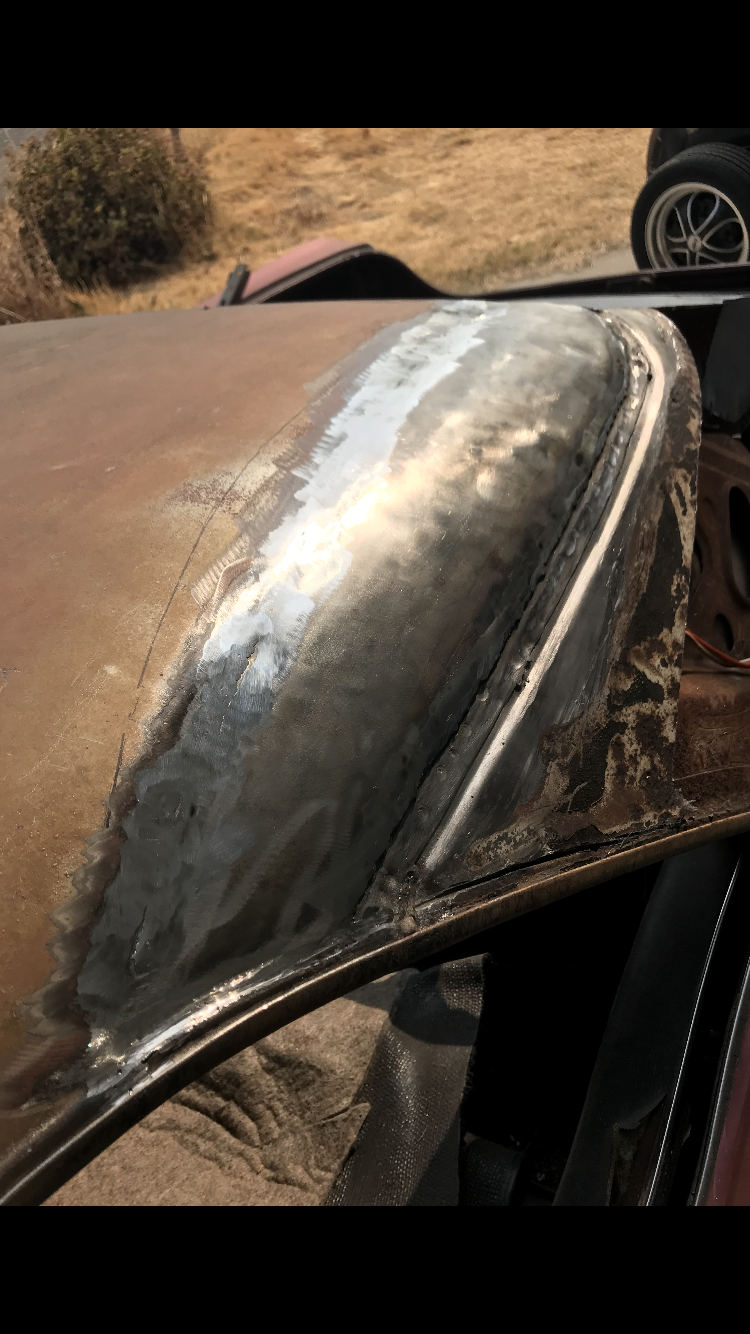
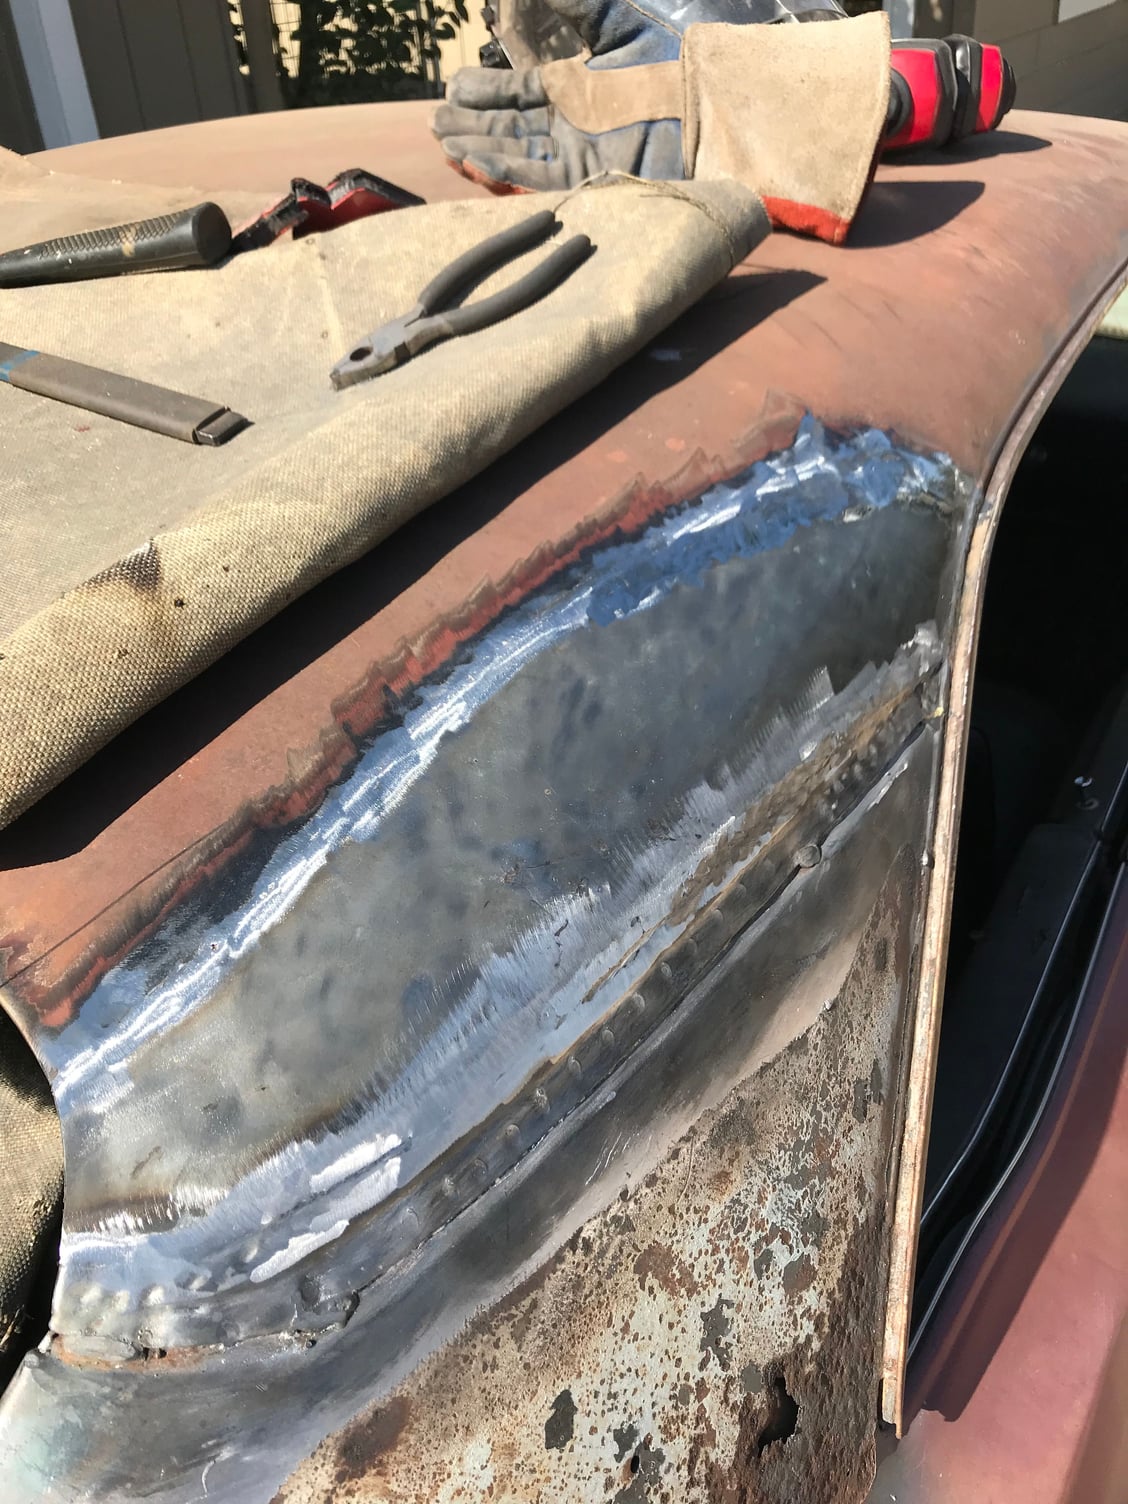
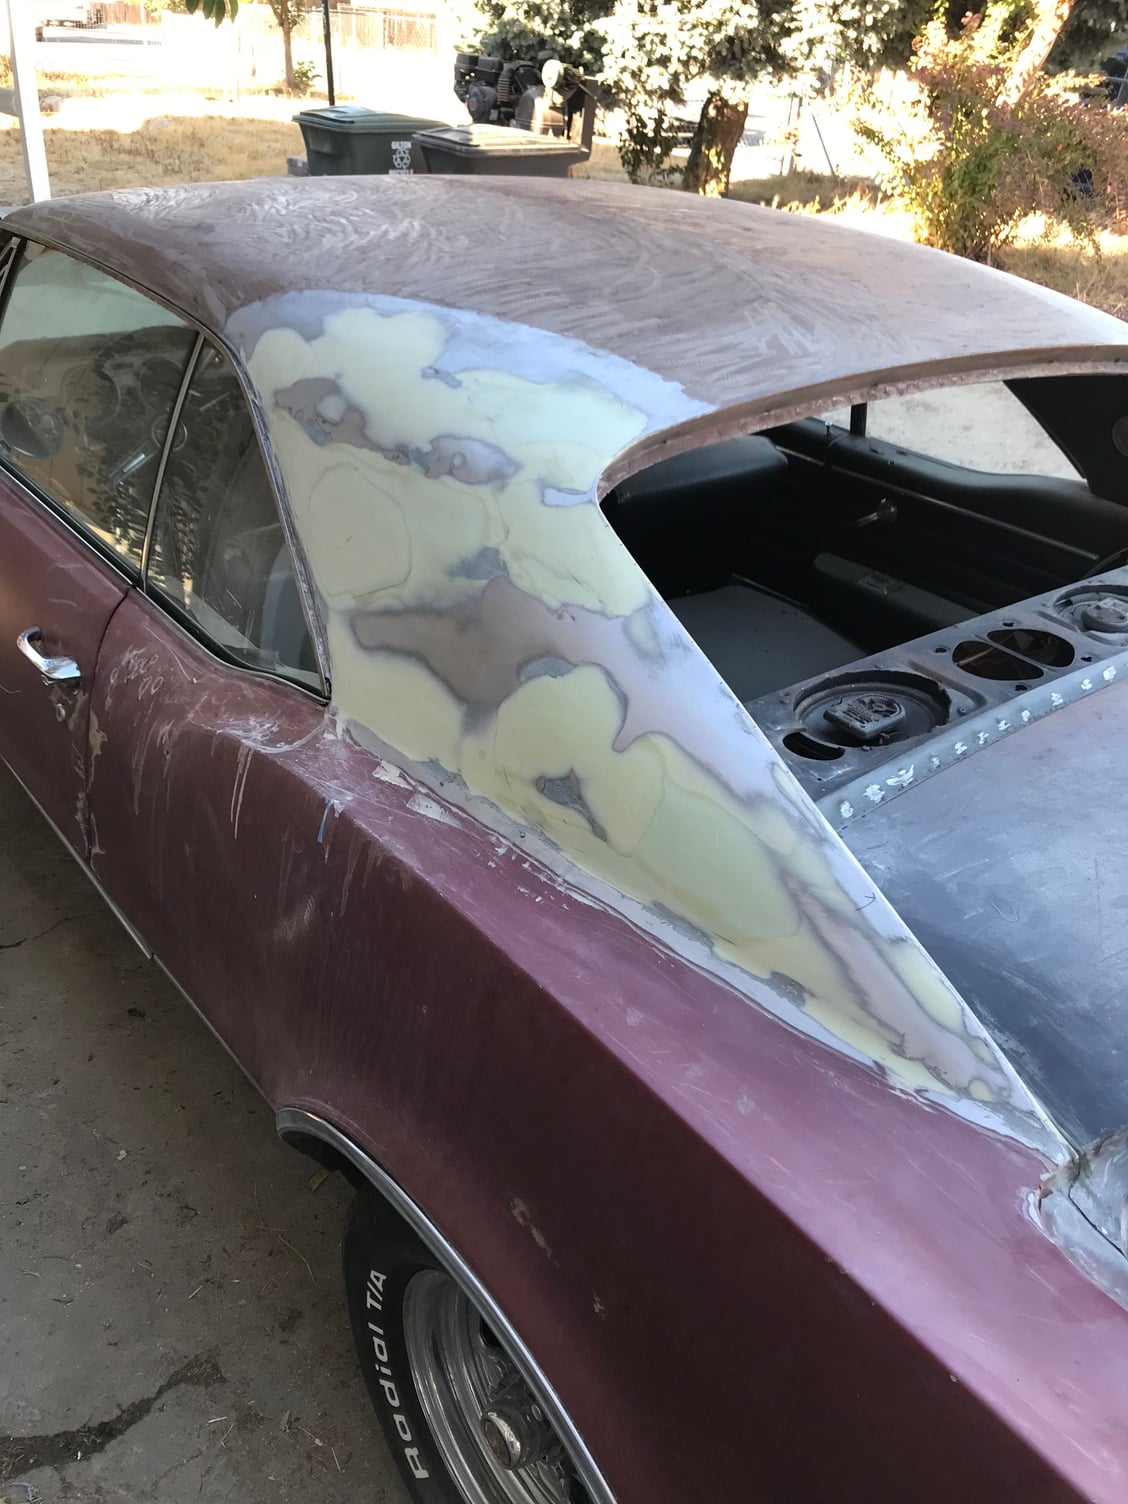
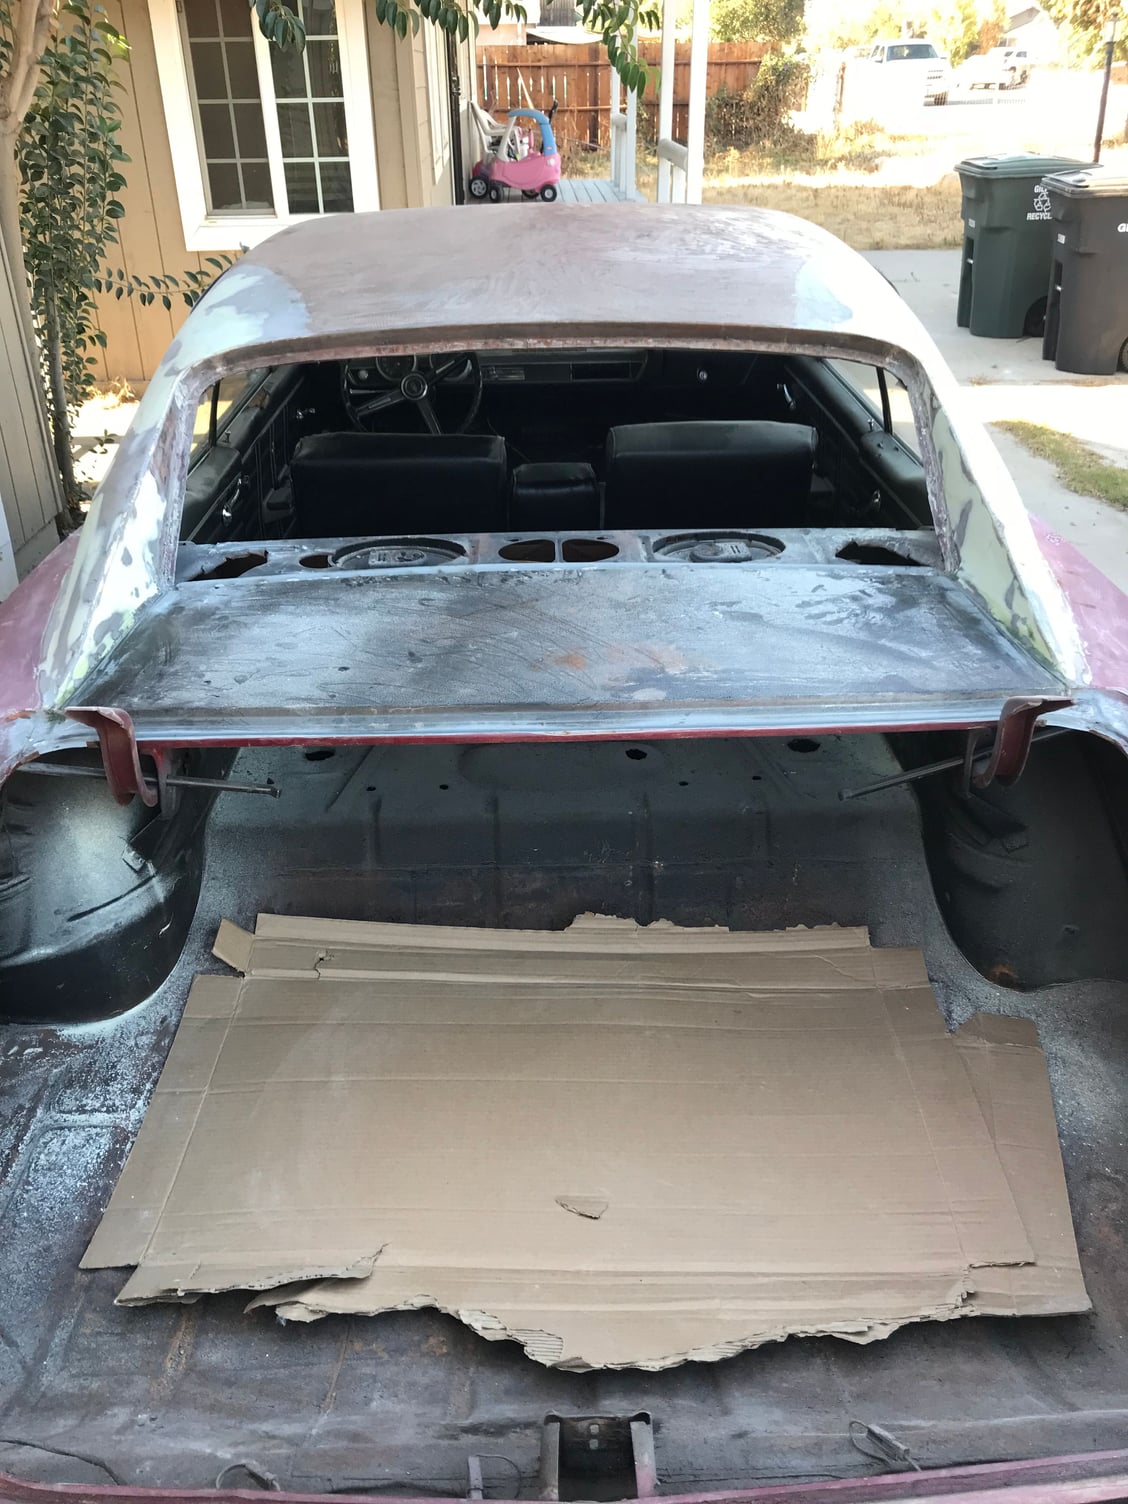
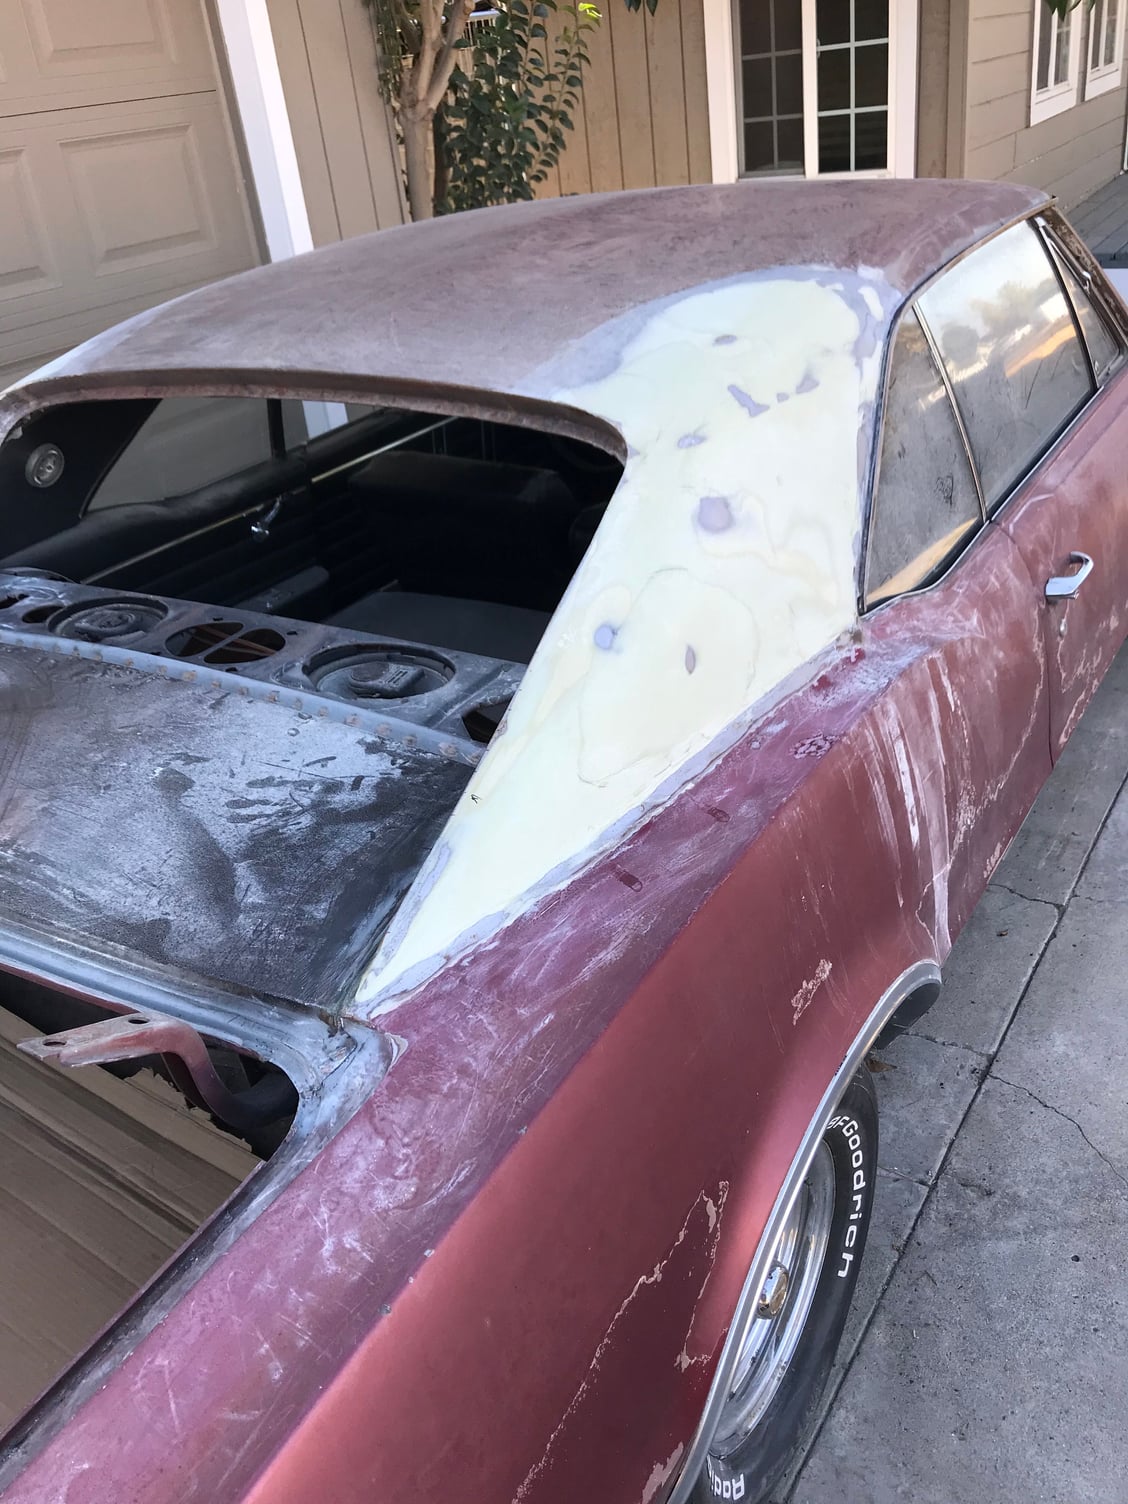
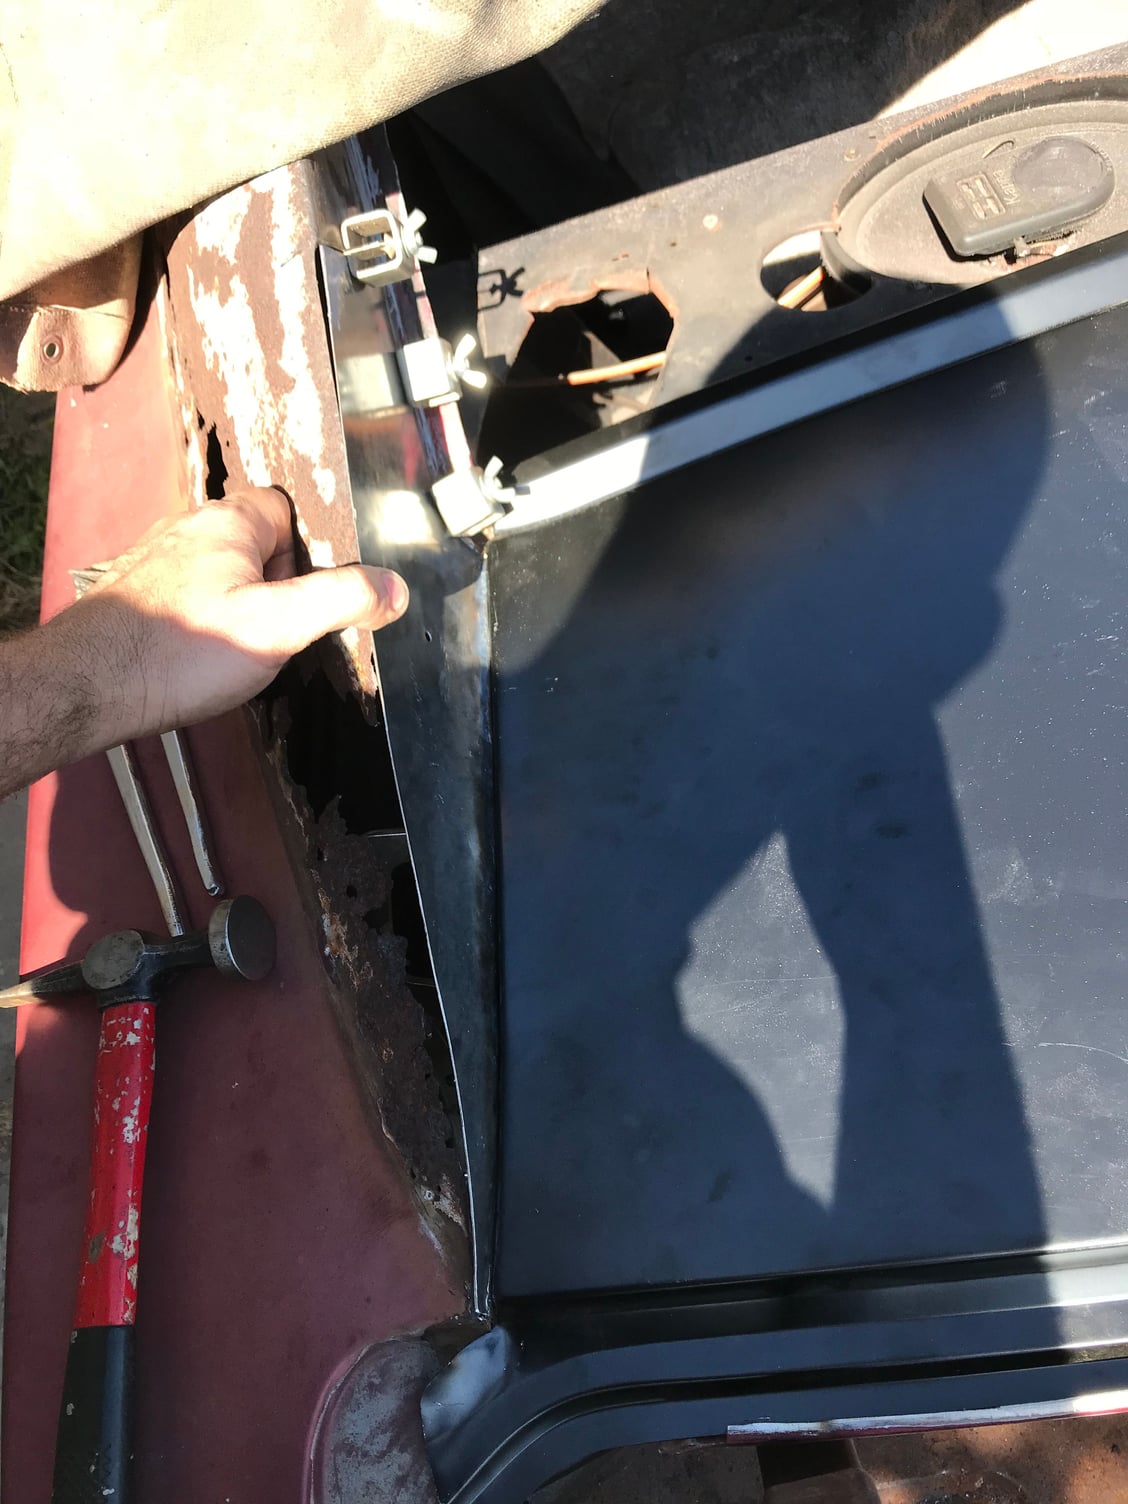
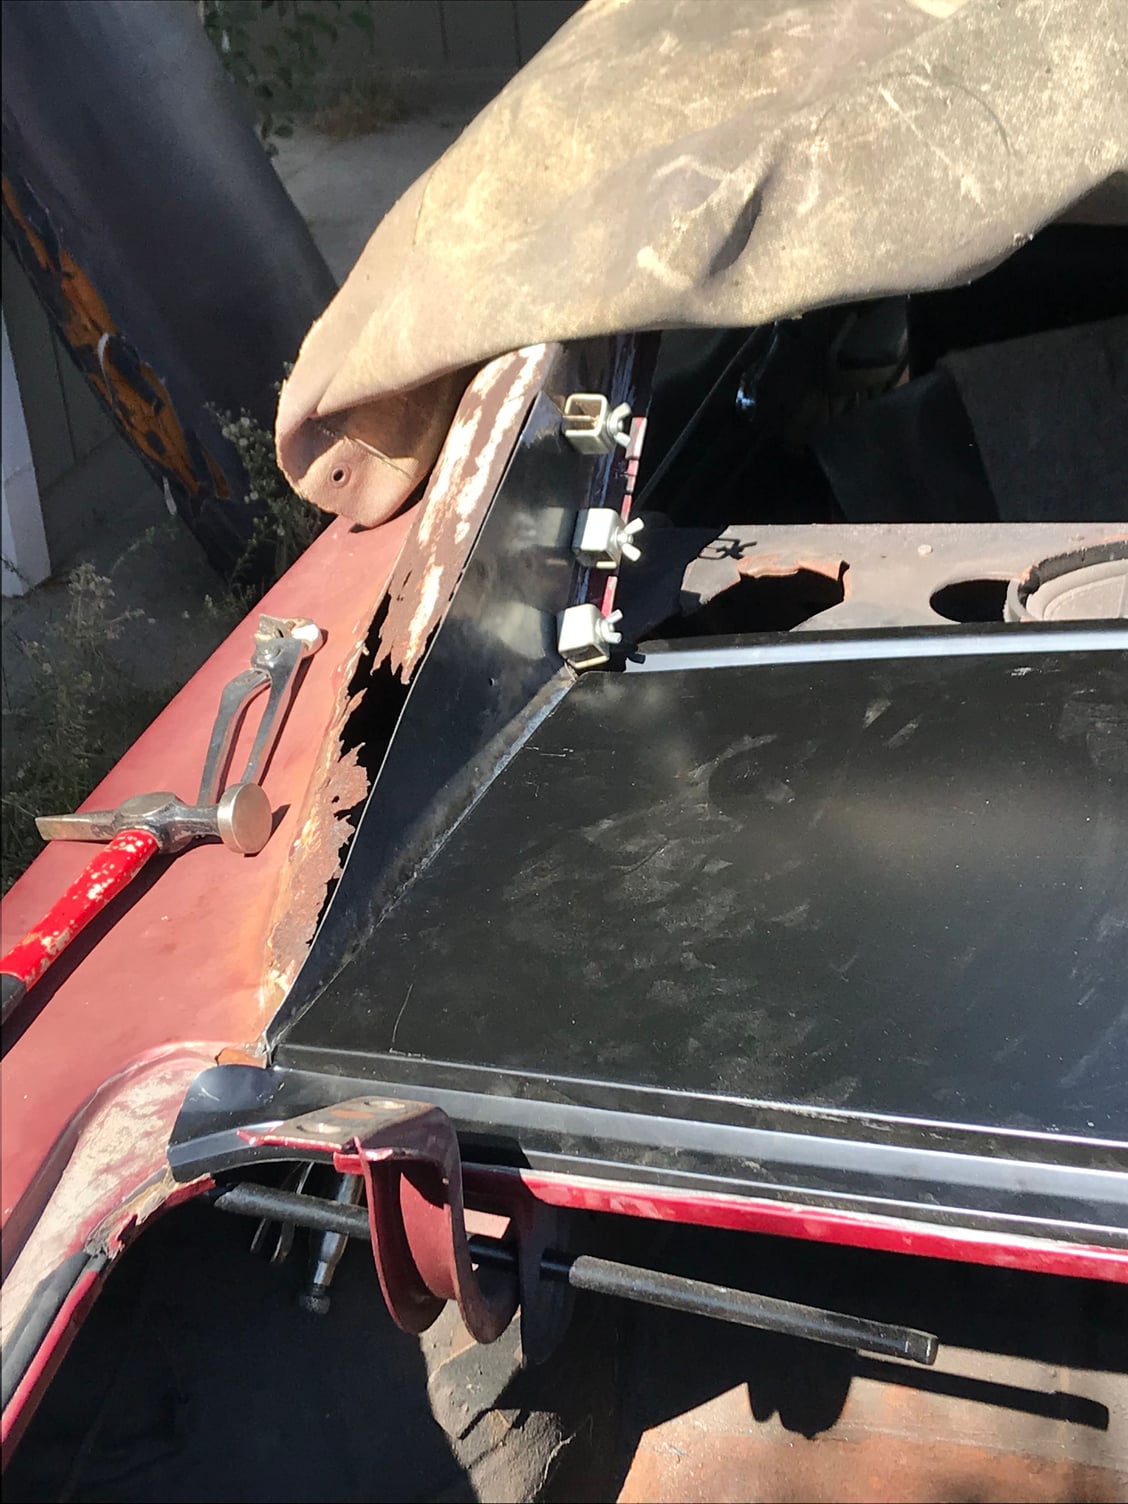
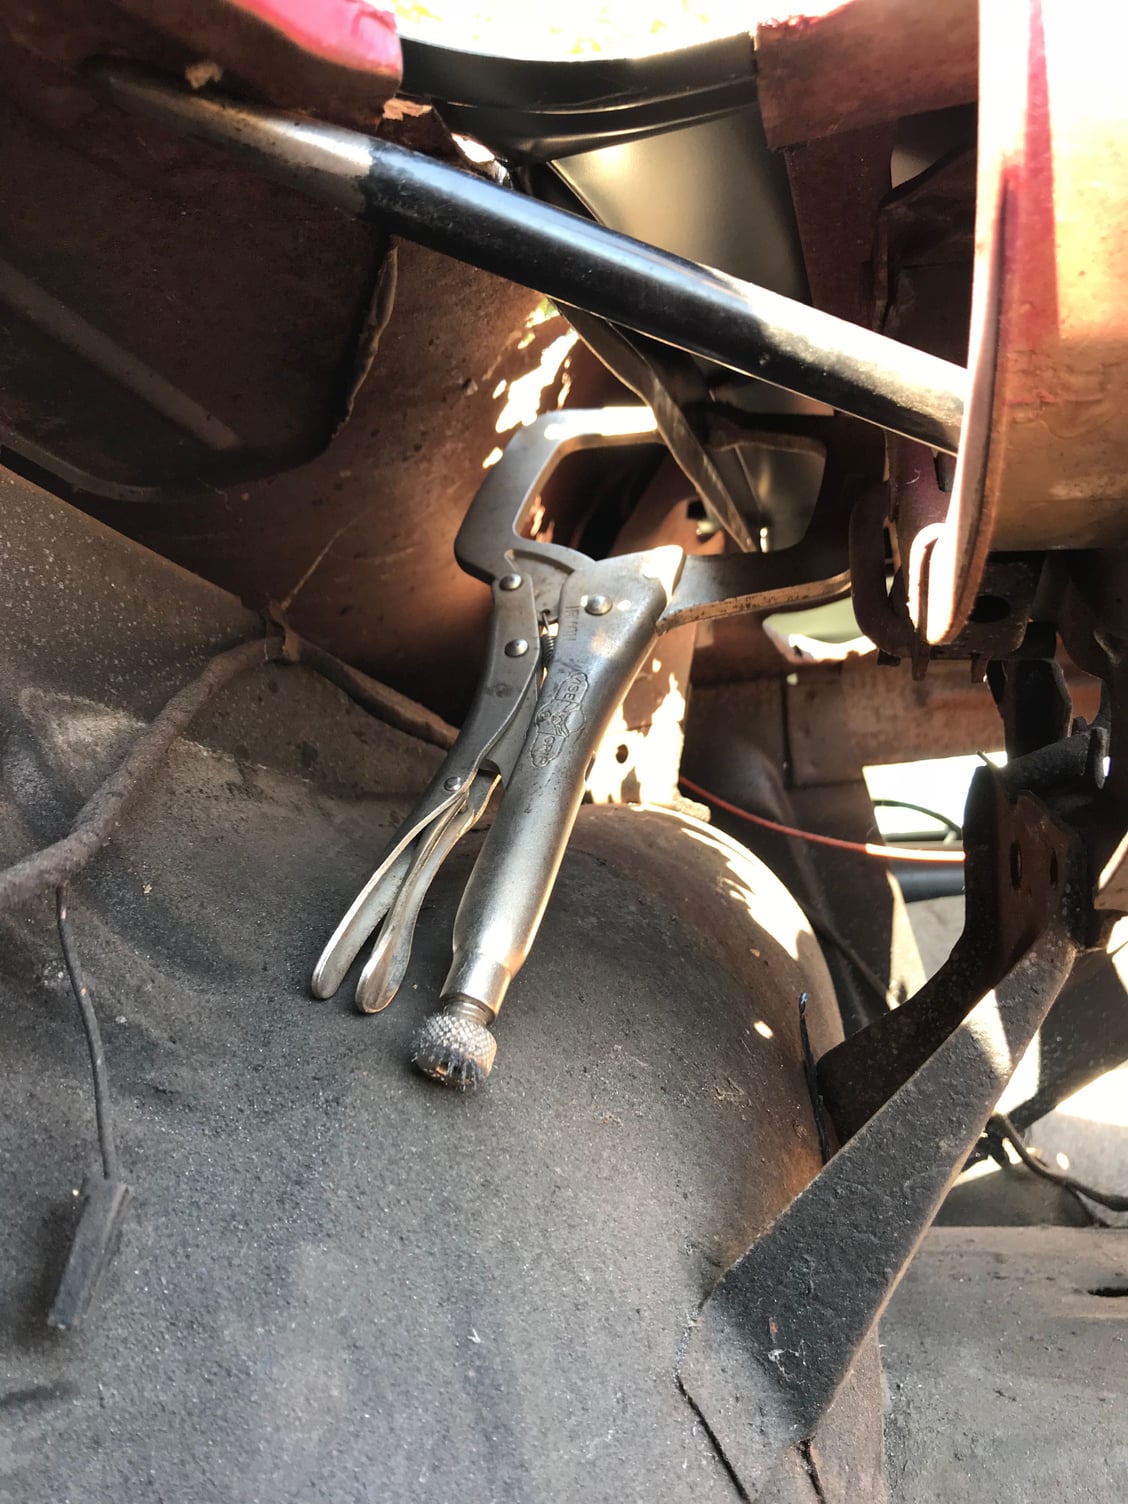
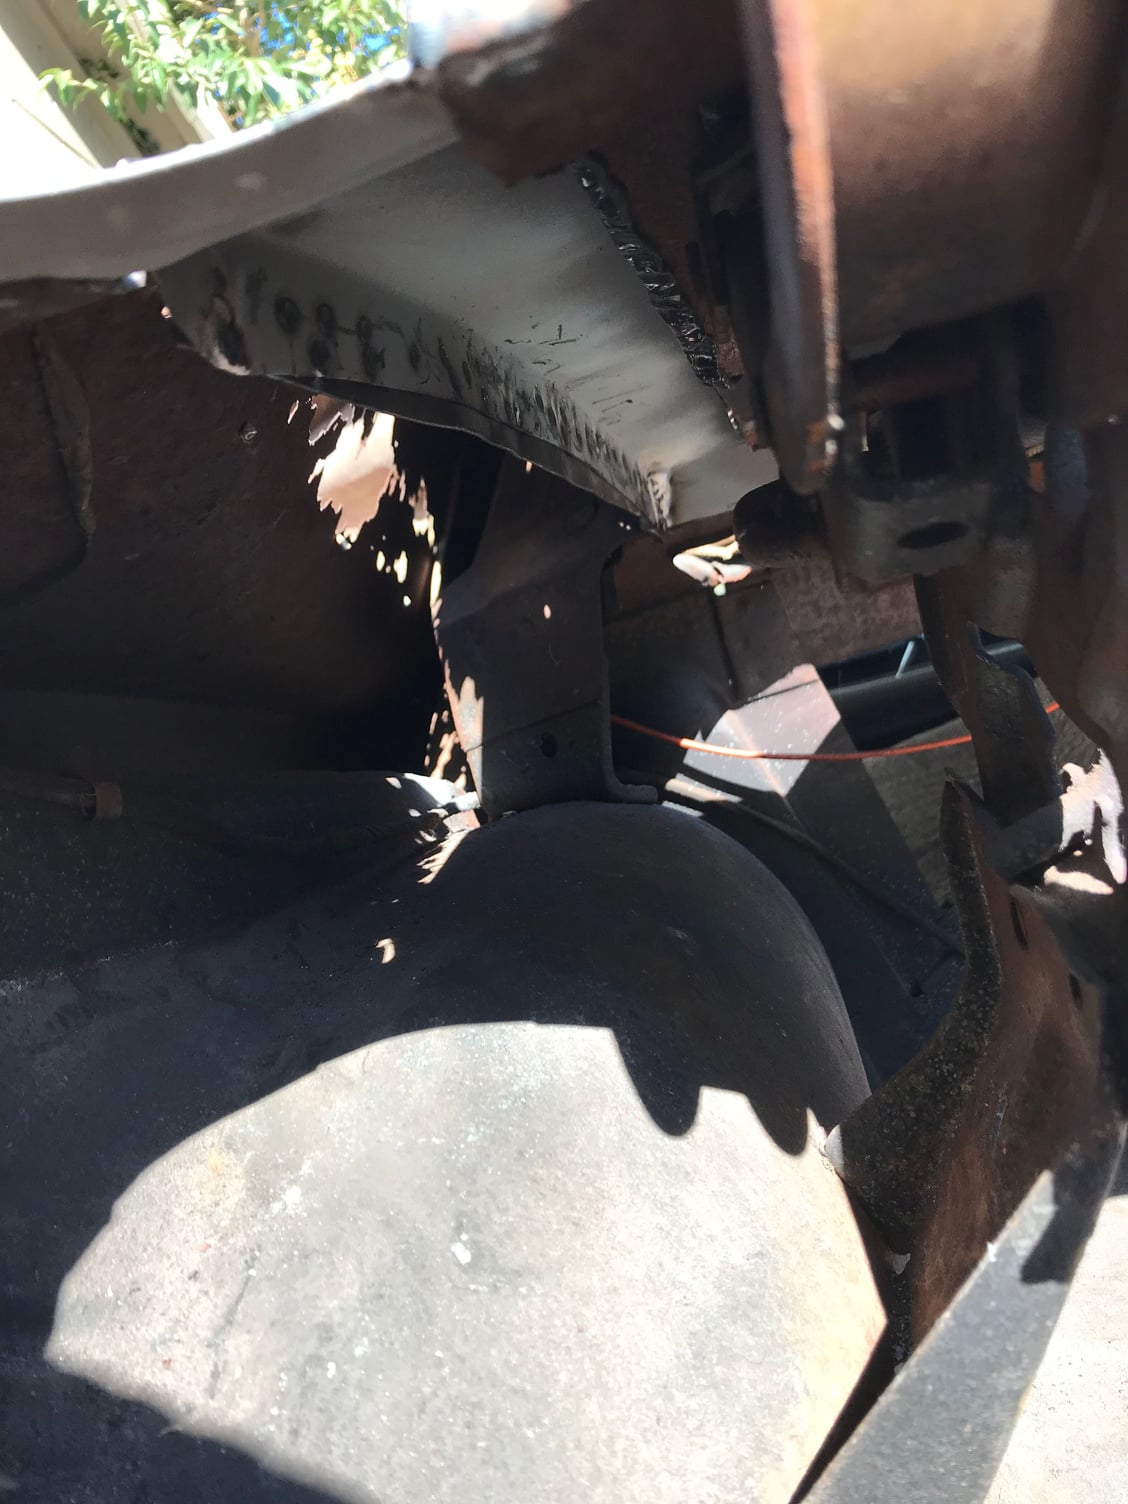
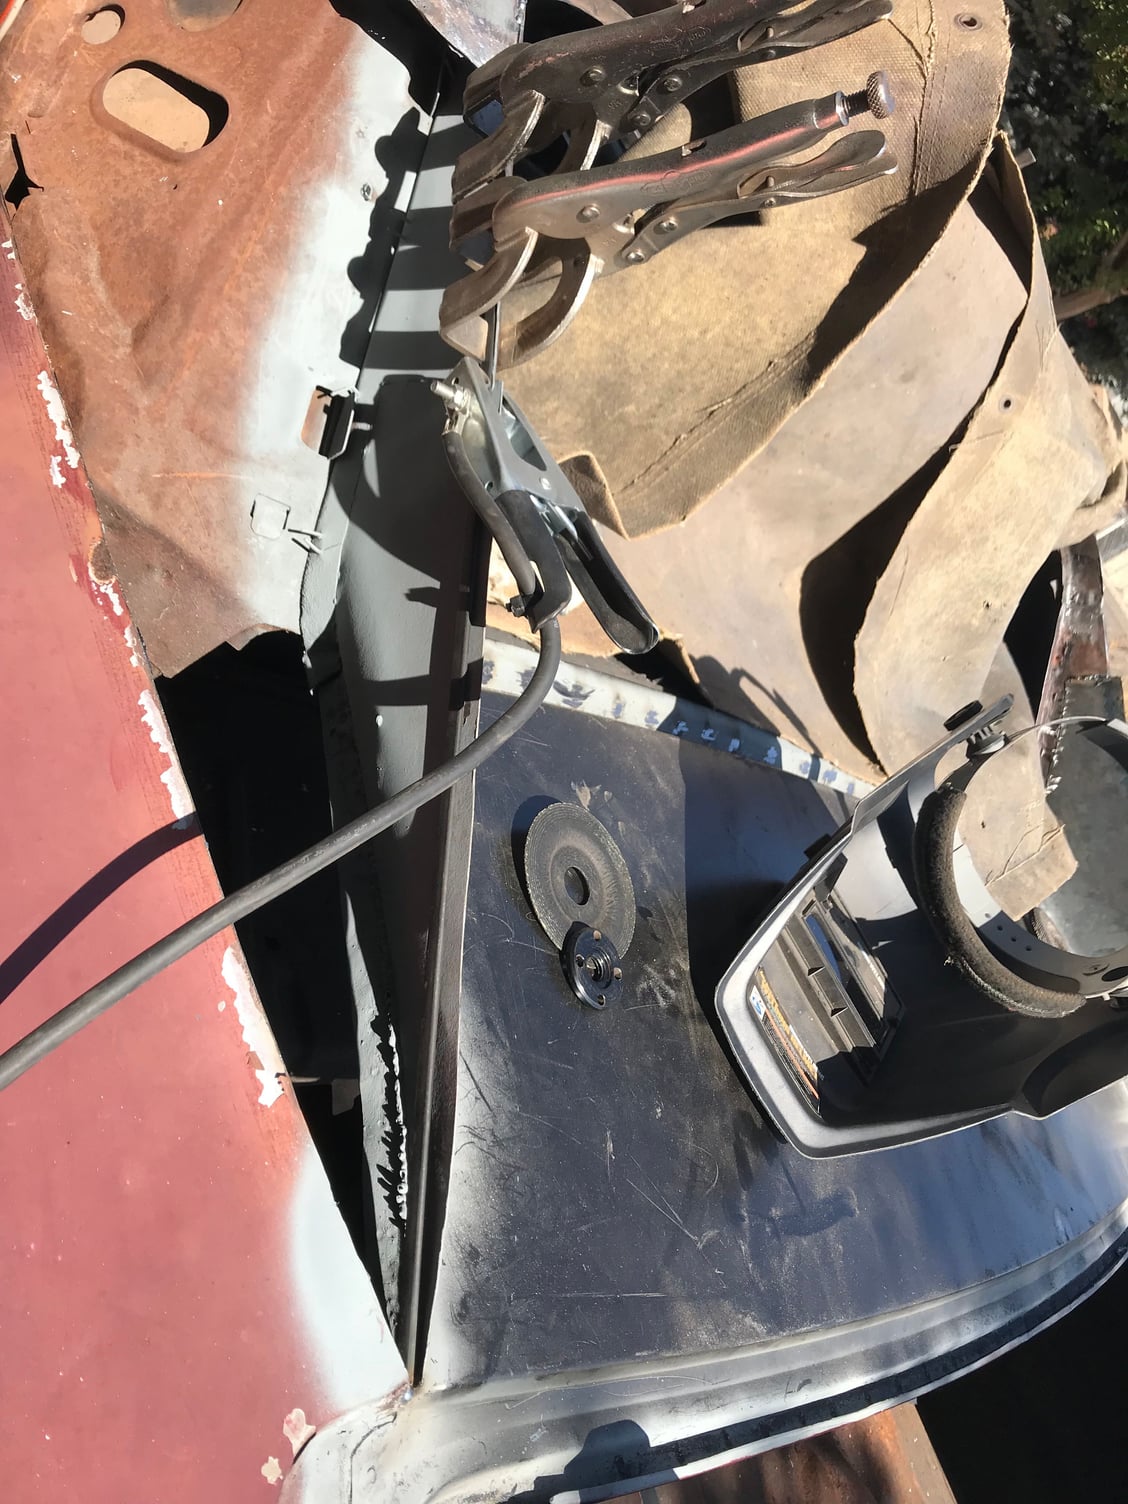
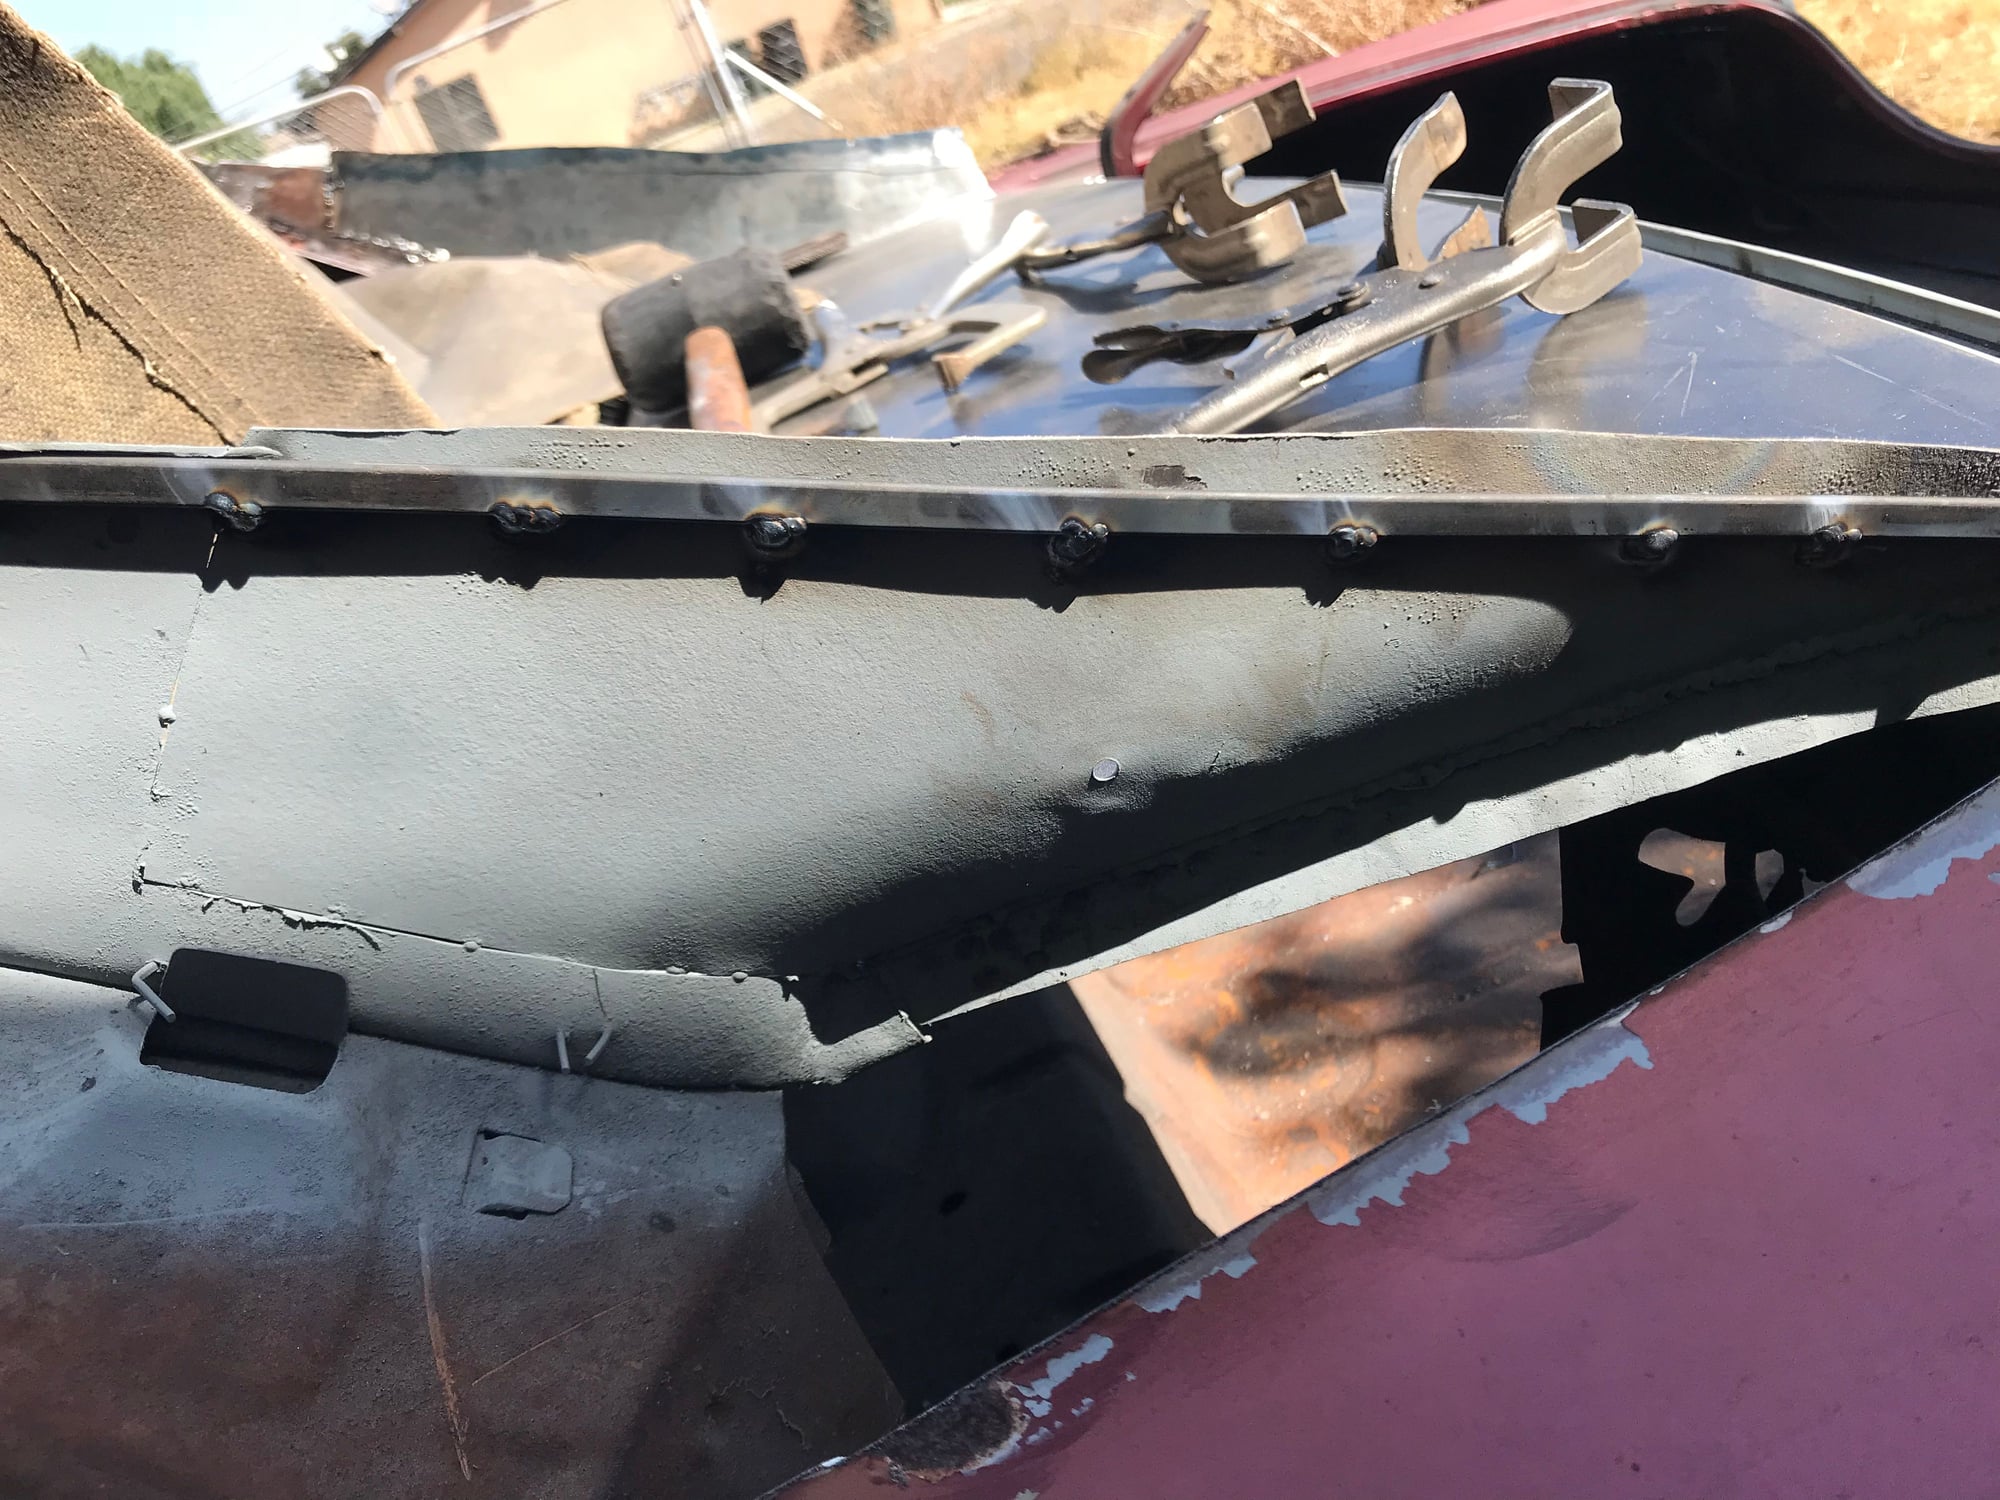
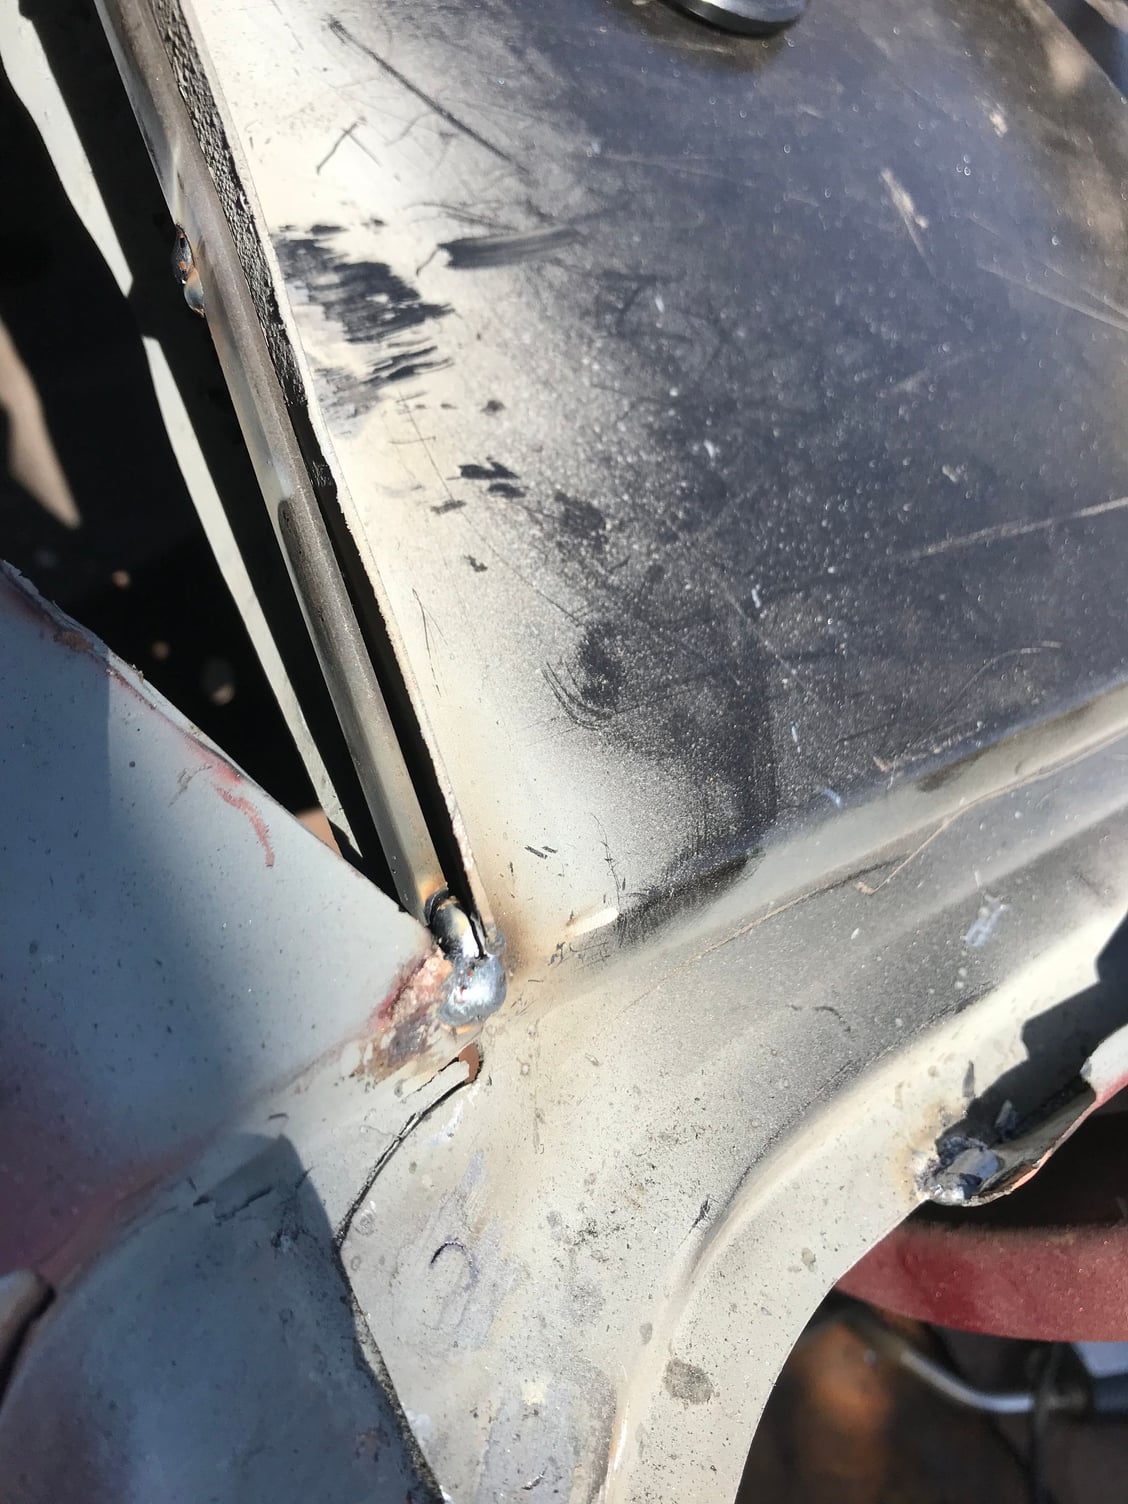
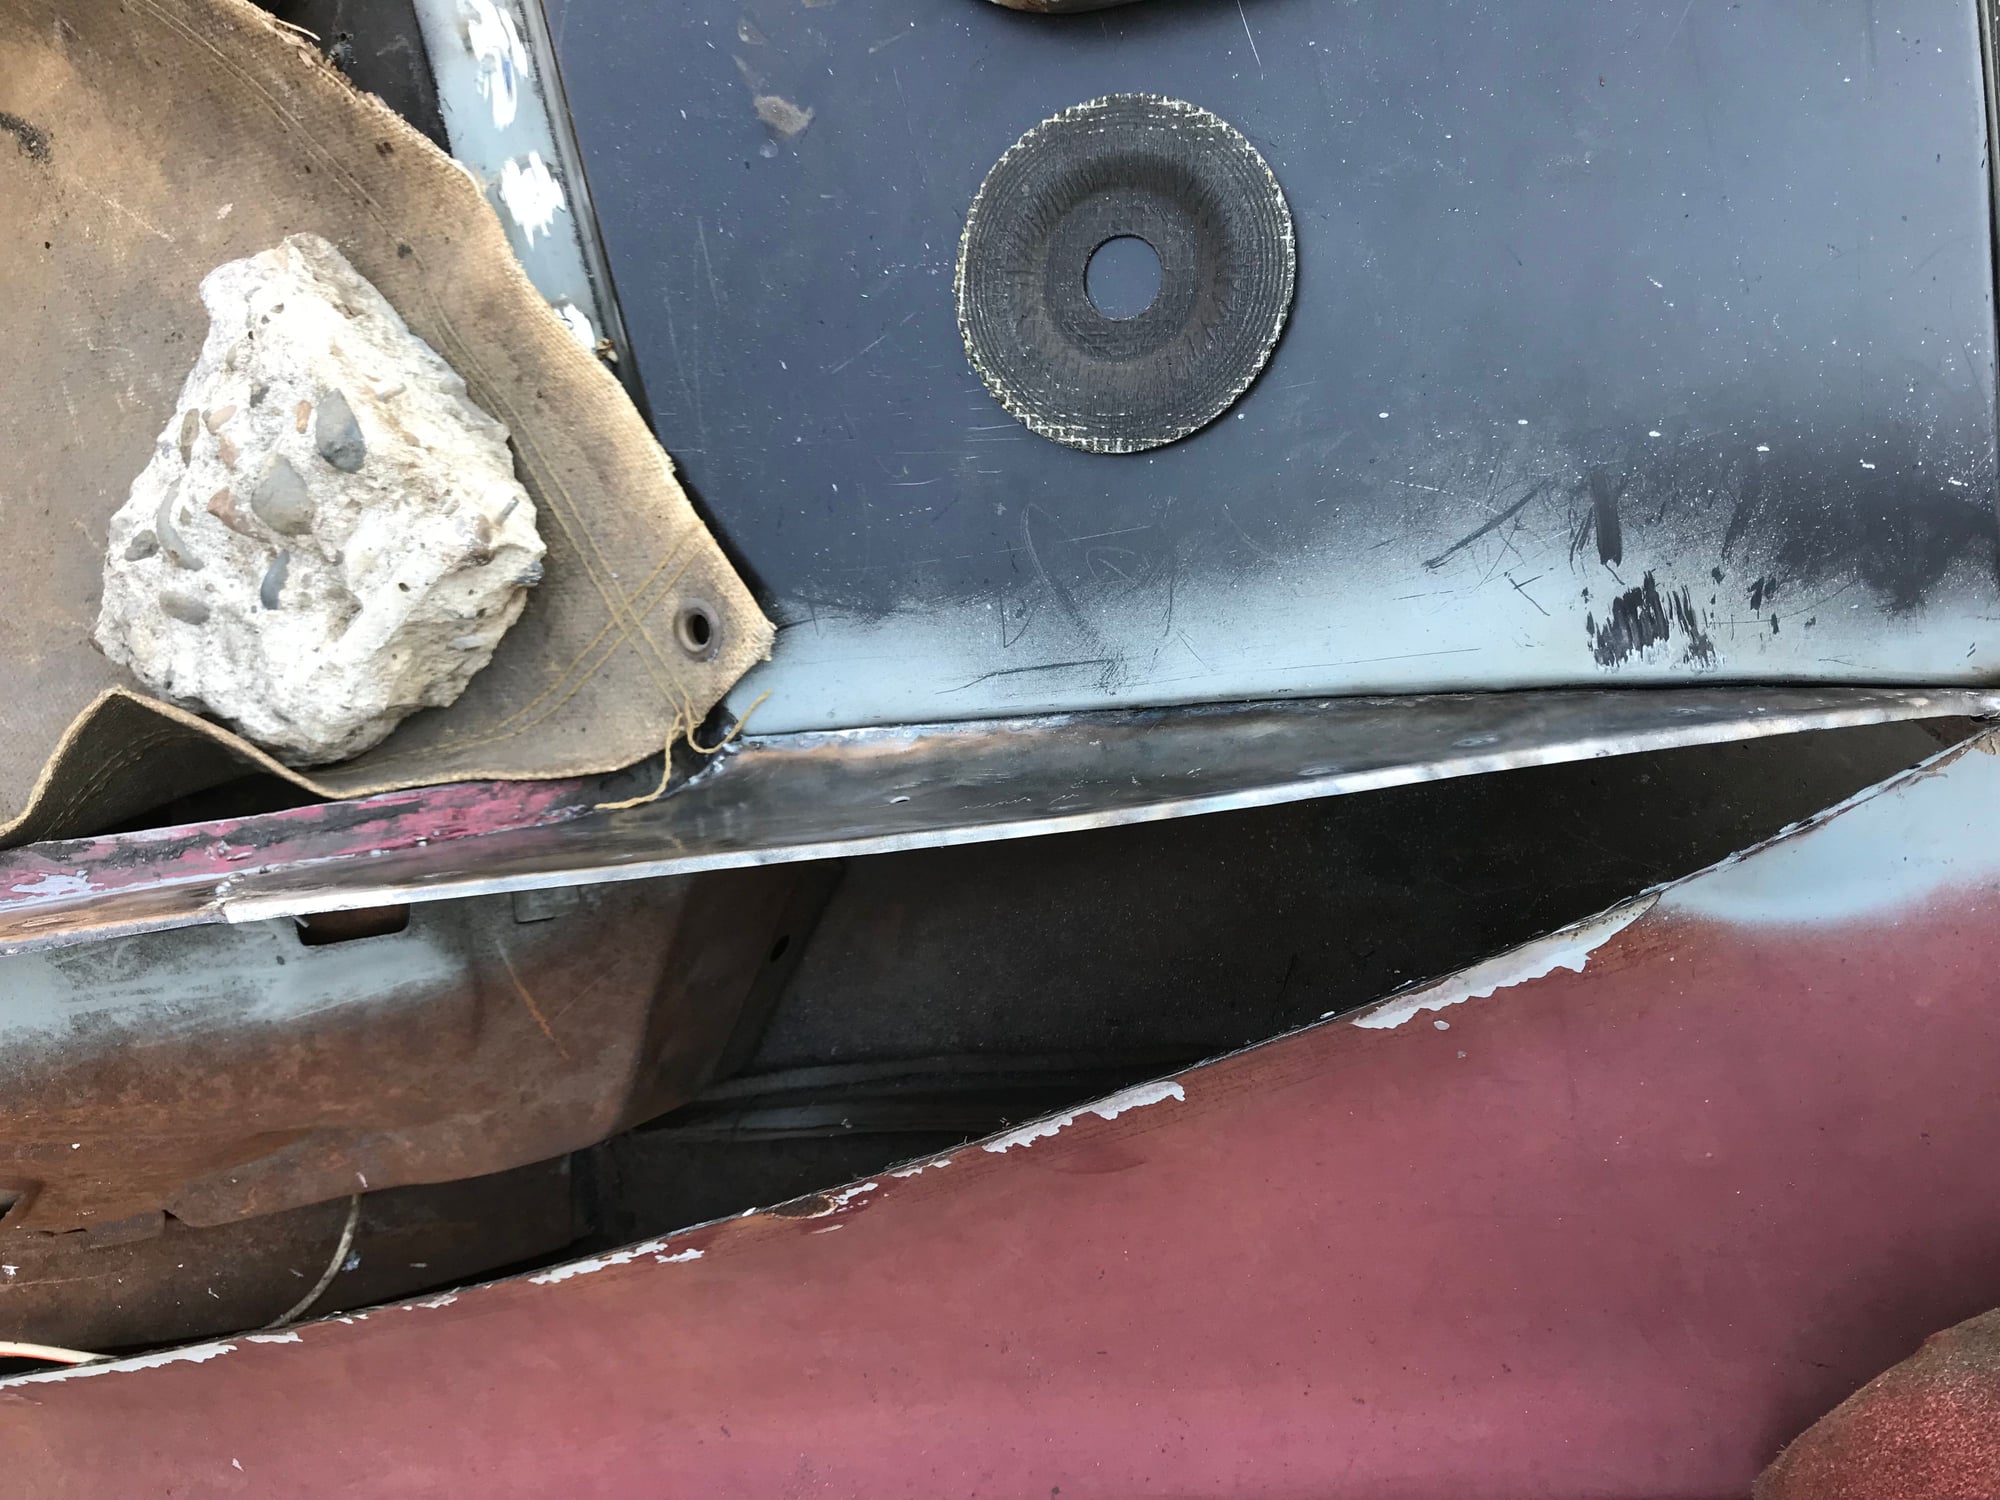
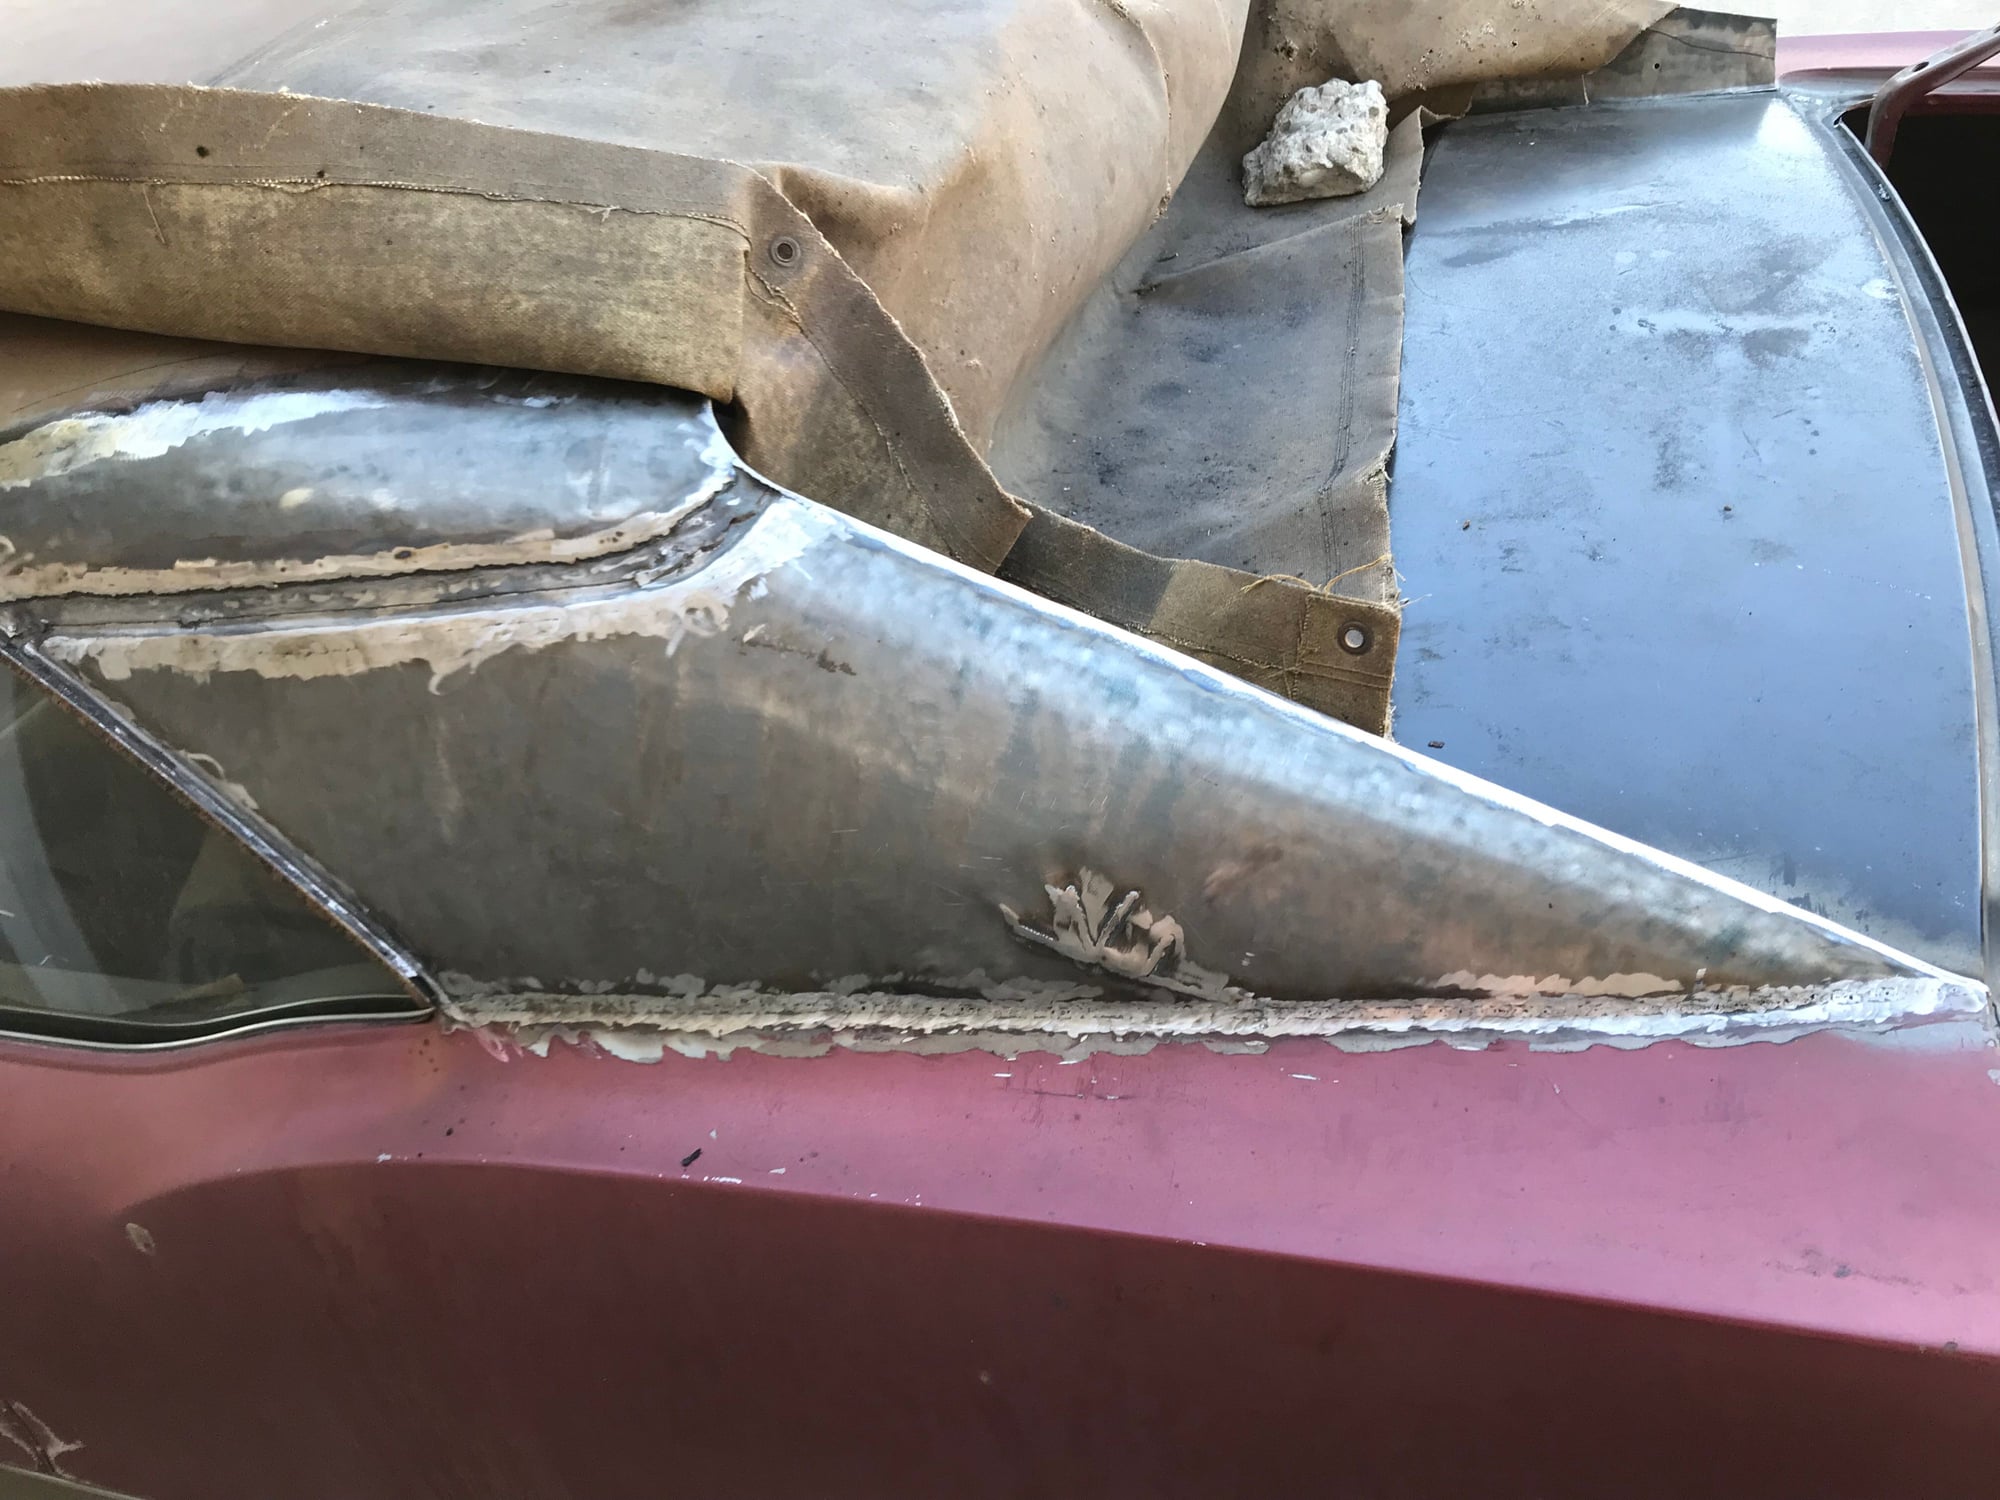
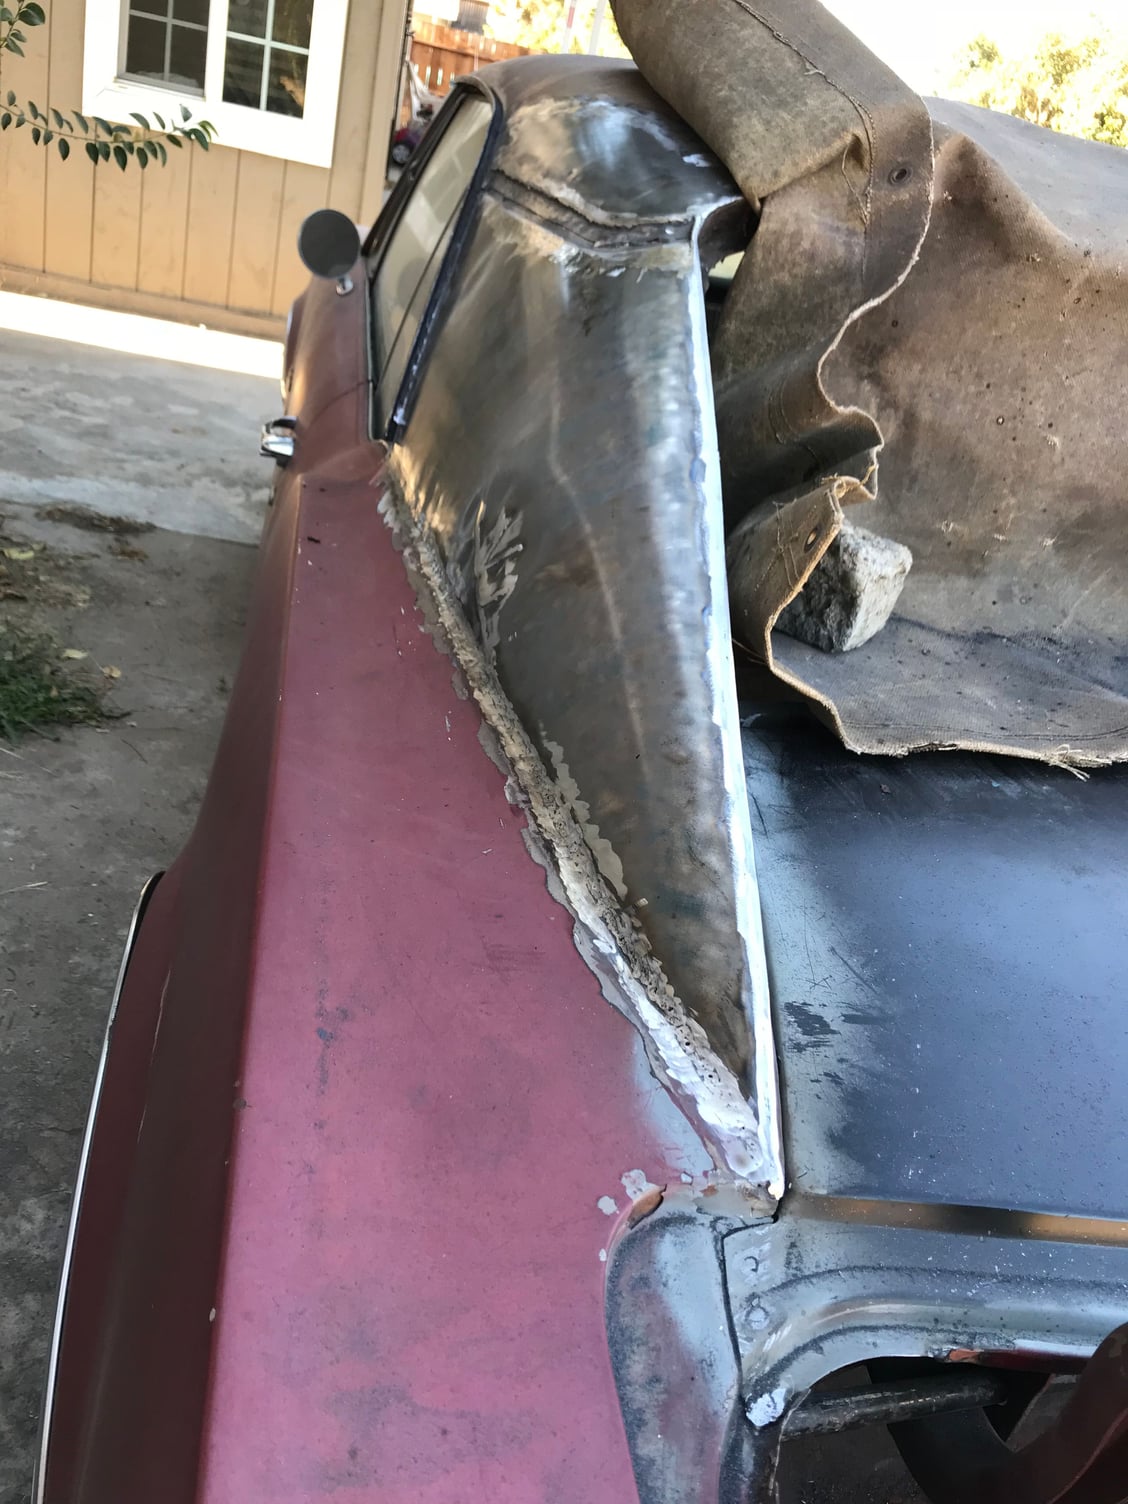
This is the hardest part about fixing the rust so far. The inner fast back panels have a fading cone shape that I donít have the tools or experienceto make in one piece. Instead, I used the original scrap and shaped a new piece to match. Stacked them like pancakes until the shapes matched and welded the flange to it. A real pain but a huge cosmetic thing to get right. I refuse to sculpt this out of bondo and take the easy way out.
#46
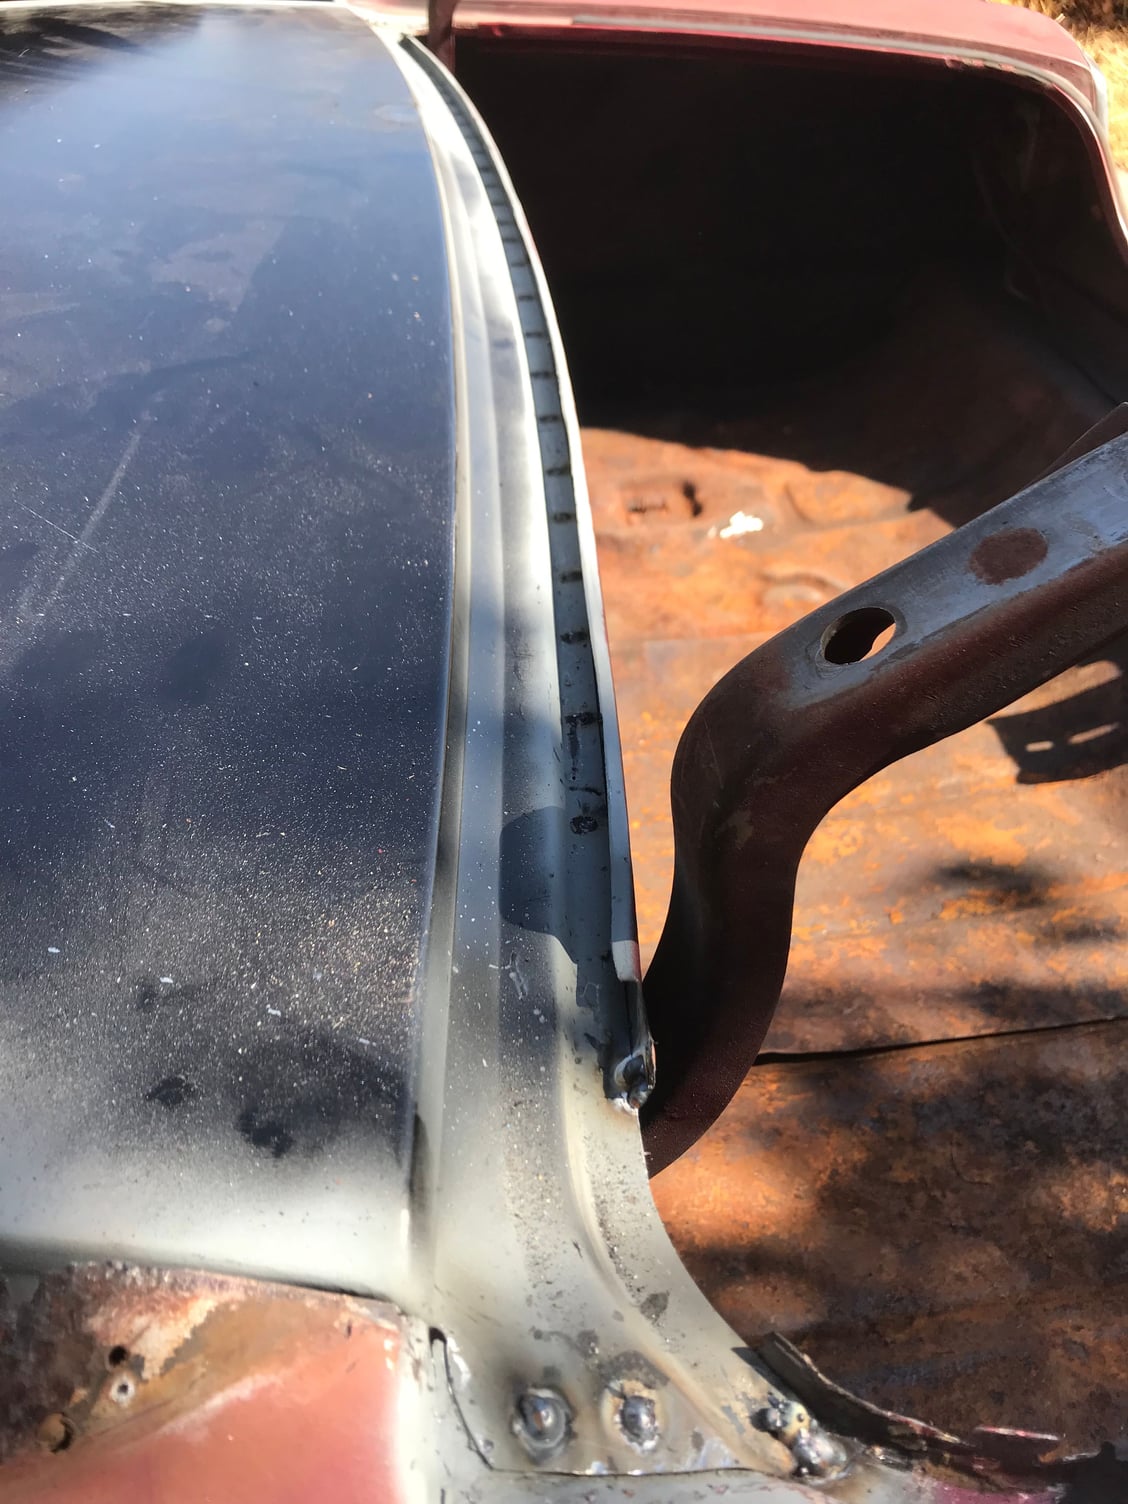
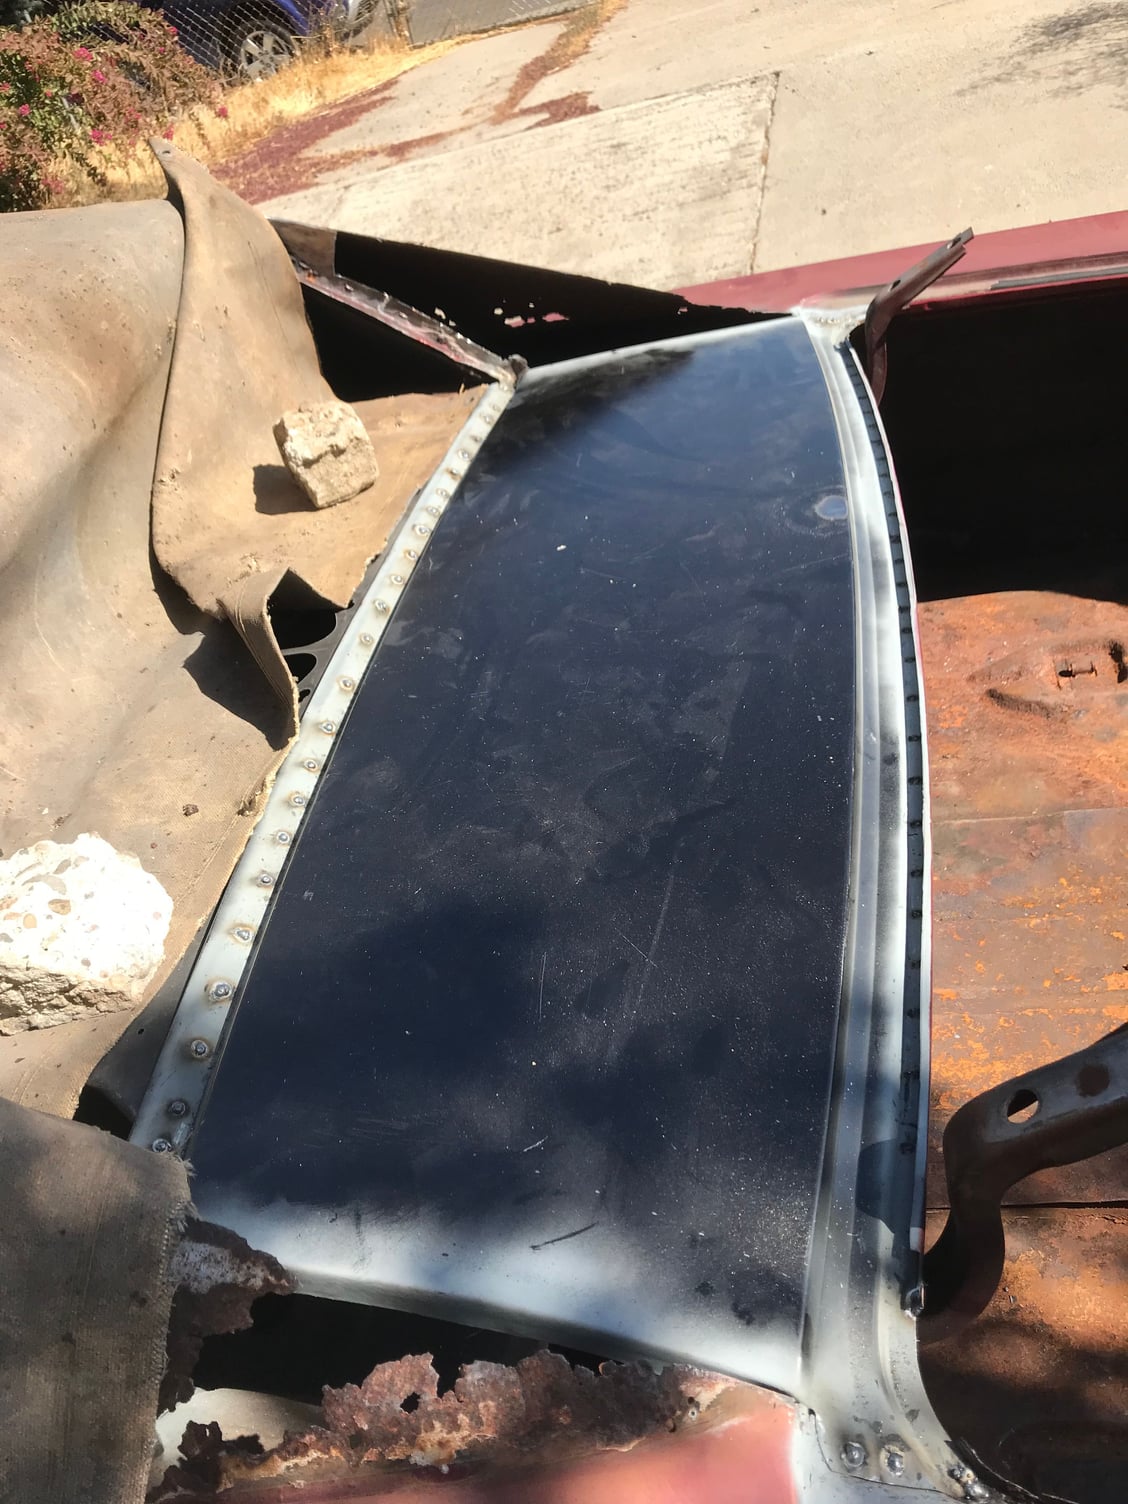
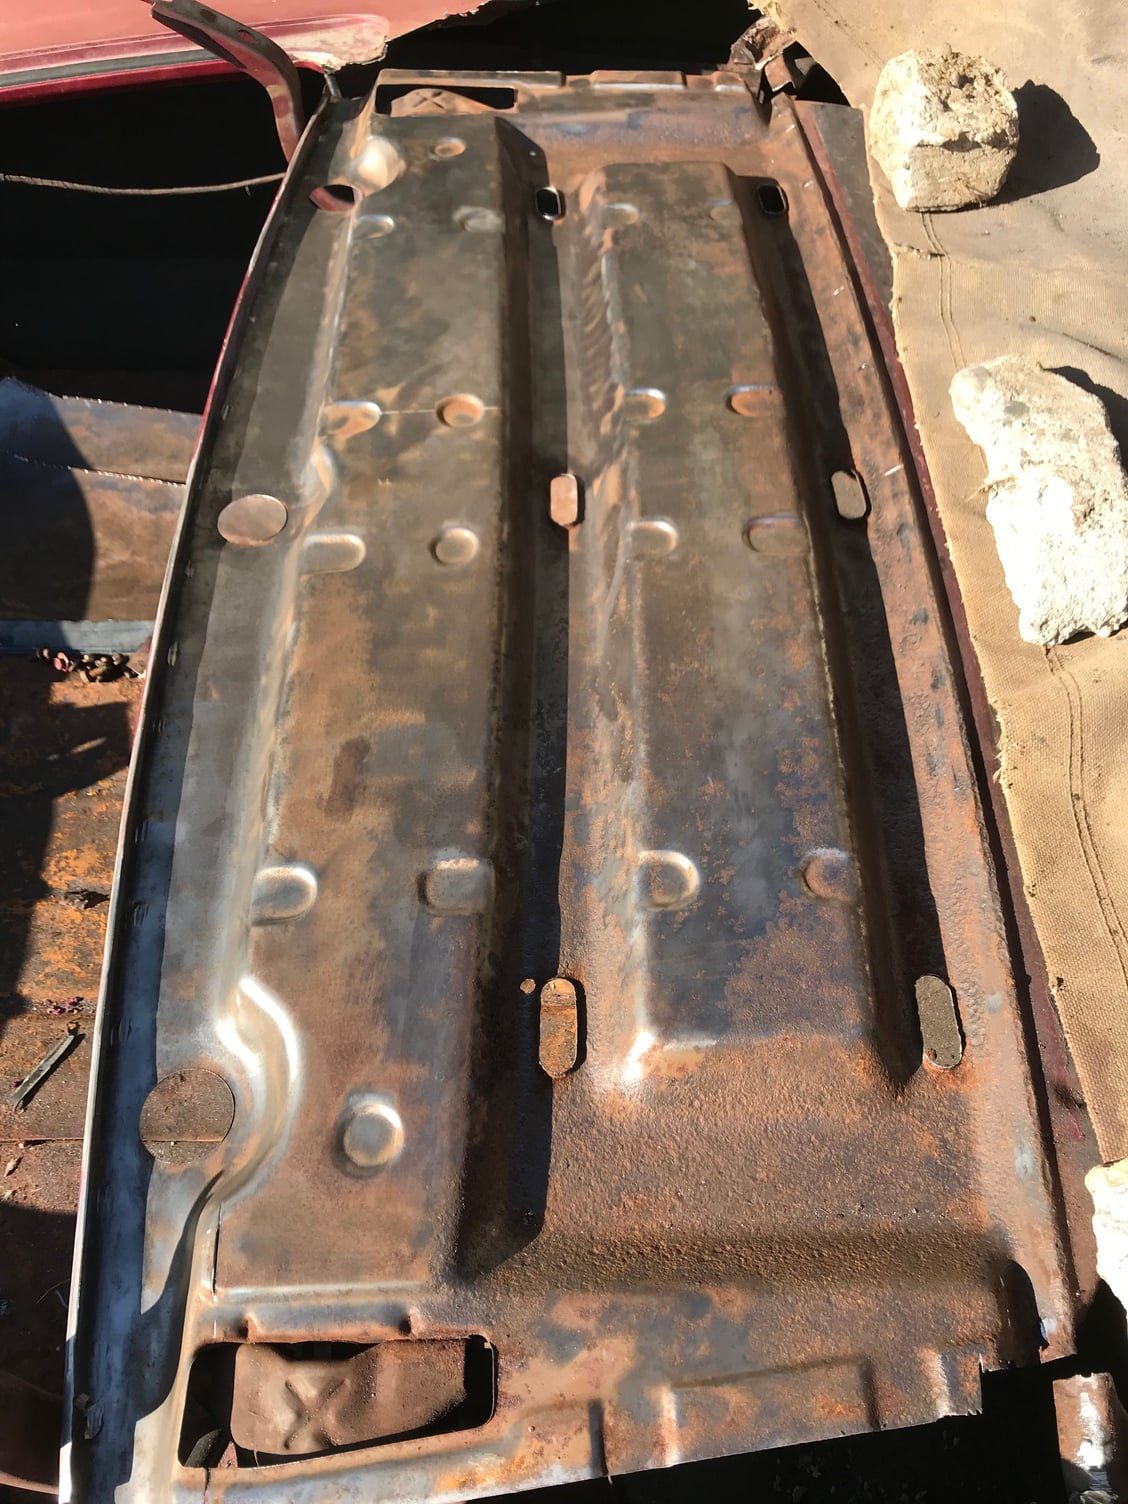
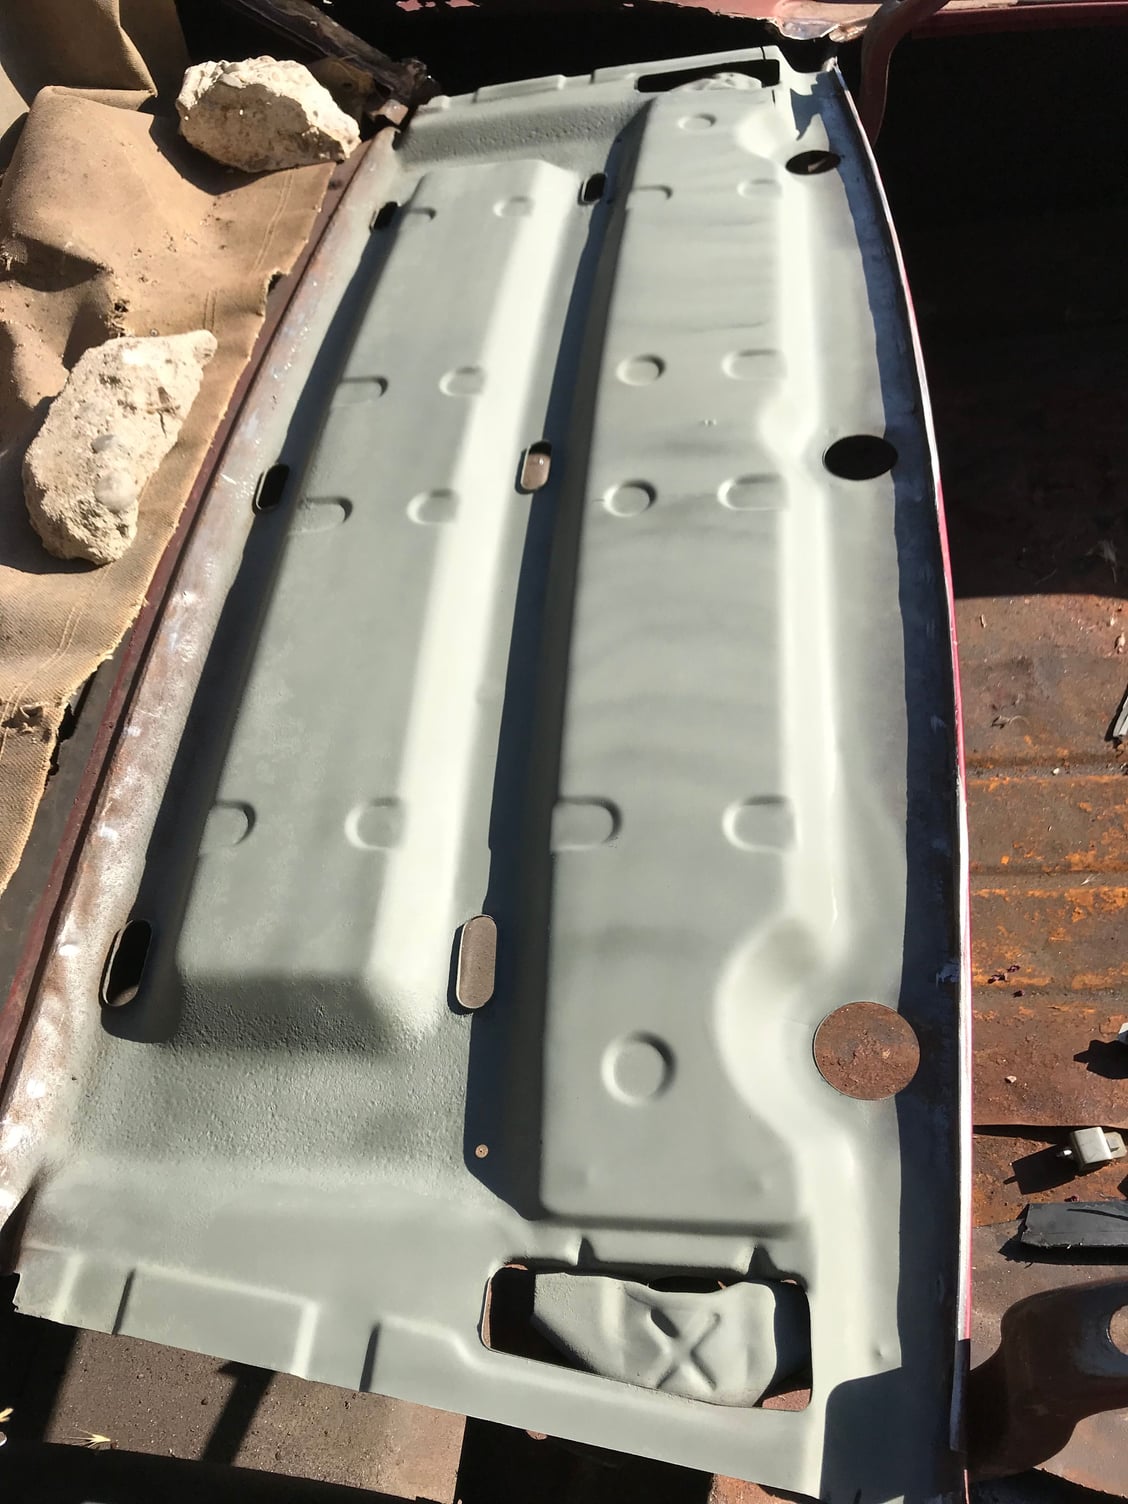
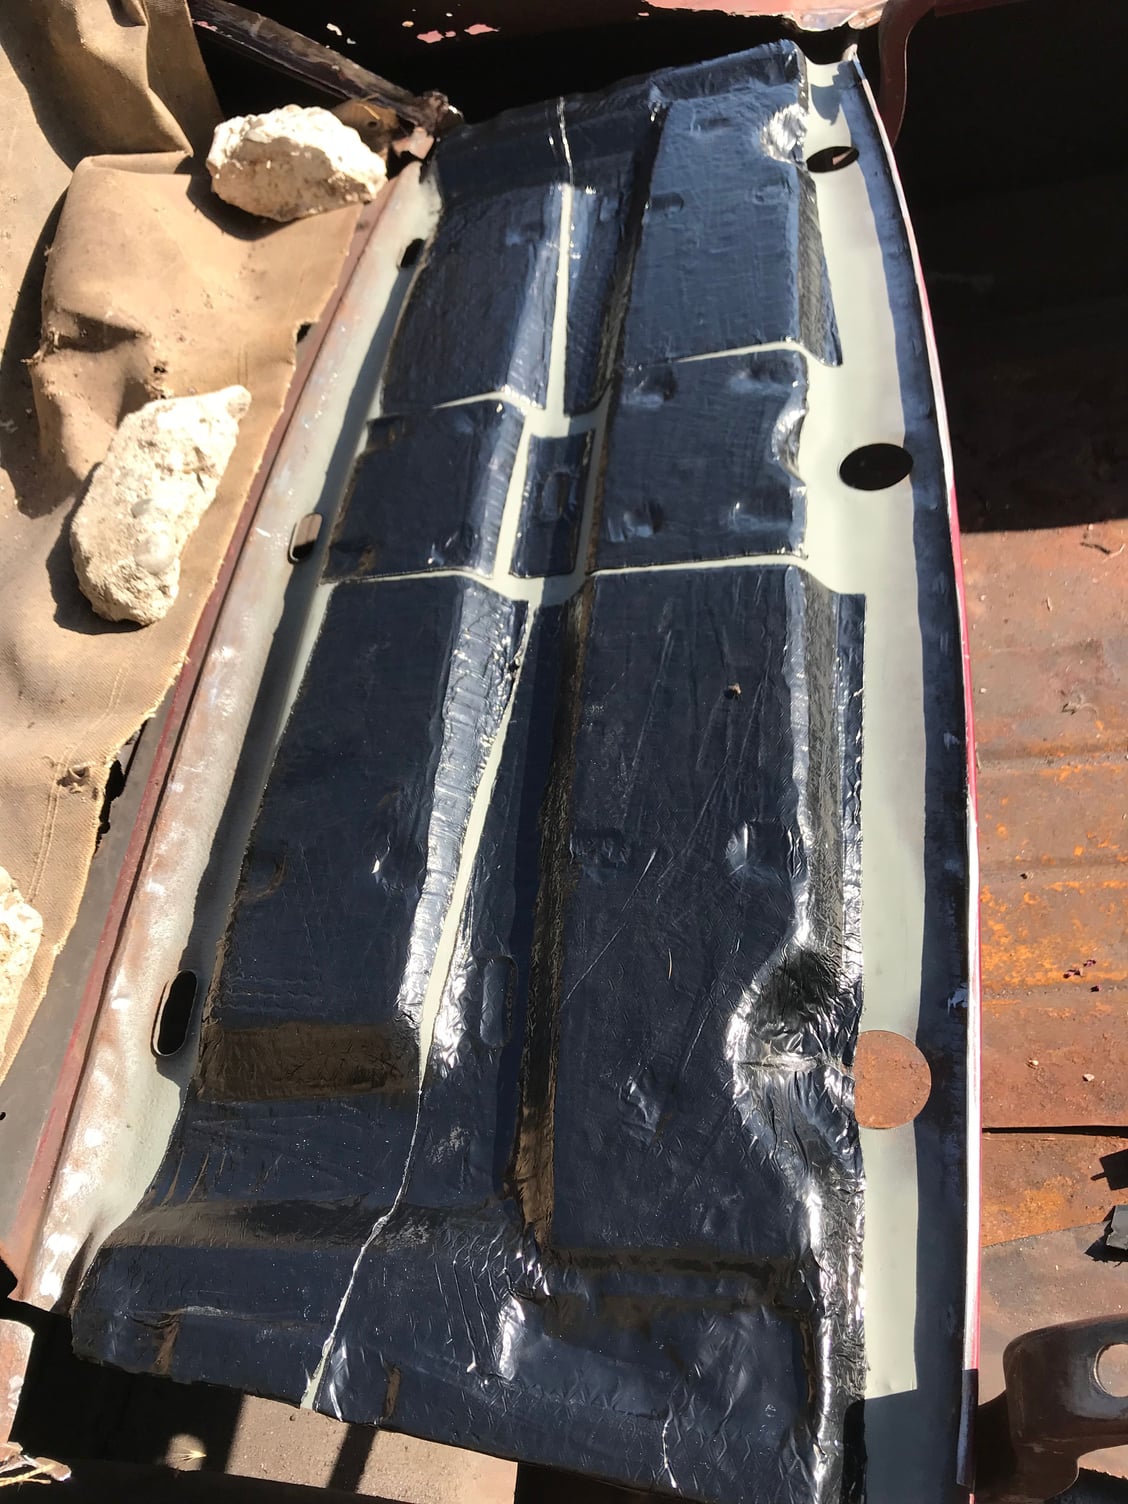
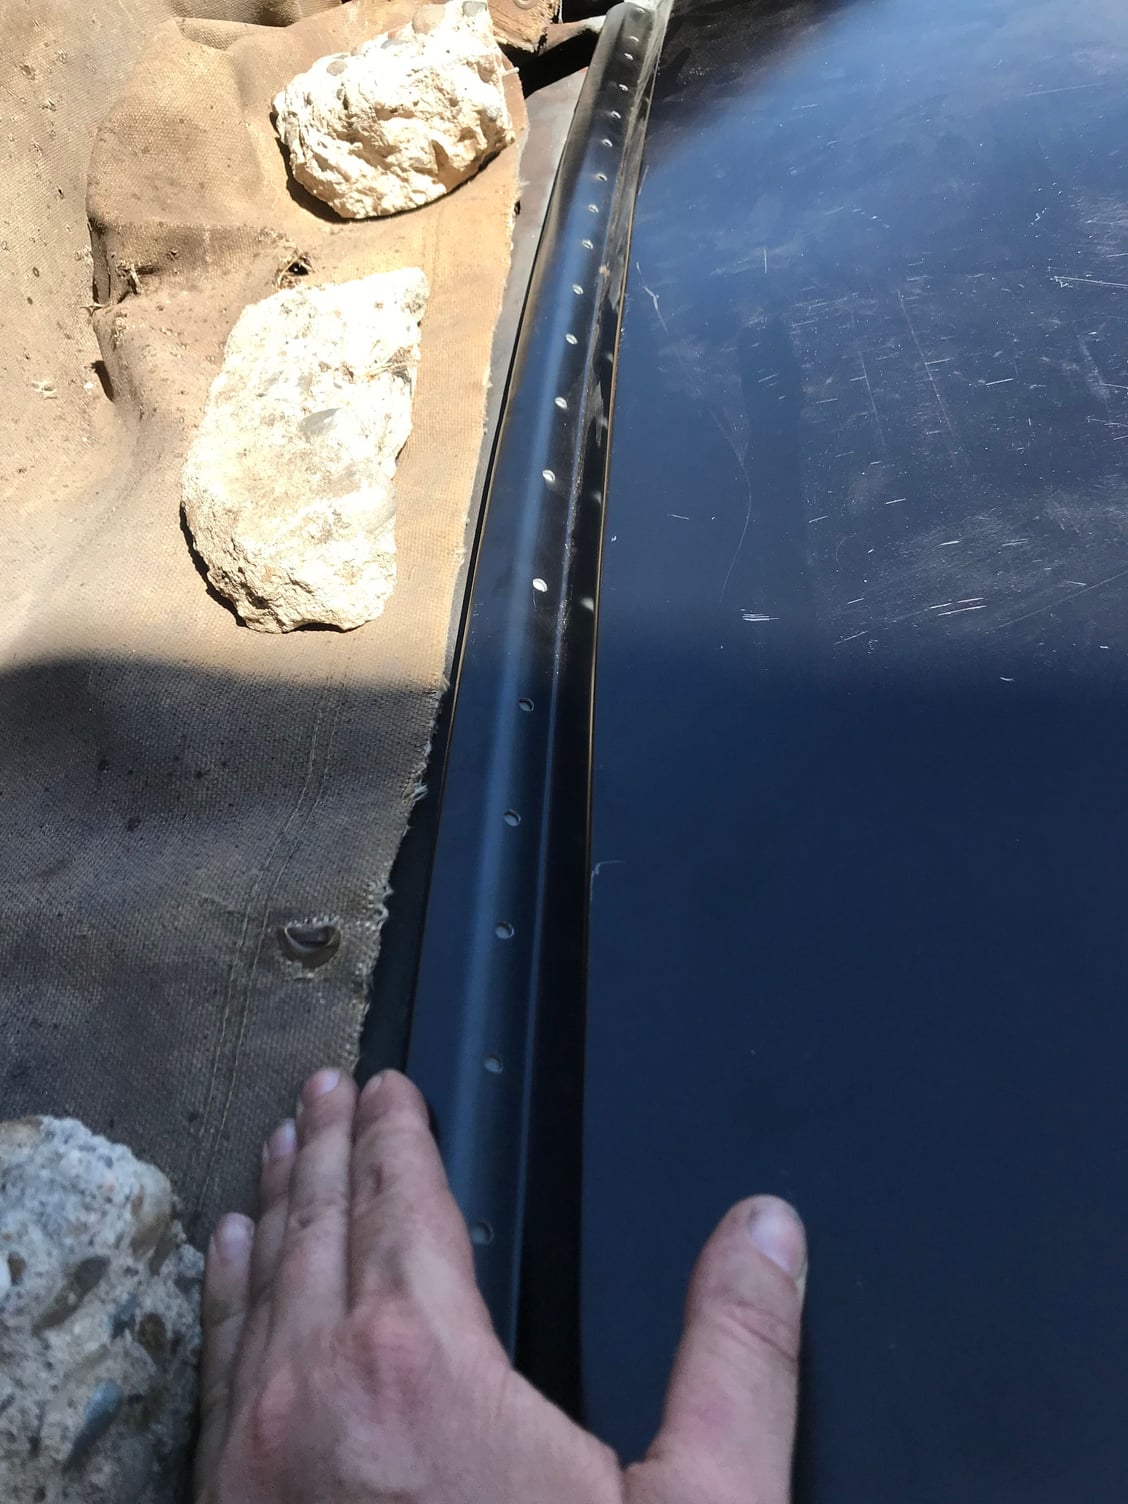
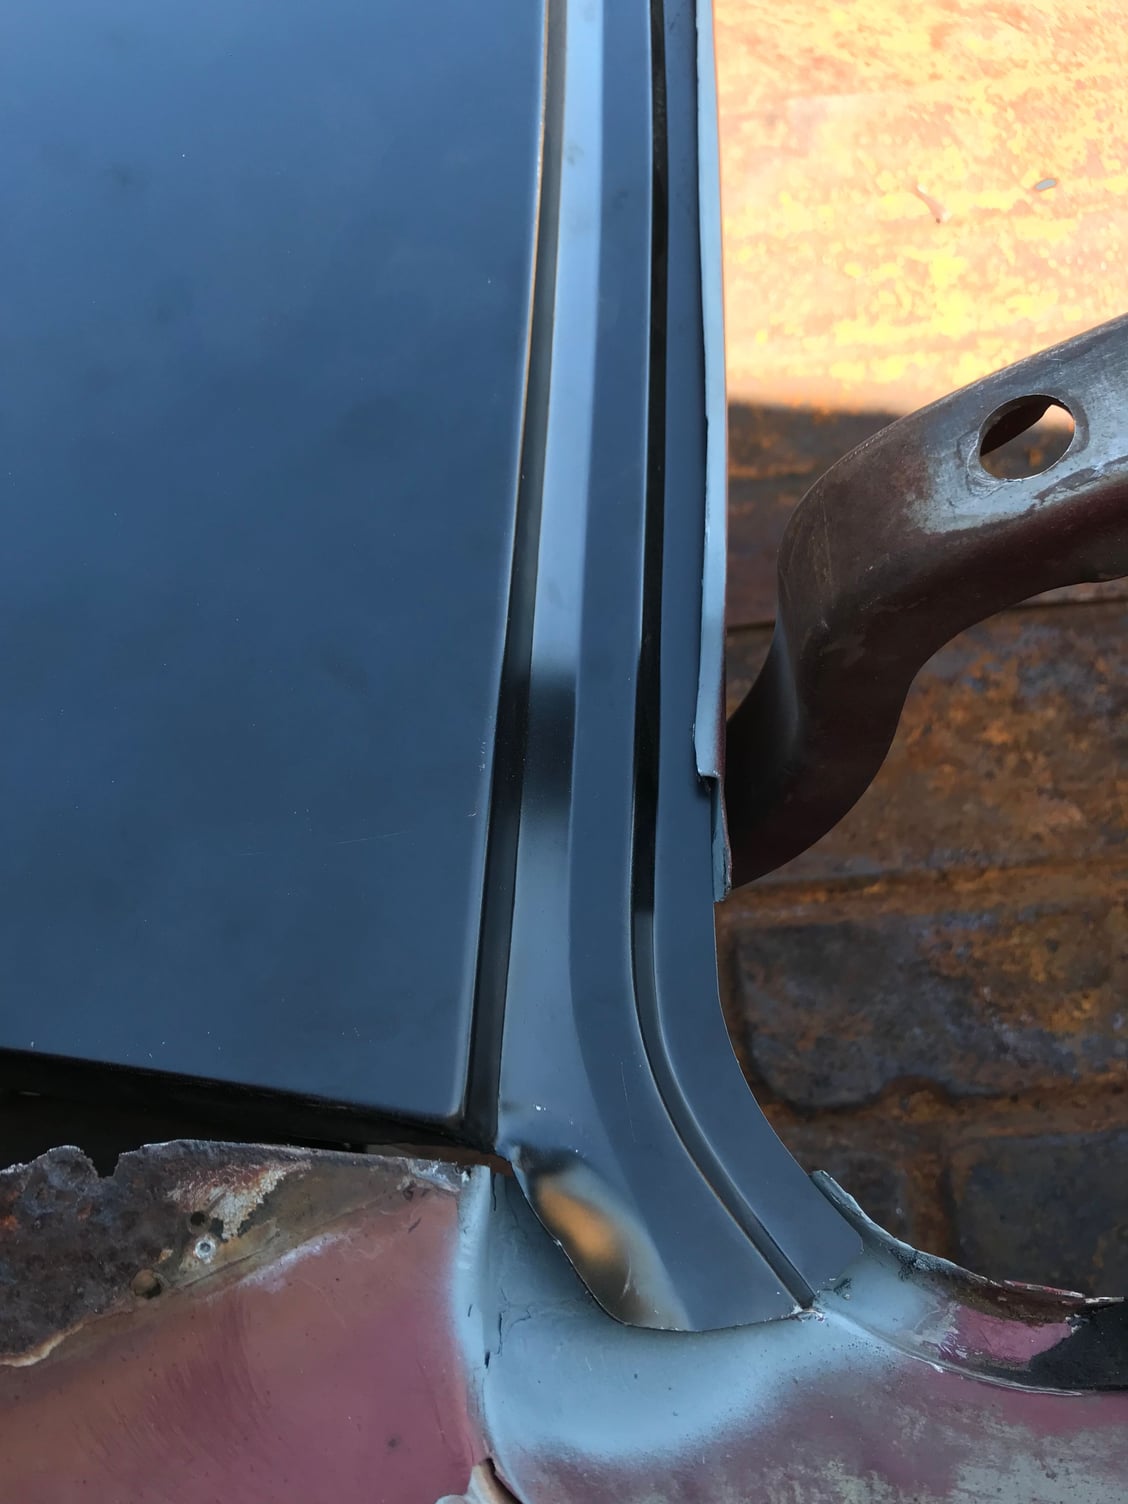
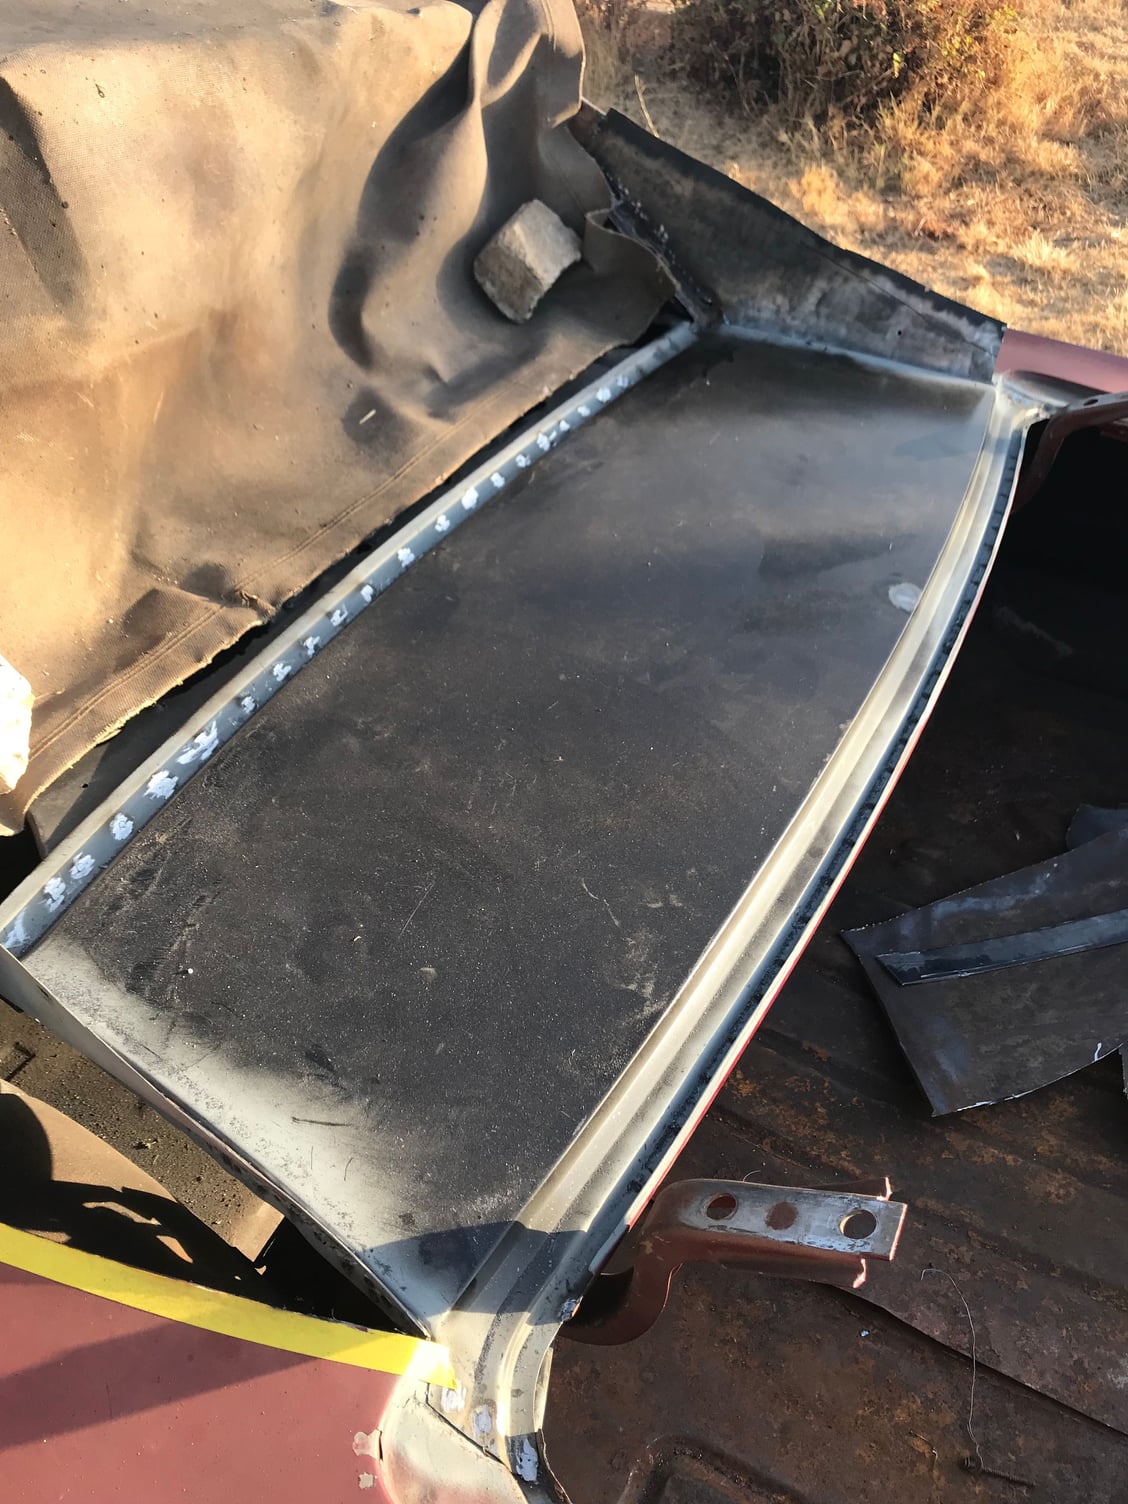
Decklid filler panel
#50
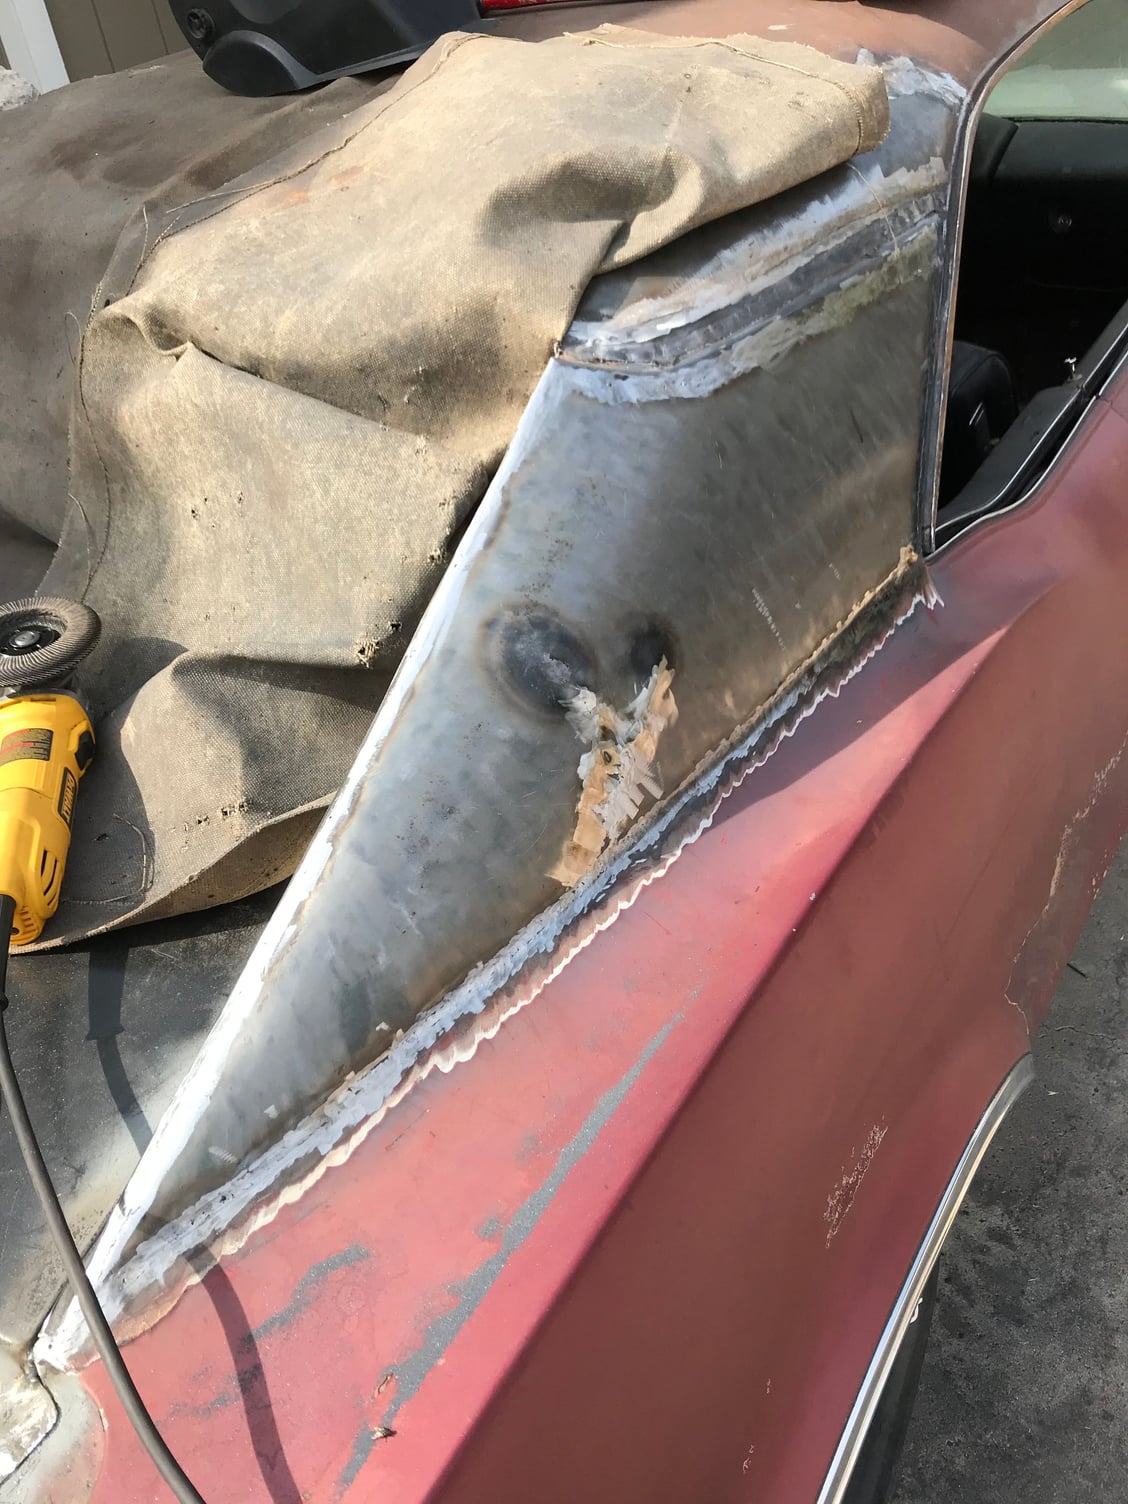
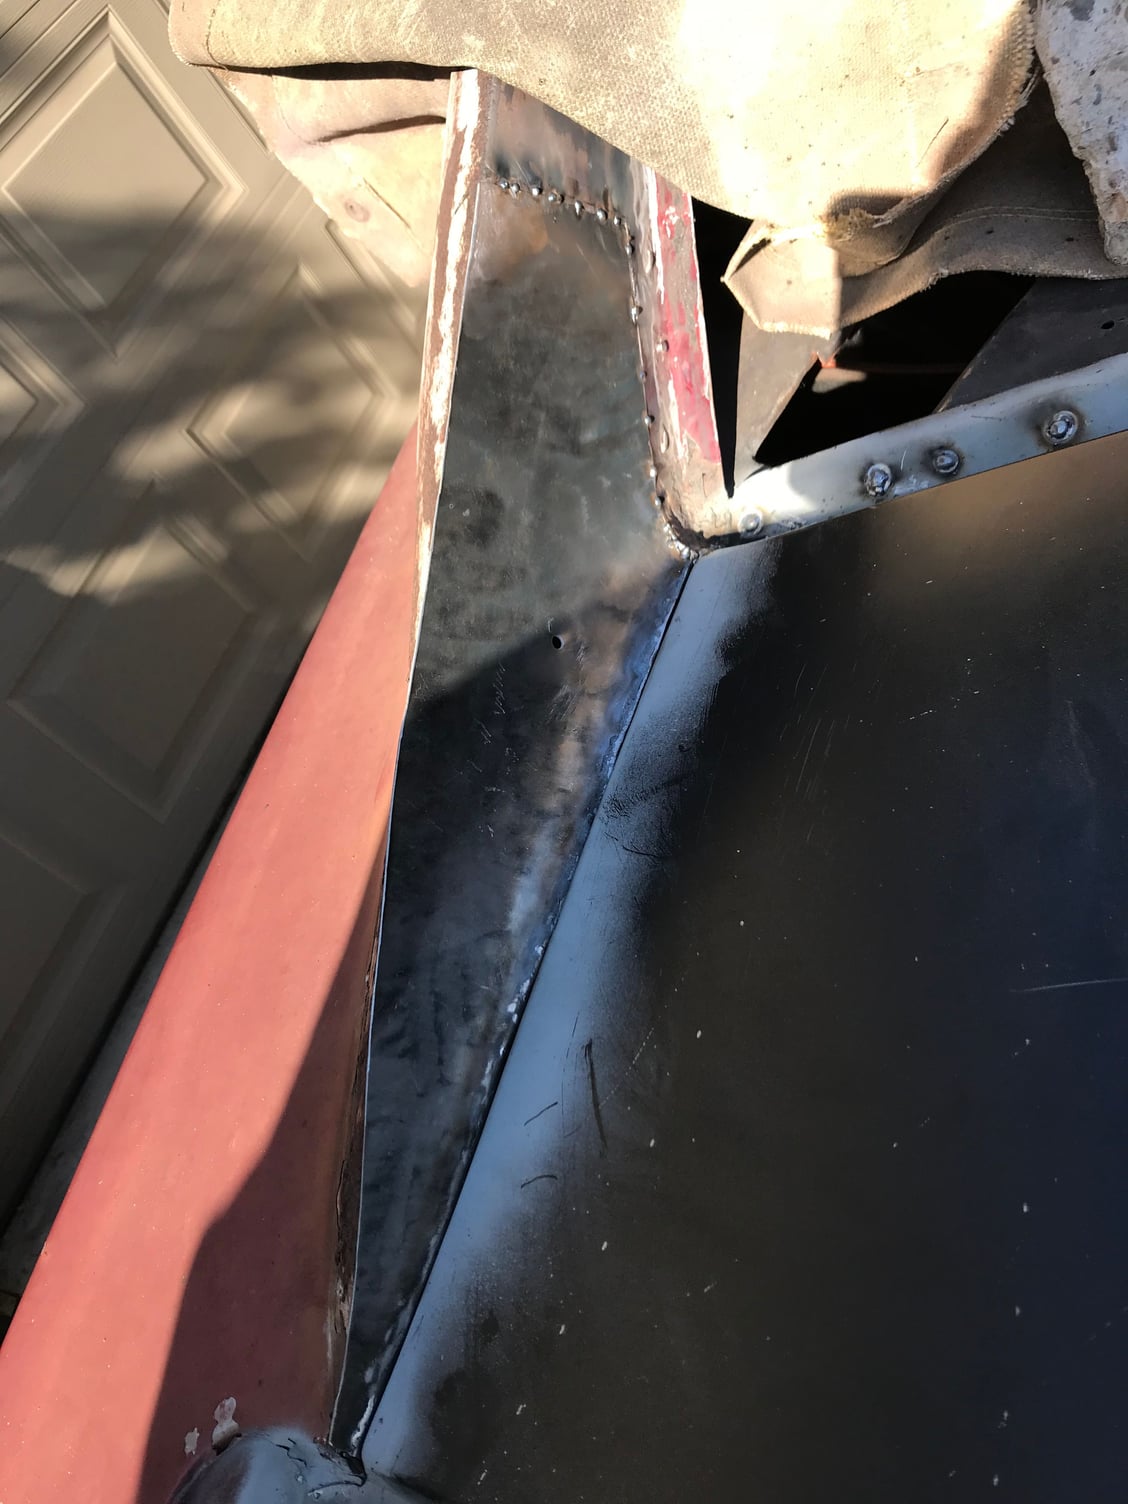
Hey thanks guys! Itís been very gratifying so far. Yesterday I was able to make the passenger side sail panel in one piece. I just changed my approach and it wasnít too difficult. These are my favorite kind of cars to do metal work on, because I cant possibly make it worse than it already was. THAT is what you need to get confidence up. One step at a time. Today, Iíll try to
get the rest of this area finished. If that goes well, everything else should be cake.
get the rest of this area finished. If that goes well, everything else should be cake.
#52
#54
Thank you very much. I hope to be a master one day, Iím pretty critical of myself, I have a long way to go. If I can get the hang of TIG welding and get my hands on some more shaping tools I will be happy.
Last edited by 1967Supreeeme; October 10th, 2017 at 01:55 PM.
#55
#56
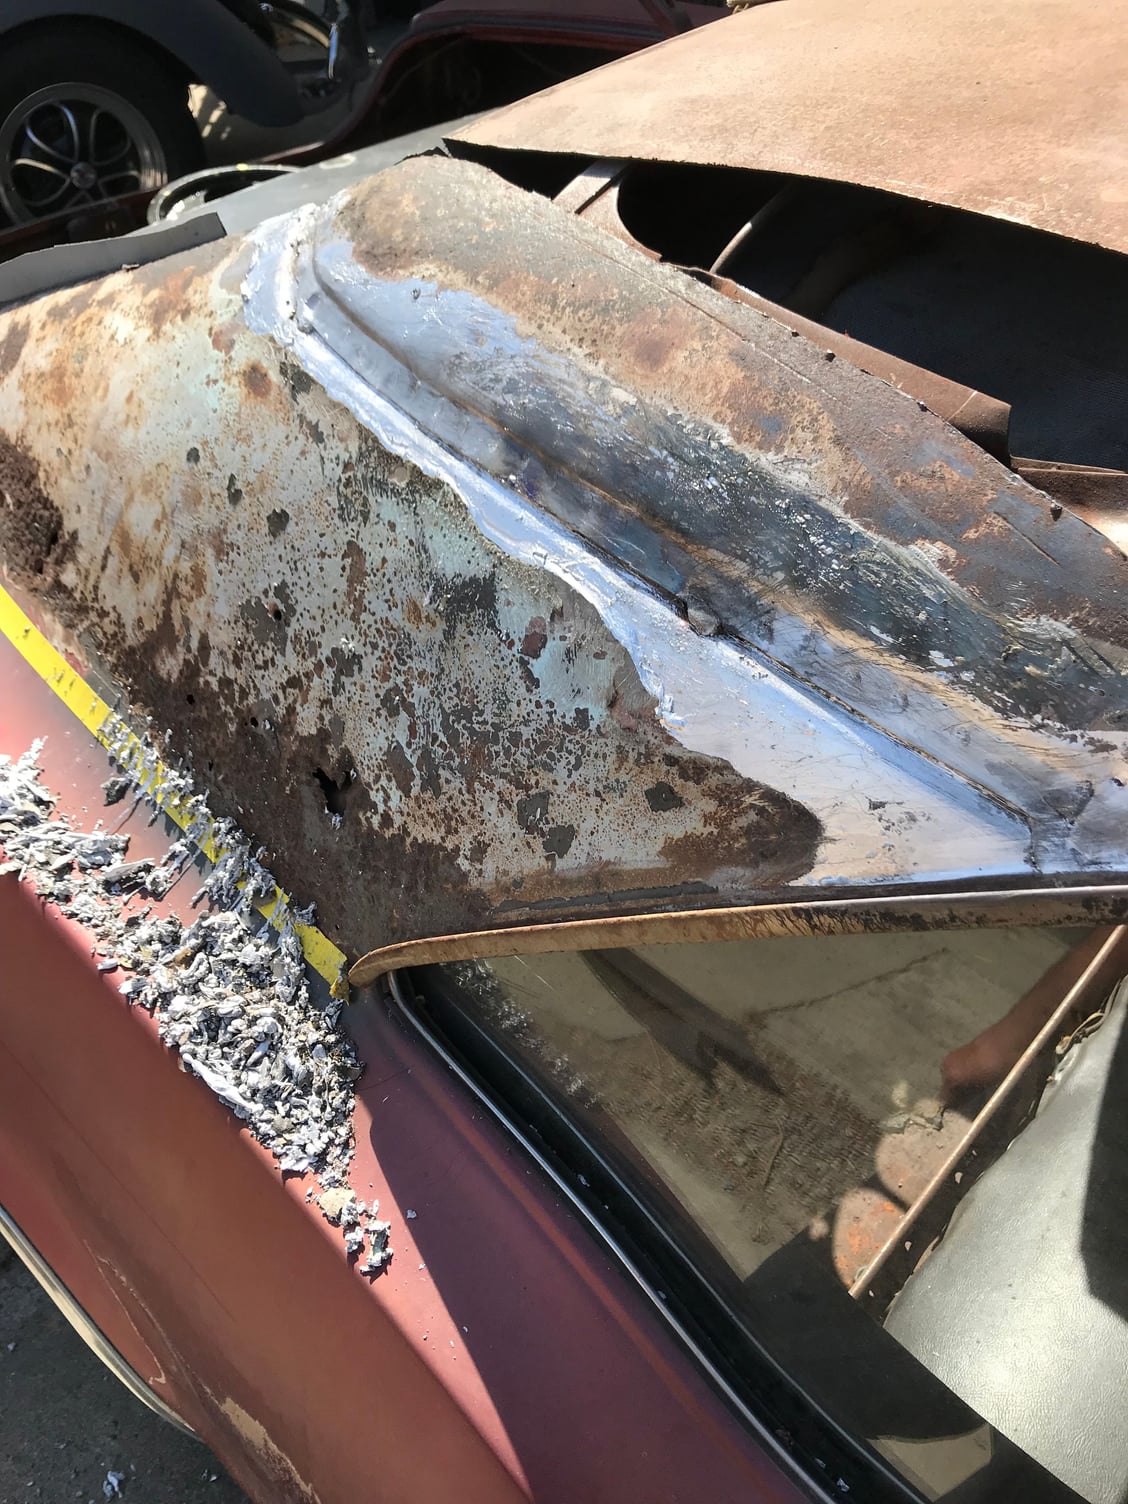
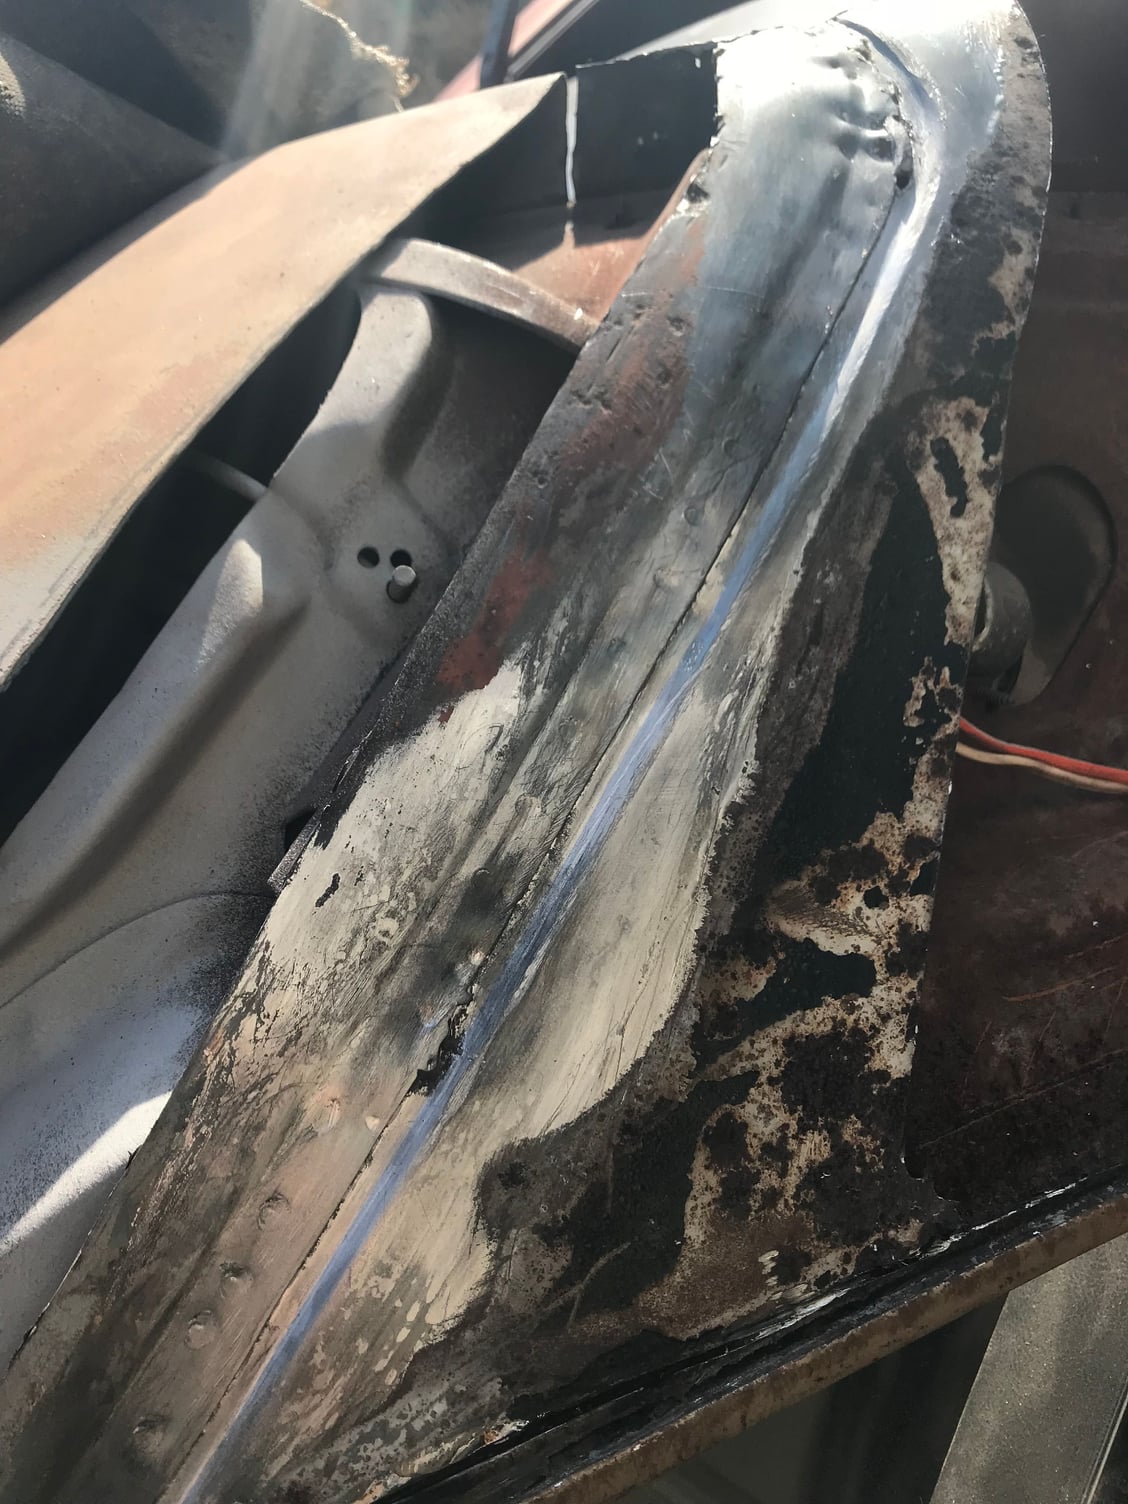
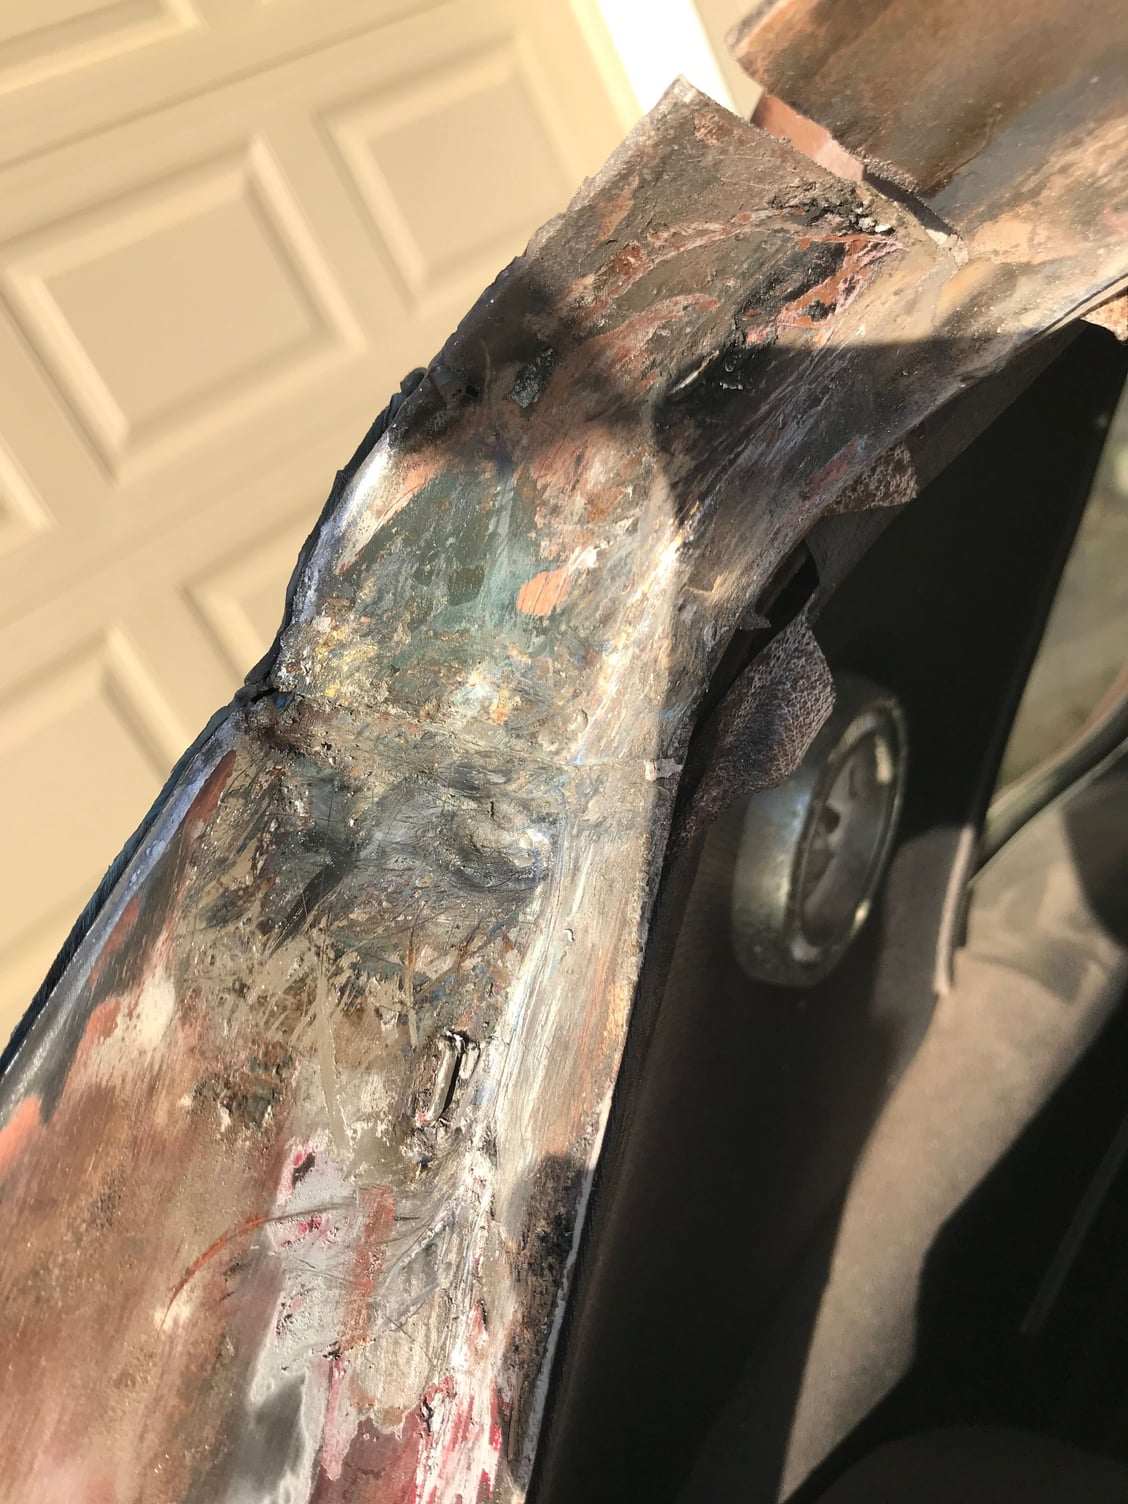
Now, I hope I shouldnít have to tell you, but I will anyway. Lead is toxic! Wear your respirator and try to use heat and scrape it out in chunks and put as little dust in the air. Also, itís in the paint for you youngsters that donít know.
My dad actually died from many many years of auto painting without wearing a respirator from lead poisoning. Itís hard for me to work around it and not think about it.
My dad actually died from many many years of auto painting without wearing a respirator from lead poisoning. Itís hard for me to work around it and not think about it.

#58
Now, I wanted to make these sections out of one piece of steel, but itís a complicated shape. I knew realistically I was going to have to do at least 2 pieces. Hopefully not 3...... I think I can do 2.
I figured I could make it easier on myself if I joined it all together where the factory did. Except Iím not going to cake a 1/2Ē of lead over it like they did. Iím thinkingI might fill that gigantic seam with sheet metal and skim coat it with fiberglass filler. I hate working with fiberglass, but I donít feel any need or desire to invest in a bunch of lead working tools when I donít like using fillers anyway. I respect the art of using it, but a small can of filler and tube of hardener is much more convenient.
Something else worth mentioning, ALL of my sheet metal patches (except the 2 from OPG) are original GM metal. Same thickness and welds pretty sweet actually.
Last edited by 1967Supreeeme; October 10th, 2017 at 01:44 PM.
#61


#62
#63
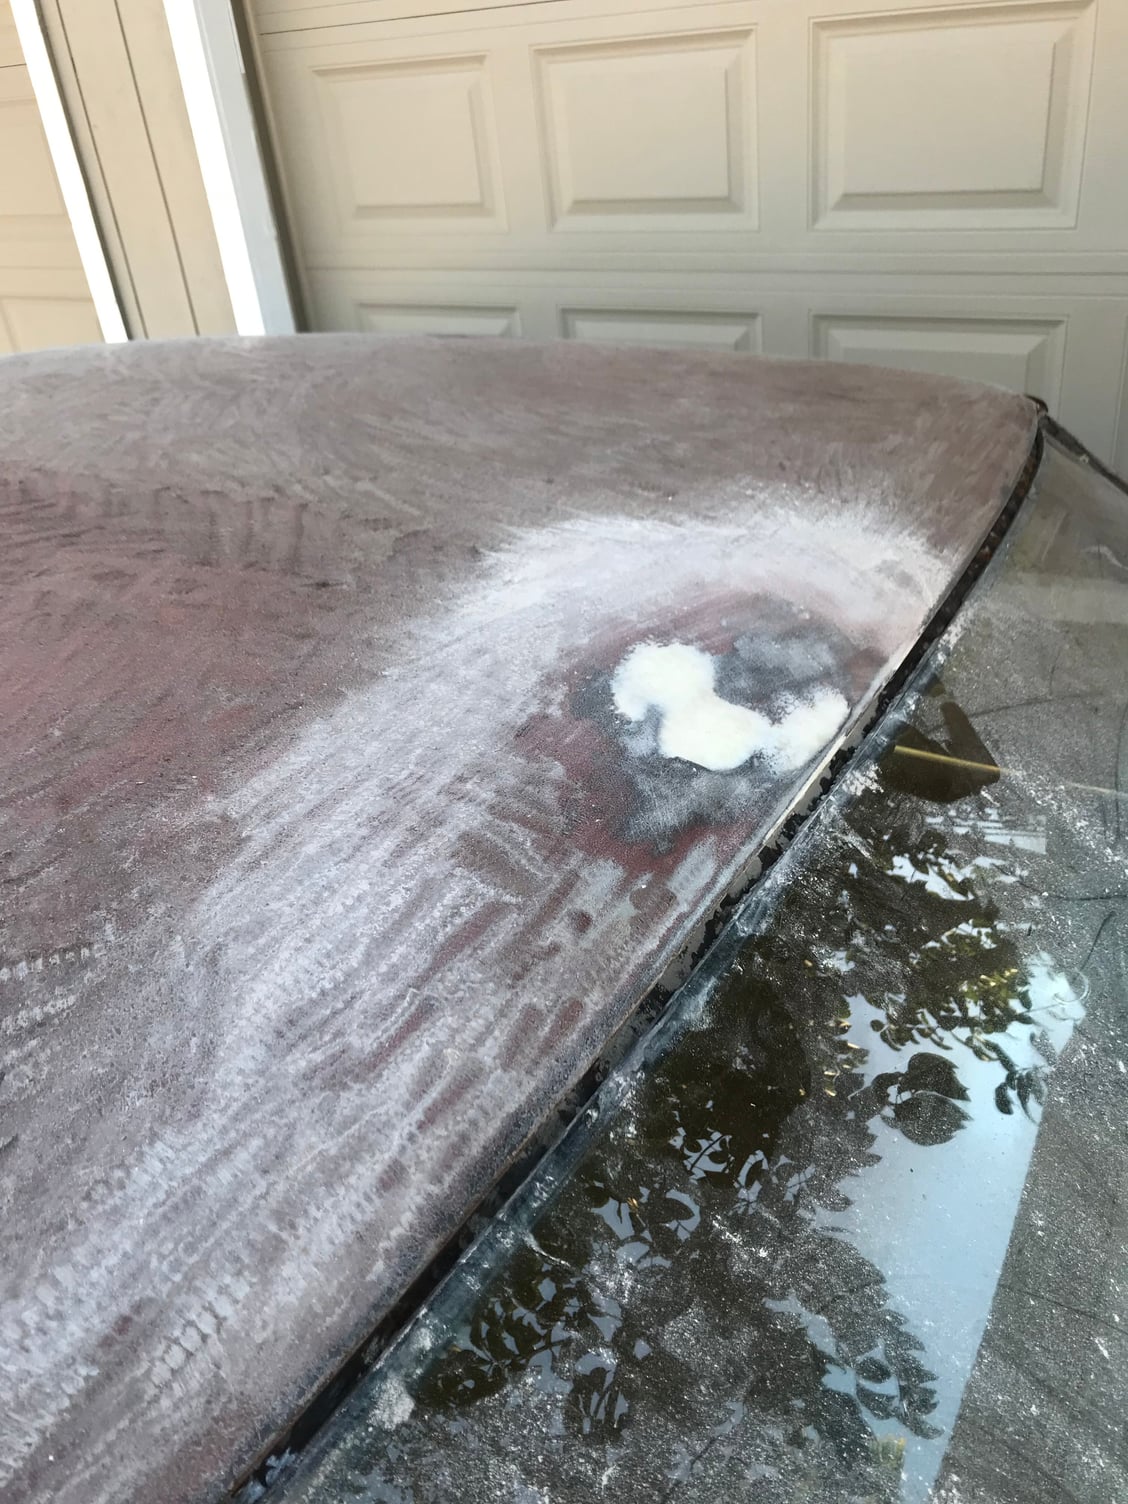
Iím happy with what I was able to accomplish so far. I need to touch up some of the welded areas because rust was contaminating them and causing blow outs. Ugh. I left the welds on the slices intact so I can reference them to copy on the passenger side. Before I do any filler, Iím going to shrink the bulges with a torch and cold water and pull the low spots with my stud gun.
#67
 I donít think the metal repairs themselves were the hardest Iíve ever done. BUT, the grunt work was really trying my patience. Wire wheeling, cutting and grinding while hunched over... That feels like the real challenge.
I always tell people that being a gearhead is 90% mindless hard work and 10% skill. It can be very rewarding, but if youíre wanting to get into the hobby you better be prepared. Itís not as glamorous as TV makes it look! It truly is blood, sweat and tears and hopefully your neighbors like you despite all the massive noise you make lol.
#70
I know, I know! Iíd love to see it all primed up. For now, I just need to shoot all the window channels and roof first. The clear coat will need some time to gas out before I glue on the new top. I just got it in the mail the other day. Itís from Legendary and it looks pretty sweet. I would just wait until the whole car is painted, but I wonít have time to do it before the weather gets bad. The more I poke around the car it obvious it needs to be taken down to bare metal and parked outside all winter-not gonna happen yet.
Trying to prioritize things first. Finish the roof, vinyl top and reinstall all the trim just to get it all complete for the time being. Iíll get to a stopping point and switch to going over the mechanicals so I can drive it. The carb appears to be leaking internally and I can see the accelerator pump is leaking at the top too. Thinking about swapping it with a Street Demon, redoing the pump to carb metal line, all the hoses, oil change, etc. They look like poo. It runs really rich, the exhaust and the oil stink. It struggles with cold starts and doesnít have a working choke.
I havenít even put a timing light on it, but I now see it has a Mallory Unilite, coil and wires. I was expecting to see a stock points distributor.
There are some rotten looking air shocks in the rear, might explain some of the noise at speed. The winter seems like the perfect time to address these easy mechanical issues before I dig farther into the body and interior.
Trying to prioritize things first. Finish the roof, vinyl top and reinstall all the trim just to get it all complete for the time being. Iíll get to a stopping point and switch to going over the mechanicals so I can drive it. The carb appears to be leaking internally and I can see the accelerator pump is leaking at the top too. Thinking about swapping it with a Street Demon, redoing the pump to carb metal line, all the hoses, oil change, etc. They look like poo. It runs really rich, the exhaust and the oil stink. It struggles with cold starts and doesnít have a working choke.
I havenít even put a timing light on it, but I now see it has a Mallory Unilite, coil and wires.
 I was expecting to see a stock points distributor.
There are some rotten looking air shocks in the rear, might explain some of the noise at speed. The winter seems like the perfect time to address these easy mechanical issues before I dig farther into the body and interior.
#73
The worst is now officially over! One solid round of cleaning everything down to bare metal and itís time to squirt some paint. Weather has been pretty amazing here with 70-90 degree temps most of the month. Iíve been pretty lucky because a storm is coming in less than a week. Normally, you canít rush the paint stage but it doesnít need to be perfect. Iím just going to hit the roof right in the driveway without any worries about bugs, dirt and sand scratches.
Iím stoked I can start addressing the mechanical issues. First on the list is a horrendous banging sound from the rear suspension. The obvious place to start is replace the ancient air shocks with rotten rubber for some standard gas shocks. Another thing I noticed is the rear sway bar is there, but not boxed control arms. Iíll probably just unbolt it for now until I get a chance to make it right.
After that, I might pull the heads and have them checked out. I think I have the start of head gasket leaks. I did a quickie cold compression check and 6 cylinders were around 170-175. One cylinder in each head were 140 and 145 though. On cold starts with morning dew air, it seemed like the left tailpipe had more vapor during warmup. Cranking the engine with the plugs while cold, a noticeable amount of water came out of #5 IIRC. That cylinder was the low one and actually filled the compression tester hose with what looked like coolant. No need for a hot compression check... Hard to tell but I believe a very small amount of bubbles were coming up in the radiator neck.
BUT on the brighter side, I found a metal tag riveted to the block behind the fuel pump from a previous rebuild so I donít expect to find anything else catastrophic. Hopefully everything checks out good. Tag is labeled POWER-PAK from a place that used to build engines out of the Bay Area.
Iím stoked I can start addressing the mechanical issues. First on the list is a horrendous banging sound from the rear suspension. The obvious place to start is replace the ancient air shocks with rotten rubber for some standard gas shocks. Another thing I noticed is the rear sway bar is there, but not boxed control arms. Iíll probably just unbolt it for now until I get a chance to make it right.
After that, I might pull the heads and have them checked out. I think I have the start of head gasket leaks. I did a quickie cold compression check and 6 cylinders were around 170-175. One cylinder in each head were 140 and 145 though. On cold starts with morning dew air, it seemed like the left tailpipe had more vapor during warmup. Cranking the engine with the plugs while cold, a noticeable amount of water came out of #5 IIRC. That cylinder was the low one and actually filled the compression tester hose with what looked like coolant.
 No need for a hot compression check... Hard to tell but I believe a very small amount of bubbles were coming up in the radiator neck.
BUT on the brighter side, I found a metal tag riveted to the block behind the fuel pump from a previous rebuild so I donít expect to find anything else catastrophic. Hopefully everything checks out good. Tag is labeled POWER-PAK from a place that used to build engines out of the Bay Area.
#77
Good stuff.
I can't recall at the moment if the 67 has the thermal flapper in the exhaust crossover, but I THINK you're going to see more vapor out of one side on the exhaust while cold because of this. If it has it, and if I'm not mistaken (both are dubious propositions, to be sure.)
I can't recall at the moment if the 67 has the thermal flapper in the exhaust crossover, but I THINK you're going to see more vapor out of one side on the exhaust while cold because of this. If it has it, and if I'm not mistaken (both are dubious propositions, to be sure.)
#78
Thanks for the compliments guys, itís been a real kick in the ***. I finished the roof with the time and effort I expected, but the sail panels seemed to take much more time than I hoped. A bit more prep and masking and I think I should have the top half of the car painted in the morning. I picked up some fast hardener for the sealer so it will be dry by night time.
#79
Good stuff.
I can't recall at the moment if the 67 has the thermal flapper in the exhaust crossover, but I THINK you're going to see more vapor out of one side on the exhaust while cold because of this. If it has it, and if I'm not mistaken (both are dubious propositions, to be sure.)
I can't recall at the moment if the 67 has the thermal flapper in the exhaust crossover, but I THINK you're going to see more vapor out of one side on the exhaust while cold because of this. If it has it, and if I'm not mistaken (both are dubious propositions, to be sure.)
I have a bung ready to weld in my exhaust so I can hook up my wideband, but I donít want coolant in the O2 sensor. Now that I know the engine has been redone, Iím curious to see what kind of camit has in it. Seems a little ďlumpyĒ at idle. I have no experience with what a stock 330 runs like though. It just seems like thereís a mismatch somewhere and a Performer manifold will help. I have a new Street Demon installed and Iím not going to bother tuning it until I swap the intake. If I pull the heads off, I can work them a little along with seeing what pistons I have and try to get the compression to match this combo. I donít smell raw fuel in the exhaust anymore, but itís still rich for sure.


