67 Cutlass that begged to be saved!
#1
67 Cutlass that begged to be saved!
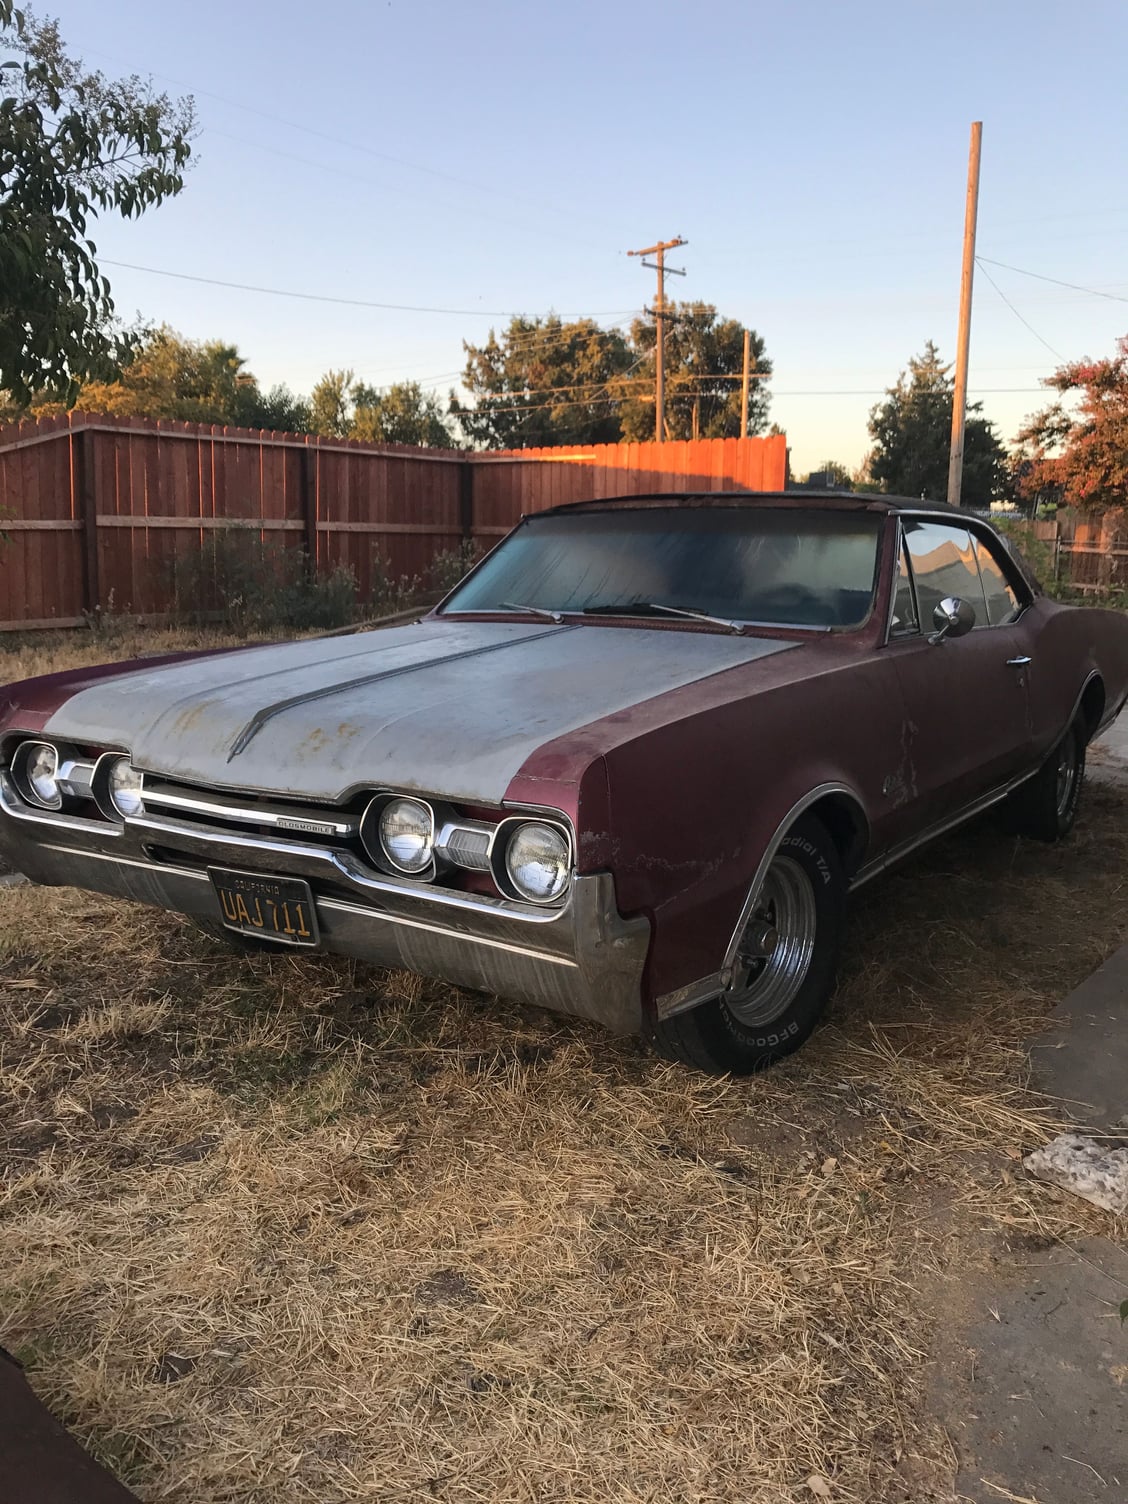
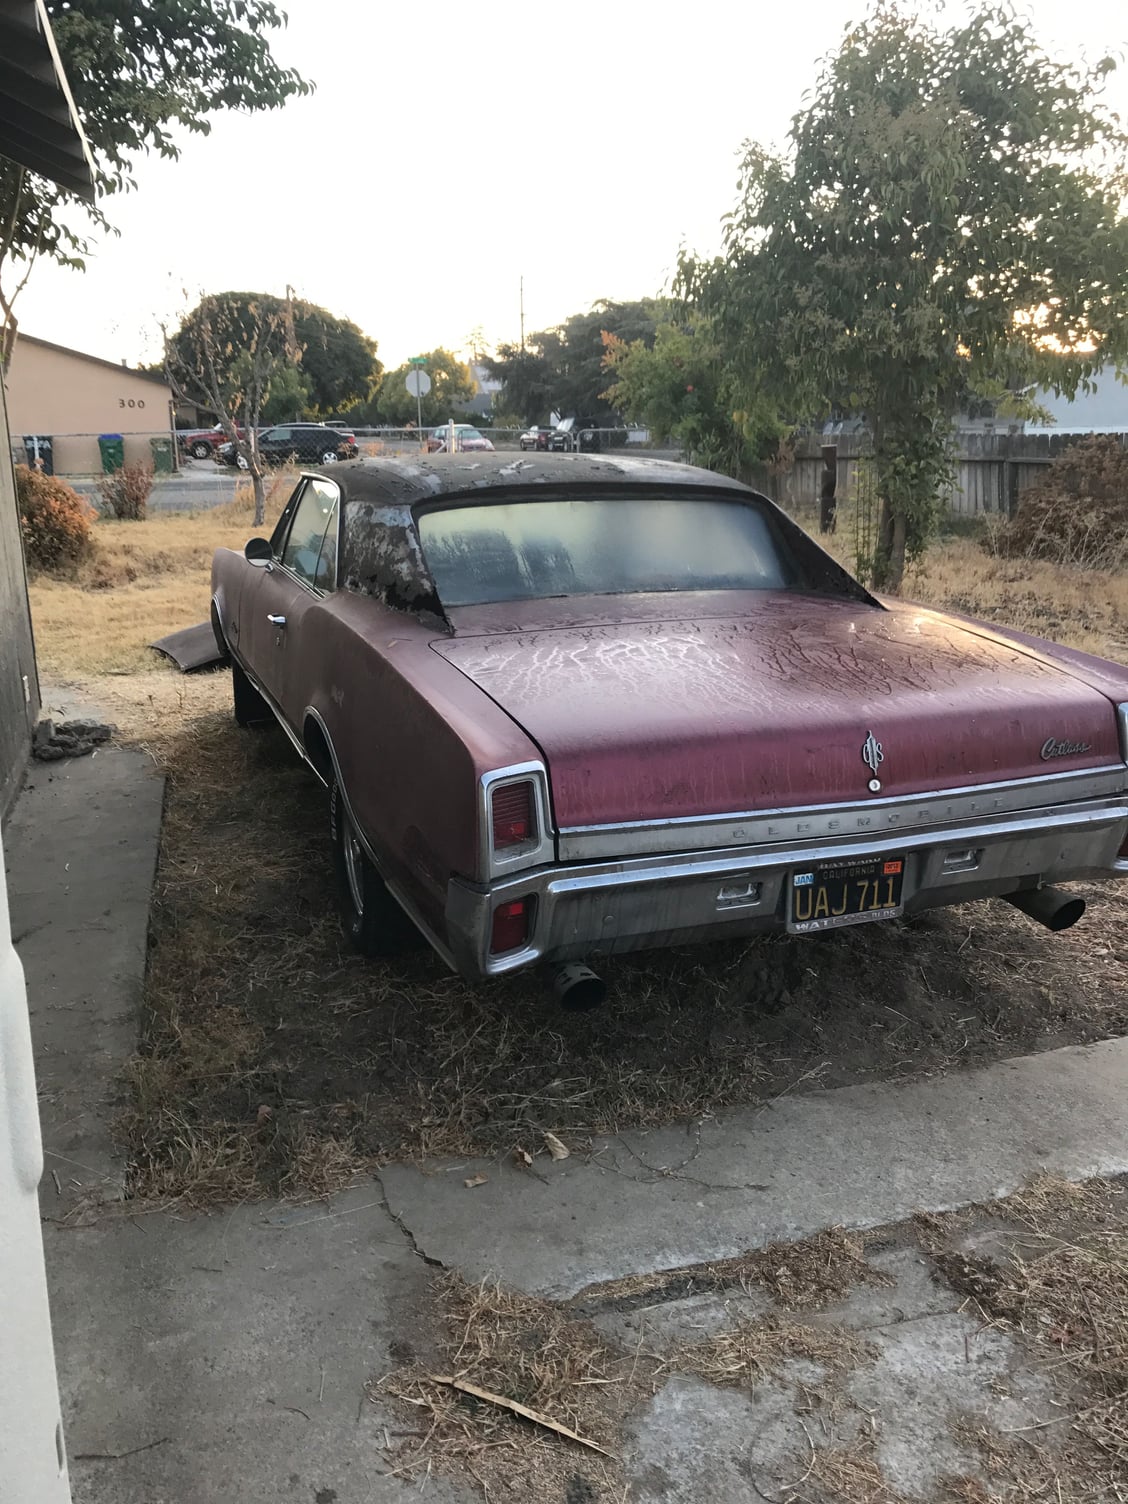

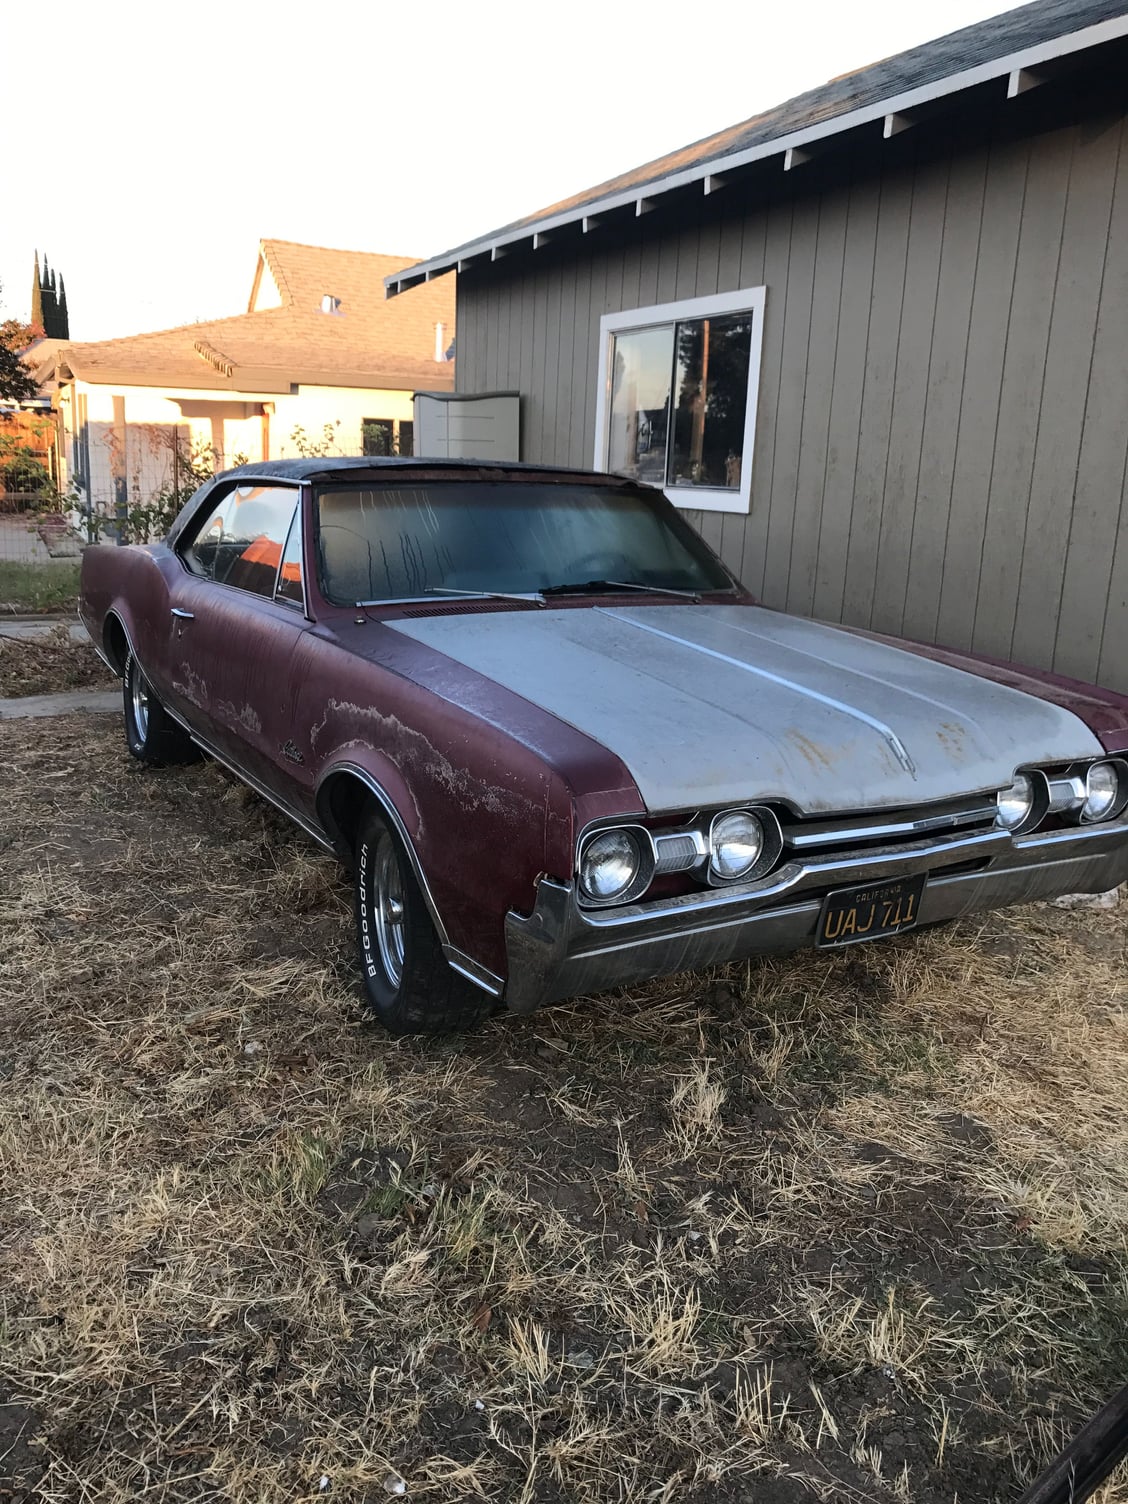
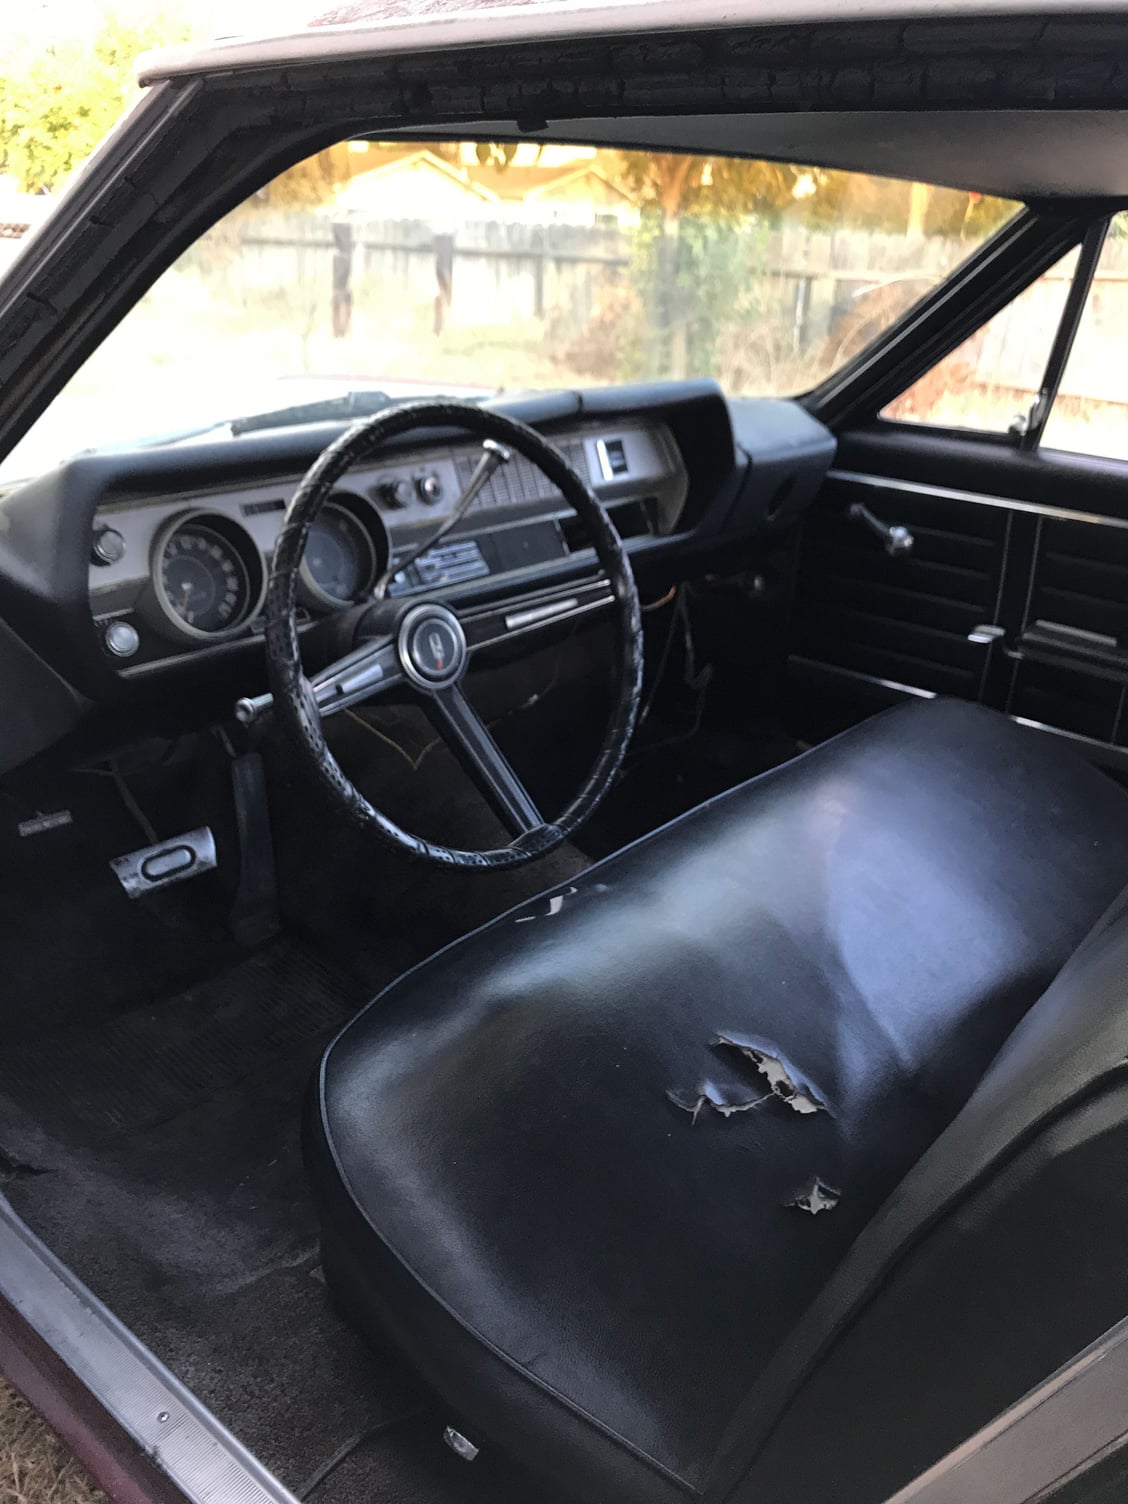
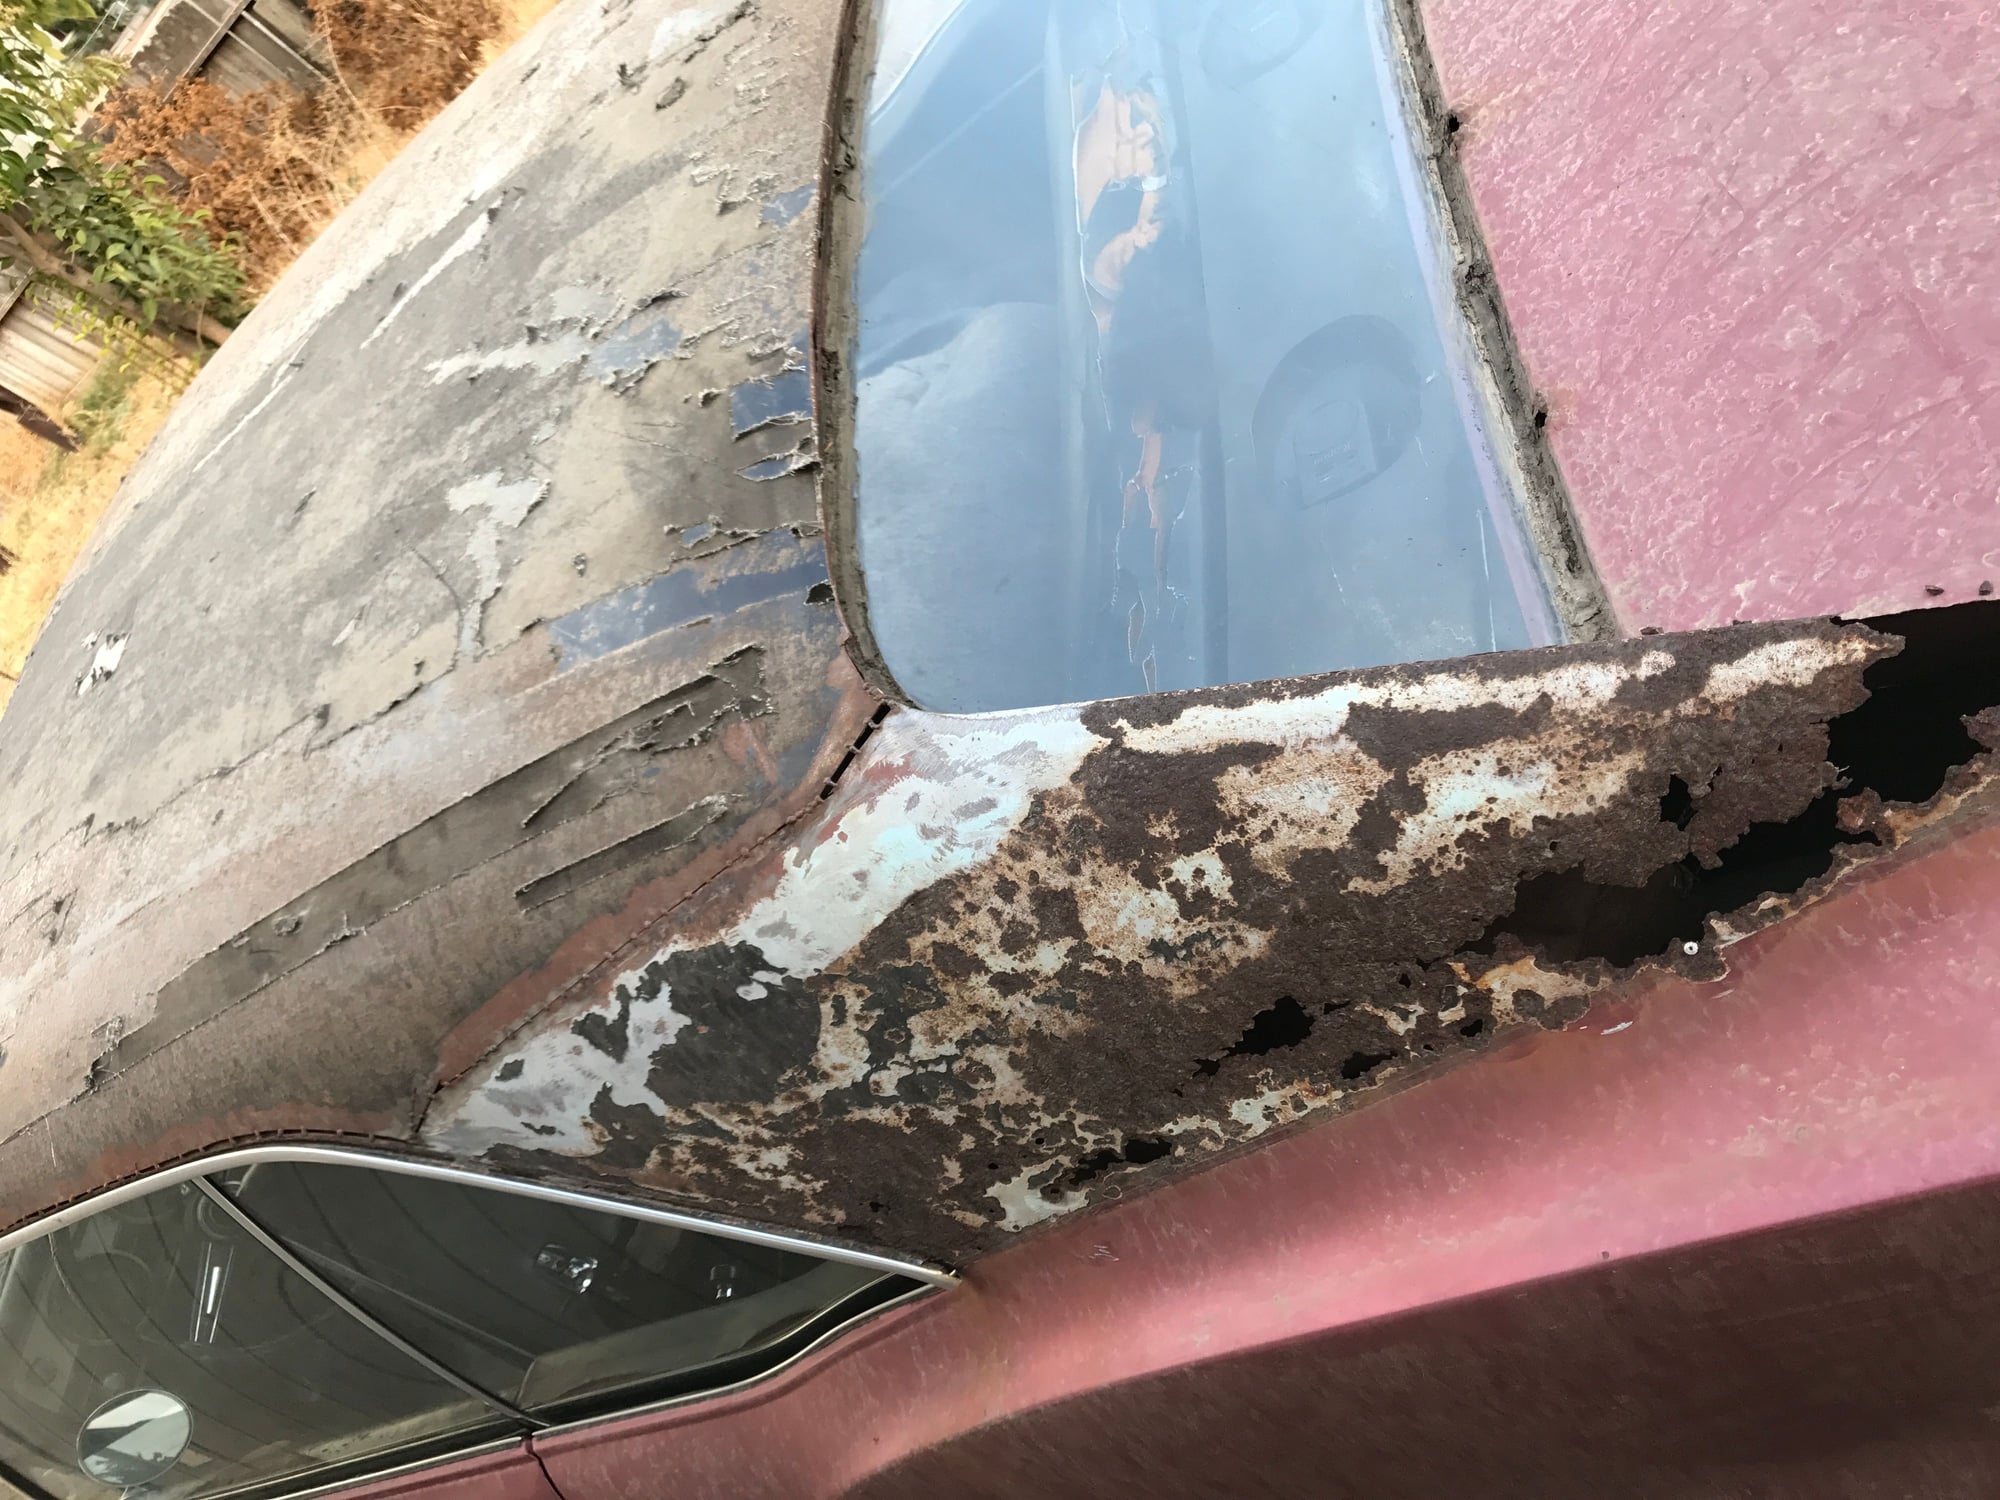
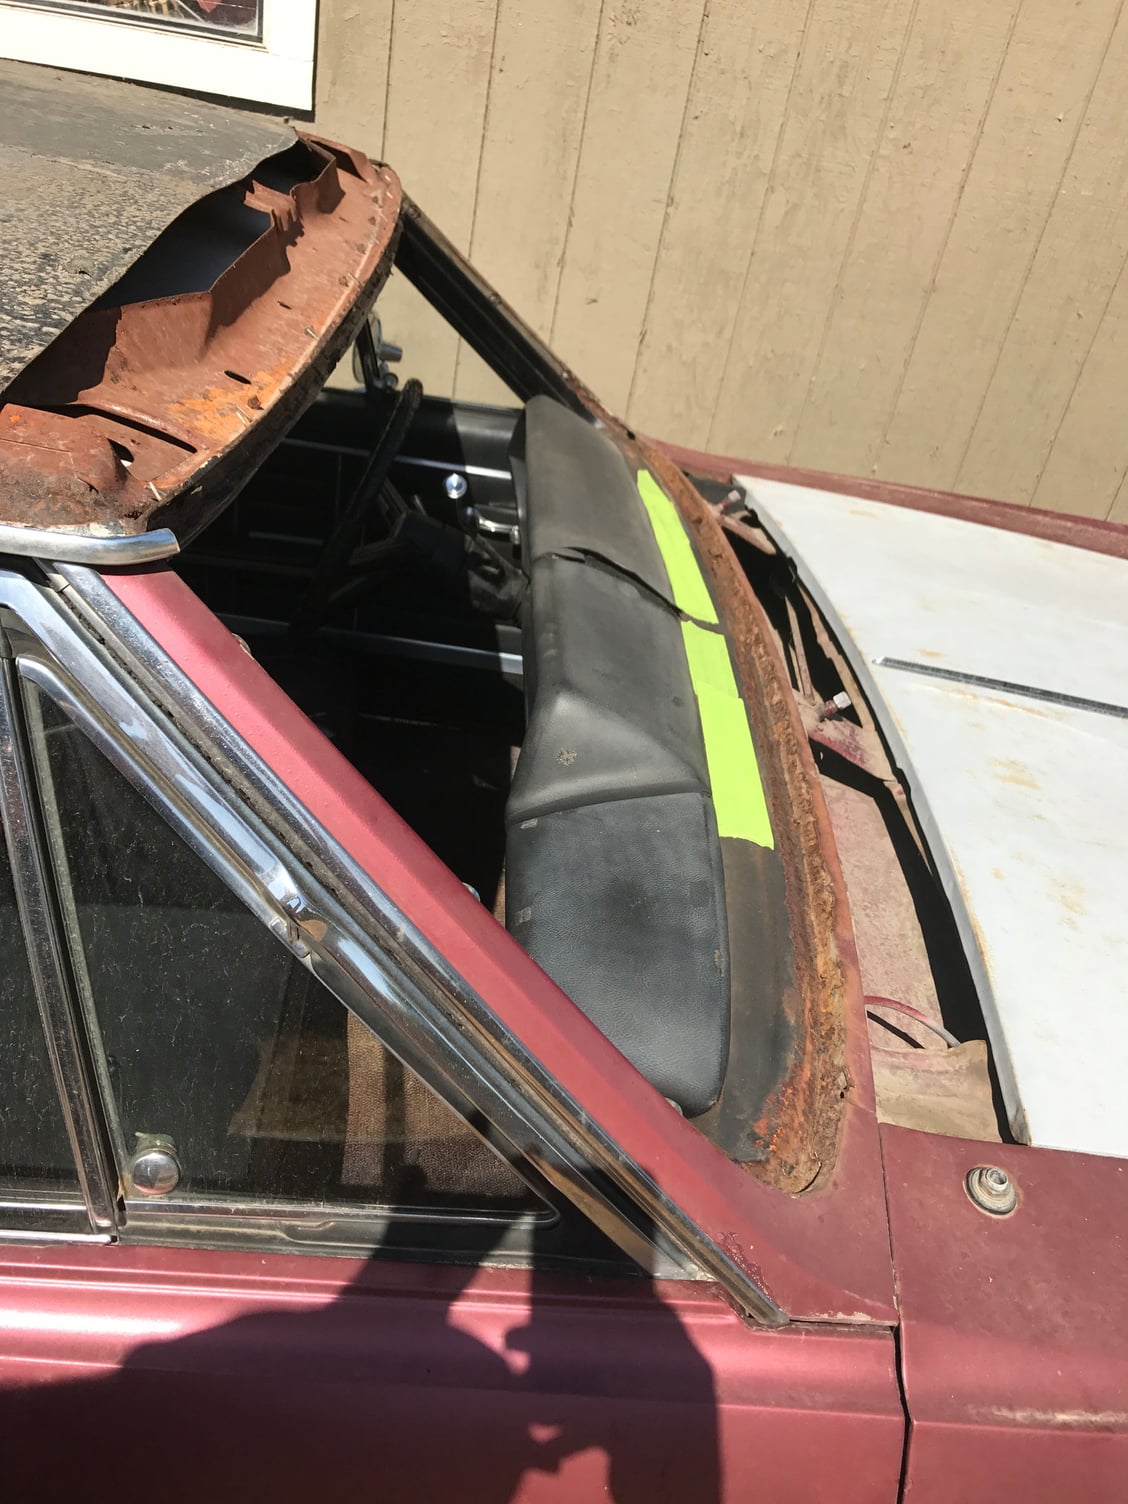
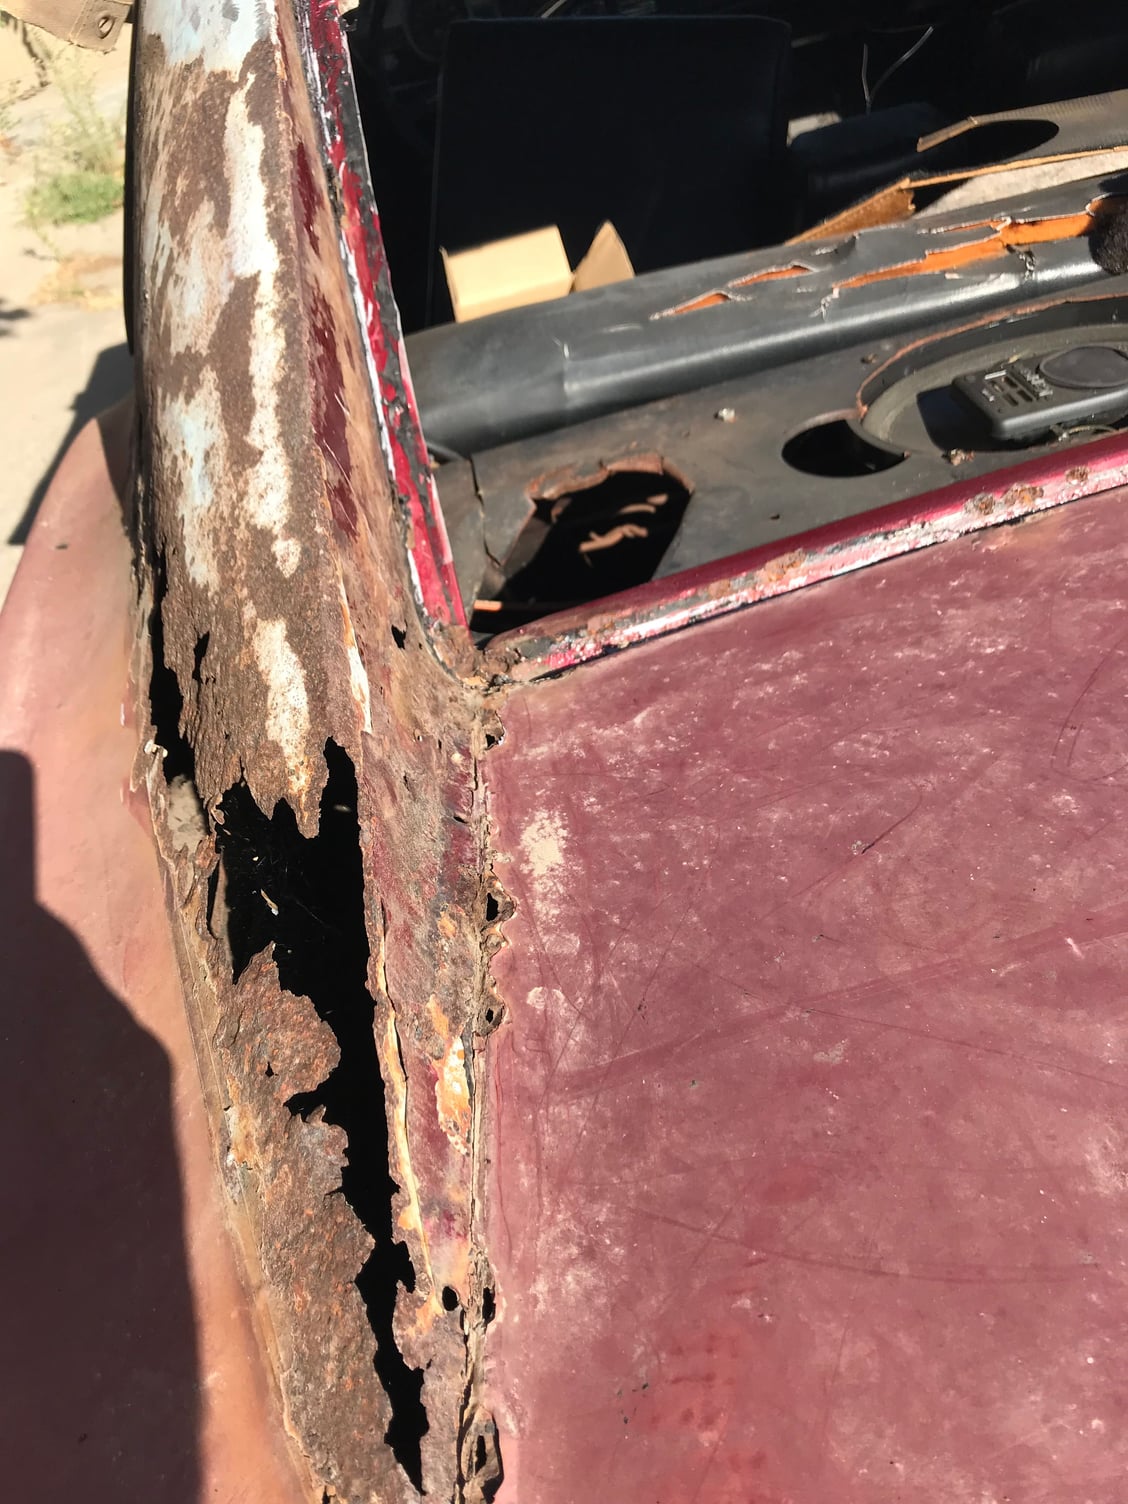
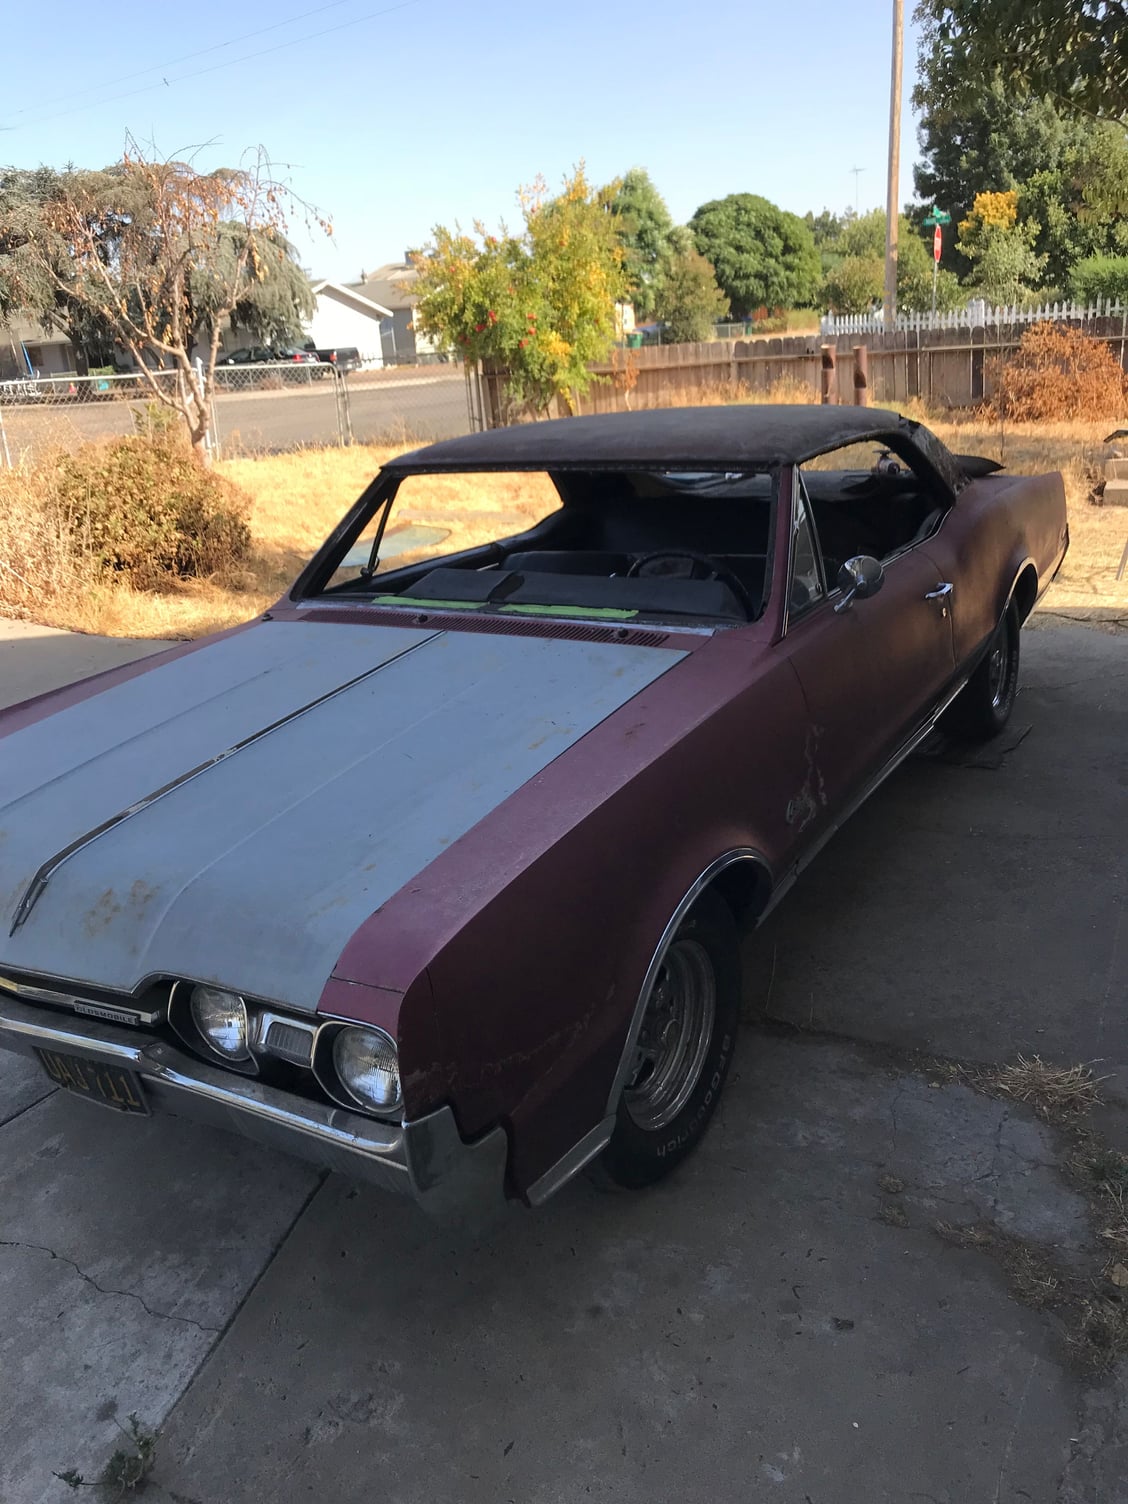
Hello everyone, I've been checking out the site and wanted to share my newest project. A very cool and fairly original 67 that spoke to me when we met. She sure looks rough with that rotted roof and nobody had the skills or desire to save her but me.
Last edited by 1967Supreeeme; September 20th, 2017 at 05:59 PM.
#3
Based off of random receipts and registration found in the glove box, I believe it has just over 96,000 original miles.
Fremont built car (which is where I grew up )
)
gold with black top
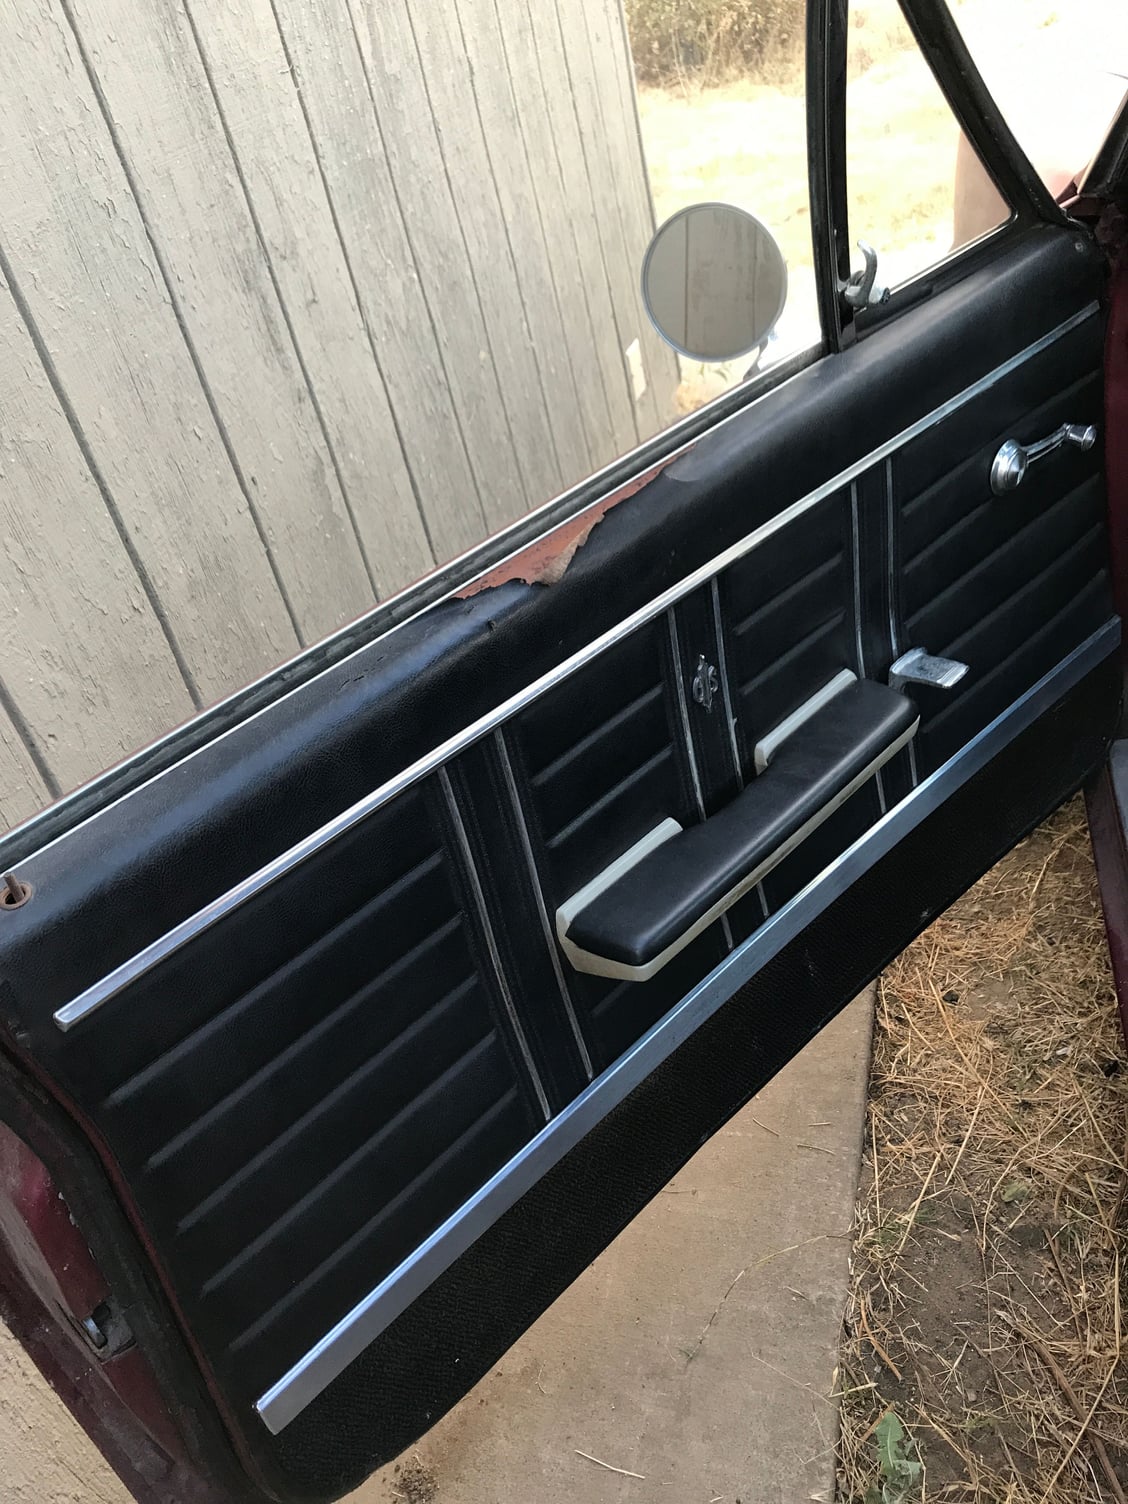
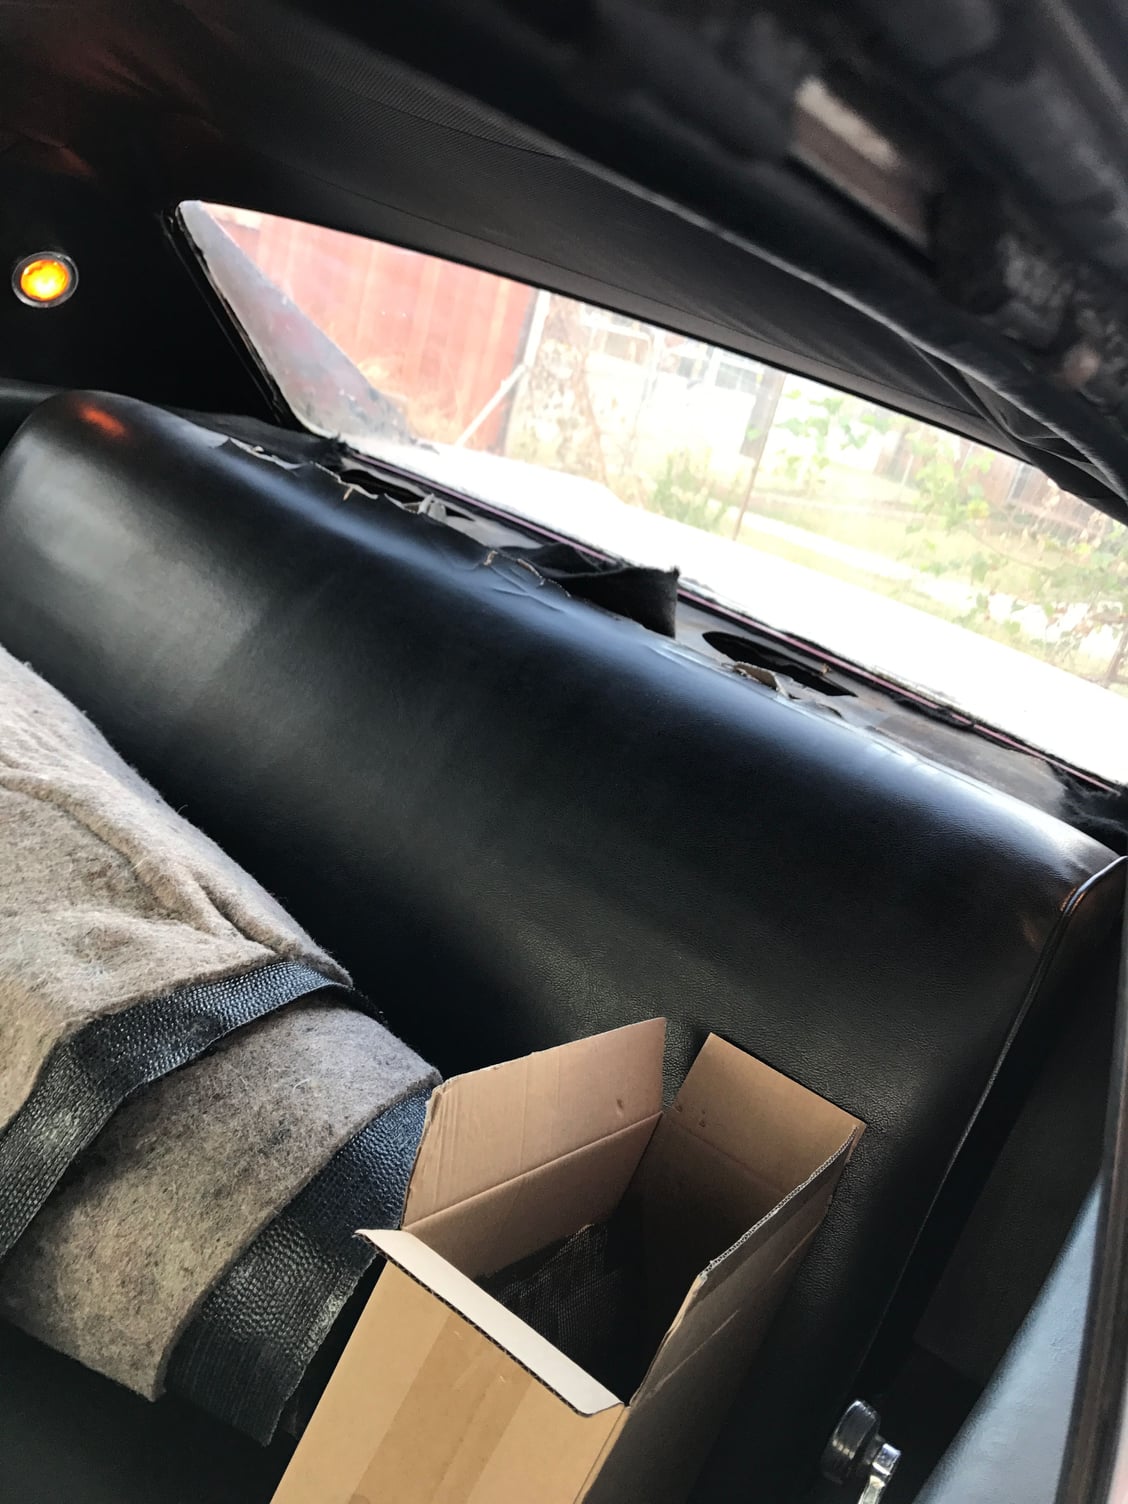
black interior
330 4bbl, 2 speed auto
12 bolt cover rear end (not sure on gears yet)
column shift
bench seat
power steering
no a/c
no pb
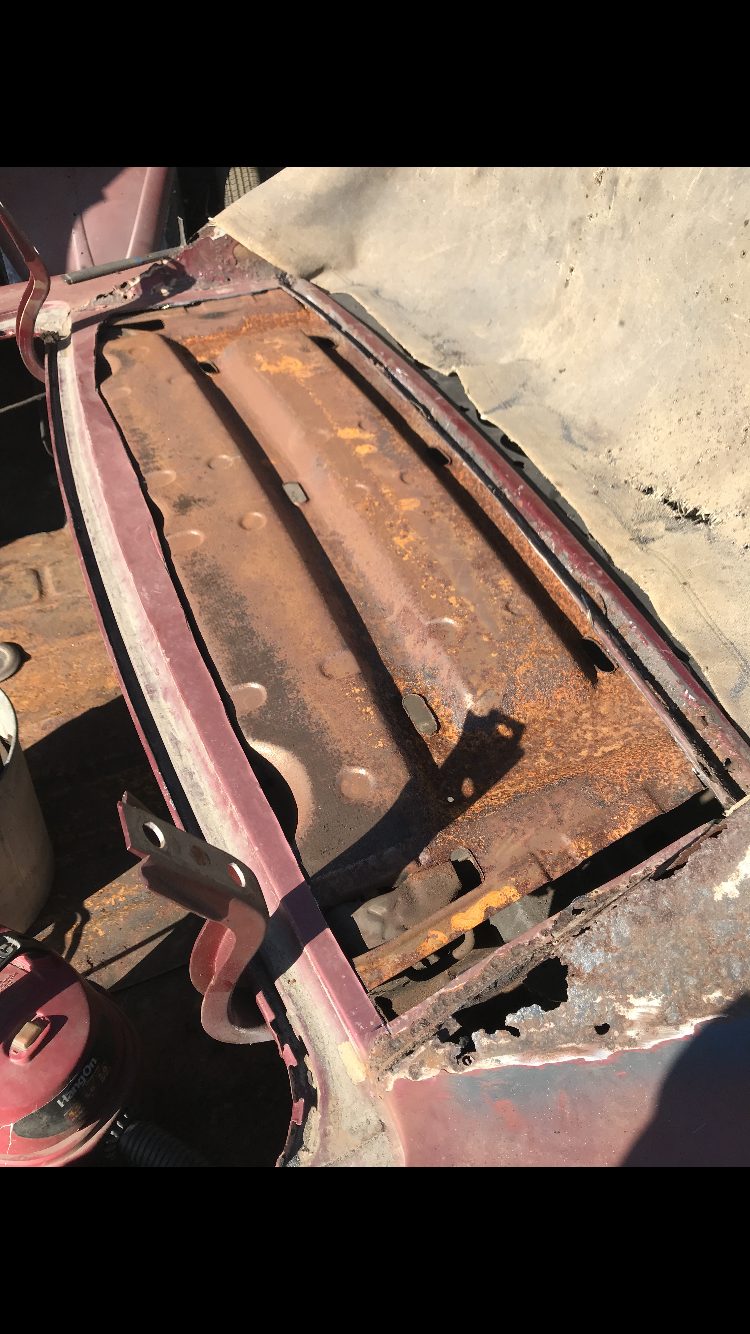
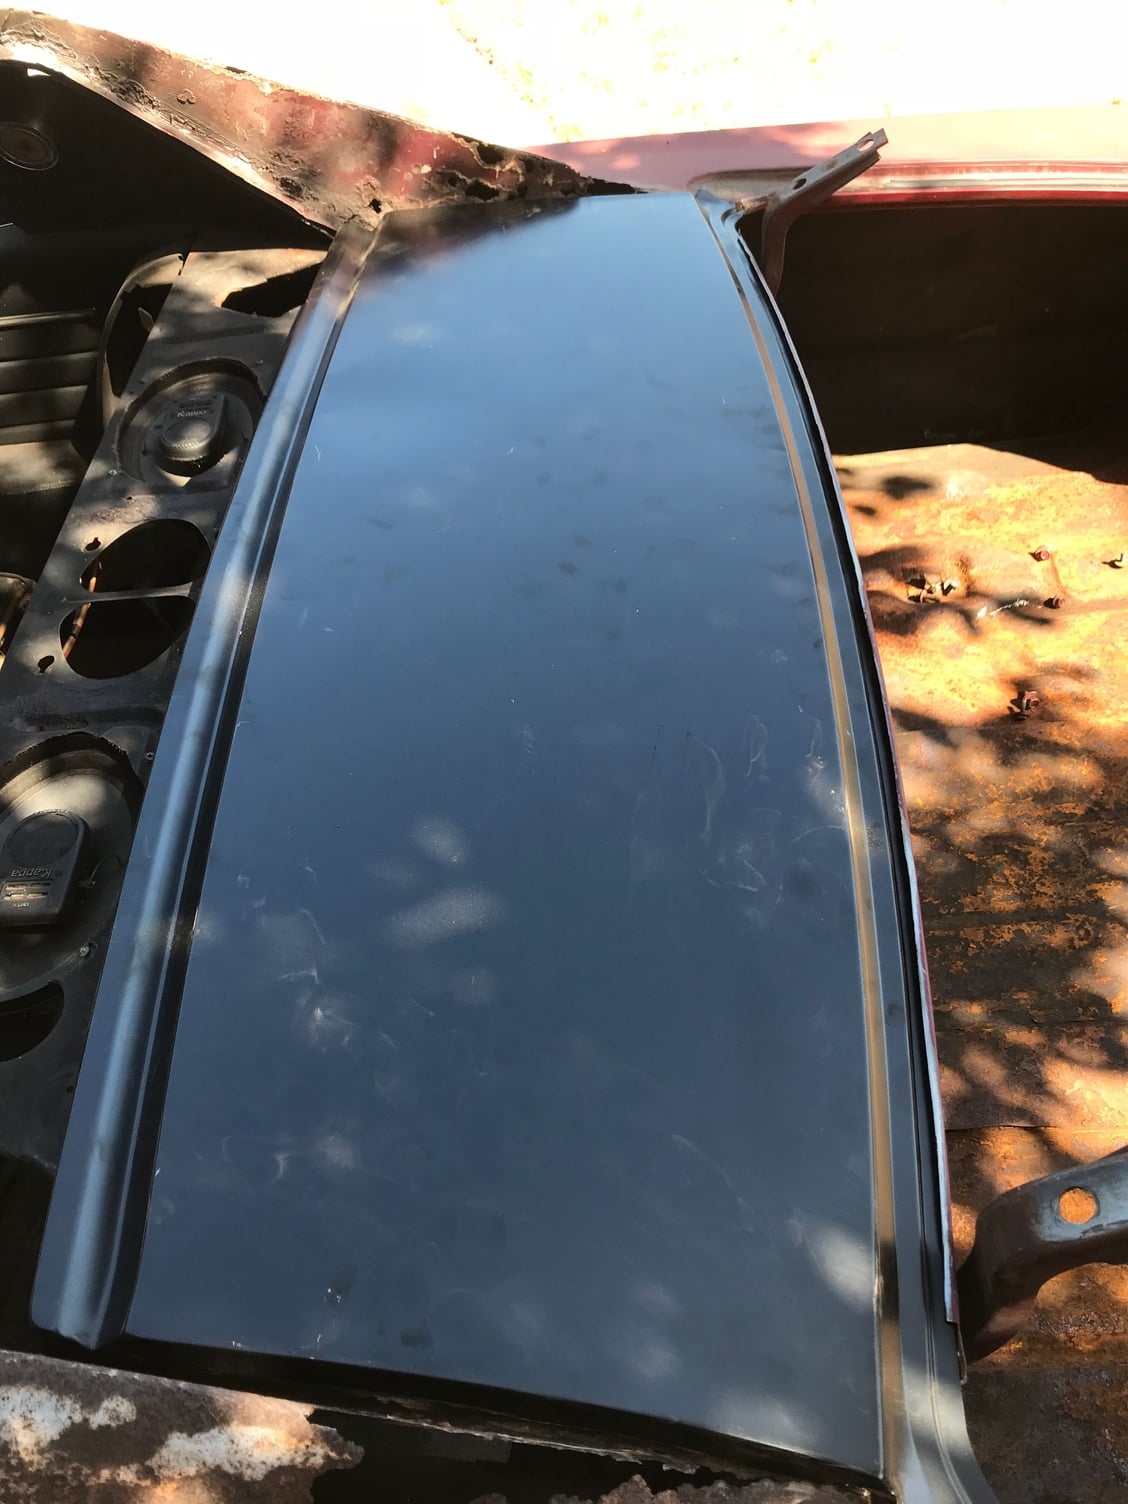
First things first, I am in the middle of fixing the roof. I have an original clip from a donor car that came with. Lower windshield panel and rear window to trunk panel ordered up already. Picking up a new windshield tomorrow. I brought the car home this last Saturday and I'm the type that doesn't waste time!
Fremont built car (which is where I grew up
 )
)gold with black top
black interior
330 4bbl, 2 speed auto
12 bolt cover rear end (not sure on gears yet)
column shift
bench seat
power steering
no a/c
no pb
First things first, I am in the middle of fixing the roof. I have an original clip from a donor car that came with. Lower windshield panel and rear window to trunk panel ordered up already. Picking up a new windshield tomorrow. I brought the car home this last Saturday and I'm the type that doesn't waste time!
#8
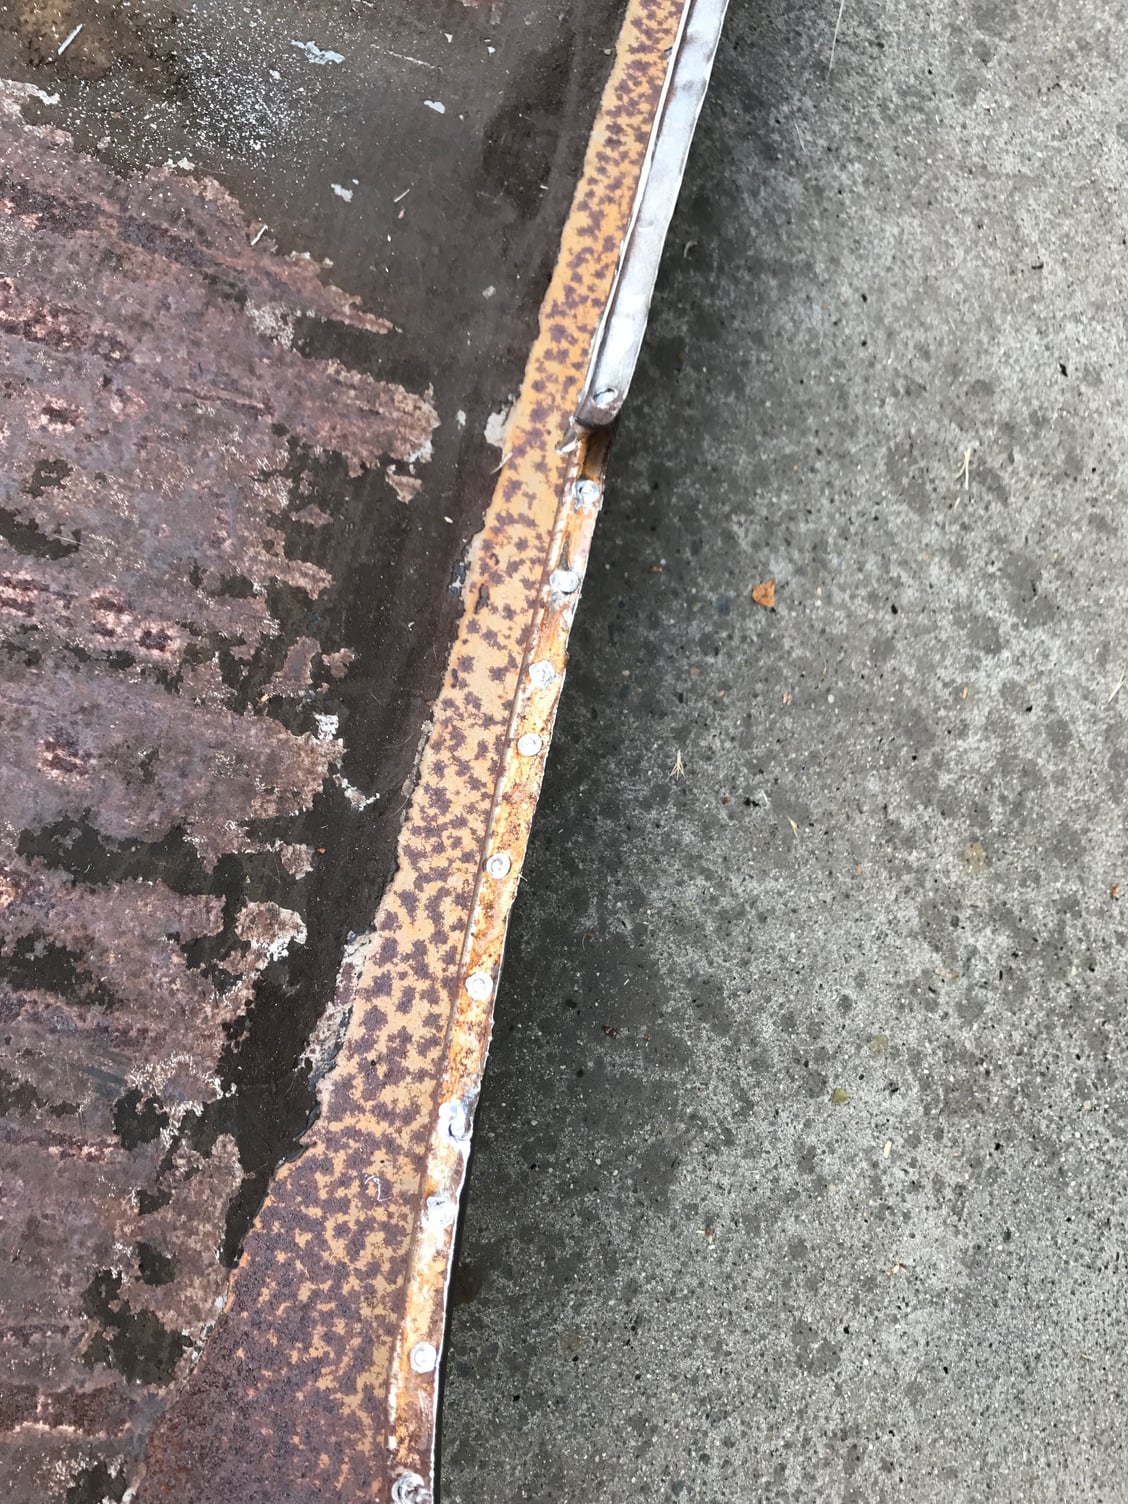
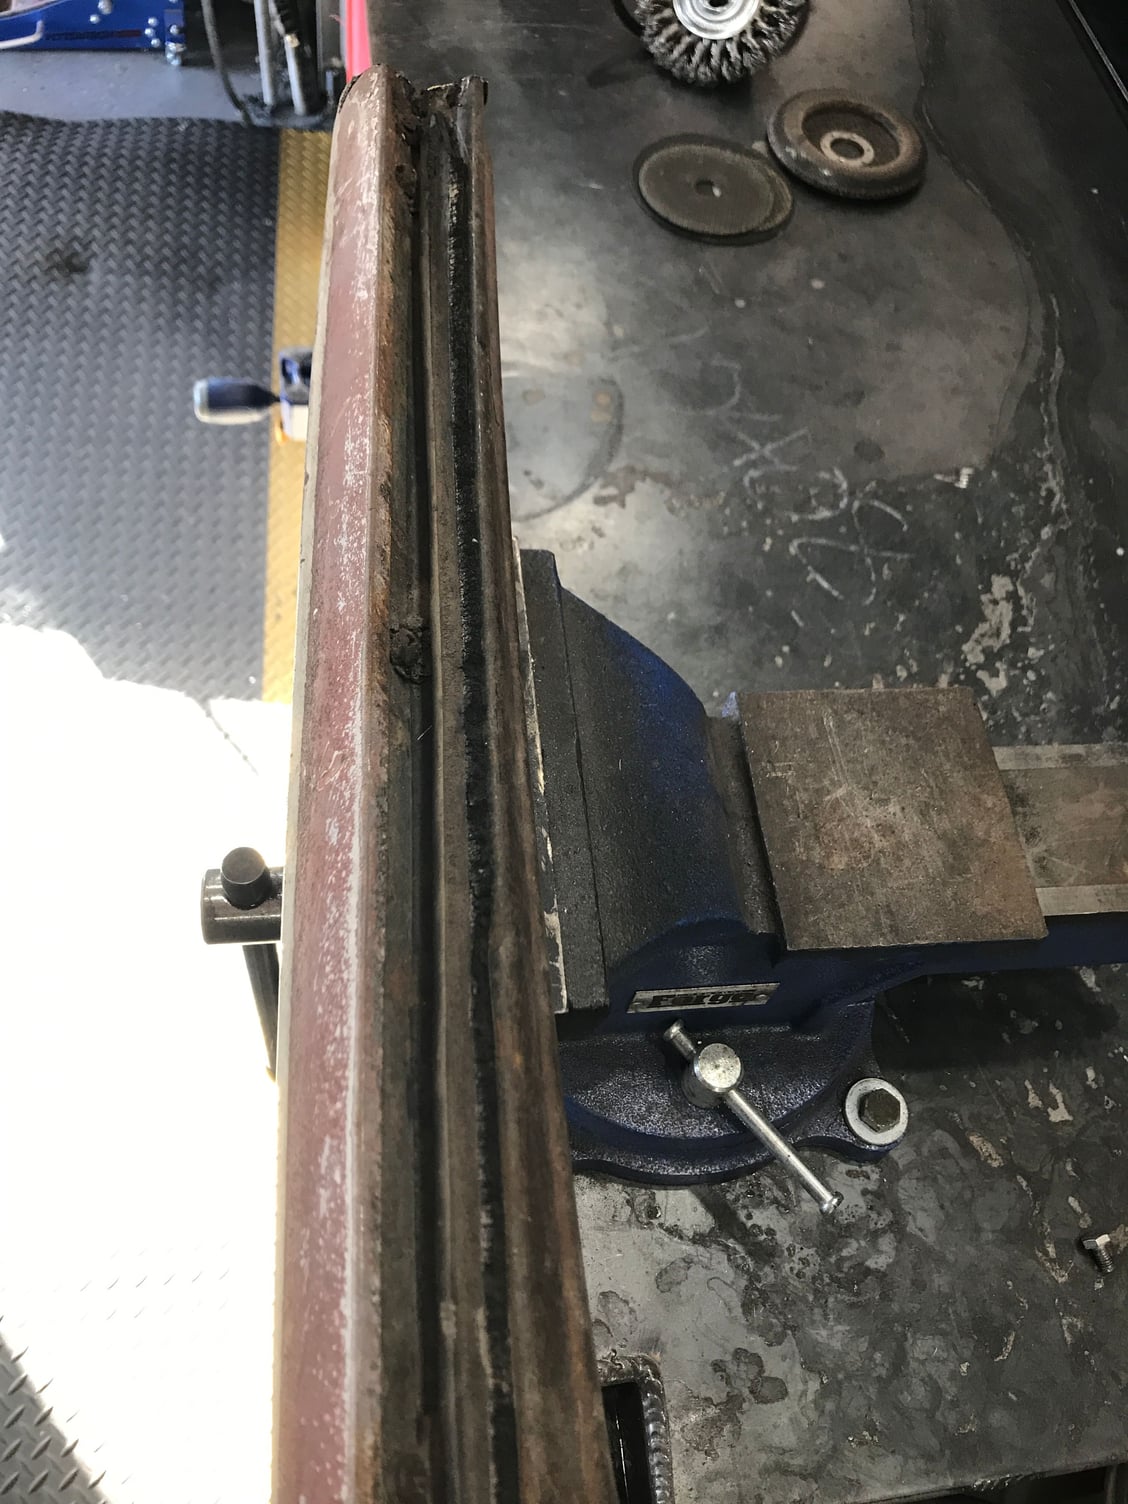
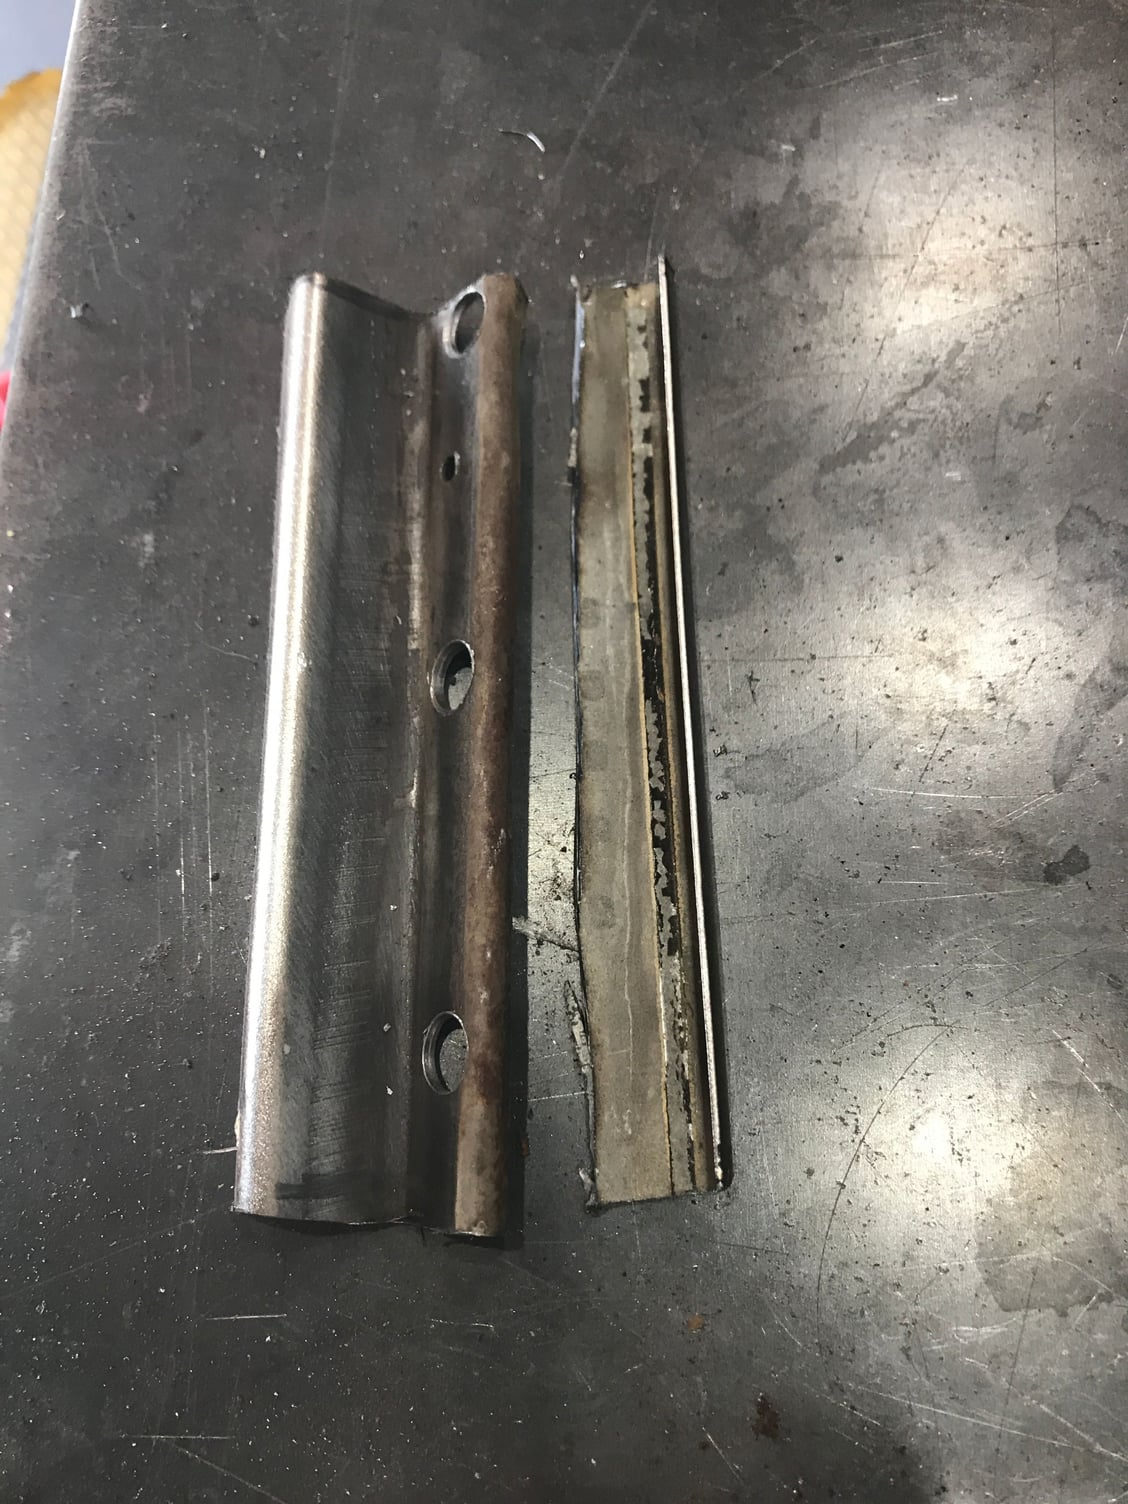
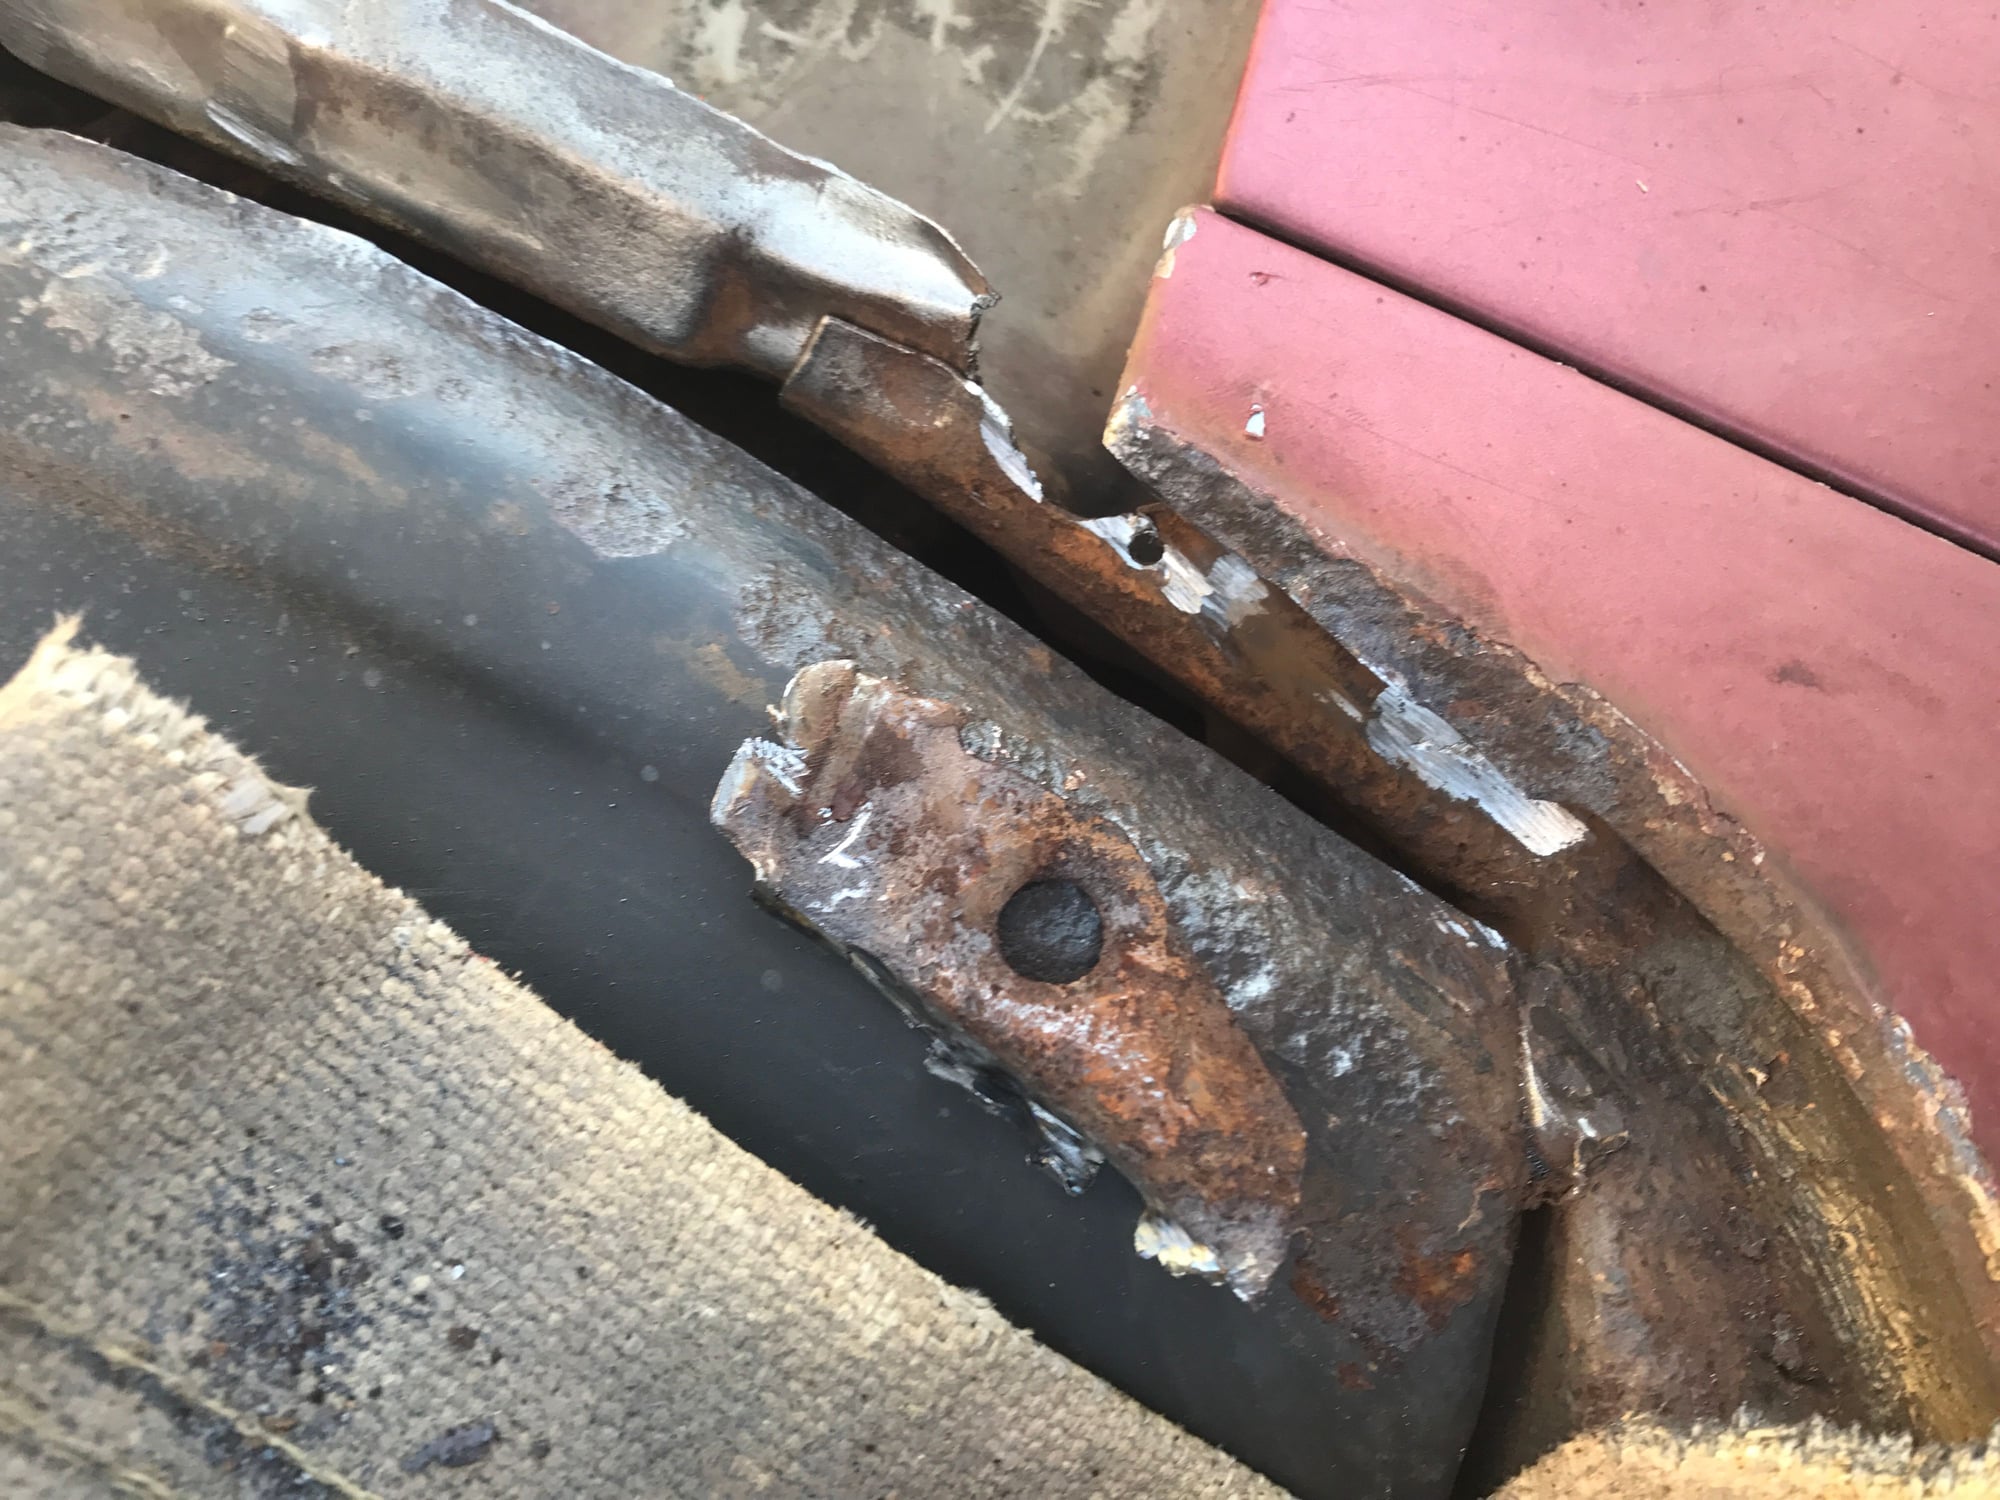
So here is my donor clip that unfortunately is only 3/4 of what I need, but I can work with it. I will have to backtrack and fix the previous attempt at repair. Here you see I already have 3 sides stripped from the spot welds. I like to improve my metal skills and challenge myself, and with it THIS bad doing the clip from the spot welds seems best. More work in prep, but better results and perfect fit in the end.
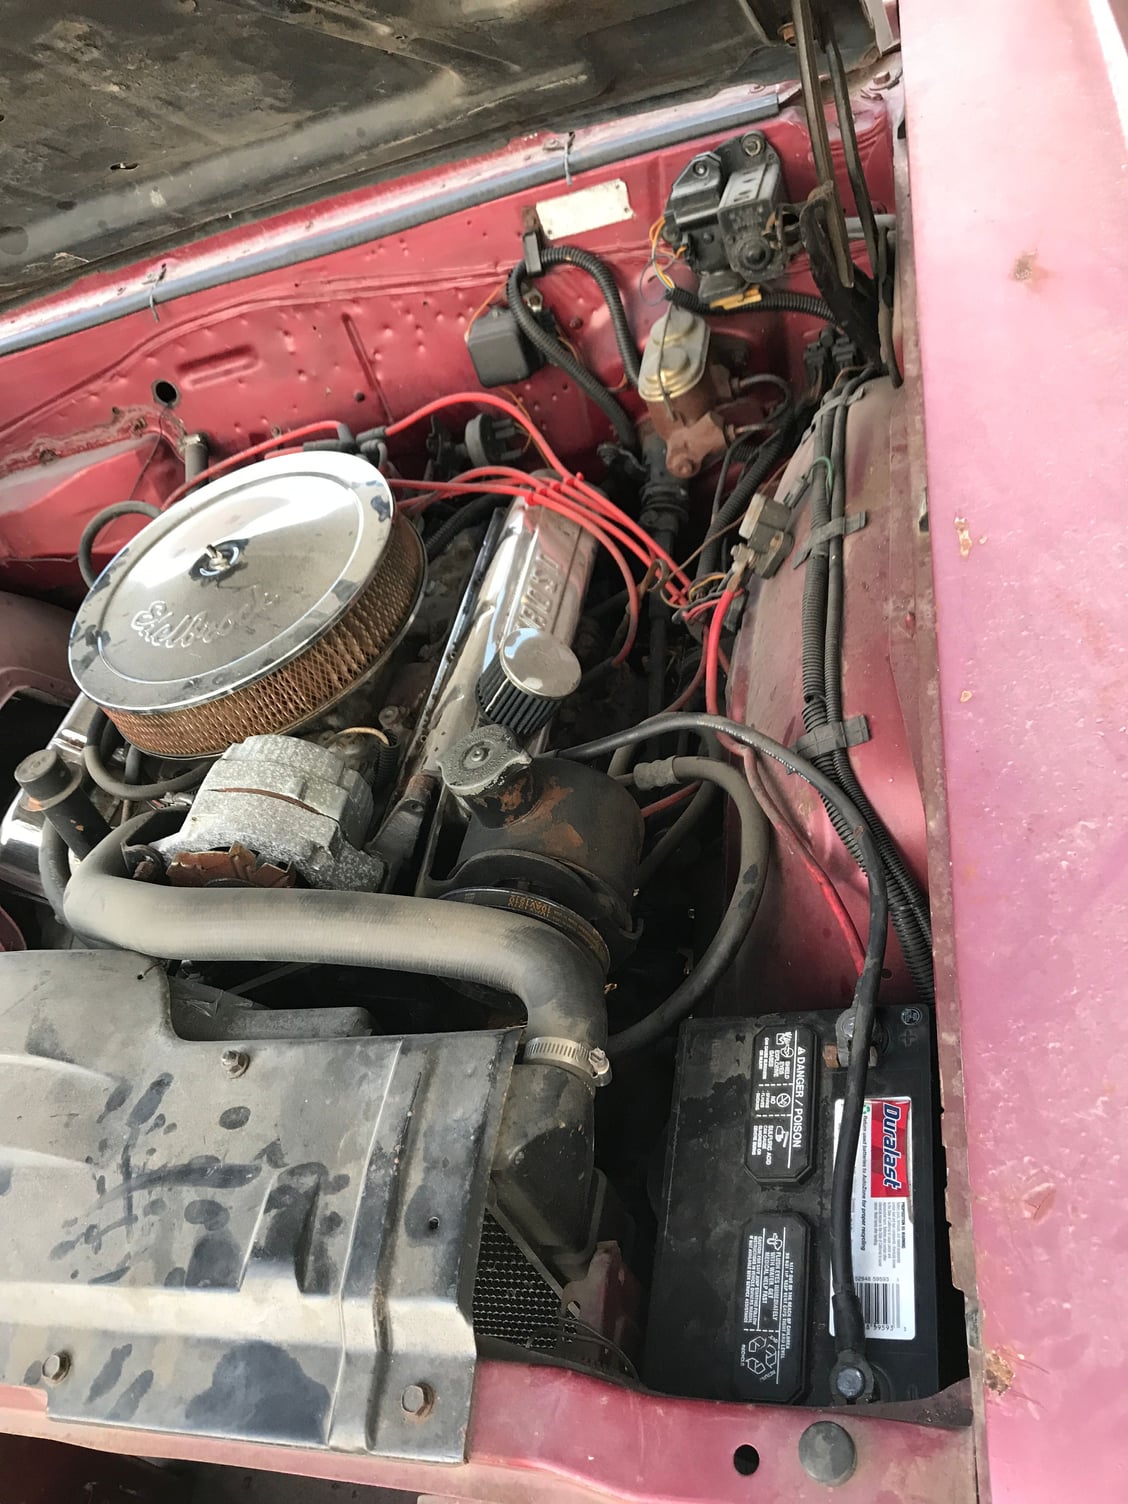
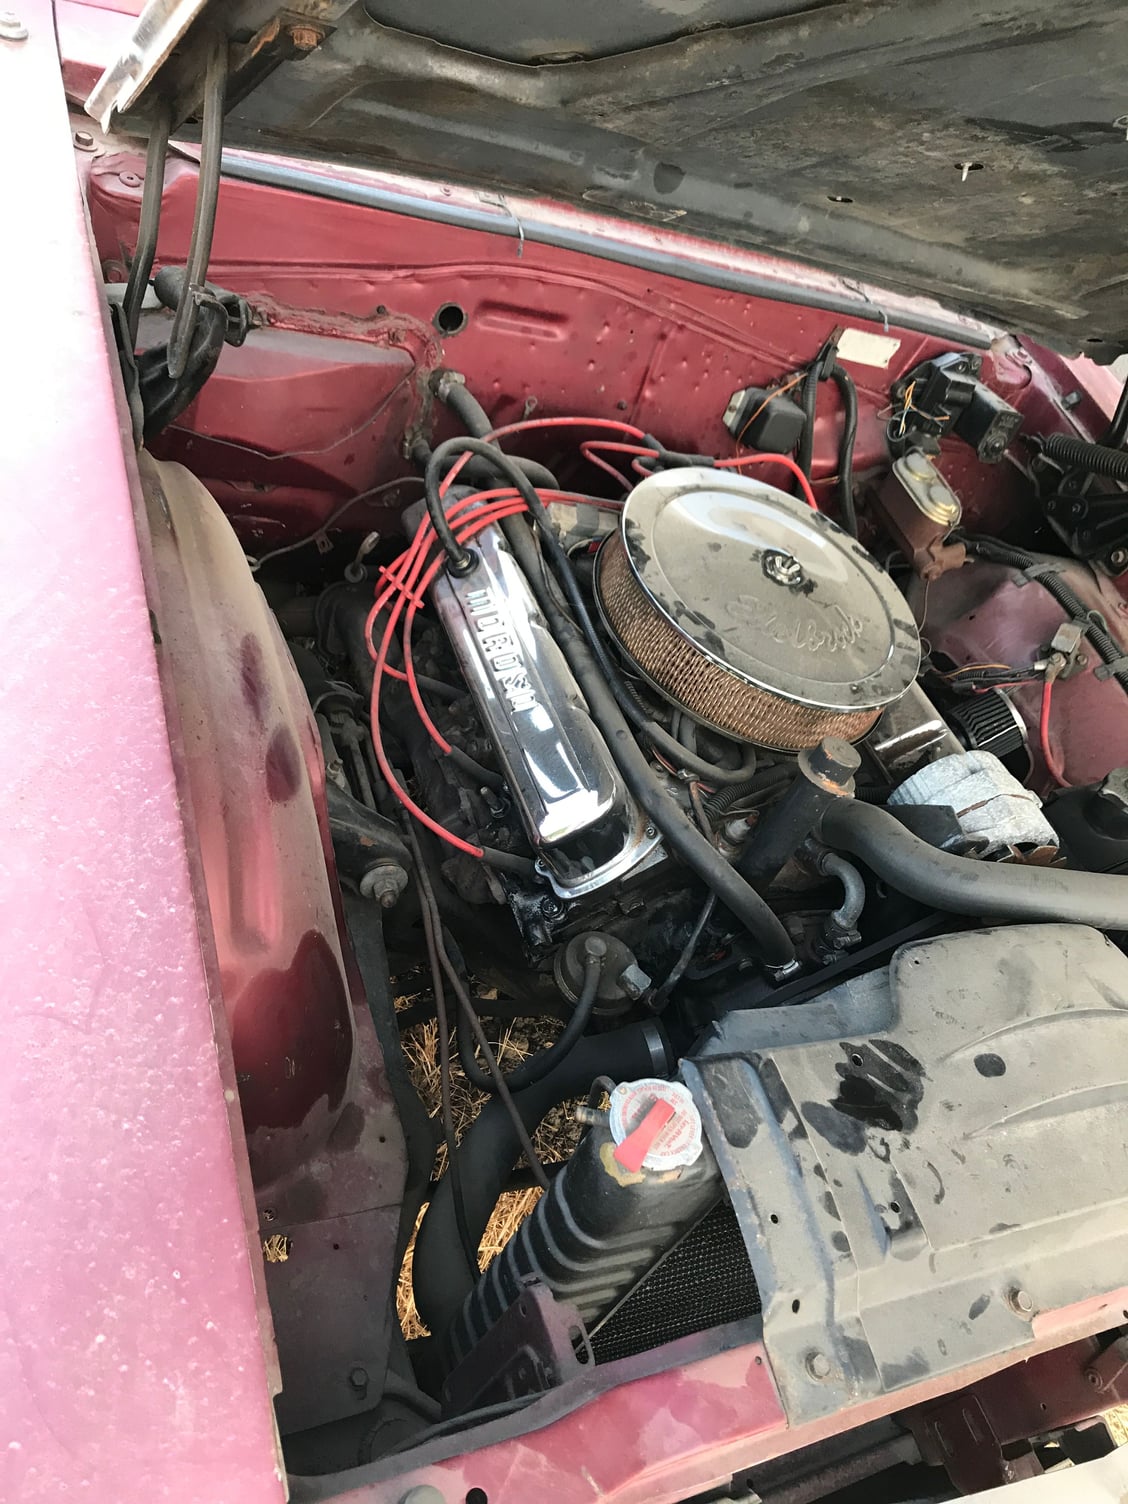
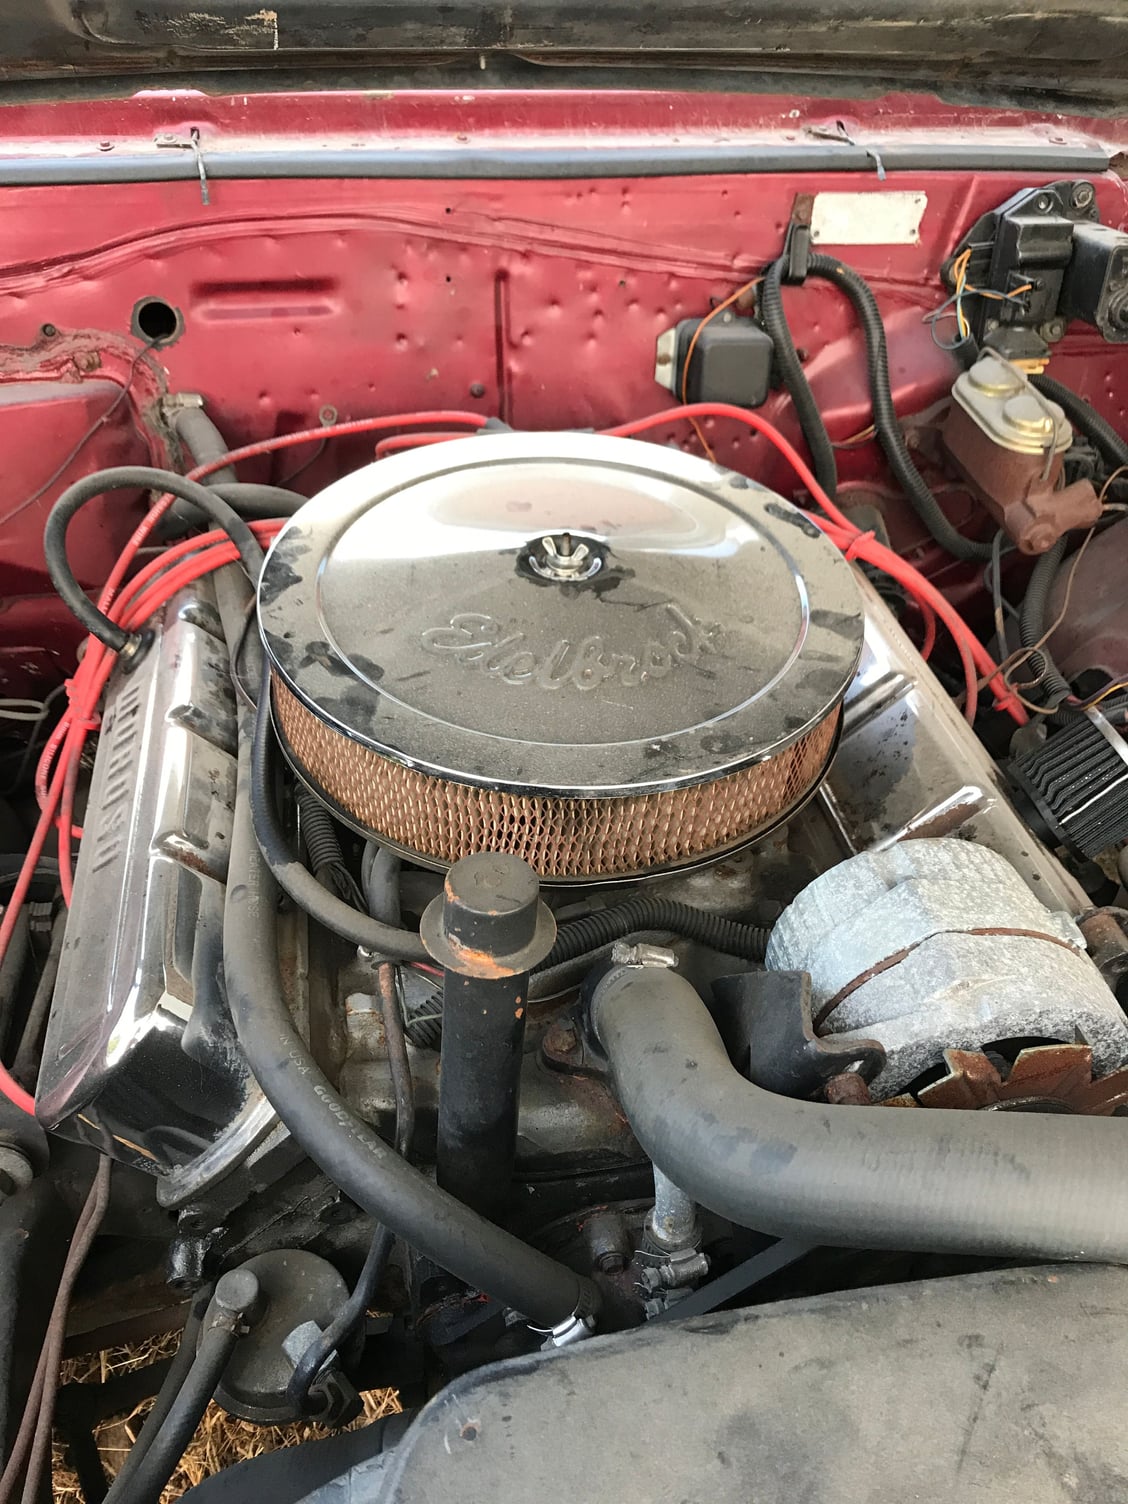
The engine has 3944173 numbers and both heads are stamped 4. From my research isn't this the original?
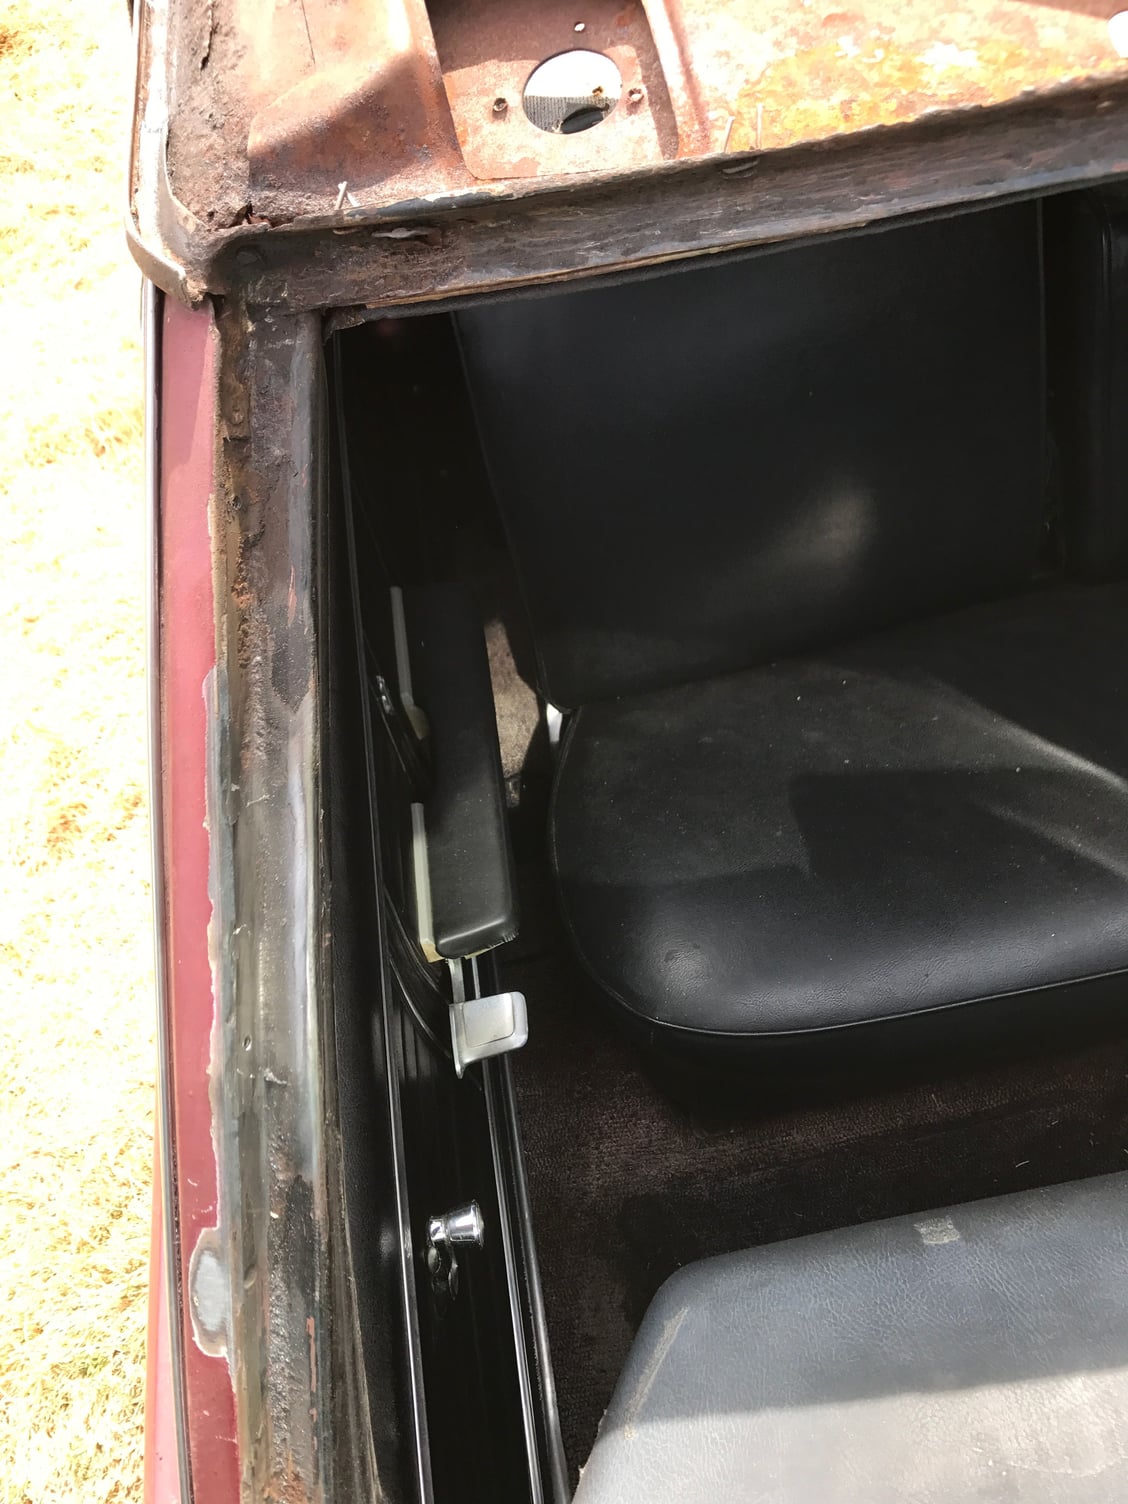
The car is a real diamond in the rough and I can't find any bondo or rot worth complaining about. A small thin cracking bondo on the rear quarter and a few rust blisters on a front. It also needs the front and rear window lower metal. If I pull glass to fix those, the roof is not that much more to do! Floors and trunk are pretty darn amazing!
#9
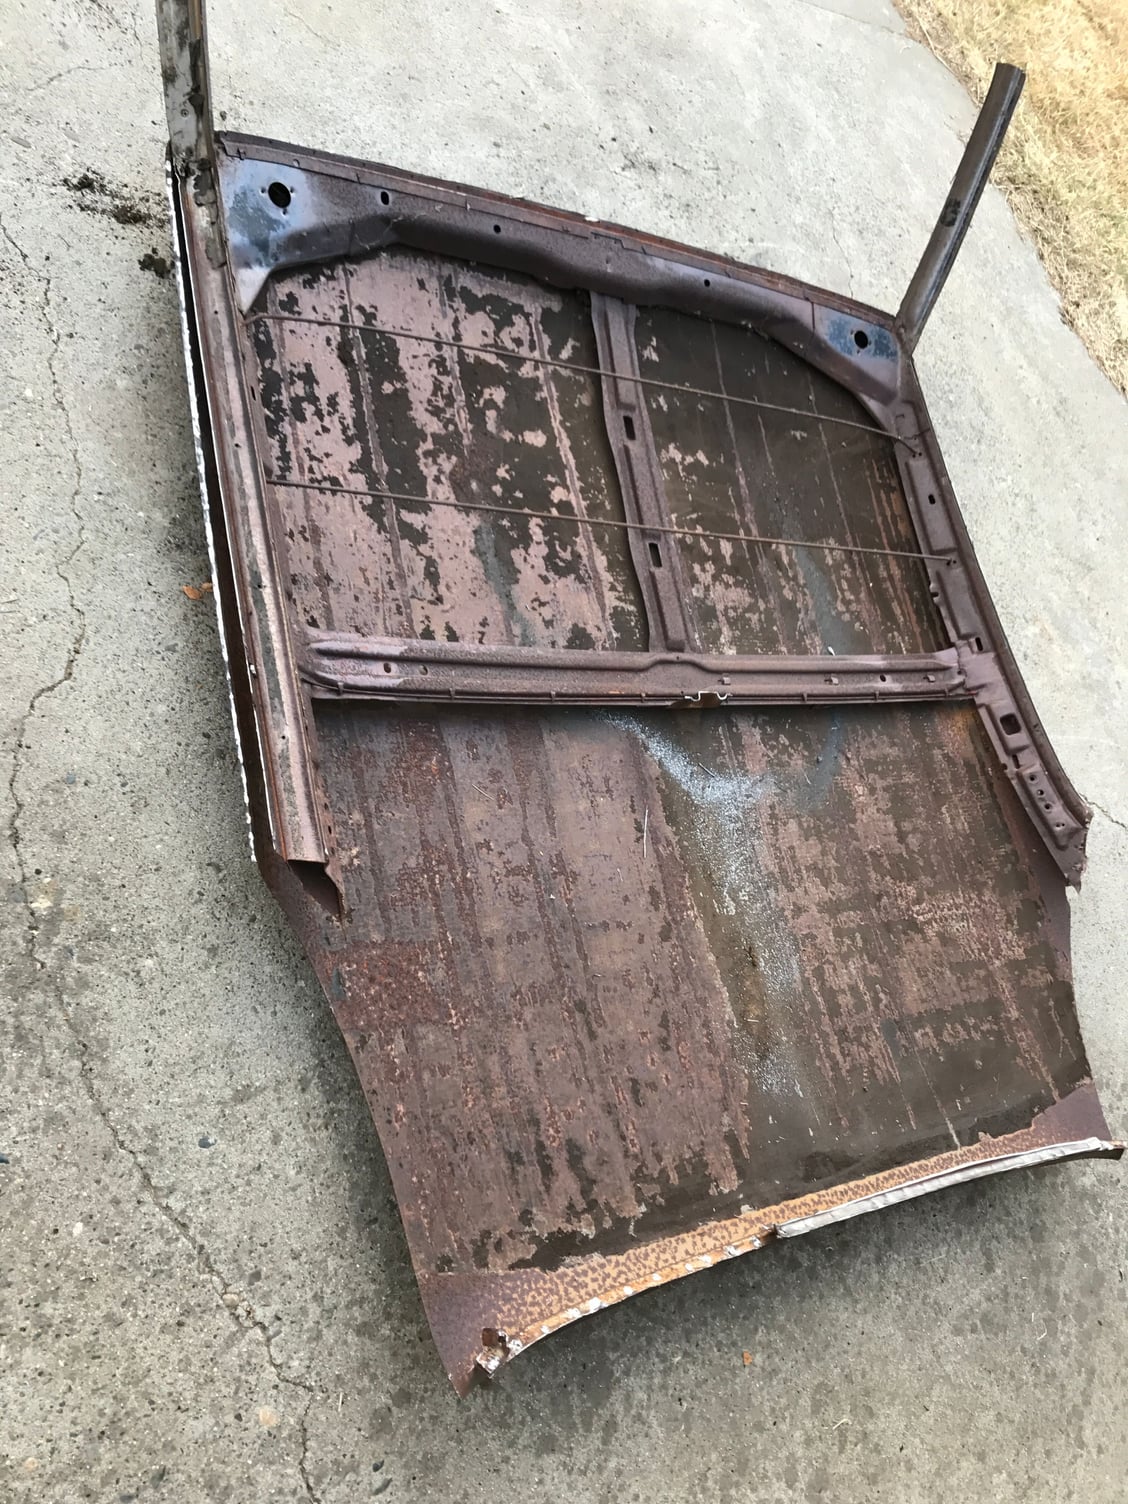
YES YES YES! It has dry rotted rubber and vinyl but that is to be expected for a hot weather California car. The previous owner put on a new hood, I saw the original sitting by the car it was rotted at the front trim.
It is a runner! She is running rich but damn she purrs like a kitten and drives nice! Stops and steers excellent. There are a lot of squeaks and rattles at high speeds and bumps but I think it just needs new rubber everywhere, based on the condition of all the other rubber and vinyl.
I see a clean dual exhaust H system and a rear sway bar in place. I want to keep this car original, but might do a different Olds color, not crazy about gold. Cragar StreetStar wheels? They look bad *** with decent BFG tires. The radio hole was hacked for an 80's Alpine tape deck. I ripped that out pronto, I have a new Sony a buddy gave me I can toss in.
#13
Sure helps me on my 65 Cutlass it too has rust around windows. Now I see what is under the top roof but I'm not cutting that far back as yours maybe at the top where it heads down to hold the glass. I have parts car that is rust free but is hit on the driver side real bad but passenger side is good from door back. The black car is the parts car it has a complete tan interior with buckets and console to go into the brown 65 Cutlass. Take lots of pics some will help me I'm sure on mine.
#14
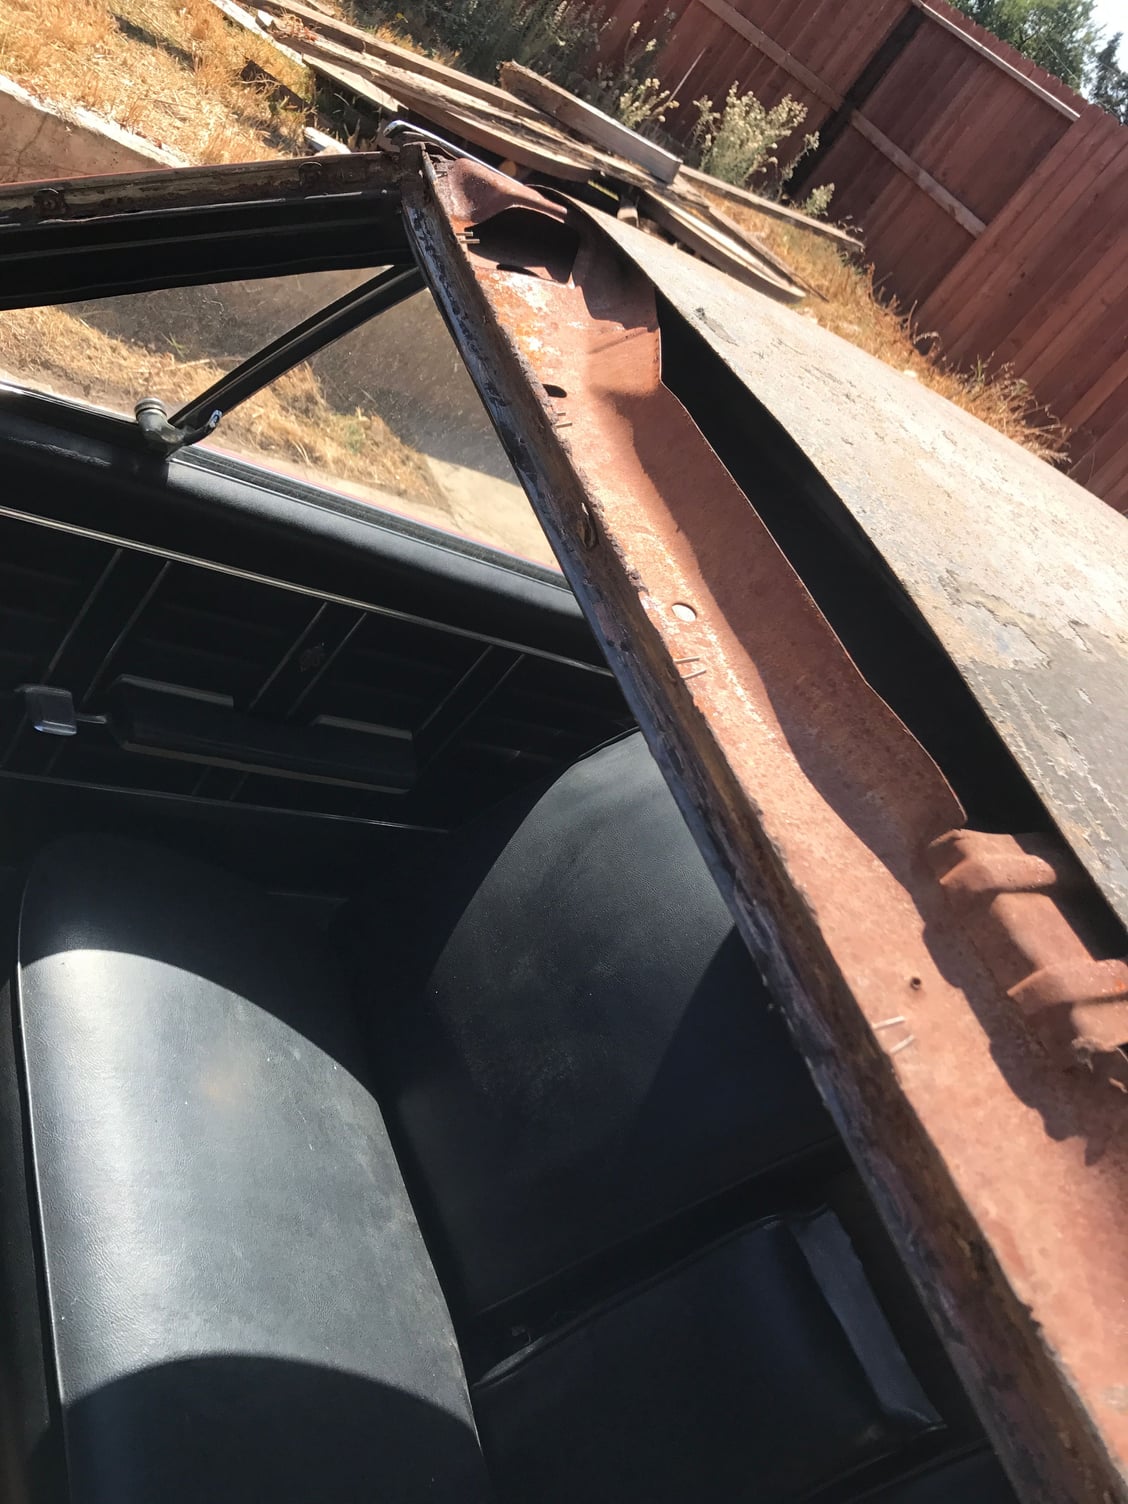
Sure Gerald, I plan on posting more pics soon. Basically, I had to remove all the structure of the donor roof at the spot welds from the inside of it, and remove the rusty remains of my car's roof from the outside. It's like doing the same job twice, you just take your time and cut and grind away the part you aren't using.
#16
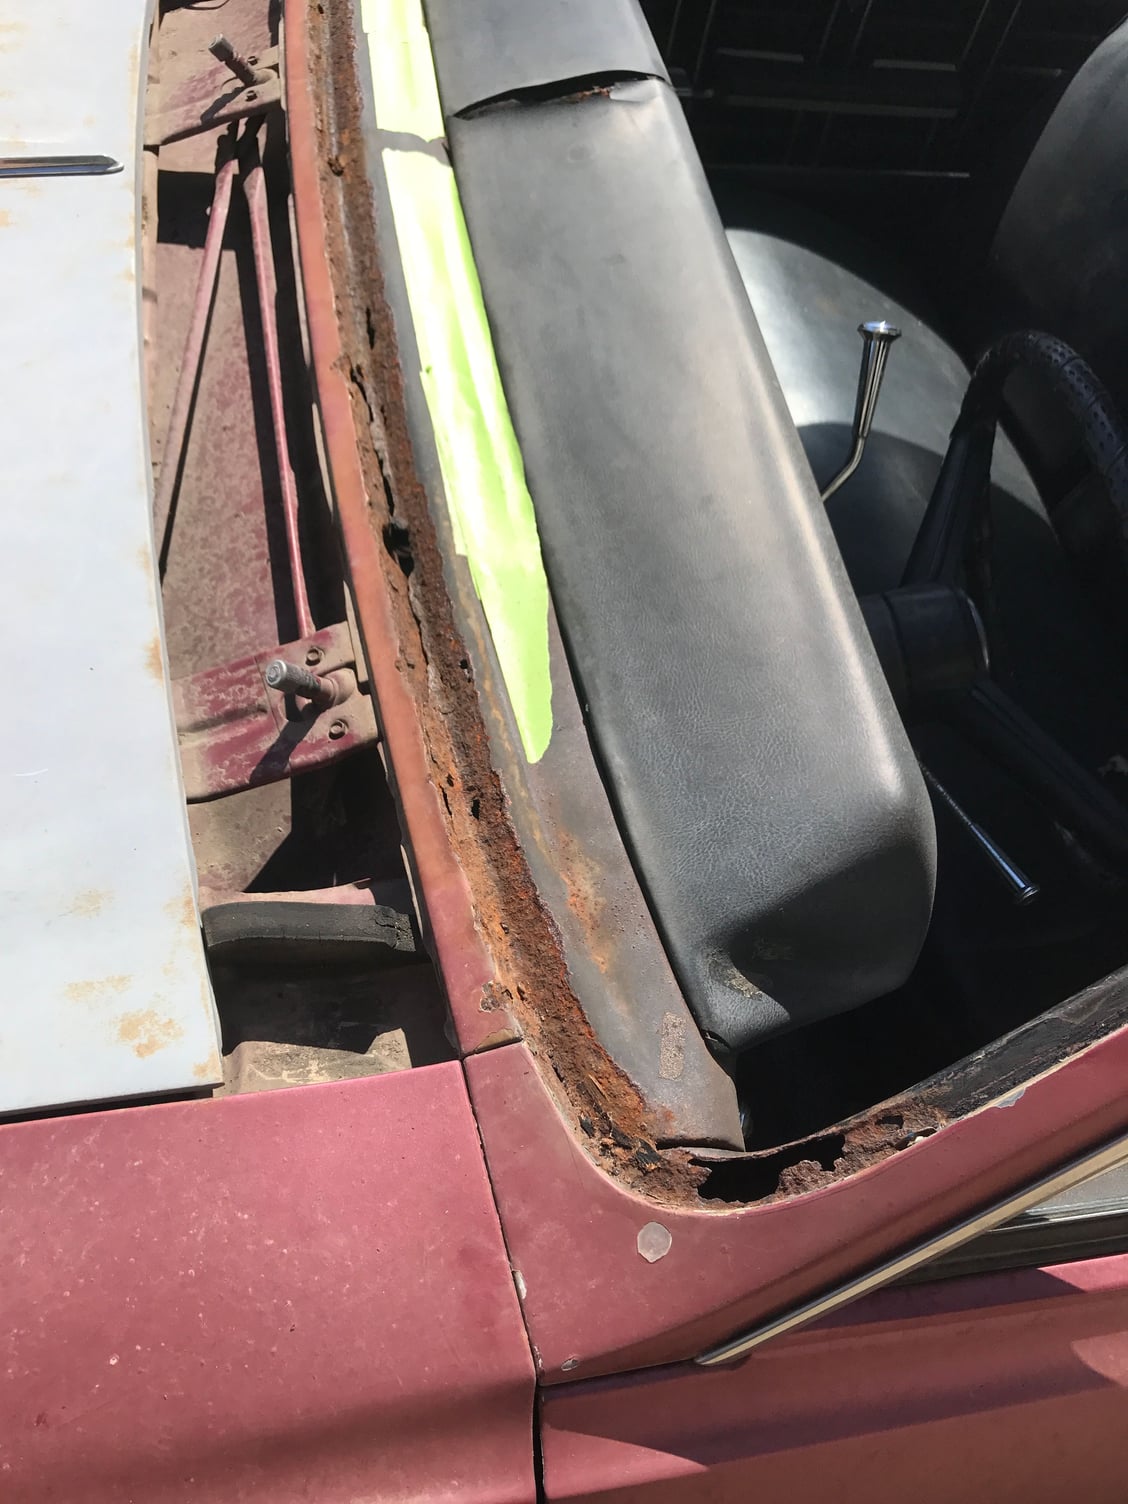
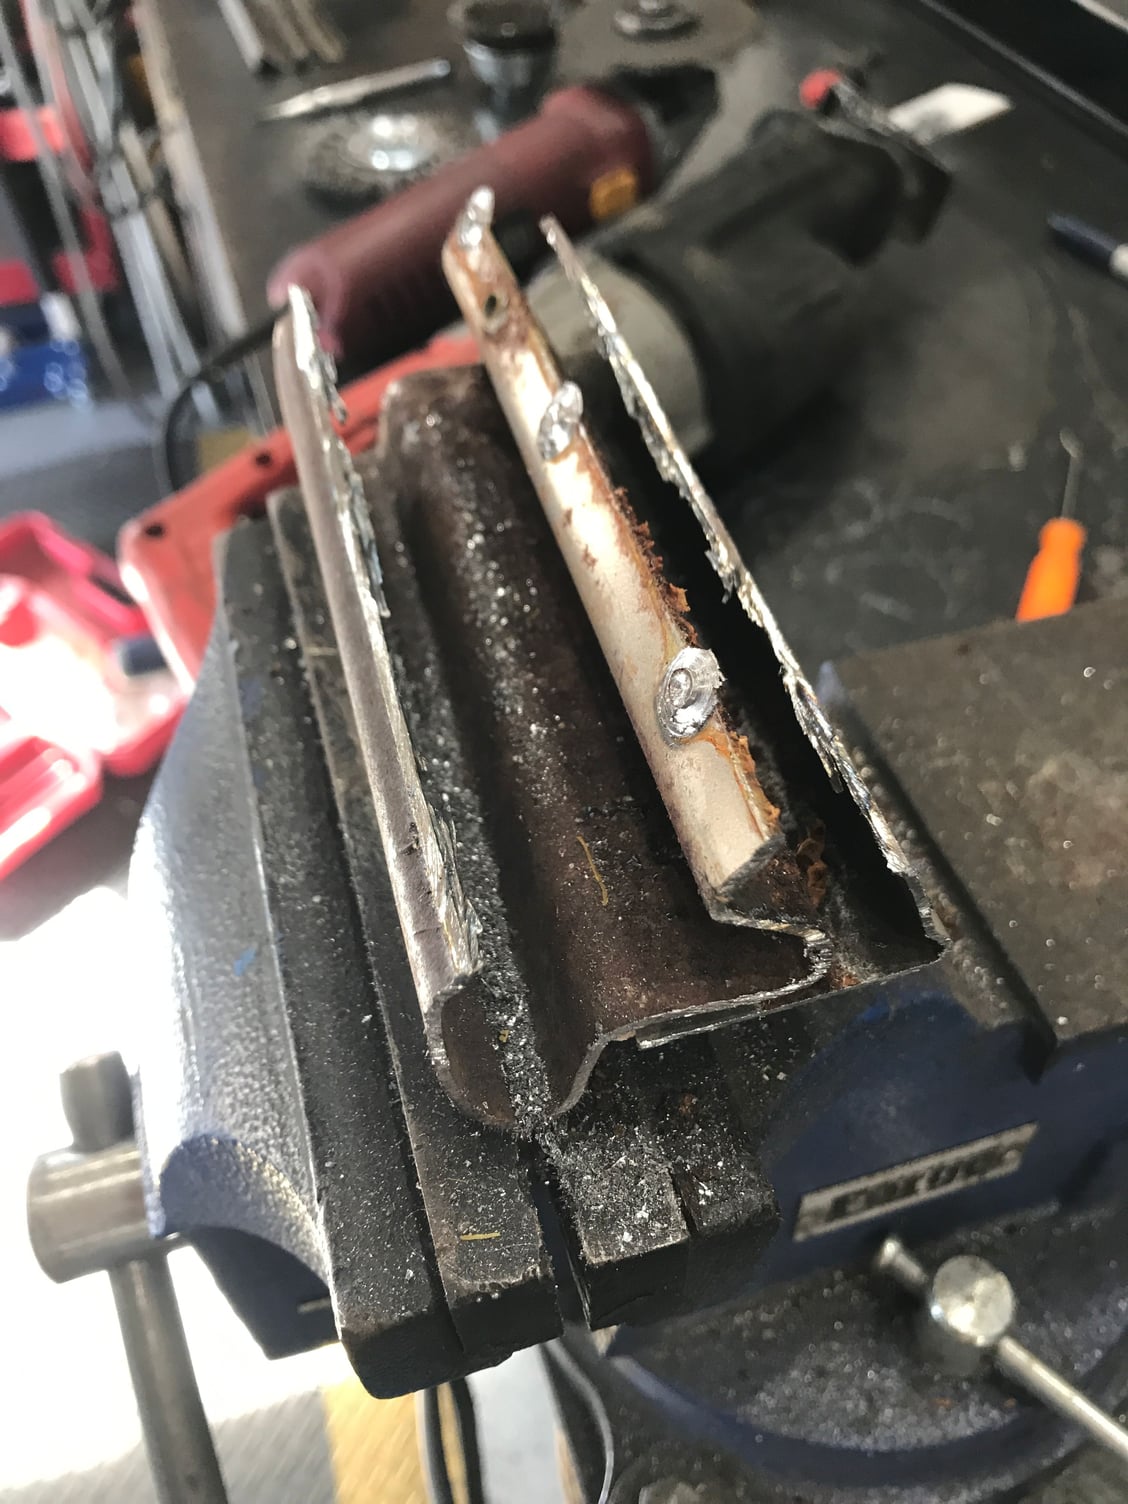
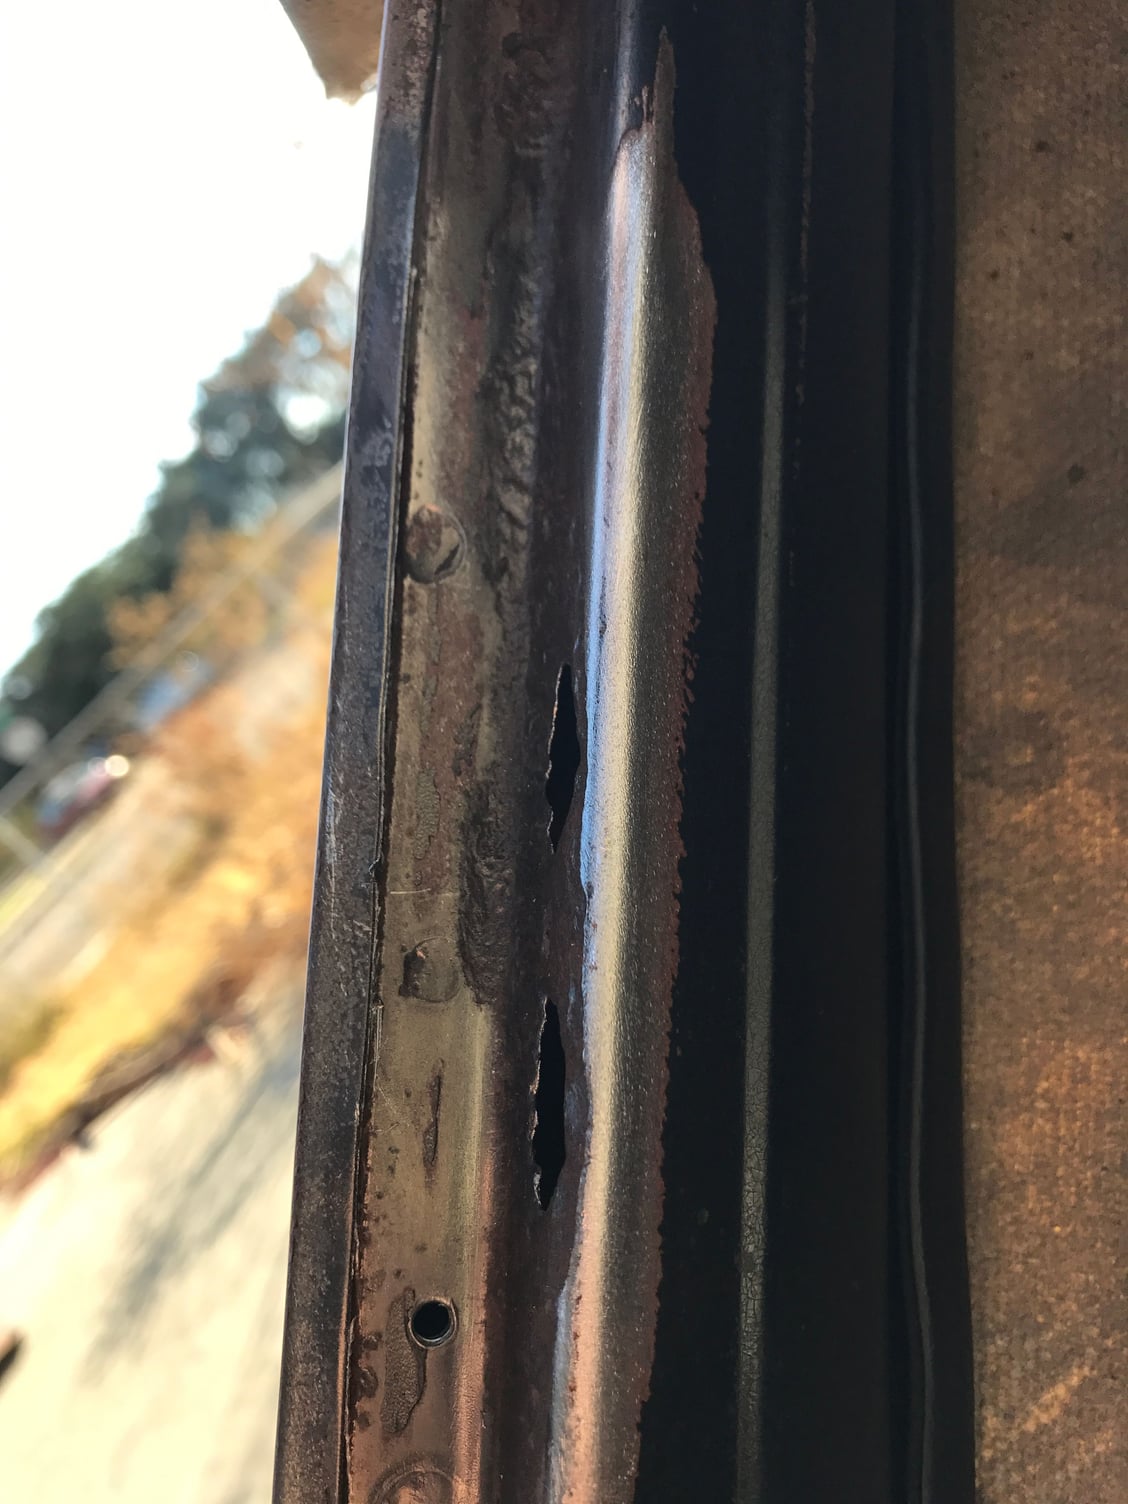
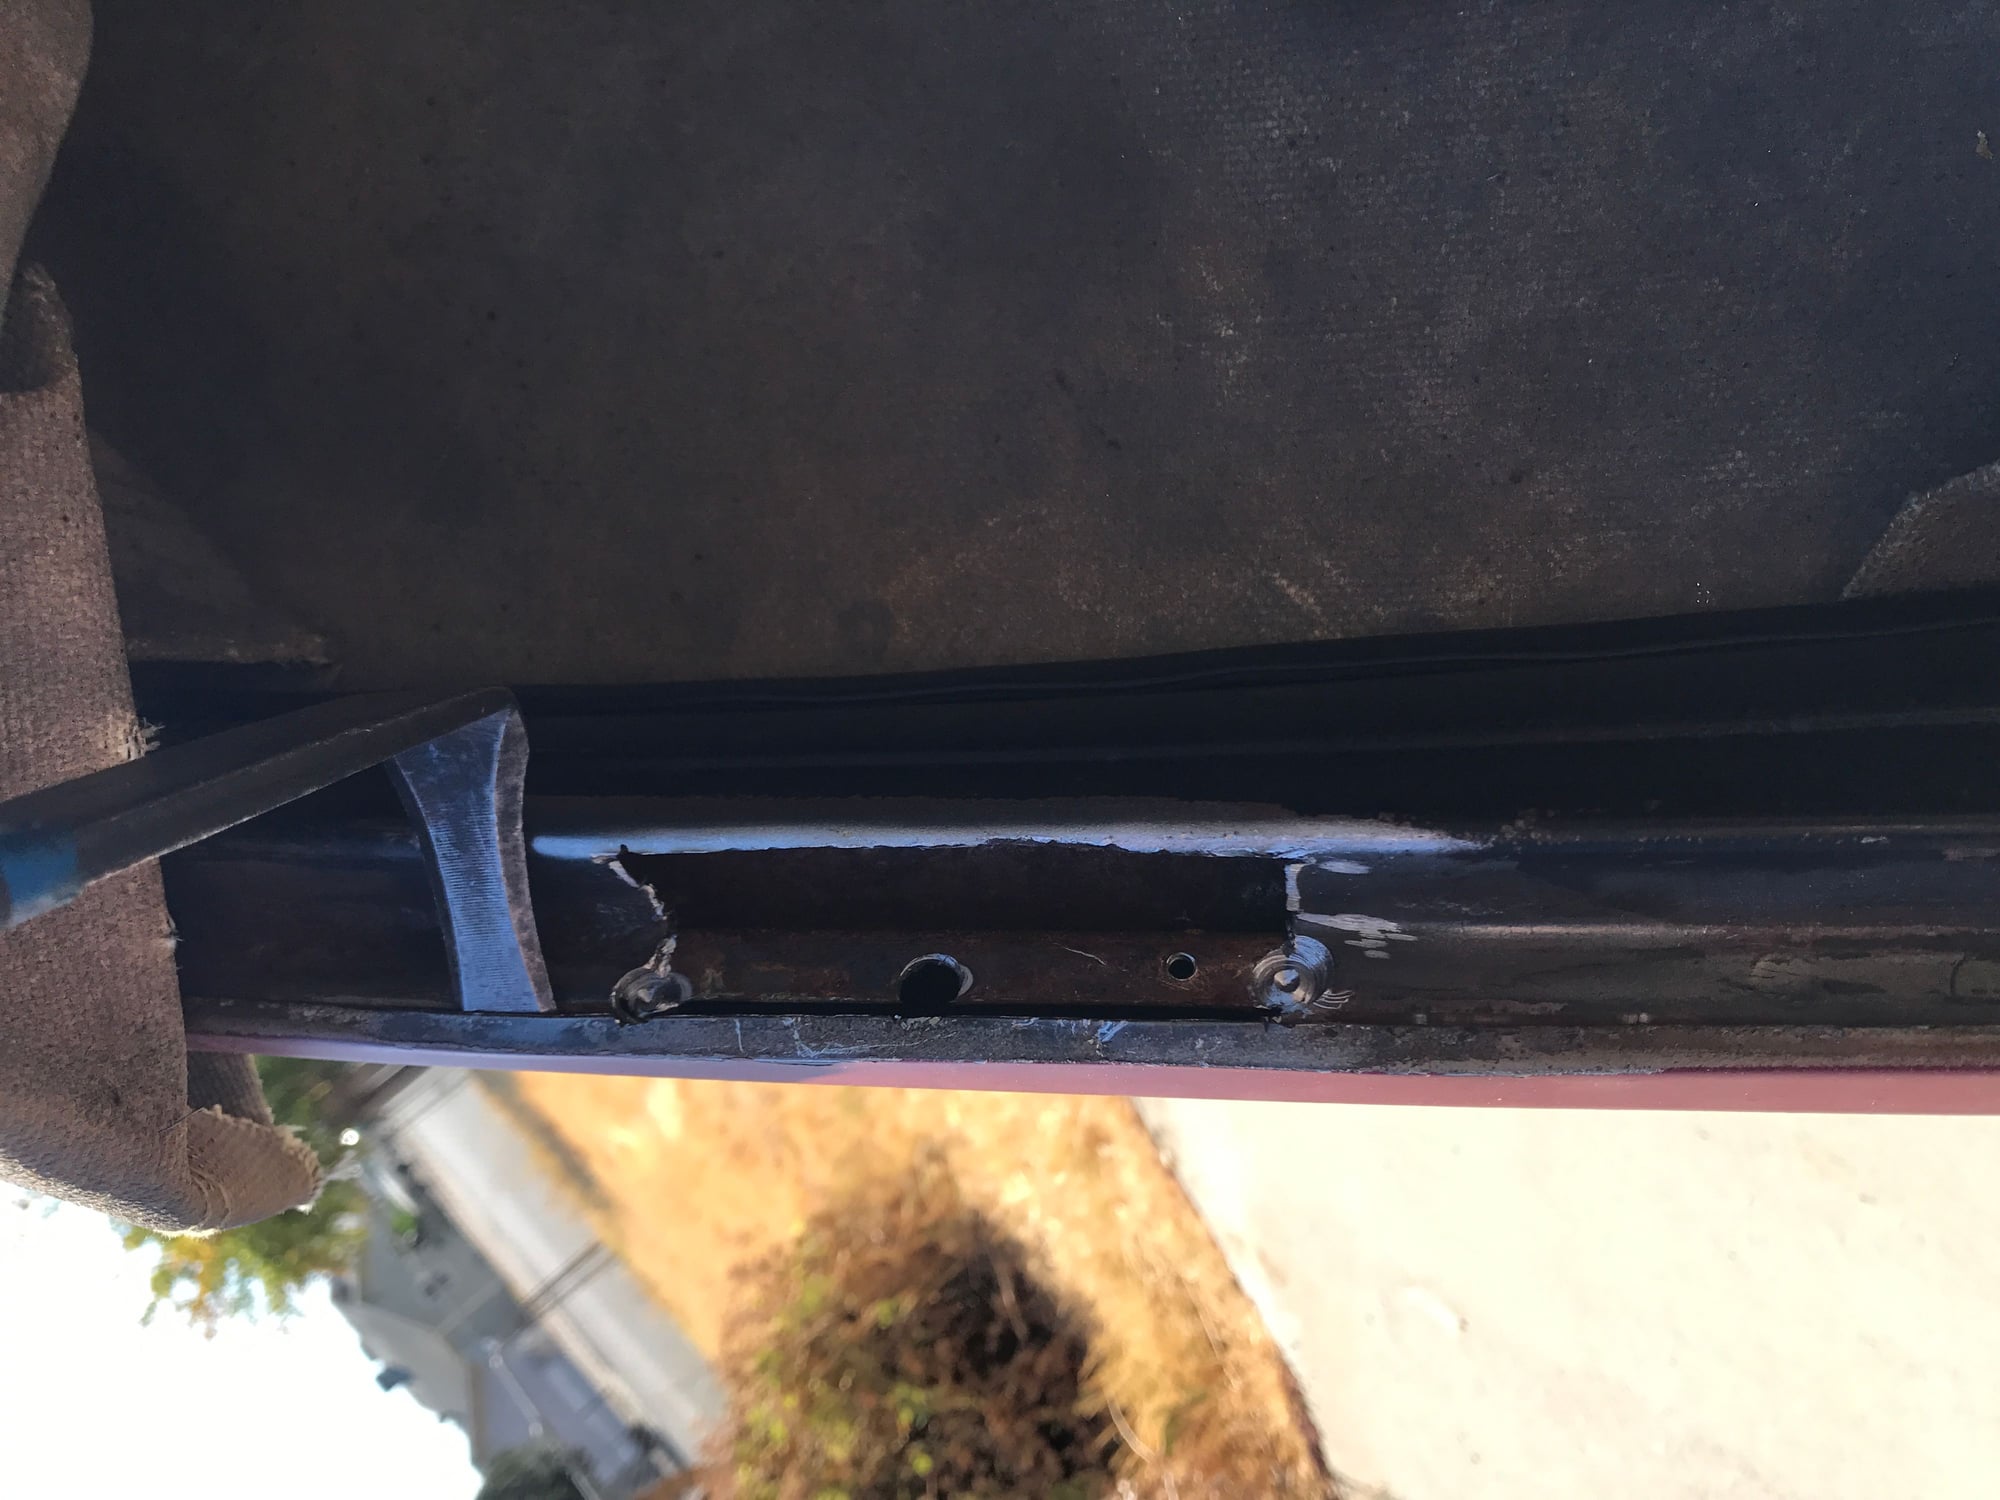
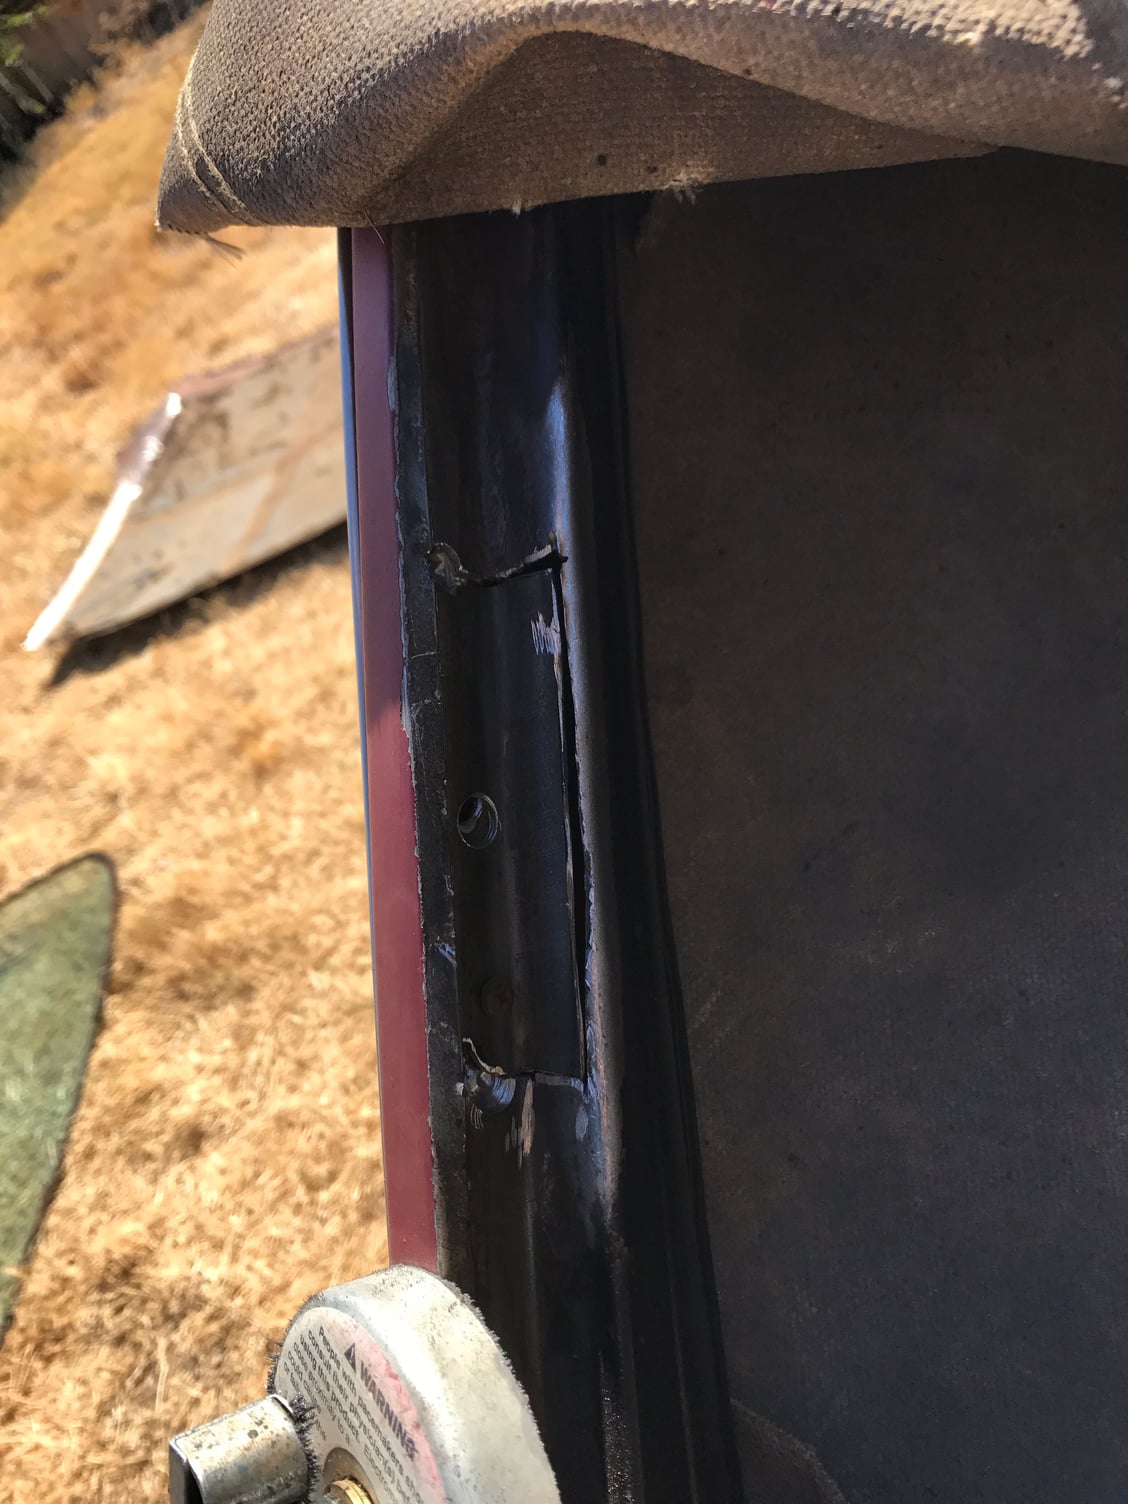
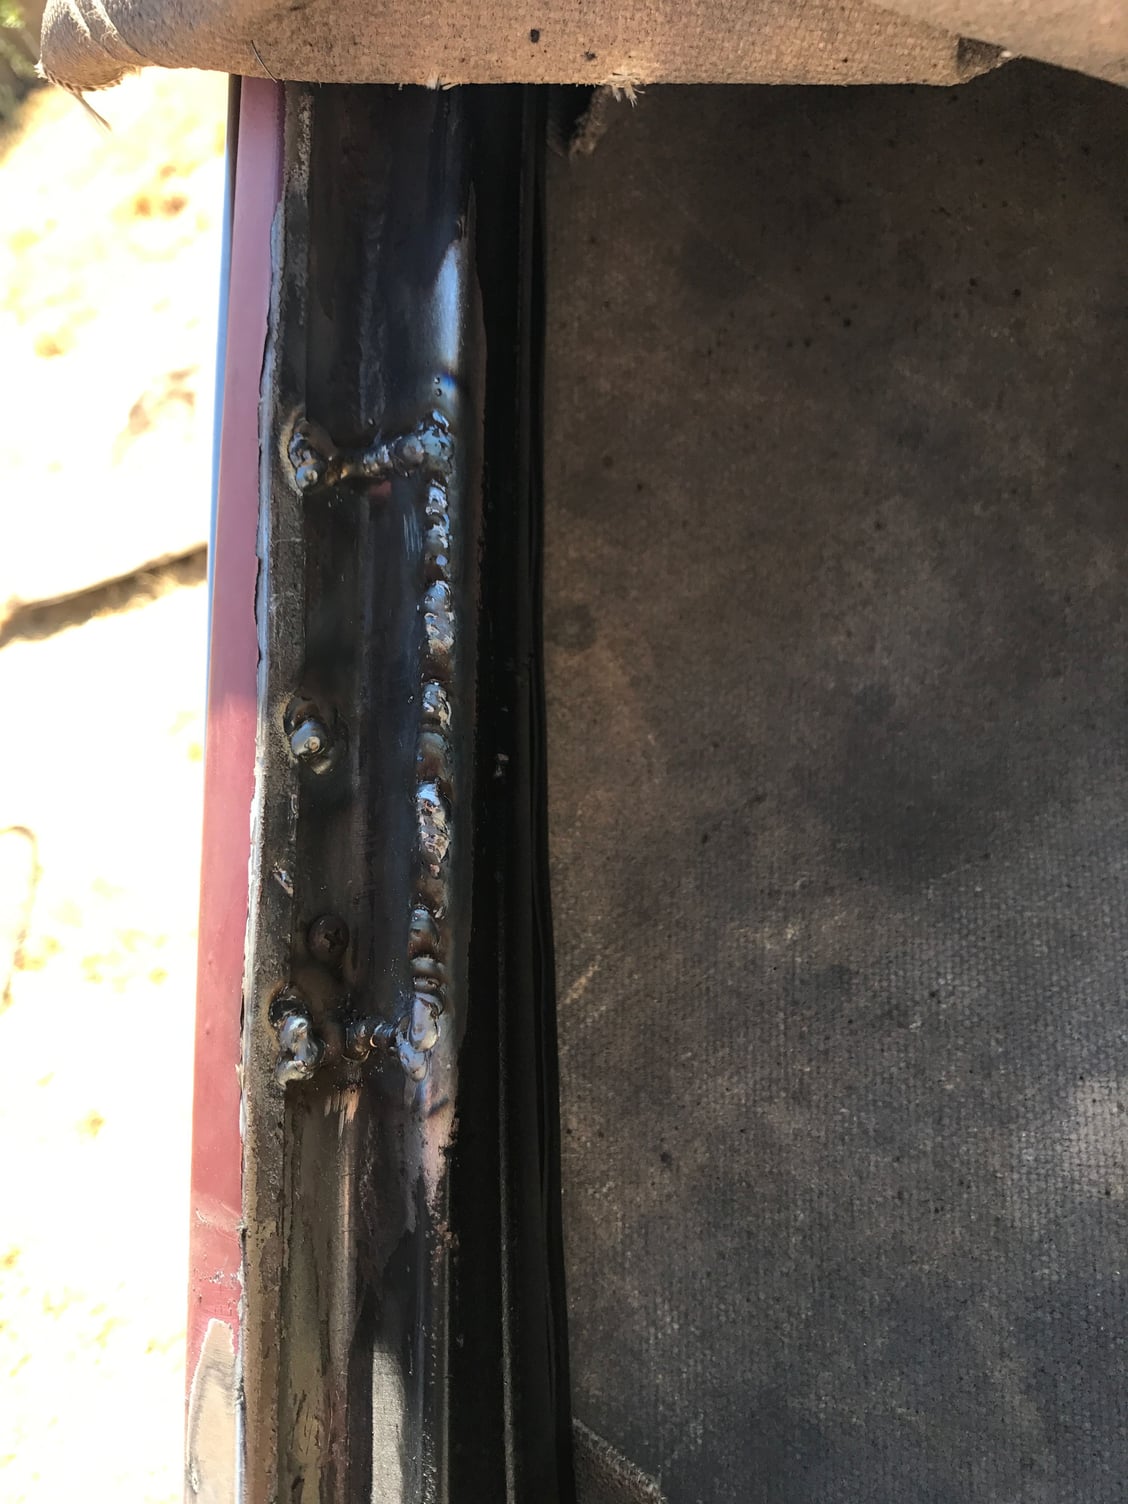
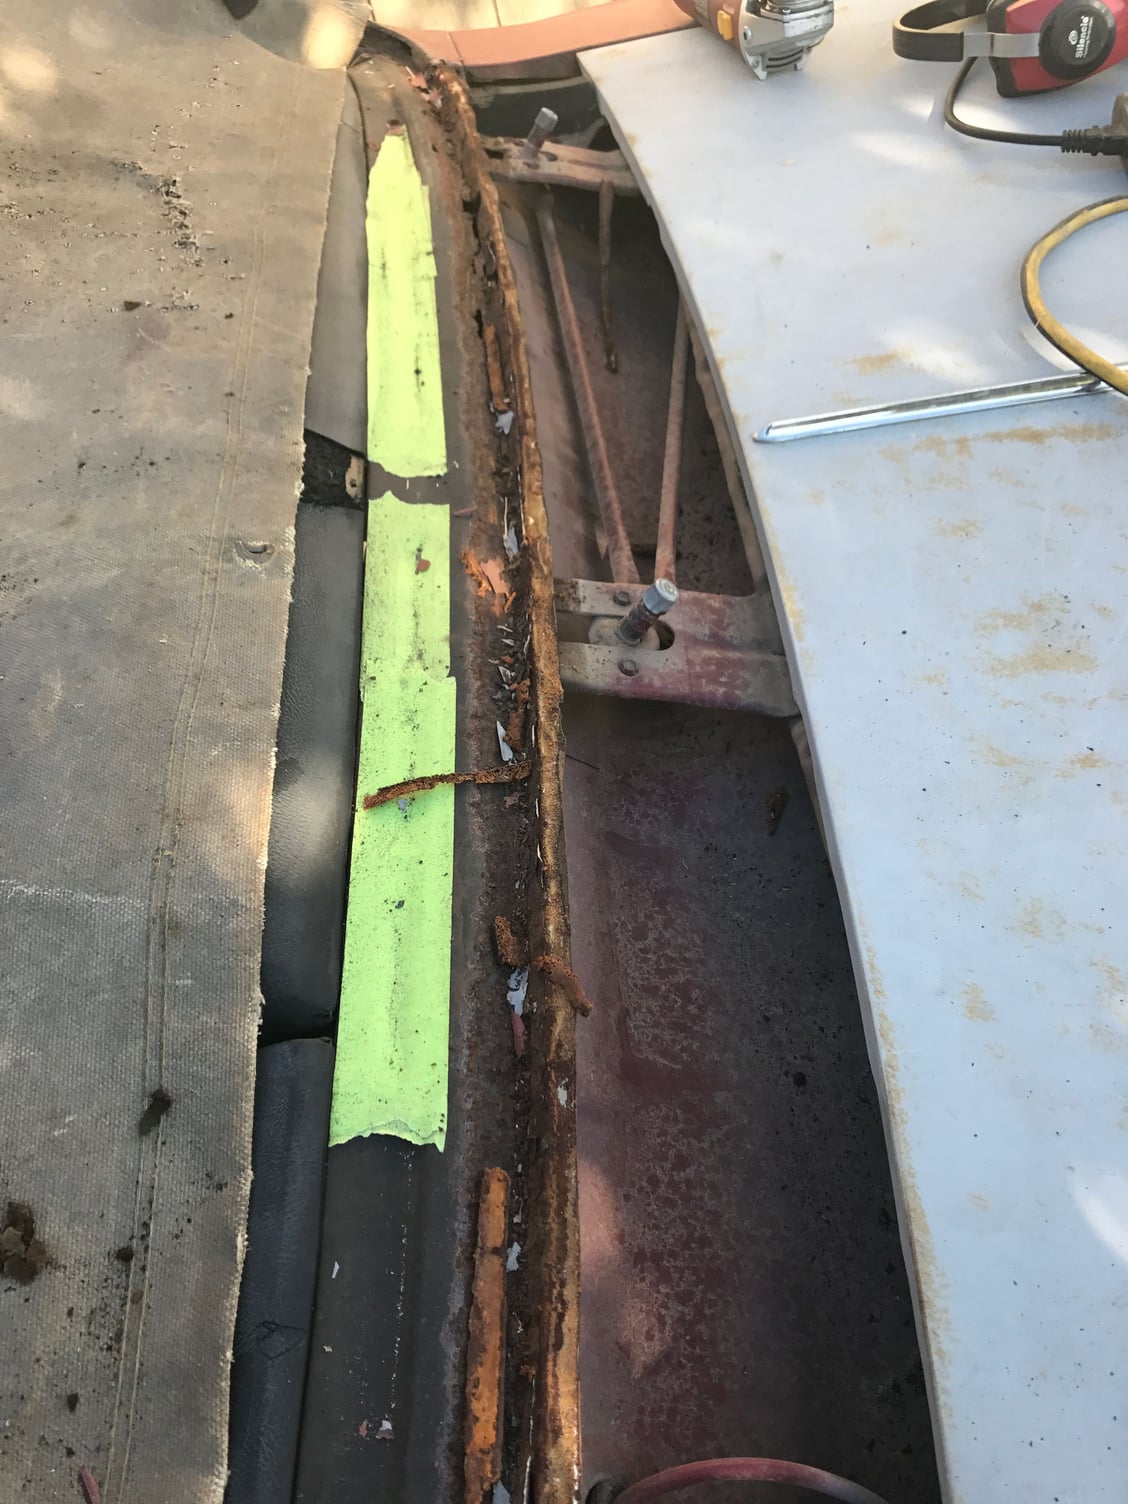
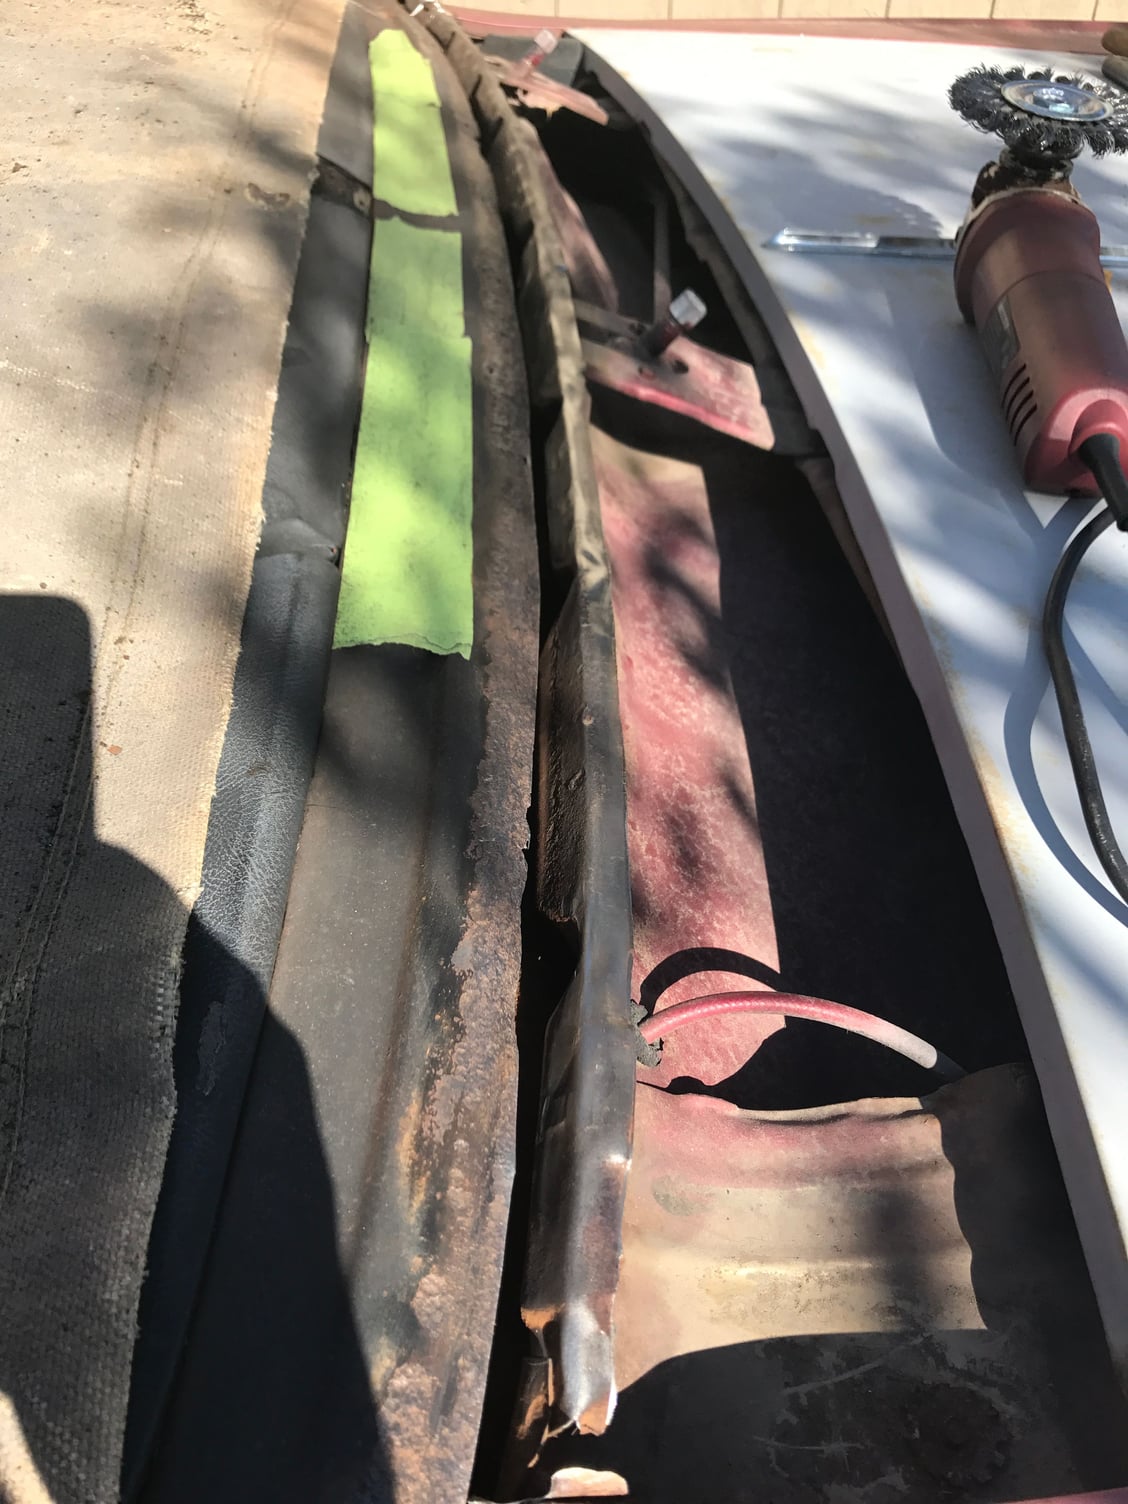
Front window rust repair
#19
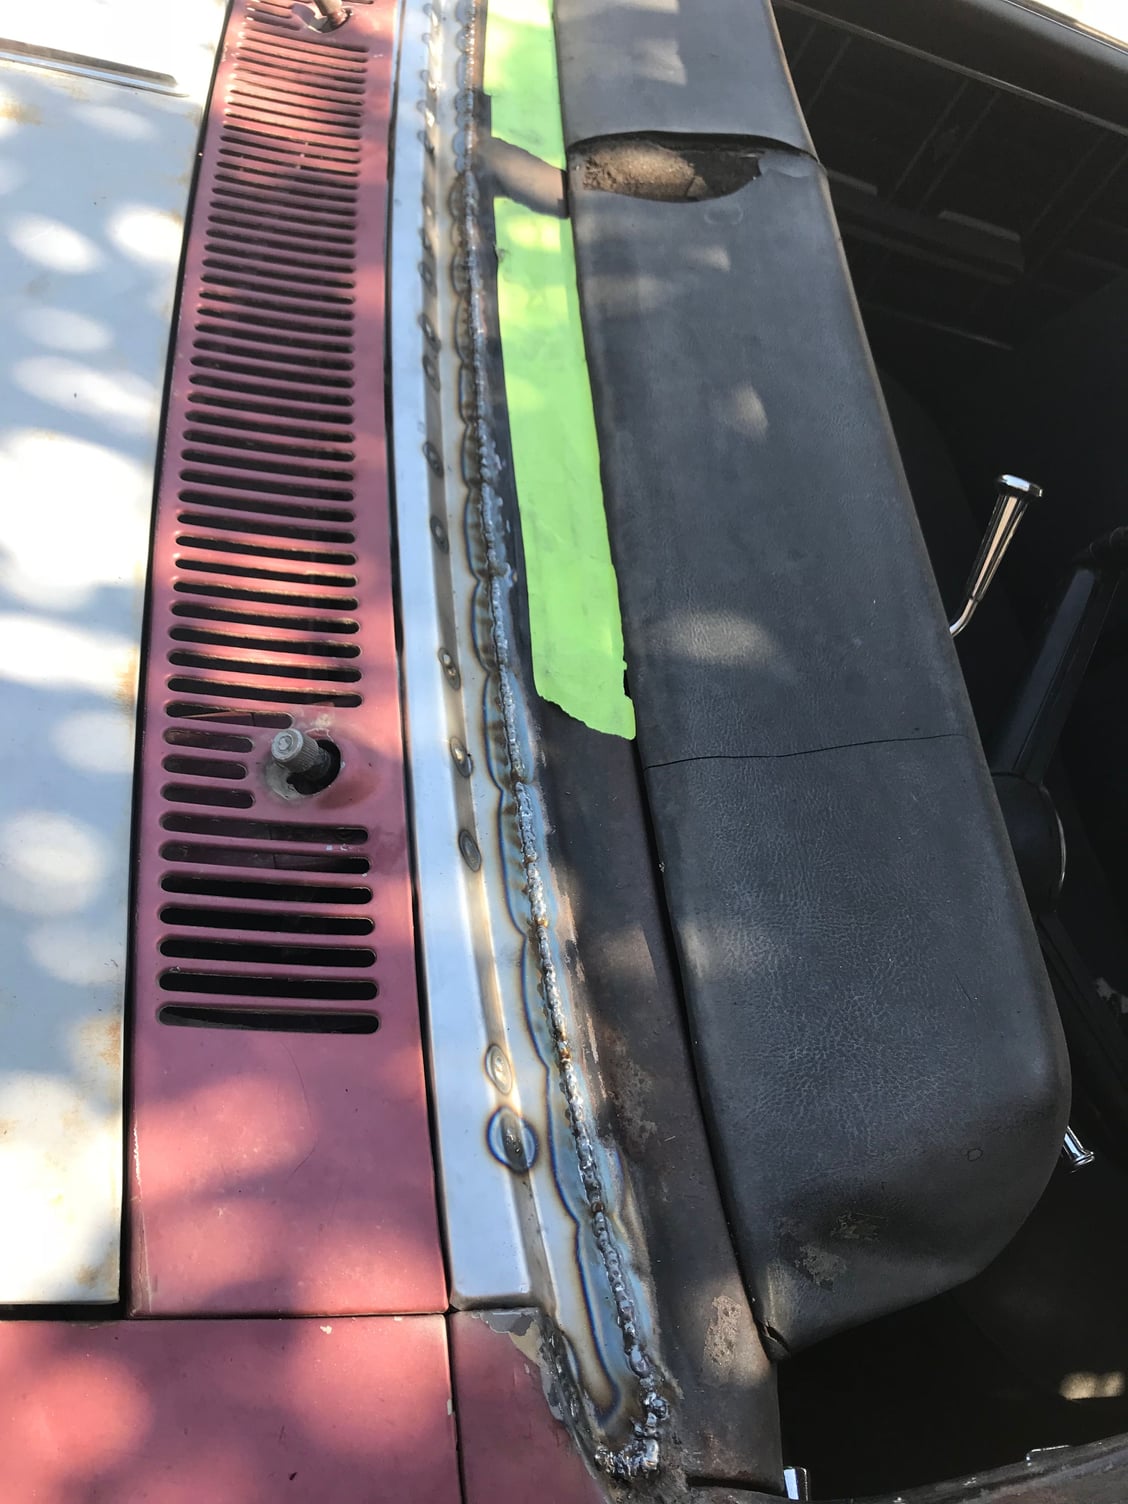
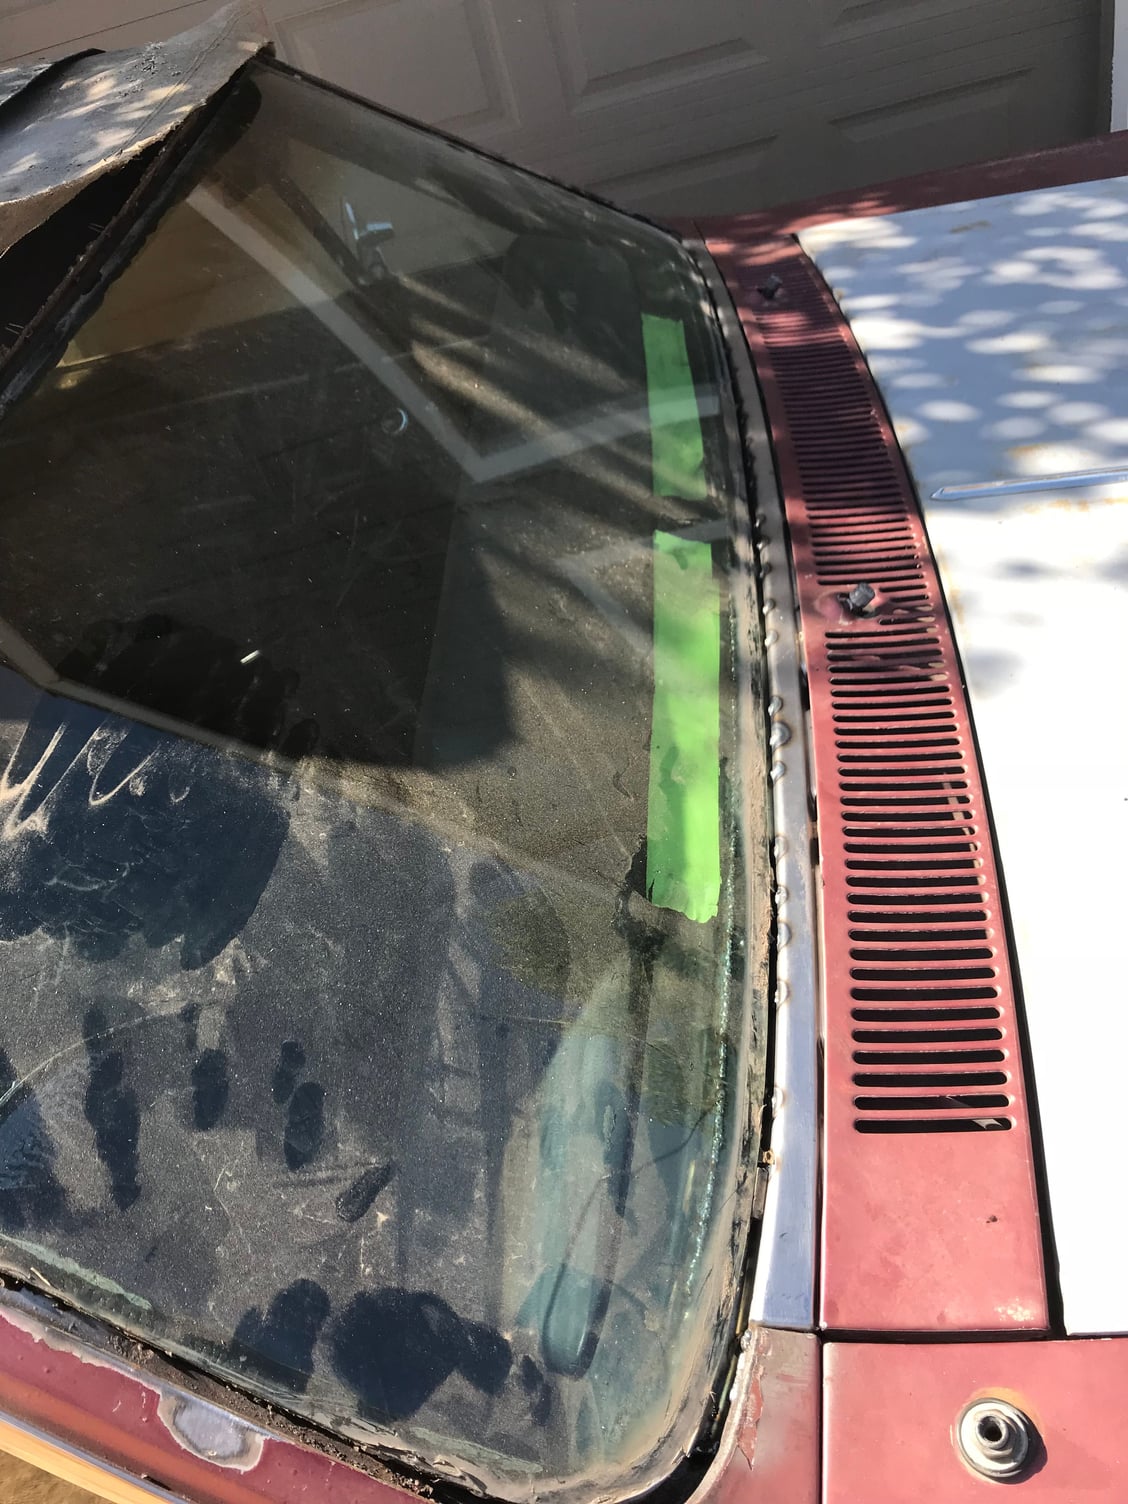
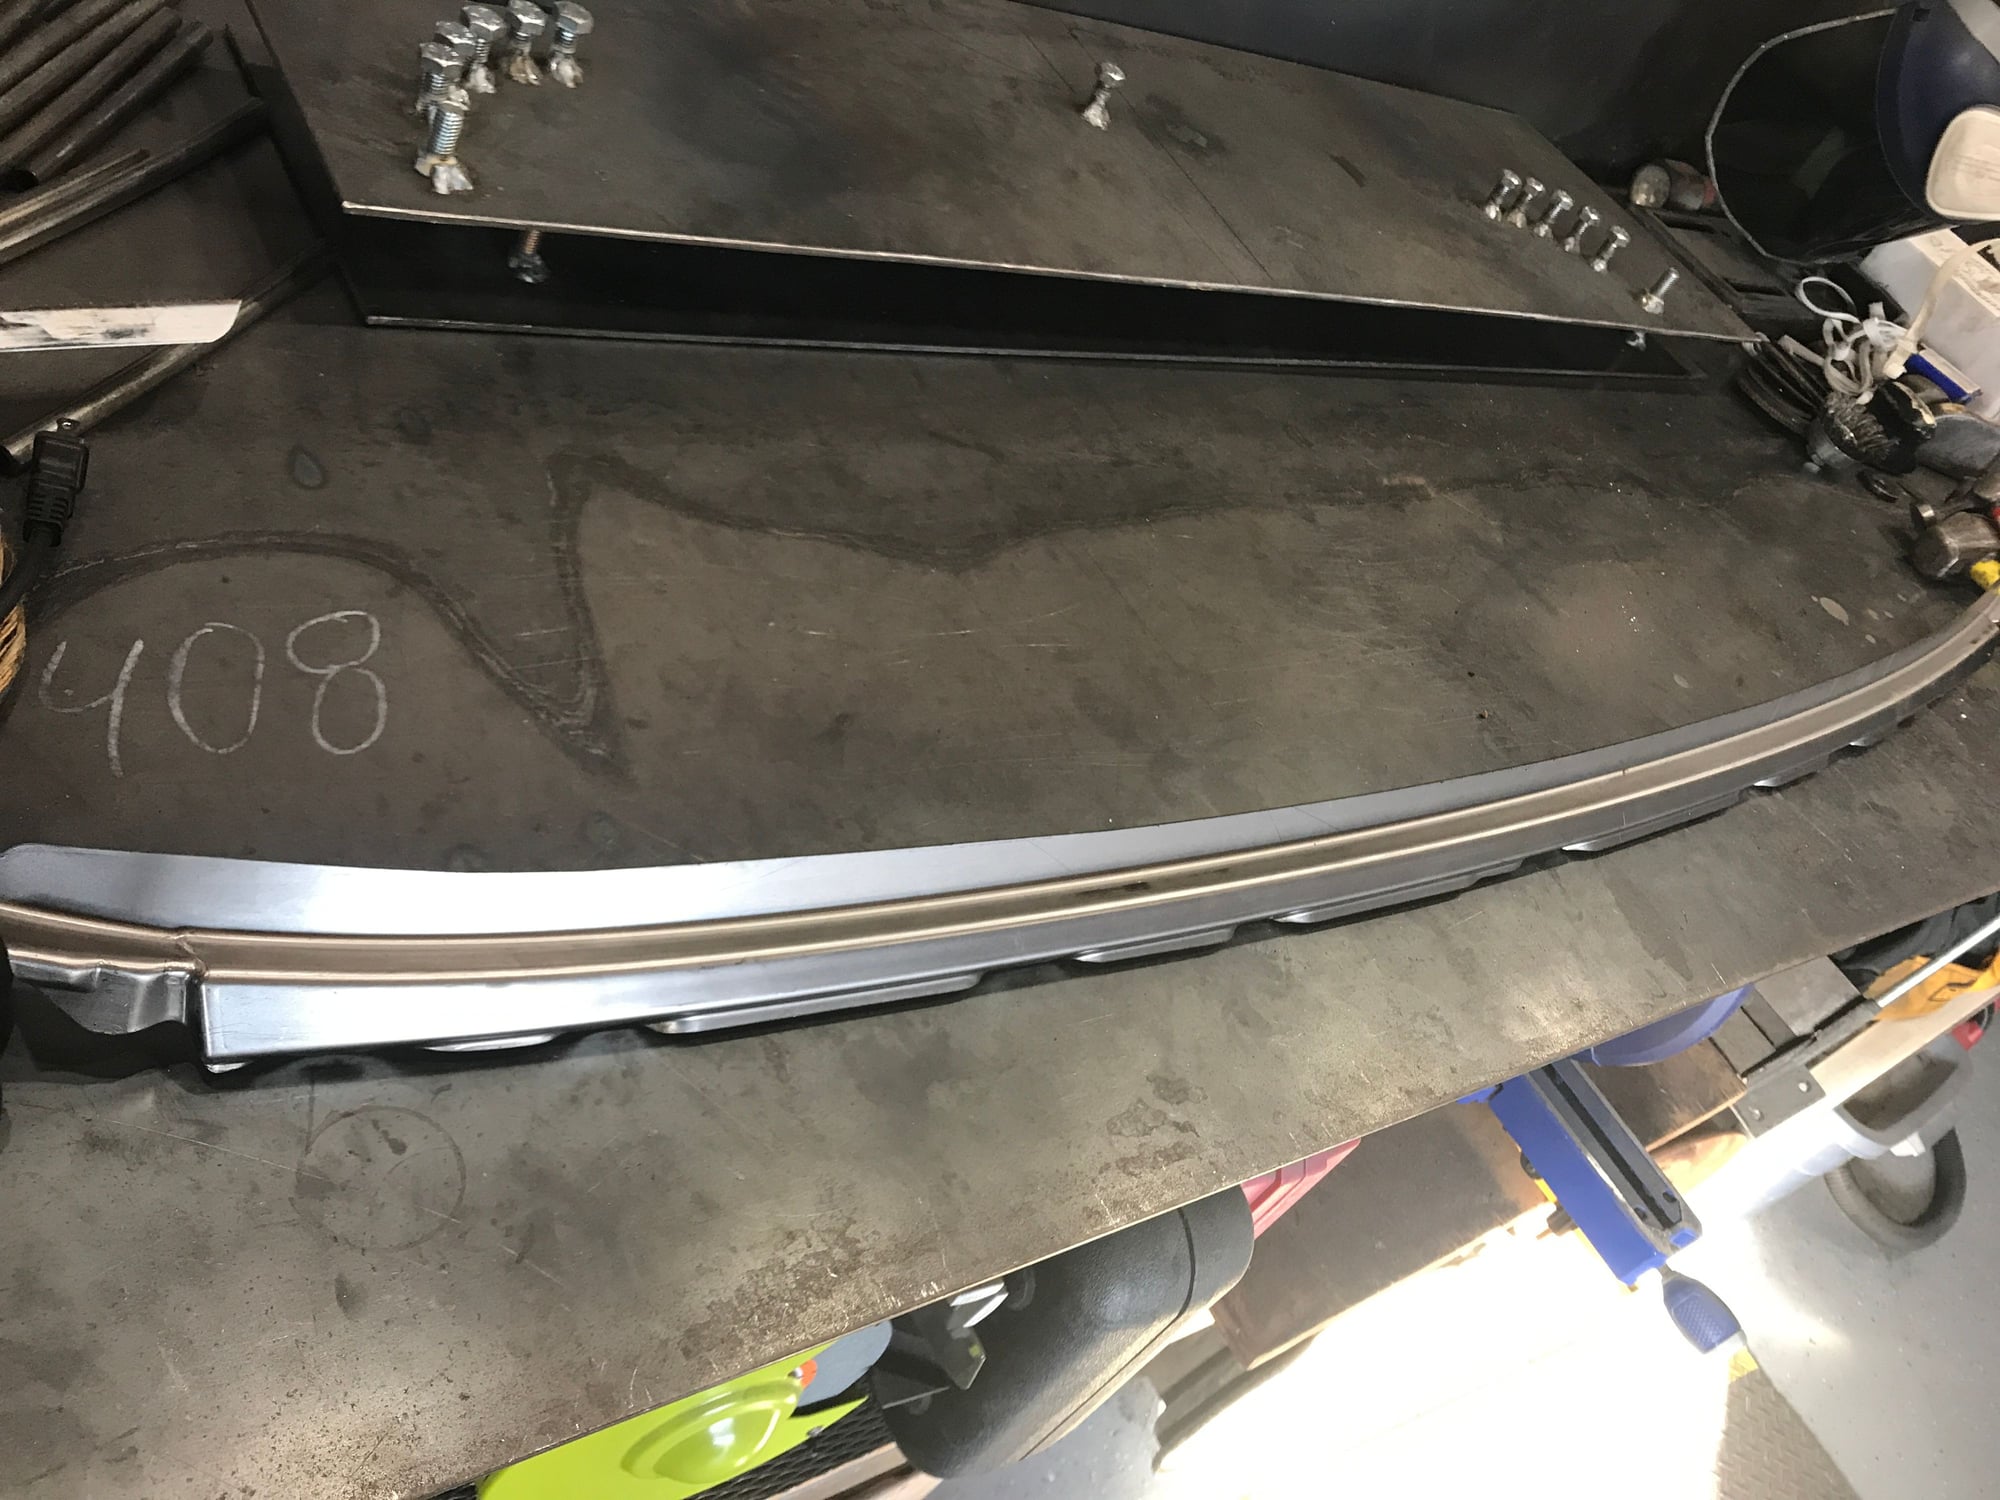
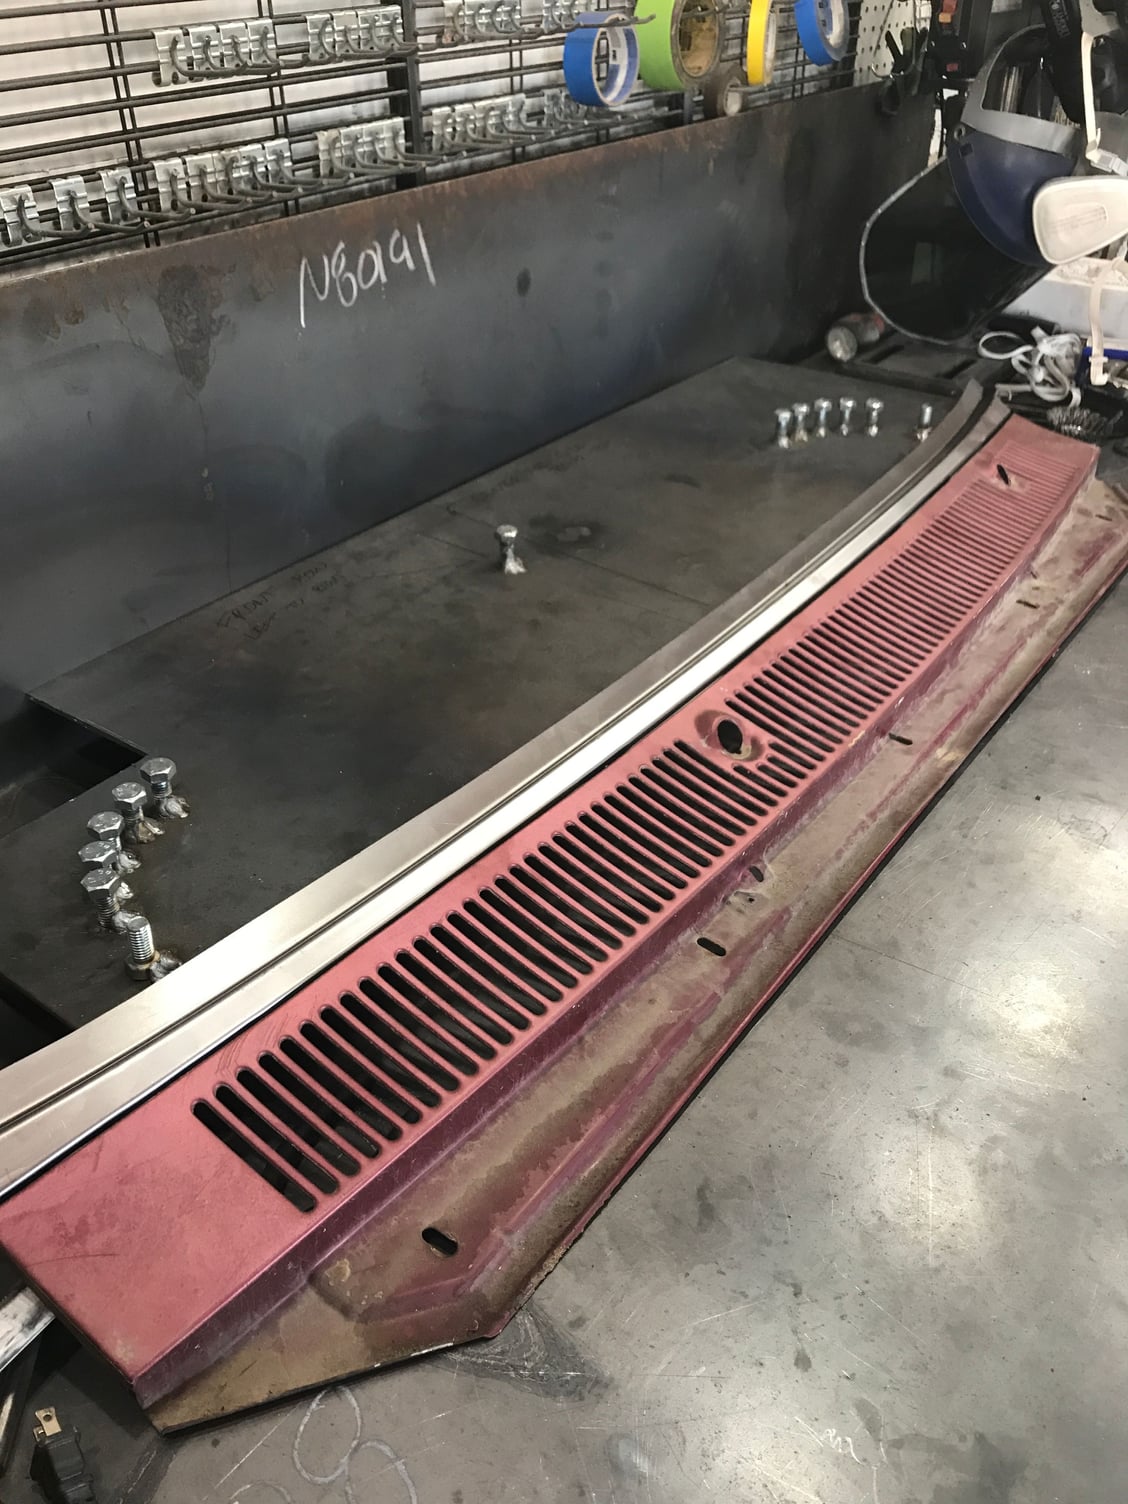
Lower windshield repair

#20
CAUTION: make sure if you attempt this that ALL the insulation and carpet is out of the way! That brown fluffy stuff burns very easily and smolders really hot. Don't burn your ride up
#22
A little more work and i can move on to the back window area, finish the roof and put glass back in.
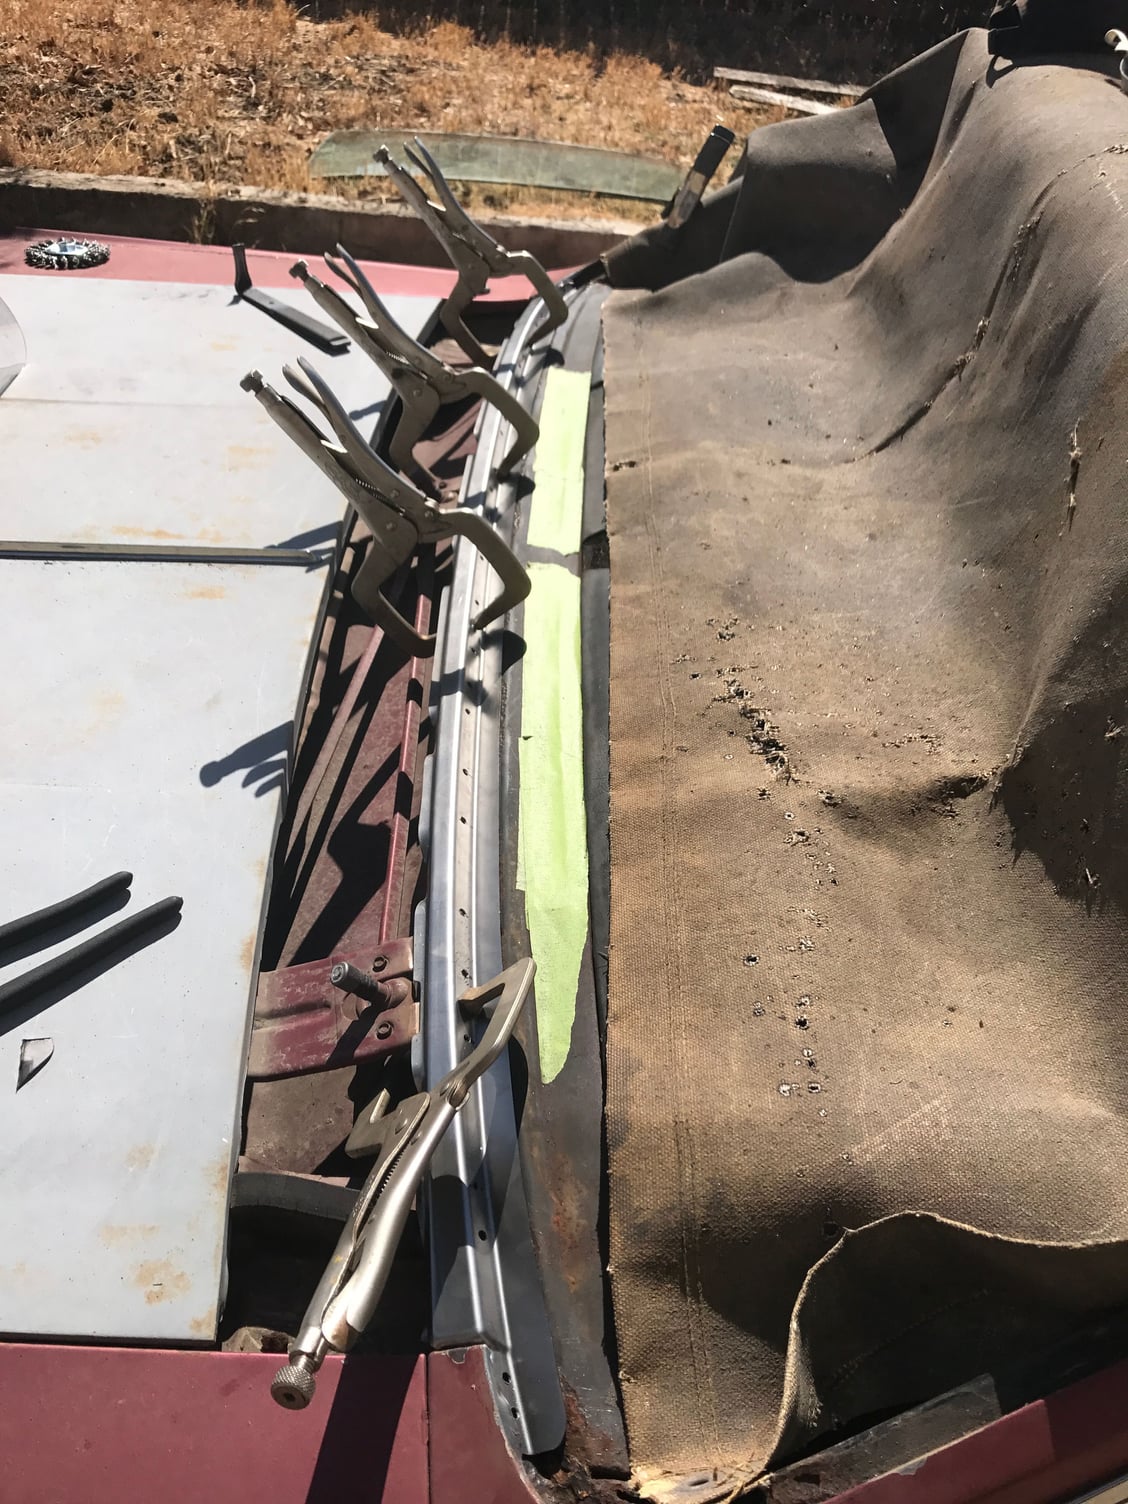
I used weld through primer and compressed air to keep the metal from warping. After welding, I used 3m strip caulk and squeezed it into the seams under where the plug welds are. Even without the cowl screwed down, it fits pretty good.
I used weld through primer and compressed air to keep the metal from warping. After welding, I used 3m strip caulk and squeezed it into the seams under where the plug welds are. Even without the cowl screwed down, it fits pretty good.
#25
Itís very gratifying making these repairs. I only have about 10 years under my belt with metal work. Once I got a little older and learned more patience, it became easier to dive right in. If you enjoy problem solving and working with your hands, cars make great projects. You just learn how they are put together and reverse engineer it in your head.
I wouldnt recommend a roof and window channels for a total noob, lots of tricky curves and very visible repairs. Screw up some easy practice projects like an old bicycle or something
I wouldnt recommend a roof and window channels for a total noob, lots of tricky curves and very visible repairs. Screw up some easy practice projects like an old bicycle or something

Last edited by 1967Supreeeme; September 28th, 2017 at 07:18 PM.
#26
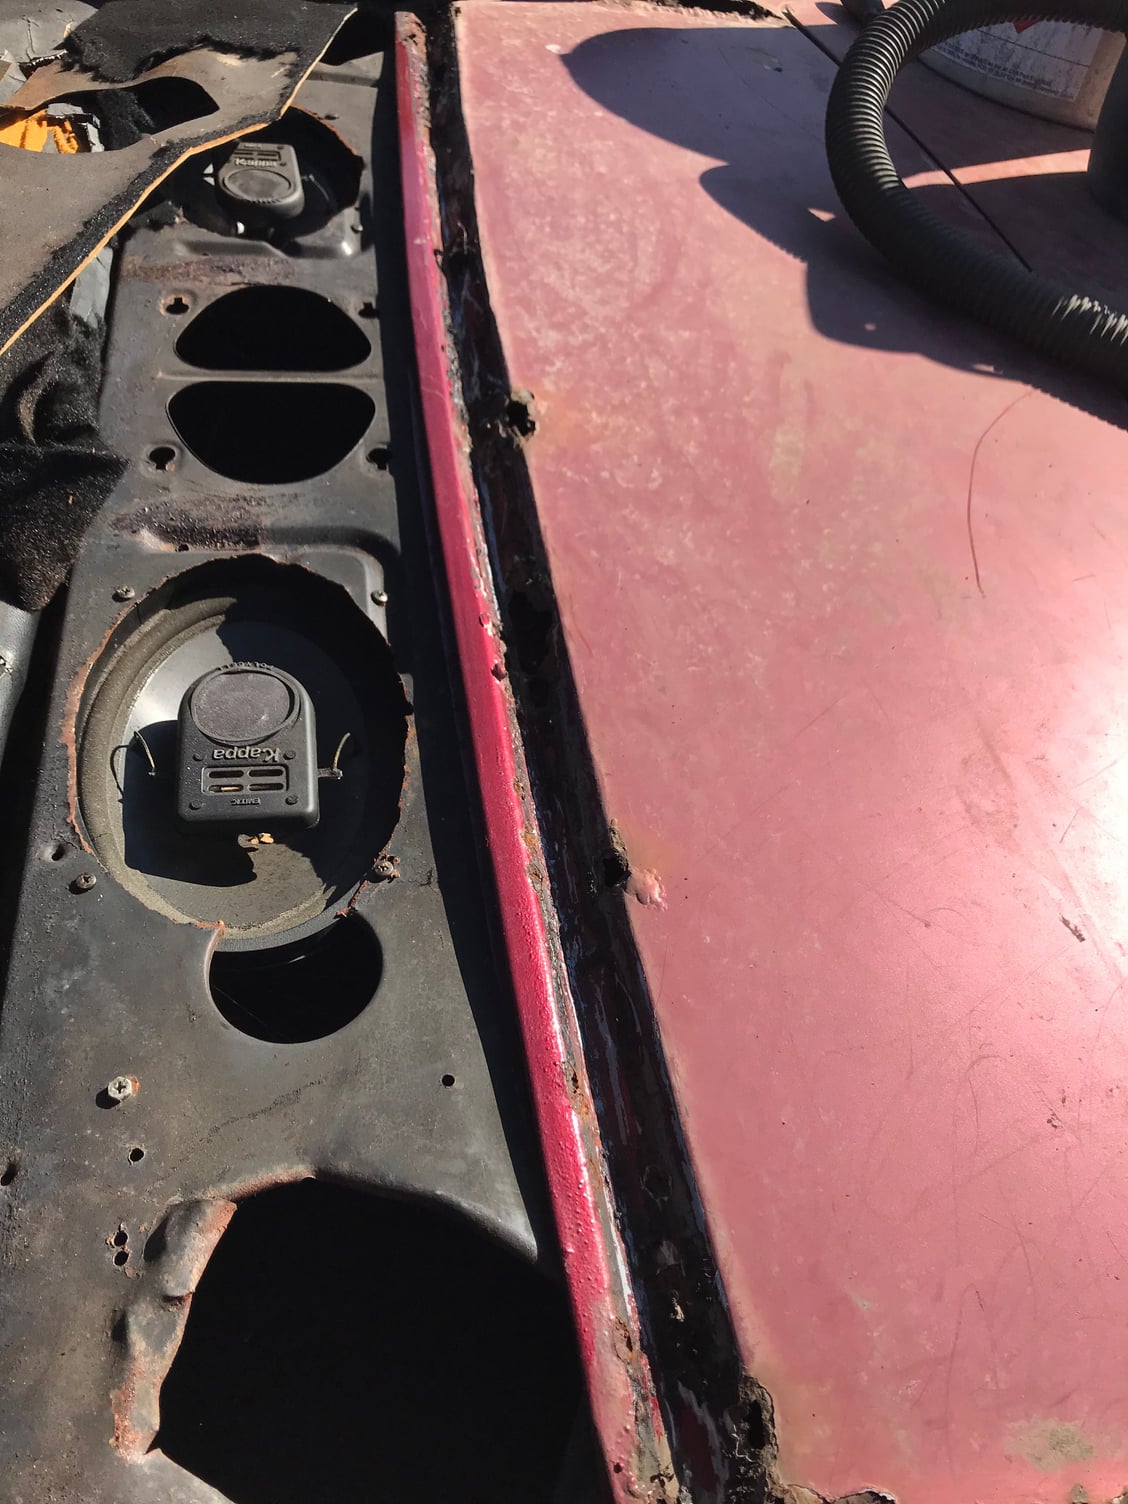
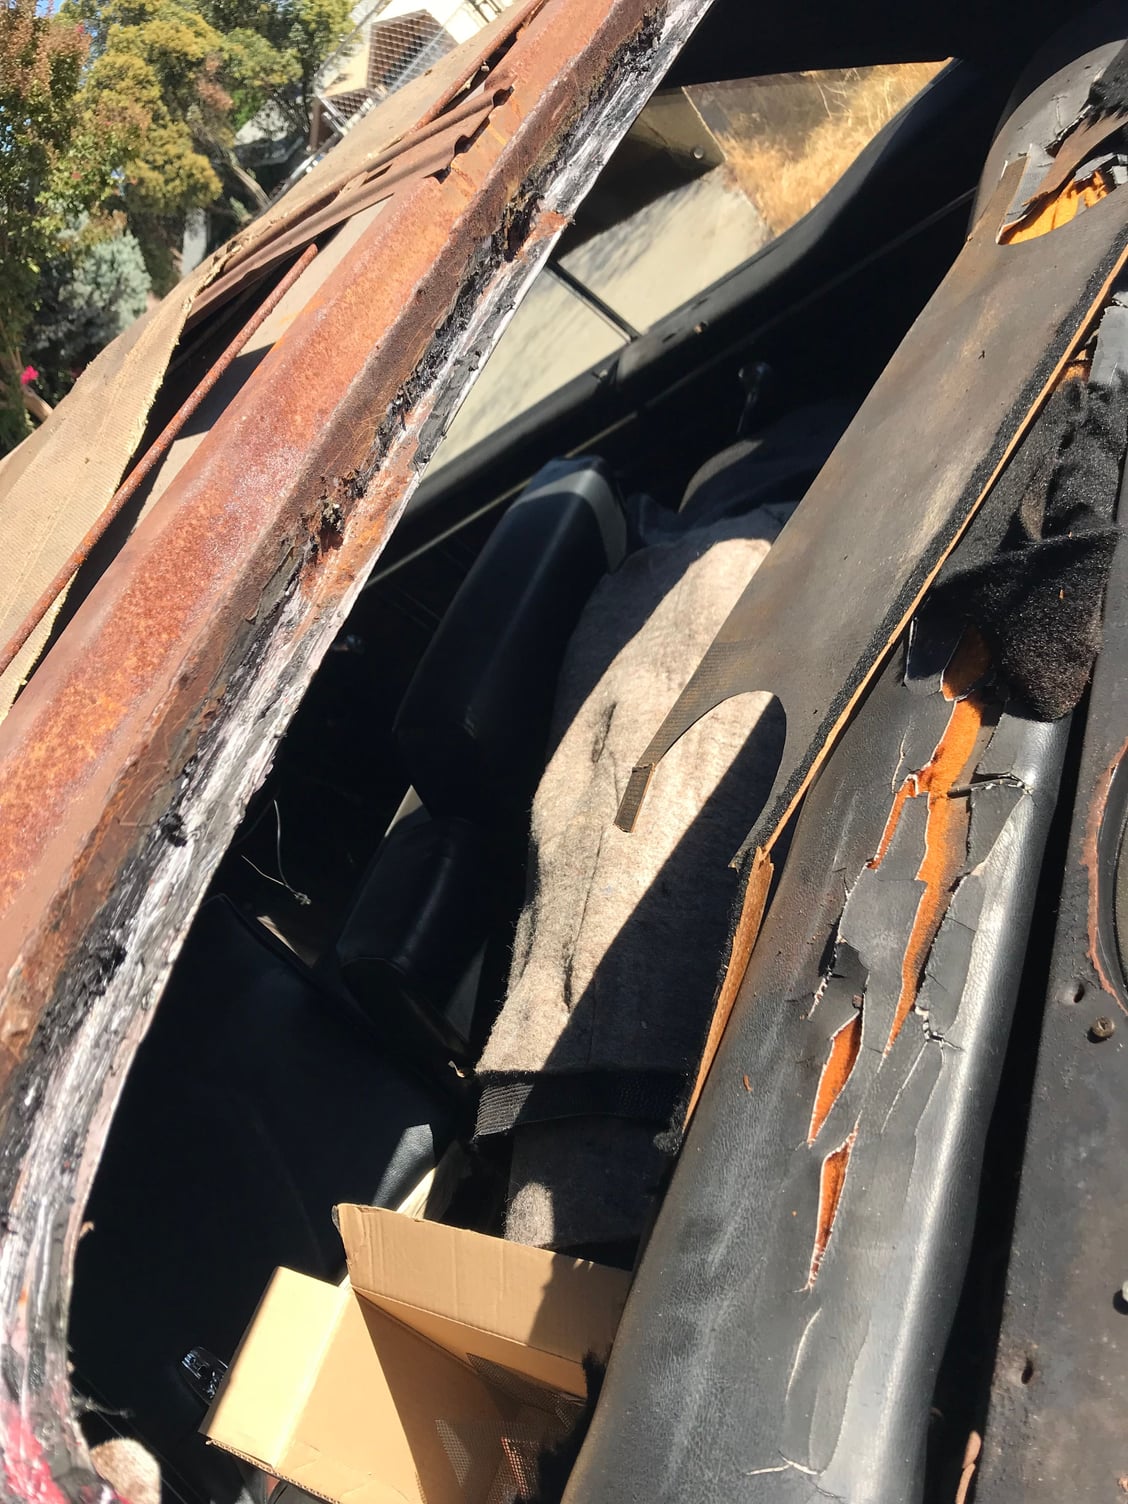
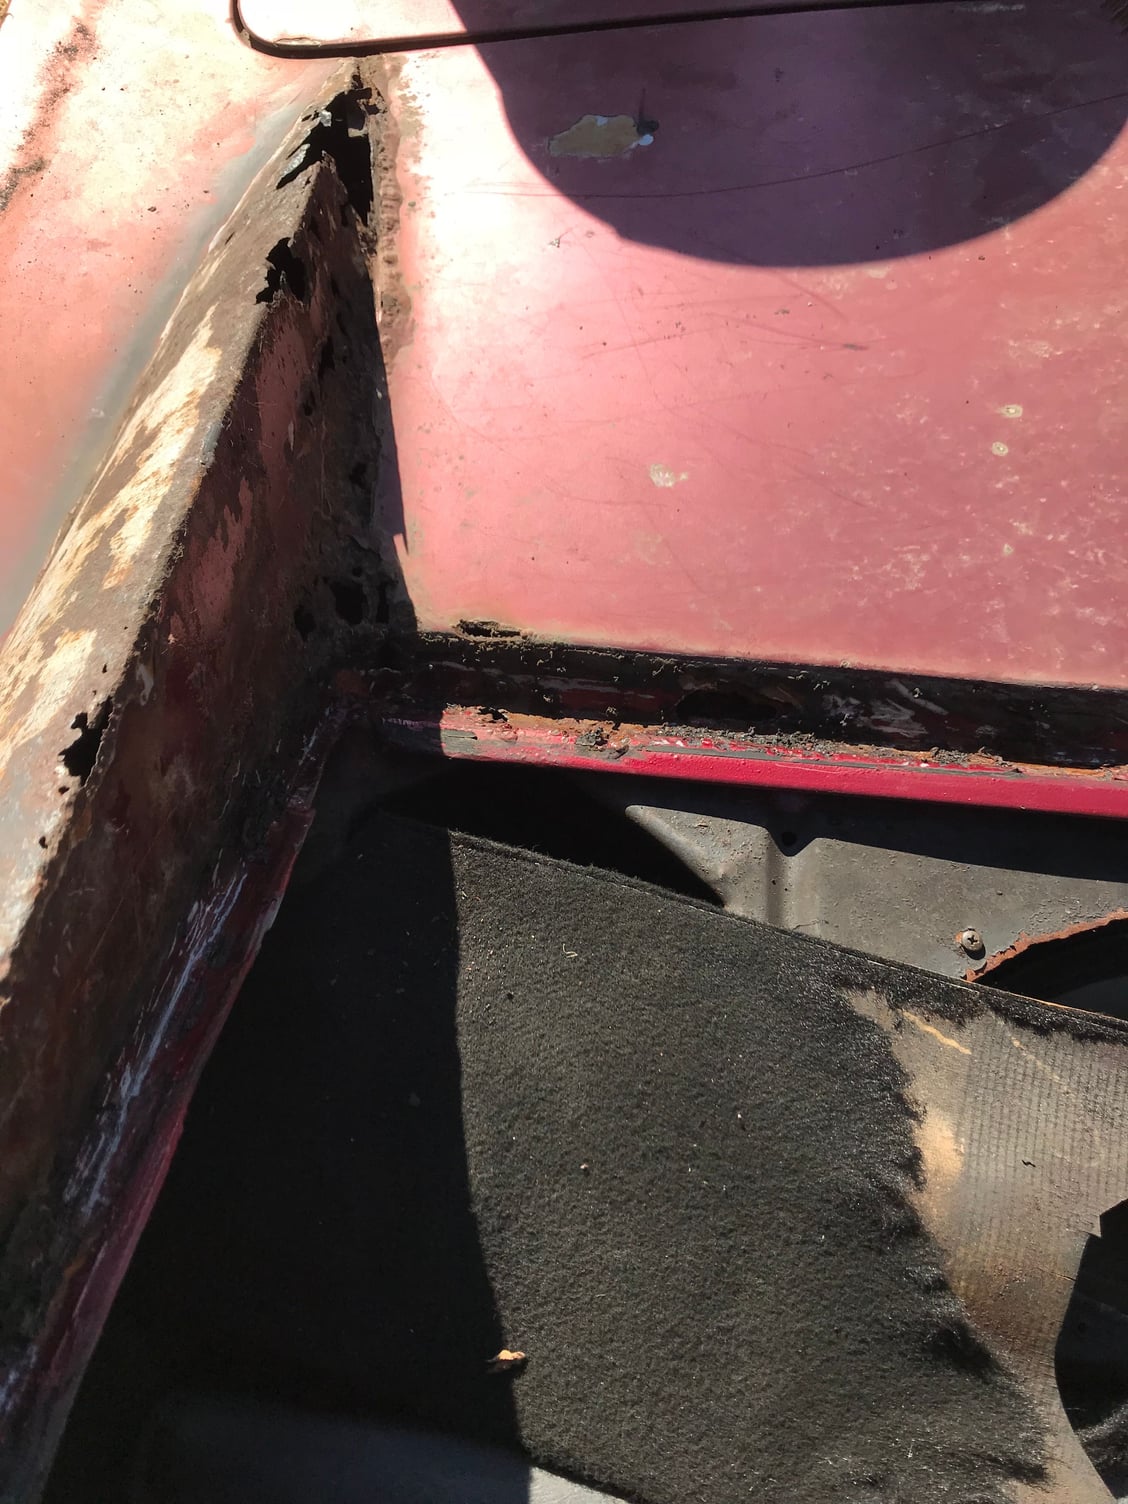
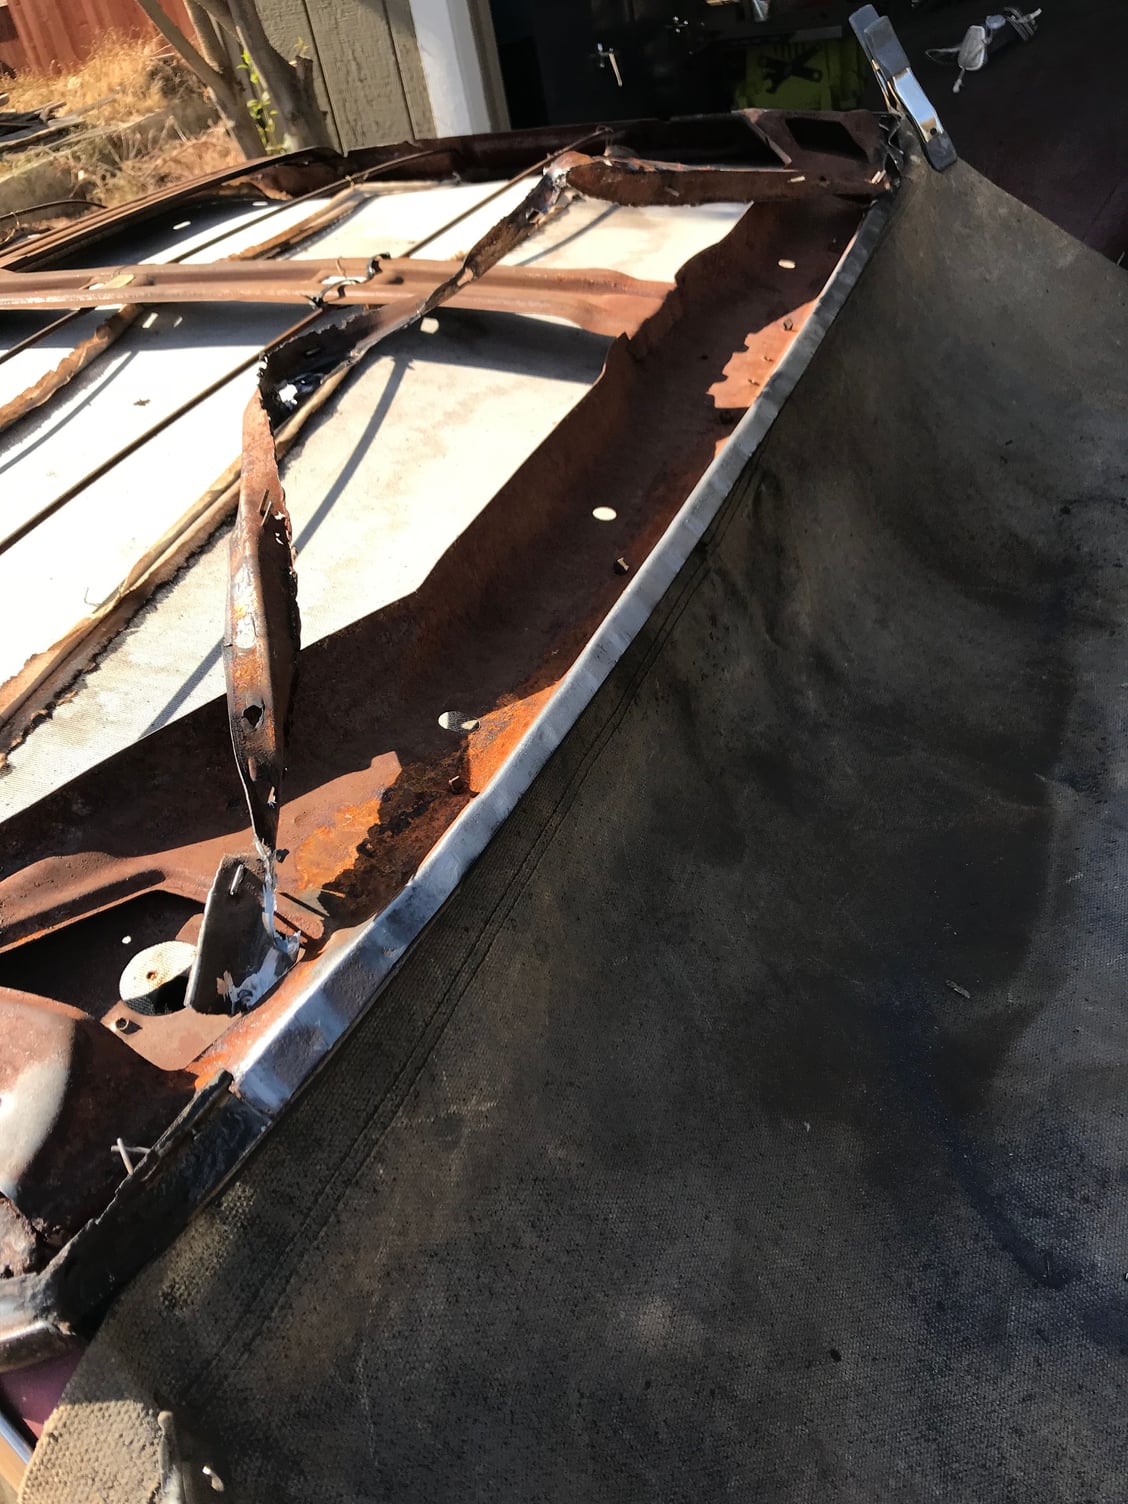
#28
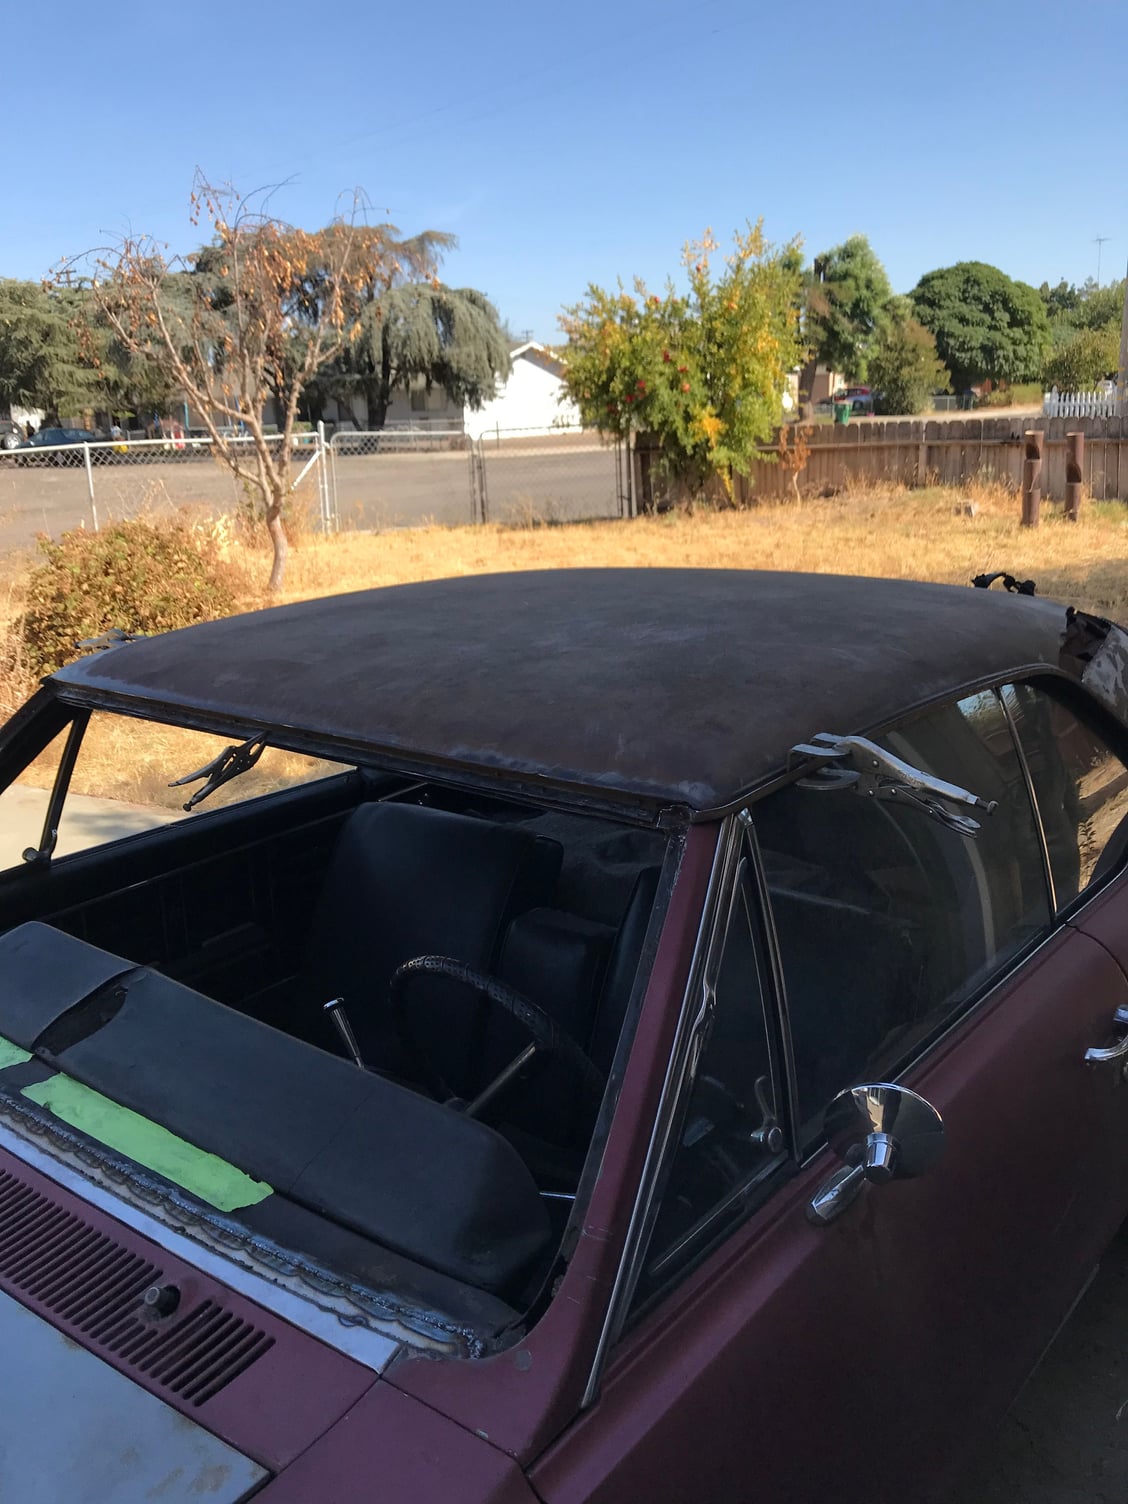
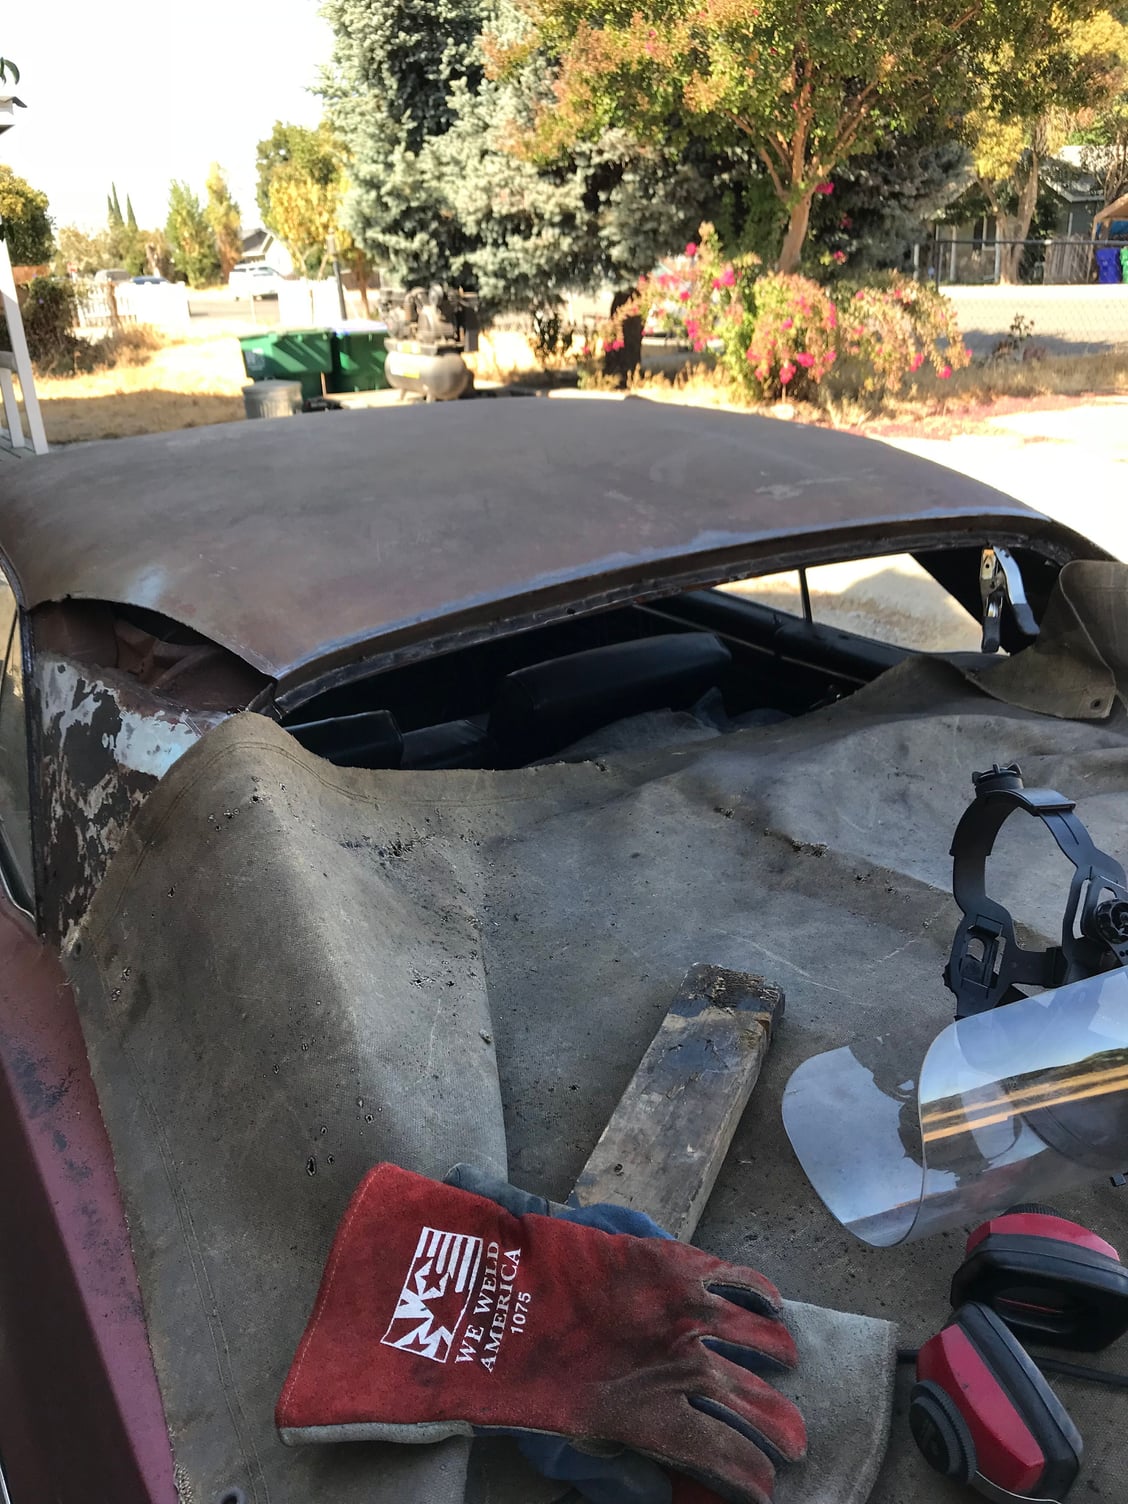
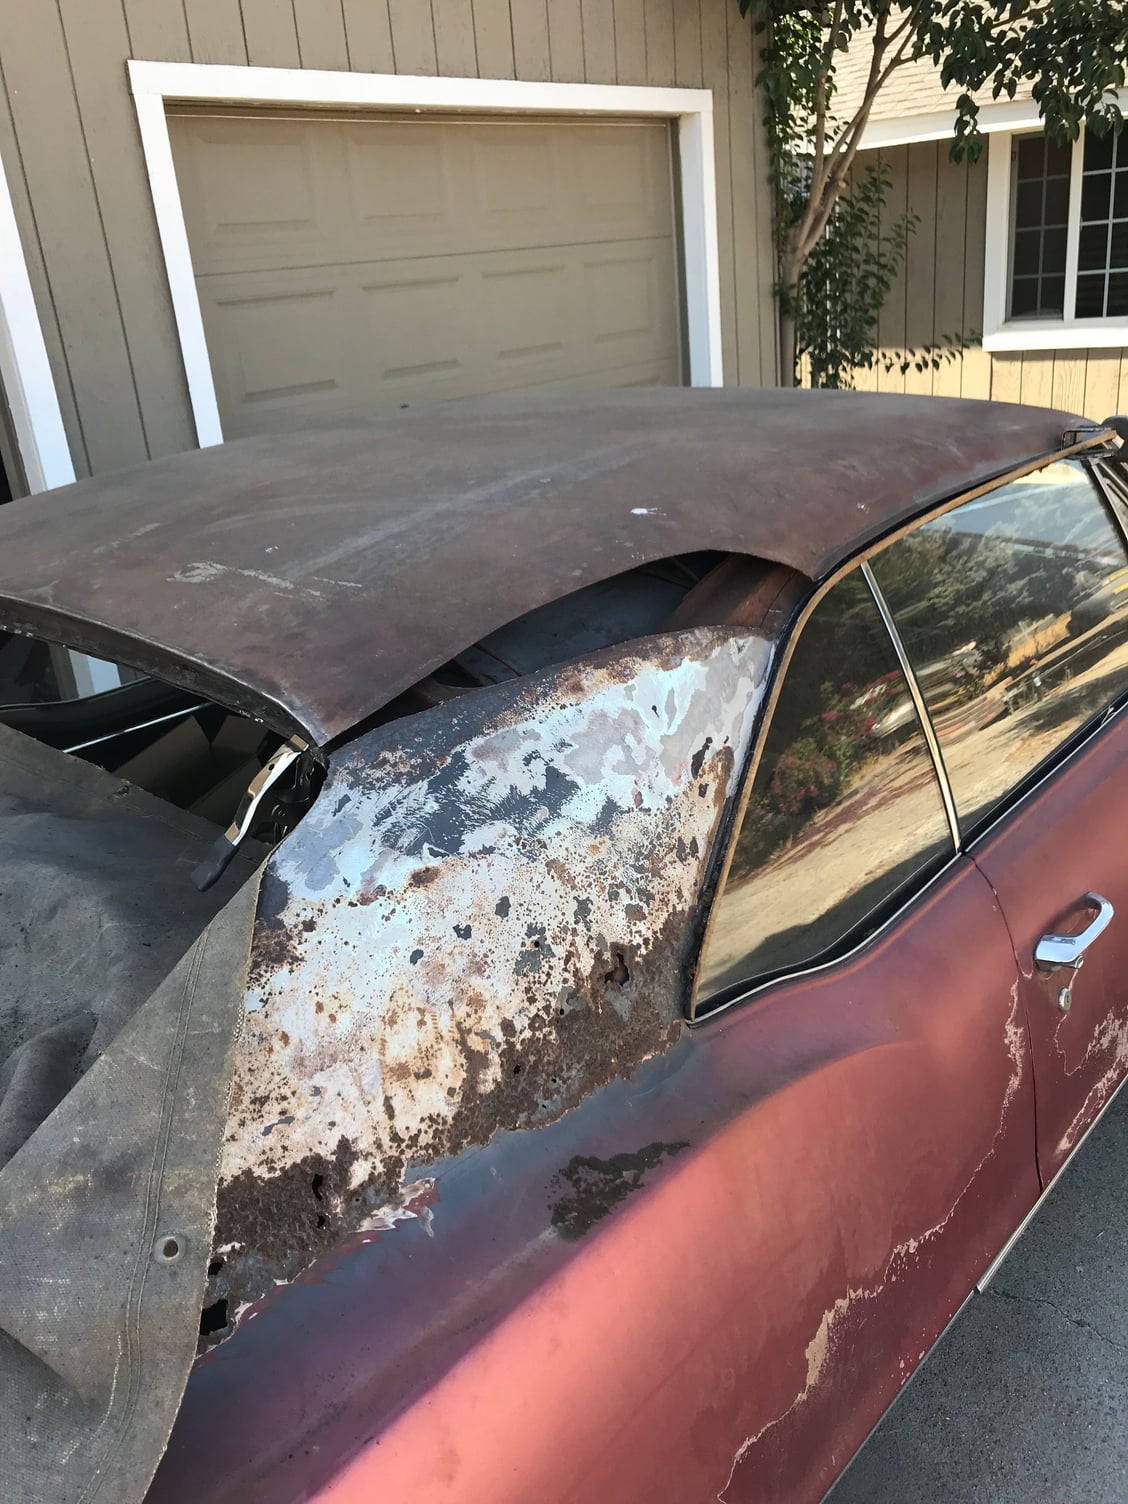
Roof clip final fit
#29
At this point, itís pretty straight forward. You spend a ton of time removing unnecessary layers of sheet metal so the replacement clip will pop right in place on all sides. The curves are perfect and correct. No huge sections of sheet metal to patch together. Very little risk of warpage to an extremely flimsy sheet of steel.
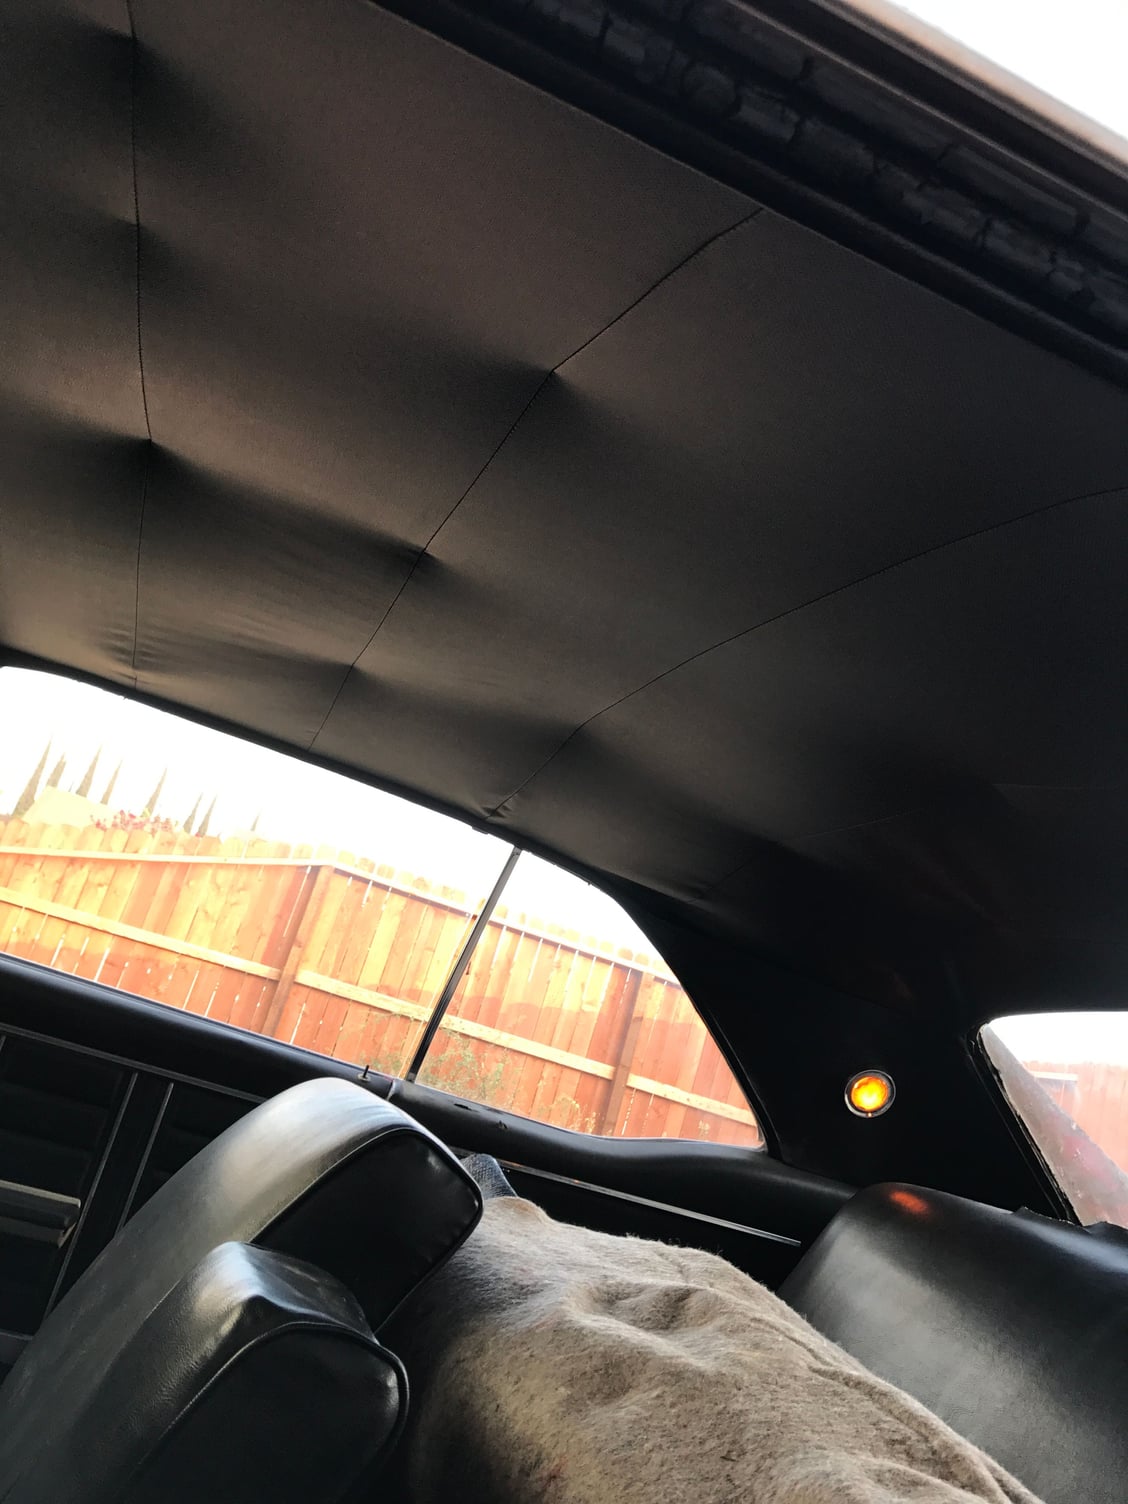
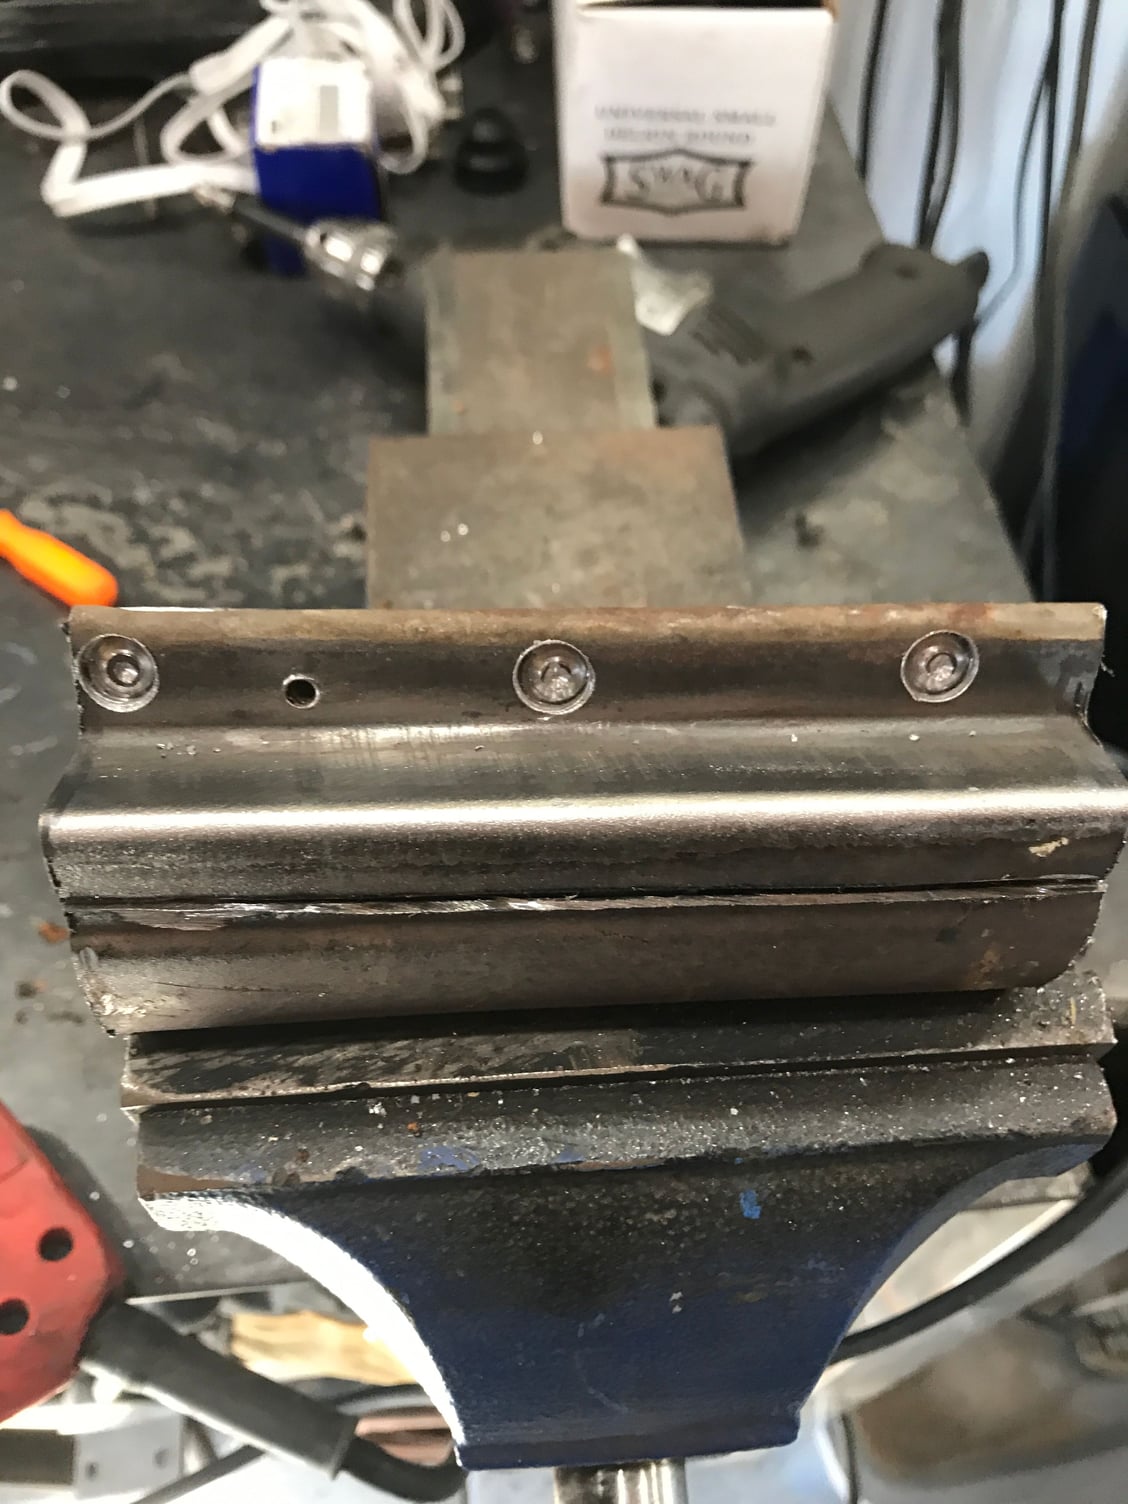
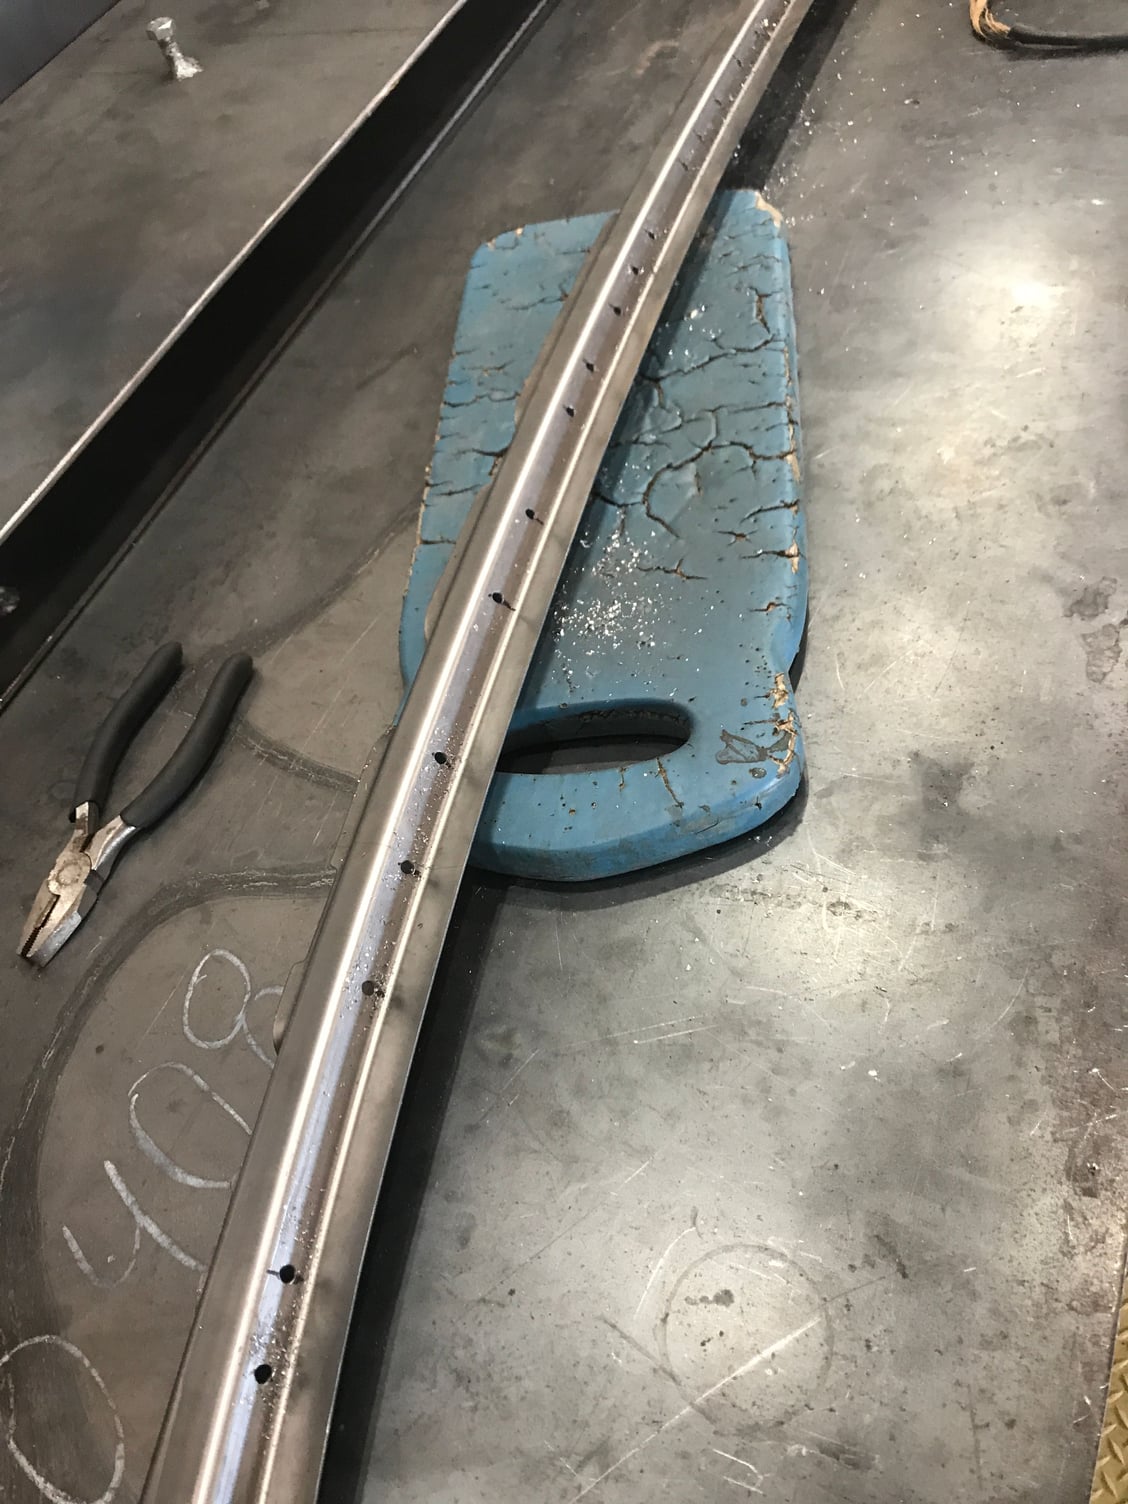
Next, Iíll pull the clip off one final time. All welded areas get wire wheeled clean and weld through primer applied. Holes need to be drilled for plug welding. All rough edges get smoothed out. The headliner is sagging some at the rear, but the sleeves that attach to the bows are all mostly torn away. The previous owner used wire to keep it in place for a little longer, I think Iíll do some more of that.....
I was surprised that the roof is not actually welded to any of the crossmember structures that criss cross across the top of the car. So, to keep it from rattling Iíll be replacing the original jute padding (that holds moisture) with some butyl sound mat. Instead of trying to coat it in one giant sheet and risk falling down on the headliner, Iíll just run strips across and copy how it was done at the factory. Itís really thin and waterproof, so itís a win win for the car in every way except a little bit heavy. Iím doing the new carpet kit anyway since I had to rip out the dry rotted stuff during the welding process on the dash. All the extra sound mat can go on the floors.

#30
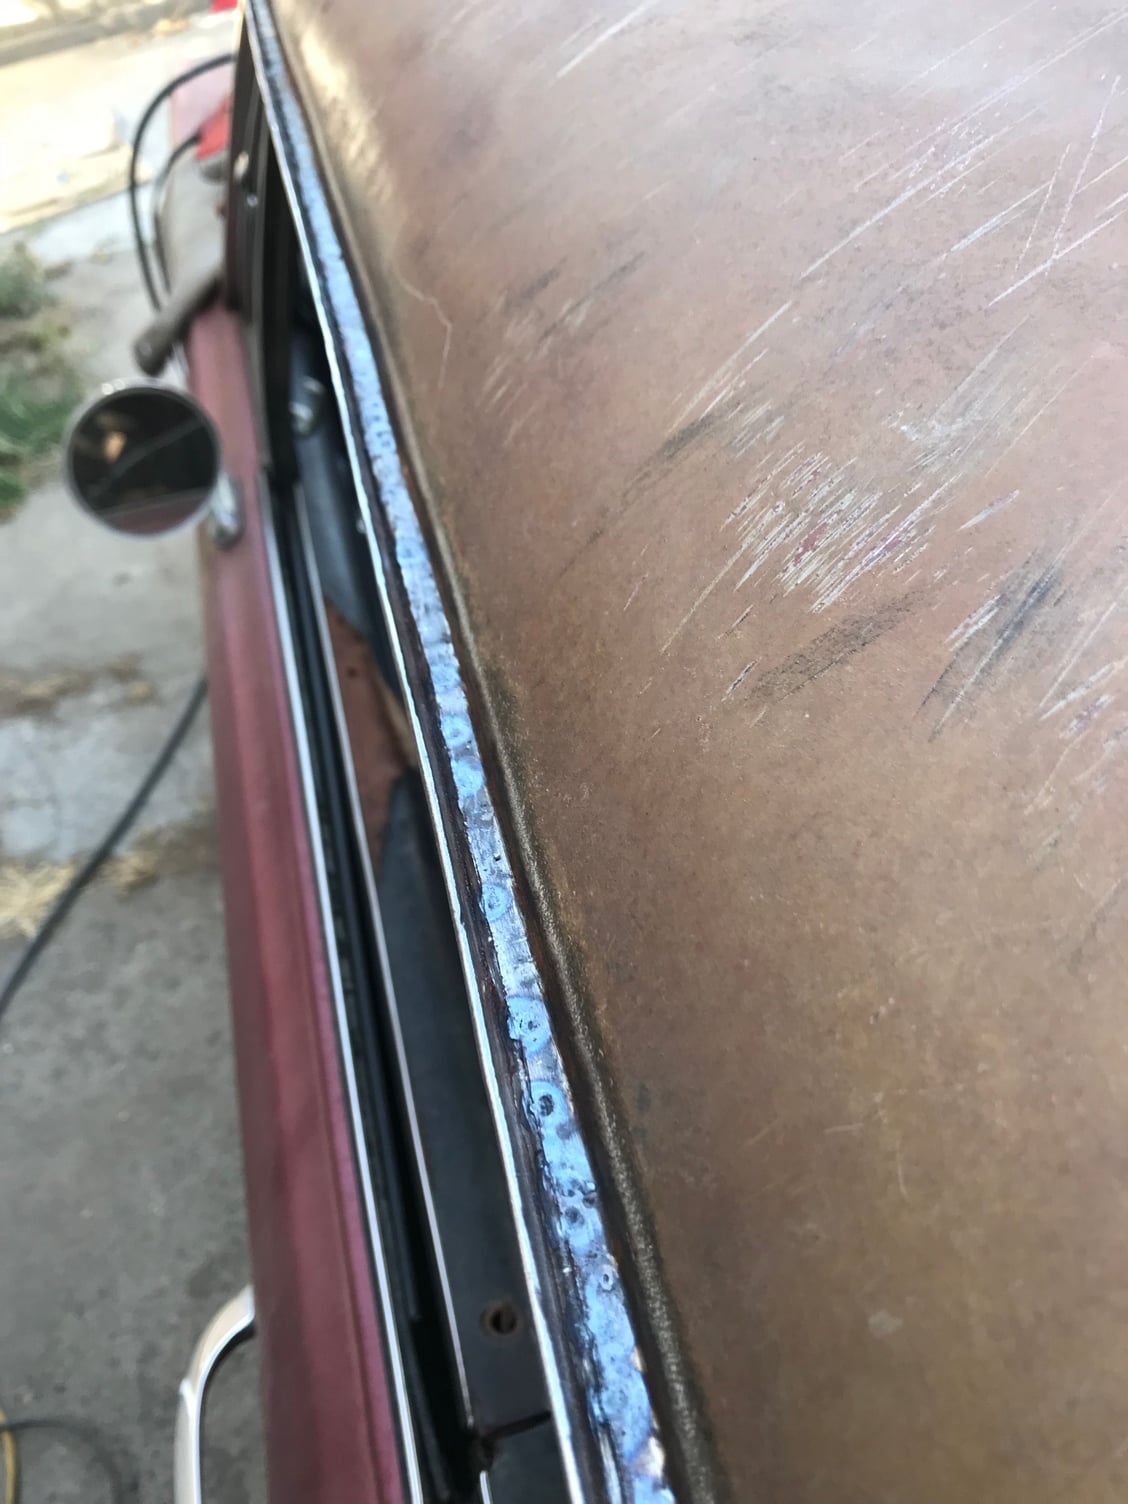
Roof clip completed
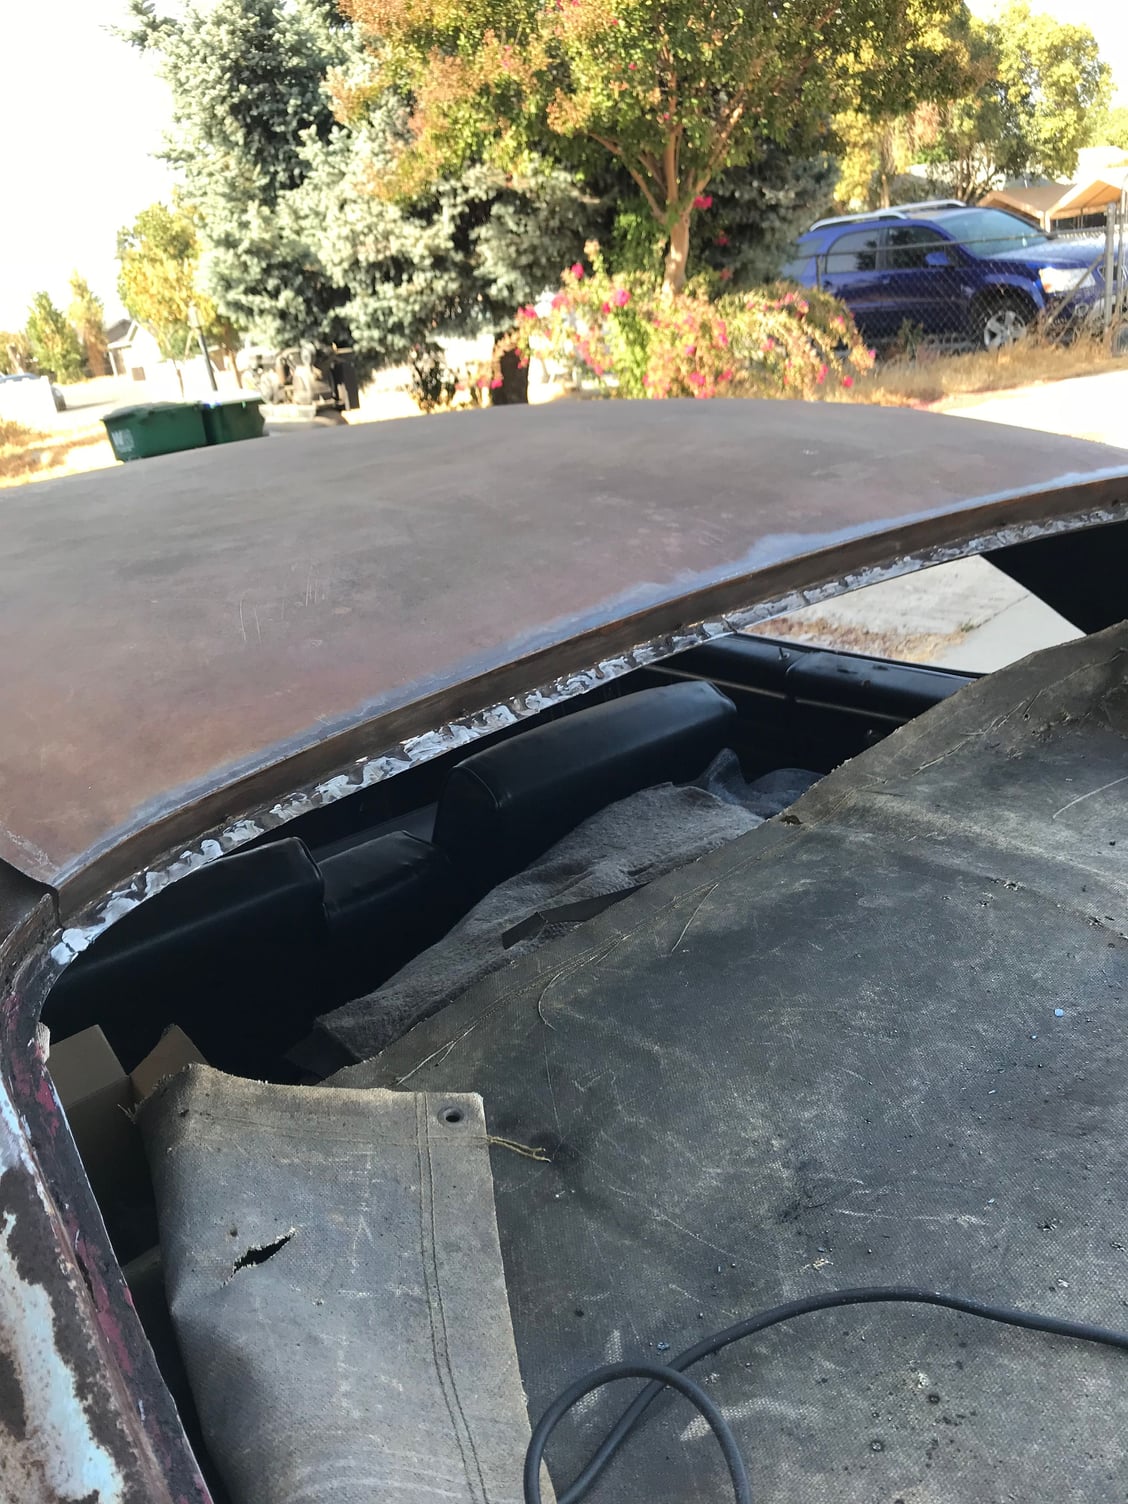
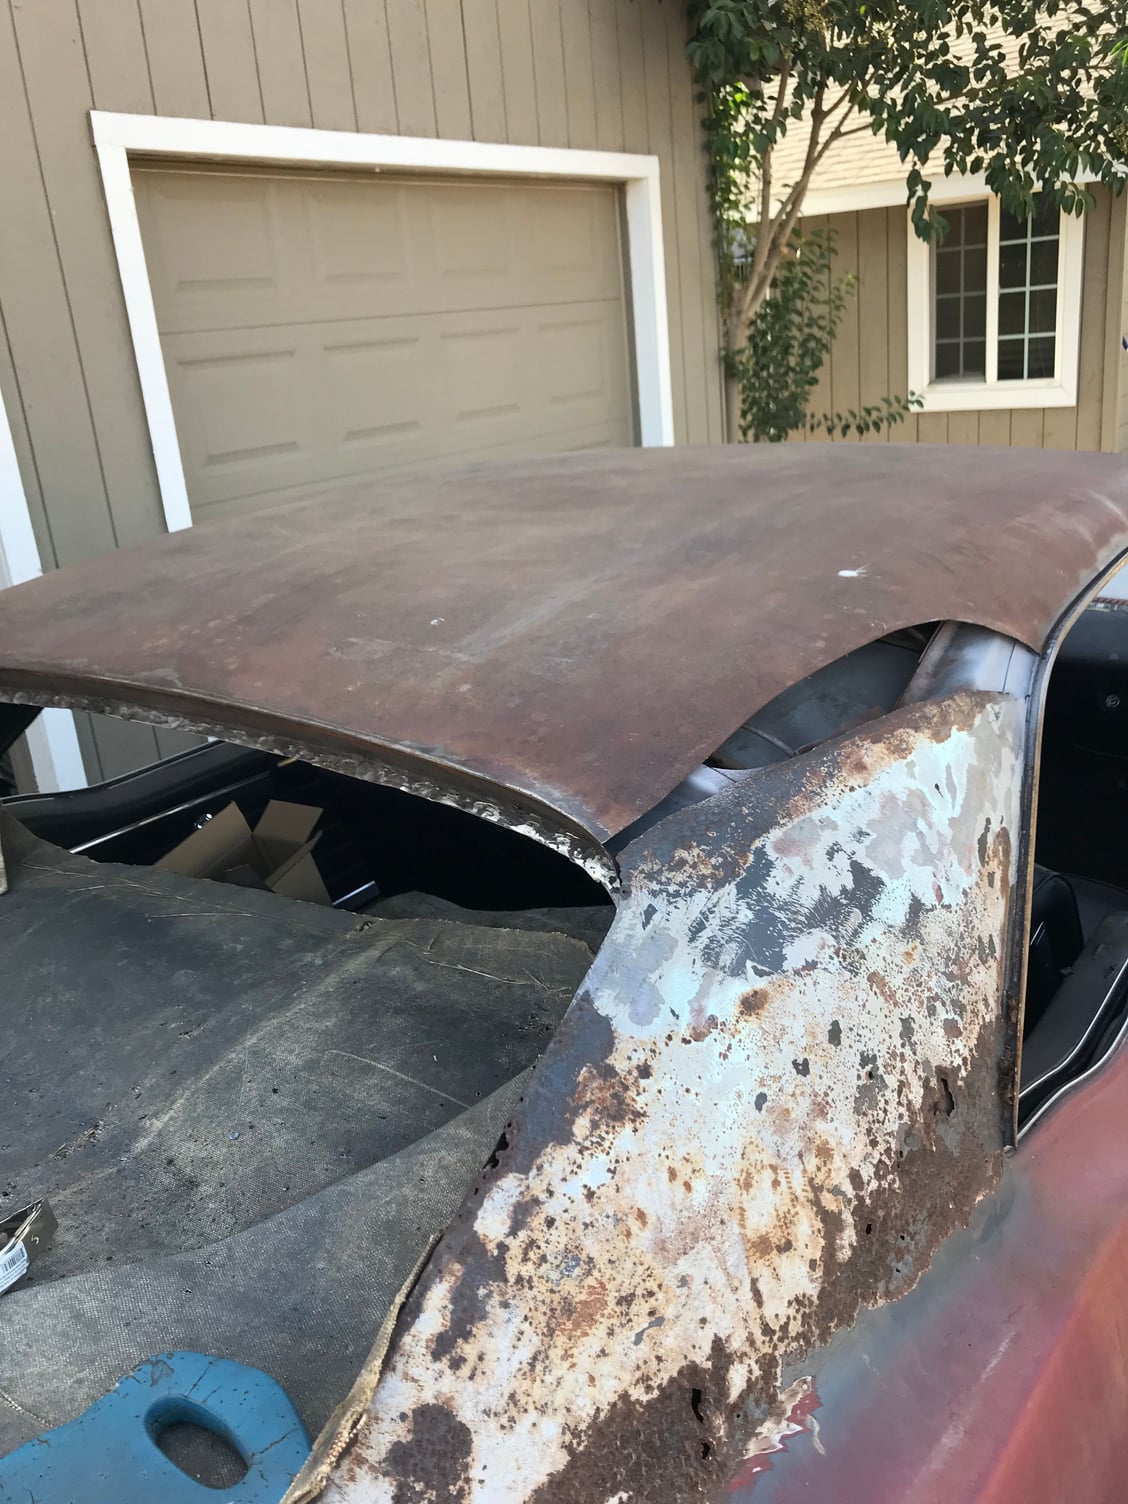
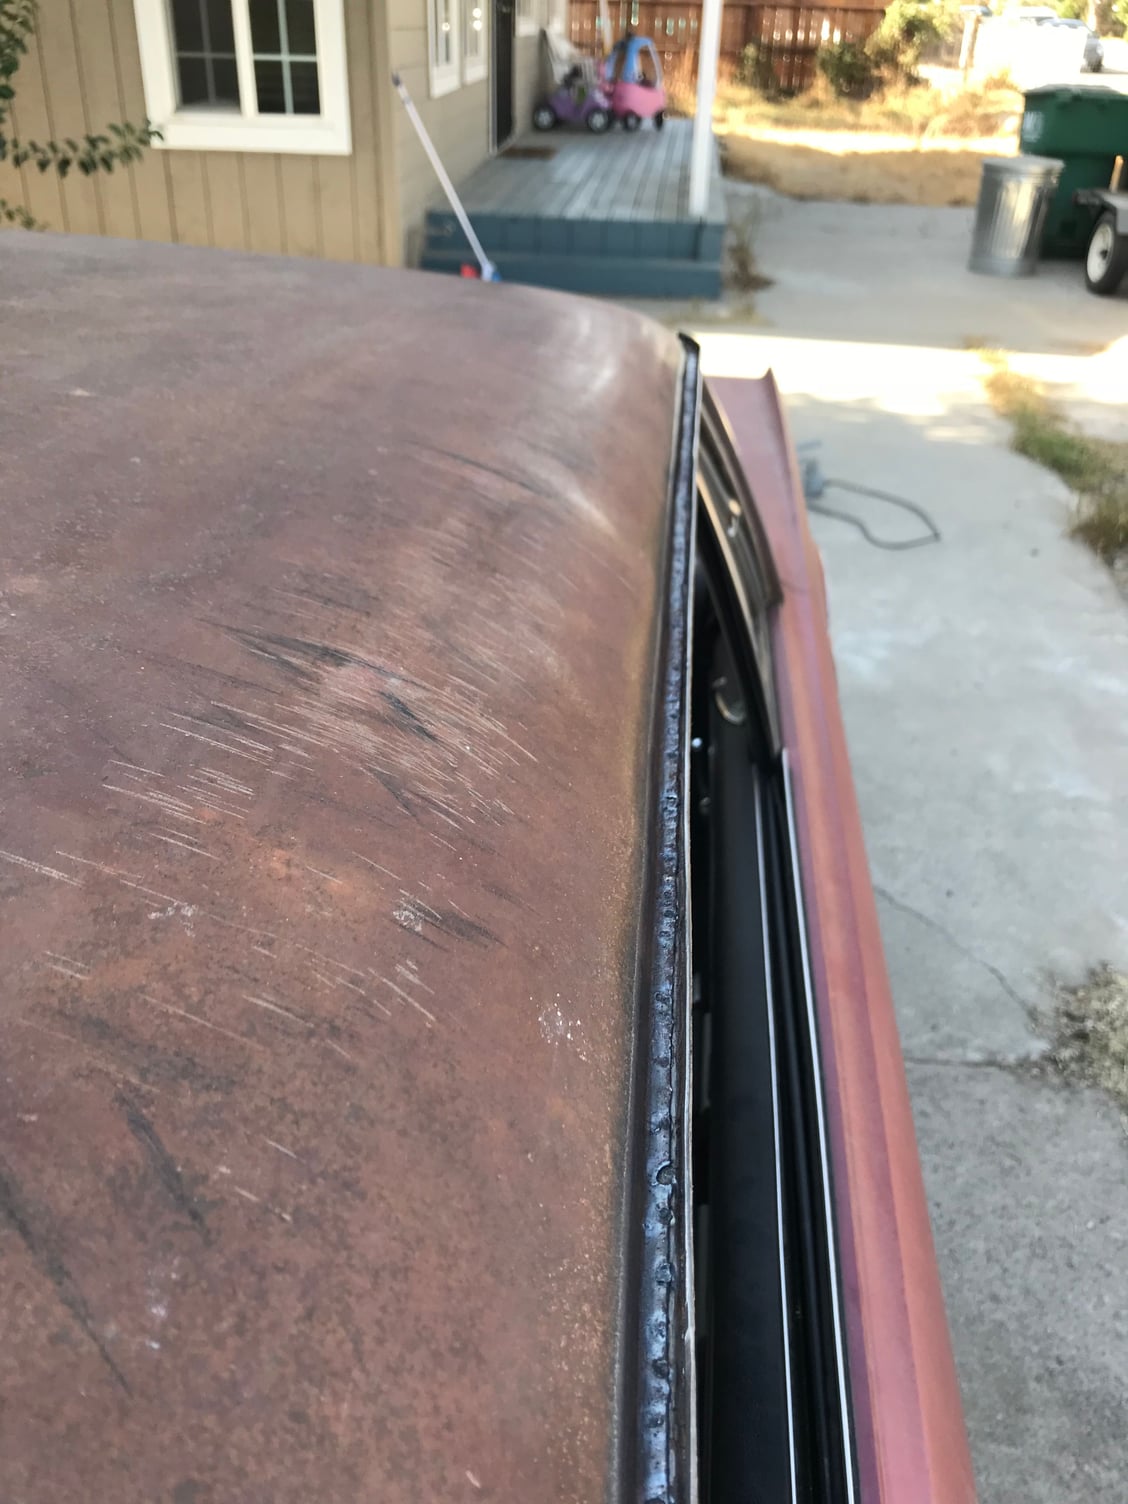
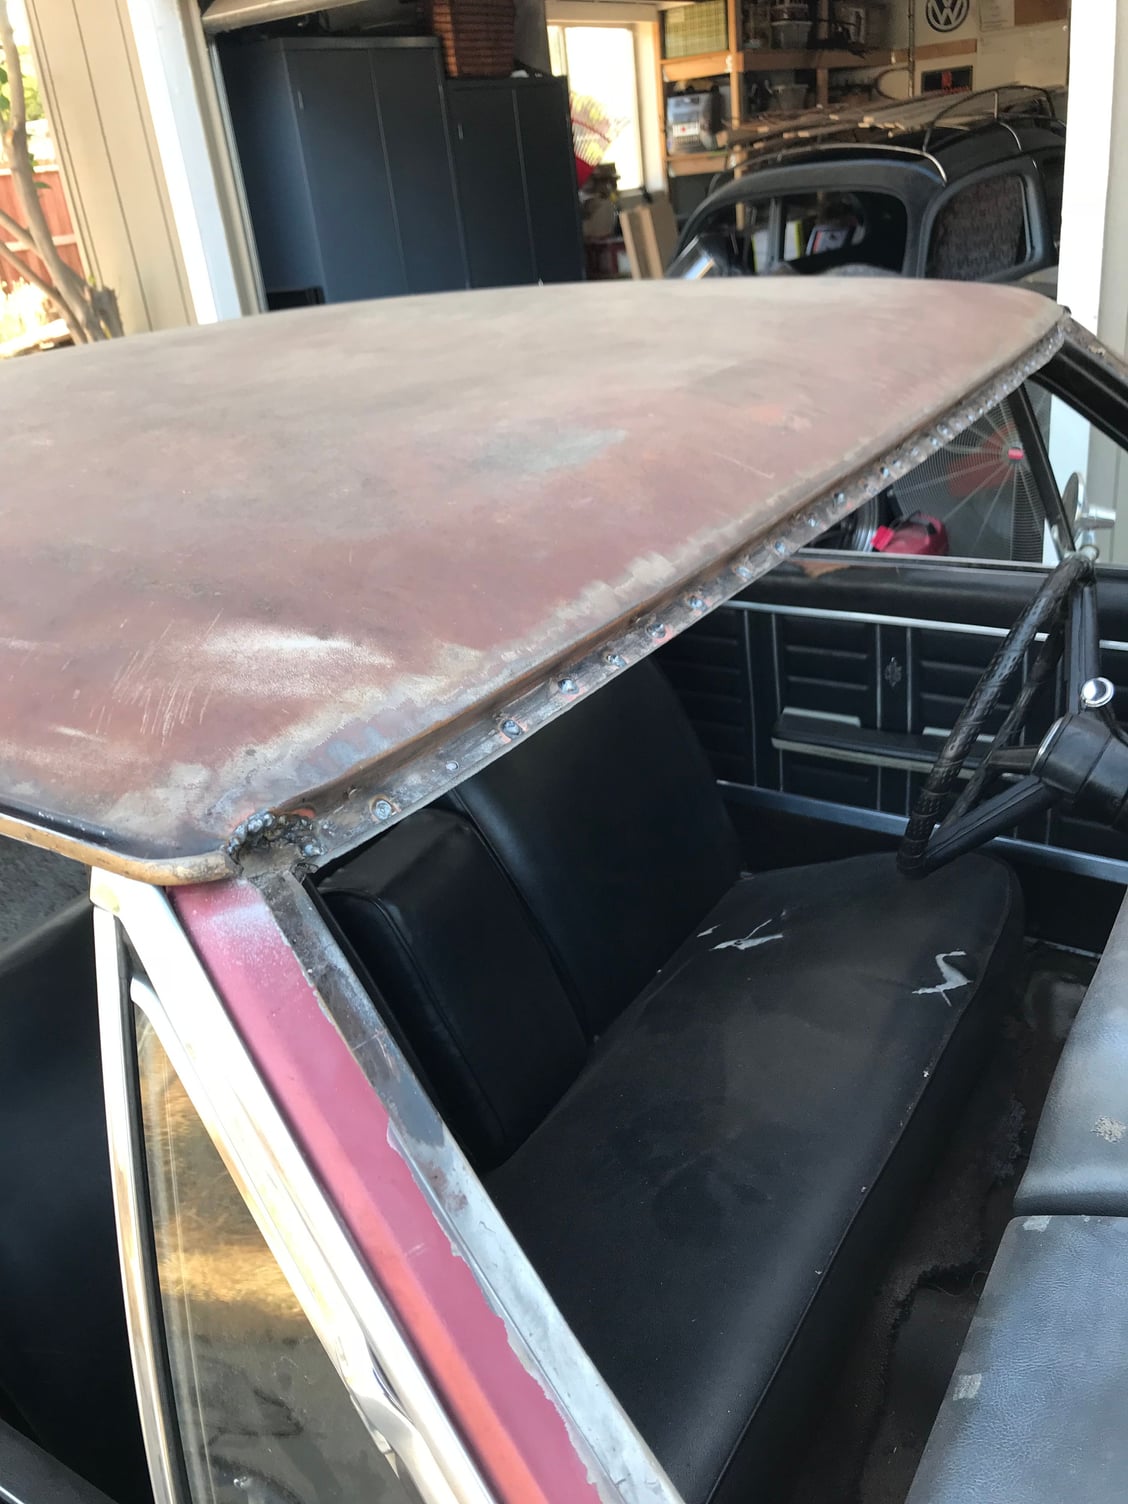
#31
Now, donít let me fool you into thinking this is easy work. It sucks. Itís tedious. You might **** off
your neighbors with hours of noise.
I used Noico 80 mil sound deadening mat from Amazon on the underside of the roof skin. Make sure you have some help to put it on the car if you go that route, it will make it weigh a LOT more and itís prone to bend and cause a crease on the drip rails. Now when you tap on the roof it sounds nice!
I just have the Harbor Freight 110 volt spot welder. I only need it so often and does the job well, BUT itís tricky and will test your patience using it on used metal. All new panels, no problem. Make sure the metal is clean clean clean! Wire wheeling or blasting is sometimes not enough. I take a cutting disc and grind off a very small amount of pitting to get to clean metal. Even then, youíll only get 1 out of 4 spot welds to get good penetration and stick. Just keep moving the tongs around until you get some good welds.
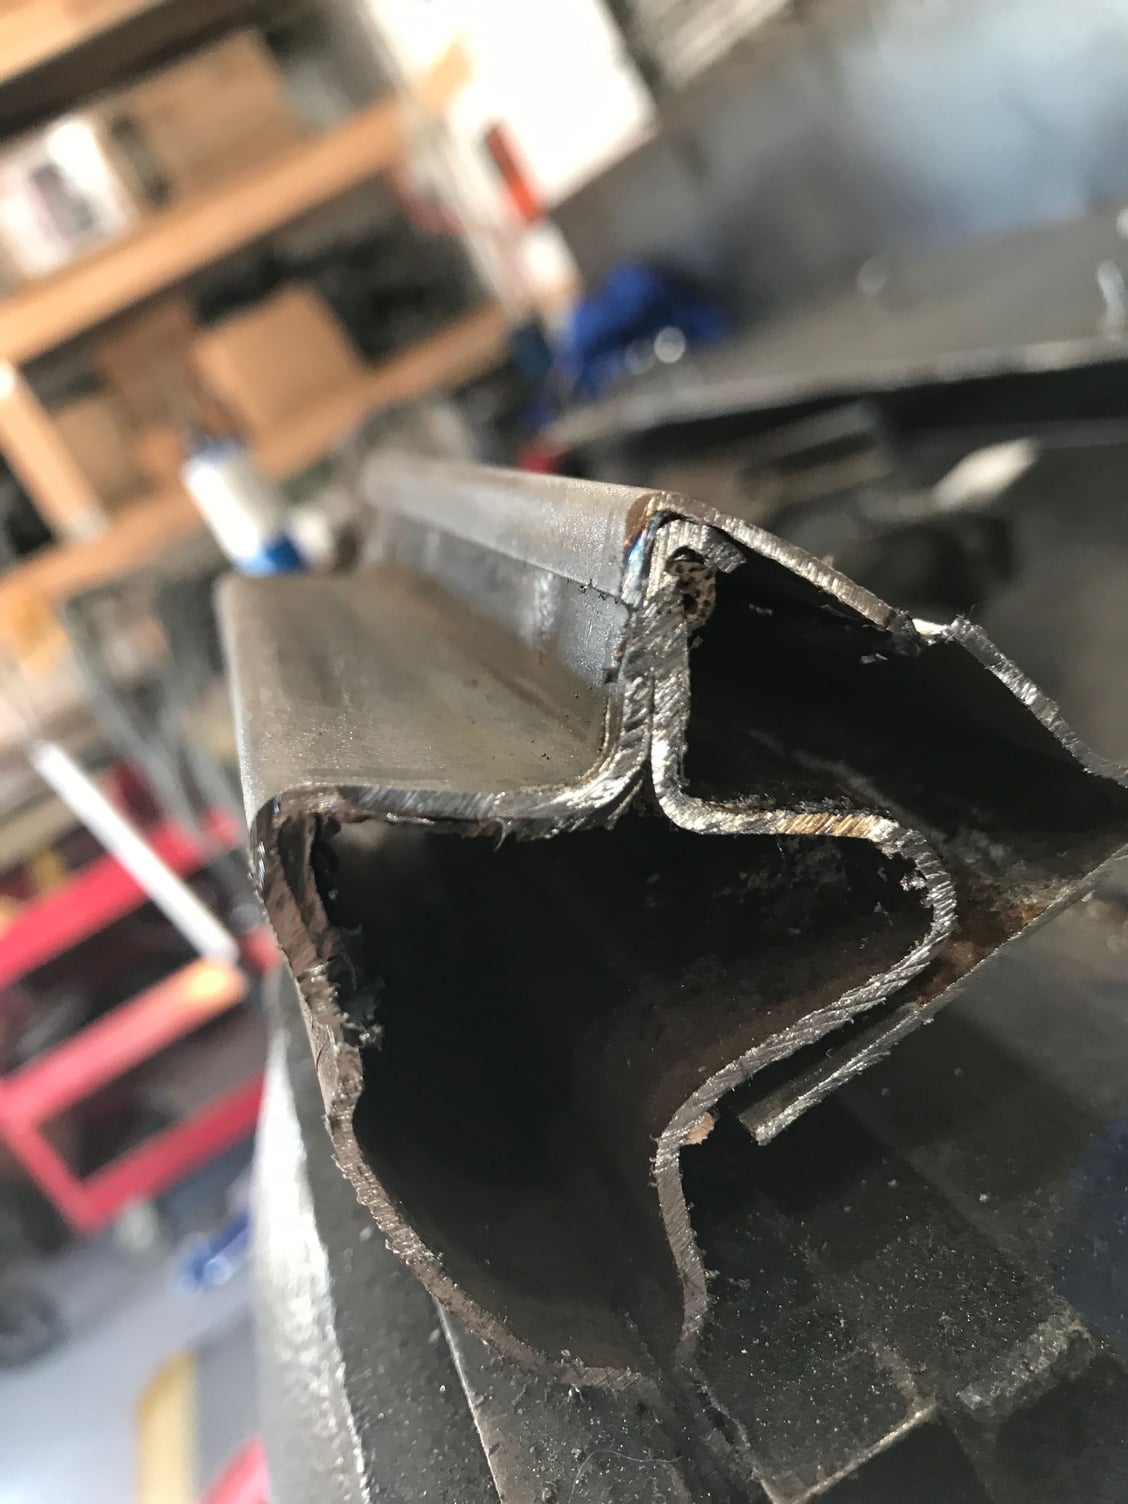
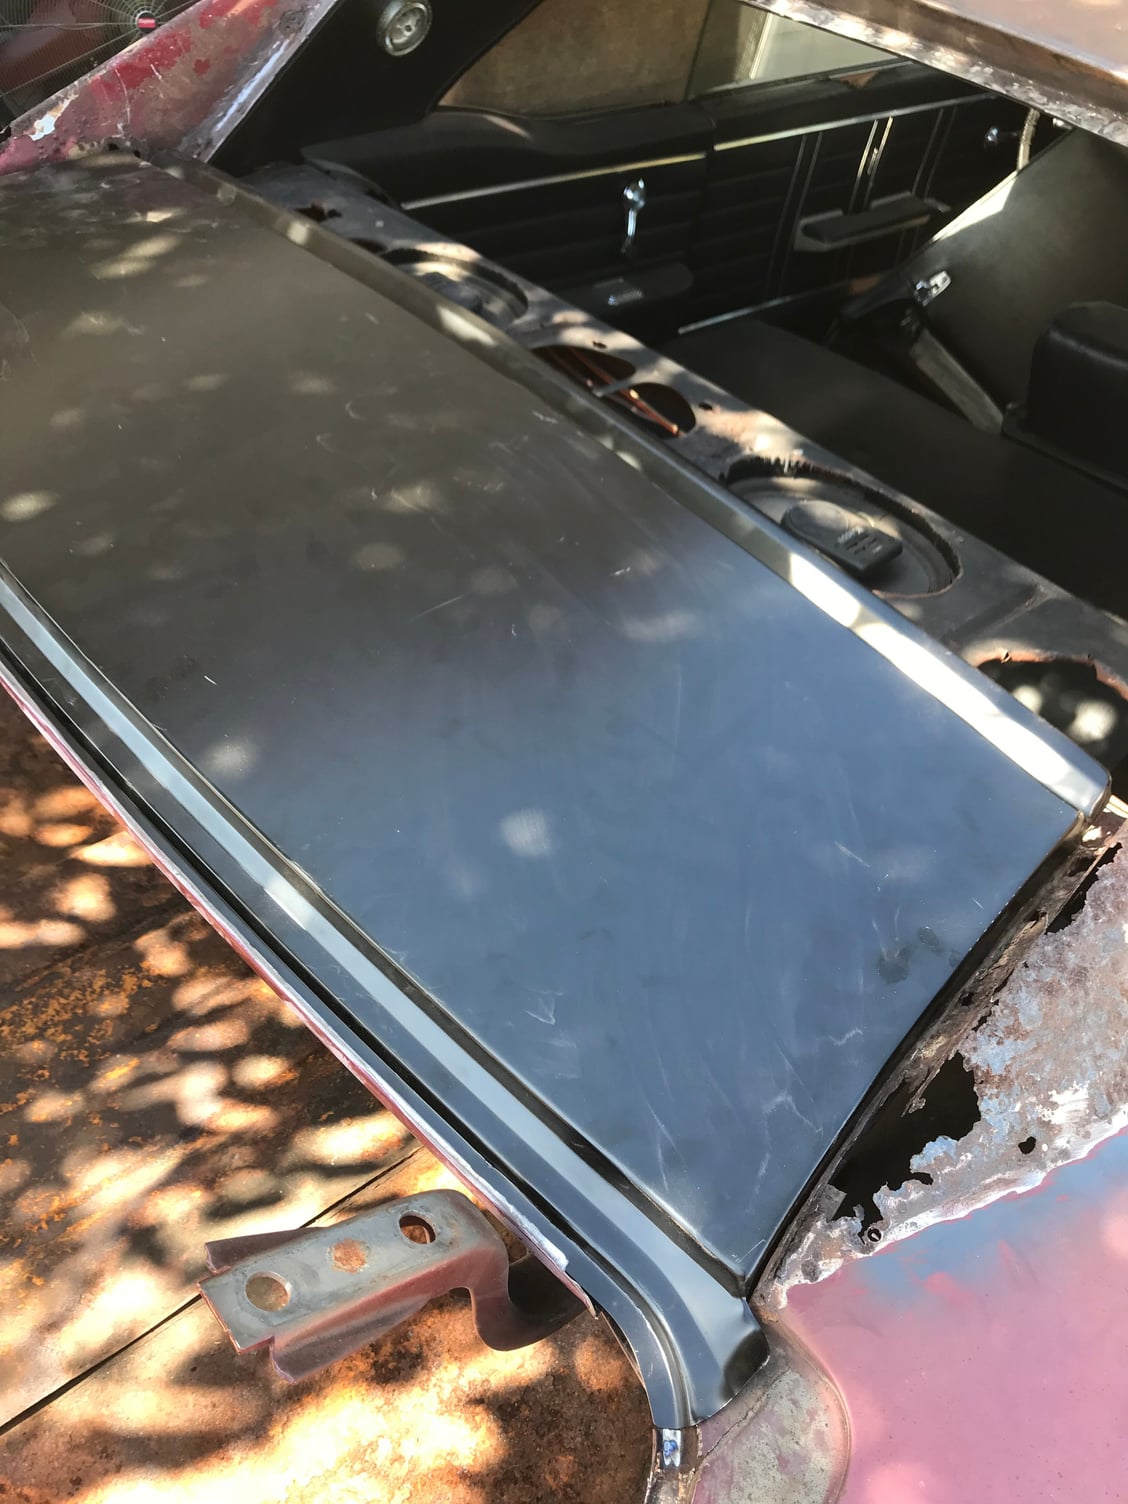
Another thing important to mention- as you plug weld the window channels, make sure you use a body hammer to keep the metal layers flat. The last thing you need is wavy metal keeping your windshield from sitting flush. Iím glad to get the roof clip off the ground and out of my way. Canít wait to see the upper quarters and decklid filler panel done.
Last edited by 1967Supreeeme; October 5th, 2017 at 02:44 PM.
#33
Following this with interest - thanks for taking the time to document your work and share it with us here.
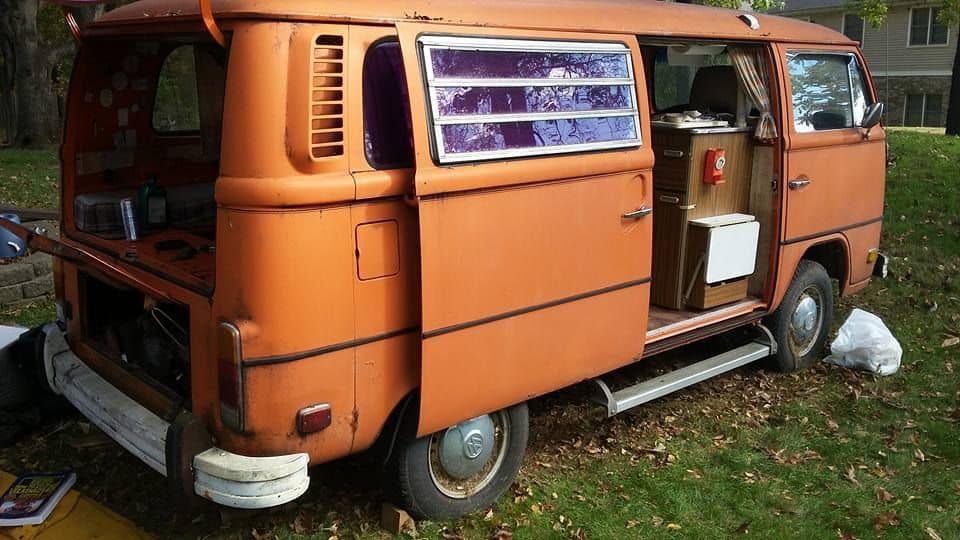
Also cool to see another Olds/VW enthusiast...early '60s sunroof with a sweet roof rack hiding there?
Also cool to see another Olds/VW enthusiast...early '60s sunroof with a sweet roof rack hiding there?
#34
The Beetle is a 58 sunroof resto custom, you can check out my build here:
https://www.thesamba.com/vw/forum/vi...er=asc&start=0
I also restored a 60 Single Cab pickup you can check out on thesamba.com as well
#35
nice youre really going at this car I appreciate the how to of sorts as well very helpful !
question in areas like the rain gutter or window channels what is used to seal the area after welding seam sealer or something else ?
question in areas like the rain gutter or window channels what is used to seal the area after welding seam sealer or something else ?
#36
When the factory put the cowl on, I think they ran a bead of sealer on the lower panel, and layed the entire metal portion of the dash on top, then spot welded it at the lower windshield channel. So, I believe it was originally just 2 pieces with only one seam. Now, itís 3 pieces since I basically cut out the middle of it all the way across. I feel I did the best I could trying to prevent corrosion with the special primer and strip caulking. Iím not too concerned though because 90% of the backside of that panel is exposed to interior. Sealing from the outside and preventing holes is the important part so water doesnít run down to the carpet and hold water.
#37
All the welded areas exposed to water will get a thin coat of fiberglass based filler to waterproof them where the vinyl goes back on the roof. The hood, cowl areas, roof, A pillars, decklid filler panel will get taken down to bare metal, etch primed, 2K sealer. I will probably shoot the roof with black basecoat and 2K clearcoat. I think a nice quality clearcoat will do a better job sealing than some average goop. If I focus on getting good coverage in the places where water sits, it should do very well.
Thats what is nice about doing your own paint work, you can customize it to the car. When a new car gets a factory paint job, they donít spend time and money getting perfect coverage where you canít see. You can see the factory gold paint that was under my drip rail trim was very thin. They didnít care if the car lasted 50 years, but WE do. I can purposely lay the clear on heavy in the drip rails and basically glue them shut. A new vinyl top glued to a properly clearcoated roof
should last decades.
#40
Thanks, Iíll keep you guys in mind next time I need stuff. Possibly some electrical, some things arenít working but I see an old Clifford alarm under the dash. Horn, turn signals, parking lights are inop, so I bet the wiring needs to be put back to stock. I might need a new trunk lock mechanism too, but Iíll have to investigate that more when I put it back on the car.


