When you click on links to various merchants on this site and make a purchase, this can result in this site earning a commission. Affiliate programs and affiliations include, but are not limited to, the eBay Partner Network.
Great job on a very cool car. I love the gold interior. I used the complete ILT exhaust system on my blue car. Like you said - the fit was great. I love the sound and expect you will as well. I was so happy with mine that I am using there system again on my current project.
I also used ILT's exhaust system for my 70 W30. It sounds like the original OE system & I am very happy with it.
Beautiful car & it's great to see another white W30!
Congrats
Derek
Thanks for the positive feedback. It sure feels good as things come together again. Unfortunately since my last post I've had a backward step. I ran a tap through all of the body mount caged nuts and all seemed good until I started torquing up the bolt under the centre of the RH door. Unfortunately the thread stripped at 25 Ft/lbs and seems it was way rustier than I thought. The job for today will be to take the bushing back out and then cut through the floor to replace the caged nut. Frustrating.......
I also used ILT's exhaust system for my 70 W30. It sounds like the original OE system & I am very happy with it.
Beautiful car & it's great to see another white W30!
Congrats
Derek
Thanks Derek, stay tuned and in the coming week that master cylinder that I got from you a year or so back will finally go on
Well unfortunately with spring now well past we are in the middle of summer here in Australia so its over 100 degrees and a bit too hot to be crawling under the dash today but my slow project continues. Here are a few recent picture updates of the windshield in, booster & master cylinder on and the rear bumper on with the assistance of my brother and son. The seats are also back together with the original trim and have come up really nice Next weekend I'm hoping to get the dash in and it will soon be time to get the front panels back on.
Looks great! You're getting closer. Did you get new cushions for the buckets or covers only?
Only put in new foam cushions, they came from Year One a while back and wernt an ideal fit so had to rework them. The covers are actually the originals and really good condition - I wanted to keep the originals as the color is a fair bit different to the reproduction gold trims. There was one button missing and a small puncture but I got the Trimmer to weld the vinyl and they made a replacement button. The Trimmer just finished pealing the door trims off the boards as they had moisture damage and replaced the carpet and they look fantastic. Just the hip pocket that�s suffering a bit right now. Lol.
Looking nice and shiny. What month was your car was produced? I just read about the flooding in Australia this AM. I hope you are nowhere around that.
My car is a March build. Luckily I�m 1800 miles south of all the flooding. Real sad time for the people in that area. Instead we are coping the heat & brush fires but have had a cool break in the past few days
Rohan, car is looking awesome!
Your pics reminds me of when I restored my white W30 awhile back.
The MC I sent you came out fantastic.
Cheers
Derek
Hi Derek,
A good sandblast resleeve and coat of fluid resistant paint has made it come up perfect. Way better than the non original reman one that was on it. Cheers Rohan
Great job guys! We often take it for granted with parts 2 to 5 days away. Add to all the other trials of a good restoration up to a 6 month wait for parts and it puts into perspective how much harder it is to do what you have done. My hat is off to you!
Great job guys! We often take it for granted with parts 2 to 5 days away. Add to all the other trials of a good restoration up to a 6 month wait for parts and it puts into perspective how much harder it is to do what you have done. My hat is off to you!
Thanks. The detail is the satisfaction to me. But the freight is the killer in so many ways. It delays a project significantly and blows the cost out beyond what anyone could imagine. If anyone in the US heard $120 to post a water pump they�d laugh, but thats the cost these days and there�s no way around it. I certainly don�t want to add up what this project will have cost in the end - it will just be time to enjoy it .
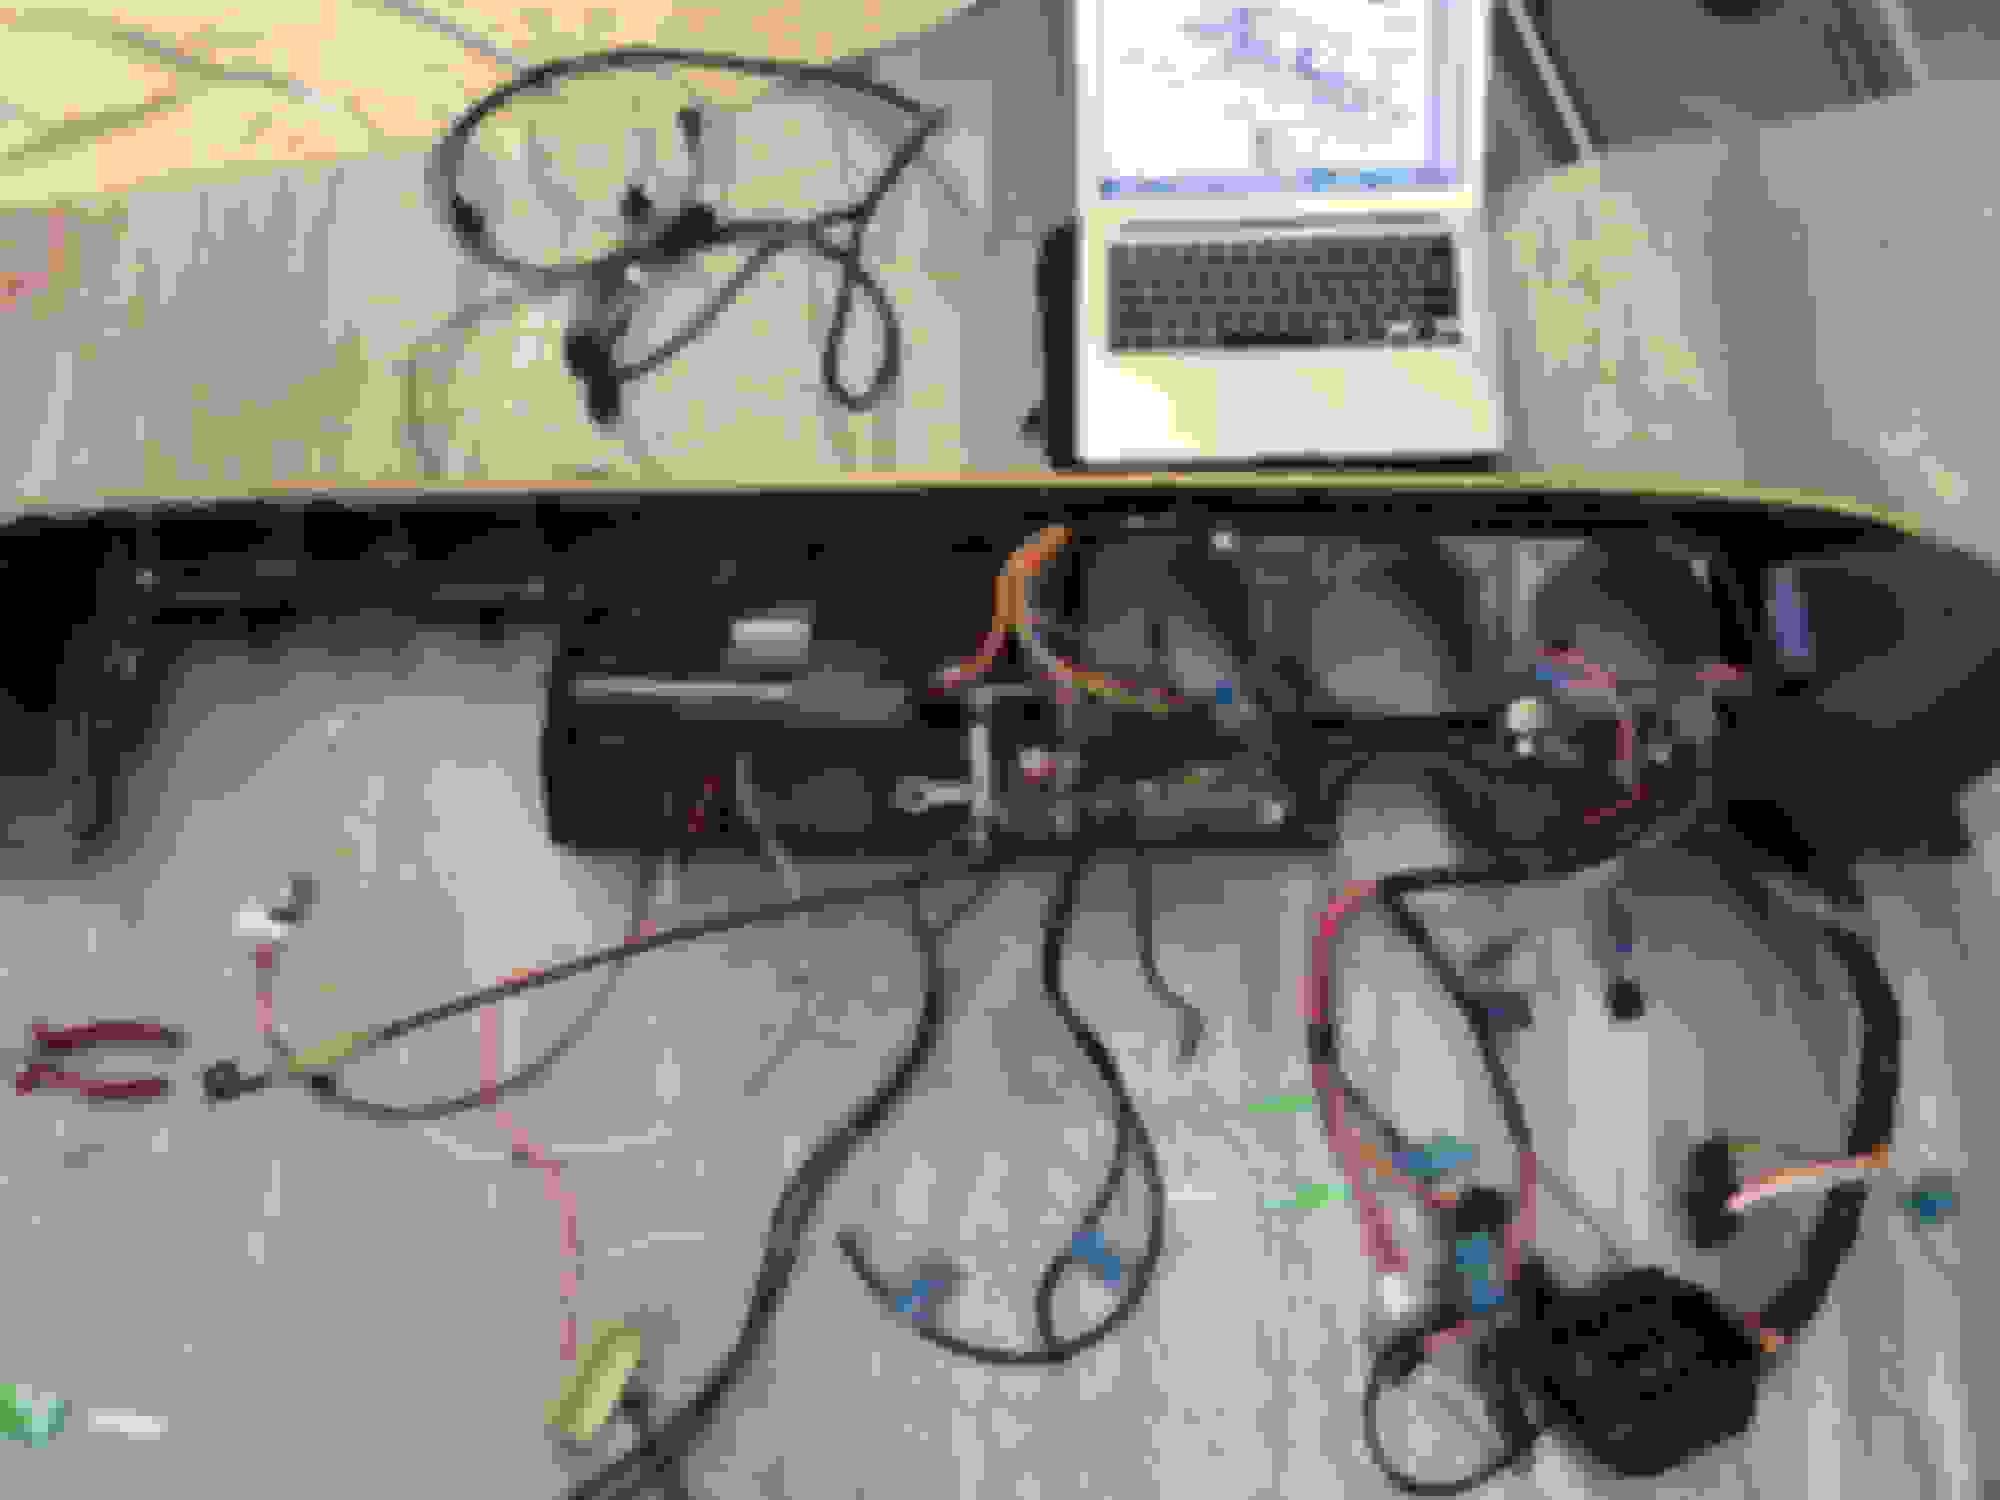
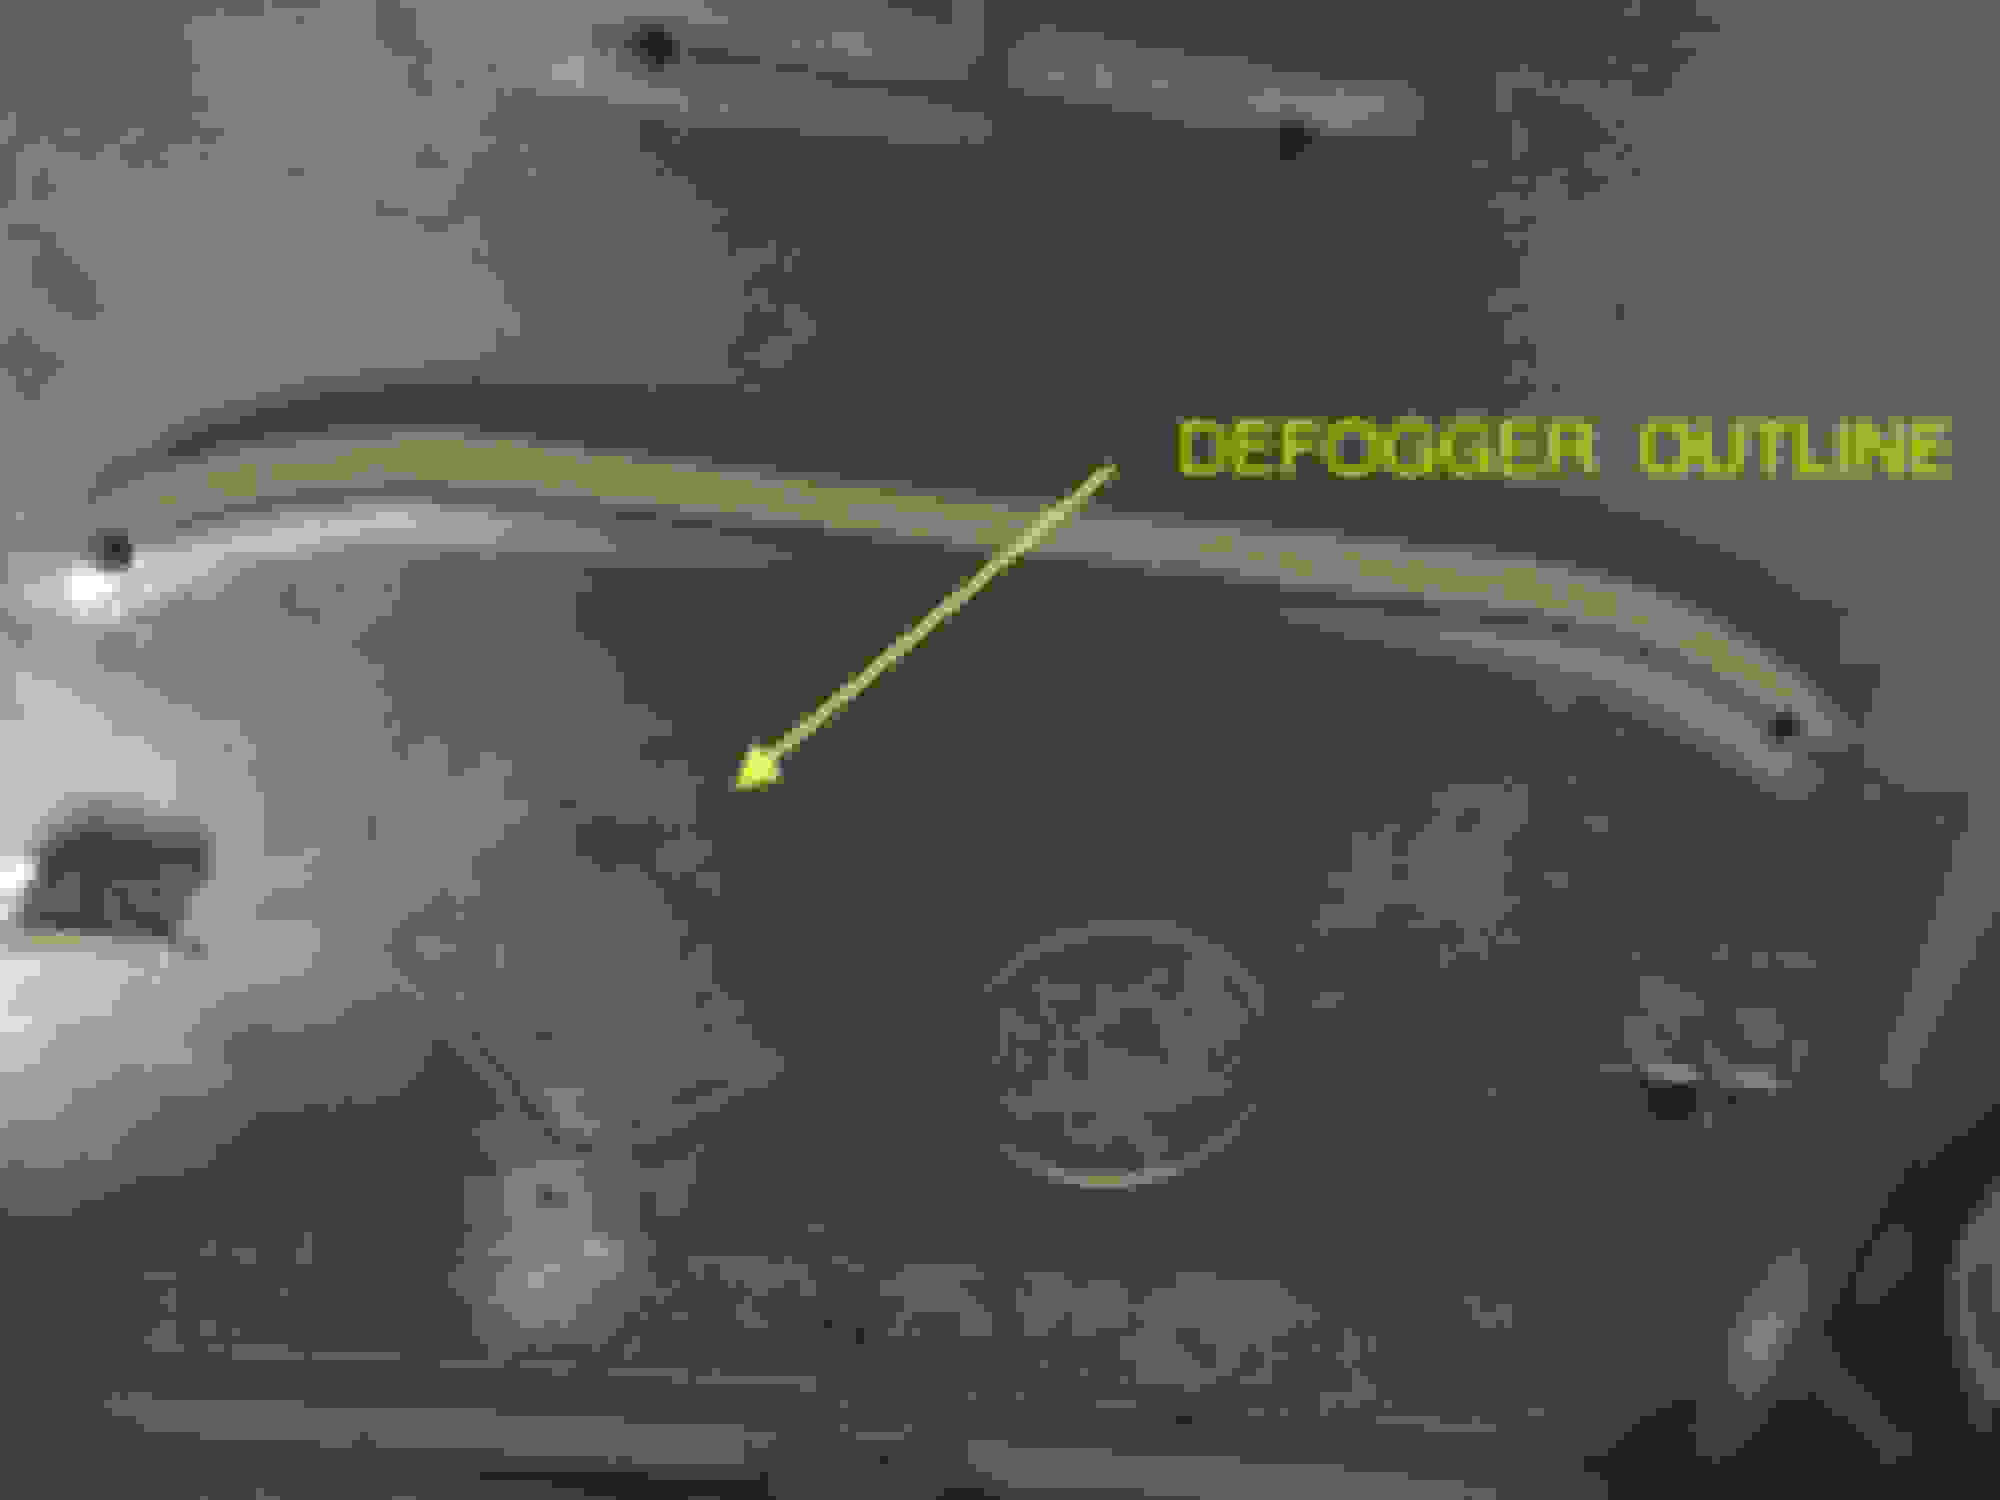
Well over the last few weekends I installed the wiring harnesses onto the dash, repaired the damaged ends of the drivers side A/C duct & got the dash back into the car. The dash was in and out a few times after finding the car originally had a rear defogger and the switches and harness for that had to be fitted. Timing was perfect when Scott Winn listed a complete defogger on FB. I've bought one of the reproduction AM/FM radios by Antique Auto Radio and it certainly looks nice. The original instruments were restored by Scott Winn and they look awesome. This week it's time to strip out the doors and go over all the mechanisms. I've been thinking for some time about changing to a quick ratio steering box and after chatting to Hector Carrillo I've ordered one from him so I'll fit that once it arrives and can then get the column back in. It's all slowly coming together and should be all finished by the end of Fall over here in a few months time.
Sweet looking car, and nice work! Quick question: Back in Nov when you put the body back on the frame, I see you rolled the frame under the body. How did you lower it down?
The trim on your dash was not chrome looking, as it is 45 year old faded vacuum metallizing.
That is why the paint pens match.
That could well be the case but normally vacuum metallizing extends beyond the exposed zone. I used thinner to clean the surrounding surface in a few places but nothing showed up. My crash pad isn't the best and the dash will come back out when I can find a better one so I'll certainly keep this in mind and when it comes out again it might be an opportunity to redo it. Thanks for the feedback.
Sweet looking car, and nice work! Quick question: Back in Nov when you put the body back on the frame, I see you rolled the frame under the body. How did you lower it down?
We used one of those caster trollies that were on the front wheels in some of the other photos to put under the rear axle - you might just see it in this photo. That was to avoid having to raise the body up even further and with those caster trollies and the bell style brake drums off you can get the rear axle very low. We did use ratchet straps to compress the springs as much as possible too - as you need every 1/4 inch you can get.
It doesn't look the safest method but there was virtually no weight in the body and if you are restricted like I was by lack of space and overhead timber beams that weren't suitable to lift from then you can do it - provided you don't rush. If you go this way then its best to have at least 3 (ideally 4) trolley jacks and a few 6" timber blocks with a slot cut in them for the body seam to sit in for when your jacking. By the way, all of the timber blocks on those trestles were tech screwed together and tech screwed to the trestle.
Thanks for sharing, very nice work and everything looks very organized. I used s similar approach during my restoration, here is one pic of the set-up.
Thanks for sharing, very nice work and everything looks very organized. I used s similar approach during my restoration, here is one pic of the set-up.
Wow, that looks like beautiful work. Is your's finished yet ??? And that garage looks soooo clean - something I'm looking forward to when I get my car back together.
When I bought the car I knew that the left fender had a terrible rust repair on the dog-leg and then when I pulled the right fender off I found it much the same. It's a real pity a bit more time & effort hadn't been taken to fix it properly but likely this occurred a very long time ago. At least I know things will be right when they go back on. As we are heading into Fall here in Australia I made the call to start moving quickly before winter - and I'm so glad I diid. The car had a front end collision at some point in its life and correct flat top top fenders have been sourced from a Cutlass as replacements (well at least the RH started life on a Cutlass) so the holes for the emblems aren't correctly positioned - so it makes for a great opportunity to fix that also.
My body man wanted them paint stripped rather than chemically dipped & stripped and what a job that's been with all the bondo and 20 layers of paint and spray putty. Its taken 3 1/2 days to get just 1 fairly good. Hopefully next week the left fender will be done and then it's time to chop off the terrible patches and replace them properly.
Your doing the right thing by saving the original '70 fenders, anything other than original has the very noticeable "crush ribs", you can always tell when they have been replaced. Keep the updates coming!
Your doing the right thing by saving the original '70 fenders, anything other than original has the very noticeable "crush ribs", you can always tell when they have been replaced. Keep the updates coming!
Agree completely. There are NOS 71-72 fenders with the crumple zones still around but the ones on the car now are the correct '70 flat tops and should come up almost as good as a NOS pair in the end. I did hunt for a better pair of '70 fenders for a while, mainly because the braces on mine are gone at the bottom but I had little luck.
Well it's mid May and we are heading into Winter down here so activities are slowing. To add to that progress slows when you find you're missing something and it takes 3+ weeks to get to Aus from the US - but that's the joys of a restoration here. Recently been painting the repro rubber parts with a special formulated vinyl paint to match in to the original interior and the parts have come up pretty nicely. As my car will be a Sunday driver I've opted to insulate the floor given that its hidden - will help with the heat we have here in Summer and make things a bit quieter for the family
The car was shipped last week to the shop thats doing the metalwork repairs to the fenders so that will be my next update shortly. do something properly.
Great Work! Can you share the the details on the vinyl paint/dye you used on the rubber interior parts. I need to dye my horn button gold and yours looks fantastic.
Great Work! Can you share the the details on the vinyl paint/dye you used on the rubber interior parts. I need to dye my horn button gold and yours looks fantastic.
Hi Rick,
the paint I used is great stuff. It's actually water based and developed for use on vinyl curtains that go on big trucks & trailers. It's extremely wear, scratch & UV resistant and they color matched it to a sample of my dash. Unfortunately it's an Australian made paint so you can't ship liquids overseas otherwise I'd send you some. I'd check with a few local Auto Paint suppliers to see if they have a similar product but if you strike out then I'd be happy to paint one for you if you had one you could mail to me. For interest this link will give you the details of the paint. Cheers Rohan http://www.viponds.com.au/TautFlex%20DIY.pdf
Well, the repairs to the flat top front fenders are well underway. There was a few too many pounds of bondo at the bottom where the terrible patch work had be done previously so that had to go. I shipped the car to a local master of metal work here in Melbourne and Scott Mahoney & Dave at Metal Master Panels have done an awesome job with all the surgery. As I sort of anticipated the patch panels looked good from a distance but to get them to fit correctly has taken a fair bit of cutting, welding & shrinking. Was a bit disappointed that the section that wraps under at the bottom was trimmed off on an angle on one. There was at least a 3/8 taper from one end to the other and also short across the width of the panel too - but we have moved on and fixed that now. Today I drilled the holes for the badges and now the braces just need to be welded in place. Still a few weeks to go before we head out of the chilly Australian winter and head to Wichita for the OCA National Meet so the paint probably won't get done till we return but things are advancing well and I'm very pleased with the results so far.
Well the fenders are now all finished. Quite a bit of time involved to get the right fit & gaps but in the end it all worked out. I squeezed into to brush some POR15 Rust Preventative paint behind most of the braces and now that the car is back home I'll take the guards off again to use the zinc phosphate metal prep on them to give some protection before it goes for painting in late July. Would have been nice to get them painted before we fly out of Aus for the OCA National Meet but timing just doesn't line up for the painter at the moment.
Hi Rick,
the paint I used is great stuff. It's actually water based and developed for use on vinyl curtains that go on big trucks & trailers. It's extremely wear, scratch & UV resistant and they color matched it to a sample of my dash. Unfortunately it's an Australian made paint so you can't ship liquids overseas otherwise I'd send you some. I'd check with a few local Auto Paint suppliers to see if they have a similar product but if you strike out then I'd be happy to paint one for you if you had one you could mail to me. For interest this link will give you the details of the paint. Cheers Rohan http://www.viponds.com.au/TautFlex%20DIY.pdf
Rohan,
Thanks for the gracious offer. I may take you up on it if I can't get something local.
The fenders look great. When my car was 99% ready for paint, I bought a donor car that had 70 fenders. I switched out the 71-72 fenders that were already patched and ready to paint, then paid my body guy to repair the 70 fenders. They still make me smile every time I open the hood.
Thanks for all your positive comments. The repairs unfortunately ended up taking quite a bit longer to complete so the cost was higher than I originally planned due to the patch panels being far from being even close to the correct shape. I wont use the word "rubbish" but being a toolmaker by trade I know what goes into making press tools and I cant understand how someone making a die could get it so wrong. I should have started the search for a better pair of fenders way earlier as it can take 12 months or more for items like that to be consolidated and shipped from the US to Aus. but I left it too late and the project would have stalled for way too long. However I do still plan to find a back up pair to hang up in the garage as you never know what happens. But overall I'm really pleased with the result and I know it was worth the effort to save a pair of correct '70 fenders. Now its time to try and find some better wheel arch moulds to keep things moving along. Hope to see a few of you in Wichita for the OCA Nationals soon.
Well, our trip to the US and time at the OCA National Meet was well worth it. Caught up with lots of distant friends and made lots of new ones. It was great to meet the people behind the User Names here on ClassicOlds and I really appreciated those who reached out whilst I was there to say "G'day". Was so pleased to see the "costpenn" '70 W30. Joe your car is now my benchmark and I learnt so many little quirky things that will be so valuable as I start more assembly work.
Before leaving for the US I wasn't at all happy with 2 sets of so called stock height front & rear springs that I'd bought and fitted to the car. They were way too high. 2 1/2" on the MOOGs and 1 3/4" on the UMI's, however with the pitting I had in my originals I really didn't want to put them back in. On the rears its been 3rd time lucky and the ones from ILT are perfect. You'll see the difference in a few photos below - just line up the sill to the centre of the wheel for comparison.
I'm still trying to work out what to do on the fronts (they're really bad) so if anyone has some good experience and knows what brand & model spring delivers the correct factory ride height for a '70 442 Auto with AC then I'd very much appreciate hearing from you. I really cant imagine that the AC will make that much difference in weight (maybe 100 lbs) so I'm all ears for suggestions.
Once I get the front springs sorted then its off to the painter for the fenders & front clip.