When you click on links to various merchants on this site and make a purchase, this can result in this site earning a commission. Affiliate programs and affiliations include, but are not limited to, the eBay Partner Network.
There are a number of things I want to tackle next...
1. Engine
2. Tranny
3. Brake lines
4. Radiator
I will tackle these in the most logical order.
First, I think it would be a good Idea to get the brakes finished. As noted in my firs thread the front and back hardware is all NEW and 100% virgin. I need to put the drums on the back and that is about it. There are no brake lines on the car yet.
Looking at various websites I see all the types of hoses and general lines I may need.
I think I can figure out what ones I need and how to put them on with my build book and the chassis manual, but I was wondering what advice people have. It is a disc/drum car.
Last edited by CuttyShark; Mar 17, 2021 at 06:01 AM.
While I am working on the chassis and installing brake lines and things I want to have the engine work started.
1. The block is a Fa 455 block. According to the owner it was 100% unmolested from a 73 Vista Cruiser. Since i can not verify this I am taking it with a grain of salt. The heads are J heads. Yes, I know, "J is for Junk" is what I am reading. HOWEVER, I am not looking for a hot rod. I am looking for a stock performer, with "relatively" good milage. J heads are fine for me. They have already been decked. I think they need a 3 angle job because he told me the valves have a bit of a leak on a couple of them. He said the shop he got them back from said the valves need "turned" I dunno what that means.
2. The intake is a 4 bbl intake, it appears to have EGR on it. That makes sense since I think the J heads have the hot air passage to link up to the egr. I do not mind having the EGR functional. Considering there will be no other smog equipment and the EGR only functions at cruising speed it is ok with me. I do not know if it is a Aluminum intake or not. It looks rusty. Interesting to note. The liturature I have found lists the 73 J heads are only being used with dual jet carbs. How did this one end up with a 4bbl?
My idea is to leave it alone. use the original pistons and rods and crank. Any recommendations on a good rebuild shop in Socal? Inland Empire or LA area?
I do not think it needs bored over, it may just need a re-hone? but I would like someone to install the cam bearings, polish (and balance?) the crank, and do the head job. Thoughts?
I will be painting it Olds metallic blue and making it look as close as I can to a 1970 445 from a w30 car. I mean... its my car, so why not?
I do not think you could get a 455 in the '73-'76 era with a 2bbl carb. Maybe, but I have never seen one.
As long as the J heads are in decent shape, they should work fine for a cruiser.
Regarding the intake manifold, I would think about looking for a used Edelbrock Performer 455 just for the weight savings. Those BBO iron manifolds are extremely heavy and a PITA to install by yourself. Other than that, as you said, the iron one should perform well enough for your intended application.
Here are the codes listed in the book concerning the 2BBL vs 4BBL. I guess it was available with both. It has a check next to the F, but the block is an FA. The only difference is the clutch Ball. SPecs are the same though. Since I am going with auto trans I dont need to worry about the clutch ball thingy.
Based on the combo of heads, block and intake a 1973 455 block makes sense. Does anyone have any information on the original listed horsepower and torque for that year? I am hoping the carb just needs rebuilt and that I can use the original Jets, but if not I will need the specs for that as well.
Does it makes sense to use an original spec new cam? I am concerned about the J heads being decked and smaller combustion chambers, and thicket gaskets messing with the numbers. I know decking reduces the cc rating (it was 79cc according to the manual) and decking would reduce that futher, but then today's thicker head gaskets might put that back where it belongs? And if I use the original pistons I wont have to worry about them hitting the valves right? Remember, my goal is 87 octane fuel and daily driver attitude, freeway cruiser, sip on gas through the primaries unless I really press hard on accelerator and open the seconds.
Last edited by CuttyShark; Jan 7, 2021 at 06:09 PM.
So assuming I do not bore, and it only needs a hone, and that I can use the original crank and rods, I need recommendations on
1. a good, stock quality rebuild kit with seals and bearings and rings
2. a cam! remember, I want stock or better milage. though if there is an inexpensive roller one, maybe...
3. I plan to use the original rockers, but if anyone knows long life 1.6 rollers that would be swell. I see that competition cams has a rocker, pushrod and spring set
After consulting with people in other threads I have decided to go with the Edelbrock 04B manifold that I picked up for $40 locally.
I am bringing the block basically back to 1970 specs. This means NO EGR I guess! Thinking about what to do about the J heads. I may use some speedmaster heads. There is someone selling the Edelbrock ones locally for $800, but they look like they will need a total rebuild. Thinking.... if I get the heads, then I will also get roller rockers. I am going with the Edelbrock Performer Cam and 1970 pistons.
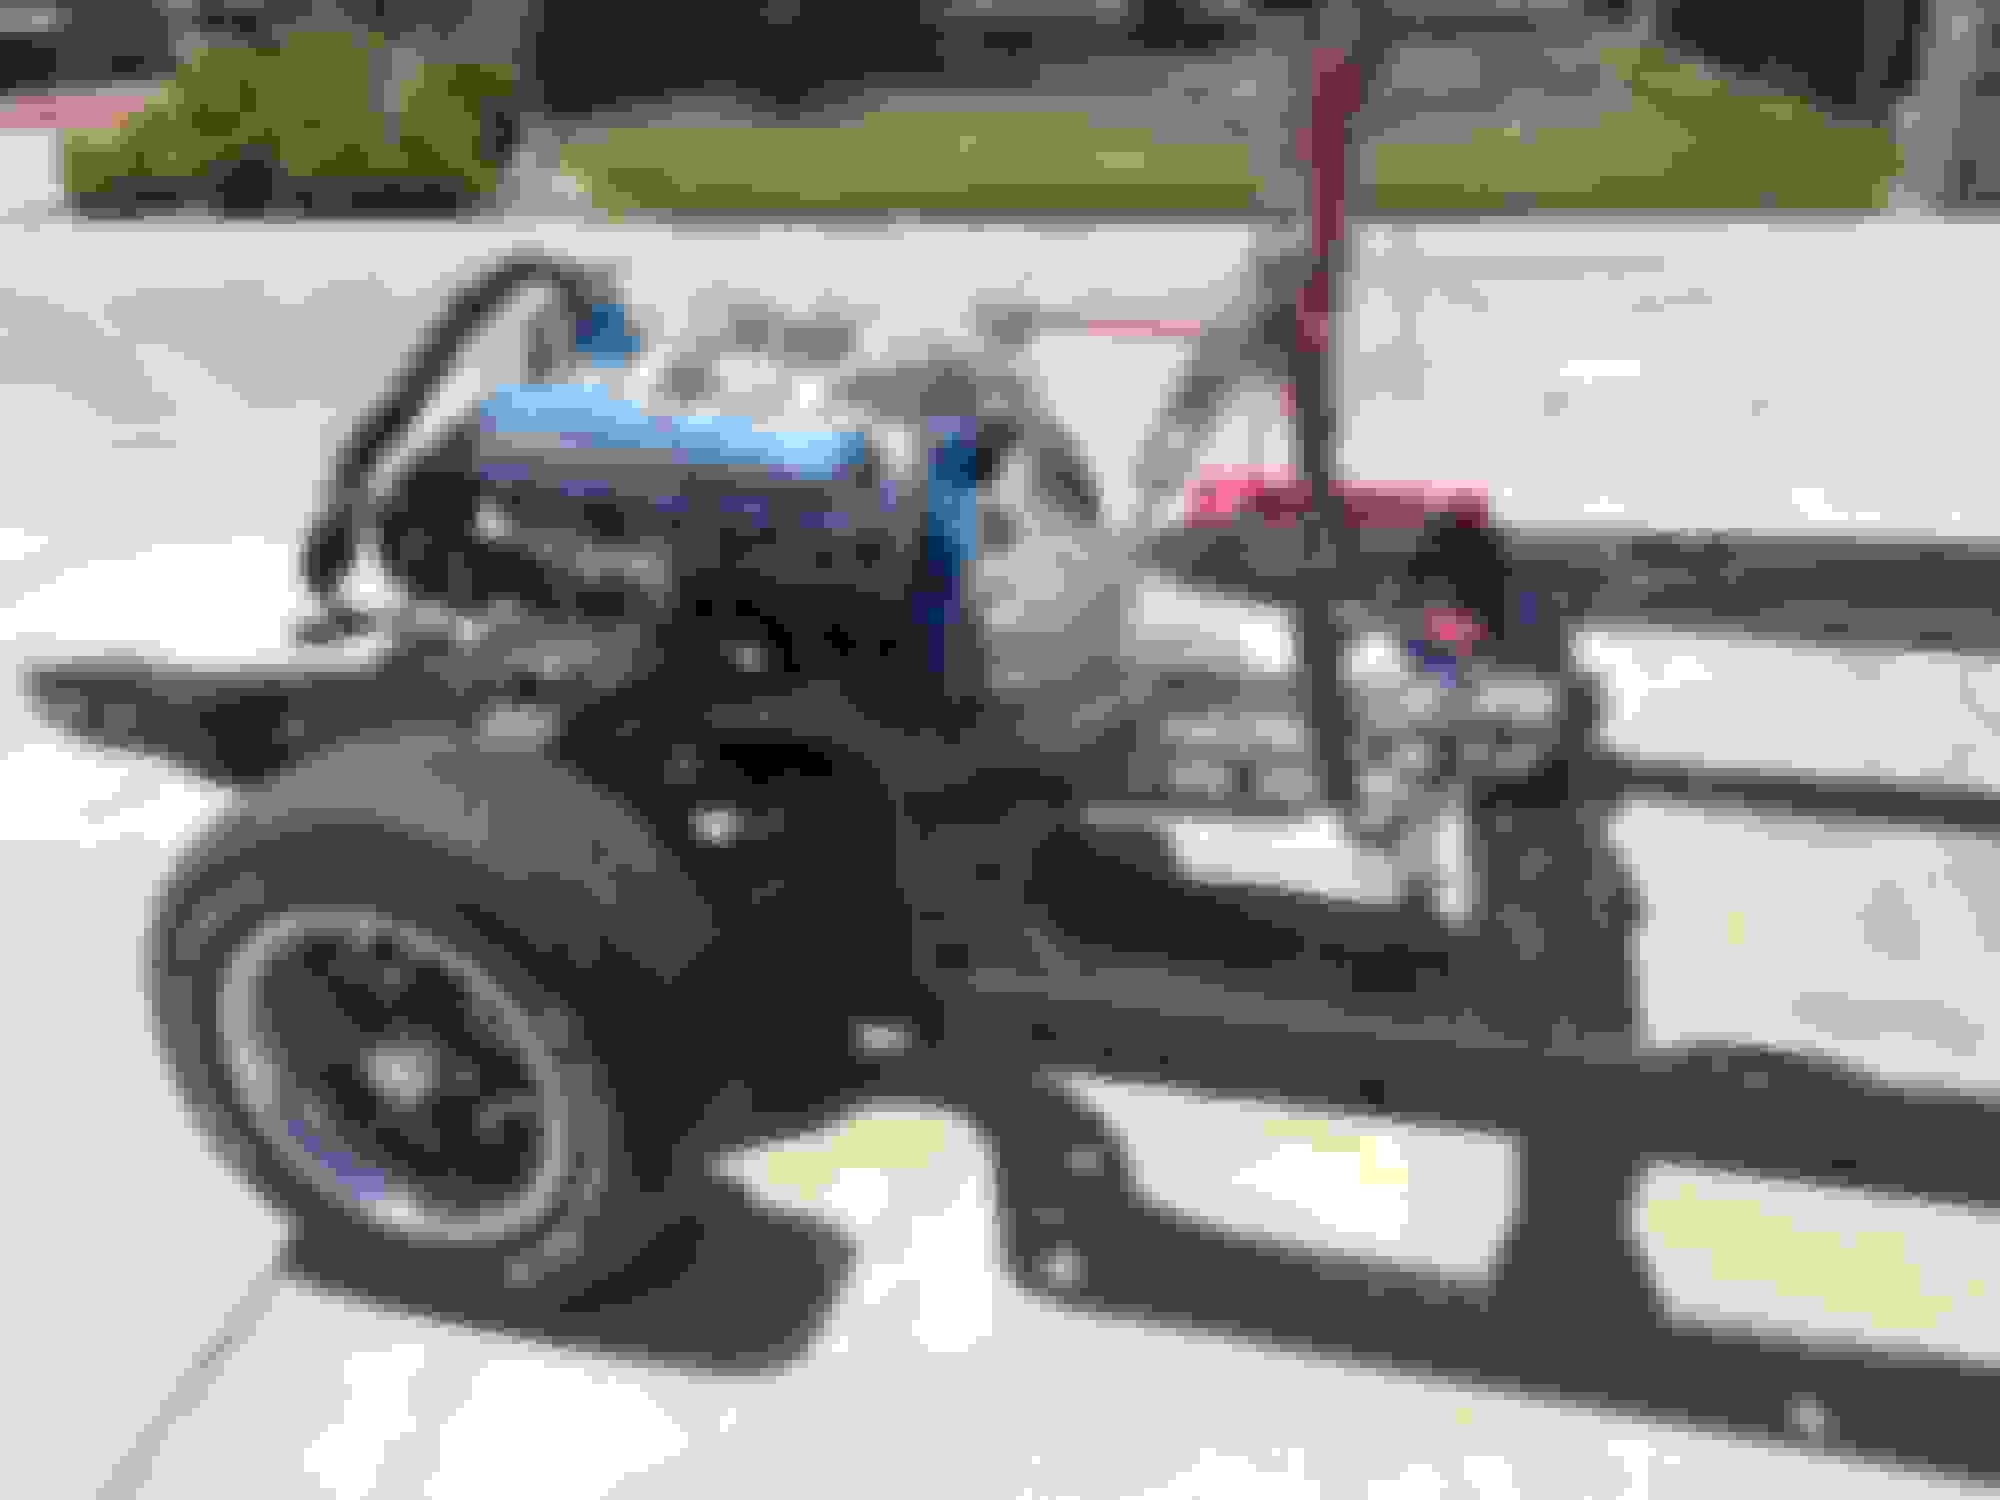
I have the engine all ready to go to the machinist.
1. Picked up the custom built th-200 4R from Dana Sniff. It is built to stand up to 1970 455 specs plus a little bit extra to account for the headers and better cam and manifold PLUS ability to tow a small car or trailer if I need to. I am putting in a lockup switch to turn off the OD.
2. Body is separated from the frame and off to Calblast soda blasting in Upland, CA to be blasted.
3. Chassis is back in the garage and being final assembled.
Last edited by CuttyShark; Jan 7, 2021 at 06:10 PM.
I attended the Pomona Swap Meet on Sunday here in SoCal. Bought my four core polished aluminum radiator with matching two fan shroud and fans plus the wire harness for it. Paid $470. It also is cooling the overdrive transmission so I went for overkill on cooling.
Made progress on the frame assembly and waiting on a few last parts and I'll be ready for the body when it get back.
Should I do engine break in next ? There won't be any fluid in brake system, and I'm not sure if the parking brake works without the body to attach the end of the foot peddle to.
If you break it in be sure its in park, as you have no brakes. You will also have no neutral safety switch to keep it from starting in gear.... that would be bad. You can remove the drive shaft during break in or jack up the rear so the tires are not on the ground, until you know the trans is in park.
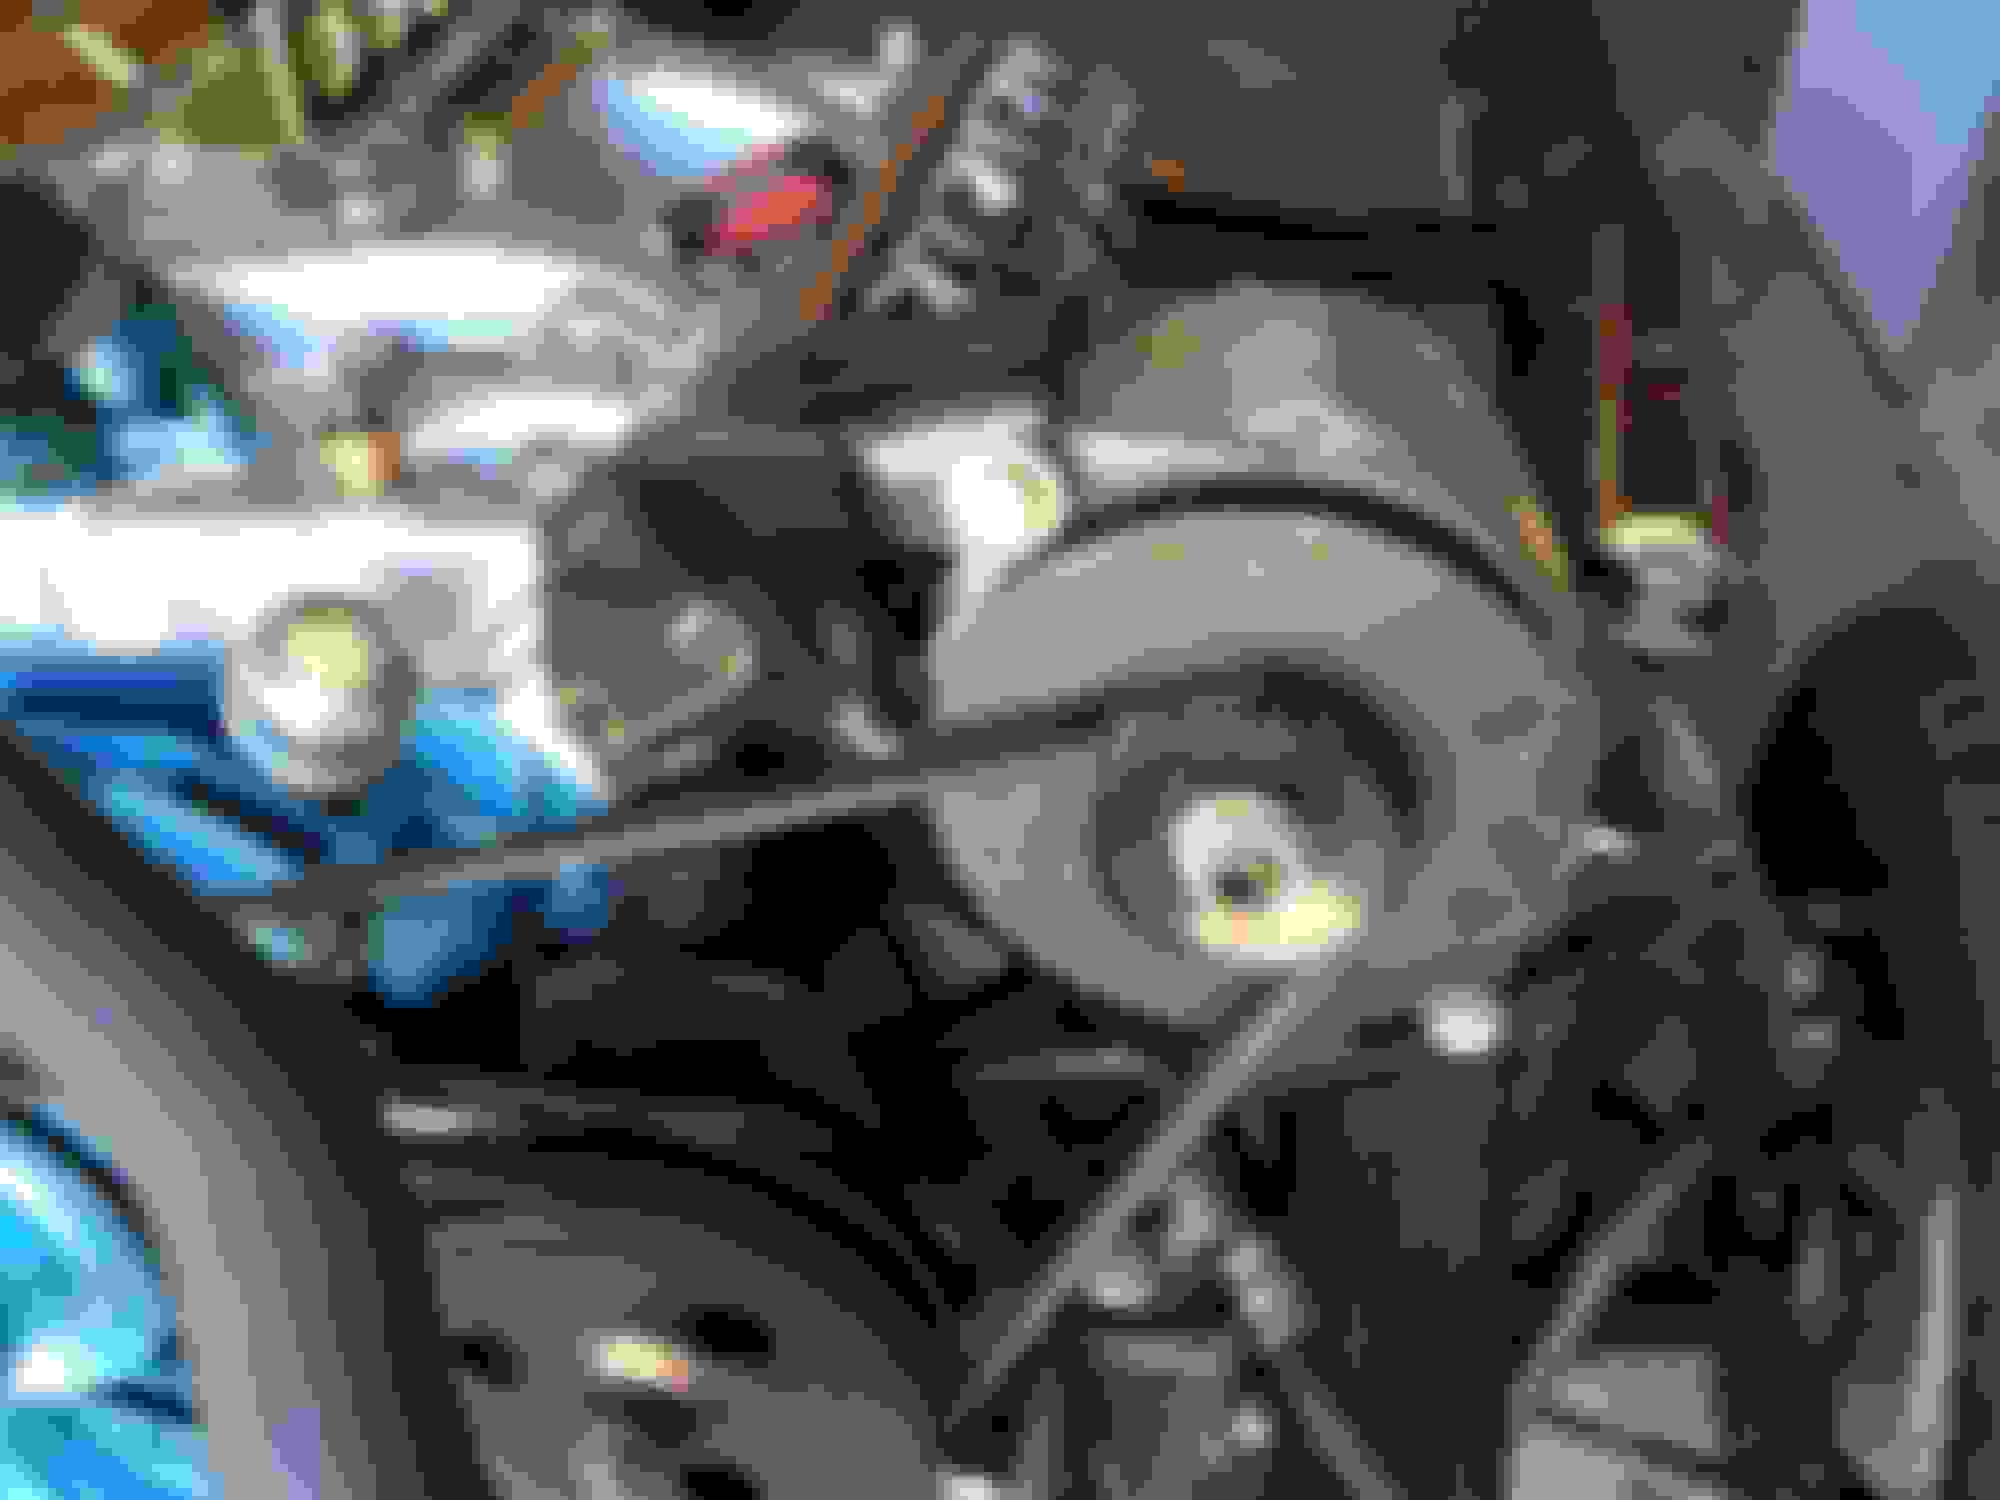
Ok, i am dry fitting the assessories back on before i paint them. I can not find any clear shots of the A/C type set up for running the alternator on the driver side.
I think I have the basic positions figured out, but I am having some problems.
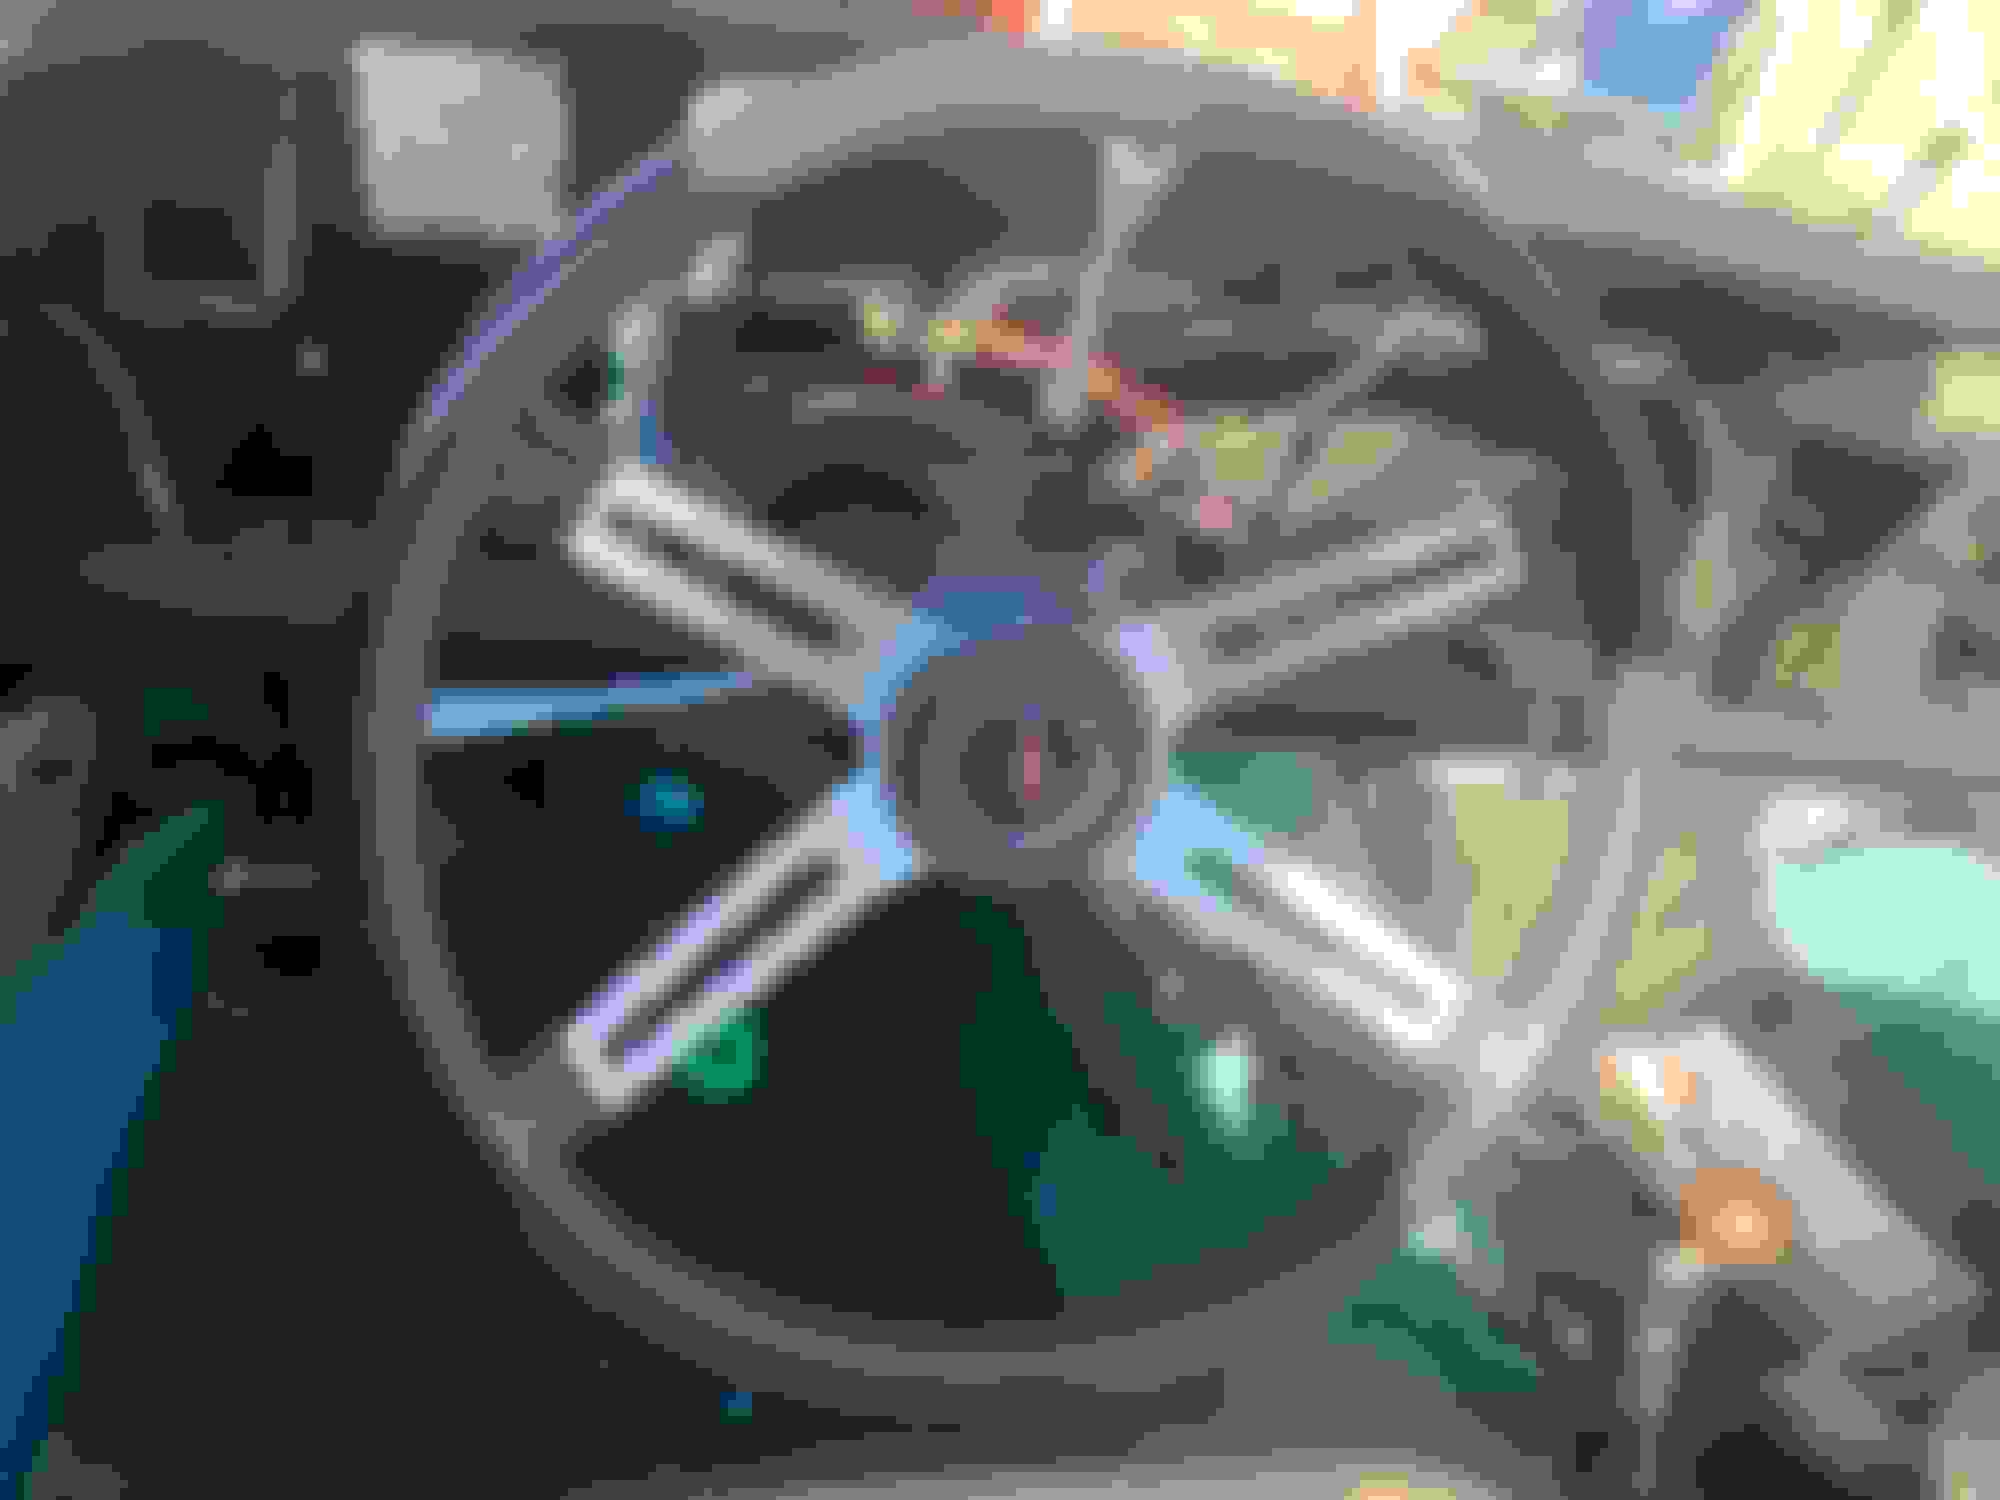
1. The top alternator bracket does not fit the Edelbrock 04B back bolt hold. See pic. The back bolt wont line up with the hole on the manifold and when the front two bolts are tight the bracket rubs on the intake runner. Was there a special bracket made that came with the 04B? Does anyone else have that manifold and how does your bracket fit?
2. Am I "close" to having everything where it needs to be? Can anyone think of any shims, spacers or special bolts I might need to dig out of the pile? I have a pile or greasy bolts I am soaking in oven cleaner right now.
3. I have a long thin bracket that I think goes on the back of the alternator. I cant figure out where it attaches. Anyone have a picture?
Update: went with C alternator bracket
Last edited by CuttyShark; Jan 7, 2021 at 06:11 PM.
frame is ready for the body. I just need to fill the rear differential.
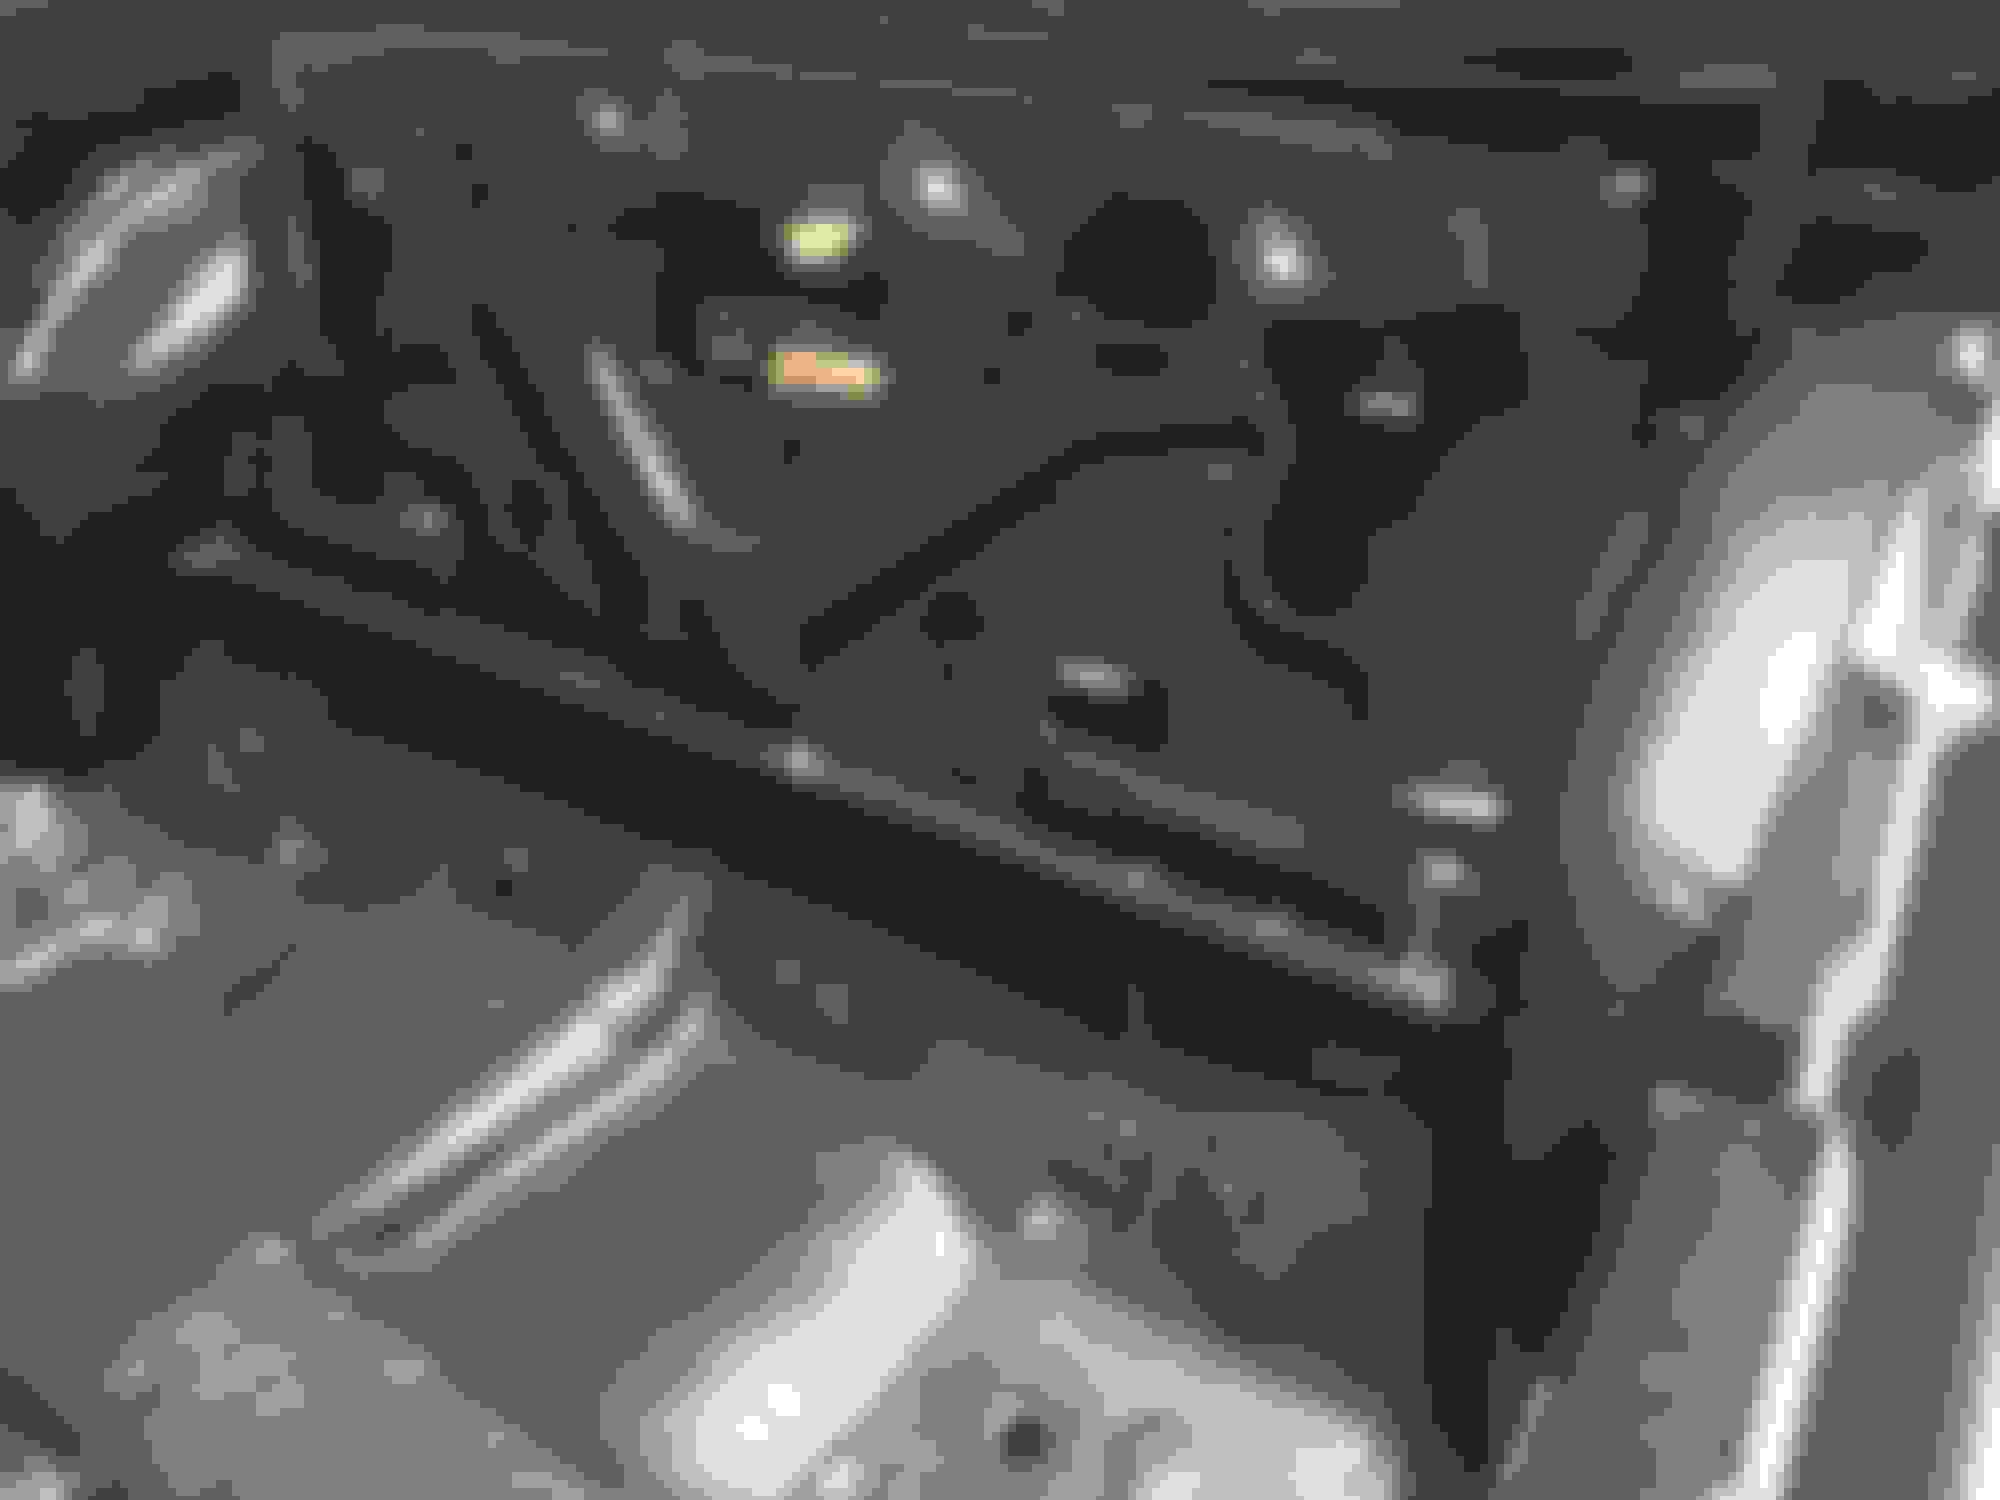
Body is done being blasted at CalBlast in Montclair, CA. It is then being undercoated and the header panel painted satin black. it should be reattached in about a week time. There was no rust on the entire body. HOWEVER there were a couple inches of Bondo on the drivers side quarter. I will need a new quarter and rocker panel. See picture. Any one know a good welder in Inland Empire CA?
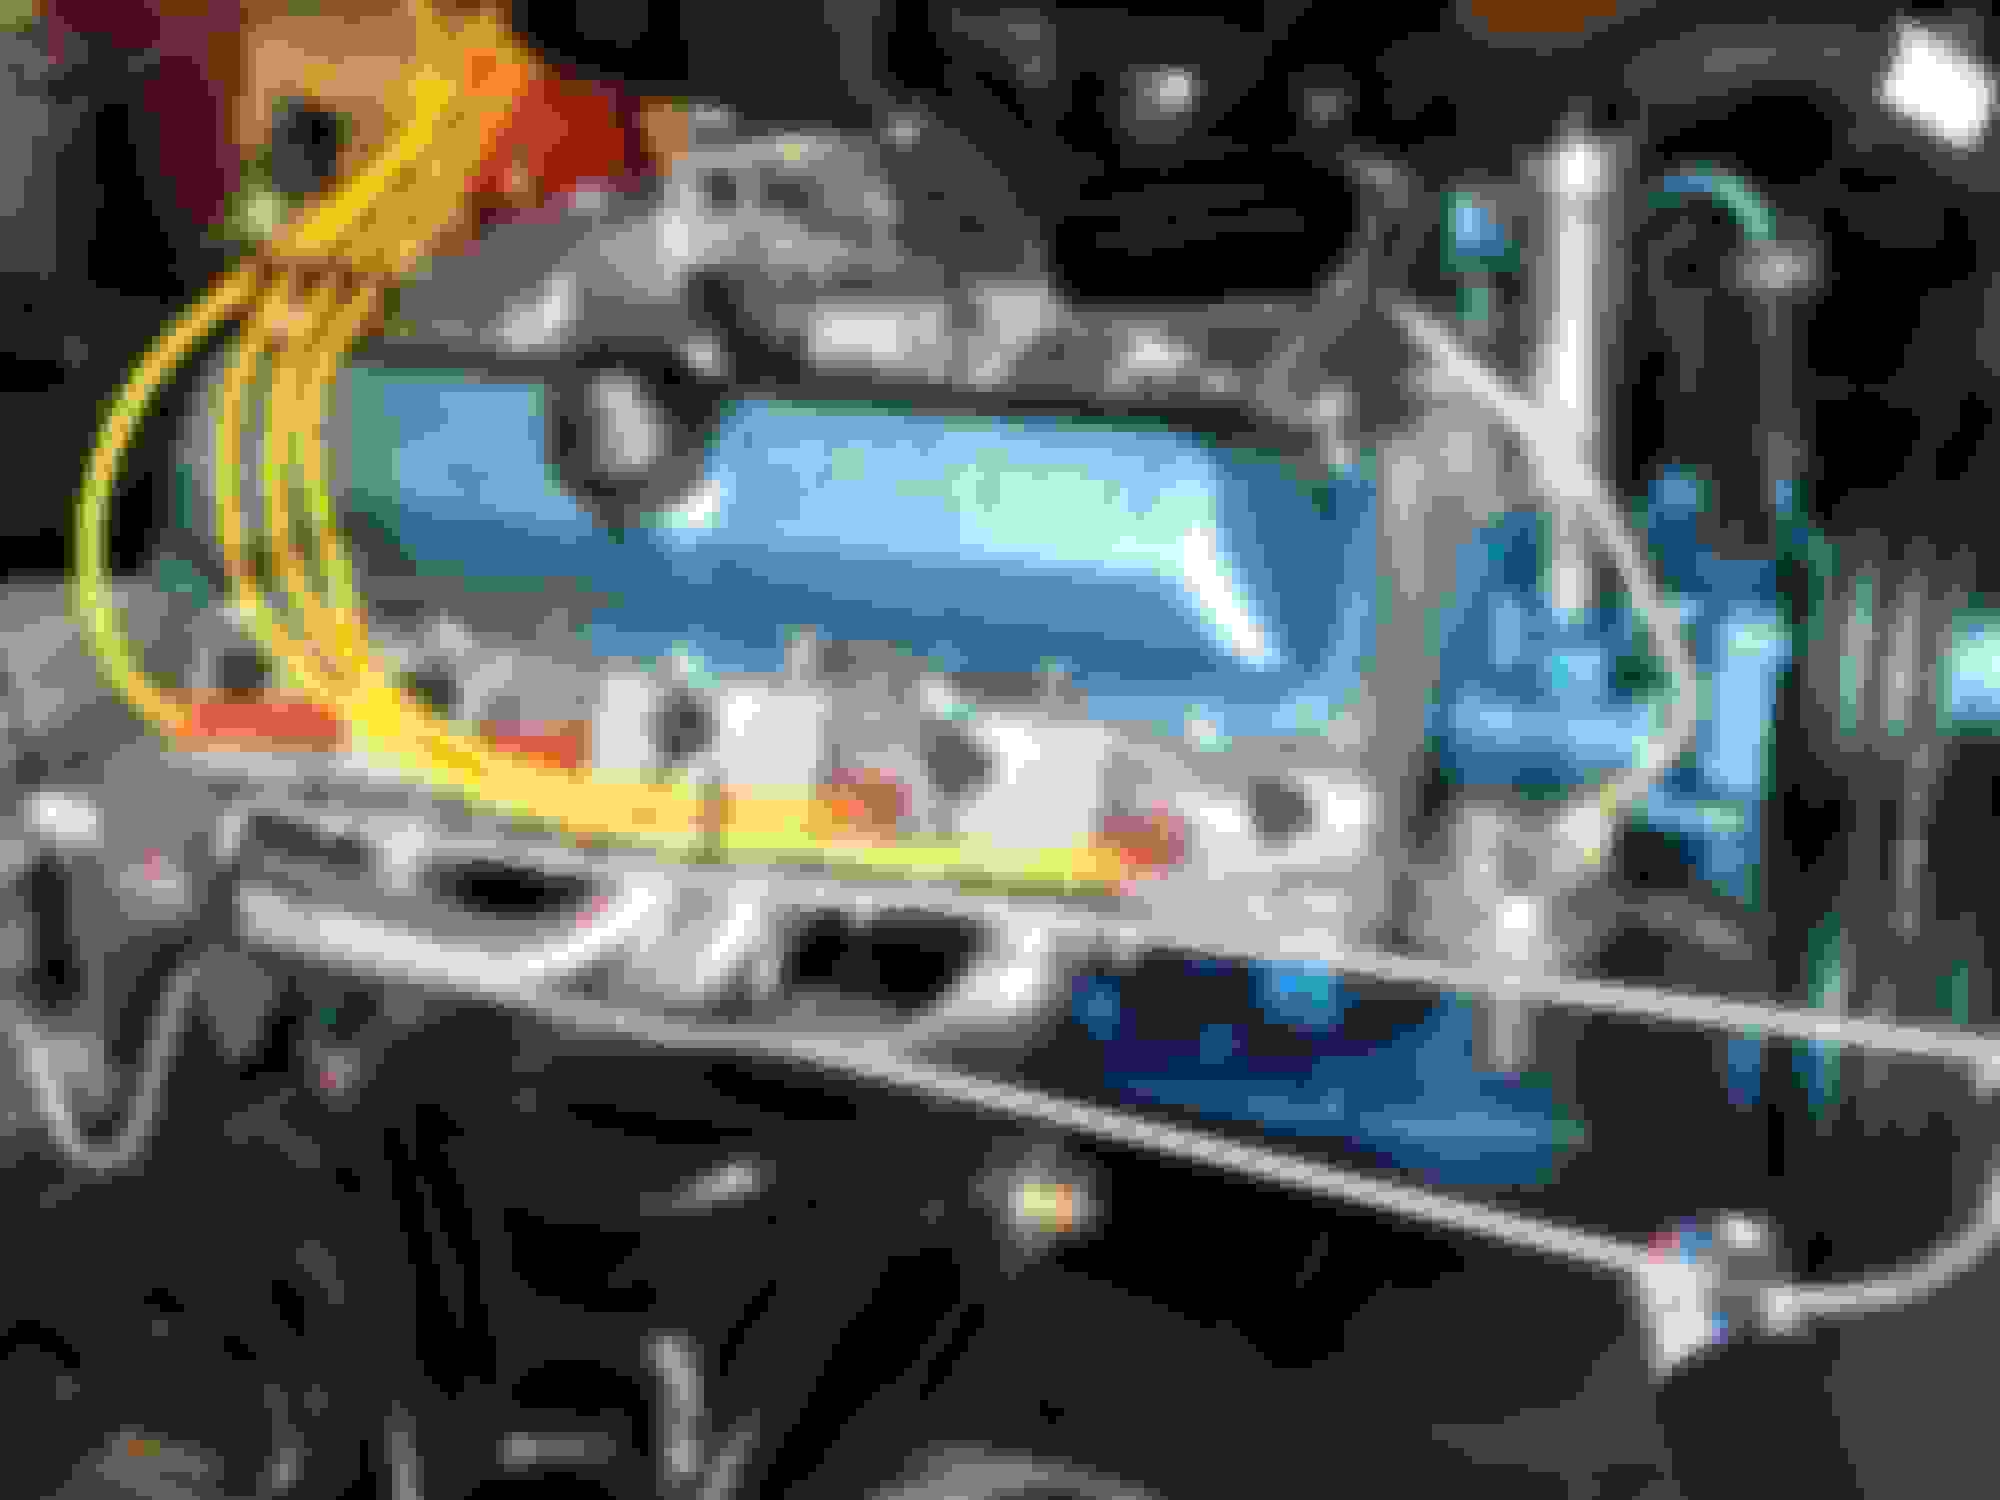
I need to finish making the ends to the spark plug wires. It is a pain in the butt. I also am waiting for the valve cover tube ends to connect to the air intake. I am also trying to figure out a way to make the original heat riser work with the headers.
The Bowtie Classic transmission EasyTV is attached to the Qjet. It was a little bit of a bitch to have to take it to the carb shop and have them switch the linkage from Olds to Chevy. But it will make things easier.
The Dynomax exhaust is installed. It was easy once I figured out where to hang things. The directions were TERRIBLE. I had to take one of the intermediate tubes to the muffler shop to have it bent slightly on the passenger side to meet up with the passenger side header. I was cheap and bought the Flowtech ceramic headers. They look ok. I had to modify the driver side one in order to clear the distribution valve. I just had the same muffler shop cut it, and add a section of stainless tube. I then wrapped that section and the other tube that will be near the distribution valve with header wrap and wrapped the starter with a heat shield.
Next up, putting some temp wheels on the car and painting the SSII wheels the correct Grey color and putting Pep Boys Futura white raised letter tires on. I think I am going with 215 75r14 (or is it 225?) It is basically the "stock" size. I don't like fat tires and I am going more for street ability and high gas milage on freeways. Less rolling resistance is what I want, but not traction for racing.
Last edited by CuttyShark; Aug 30, 2015 at 11:26 AM.
Assembling spark plug wires is easy if you have the proper crimping tool. Msd makes an awesome one that you put in the jaws of a vise to crimp it. Then spray the boot with brake cleaner and the terminal will slide in easily.
I wish my 70 convertible was as clean as yours is. I'd take those dents any day over the rust I have to fix. That is going to be an awesome car when it's done. Nice work.
Assembling spark plug wires is easy if you have the proper crimping tool. Msd makes an awesome one that you put in the jaws of a vise to crimp it. Then spray the boot with brake cleaner and the terminal will slide in easily.
I ended up buying the crimper tool for the spark plug wires by Accel. It was $35 at Pep Boys.
The body is DONE!!! It is sealed and premiered and the underbody has a nice clean coat of undercoat. The header panel is painted satin black. I dropped the rolling frame at the blaster who did all that today, it should be back Tuesday.
Then i can get the wires ran and find someone to do the metal work on that quarter
today I oven cleaner'ed the headlight housings and stripped them and painted them satin black. They look almost new again.
I also went to Pep Boys and bought four new tires Futura Super Sports white raised letters. I mounted them on some temp 14 inch Buick "magnum" rims from the Craigslist I found. They are very nice ALL chrome ones in very very good shape. I realize they are not the right ones, but this will enable me to get the SSII that are on the car now and strip them and paint them the correct Grey color and then I will take the tires back to Pep boys and have them swap the wheels on the new tires.
If anyone is interested in the tires I have now in the pictures you are welcome to come get them. They are pretty much only good for a rolling frame. The rear tires look like someone did a lot of burn outs in them. The fronts are smaller than the rears.
Also of note: I realized the Edelbrock 04B does not have a PCV port on it, and with the OAI I would need to use the 350 OAI type set up. This means the driver size valve cover won't connect with a pipe to the air cleaner and instead I need to use a grommet with PCV in it. I need the plug that goes into the air cleaner now. The 455 with original manifold would have had the PCV on the manifold. The 350 had the PCV on the drivers side. I figure this detail is insignificant and there is already precedence for that from the factory. Will that be ok to do with the 455 or will I have blow by?
Last edited by CuttyShark; Sep 5, 2015 at 04:48 PM.
The cutlass is coming along. Body and paint is being completed at American Modified in Inland Empire, CA. Work is being done by Eric.
The drive side rear quarter has been replaced as well as the inner wheel well and the drive rocker panel, the body straightend, and the rear trunk lip has been replaced. He is still hammering away at that part though to get it flat. You can see where I am talking bout in the pic up underneath.
The interior has been Rhinolinered to match the underside.
The whole car was Sodablasted at CalBlast in Inland Empire, CA to bare metal before all the paint and filler applied. There is no bondo!
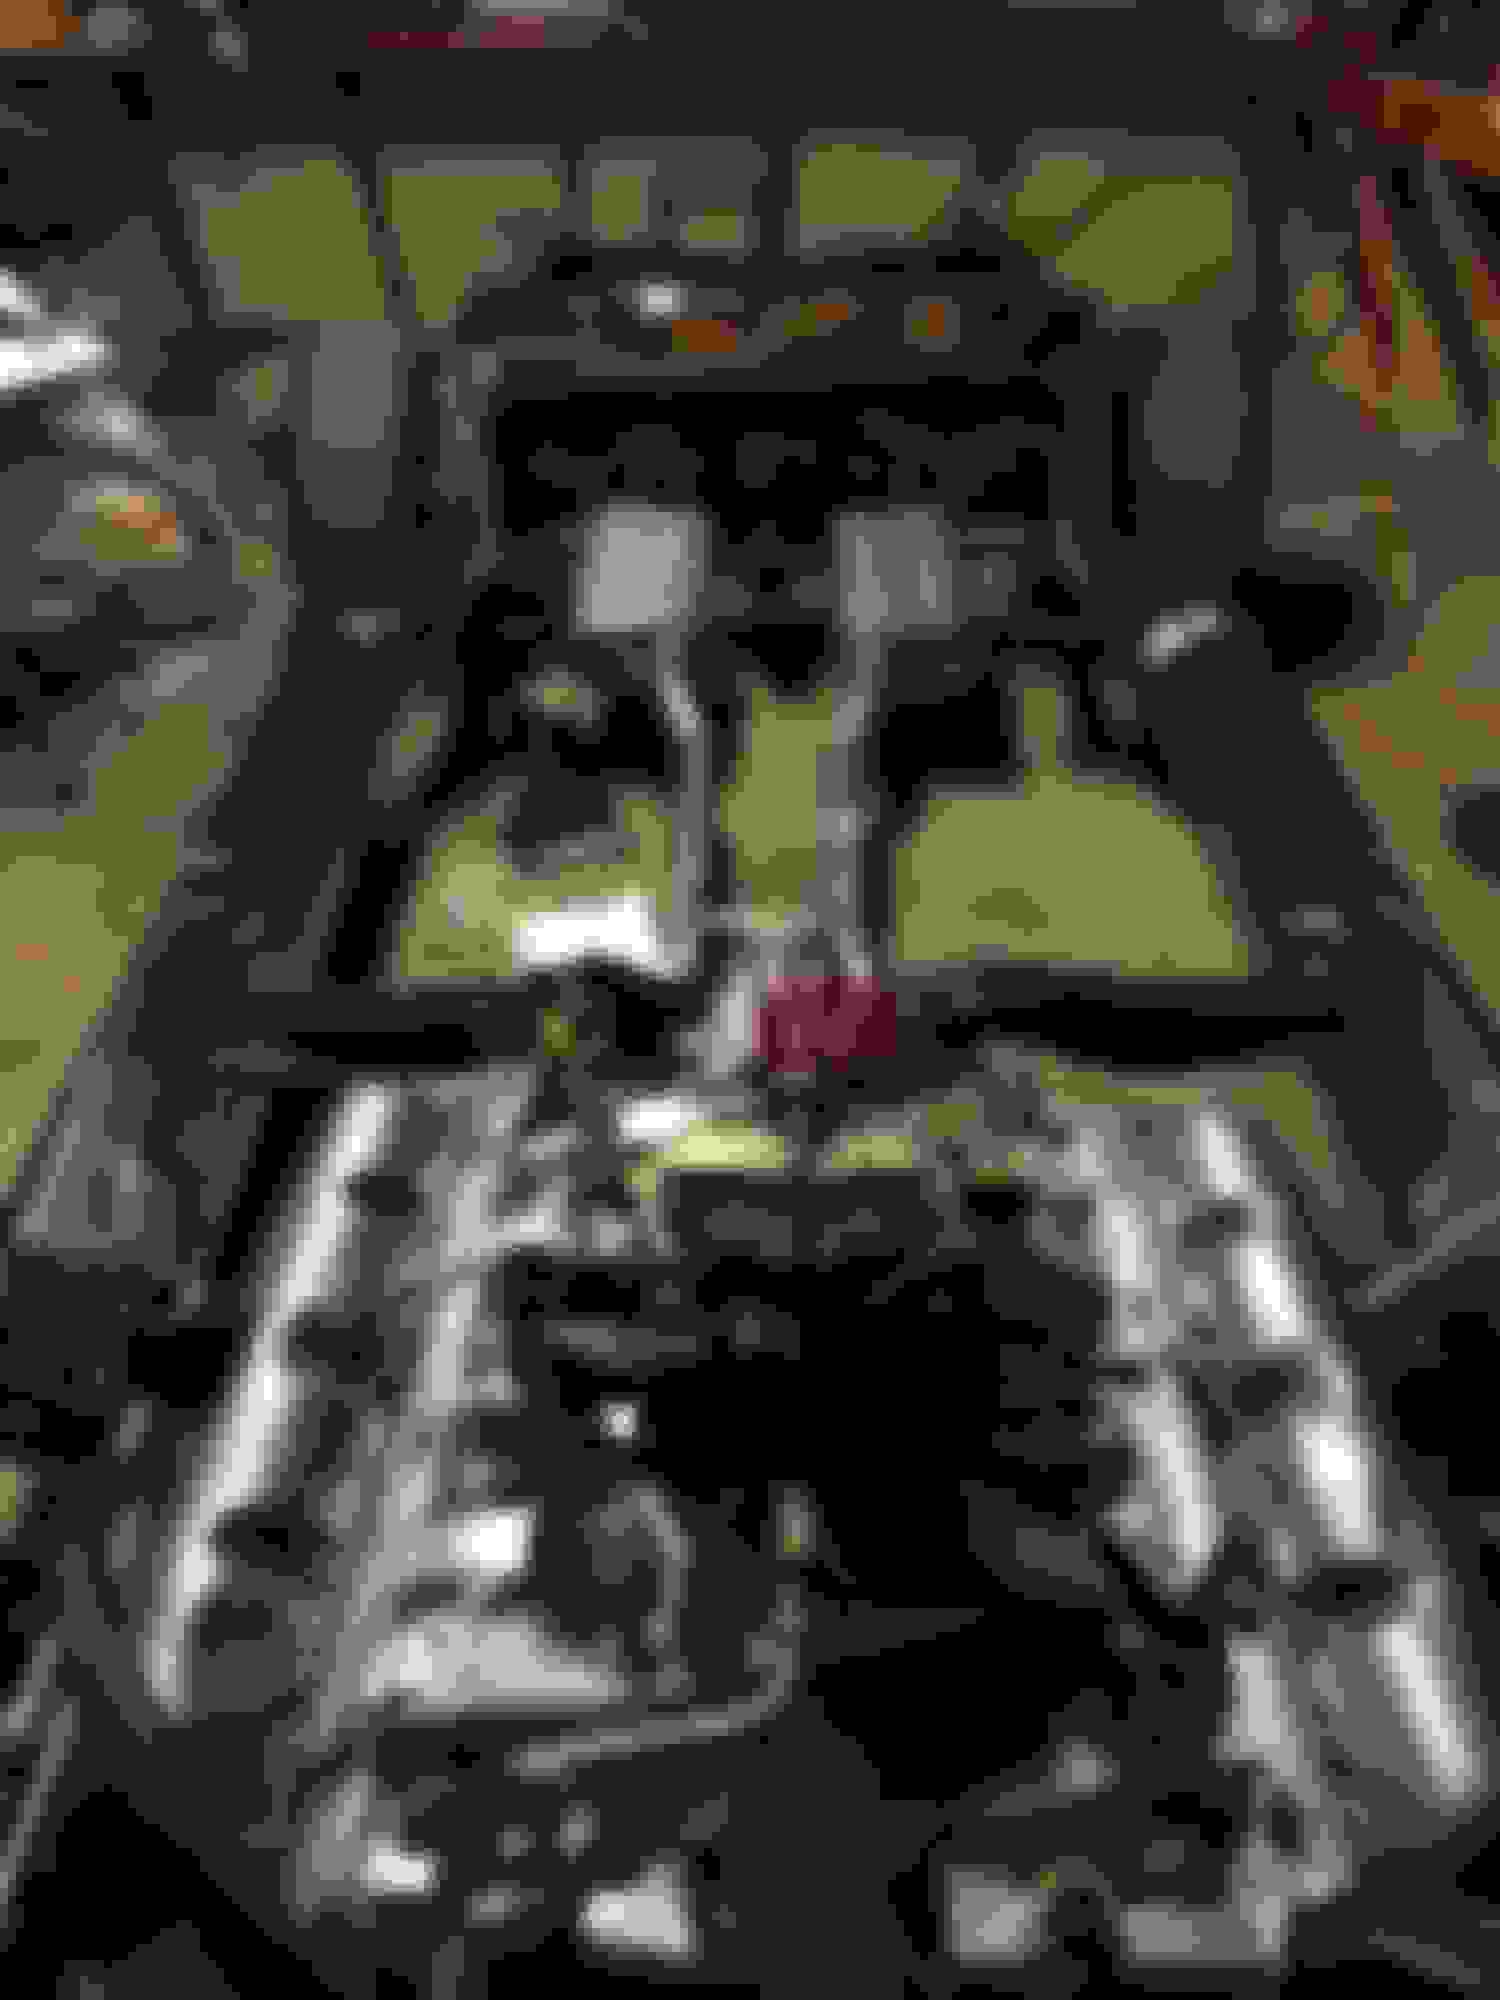
Eric at American Modified is still working on the body/paint so I figured I would do some interior with what I have here. started tearing down the seats.
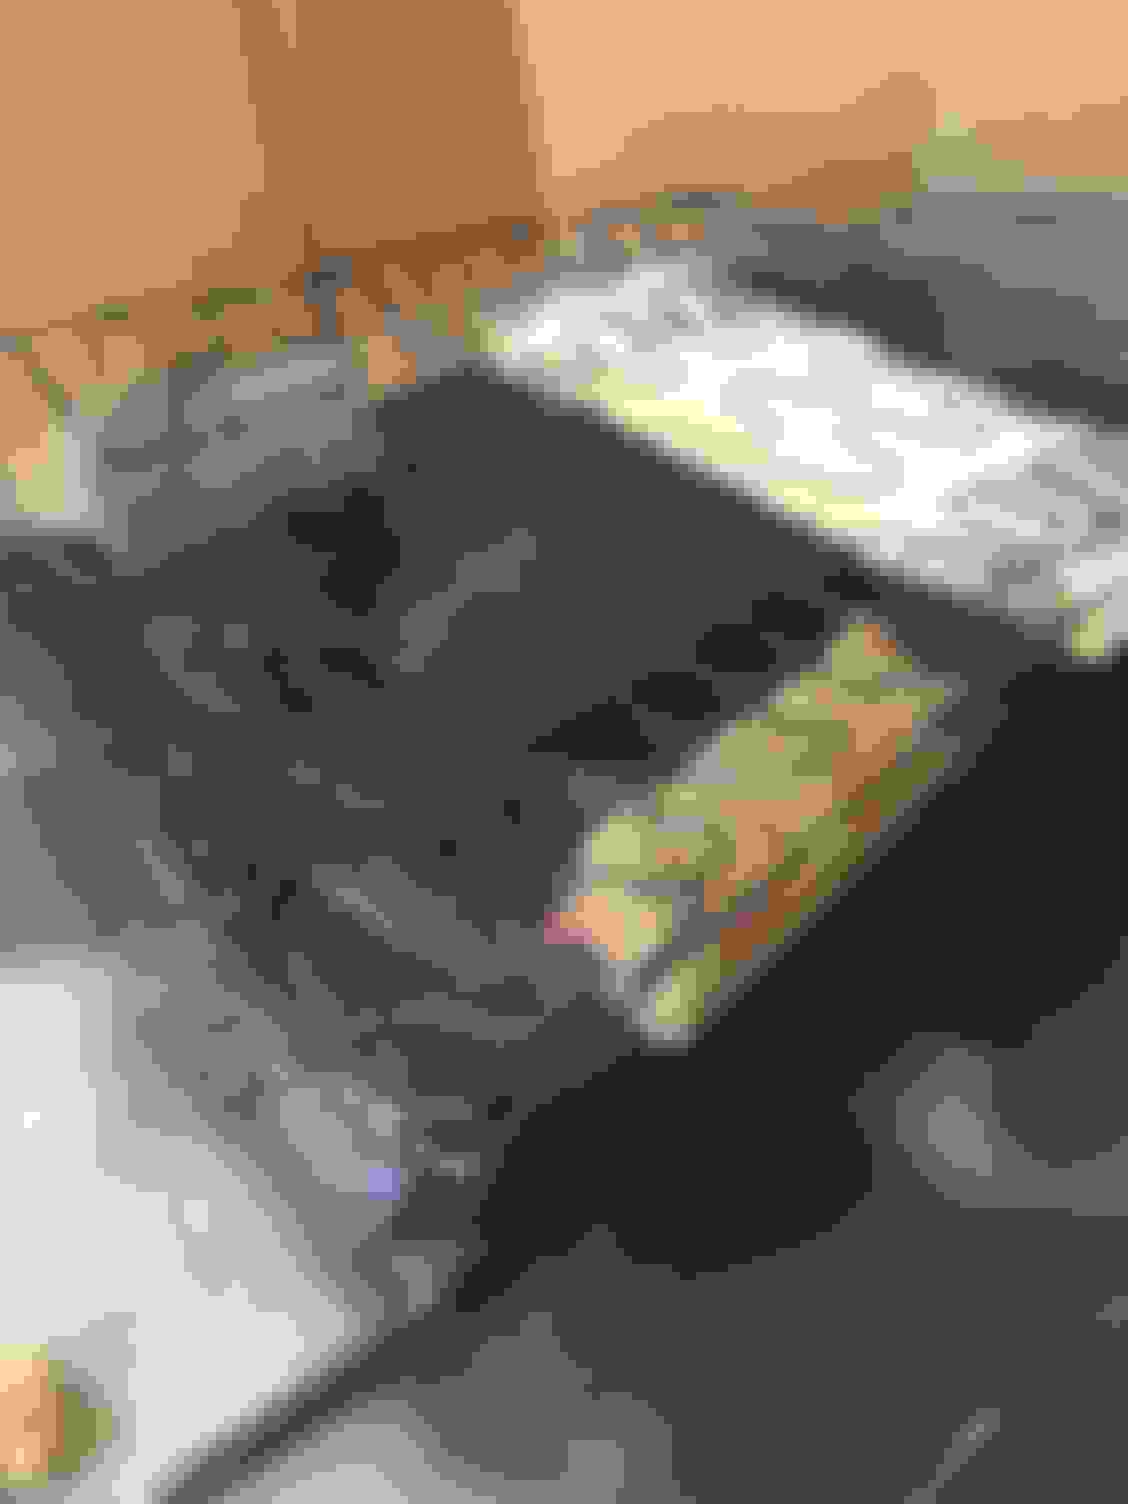
Based on the pictures and instructions on Legendary on YouTube I found some things in my seats a little different. I found a paper type pad between the top section springs and the seat back. You can see the white new pad of foam in the picture that I substituted in place. Is the one inch thick foam too much? Or not enough? It's the same foam I bought for the lower rear kick panel facing the back seat.
I also found two chunks of high density foam in the lumbar area. These were not pictured or included in the other rebuilds I found online. Are they supposed to be there? I'm thinking I can use some Dollarstore foam car wash sponges. They seem the same size. We're these original? Looking at the cover in my other seat it almost appears they were OVER stuffed.
The new support spring for the side bottom arrived today. If I hear back from anyone on if those yellow foam sponges are supposed to be there or not I could finish the seats this weekend
Stopped by to visit my car. Eric is close to painting! The spoiler is dry fitted and repair and reworking of the OPGI hood are done
I also finished the first of the bucket seats. I cancelled my back ordered items at OPGI. Turns out the stratobucket side and back panels they stock are plain white and NOT pearl. I found a complete set from a company out of PA on EBay and ordered those. Should be here early next week. I'm going to start tearing into the other bucket seat now that I know what I'm doing and no longer need a unmolested one to look at.
The new hard plastic parts I bought on ebay arrived. They look great. I'm glad I didn't buy the white ones from OPGI and paint them to match. These are molding in the correct color.
I'm not sure. I got them off eBay. Package deal. When I screwed in the parts and then took the screws out I did not see any different color come out. That leads me to think they are molded in pearl.
I would really like some headrests in pearl. I don't much like the fit of the covers and the plastic bases don't lay flush
I spent Christmas morning putting in last details in engine. Drained the old transportation oil, filled with new 100% syth and a bottle of Zinc. Primed the oil pump. Filled radiator. Connected wires. It turns over!!!
however I noticed there was NO gas. It would not start. I just put in 7 gallons but nothing was reaching Carb. I recalled that when I installed the gas tank last august before i was injured that I had not connected the 3/8 soft line from gas tank sender to the hard line!!!! DOH!!
I need to detail engine. I had the rings polished. But i did not polish the outter ones. At $25 each I think new ones are same price? And they wont be dented. The headlight surrounds are Fusick but grill I think was parts place? They are not same color. :-/. Somehow I was able to get hood lines to match up with fender eyebrows. The hood pins are not installed to the non-steel framed fiberglass hood pops up a little. If i were to do it again I would have spent the extra for the steel one. Nobody told me the fiberglass only hood would have to Latch provisions. After a lot of careful work was able to get door to close easy AND align. Is it just me or does front seem too high? I have stock springs but aluminum intake, heads and radiator and no steel frame hood Does that make front too light? I suppose adding the bumper will help a little?
Still having trouble with getting the deck lid to close. The catch might be wrong one? I also think I need white pinstripe. Also, the spoiler.... uhg. It was from OPGI. I think its plastic!! The original I think was fiberglass? Anyhow. The studs OPGI sells on their website are english, but the stud holes in the spoiler are metric!!! WRONG. So wrong! Who does that? So sadly there are some Metric bolts on my 70 GM product. Oh well it was never meant to be a perfect clone. You may also notice something is up with tail pipes. The exhaust was a kit for A body from Magaflow(i think? Cant remember, the mufflers baffle a trap door that closes to stop droning) I will need to go to a shop and have the pipes rebent a little and extensions added To make them reach the bumper cut outs Need help puttig bumper on. But had to leave everything be to head back to school for another semester.
Last edited by CuttyShark; Jan 5, 2020 at 06:37 PM.
Is the front end too high? You still need to install the bumper & possibly several additional pieces which might lower the front end; or, is the rear end too low (LOL)? The heights are provided in either the CSM or the Assembly Manual - I can't recall which. If you don't have the factory heights, I can probably look them up in the Assembly Manual if you'd like them.
The work you've done looks great.
There are deltas between the trunk lid on a convertible and the trunk lid on coupes. One is rounded and the other modestly squared off. There may be differences between model years within the coupes - I don't know.
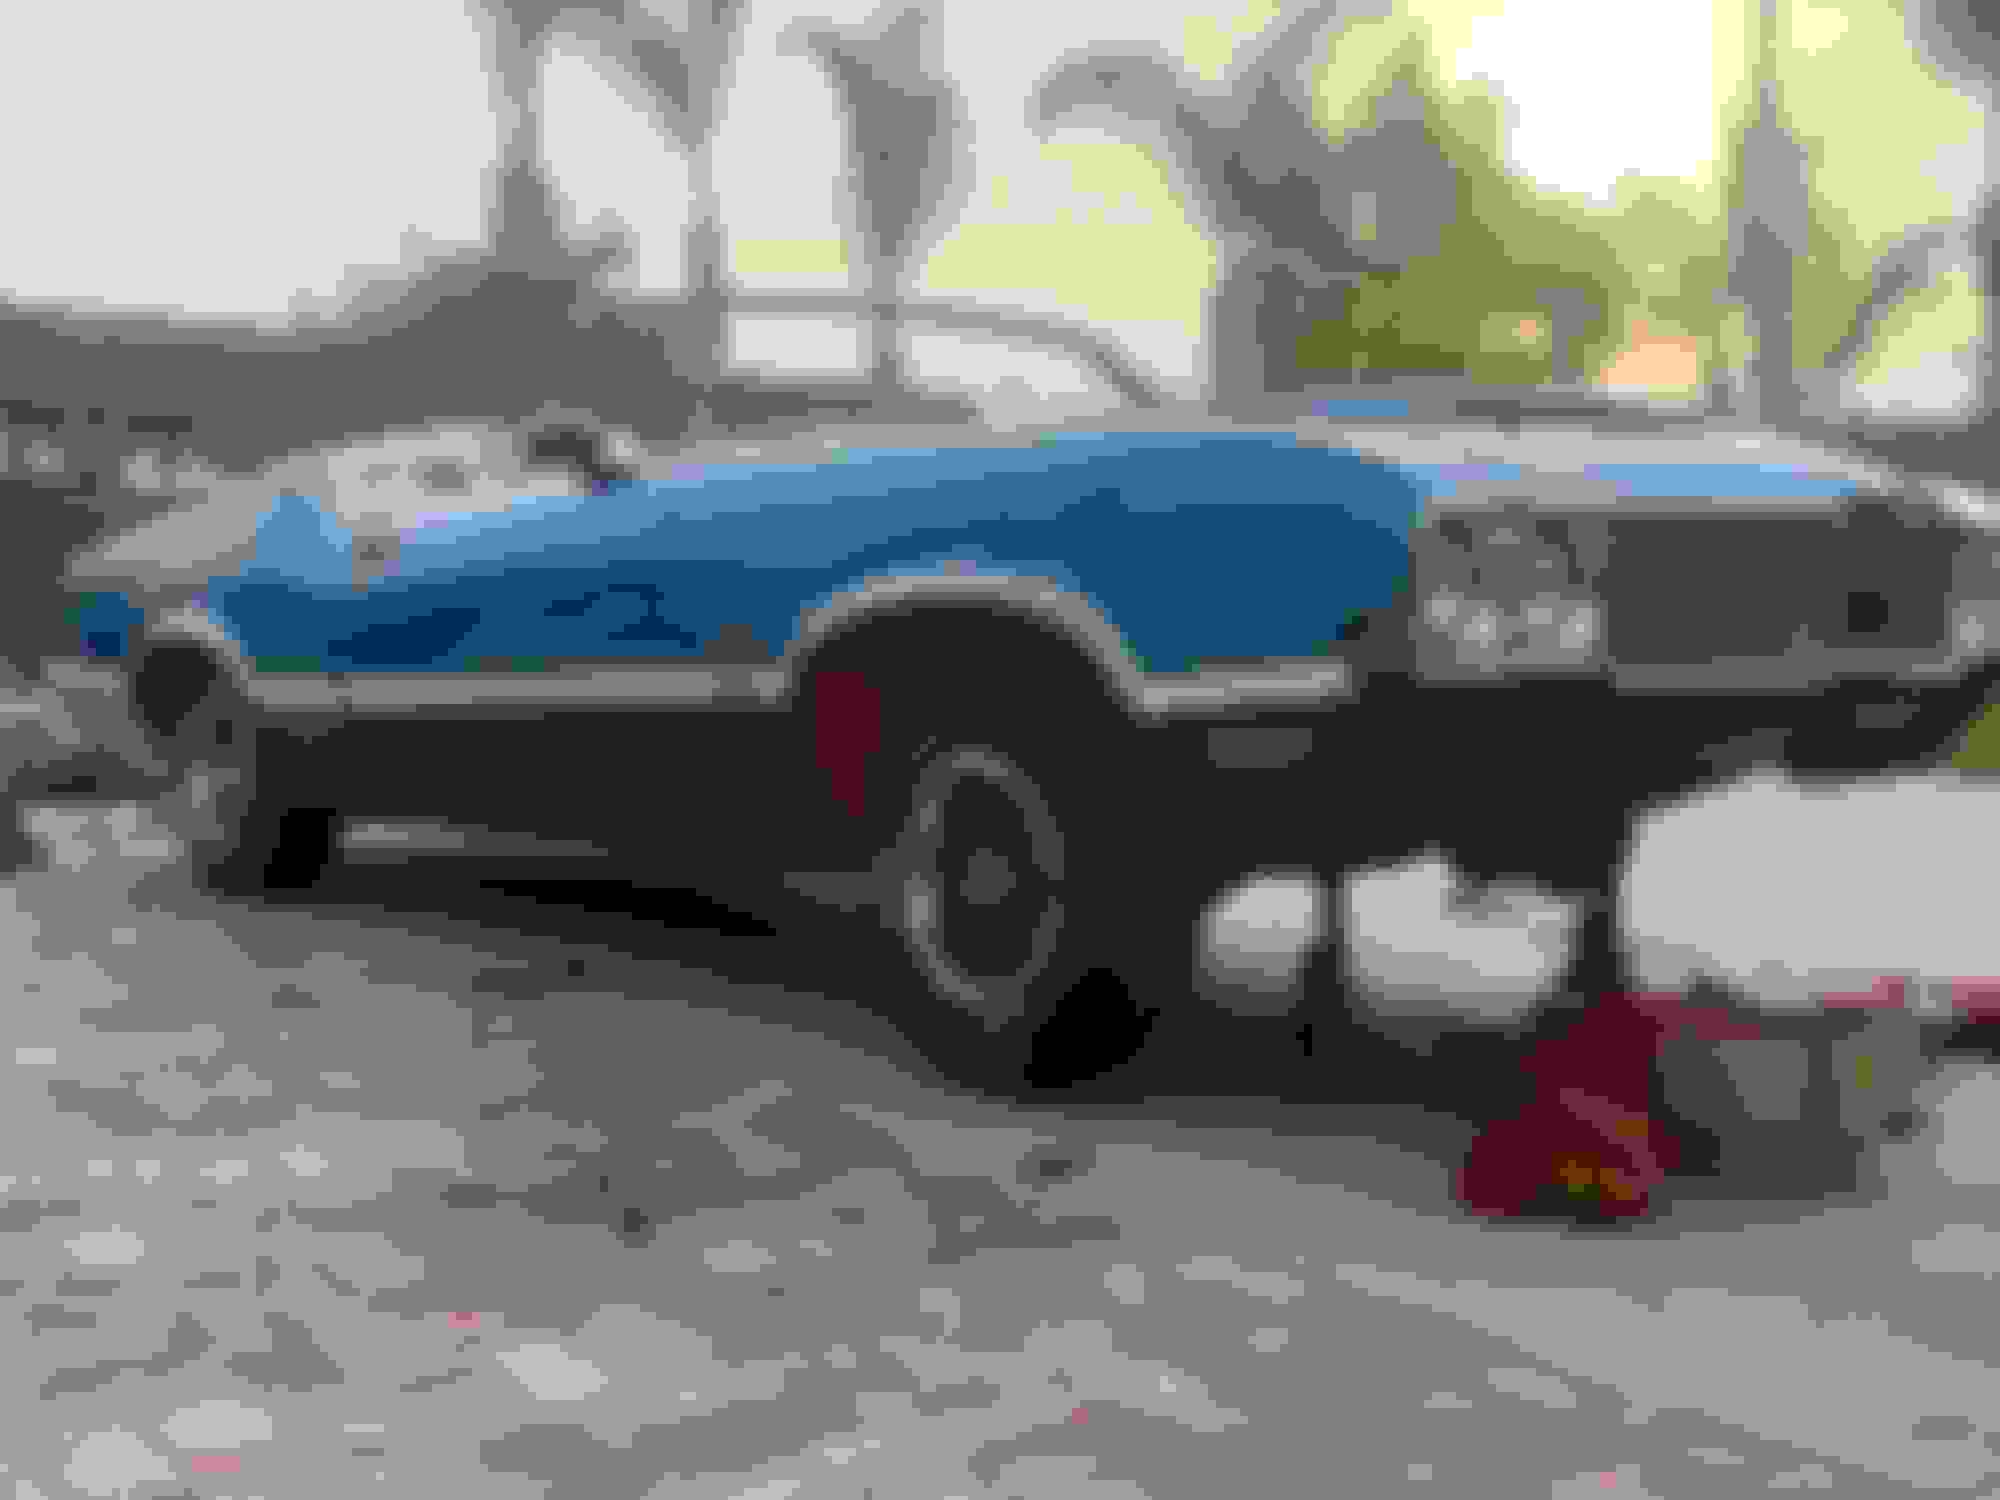
Facebook just reminded me... today is my cars 5 year �burthday�. Today is day it left its last home and came to live with me. This was it being loaded for transport.
A few months later The gray primer all came off with soda blasting. Then it took three years at body shop.