When you click on links to various merchants on this site and make a purchase, this can result in this site earning a commission. Affiliate programs and affiliations include, but are not limited to, the eBay Partner Network.
Once I got the car back I mapped out a sub-project list that would help me stay on track. So far I have made a lot of progress:
1) Brakes installed and bled
2) Fuel tank installed and lines fully plumbed (was a nightmare)
3) AC evaporation box, condenser, heater box and all lines installed and vacuum tested
4) Headliner installed with sail panels and trim
5) Installed new window tracks and mechanisms
6) Installed weatherstripping
Next on the list is the run all the electrical harnesses and mount the dash. I am targeting a few weeks to have it running by the ignition.
The one area I am struggling to get right is the window felts. The car came stock with the B85 option (stainless trim on felts). However I have now purchase two different sets from Fusick and neither appear to be right. I will shoot some photos and show what I mean....
Headliner Insulation Headliner loosely installed (before adhesive and tension) Underhood with AC and brakes installed and bled Headliner Fully installed with sail panels and trim Rubber flaps on inner wheel wells After wheel wells installed Driver side wheel wells and batt tray Passenger side wheel wells and AC plumbing Hood paint Rear window headliner trim installed. Seems that it is still protruding up through where the glass would seat. Ideas on how to fix this? Trim
After many long nights in the garage, today was a big day for the car. Finally got the dash installed and all wiring connected, fuel added and turned the key. After only a few seconds (time for fuel pump to pull from the tank), it started right up. A minor adjustment to the timing and idle and it sounds amazing.
I really was not expecting it to fire up so easily. A few videos below capture the sound. Now it is a matter of interior and trim but the car should be on the road in a month or so.
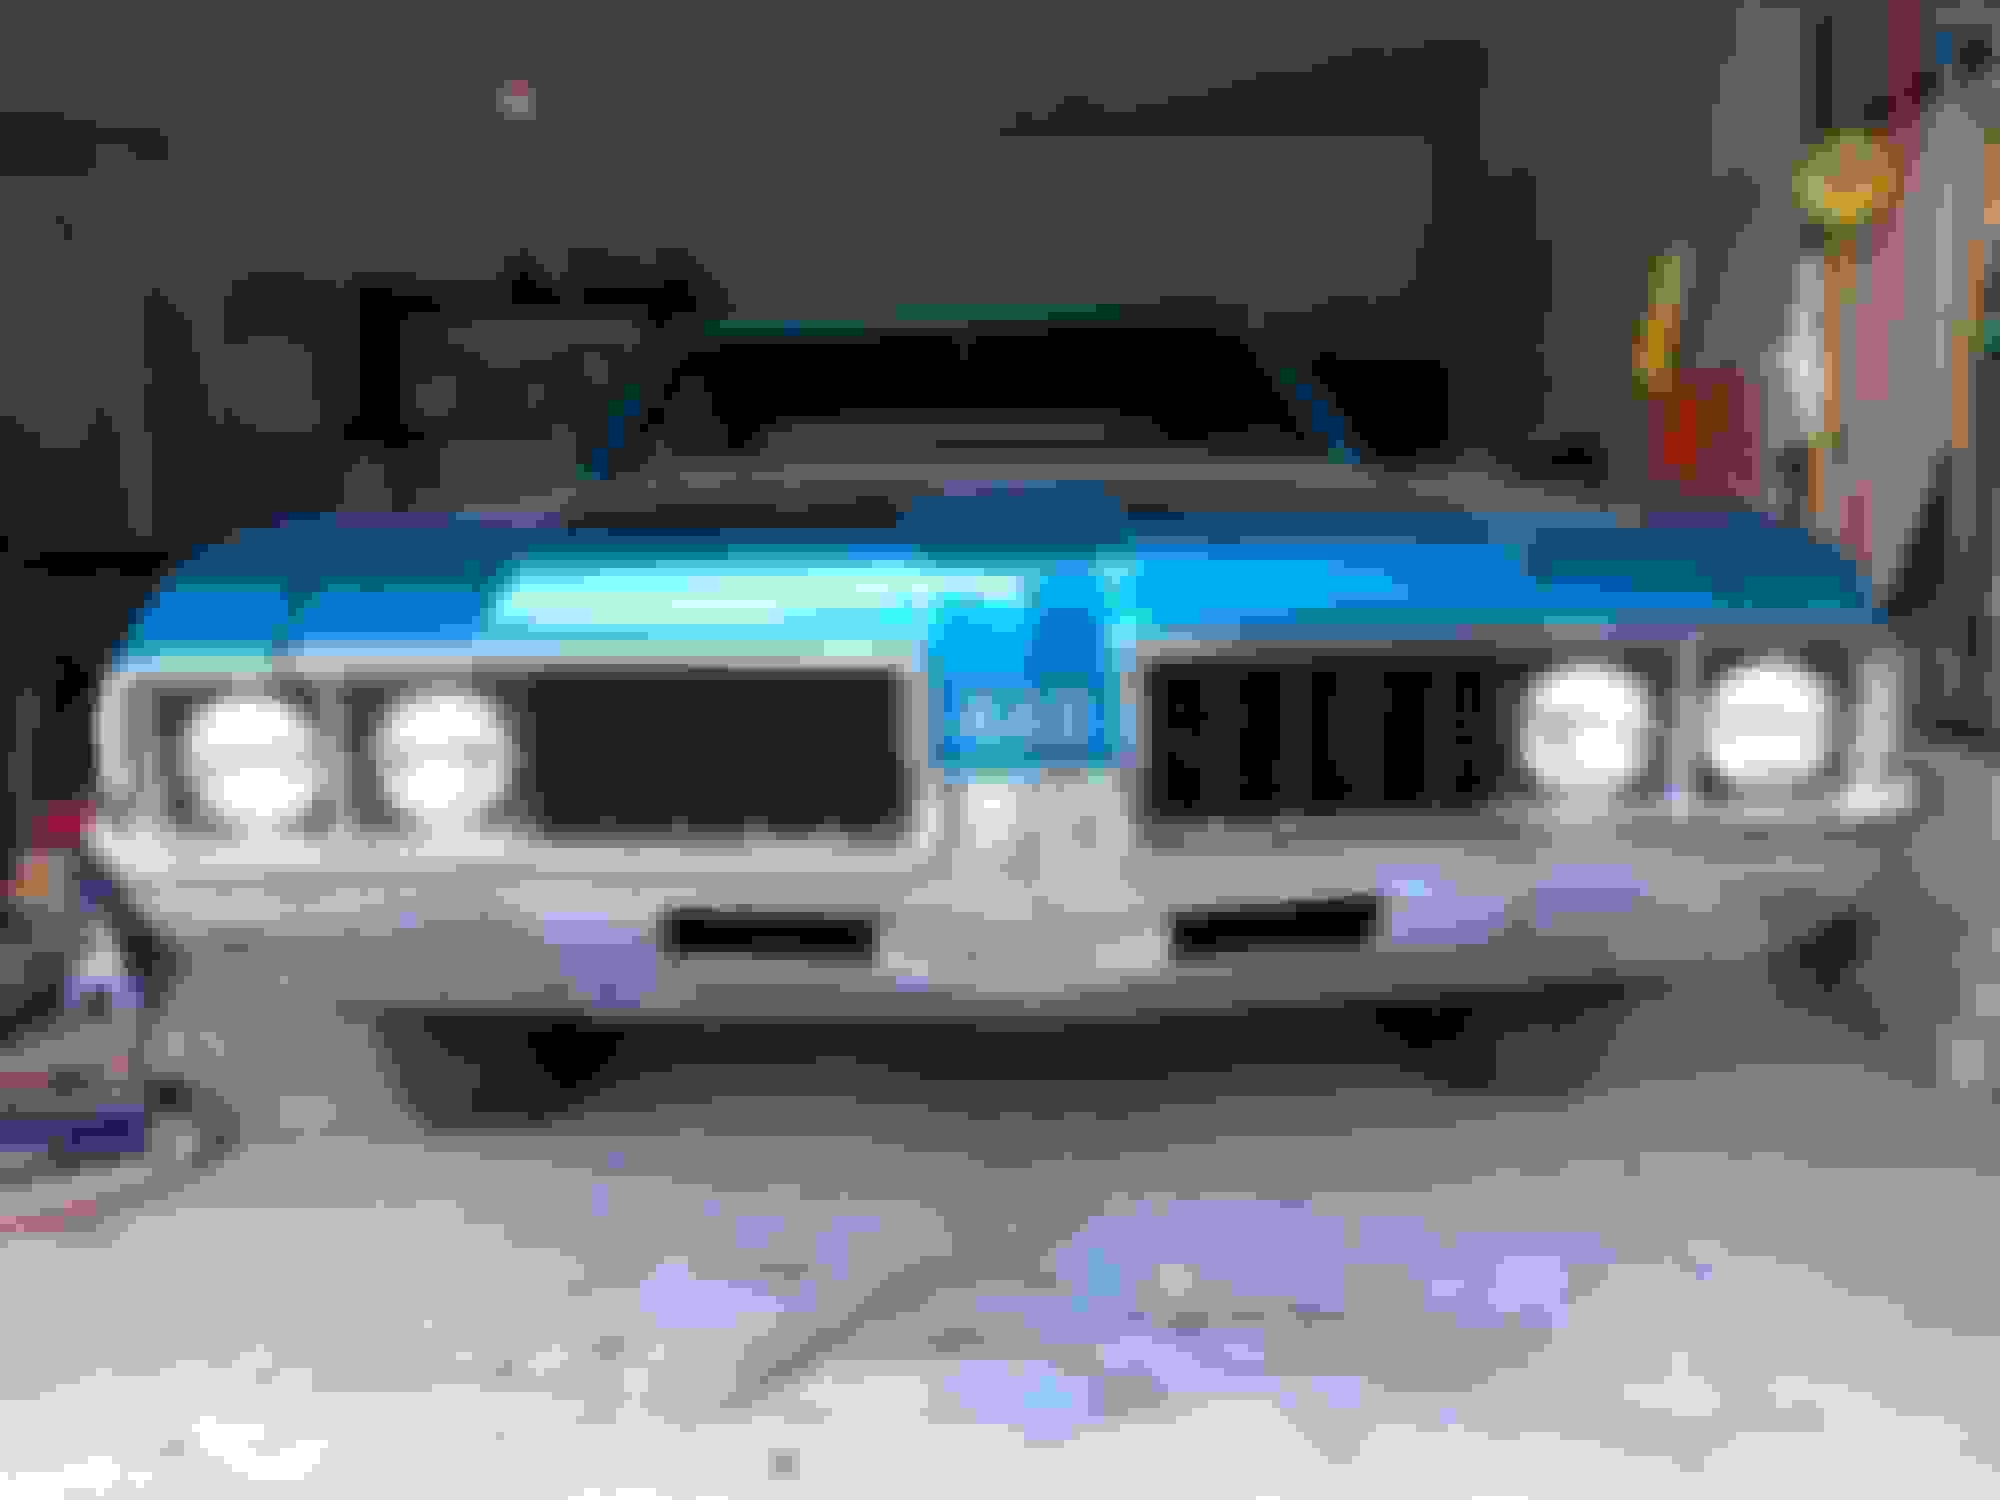
I have made some nice progress over the past couple of weeks. Getting the reproduction grilles and bezels to fit correctly required some opening of the bolt slots to enable some fine adjustments. I think it came out pretty good.
I then moved to the interior where I spent the last 3 weeks getting the windows, door panels, sound insulation and rear seat installed. I intended to lay the carpet down yesterday but after open the box, I noticed it was really stiff and not cooperating so I will likely either leave it in the sun for a few hours or if need be I will get a garment steamer to help get it to fit properly. Grilles fit good now... Insulation
Looking good great choice of color.
Before putting in the front and rear windows we always used a product called pinch weld primer.
It did two things, one protect the pinch weld area and two promoted good adhesion between the butyl tape and window channel.
We always used setting blocks to position the glass.
You might already know the above just thought I would give my opinion.
Bernard,
Thanks for the advice. So when you installed the glass, did you use the same as shown in this photo or did you use the dam-urethane method? I am confused how to use this stuff. Should I set the Ribbon Sealer at the inner edge of the weld then apply urethane up to the outer edge of the glass before installing?
We never used urethane caulking back then. We used a heavy brush on pinch weld seam sealer that was compatible with the butyl tape.
I have never had a bad 3M product so you are off to a good start using 3M.
I would contact 3M and make sure they are compatible
If they are compatible I would mask off the paint about 3/16 down from the top edge to protect the paint
Then I would use the urethane as a seam sealer using a plastic putty knife to tool the caulking around the window channel
I would also tape off and protect the interior.
I would have done this step before any interior was installed that would have been ideal.
The idea is to seal the window channel pinch weld area to protect it and prevent rust and water leaks
After the seam sealer dries then apply the tape.
I would dry fit the window and mark my setting blocks.
I would also see how the caulking tools and what is the best method to work it as the goal is a clean even well sealed window channel that you then can apply the tape to.
I would also apply the tape clean and even around the window channel
If you have access to window suction cups and a friend it makes the install easier.
Last edited by Bernhard; Sep 30, 2019 at 05:20 PM.
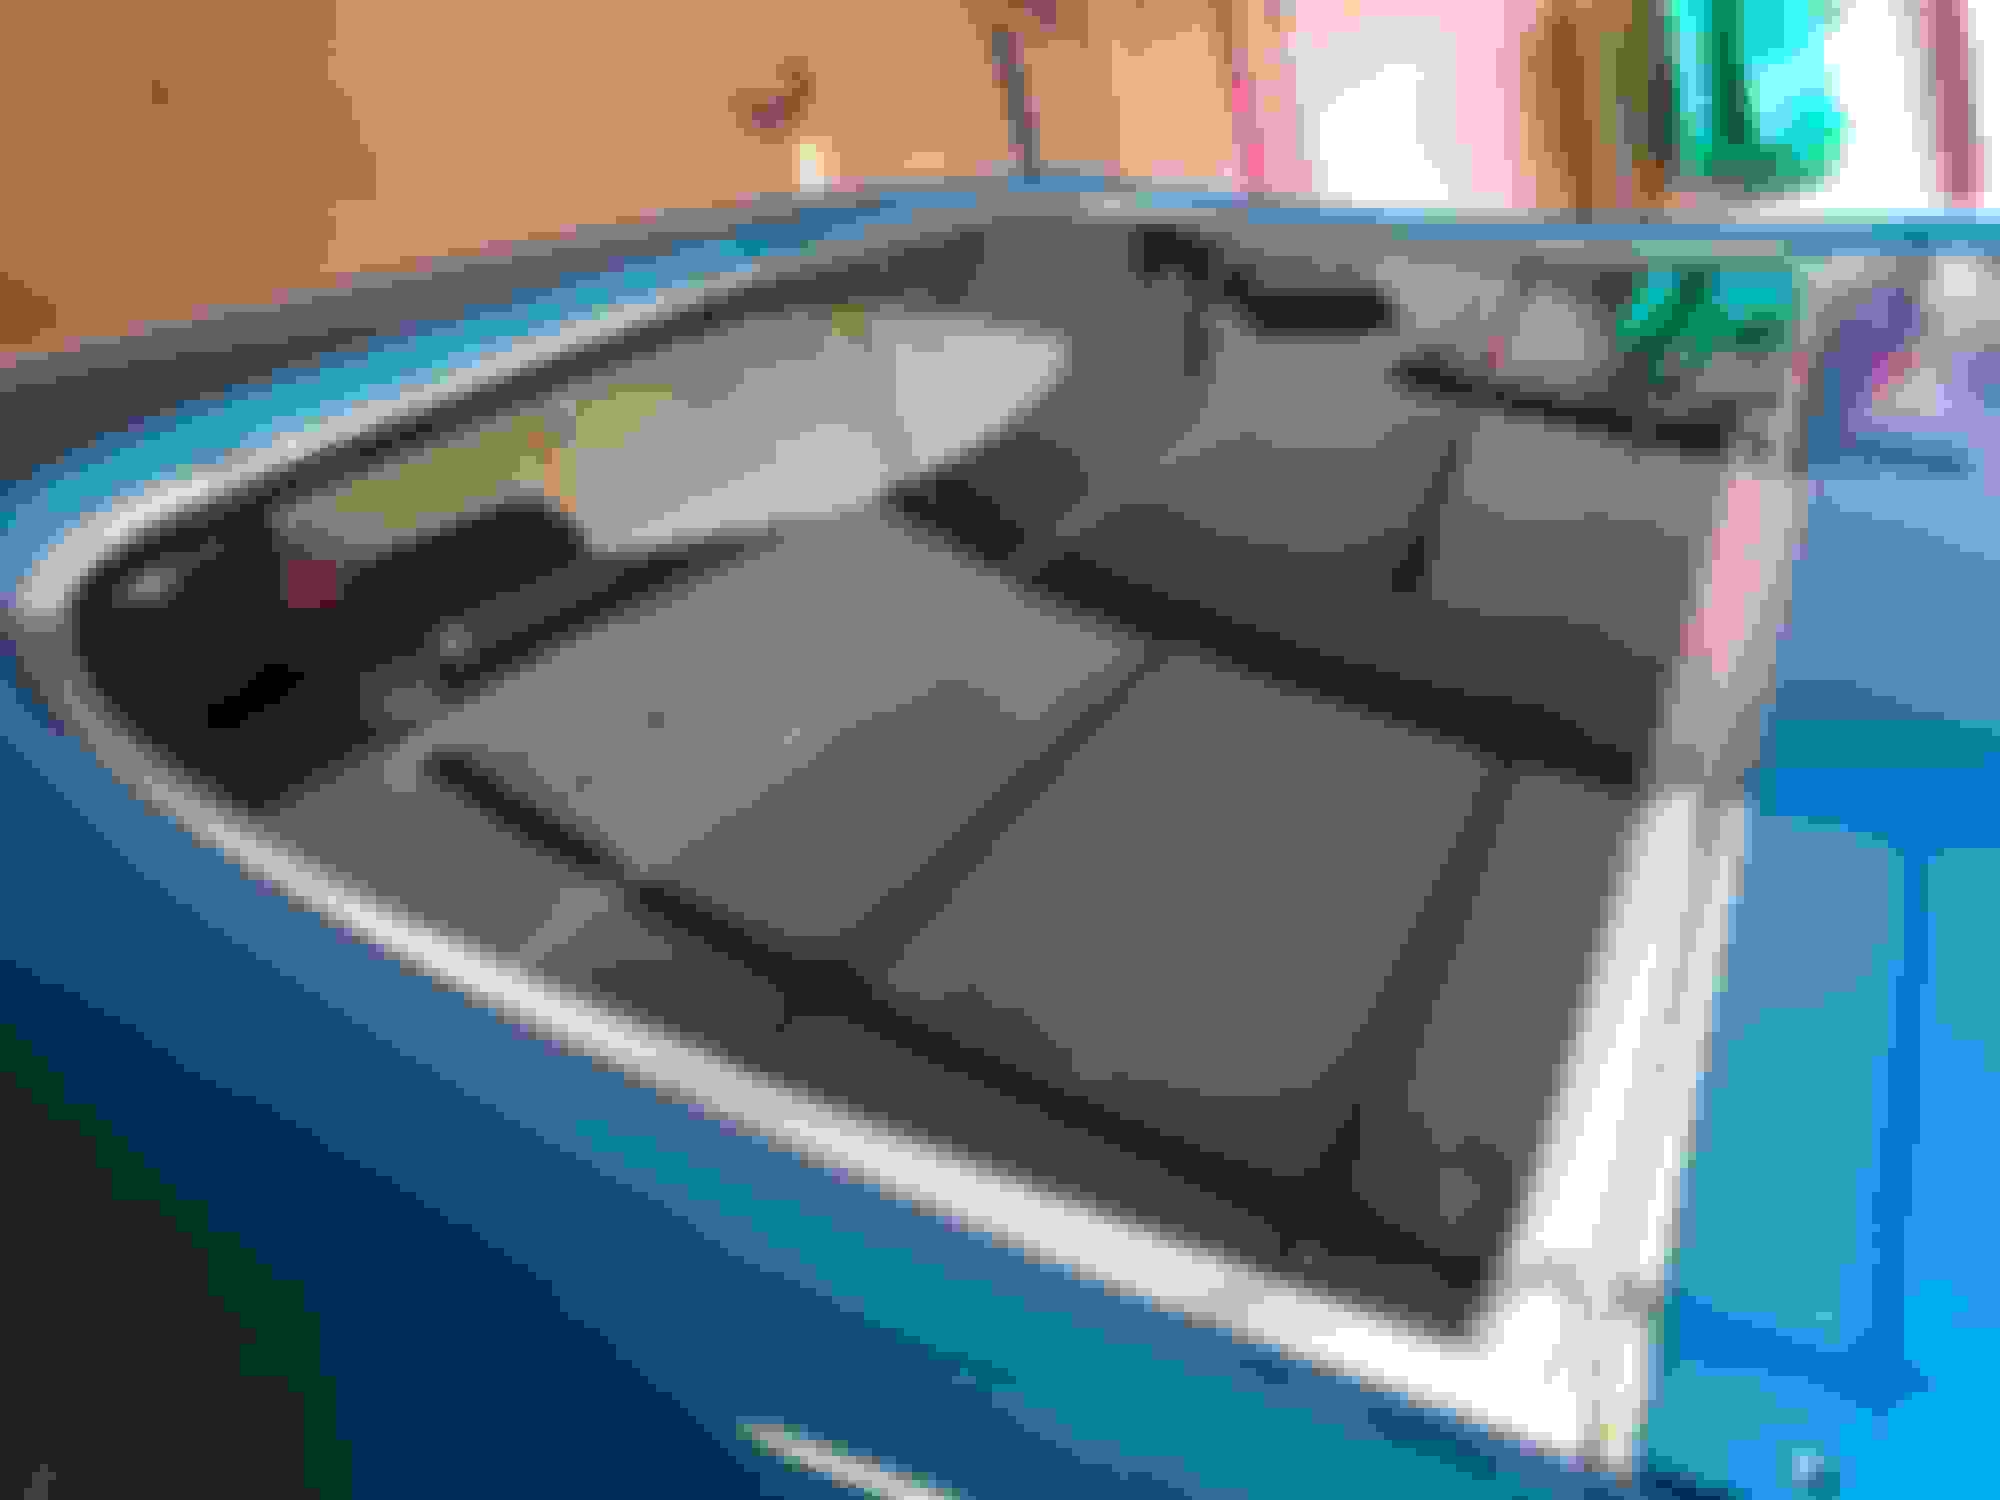
I have finally gotten the carpet and seats installed as well as the console base and wiring. I also purchased Wheel Vintiques Series 52 SSI wheels (15x7 front and 15x8 rears) along with new BFGs. I hope to have then on this weekend.
A couple of things I noticed after installing the front buckets was that using the factory seat bolts, the seats feel very close to the steering wheel even when in the fully back-set track position. Luckily I am not too tall but this seems strange to me. Anyone else have issues with this in their projects?
Also, when I cleaned up all of the original seat belts (using Oxyclean and warm water and a brush) they came out really nice however, one of the rear belts is discolored (brownish). Is there any fix to get them back to black? I was thinking of using a permanent marker.
The seats are not in the right location they look way to far forward. I would check your mounting location.Look at the space behind the seat its way to large for a seat that is all the way back.
I was thinking the same thing. The only thing that could be off are the track mounting locations on the seat base. I guess I am going to have to pull them and check.
I have spent the last couple of weeks addressing the trim work, badges and emblems. In retrospect I probably should have installed the fender trim prior to installing the fenders on the car. I have had to remove the doors to gain access to the nuts to fasten them down. Last night I also got the front windshield installed which means I am nearly ready for the first true road test. I will be sure to share that later. Still some work to do on the driver side trim Passenger side if coming together Stance is good with the new wheels and tires
I have done a lot since the last post. I Installed the wiper motor, bottle and arms. Mounted all of the brightwork (although it was not an easy task as many of the nuts were nearly impossible to access). Got the heater/ac control installed with all of the vacuum lines connected. Installed aftermarket stereo with OEM appearance.
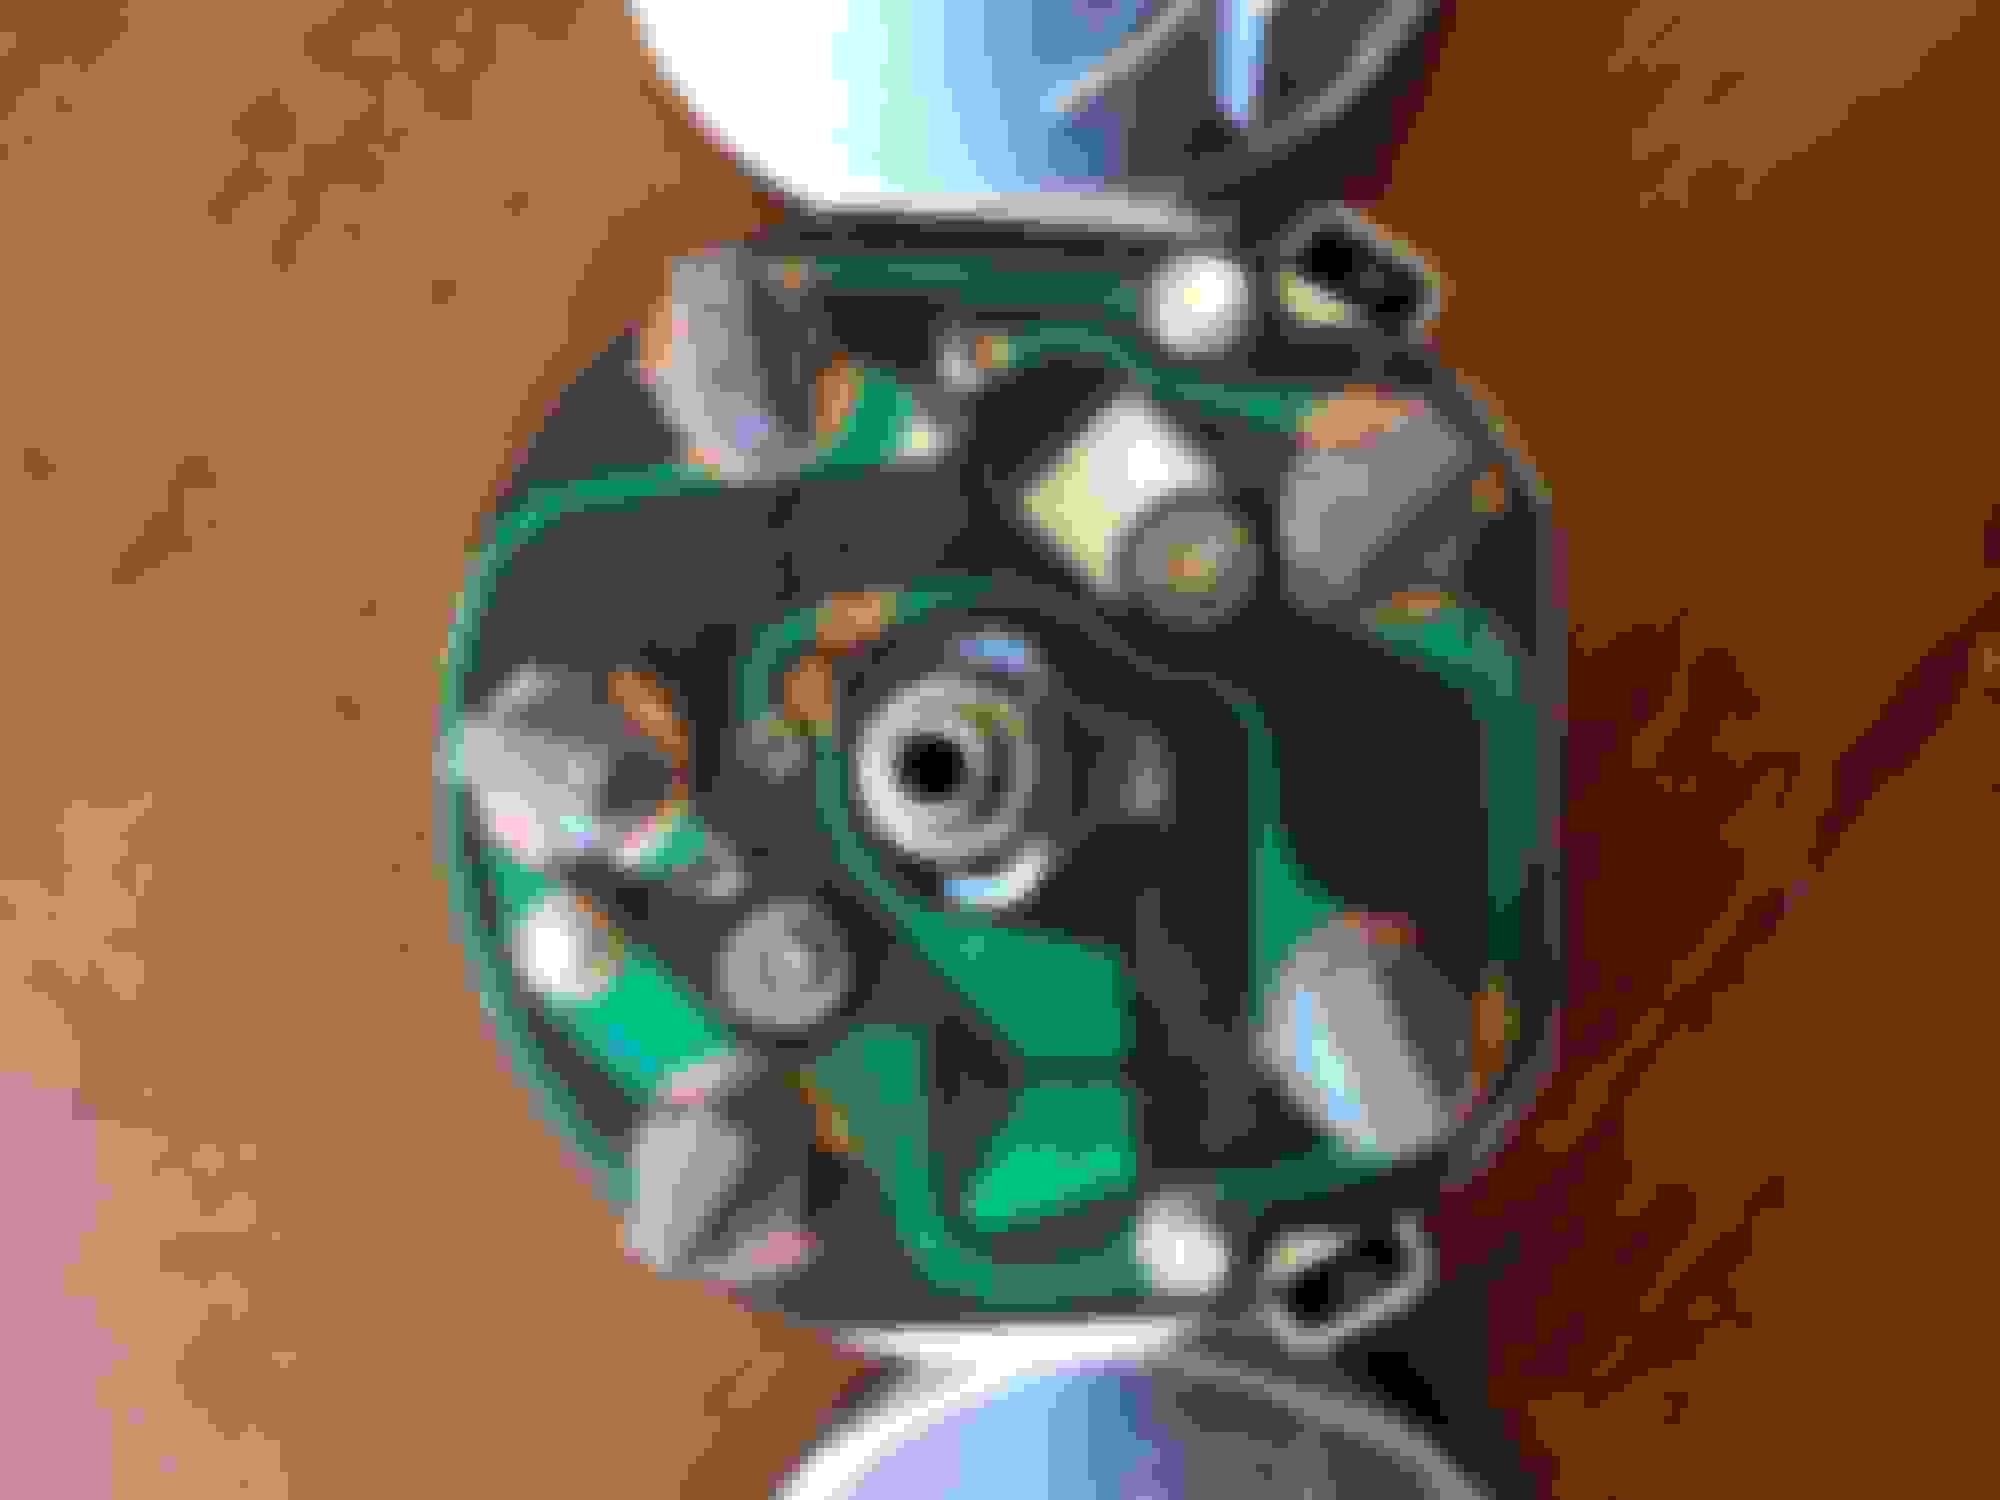
The main issue i have run into during this time is a shorting of a 10A fuse that took me many hours to find the cause. Ultimately it was the gauge itself which creating an internal short. I sent all three gauges off to Redline at the recommendation of the CO community and got them back a little over a week later and they look brand new. I go the board pins reinstalled, new bulbs, internal wiring fixed, pods painted, lens polished... I chose to reset the odometer to zero since this was a frame off and would better represent the actual condition. I opted for LED bulbs on the gauges and they are solid improvement over stock.
At this point, I would say the car is nearly finished. The only things left to address are to reinstall the rear glass (used urethane and didnt get enough stand off to allow trim to sit flush on glass) and replace the steering coupling (rag joint). Gauge Front Gauge Back Oil/Temp/Fuel Back Speedo Back Tach Back Passenger Trim Almost Done Under The Hood Driver Trim
Your car looks great!. If you need assistance on getting your rear glass installed, I have the number of a guy who installed my glass in my convertible and he came out and did it for me at the house.
Your car looks great!. If you need assistance on getting your rear glass installed, I have the number of a guy who installed my glass in my convertible and he came out and did it for me at the house.
Thanks Gary.
I actually used an installer on the front glass and they ended up using Butyl tape and his reasoning was that it provides a much more solid standoff while having good seal integrity. With that said, I have 3M Window Weld 1/4" and 3/8" rolls that I planned on installing myself. I will let you know how it turns out. Plan on doing it this weekend.
I managed to finally get the rear window out again to prep and re-install to get the right amount of stand-off. It was a bit of a pain to cut through the urethane without destroying anything else but it finally came out. I got the glass installed and it the trim is now perfect. Also, the dash is completely operational and all of the dash gauges and lights are working. At this point I am glad to say that the car is done. I will have to bring it by the body shop to do some very minor touch ups (deck lid needs to have the vinyl top trim rivets ground
off and repainted) but I had it out on the road this weekend and it feels great to have completed what was a 6 year journey. Thanks for all of those who took the time to follow along and provide advise. This forum is priceless when doing a car frame off. Thanks again. Once I have a sunny day I will be sure to get some finishing shots of the car.
I have had the car out quite a lot lately and what I was finding is that the throttle response and timing were funky. After a number of adjustments I was noticing that one contributing factor was the ethanol-based pump gas having fits with the Qjet. I then opted to purchase an EFI setup from Holley. I went with the Sniper EFI Quadrajet kit with the in-tank pump (PN#12-303). The feedback from others was positive and it appeared to be the most user-friendly. It took me a couple of weekends to get it fully installed and the bulk of the headaches were related to dropping the tank and running the fuel lines and power to the pump.
With the manifold empty...
After the throttle body installed...
The initial setup is really simple and once it was primed it fired right up. I did have an issue with the included coolant temperature sensor (CTS) reading way high which I needed to replace with another purchased at Autozone. I have since upgraded to a mini high torque starter and with the added amperage load on the electrical system I will be upgrading the stock 55A alternator with a 100A Powermaster stock look unit. I should have that delivered in a couple of days. I think at this point I am not going to be doing anything major on the car except enjoying it.