When you click on links to various merchants on this site and make a purchase, this can result in this site earning a commission. Affiliate programs and affiliations include, but are not limited to, the eBay Partner Network.
I've posted the worst of it. Driver side front floor pan, possibly the rear deck filler panel, and a spot in the trunk.
I was expecting a lot worse. I was planning a frame off restoration so using my spare frame almost makes it easier.
Body mounts will probably be a problem too. I am looking forward to this project.
Good luck and enjoy your project. I started with a 67 two door post rust free F85 from Ga. and put a E block, M 22 trans. and 3.23 rear from a 70 442. I know I will never recoup the money and time spent on the car but its a blast to drive and I did it all myself. When it gets to be to much, lay the wrenches down and walk away. Again enjoy.
WOW, you have your work cut out....I've been in the process of restoring my 67 442 holiday coupe for 24 years, and I started out with a totally rust free car....If I had it to do over again, I would have picked an easier car, like a chevelle or Camaro, maybe a GTO. There are a lot more repro parts available now than when I started, but they are really expensive. just dropped almost $3000 on misc parts for it....if i'm lucky, I may break even when I'm done. I bought the car in the early to mid 90's when my daughter was maybe 8 or 9 years old. She's a doctor now and 33 years old and getting married in a few months. I took out a whole life insurance policy on her when she was little, and when she's married, the wife gave me her blessing to use the cash value to finish the car....both my girls used to ride in it to go see there grandma and grandpa when they were little...its been a long journey
Last edited by oldolds442; Jun 2, 2019 at 04:51 AM.
That's a great memory, mine has not run since 1990, and for the kids, just pile stuff on it in the garage some more and watch dad cry, but I'm with you and are moving forward with my rebuild. Located in South Jersey, If you need some pointers on re-doing the interior I just re-did the vinyl seats from the frames up and would be more than happy to help
Been there done that dollar $$$ wise on the 64 F-85. I accept the fact this can be an expensive "hobby" like others such as golf, hunting, boats. These can also blow through cash, mine just happens to Oldsmobile's...Make your build your Picasso!
Has the weather broken yet! Lol Was hoping to see some updates and progress with this as I also dove into a 67 442 post car project last year.
The weather broke and my kids broke my bank...daughter got married...college bills, blah, blah, blah. I bought the car without a title and didn't want to do any work on it until I got a title. I used a PA lawyer named Bryan Shook. I'll give him a shout out here - it took @ 9 months but he made it happen, so the car now has a clean title. I also found a local shop to rent for the project and I am working on a plan. I don't want to be that guy with a completely disassembled car that I am unable to finish. I did actually just some parts for it from your buddy Bob. Don't worry, I will post pics of progress when I start.
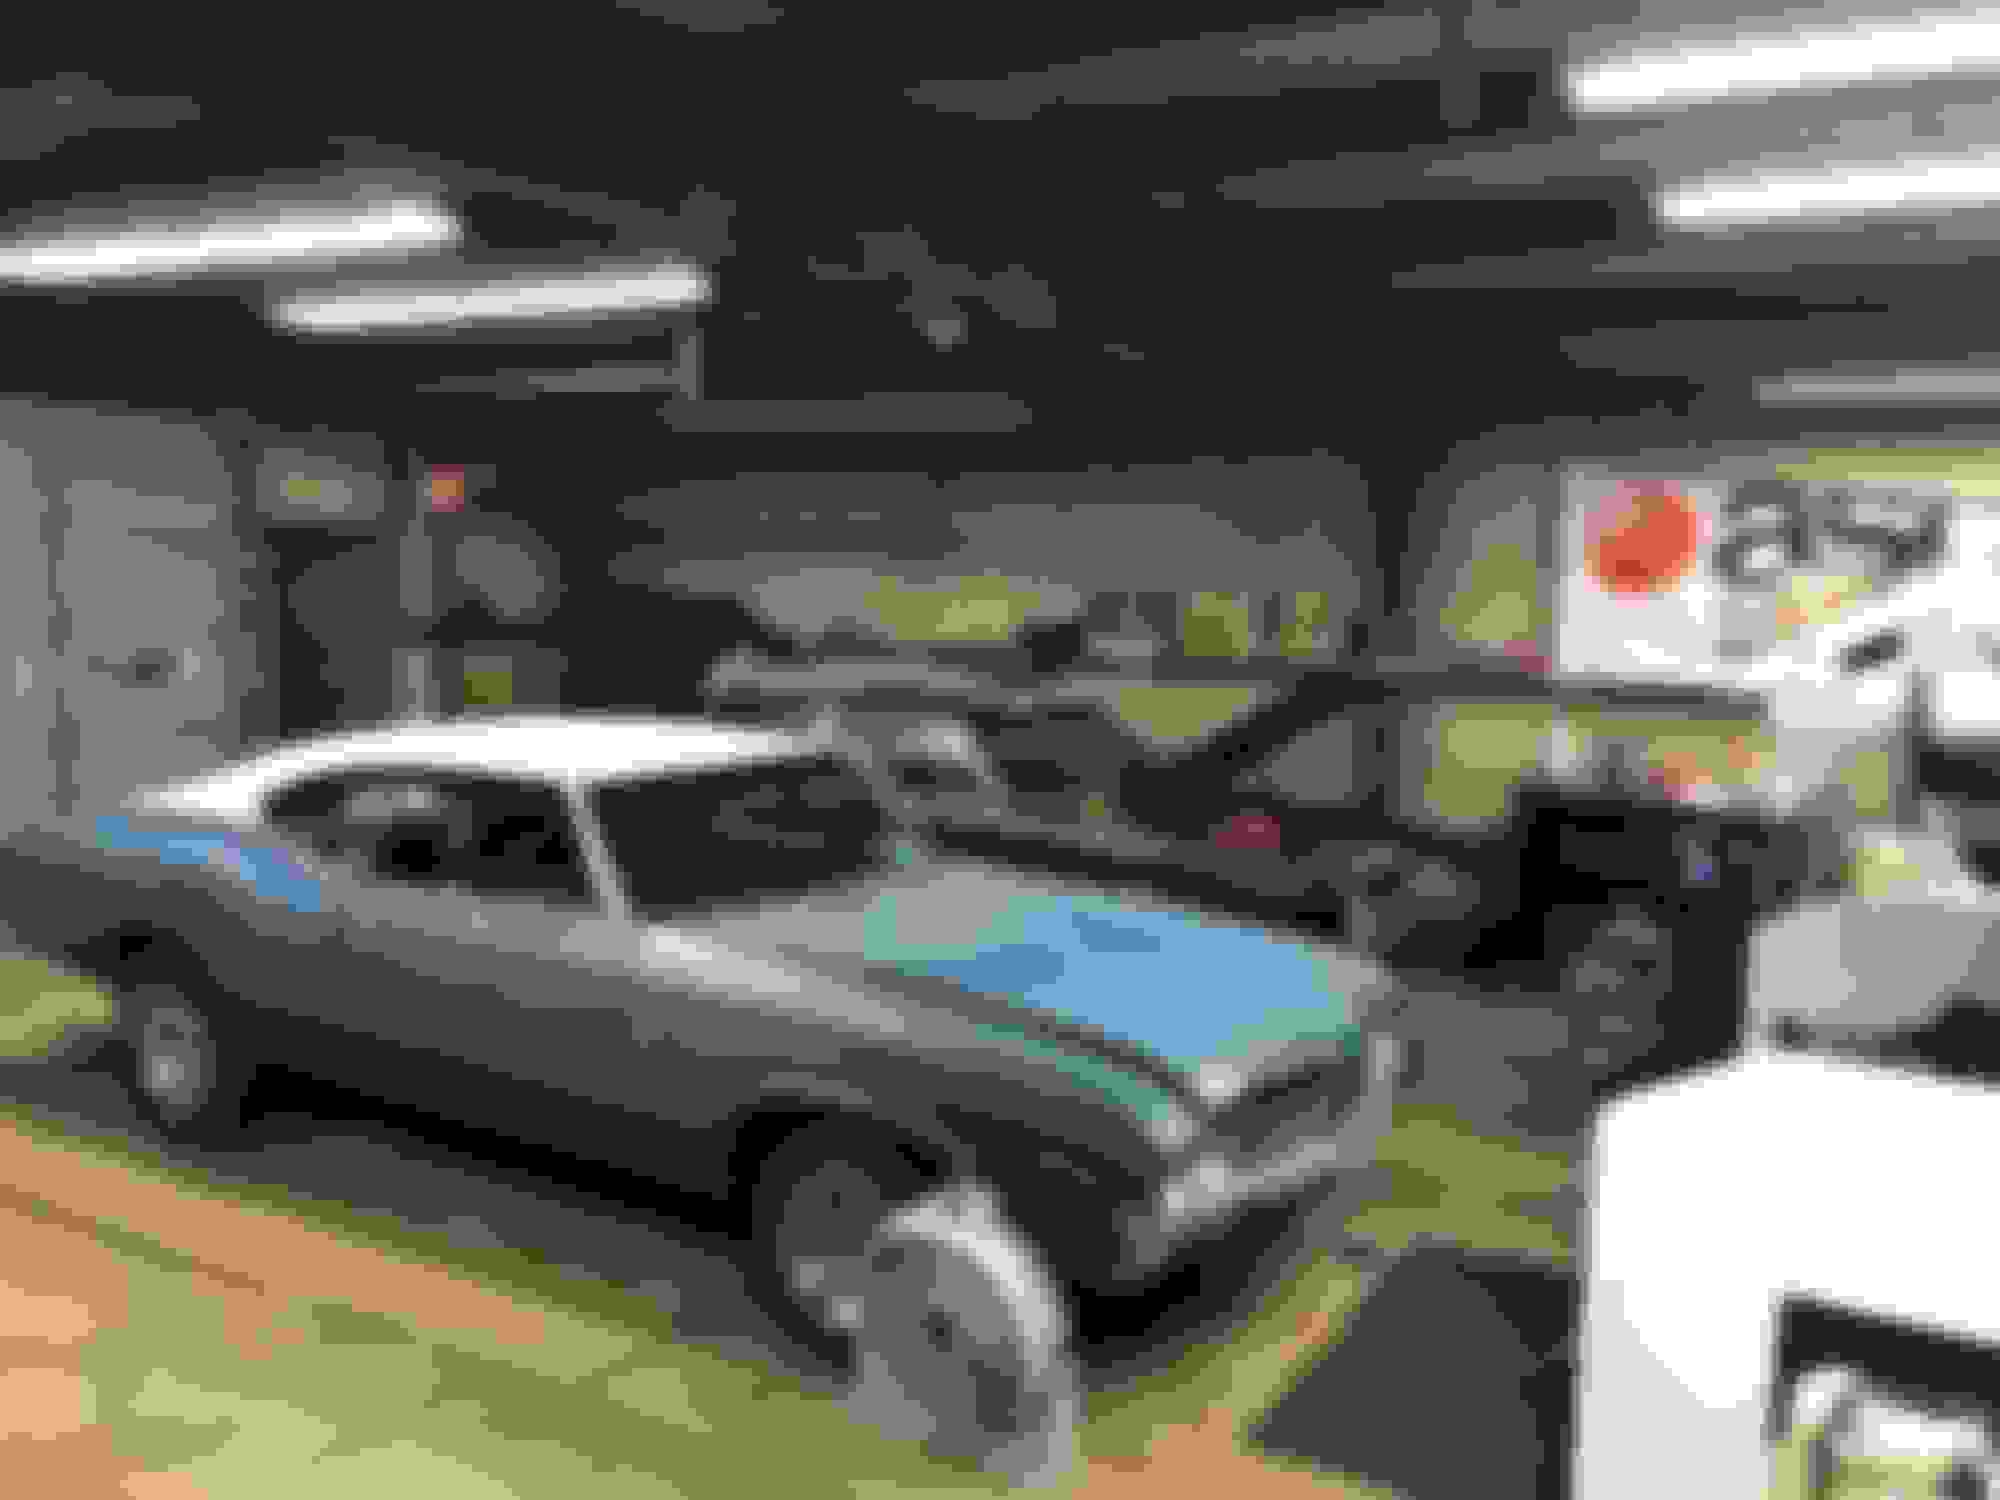
Ok. Starting to make some progress. I rented a shop near my house and moved everything there. Of course, the worst part of having one car in the garage at home and two cars in a shop @ a mile away is that the tool you need is never where you are. I am sure I will end up buying a second set of tools.
All of the trim was in the trunk so I spent most of the winter polishing trim. Wow, there�s a lot. Still have a lot to go. I tried a bunch of polishes and I think Autosol works best. I am not going to be as fast as Oldsmaniac - I am just happy to make progress.
Ha! The kid turned 21 and has only two things on his mind - women and alcohol. I can�t blame him, I was no different. Just gotta wait until he outgrows it.
Ha! The kid turned 21 and has only two things on his mind - women and alcohol. I can�t blame him, I was no different. Just gotta wait until he outgrows it.
Got the bumpers removed. Bringing them to Carlisle to drop off with Tri City. Radiator is out for re-core. Found this under the rear bumper. Lots of rust where the fuel tank straps hang from the rear of the trunk.
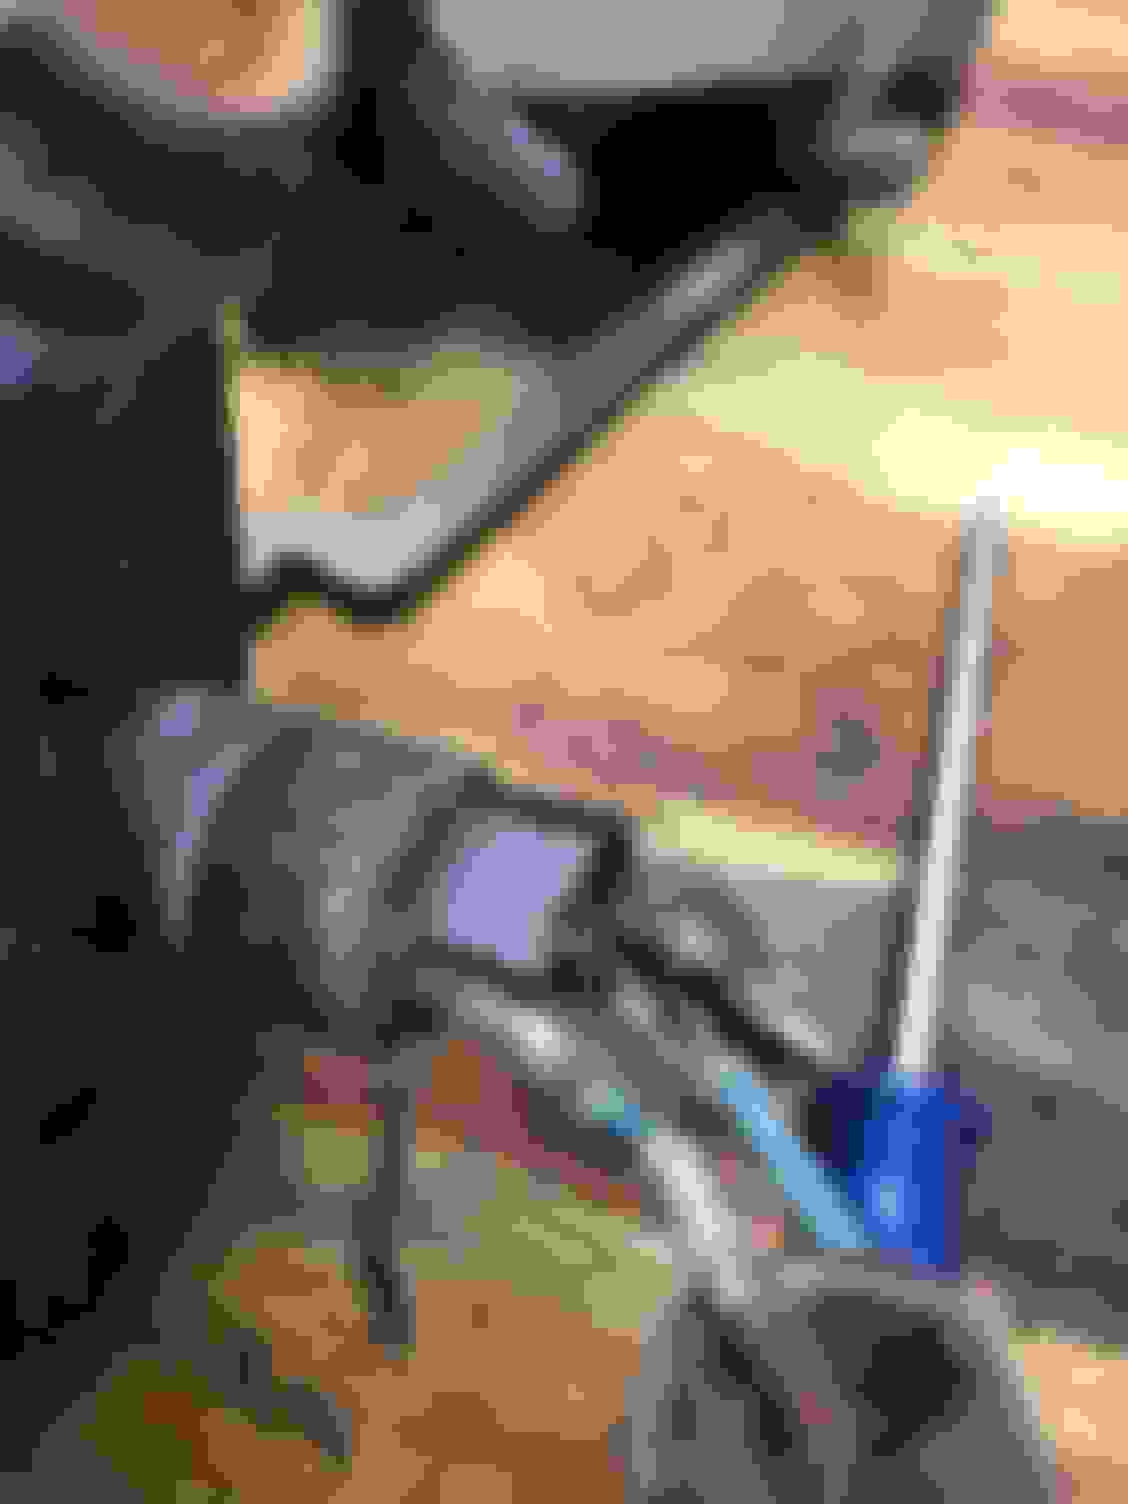
Does anyone know how to disassemble the lower tail lights on a �67? The wiring going into the housing is shot.
The socket is a factory rolled socket edge, not removable without some destruction. I have had some luck with the rebuild parts (new leads and insulator and springs) but install is not so easy as there is a dimpled stop in the socket that keeps the assembly together. Or you can cut out the rolled edge and insert a lamp socket in the hole. The new socket will have tabs that allow it to push in but not full out. And you will need to put the factory plug back onto the new wires.
Ok, so I see how to get the wires out. The wires just push through But you have to get that insulator out and replace it. Where can I buy the replacement parts? I am willing to give this a shot.
I am not sure you can get the broken piece at the rear of the socket new... here is where extra parts come into play. Ebay has some new parts.... gm tail light socket repair, all as I cn say is it is a hassle to repair these.
Last edited by Oldsmaniac; May 25, 2021 at 08:38 AM.
Reason: photo
Thanks Joe.
Got any recommendations for repainting the headlight bezels?
I use semi gloss or satin enamel... clean good wipe down with thinner, tape off and just spray... Fusick tried to have these bezels reproduced... It was a failure, now the 442 ones are gold if you can find them...
Yeah. I didn�t realize there were different bezels for 442s until I saw the previous owner trying to sell them online. Was pretty pissed about that.
If you don't have 442 bezels use the best Cutlass ones you can find, so I take it he pulled the 442 ones and put Cutlass ones on the car then sold the 442 ones to make extra bucks? What a snake...
Now you just need to put the wires in the factory plug in the correct orientation, running lights vs brake and turn signal. I had one reversed on the wagon tail light...Grrr!
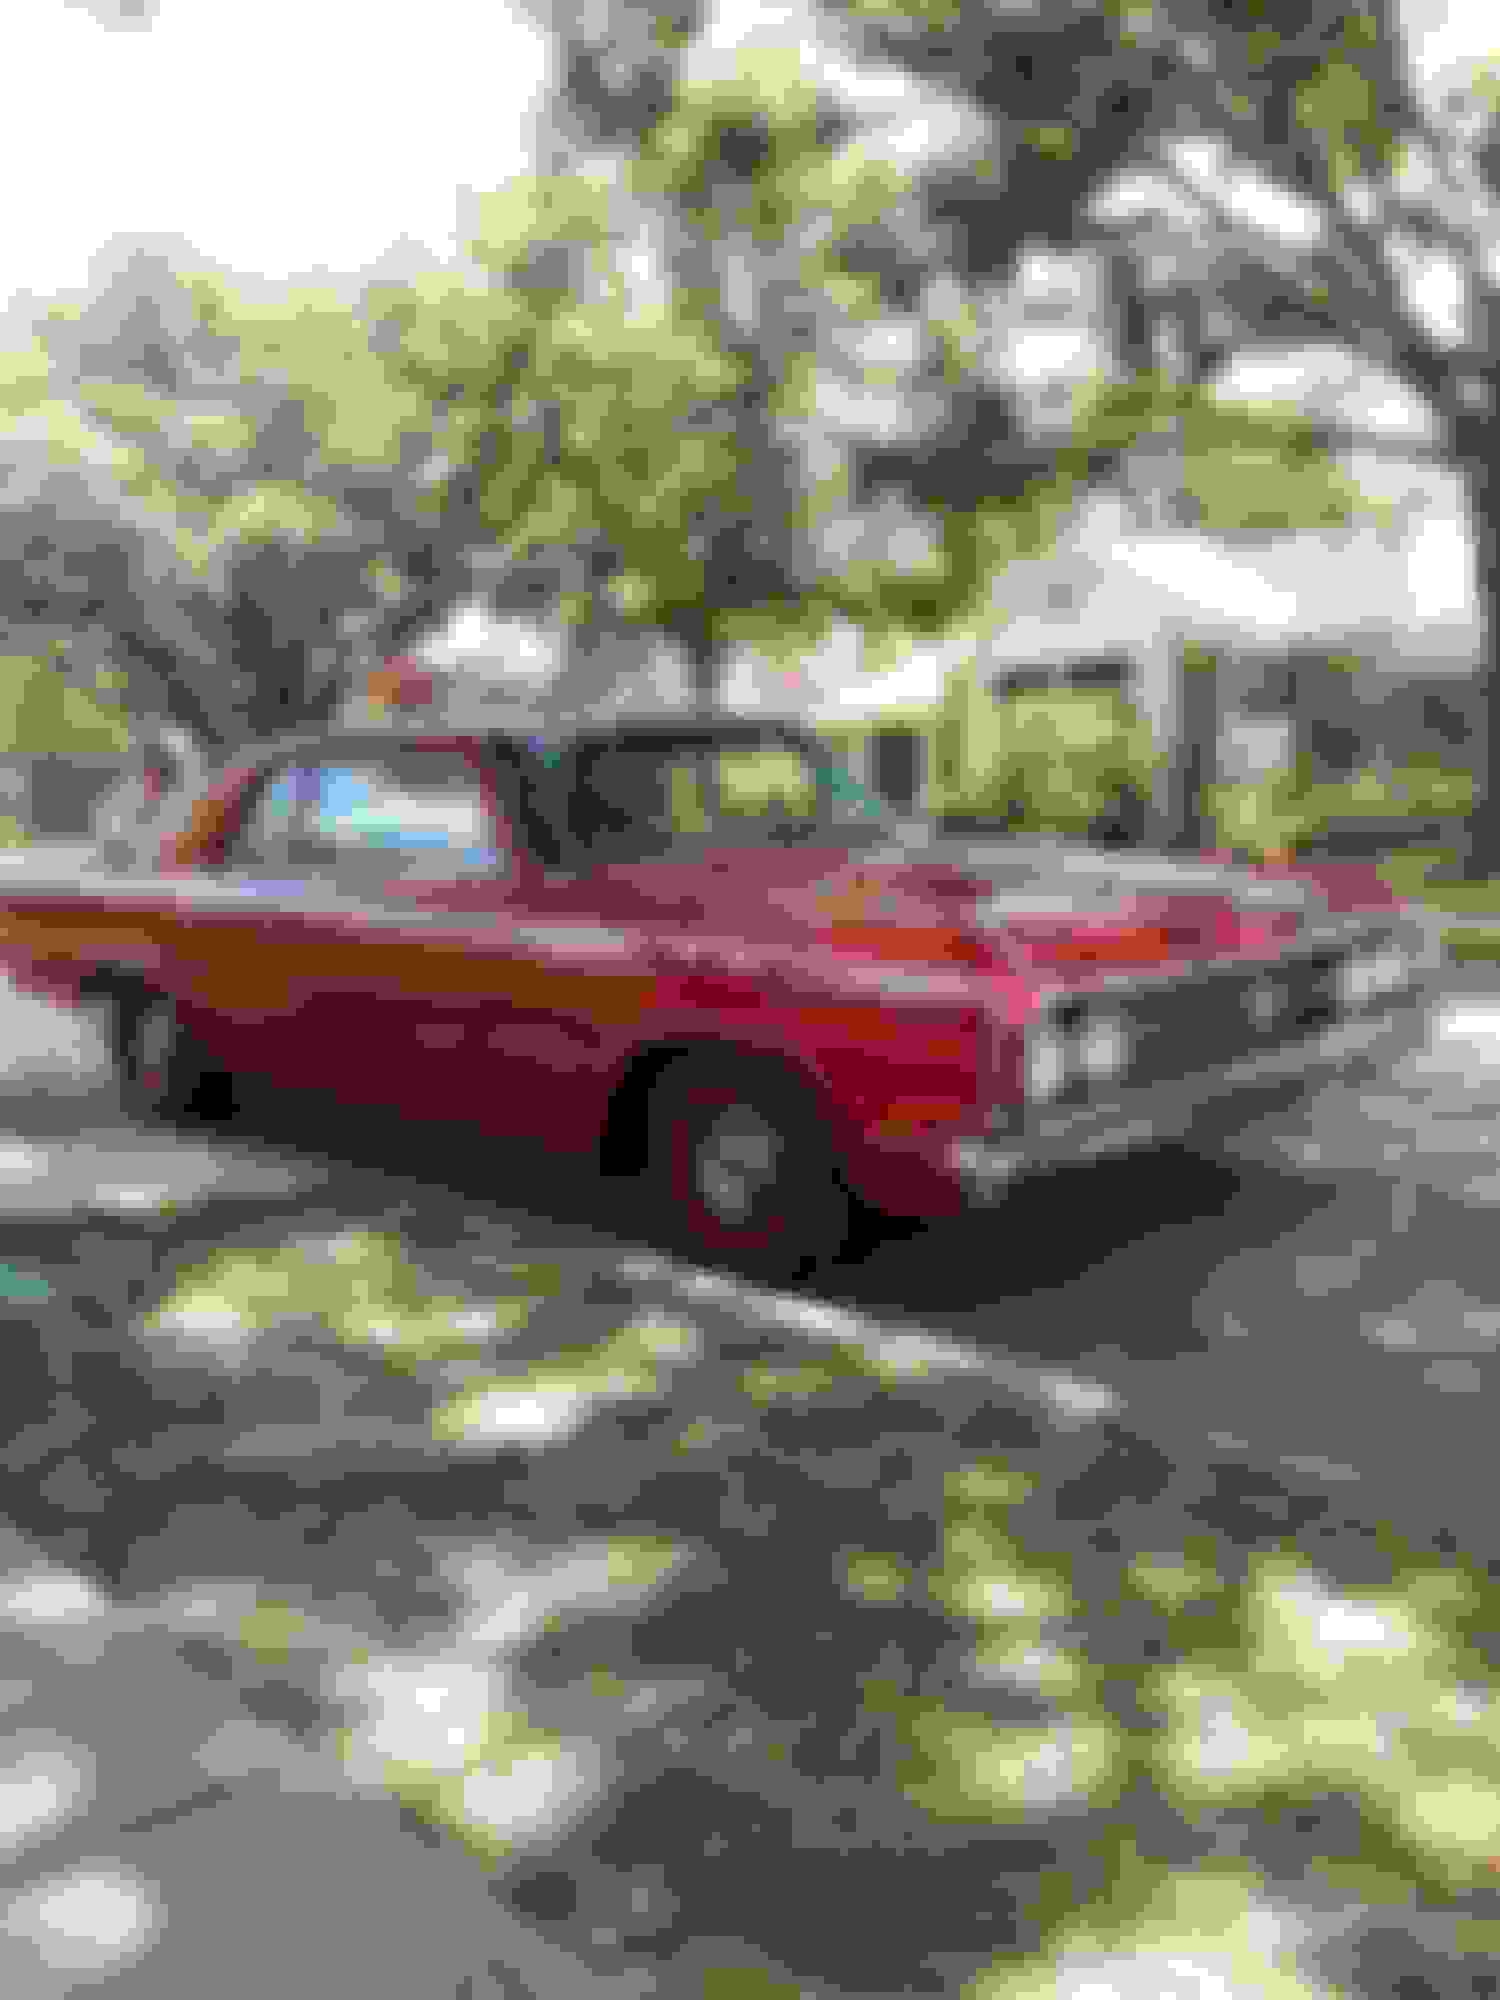
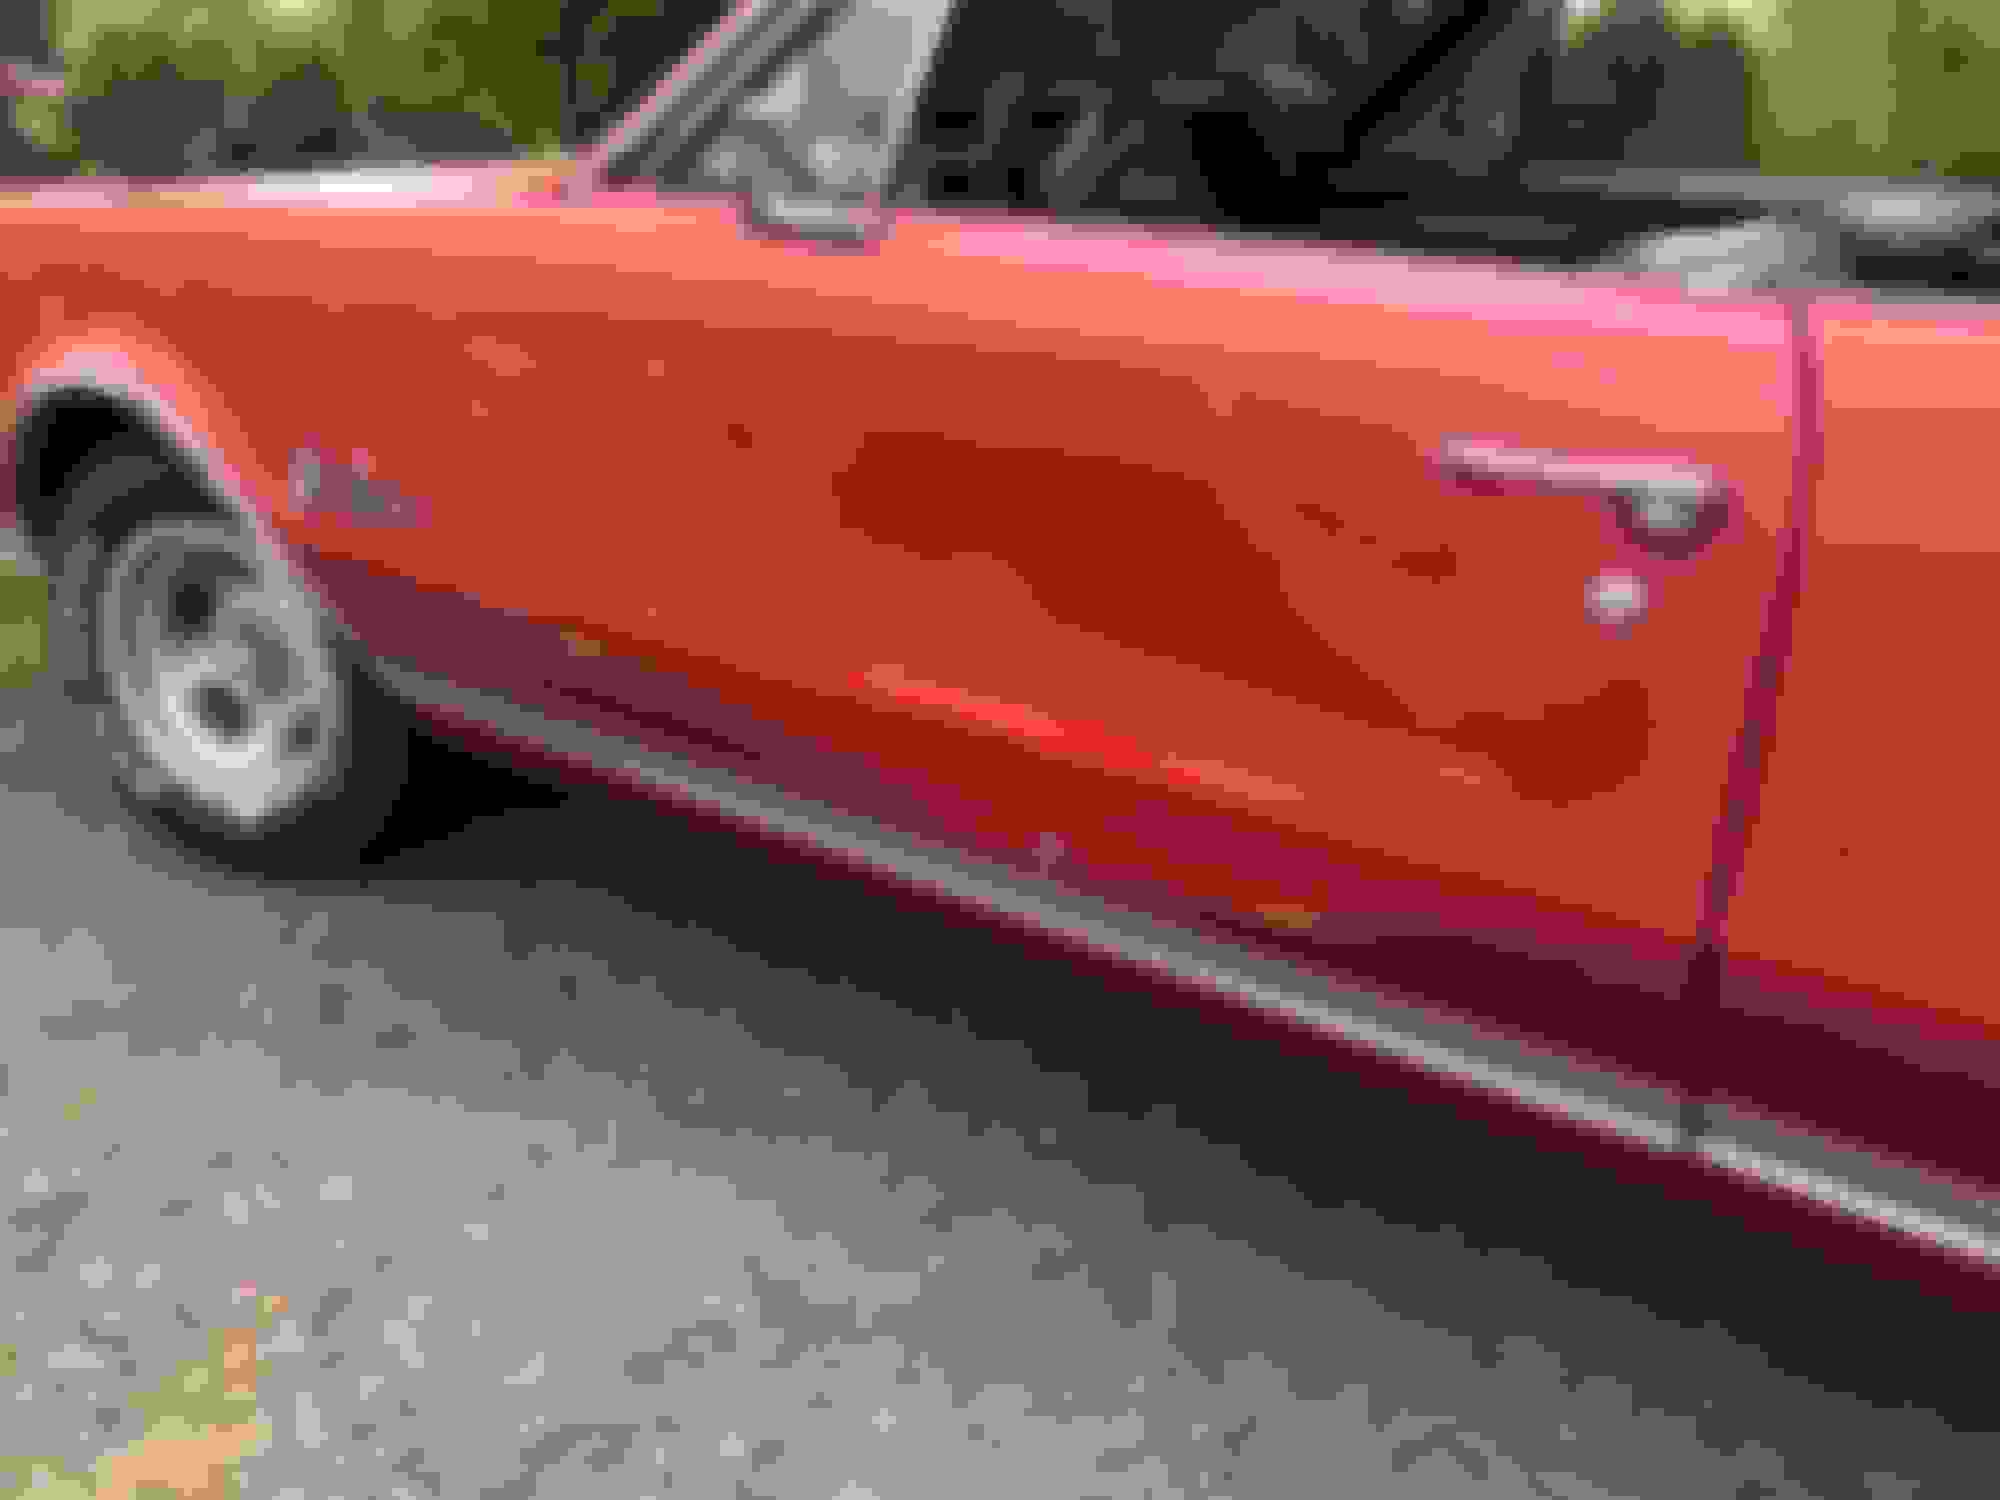
Ok. It was a busy summer and didn�t get to work on the 442 much. Got in a fender bender with my red convertible - that sucked but luckily I live close to Thornton in Quakertown. I had a spare door and Troy fixed it up for me and employed my son (Mitchy) for the summer.