When you click on links to various merchants on this site and make a purchase, this can result in this site earning a commission. Affiliate programs and affiliations include, but are not limited to, the eBay Partner Network.
I just bought a dual exhaust manifold for my 62 starfire, I run them on all of my cars.
I have the Offenhauser J-2 for the early 394 and I'm making the adaptor plates to shim up the manifold to fit my starfire or wagon plus I picked up 2 sets of the finned MOON rocker covers. Going old school on the build.
Nice work Charlie! I wonder if those 4 speed pedals would work on a 61. I ended up using a hydraulic release bearing and a modified Wilwood pedal.As for your swaybar, I just put one on my 61. I got it from Fabcraft Metal Works. it's for a Pontiac but you can make it work on the Olds. It was really a tight fit. I moved my lower shock mounts out ,made frame brackets , had to use round head bolts so they wouldn't hit the tank. That thing hugs the curves now. I also bought an old Singersewing machine from the 50's for 32.50 at a second hand tore. It's not industrial but i tried it out on some heavy vinyl and it worked fine. Keep up the good work. If you need any parts call Chuck at Hess Bro's in RedeBluff CA. Keep up the good work.
When I first talked to the powdercoater a month ago he told me $400 for the frame.
Once I got the chassis all stripped I went to see him again. To make sure he was ready to do the job. He then told me that the job would run $500 , and that was not a firm price. So it may cost $600 or even $700 to pick up my frame.
Add to this at least $200 to $300 for the suspension pieces and rear end housing.
While I was wirebrushing the grease off the front of the frame I got to thinking . "Who is really gonna see this frame anyway?" I'm building this car to DRIVE. It's not going to be a trailer queen. I'd be plumb tickled if it won a trophy, but I wouldn't cry if it didn't.
I decided that my money will be spent better in other places. The engine and trans alone will cost a fortune.
The frame has only a light coat of surface rust . So I decided to wirebrush it off . Treat it with Ospho and paint it with Ace "Rust Stop" enamel. About $150 and two or three days work.
Still chipping away at it.
I got three of my control arms done. Tomorrow I hope to get the last one done.
Rather than buying a "chinesium' kit for the front end , I had been shopping E-Bay for the last several years for NOS or at least NORS american made parts. I actually gathered everything I needed for LESS money than I would have paid for a kit from the K------ company.
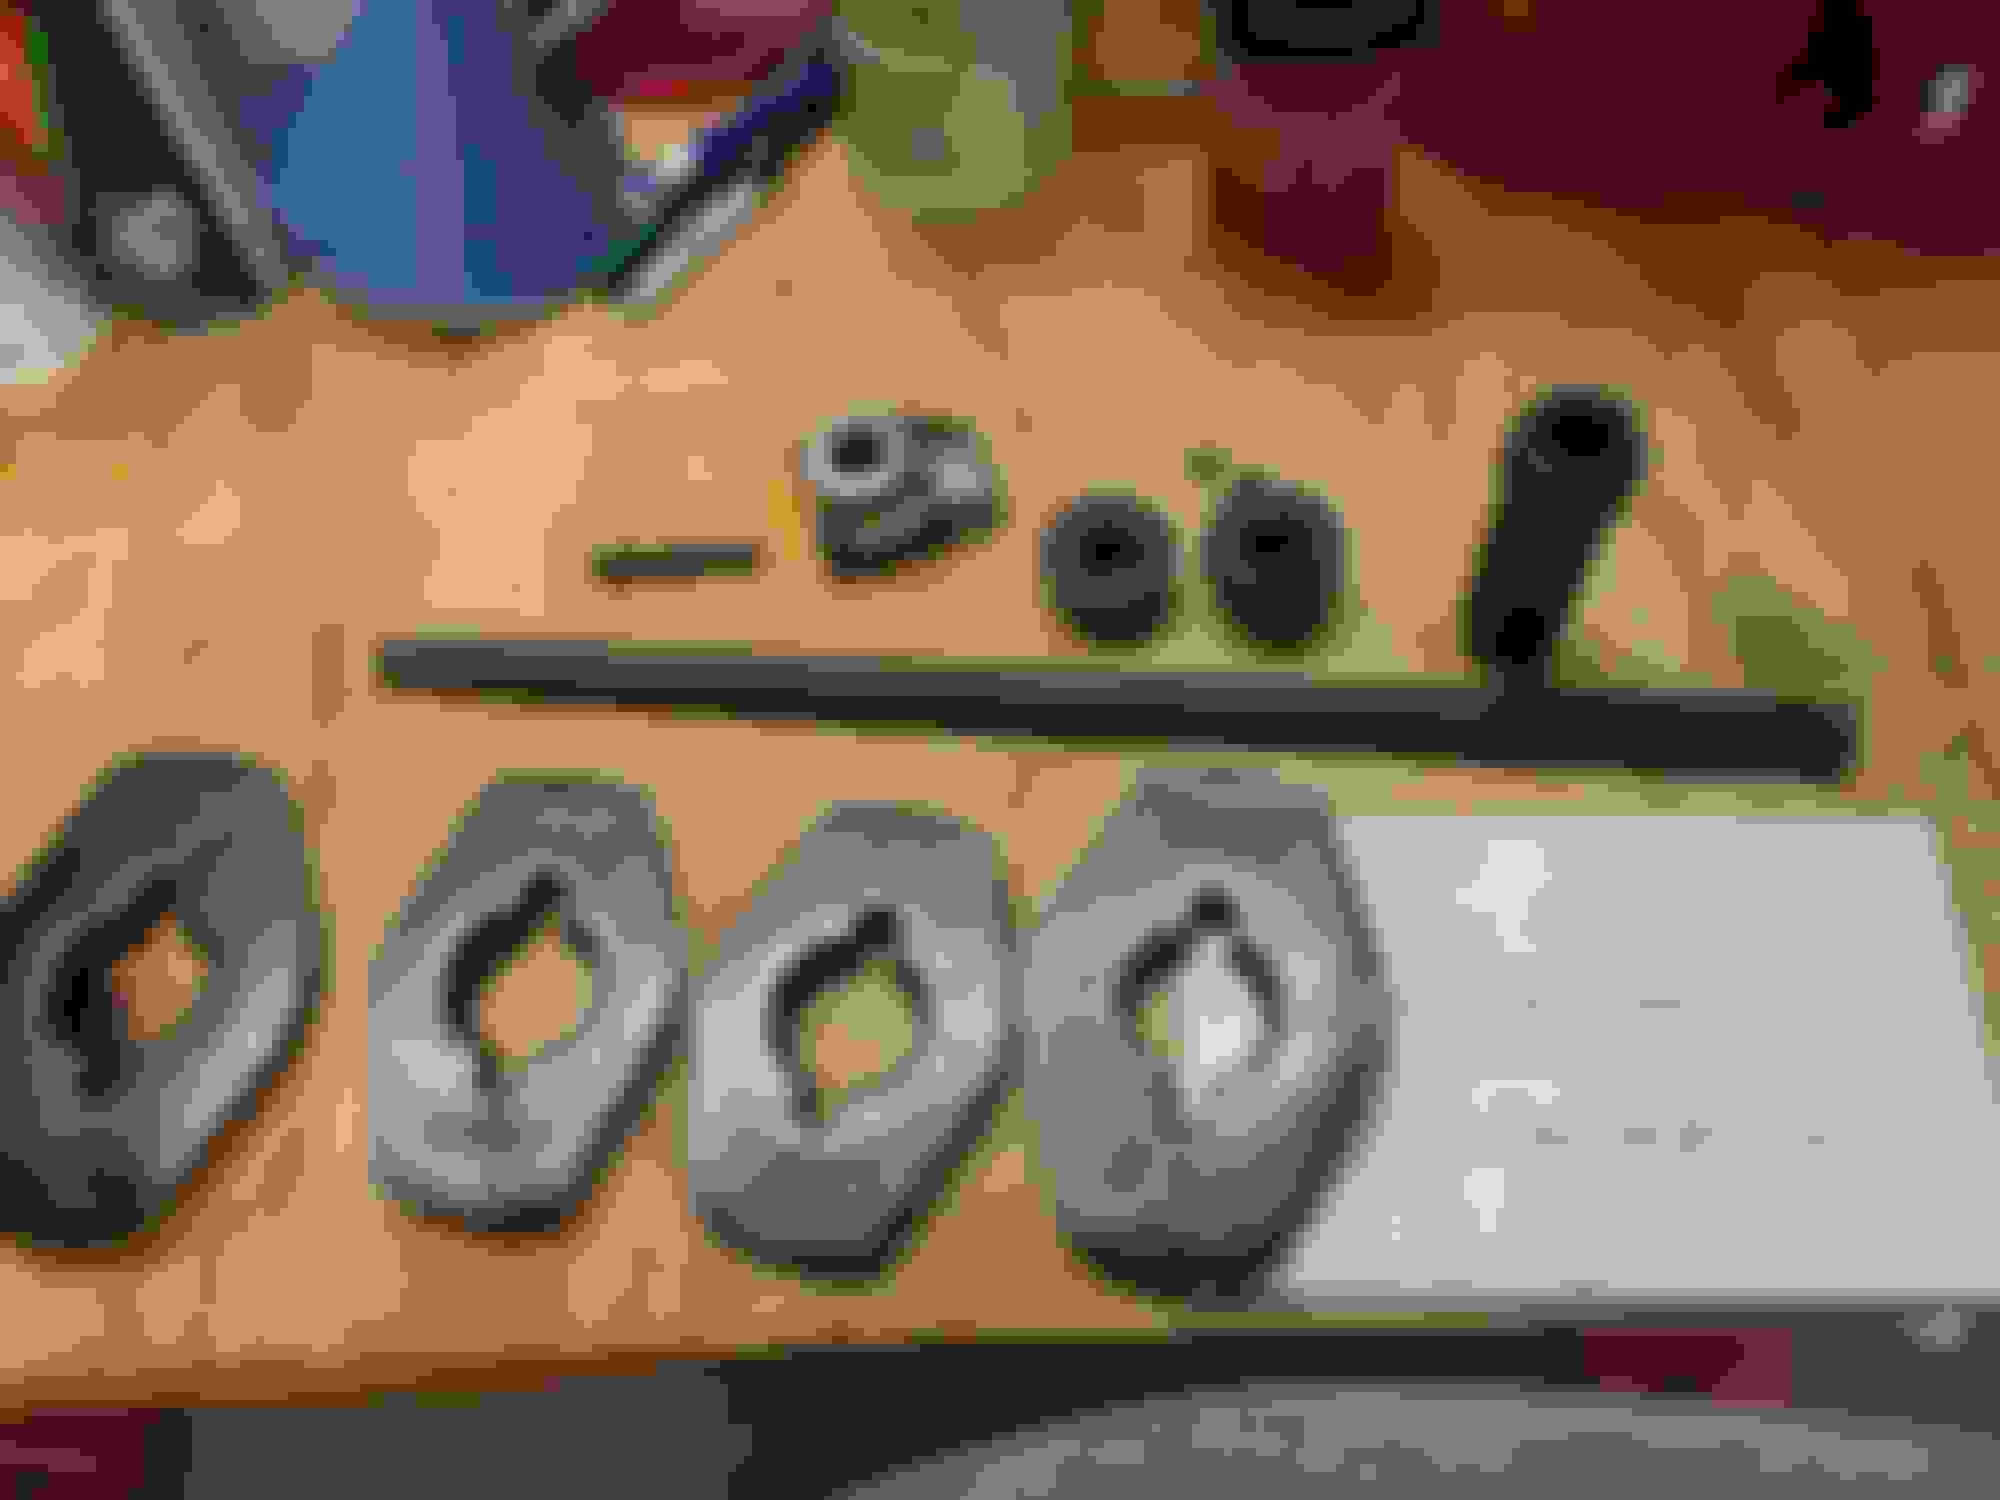
I didn't have a press to change the bushings, a friend told me "take 'em to Pep Boys " . I did , and what a mistake! I told the guy to just take them apart , because I was going to sandblast and paint them . And I would bring them back later. I thought they had an arbor press and tooling to take them apart . No , some clown just attacked them with an air chisel ! They made a mess of them as you can see in the first four pics. When I picked them up I didn't say a word , but I didn't pay them anything either. I knew I wasn't going to take them , and my NOS bushings back there .
I went to Harbor Freight and all they had was a small 1 ton arbor press. I told the guy what I wanted to do , and he told me " oh that will work" . Well, it did , but just barely. It took most of my 295 lbs and a cheater pipe to get them in. I would recommend at least a two ton arbor press for this job.
I made a tool to provide a backup for the upper bushings from a PVC pipe connector and used a hose clamp to keep it in place.
I re-bushed my rear control arms with Rare Parts bushings # RP 15786.
Those parts might be rare but they don't fit . At least not without some modification.
The first pic shows the problem , the RP bushing is on the left and the original on the right. The hole on the sleeve in the center of the bushing is only 1/2 inch on the RP bushing and is 5/8 on the original . The bolt is 5/8 .
I managed to press the sleeves out of my old bushings and press them into the new bushings with the help of a little liquid hand soap.
The second pic shows the result.
I have a collection of large sockets that I used to push the bushings in and out. They were too tall to fit in my small arbor press so I had to resort to the use of a BFH.
I made a spacer out of a PVC pipe connector to keep the ends of the arms from collapsing.
I sandblasted and painted the arms , and now it's on to the next project.
I got all my suspension off ebay really cheap and my brake stuff from Rockauto. Lucky for me they have a 4 ton press at work but it was still a tough job. I went with Spohn rear control arms with poly bushings. I live about 2O miles from Rapeparts, they sold me tie rod adjusters with metric bolts for 41.00 each. Should have stripped and cleaned my old ones. My centerlink was the best deal ,19.00 on ebay ,way it the back of the thread. Toledo brand. Should have bought 2. I recently picked up a loaded NOS RS upper control arm for 65.00 delivered. I get stuff when i can afford it for spares. Good idea on the frame.
Anybody know where I can get some new rear springs for a 63 Starfire?
Here's a list of springs that Moog manufactures . You may be able to match something up that is close. There is also a customer service number that you may contact for help in selecting the right spring .
Moog lists front springs for 63 Olds in their catalog, but not rear.
Besides the stick shift pedals mentioned previously , I also scored the flywheel and bellhousing off that car .
The old flywheel is very rusty and crusty . But nothing that a bead blaster and some machine work won't take care of .
As you can see , it fits perfectly to the 96-04 Mustang RAM performance clutch I bought. The disc has 26 splines . To match the Richmond super T-10 I'll have .
Yes, Olds used the same type of clutch(Long) as Ford .
I bought the bellhousing because I wanted the clutch fork , pivot , and throwout bearing that went with it.
I will be selling the bellhousing , minus the aforementioned parts .
This bellhousing will fit Olds engines from 49 thru 64 and Cadillac from 49 thru 53 . It will bolt up to 51 thru 64 Olds stick shift trans . As well as Buick Century and Roadmaster transmissions from 37 thru 60 . And also 56 & 57 Pontiac stick shift trans.
BTW , How do you like the jersey glove used for a clutch fork boot ? Mc Guyver must have owned that car !
Last edited by Charlie Jones; Apr 3, 2017 at 10:22 PM.
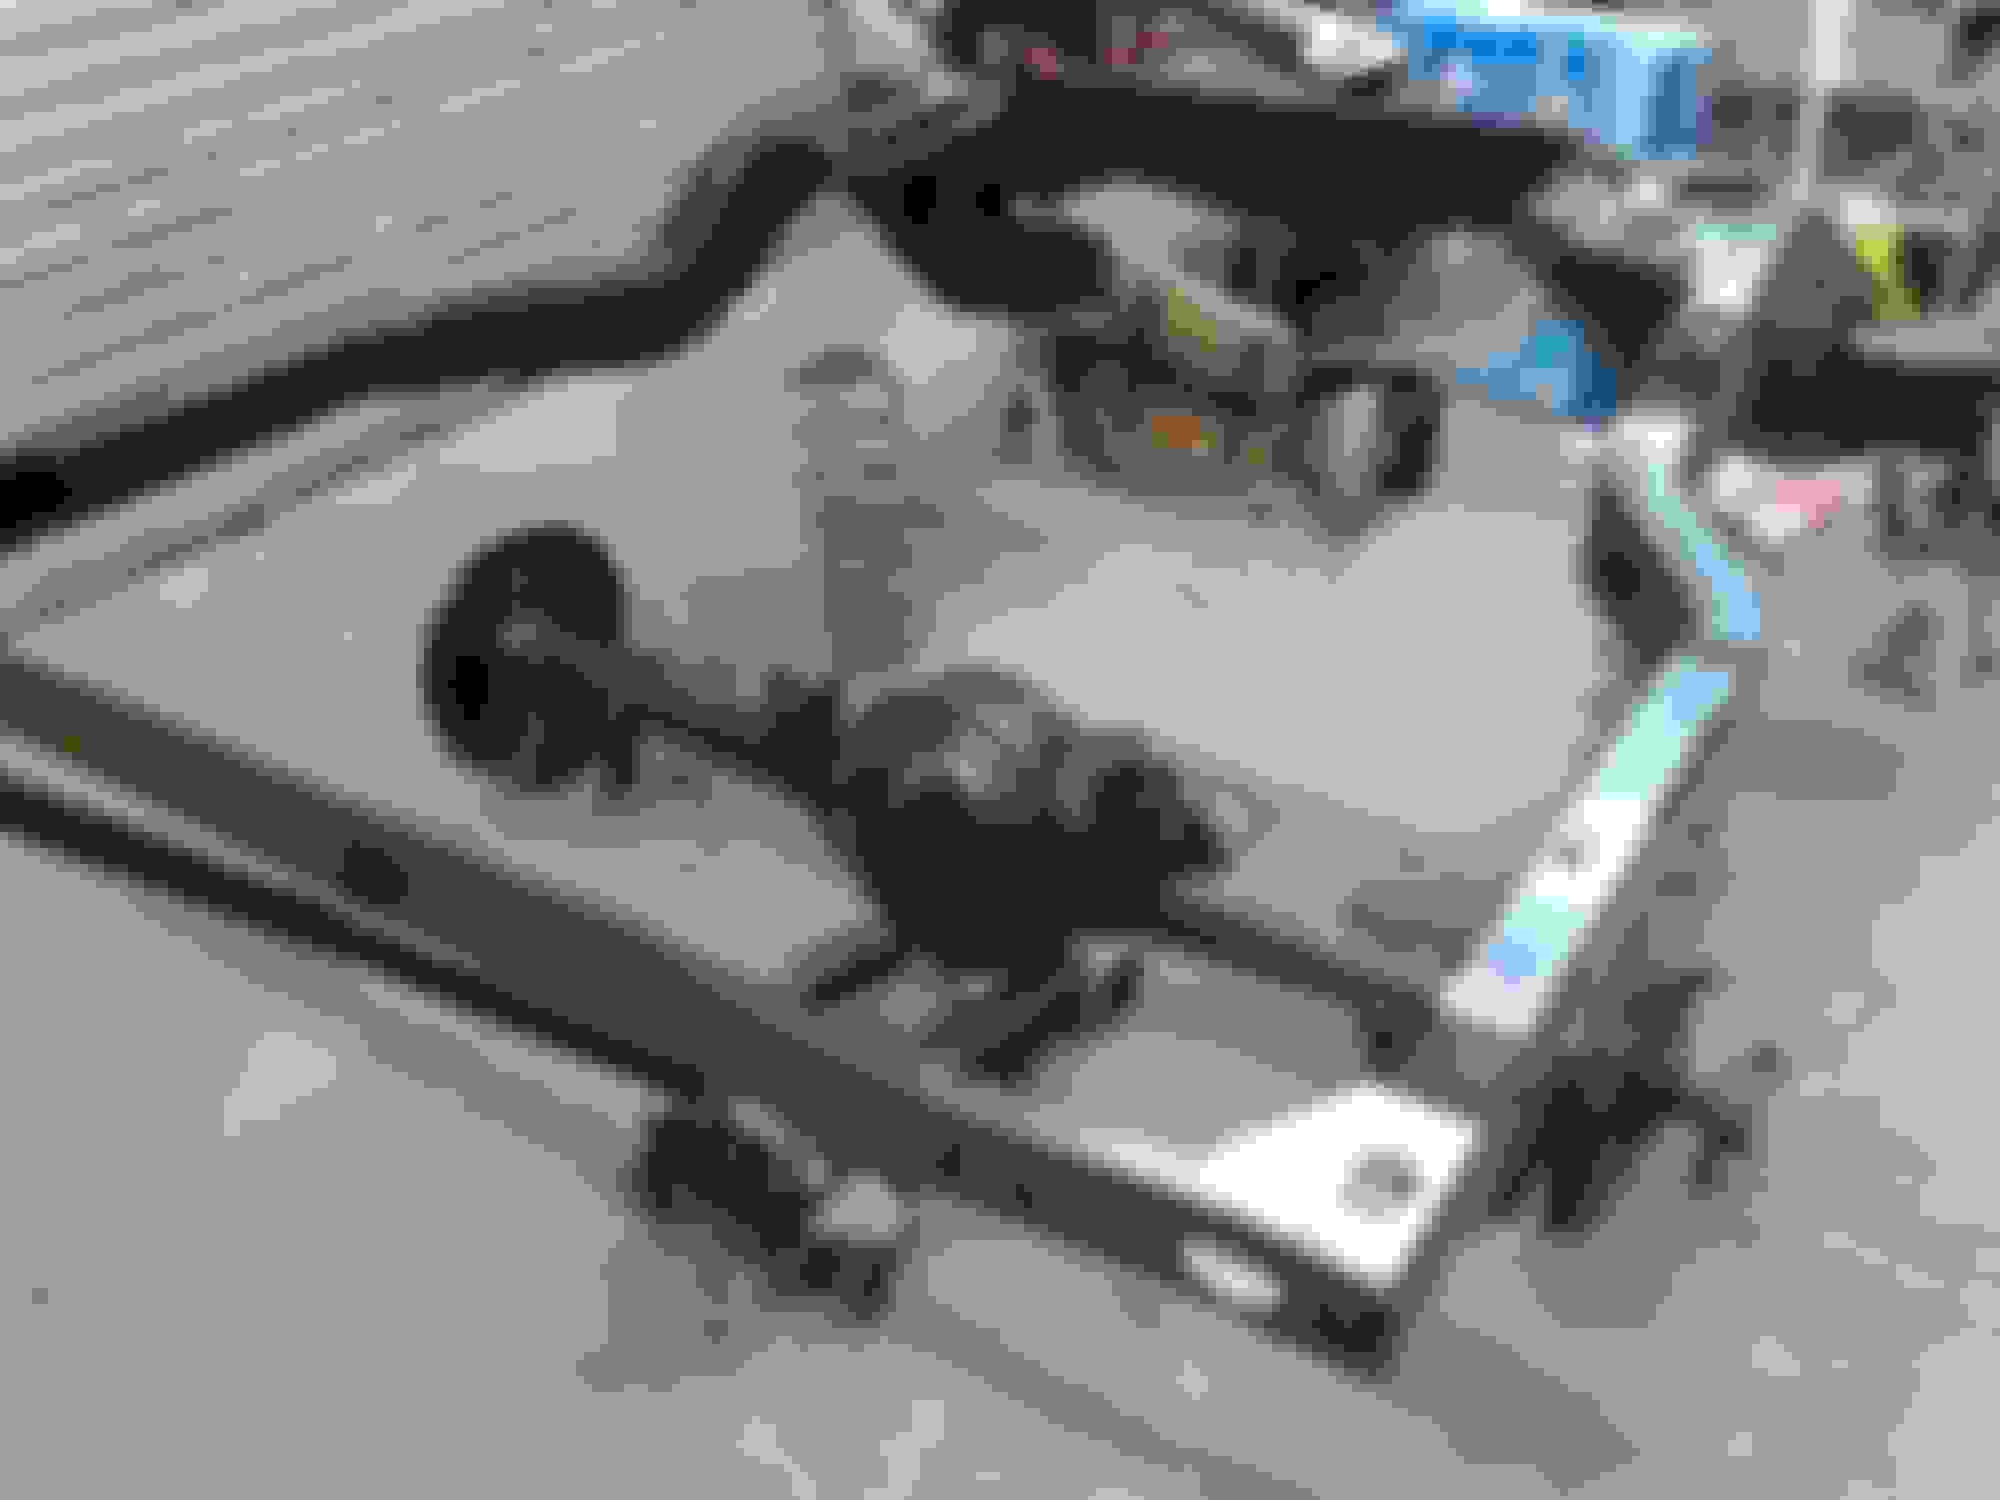
I found this deal on flea -bay . $550 for a once-used rotissirie .
I drove down to Sarasota and picked it up .
I moved the body from the cart to the rotissirie by myself using a floor jack .
The body cart is free to anyone that is willing to pick it up .
The last picture is of the new floor shift porch I just bought , looks like it will fit .
I've been sandblasting the bottom of the body lately .
I had to wash a lot of "road tar" off the wheelwells and trans tunnel .
Evenings are the only time I get to do this .
I'll usually get about 10 sq. ft. done and then prime with black epoxy .
That rotisserie was a good investment. I continue to be impressed with your project, you are a glutton for punishment! That is a great looking body and floor pan, where did you find one with no rust?
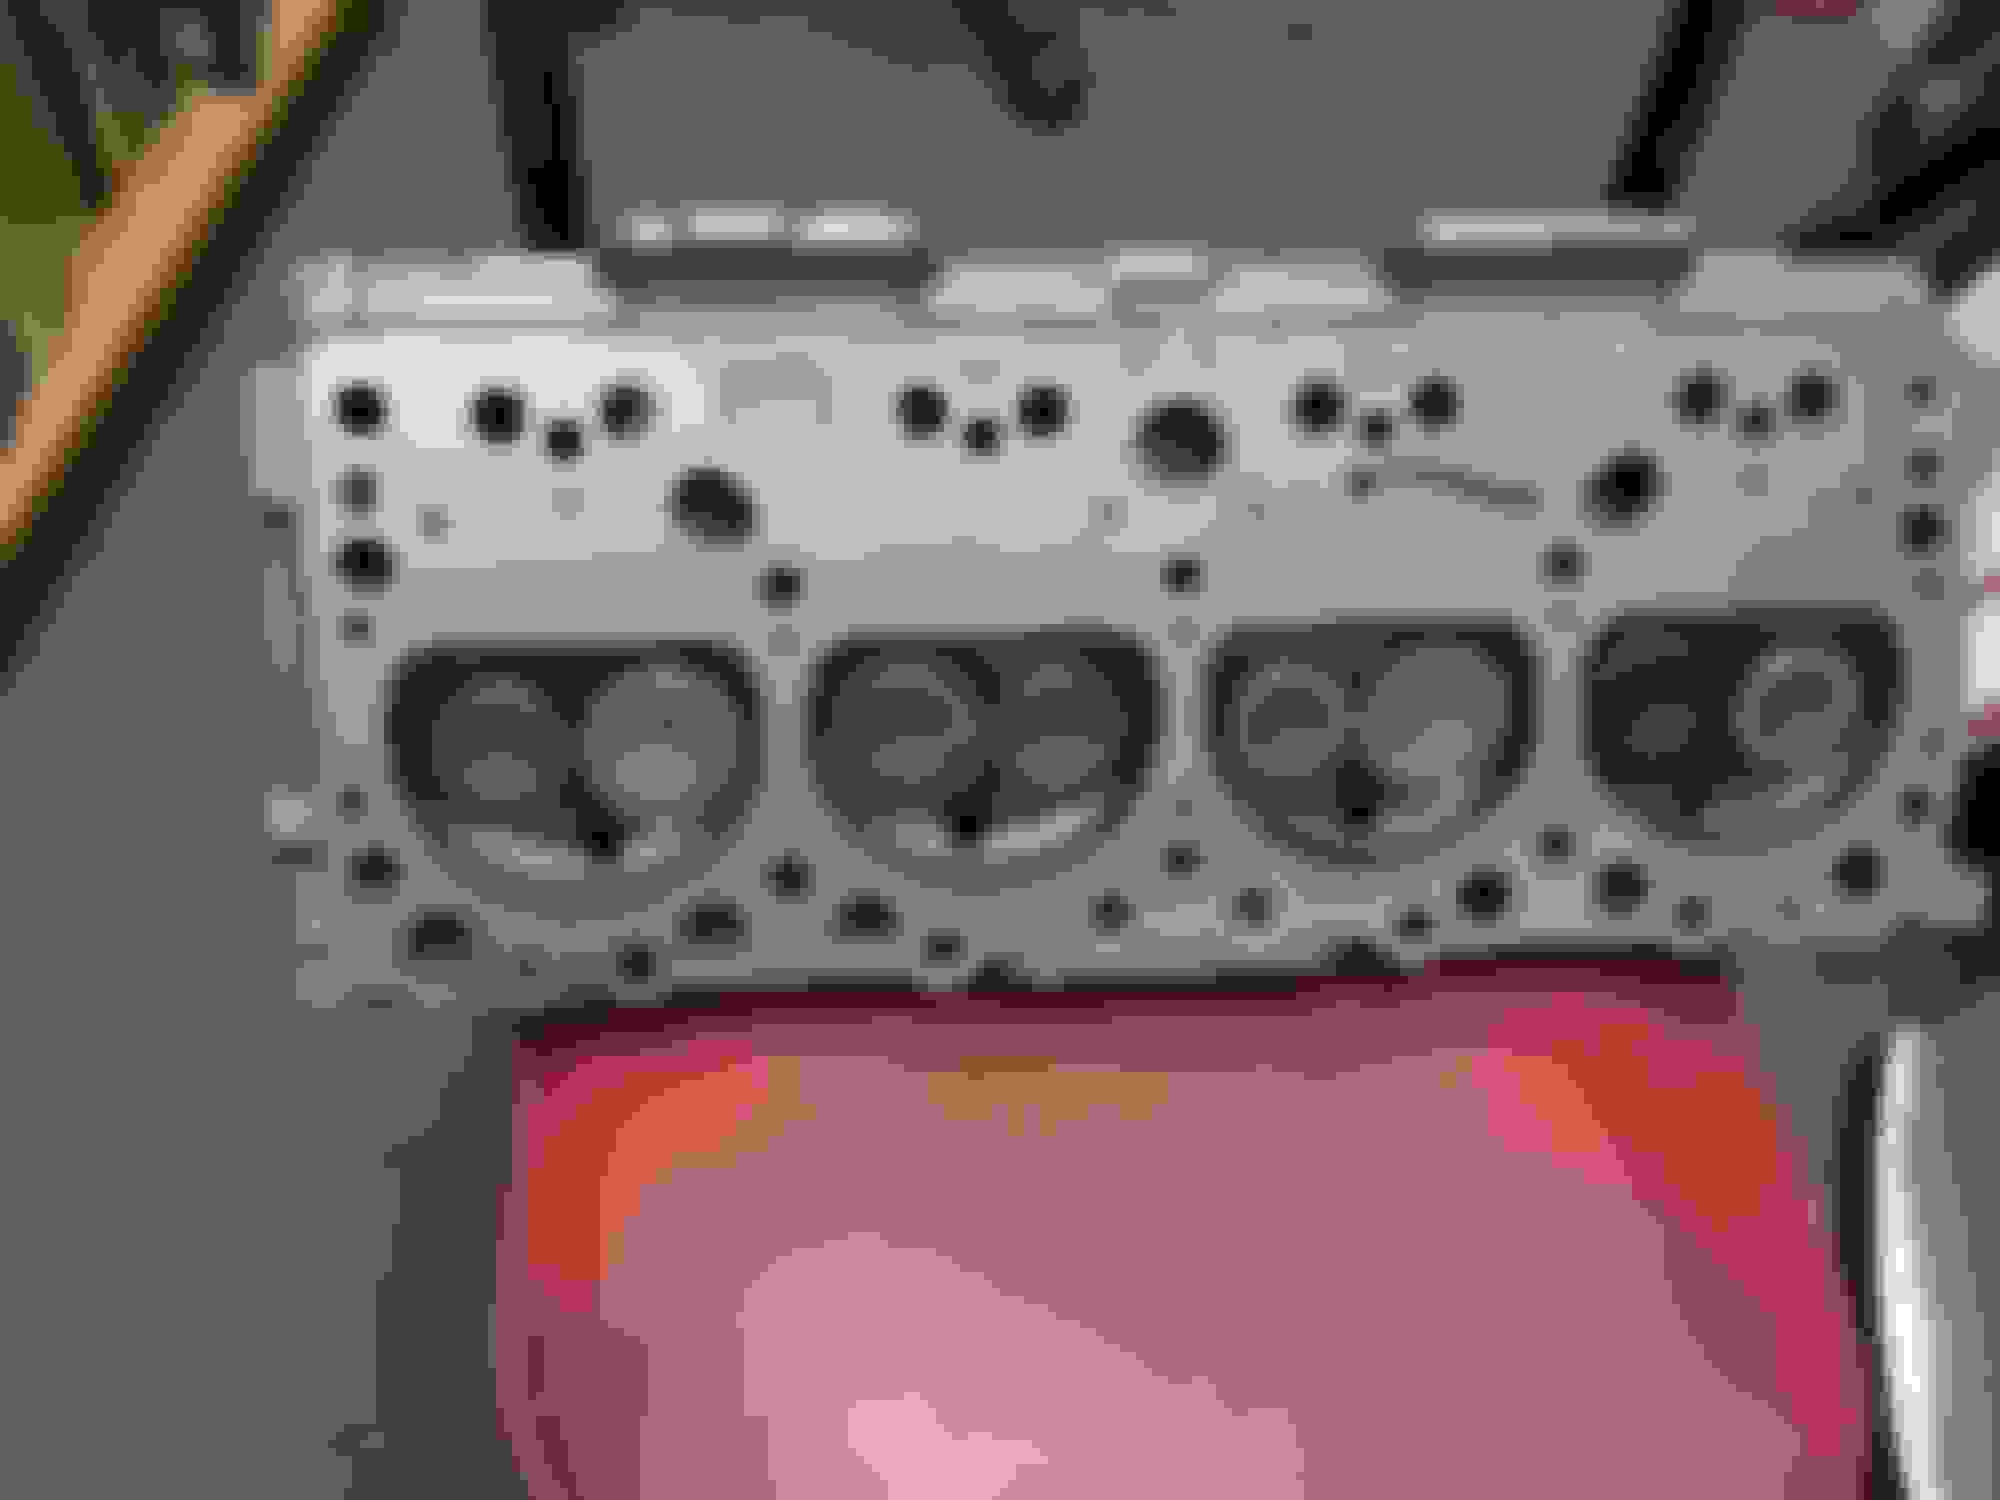
Finished tearing down the engine . Now it's off to the machine shop .
All eight top piston rings were broken . My guess is that someone tried to use regular gas in it .
The engine continued to run that way . The second compression rings had actually started to make their own ridge in the cylinder wall . That's how long it was run with broken rings.
These 394 engines are TOUGH !
I stopped by Apopka Auto Upholstery today , and Charlene showed me the new seat cover that she and her husband Paul had just made.
Can't wait to see them hog -ringed on the seats .
Tomorrow , I'm going to Central Auto Machine in Tavares to pick up my block and heads .
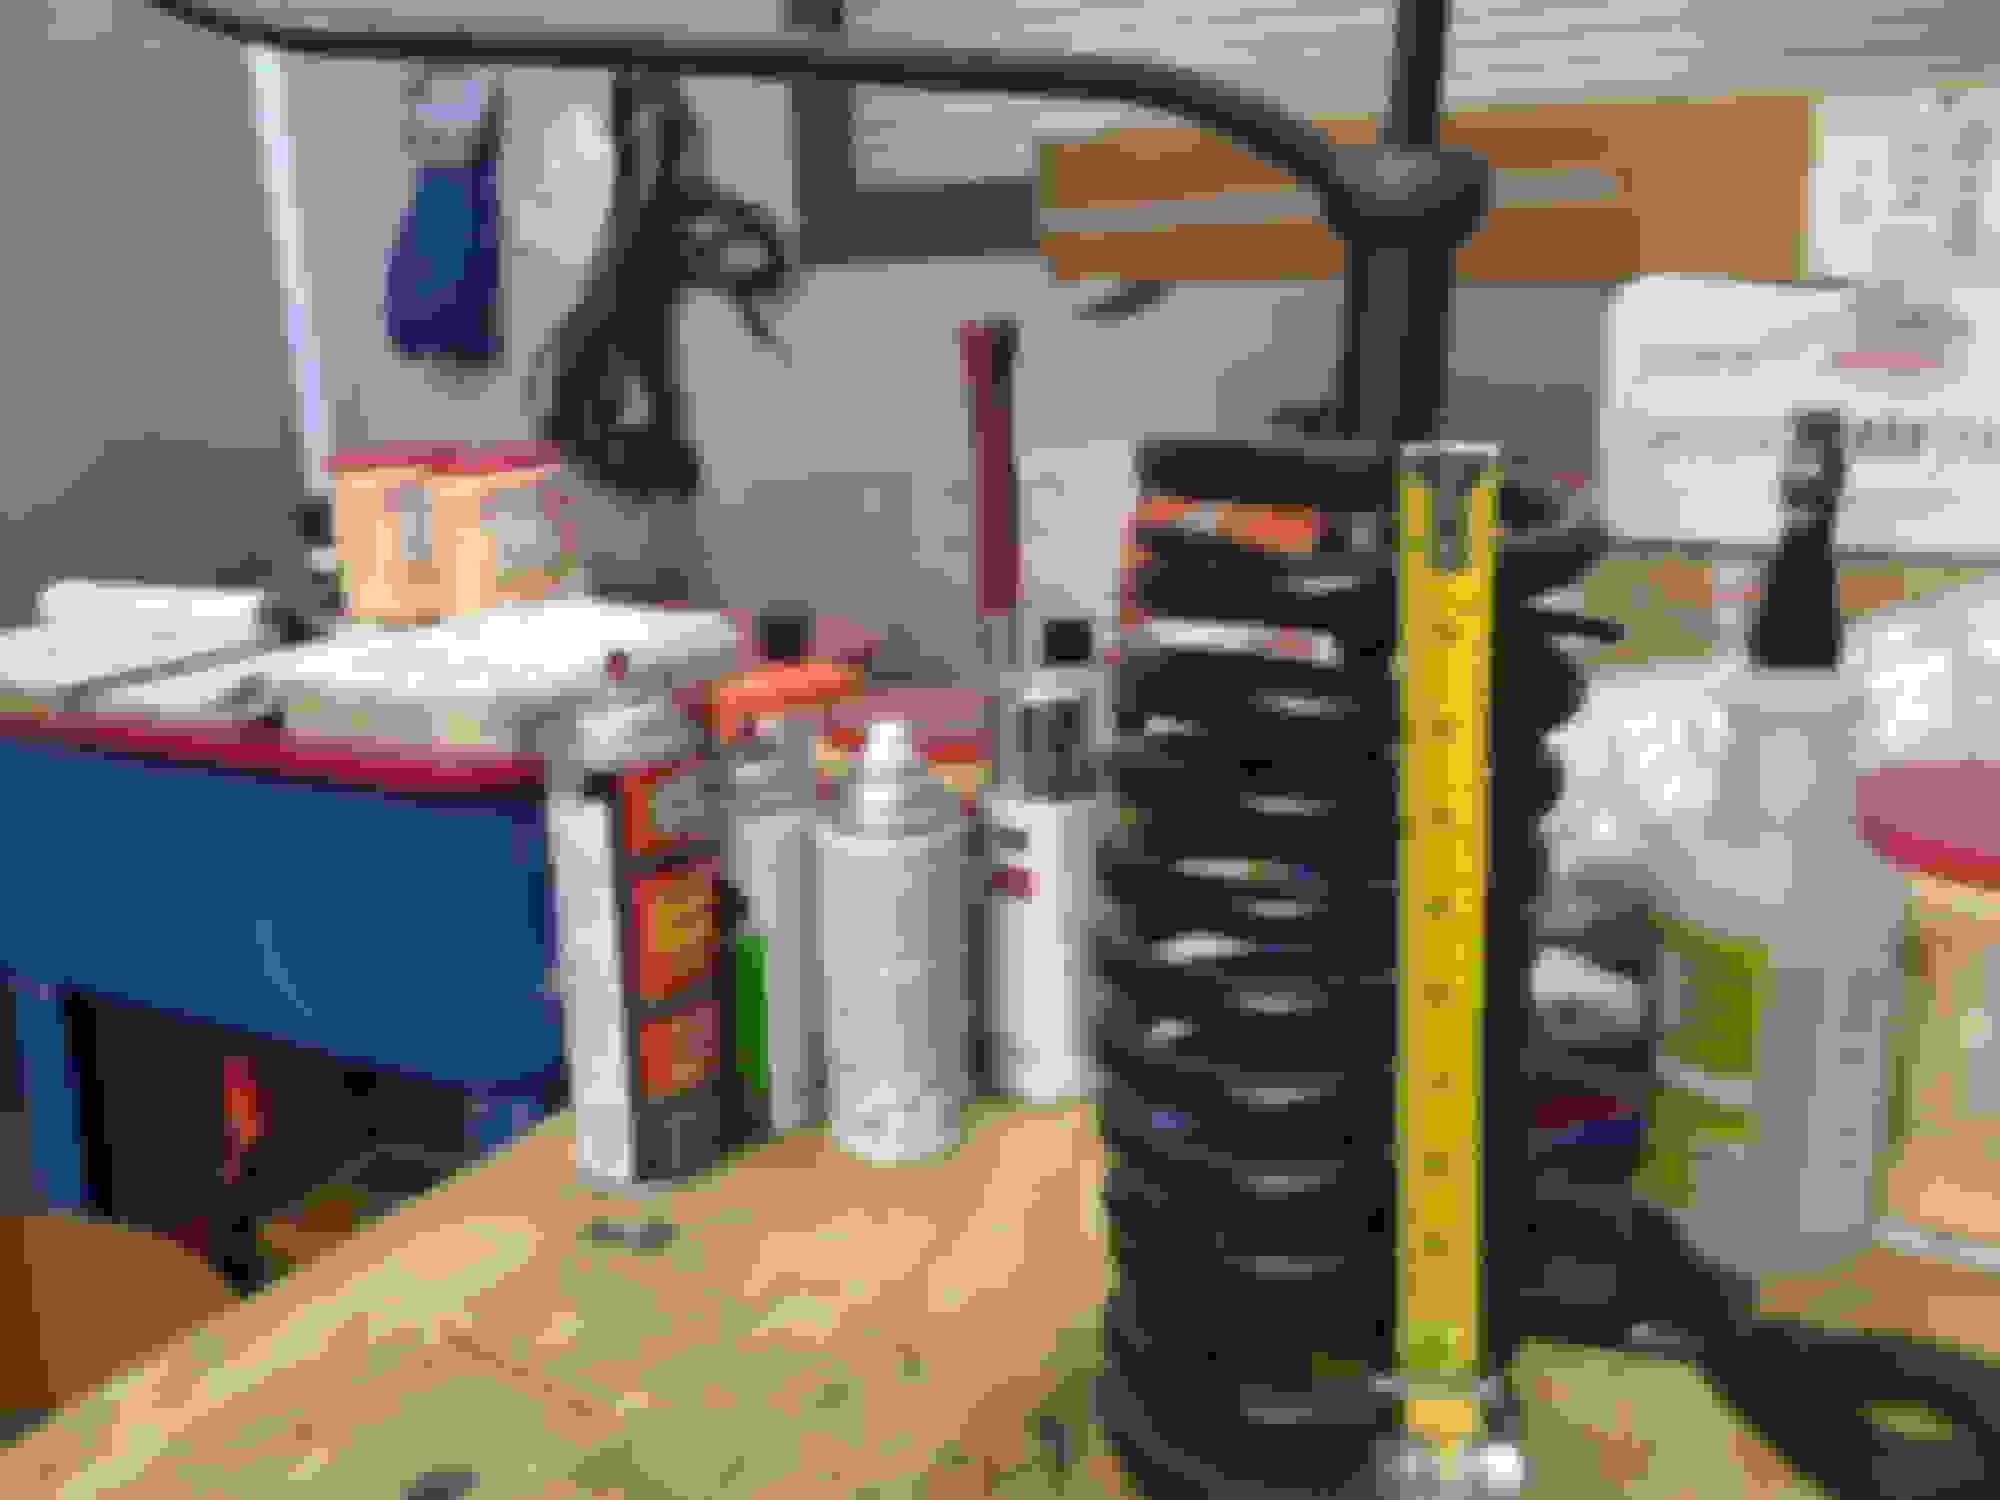
The springs went in next .
One side was assembled without a spring , with the ball joint nuts just finger tight . Just to see how far the spring must be compressed .
It was determined that the spring must be compressed to about 13 inches length .
This is my new OTC spring compressor;
This is how it's assembled , almost , move everything to the left one coil .
The spring is compressed to 13 inches length .
The spring is installed , careful to seat upper end properly on spring "pocket" ,
Finally , lower ball joint nut is installed and torqued . "C" clamp is used to draw joint taper together , to avoid spinning ball stud when torquing self locking nut .
Installed the sway bar .
I used Moog bushings at first , didn't fit .
Left a big gap on one side. Then I got a set of AC Delco bushings;
Then it fit perfectly;
The sway bar is the larger 1 and one eighth bar from a '98' .
Whats the final gear ratio in the 9.3 Charlie? Looking good. Interested in your choice of the Jeep steering box.
The rear is all stock 2.87 to 1 . It is still a "pegleg" too . I don't "smoke" the tires . I just drive it off the line and let torque win the race .
However , I'm going to be installing a wide ratio (3.42 to 1 low ) Richmond super T-10 . So the overall low gear will be 9.81 to 1 .
The '96 Jeep Grand Cherokee steering box is a "monkey see , monkey do" thing
There is a thread about doing this on "A" bodies .
I figured I would try it on a "B" body .
So far , so good , I'll let you know how well it works when I get this all together and actually drive it .
Still chipping away at it .
I've got some nice sandblasting weather lately (lower 80's and dry ) .
Once that is done , I will get the body back inside and do all the body work and paint prep while it is on the rotissirie .
Last edited by Charlie Jones; Feb 24, 2018 at 06:48 PM.
I may also do separate threads on the 4GC carb and fuel pump for the enlightenment of those who have never done one .
It's been raining a lot (start of hurricane season) , so I can't get the body sandblasting done .
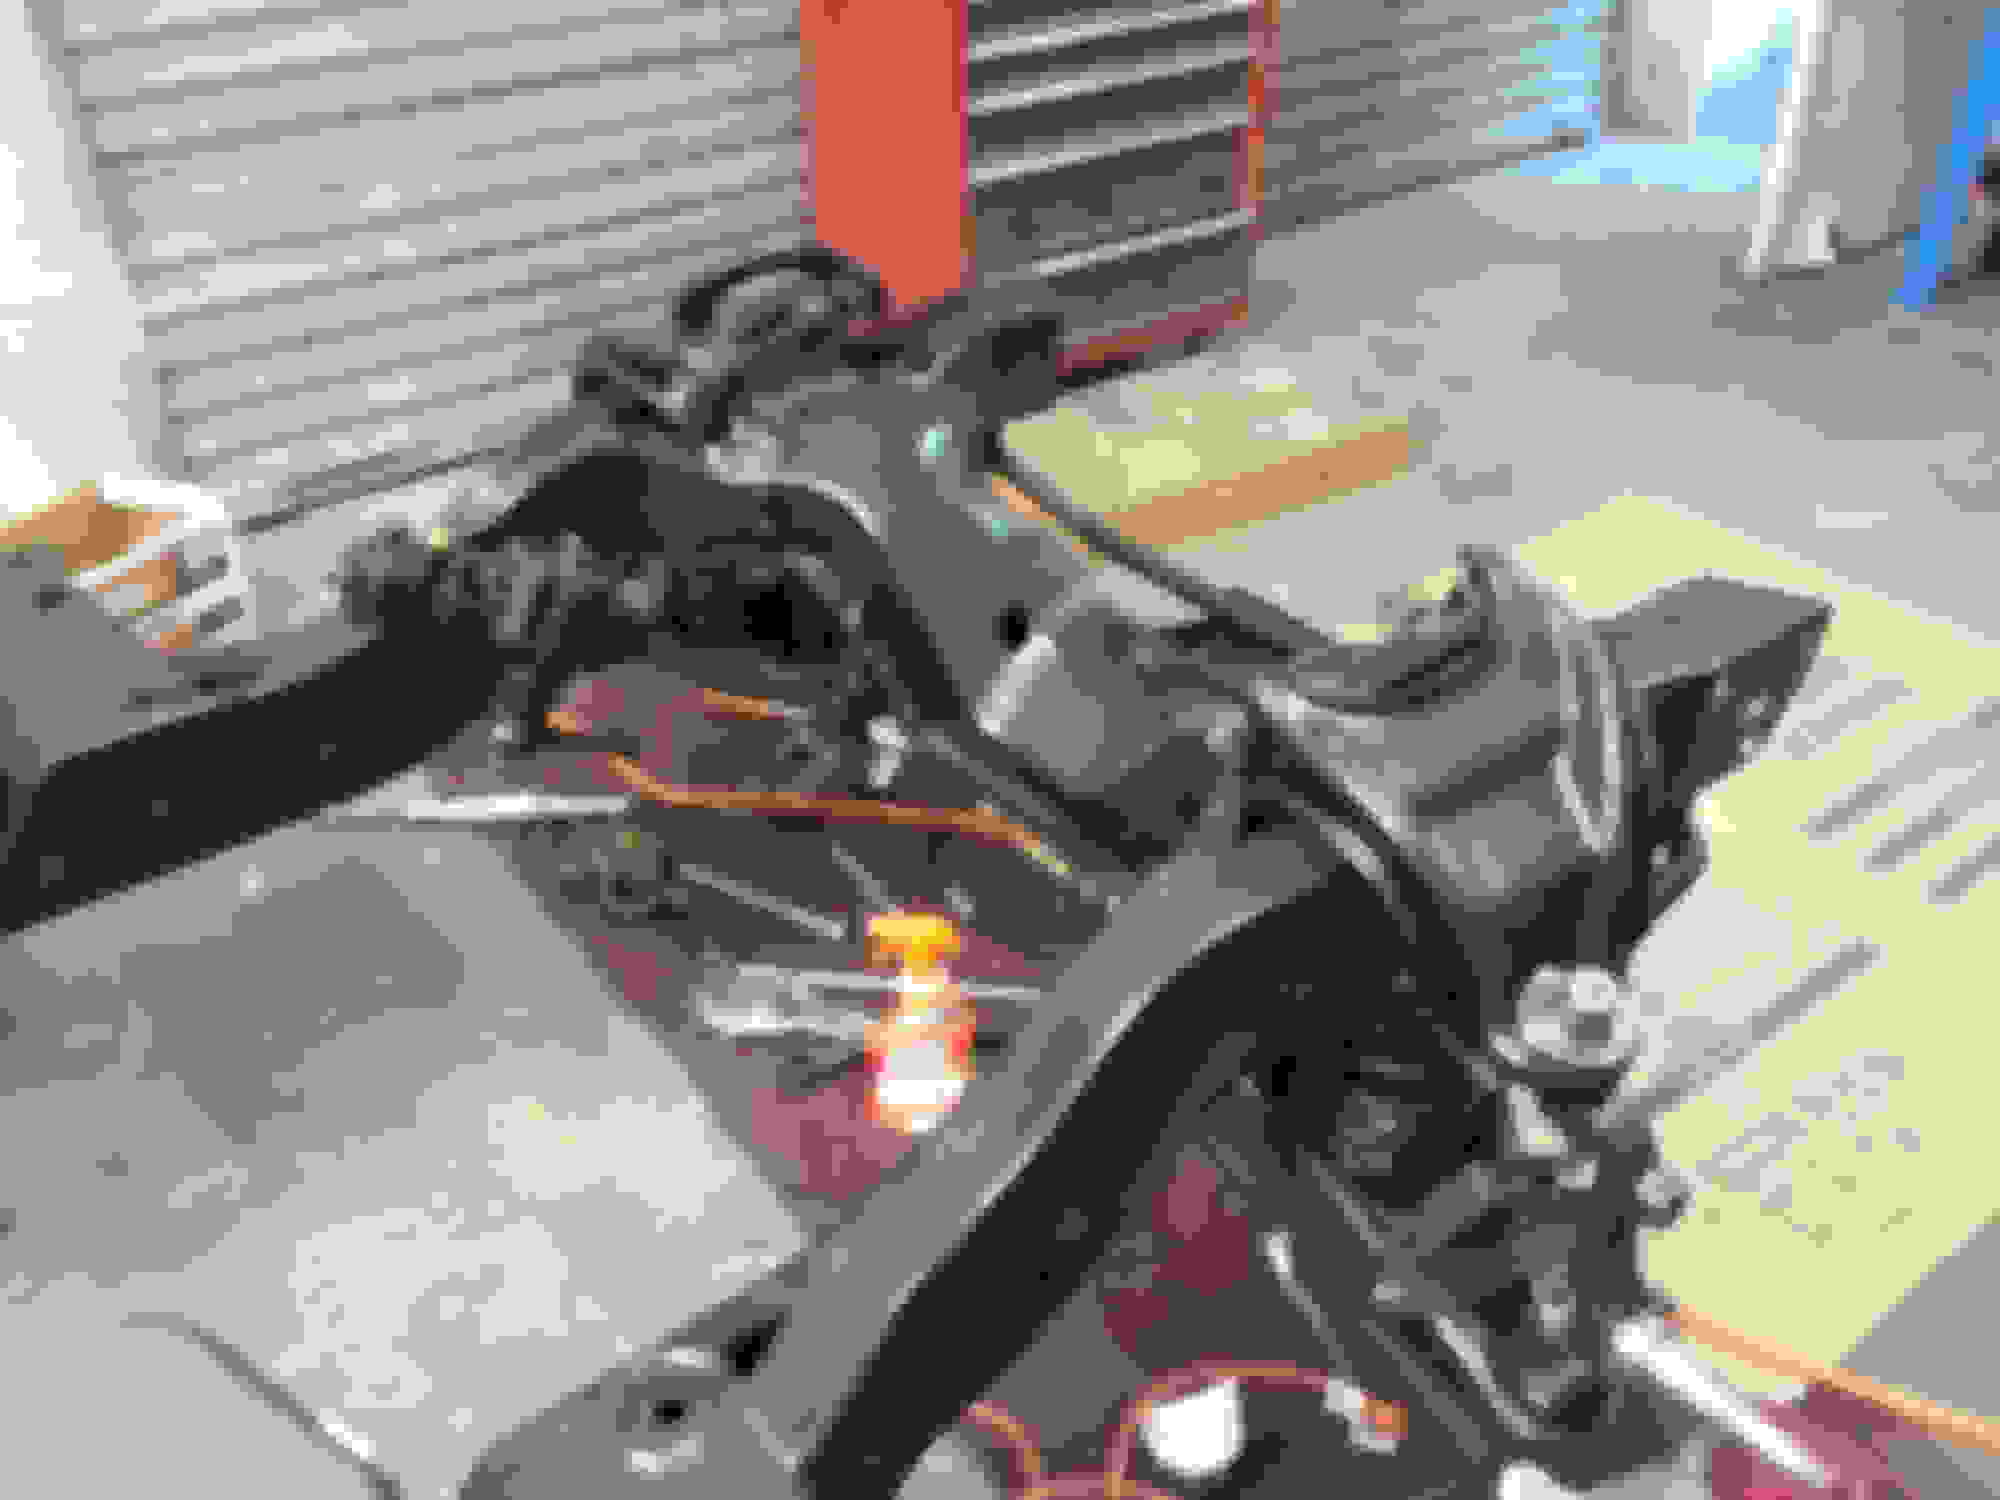
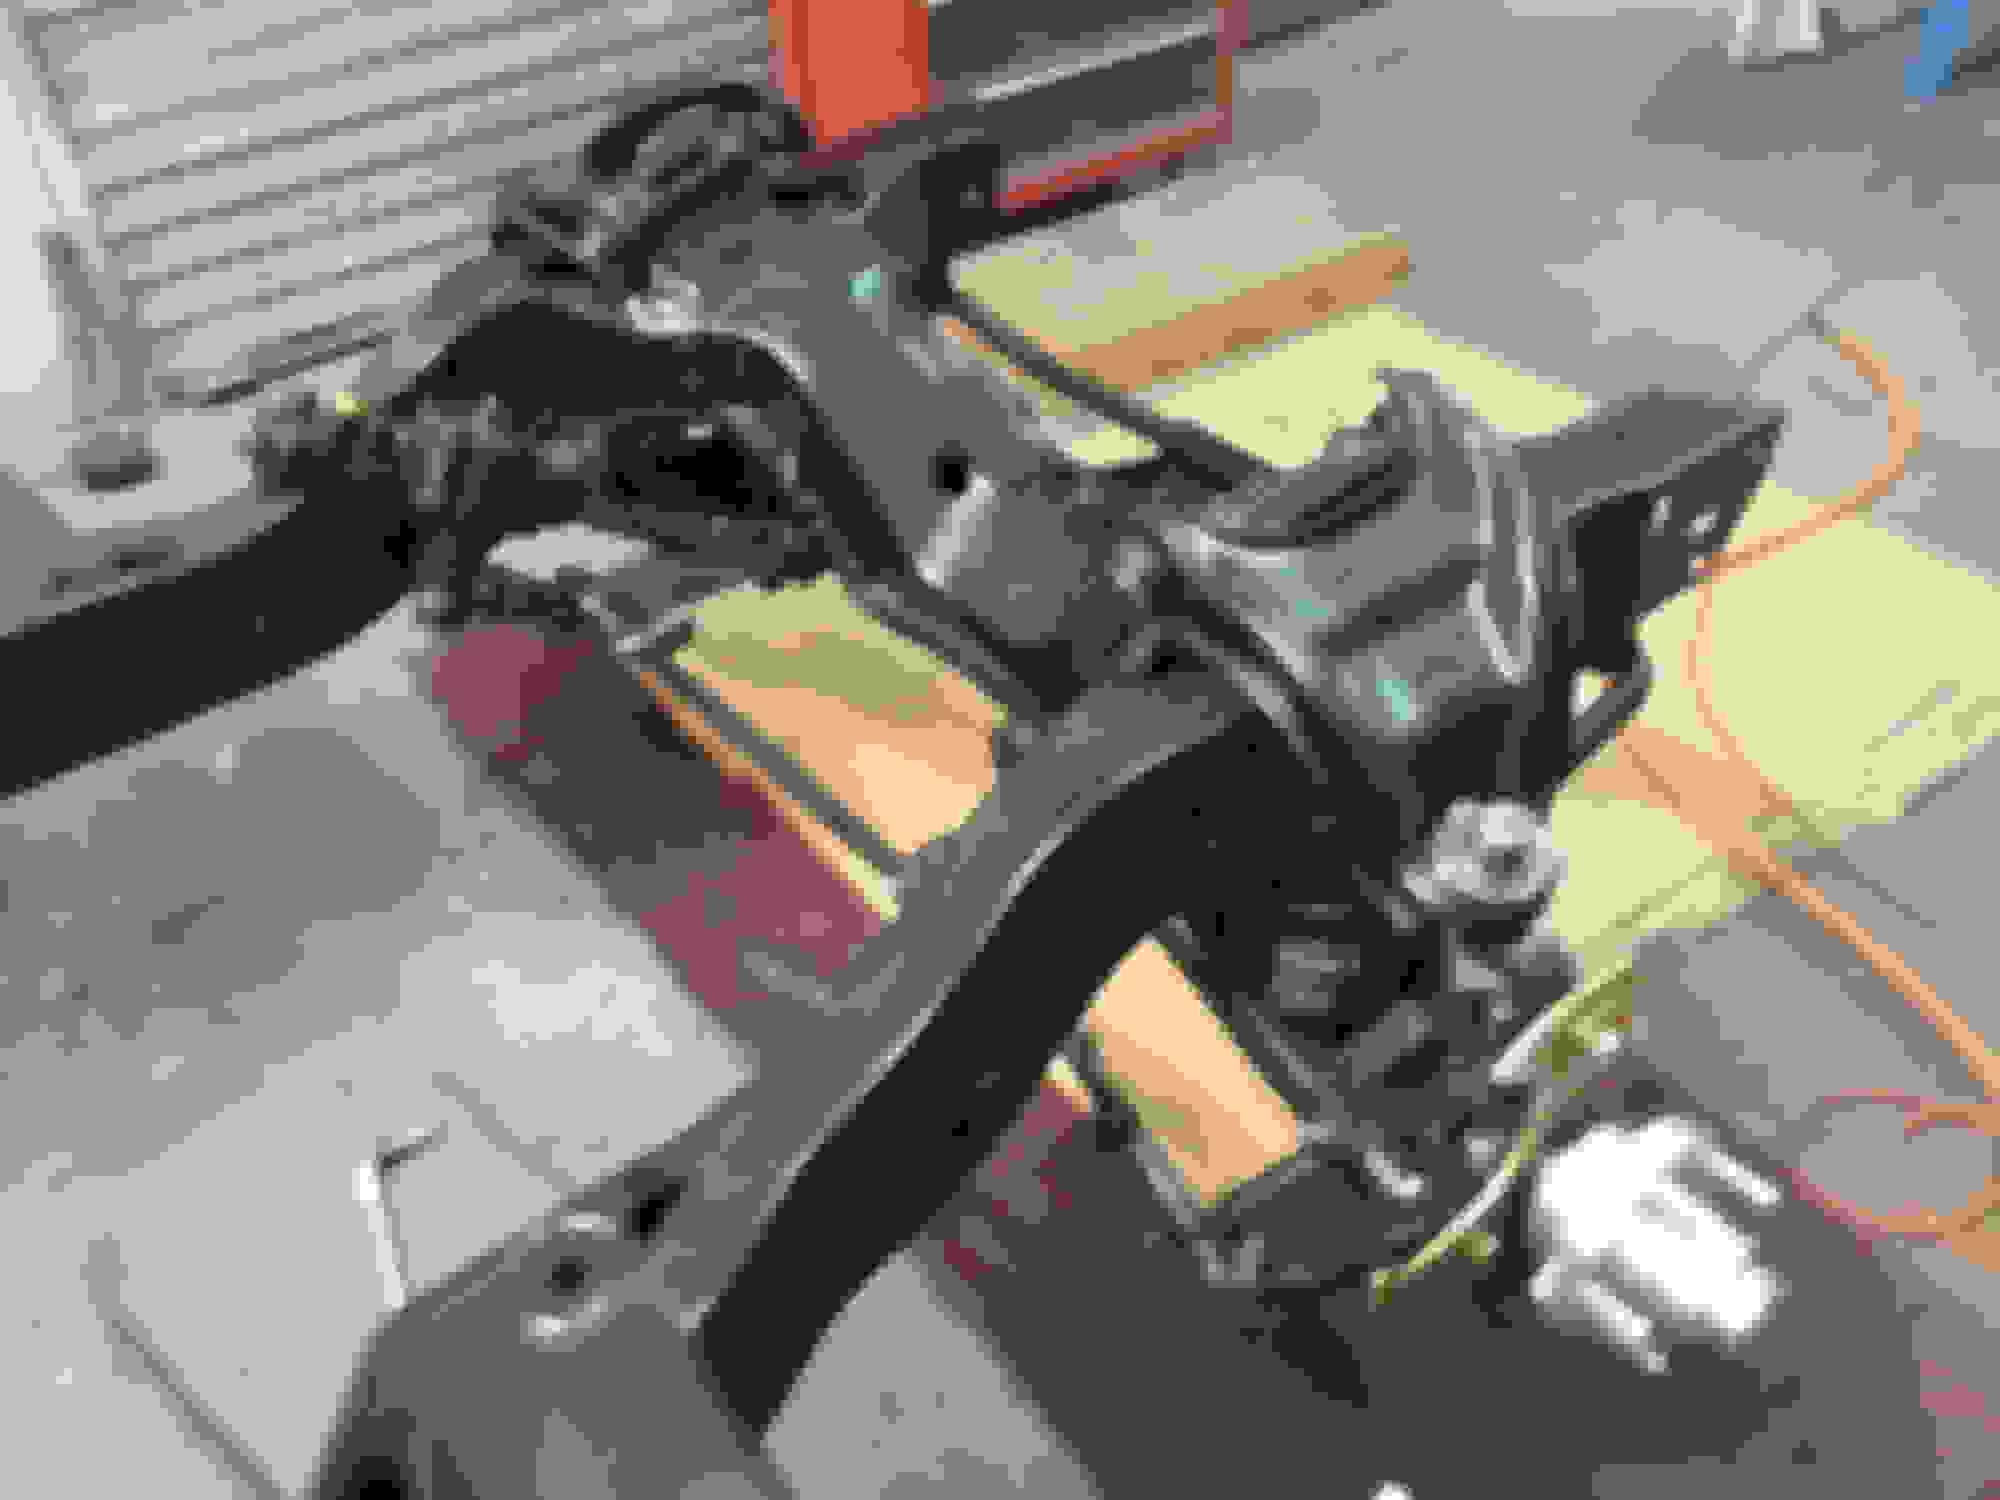
In the meantime , I've been working on a solution to mount the rear of the engine to the frame .
I used plywood to " mock up " the engine mounting plates I'm going to have to fabricate . The real plates will be copied in 3/16 plate steel .
The mounts themselves are 49 thru 53 Olds Hydra-Matic mounts .
The plates will bolt up just behind the transmission "ears " .
The stock '63 automatic crossmember looks like it will bolt into the stock location . It's 27 and a quarter inches from the bellhousing face to the center of the front motor mount . This is almost exactly the dimension from the back of the block to the center of the front mount . I may need to " adjust " the crossmember location slightly once I do the permanent installation . But it's pretty close . The stock 63 Olds clutch linkage looks like it may also align OK .
What size grit/sand are you using for the blasting ?
I have a 40# sandblaster from Harbor Freight . It works best with " fine " sand .
I get " play sand " (for kid's sandboxes ) from Lowe's . I usually re-use it about 3 times , before it gets too " powdery " to "cut " real well .
I could rent a large sandblaster and a " jackhammer " compressor and get it done much faster . But , there is a much greater chance of warping the sheetmetal .
I used a "siphon feed" blaster, years ago, but humid weather made the sand stick together. It also worked my old compressor harder because it blew mostly air. I also noticed that rust formed quickly, but I didn't have a good airline dryer. A good air line dryer may have helped, but "siphon feed" is not the best.
I think I have an 80 pound "pressure feed" from Northern Tool, but forgot where it came from. My compressor is a 5 HP, 60 gallon Sears.
Sheet metal warpage is a concern, for sure, or blowing a hole through in spots. I have a lot of blasting and floor board repairs to do on my 57. I'll be getting a rotisserie to make things easier.
What pressure are you using ? I was thinking 40-60 psi would be good.
Charlie that's very nice work your doing there, like the details.. That steering box makes a huge difference. Just getting to finishing stages on my 6 year F-85 build. Hoping to take it on the 2019 Hot Rod Power Tour next year..
I used a "siphon feed" blaster, years ago, but humid weather made the sand stick together. It also worked my old compressor harder because it blew mostly air. I also noticed that rust formed quickly, but I didn't have a good airline dryer. A good air line dryer may have helped, but "siphon feed" is not the best.
I think I have an 80 pound "pressure feed" from Northern Tool, but forgot where it came from. My compressor is a 5 HP, 60 gallon Sears.
Sheet metal warpage is a concern, for sure, or blowing a hole through in spots. I have a lot of blasting and floor board repairs to do on my 57. I'll be getting a rotisserie to make things easier.
What pressure are you using ? I was thinking 40-60 psi would be good.
Siphon feed blasters are practically useless , unless you are only sandblasting a small area .
The sand , as well as the air , must be absolutely DRY . I have two air dryers . One near the compressor , and one on the sandblaster .
An 80 # pressure feed blaster and a 5 HP compressor should be completely adequate .
Freshly sandblasted steel will rust rapidly . PPG recommends that the steel be re-coated a half hour after sandblasting to prevent " flash rusting ".
To help avoid warpage , keep the nozzle moving in a series of sweeping motions . Rather than concentrating in one spot . You can't " blow through " sheetmetal with a sandblaster , unless there was nothing but rust there anyway ..
A rotisserie definitely makes life much easier .
I usually blast between 60 and 100 PSI . I start at 100 and when I get down to 60 PSI , I take a break and let the compressor catch up .
Last edited by Charlie Jones; May 27, 2018 at 08:03 AM.