When you click on links to various merchants on this site and make a purchase, this can result in this site earning a commission. Affiliate programs and affiliations include, but are not limited to, the eBay Partner Network.
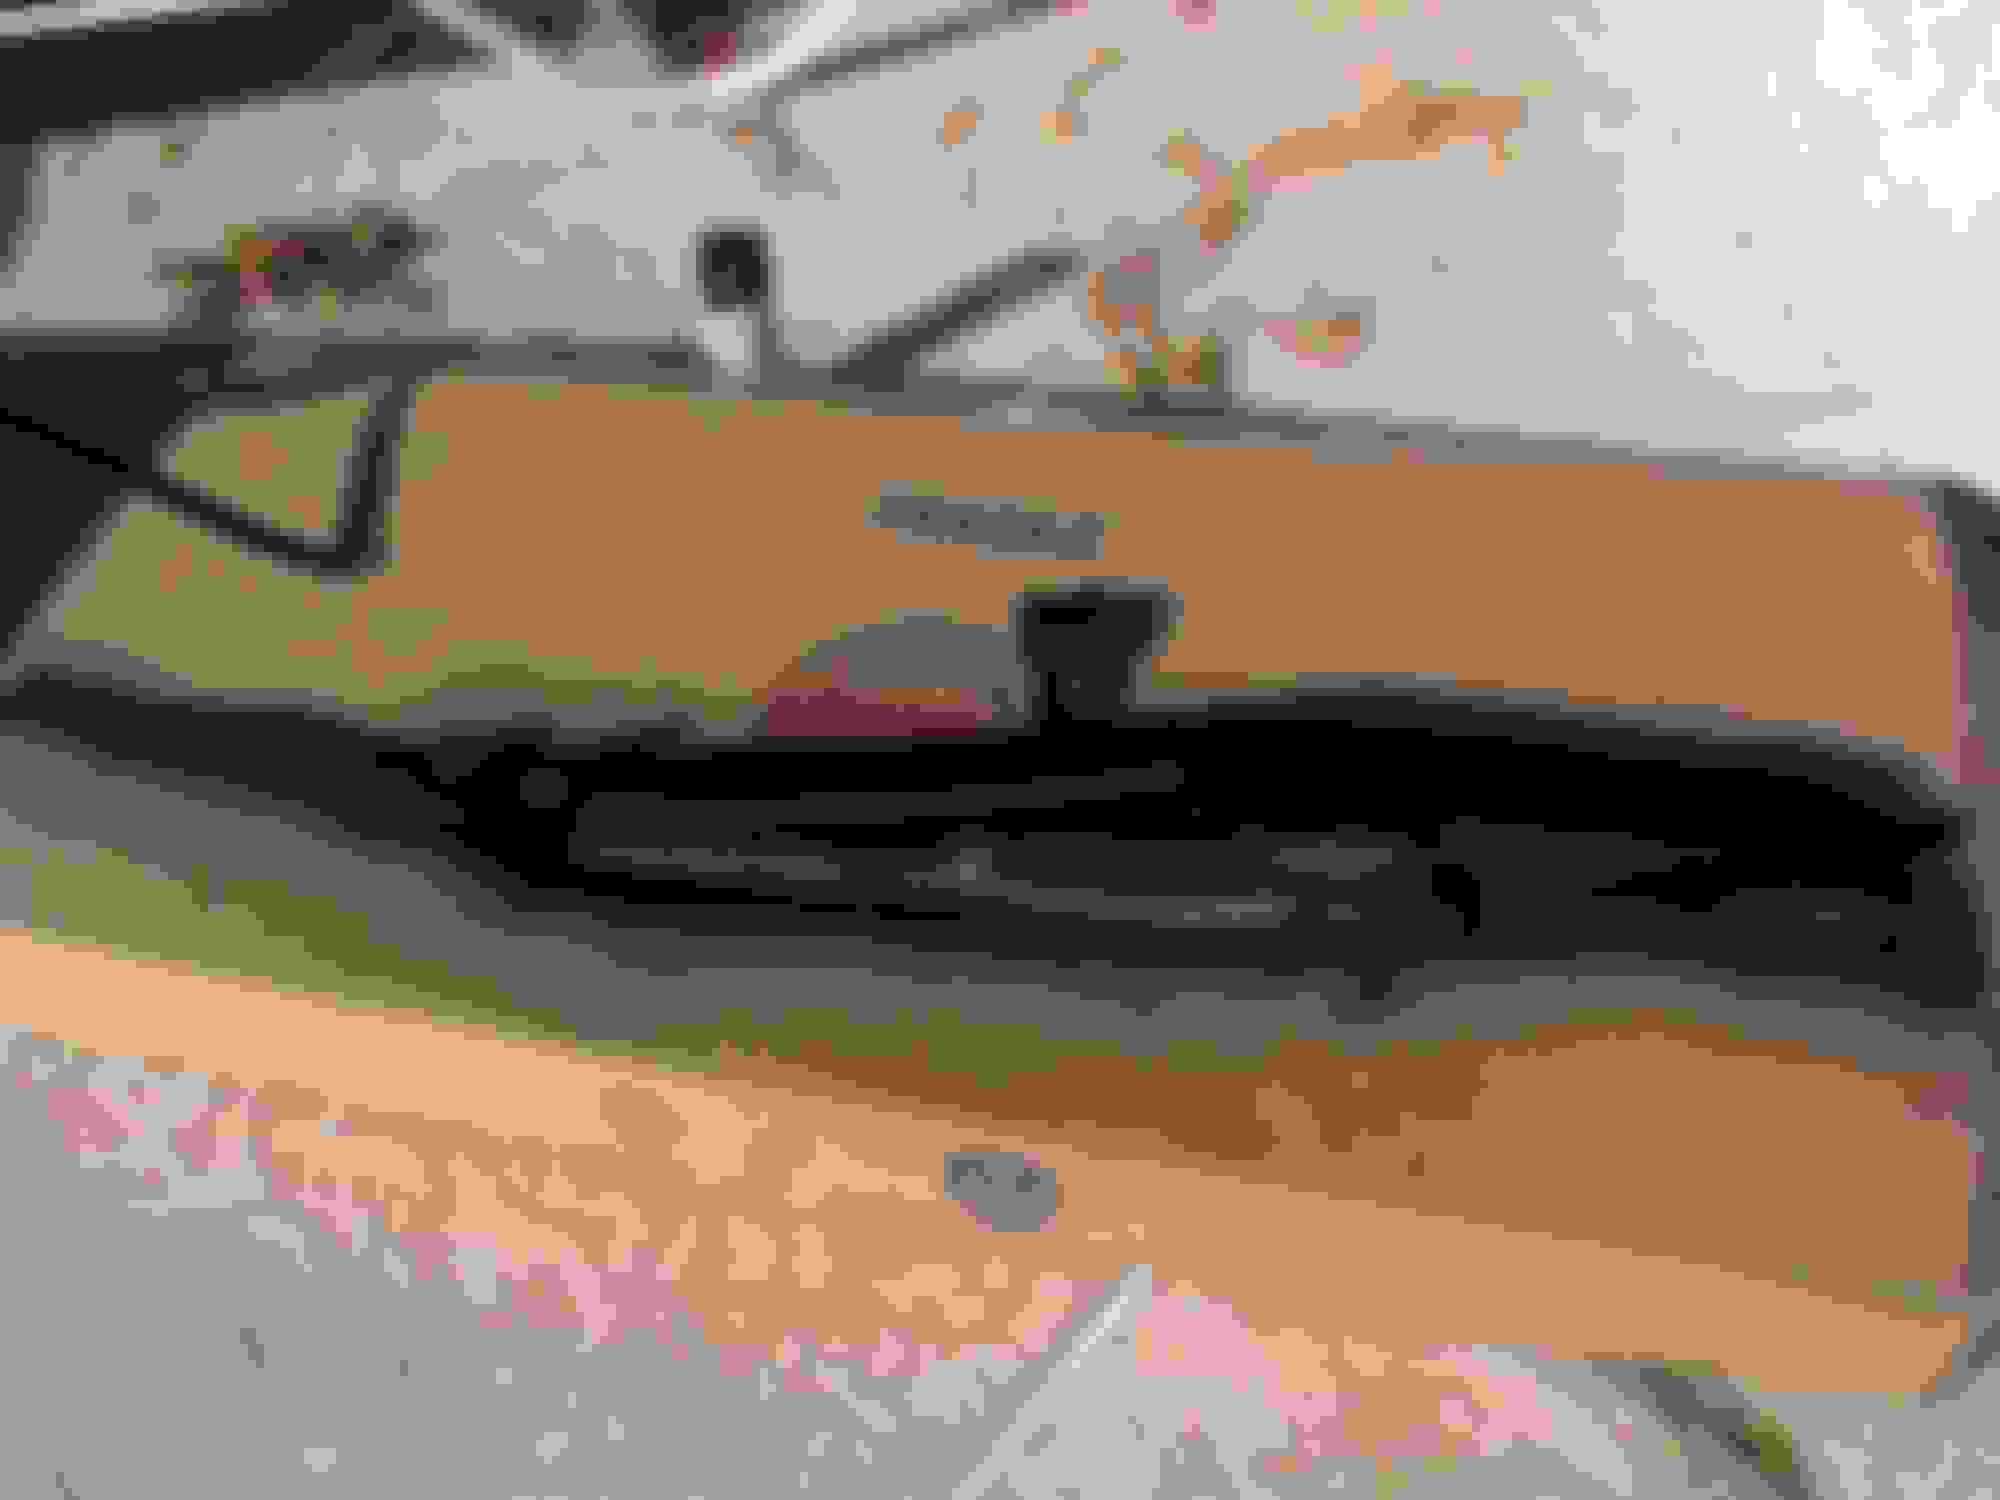
Hey fellow ClassicOldsmobilers. What is the best way to restore a rusty convertible top mechanism? I finally got mine to move after several liberal applications of PB Blaster. It moves freely now but has a lot of surface rust that I would like to remove before paint. I talked with my powder-coater here in Houston about blasting and powder coating it as a complete assembly, but he thought the powder would be too thick and limit motion.
Can I disassemble it to strip & paint the individual components? It looks like some pivot points are riveted together (not bolted) so disassembly may not be an option for me.
It's a very complicated mechanism and I'm concerned I will screw up the alignment of all the moving parts when I reassemble after paint.
I would love some advice from someone who has already done this. Thanks!
Rodney
Last edited by cdrod; Mar 9, 2019 at 06:16 AM.
Reason: typos
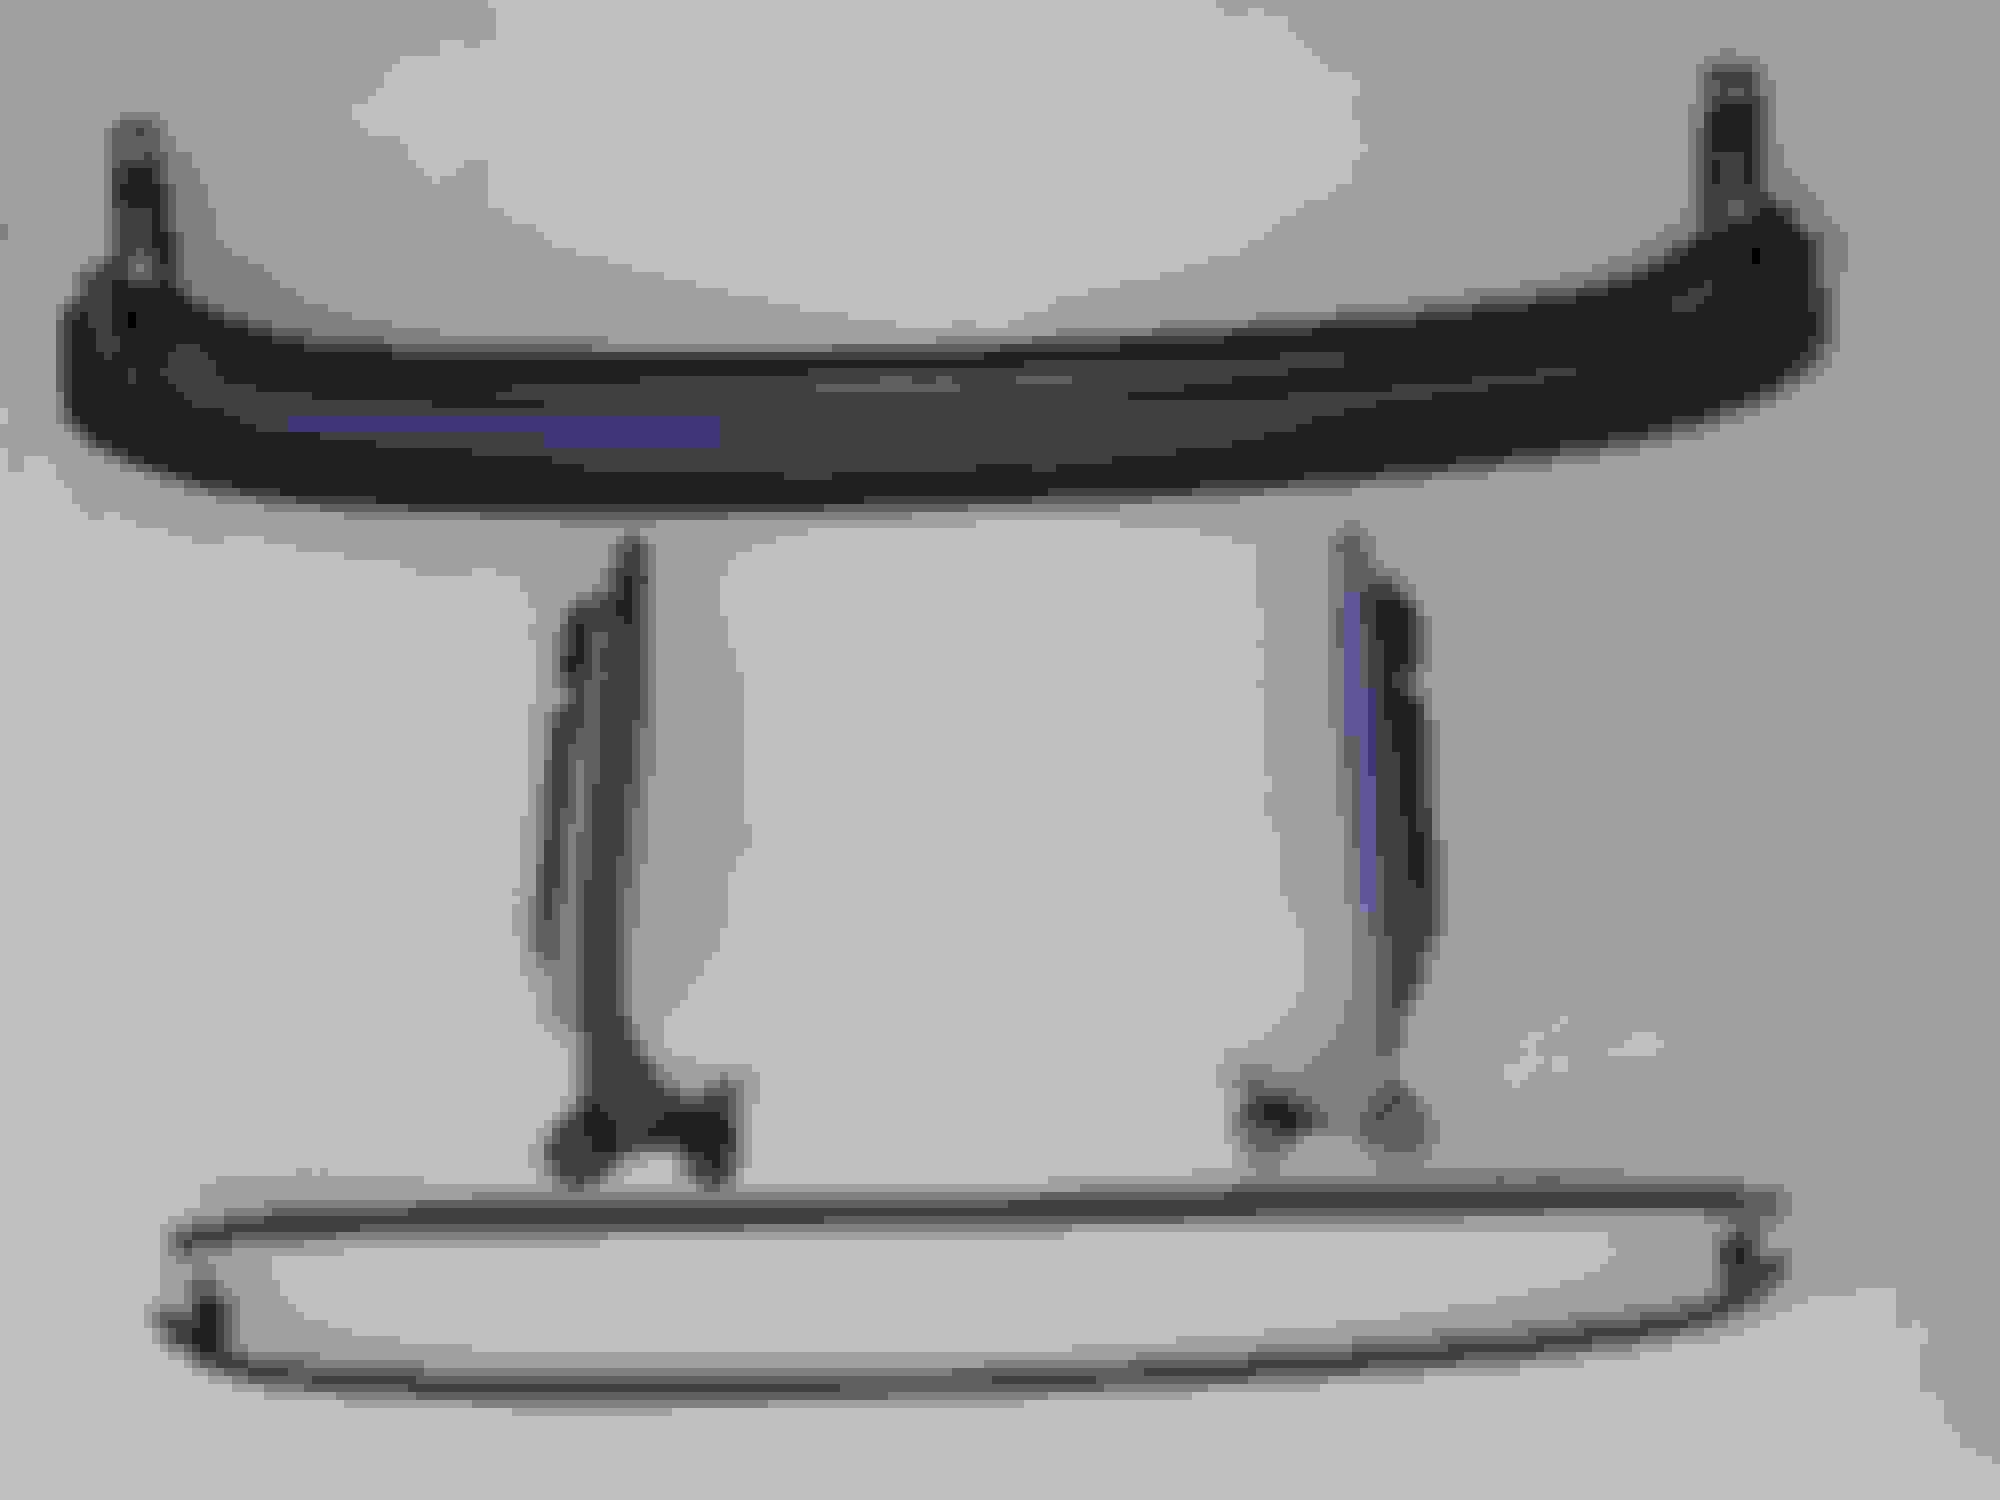
Yes, you can partially disassemble it, clean, paint, then reassemble. I did this back in around 2004 and it was a very straight-forward process. I didn't disassemble very pivot as you can see below, but I was still able to paint the frame and it still looks good today.
Kenneth:
Thanks for the comments and pictures. Was it difficult to reassemble and align properly after painting? Did you make witness marks to get everything back adjusted back to the same locations?
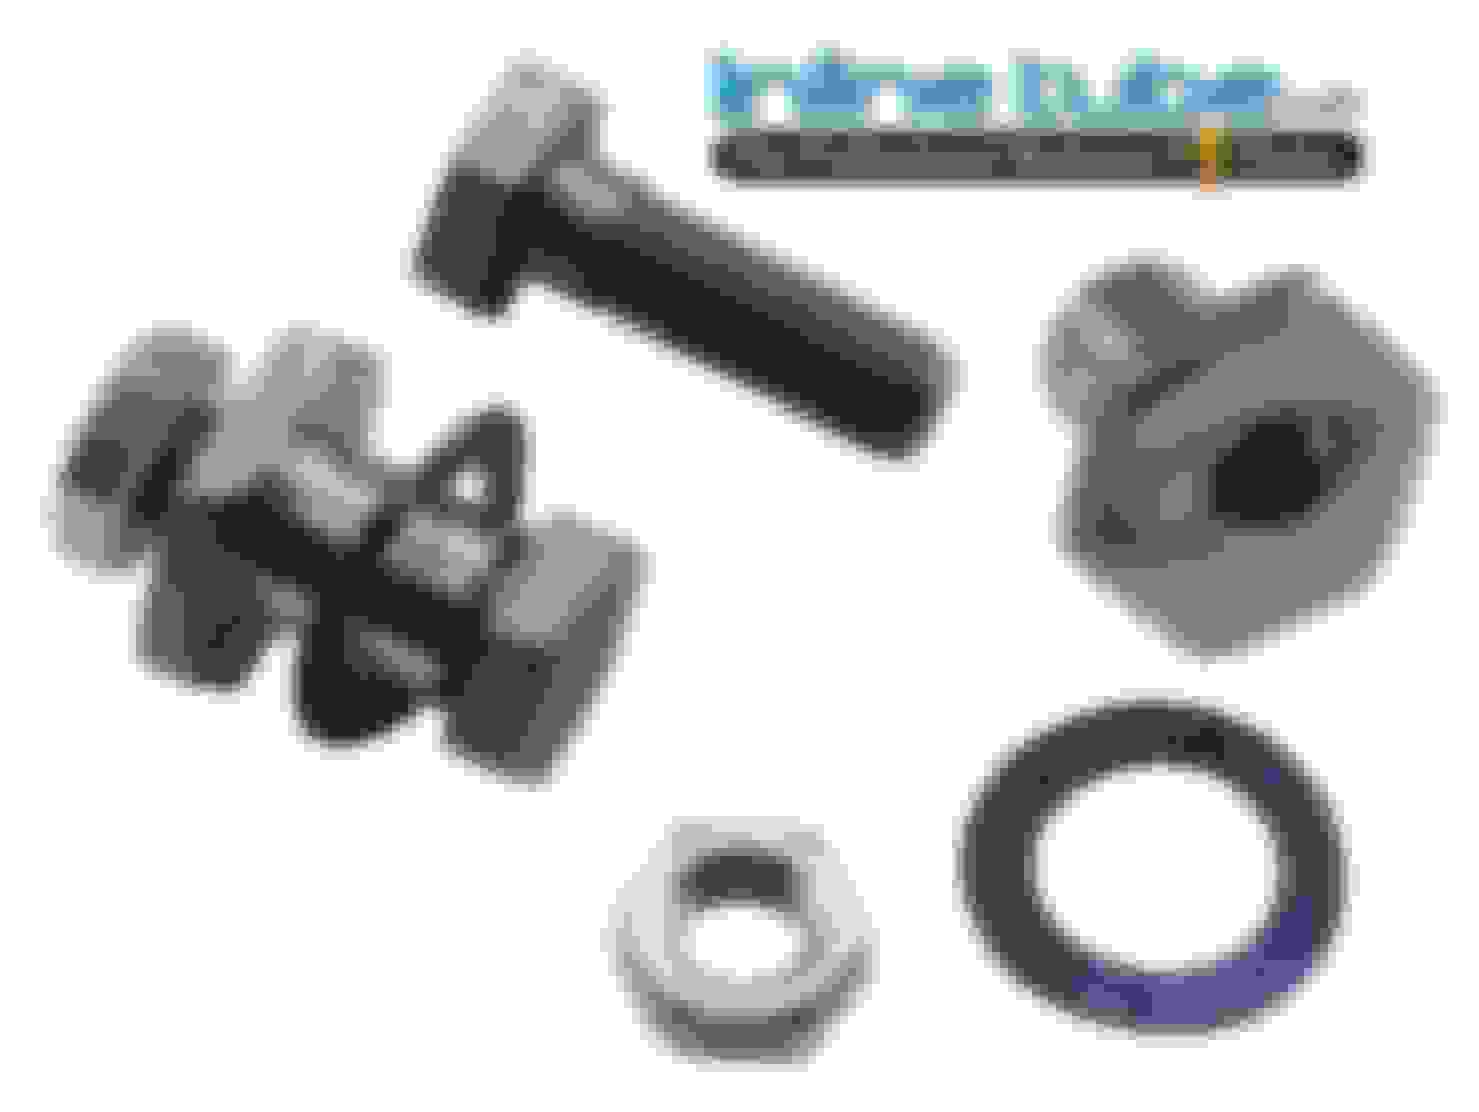
The parts went back together in correct alignment as the only disassembly was bolt/nut removal and as such reassembly was just replacing the bolt/nut. There was one joint that didn't have the original dual stepped shoulder bolt and someone had used a machine screw/nut in its place, so I had to make a replacement at the machine shop at work, but I have since seen those are available at the resto houses. Anyway, it was essentially take apart, paint, then put back together. No real issues, so go for it.
This is the aftermarket pivot bolt that I had to make as they weren't available back then. Seems kinda odd as what I machined seemed a bit simpler. Whatever, if you don't have access to a Bridgeport milling machine then this is a great replacement part.
.