
Re-covering package tray tutorial

Thread Starter
Registered User
Joined: Aug 2013
Posts: 3,900
From: Central Illinois
Re-covering package tray tutorial
I'm in the midst of changing my interior from sienna to black and thought it would be a simple matter to paint the package tray as well. BUT....I tore the vinyl and ended up redoing the entire tray. Also, I wanted to ditch the speaker grills I was using and have a cleaner, more stock, look.
[IMG]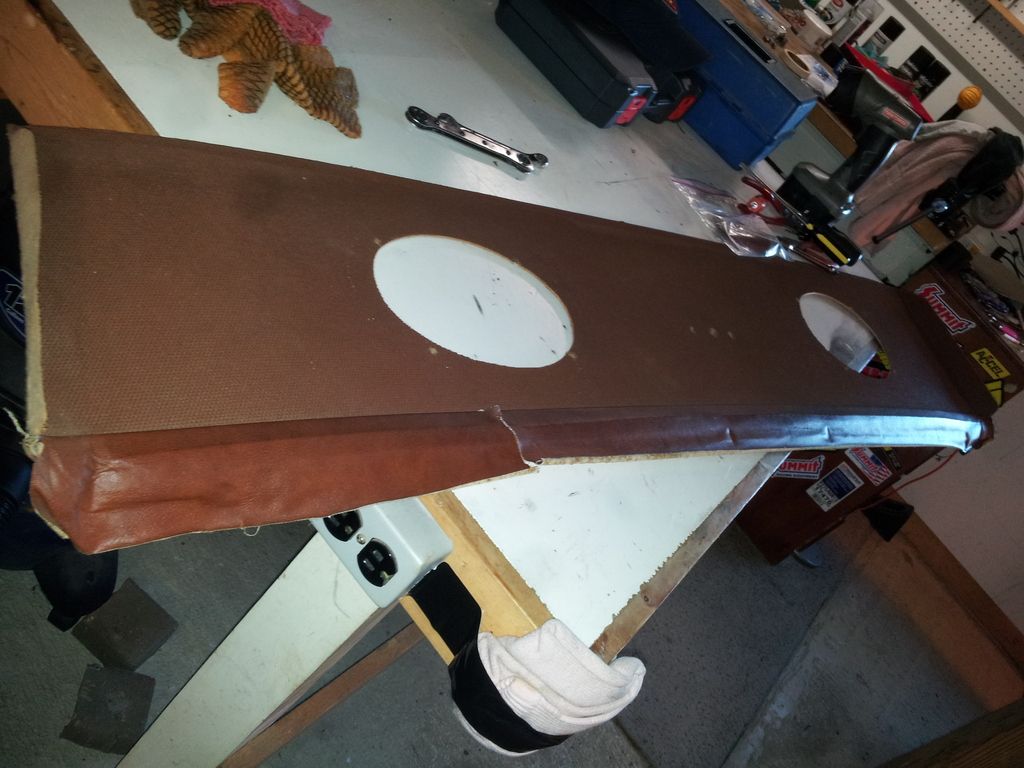 [/IMG]
The big question was speaker cloth or black burlap. I thought speaker cloth was a slam dunk until I compared the two. The speaker cloth was too slick and shiny. The burlap more closely resembled the original mesh.
The first step was to cut the stitching that held the vinyl wrapping assembly. Flip the tray over and the stitching is easily seen. It looks like an imposible task but I was able to cut each stitch, using an x-acto knife, in about three minutes. Then I just flipped it over and pulled the vinyl assembly from the tray, carefully. Then a little cleanup of the left over thread and it was good to go.
[IMG]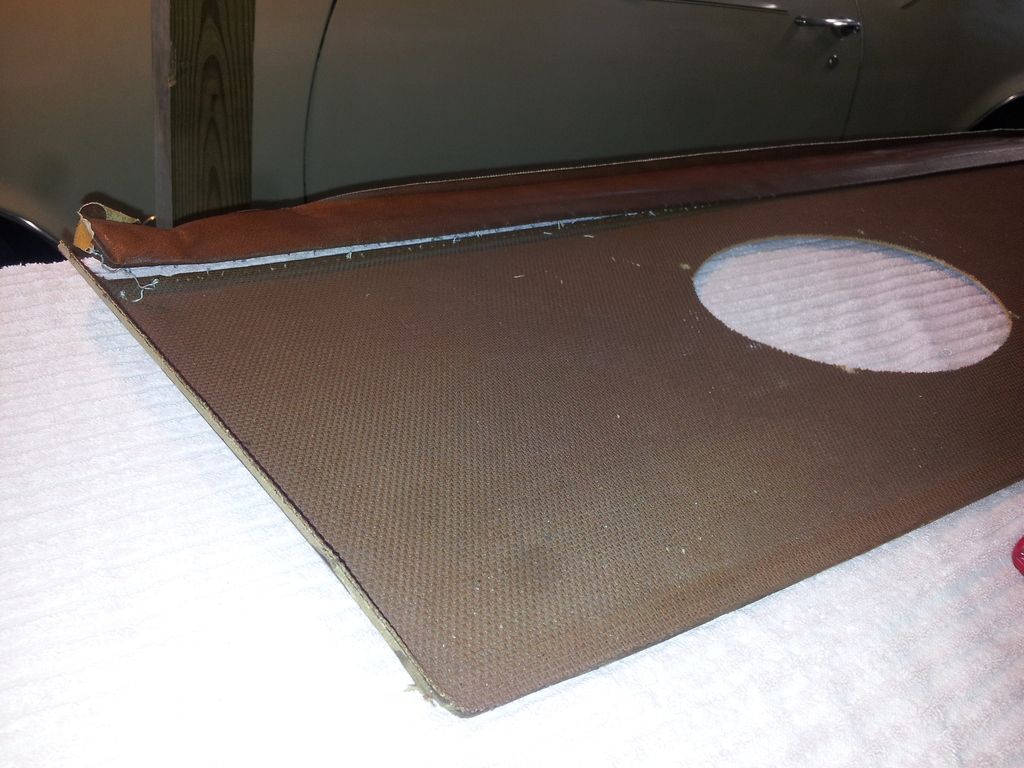 [/IMG]
[IMG]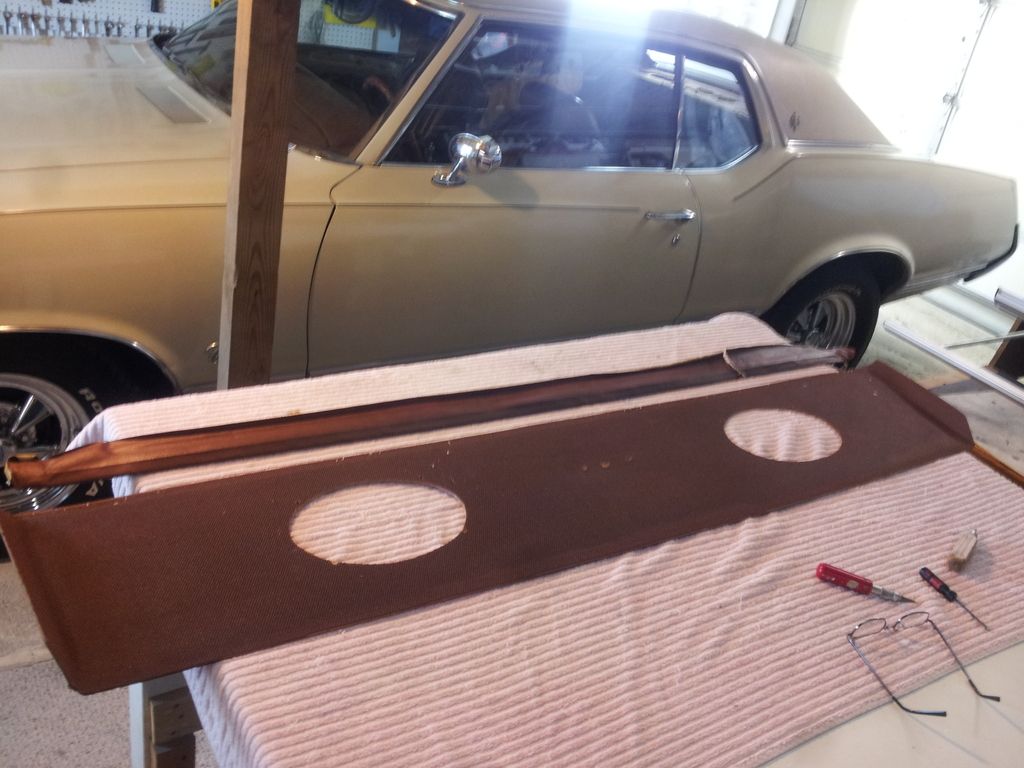 [/IMG]
All three pieces separated.
[IMG]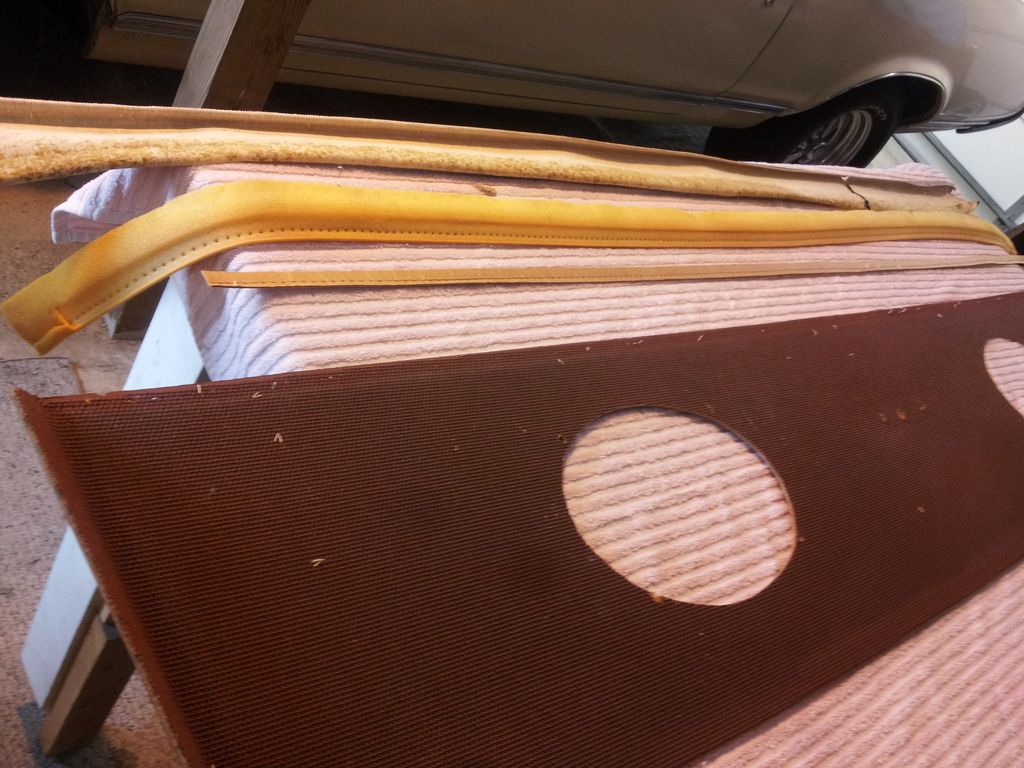 [/IMG]
The next step was to glue down the burlap. But it had a lot of fold lines and I wanted the weave to be fairly straight so I started by stretching the burlap onto a large board, making it tight but not TOO tight.
[IMG]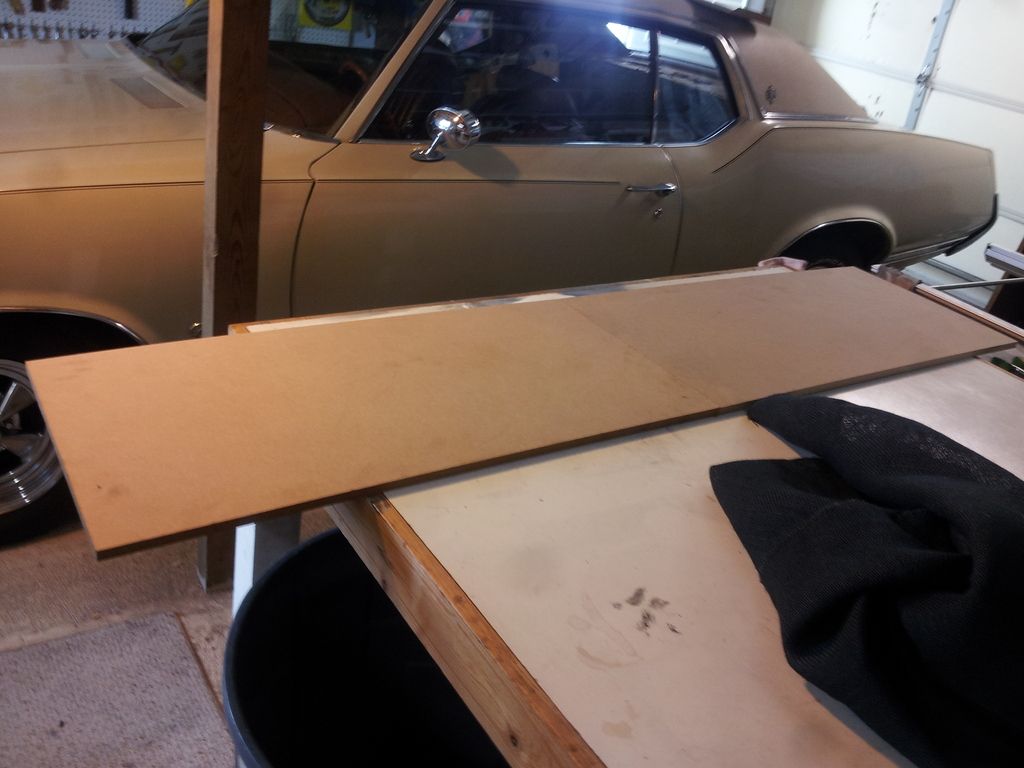 [/IMG]
I used 5/16" staples in my gun but only because they were the shortest I had. 1/4" would have been better. Years of stretching painting canvasses made this a simple thing to do.
[IMG]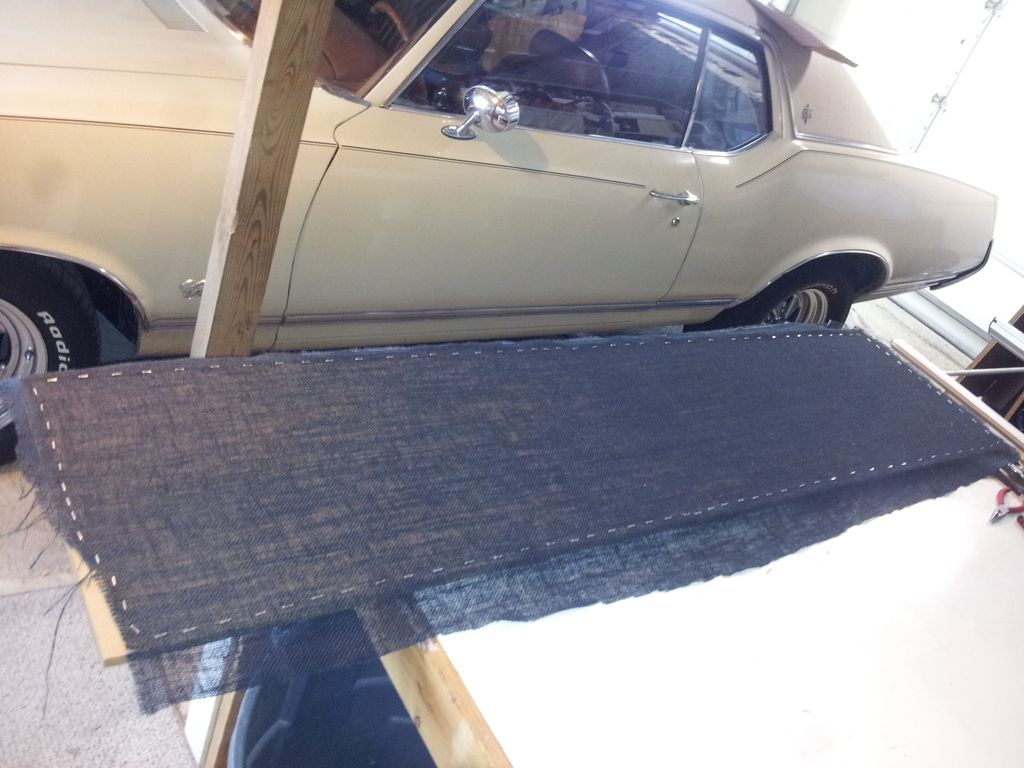 [/IMG]
Then it was time to coat both surfaces with the spray adhesive. I used the 3M 90 that is always advised by CO members. The stuff kinda' comes out of the can like silly string with very little over-spray or airborne adhesive. But the solvent fumes are still dangerous so have plenty of ventilation, watch for sparks and pilot lights, and wear the proper respirator.
[IMG]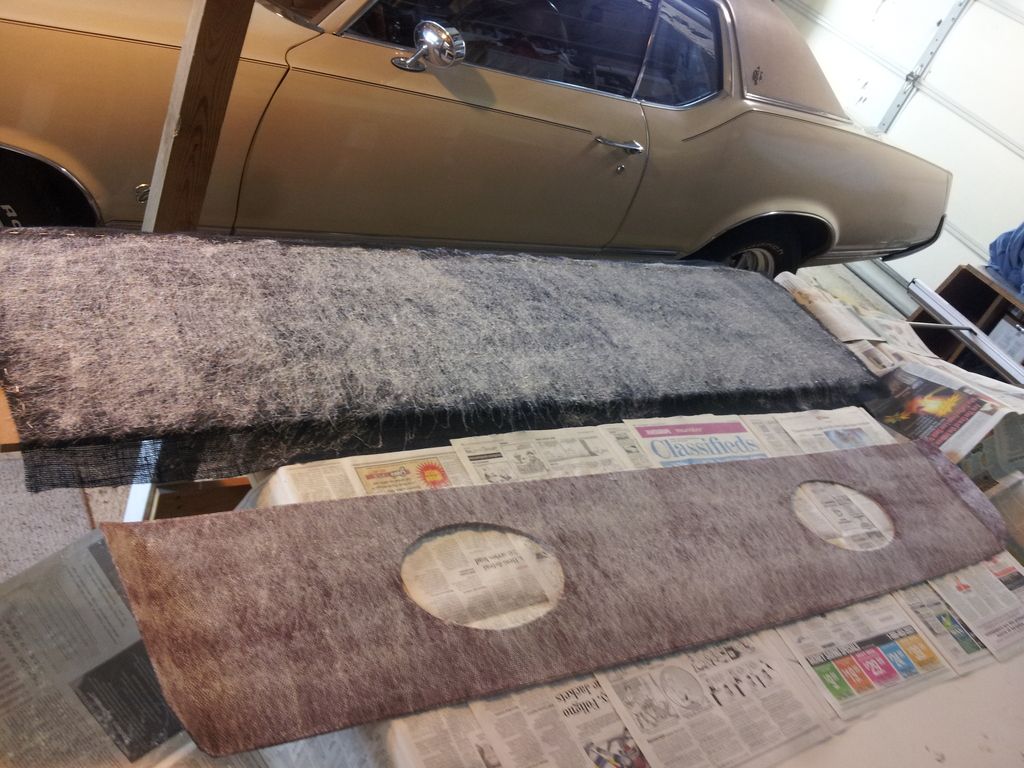 [/IMG]
Holding the tray with both hands, I bowed it, laying the center down first and working my way out to the edges. Then I rolled it down nice and tight with a brayer from my print-making days.
[IMG]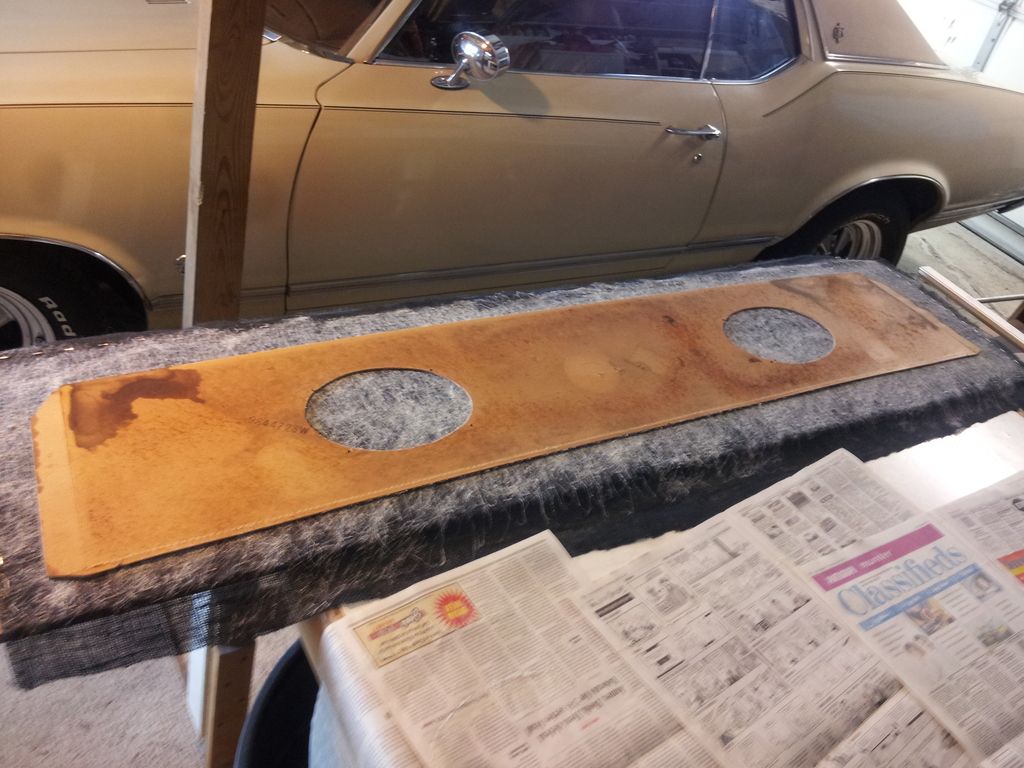 [/IMG]
Using the x-acto, I cut the whole thing from the board and then rolled it from the top.
[IMG]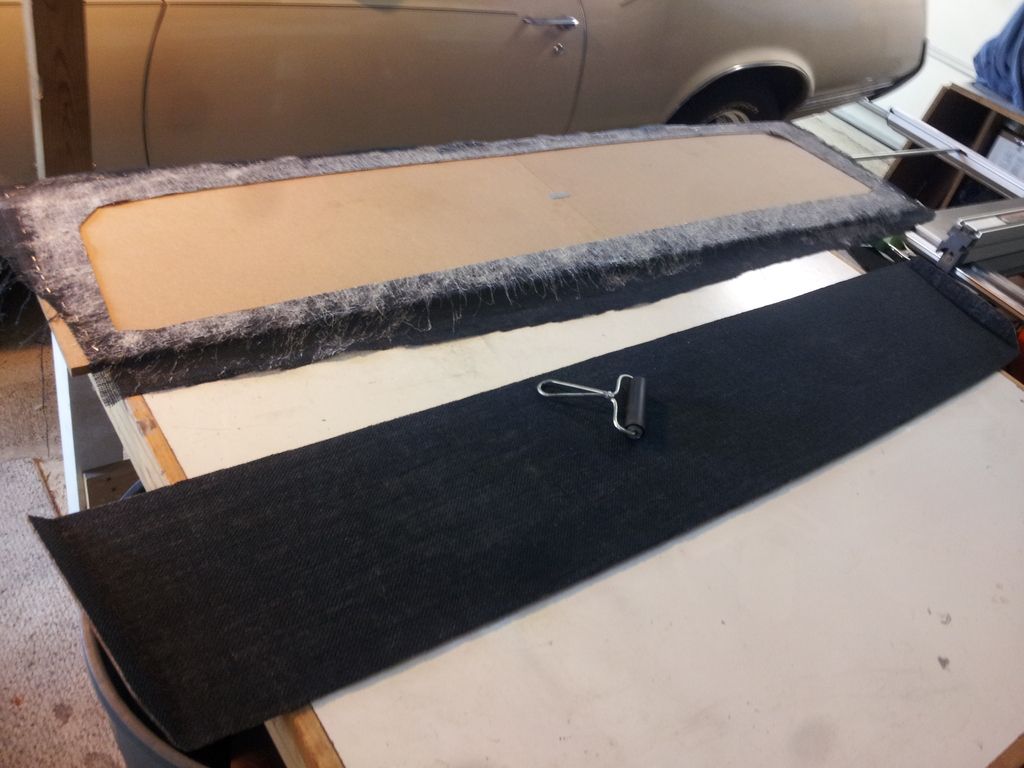 [/IMG]
Maybe I should have masked off so the speaker holes wouldn't be covered with adhesive. Instead I gave it a good spray with the Duplicolor black and ran a gloved finger over it to make sure it wasn't sticky.
[IMG]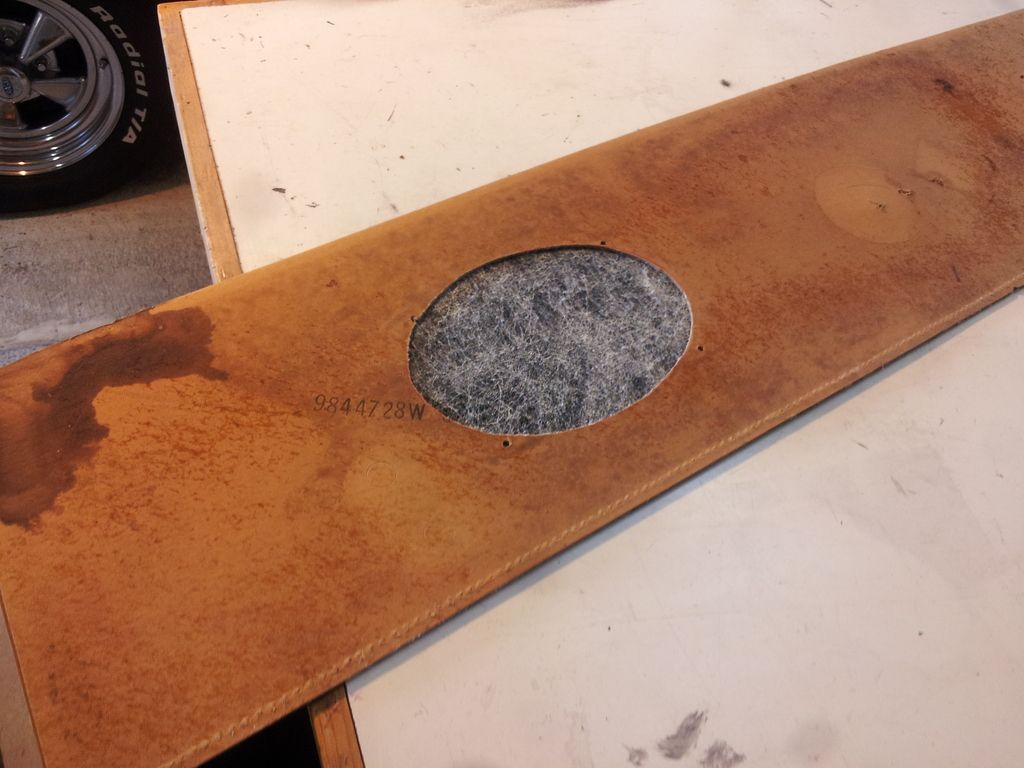 [/IMG]
THis pic is after a few coats of the Duplicolor black that I'm using for the interior. I feel painting the burlap is an important step in order to solidify and harden the burlap. Time to tackle the vinyl assembly
[IMG]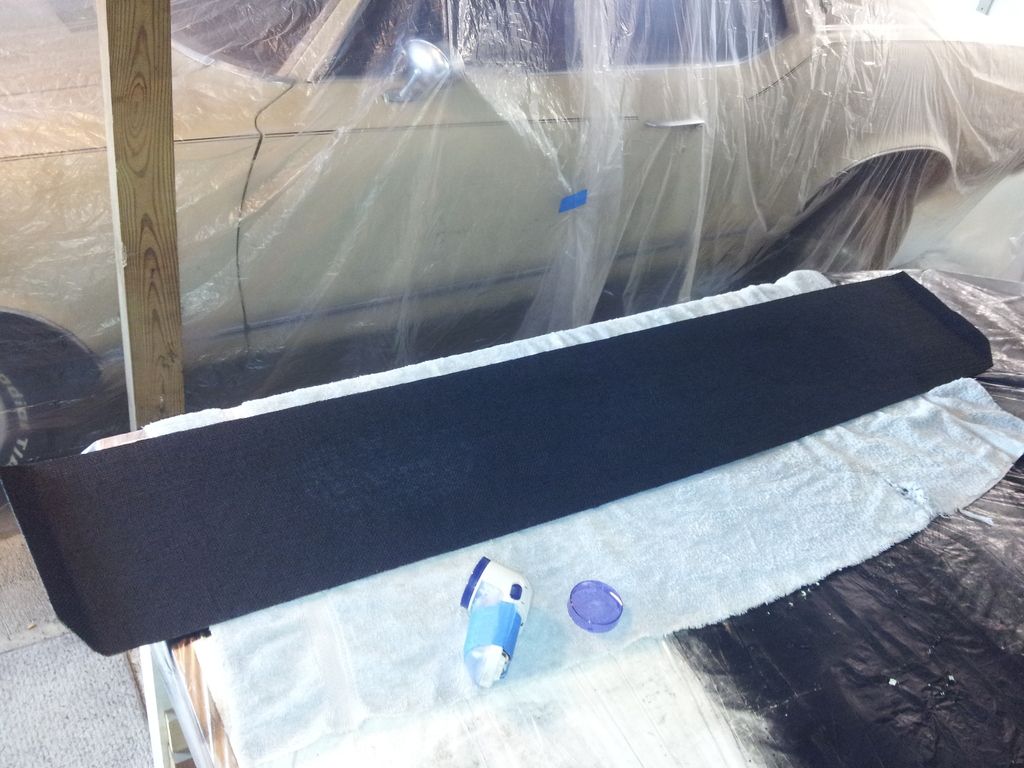 [/IMG]
With the flash on
[IMG] [/IMG]
In order to wrap the cardboard strip with the new vinyl and attach it to the tray, there was a lot of taping off and gluing...
The underside of the vinyl
[IMG]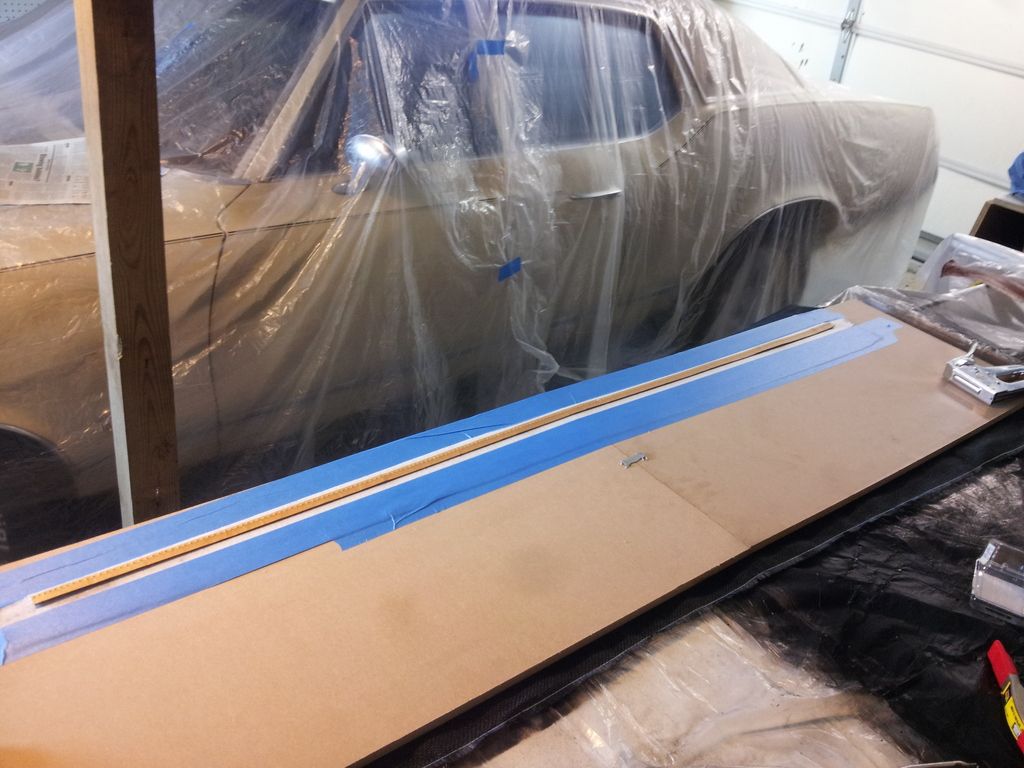 [/IMG]
All sprayed and starting to fold it over
[IMG]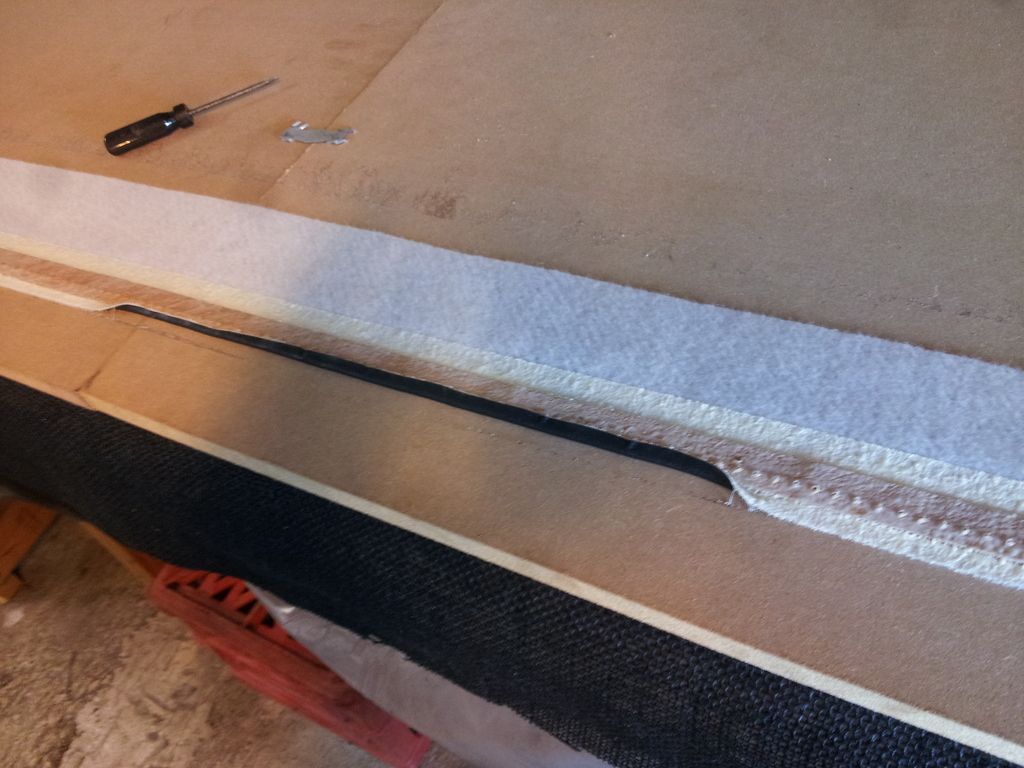 [/IMG]
I didn't get a pic but I also had to tape off the area on the tray in order to apply the adhesive to the tray and the vinyl. I think it looks pretty darn good. I used the wife's sweater shaver to take down the "hairyness" of the burlap and that worked pretty well. But I did F-up. Anyone notice what I forgot?
[IMG]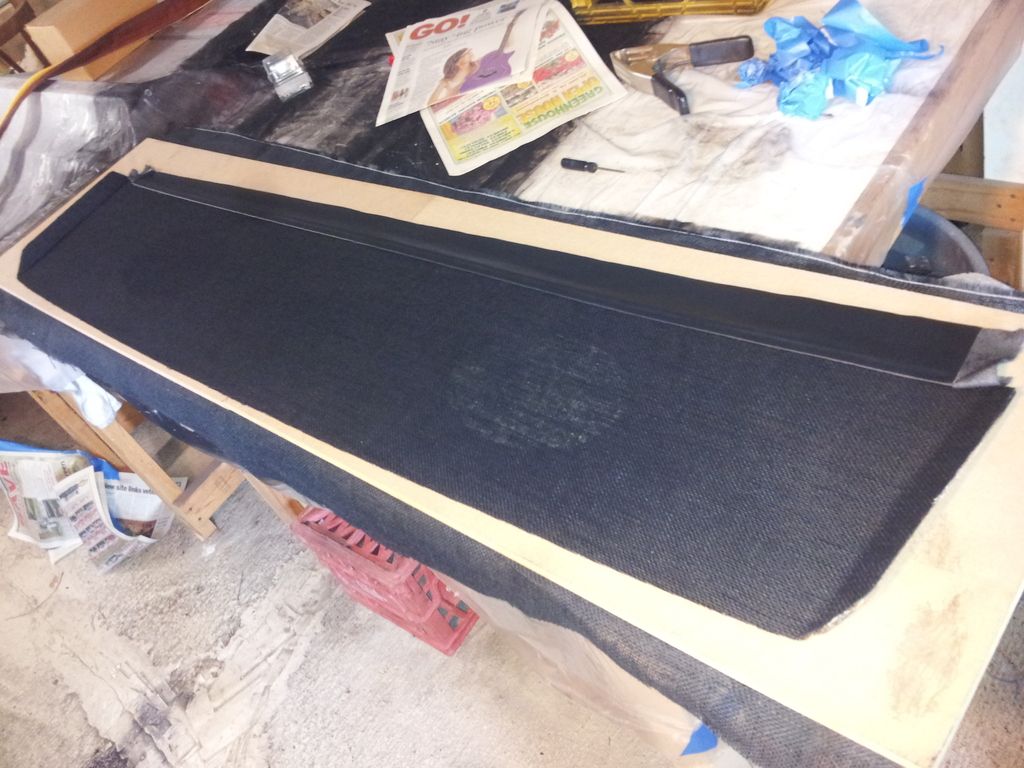 [/IMG]
Yup, I forgot the foam rubber strip") I'm hoping that it'll be okay to add it to the back of the vinyl flap before I install it in the car.
I'm hoping that it'll be okay to add it to the back of the vinyl flap before I install it in the car.
[IMG]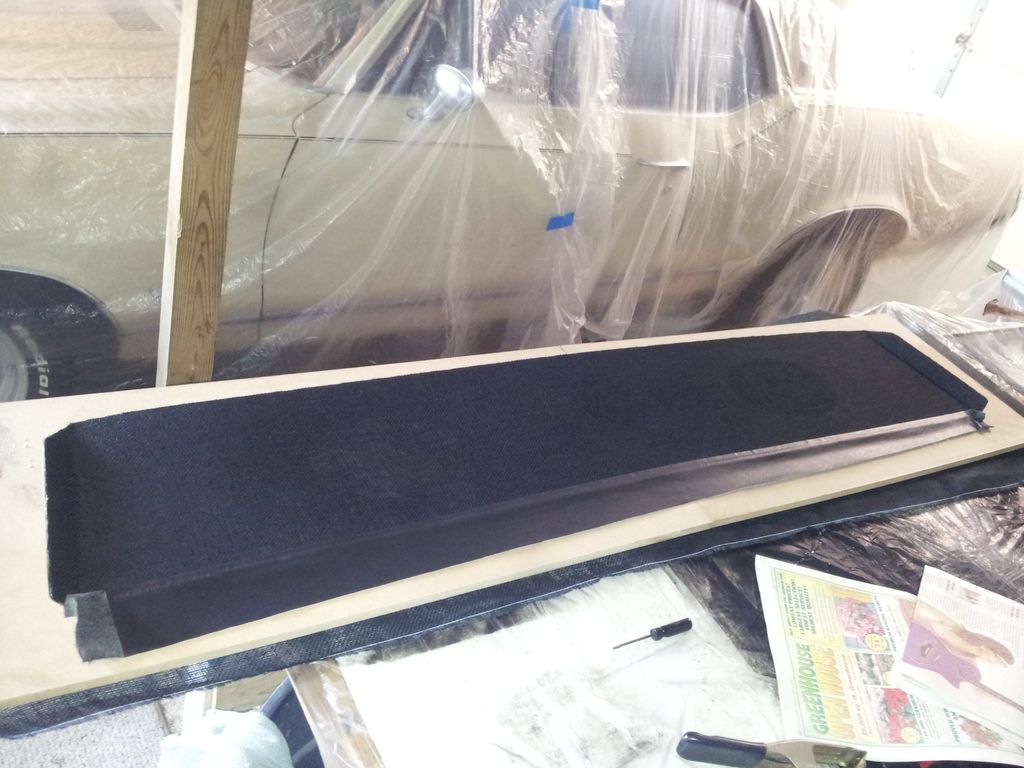 [/IMG]
In either case, I'm very happy with the look and feel of the painted burlap.
[IMG]
 [/IMG]
The big question was speaker cloth or black burlap. I thought speaker cloth was a slam dunk until I compared the two. The speaker cloth was too slick and shiny. The burlap more closely resembled the original mesh.
The first step was to cut the stitching that held the vinyl wrapping assembly. Flip the tray over and the stitching is easily seen. It looks like an imposible task but I was able to cut each stitch, using an x-acto knife, in about three minutes. Then I just flipped it over and pulled the vinyl assembly from the tray, carefully. Then a little cleanup of the left over thread and it was good to go.
[IMG]
 [/IMG]
[IMG]
 [/IMG]
All three pieces separated.
[IMG]
 [/IMG]
The next step was to glue down the burlap. But it had a lot of fold lines and I wanted the weave to be fairly straight so I started by stretching the burlap onto a large board, making it tight but not TOO tight.
[IMG]
 [/IMG]
I used 5/16" staples in my gun but only because they were the shortest I had. 1/4" would have been better. Years of stretching painting canvasses made this a simple thing to do.
[IMG]
 [/IMG]
Then it was time to coat both surfaces with the spray adhesive. I used the 3M 90 that is always advised by CO members. The stuff kinda' comes out of the can like silly string with very little over-spray or airborne adhesive. But the solvent fumes are still dangerous so have plenty of ventilation, watch for sparks and pilot lights, and wear the proper respirator.
[IMG]
 [/IMG]
Holding the tray with both hands, I bowed it, laying the center down first and working my way out to the edges. Then I rolled it down nice and tight with a brayer from my print-making days.
[IMG]
 [/IMG]
Using the x-acto, I cut the whole thing from the board and then rolled it from the top.
[IMG]
 [/IMG]
Maybe I should have masked off so the speaker holes wouldn't be covered with adhesive. Instead I gave it a good spray with the Duplicolor black and ran a gloved finger over it to make sure it wasn't sticky.
[IMG]
 [/IMG]
THis pic is after a few coats of the Duplicolor black that I'm using for the interior. I feel painting the burlap is an important step in order to solidify and harden the burlap. Time to tackle the vinyl assembly
[IMG]
 [/IMG]
With the flash on
[IMG]
 [/IMG]
In order to wrap the cardboard strip with the new vinyl and attach it to the tray, there was a lot of taping off and gluing...
The underside of the vinyl
[IMG]
 [/IMG]
All sprayed and starting to fold it over
[IMG]
 [/IMG]
I didn't get a pic but I also had to tape off the area on the tray in order to apply the adhesive to the tray and the vinyl. I think it looks pretty darn good. I used the wife's sweater shaver to take down the "hairyness" of the burlap and that worked pretty well. But I did F-up. Anyone notice what I forgot?
[IMG]
 [/IMG]
Yup, I forgot the foam rubber strip
I'm hoping that it'll be okay to add it to the back of the vinyl flap before I install it in the car.[IMG]
 [/IMG]
In either case, I'm very happy with the look and feel of the painted burlap.
Last edited by Macadoo; May 15, 2015 at 02:25 PM.
Thread Starter
Registered User
Joined: Aug 2013
Posts: 3,900
From: Central Illinois
Thanks cutty. I stood back after five hours work and thought, "wow, I did all that and didn't mess anything up". And then I turned around and saw the strip of foam rubber laying on the car. Lol, oh well.
Thread Starter
Registered User
Joined: Aug 2013
Posts: 3,900
From: Central Illinois
Thanks Randy. The speaker cloth would have been "okay" but I REALLY like the look of the burlap. Even better than the stock mesh, I think. I am a little worried that the vinyl is too short. The gal at the fabric store cut it too short and I didn't notice until it was too late.
Registered User
Joined: Apr 2012
Posts: 2,972
From: New Mexico
Thanks Randy. The speaker cloth would have been "okay" but I REALLY like the look of the burlap. Even better than the stock mesh, I think. I am a little worried that the vinyl is too short. The gal at the fabric store cut it too short and I didn't notice until it was too late.
Frank Ignachuck
Joined: Jan 2012
Posts: 1,302
From: Maynard, Massachusetts
Very nice job. Reminds me another post from some years ago:
DIY Package tray $25 (waaaay better then OER junk)
This method turned out to be a perfect match for the package tray on my 56 Super 88.
Frank
DIY Package tray $25 (waaaay better then OER junk)
This method turned out to be a perfect match for the package tray on my 56 Super 88.
Frank
Thread Starter
Registered User
Joined: Aug 2013
Posts: 3,900
From: Central Illinois
Thanks Eric. It's been a while. Tell me you're not still buried in snow up your way.
Very nice job. Reminds me another post from some years ago:
DIY Package tray $25 (waaaay better then OER junk)
This method turned out to be a perfect match for the package tray on my 56 Super 88.
Frank
DIY Package tray $25 (waaaay better then OER junk)
This method turned out to be a perfect match for the package tray on my 56 Super 88.
Frank
Connoisseur d'Junque
Joined: Sep 2010
Posts: 21,183
From: The Hudson Valley

Thread
Thread Starter
Forum
Replies
Last Post


