When you click on links to various merchants on this site and make a purchase, this can result in this site earning a commission. Affiliate programs and affiliations include, but are not limited to, the eBay Partner Network.
I do not know. I got one from Fusick's like around 20 years ago or so, and I wasn't impressed. It was a little lighter than the original scoop which had a crack in it. Wasn't sure if I was going to need one, but turned out I could fix the crack. I never put it on, nor did I even check to see if it fit. It appeared as the studs weren't in the same exact locations, but I could be wrong on that. It also didn't seem to have the same construction as the original. It was one of the first repros, though. Hopefully they've got better. Wasn't terrible, but wasn't an exact match, IMO. Obviously you would need to fit it to the hood and possibly sand/trim for proper alignment and snug fit most likely whichever one you got.
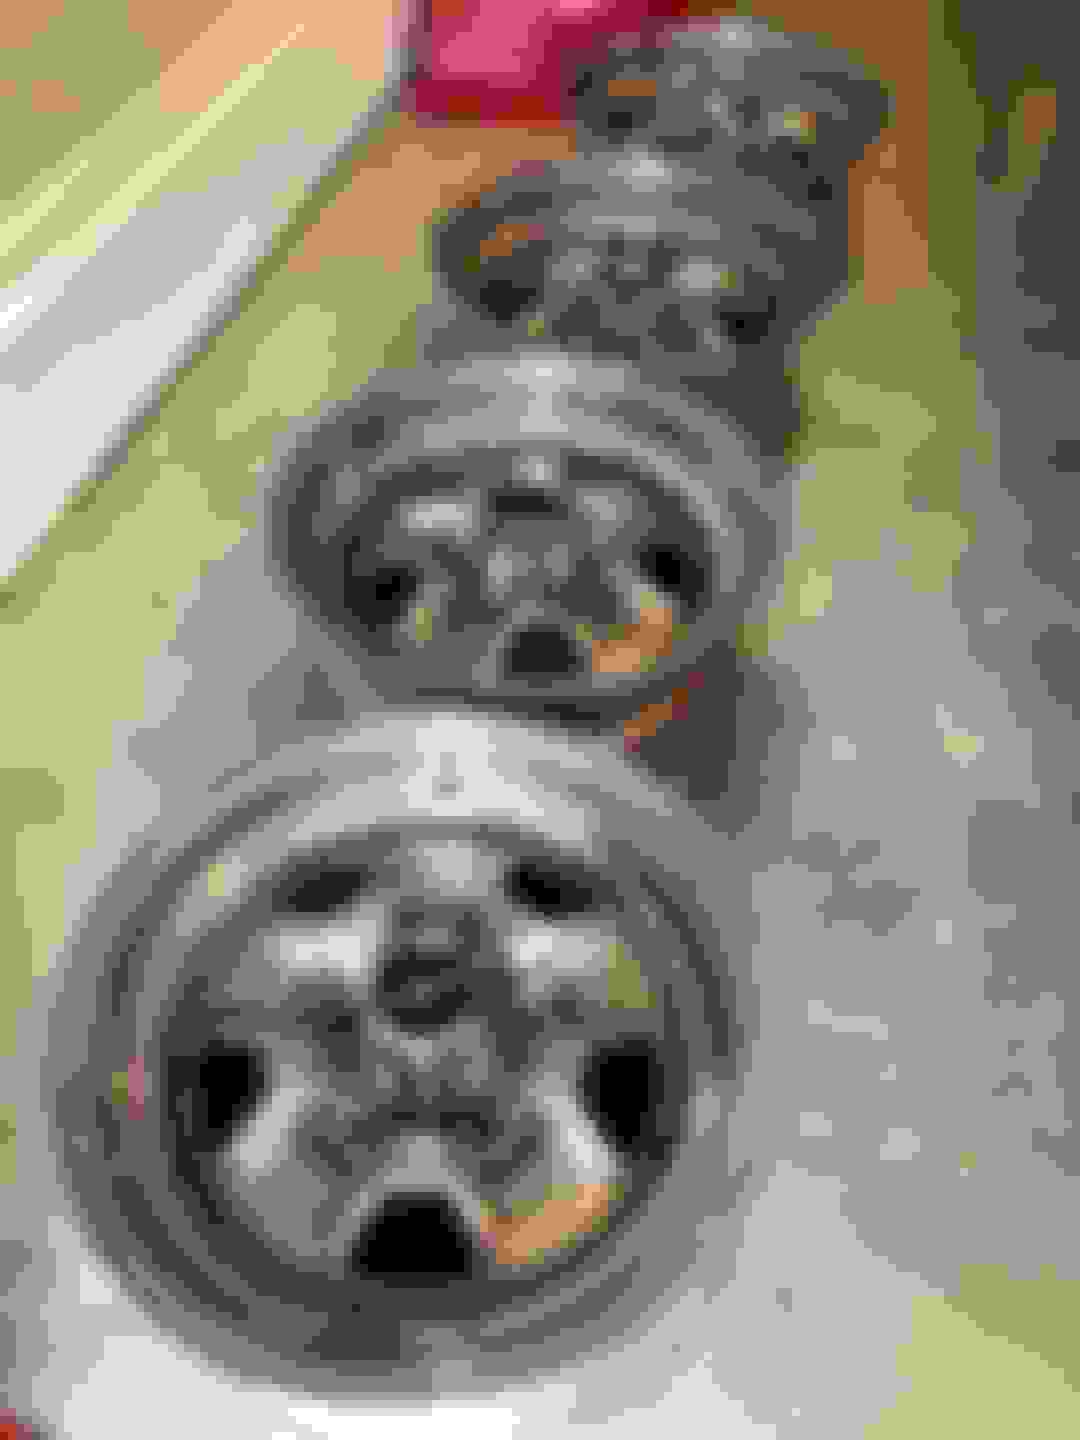
I never weighed my original scoop but TPP claiming 12 lbs. doesn't seem to be far off that mark. My car was an early car WITHOUT the reinforcement "X" strips on the bottom. I don't know when they started doing that. I'm getting the feeling that never made much difference anyway. I think they all sunk down a little in the middle regardless.
So I'm having a hard time getting myself to cut a hole in my 442 hood for the H/O scoop. What's the worst that could happen if I don't, the wind will blow off the scoop, lol. If I do cut it, should I make a clean square or do I cut it with the drill holes showing? Sorry, I know stupid questions the heat is getting to me. Ty
Measure it 14 times. Then measure one more time before you hack any holes. Also, paint the hood AFTER the hole cut, or if not, you'll need to address the naked steel edges. I'd file them smooth and paint the edge with some sort of rust preventive coating of your choice. Same with the drill holes for the scoop mounting.
My car's hole measurements are as follows:
Hole dimension is 5-7/8" front to back. 5-9/16" side to side. The corners were drilled out with a 7/16" drill bit first, and then a "precision" sawzall was used to hack out the rectangle.
Rear of rectangular hole start, measured with a Dewalt rollup steel measuring tape, is 20-7/8" from the back of the hood, WITHOUT the rear stainless hood trim installed. Pulled straight without trying to contour it to fit the hood curvatures.
Rear center hole for hood scoop mounting is 19-11/16" from the back of the hood, WITHOUT rear stainless hood trim installed. Again, using the steel measuring tape. This dimension lands you in the center of the rear-most scoop mounting hole.
Stripe, if you desire that, starts 13" forward of the big hole and tapers down quickly. The front of the hood scoop center should cover up a bit of that. But that's usually only needed for re-striping an H/O.
The rear scoop mounting hole seems to be ok even if you don't get it exactly 20-7/8" to the rear of the hole. Say if you end up with 20-5/8" to the rear hole for example, just adjust the rear mounting hole back 1/4" to situate the hood scoop properly. Or not, it probably wouldn't make much difference. There's only like 1-3/16" space between the rear of the big hole and the rear-most scoop mounting hole. At least there is with my car's scoop.
No two cars are exactly alike. So getting it perfect is a futile effort. In this situation close enough is good enough. Which is, apparently, the Chinese reproduction parts mantra.
Here's a pic from underneath of what a 69 H/O hood hole appears like.
Will those scoops work on the flat hood? Just replaced a perfect F-85/CS hood on my 69 S, it�s available in PA. Then you could keep your original intact.
Will those scoops work on the flat hood? Just replaced a perfect F-85/CS hood on my 69 S, it�s available in PA. Then you could keep your original intact.
If by "flat hood" you mean the F85 and more-door hood, no it will not.
Thank you for the excellent detailed description. I thought I could get away without cutting the hole because it's so final , but that probably won't work. Thanks again. Tom
Last edited by tt455; November 22nd, 2021 at 04:29 AM.
I finally had some time to work on the car a bit. First off the hood scoop looks great out of the box, but it is not true. When I centered it on the hood to the center of the scoop it's off, not horrible but enough to bother me. The pre drilled holes are terrible and the stainless allen bolts are too short along with the washers being to small. I had to buy all new hardware. I had no problem cutting the hole in the hood, but trying to get this scoop on is kicking my butt. I made a template and the first hole is on point in relation to the scoop and the back of the hood. I put a stud in the first hole on the scoop and then put the screws in the rest of the holes with paint on them, then lowered the scoop on the hood to locate all my drill points. I must of measured 20 times and I feel like I'm always off a fraction, I don't know if it's me, the scoop, or the hood, but probably all three of us. I'll get it eventually, this should be so easy had to walk way, tomorrow is another day. It's on just not screwed in yet.
I had the new windshield put in, I repainted all the wheels the correct color, they where purple before. The H/O wheels I'm saving for later. Installed the rear spoiler, put on all the wheel well molding and fender trim. I have the new outside mirrors on and painted all the headlight bezels and grille. New bumpers are ready to go on next and then I'll visit the painter. Then I'll have to take everything off again, and bring it back. At least I'll know everything will fit and no drilling after paint will be necessary. I'll detail the engine after also, too dusty at the body shop. All my new seat upholstery, emblems, carpet came in, it will be last thing to do. I think I'm going to try and cover the rear seat first by myself. It will be my first, but I'll give it a whirl.
Last edited by tt455; November 7th, 2021 at 06:12 PM.
Man, that car looks cool. It actually looks good just like it is - primer and all. Great combination of styling and parts. I actually bought a second '69 a couple of years ago and my plan was to make it sort of an H/O clone beater. Like an original car that had been sitting for a number of years and lived a rough life rather than try and make it look too good with great paint, interior, etc. In the end I decided to just make it more of a Cutlass hot rod so no H/O parts but you may have me rethinking that idea!
Man, that car looks cool. It actually looks good just like it is - primer and all. Great combination of styling and parts. I actually bought a second '69 a couple of years ago and my plan was to make it sort of an H/O clone beater. Like an original car that had been sitting for a number of years and lived a rough life rather than try and make it look too good with great paint, interior, etc. In the end I decided to just make it more of a Cutlass hot rod so no H/O parts but you may have me rethinking that idea!
Dino, retro, acavagnaro thanks so much it means a lot to me.
acavagnaro, that would look awesome, but the hot rod idea is cool too. A buddy of mine just purchased a real 70 Buick GSX and he's doing exactly that. It's in nice shape anyway but he's driving and enjoying the car the way it was meant to be. He's only fixing what needs to be fixed. Good luck!
Your car is looking great!! I also like it in primer….
I still remember when I had my HO painted and it looking like that prior was a great memory….
can’t wait to see the finished project.
So which scoop did you end up getting? I've been curious about the quality and fit of the aftermarket scoop for years. Yours looks decent other than what you mentioned above.
Your car is looking great!! I also like it in primer….
I still remember when I had my HO painted and it looking like that prior was a great memory….
can’t wait to see the finished project.
Thank you herkguy.
Originally Posted by 69oldsguy
So which scoop did you end up getting? I've been curious about the quality and fit of the aftermarket scoop for years. Yours looks decent other than what you mentioned above.
I got the one from the Parts Place. These photos where taken before I bolted it down completely, but you can see as your facing the scoop the right side corner angle at the bulge is off compared to the left. It's not much, and I wish I would have caught it before installation, because what happened is the scoop is closer to the bulge line on one side compared to the other side as you look down the hood. To remedy this I had to enlarge some of the holes to shift the scoop to even out on the hood. If you trim the right side, then the left will not sit right, so you have to kind of play with it. It's not perfect, but it works. Also the primer is horrible on the scoop (painters tape pulled the primer off) , but it has to be redone anyway.
Last edited by tt455; December 29th, 2021 at 12:03 PM.
I got the one from the Parts Place. These photos where taken before I bolted it down completely, but you can see as your facing the scoop the right side corner angle at the bulge is off compared to the left. It's not much, and I wish I would have caught it before installation, because what happened is the scoop is closer to the bulge line on one side compared to the other side as you look down the hood. To remedy this I had to enlarge some of the holes to shift the scoop to even out on the hood. If you trim the right side, then the left will not sit right, so you have to kind of play with it. It's not perfect, but it works. Also the primer is horrible on the scoop (painters tape pulled the primer off) , but it has to be redone anyway.
I see what you mean. Is the back of the scoop where it drops into the valley off by the same?
I see what you mean. Is the back of the scoop where it drops into the valley off by the same?
No, the back is flush to the valley and what's crazy is the center line on the scoop lines up with the center line of the hood back and front of the scoop. So when I centered, measured, and drilled the holes it never occurred to me that the scoop would be off along the bulge. Like I said those photos are before I bolted it down, just a slight shift to the right fixed the problem, not perfect but where you wouldn't notice unless you really looked for it.
The Demmer installed ones weren't much better. I've seen some originals off further than yours. But you did a very nice job. I woulldn't worry too much about it.
So can someone here with an original hood /scoop share the dimensions from the rear point of the scoop to the bottom edge of the hood molding?
thank you
tim
Last edited by 69442murph; January 7th, 2022 at 06:20 PM.
Thanks, but my hood was not included when I bought the car 23 yrs ago, although I got the scoop. Trying to get this dimension also before drilling into this hood I have...
Finally get the chance to build this car after all these years...
Nice, good luck. There is a lot of information on this site as you probably know. Do a search, I found all kinds of photos with dimensions on paint stripes, spoiler, hood scoop, and so on. I downloaded and then printed so I can reference.
Well with most of the 30 inches of snow gone, and temps in NY reaching high 50's the last two days it was a perfect time to get this bumper, lights, and exhaust done. I took her out today to stretch her legs, it felt really good. It was the first time I got to sit behind those mail boxes and they are intimidating, imagine what they look like in someone's rear view mirror. I want SPRING!
It's been a while since I posted anything, but I had to go back to work. I had a busy summer with no time to play. I did get to have the seats reupholstered, they came out really nice. Just picked them up today. I hope to have some more time in October if things go right.
Thanks, guys I appreciate the kind words. Yes, but I think it might be best to have the car painted first before installing the interior. I was contemplating spray painting the inner doors, jams, and rockers myself. I could put the interior in and get it painted later.
Last edited by tt455; January 9th, 2023 at 07:35 PM.
So I finally retired a few weeks ago. I'm adjusting to a different life style, and enjoying my freedom. The car is tucked away and can't wait to get working on it. Looks like a mild winter so far here in NY, but still too cold. I have a ton of crap to catch up on in the house and garage so I will be busy. I was able to find a nice set of early 70's Goodyear polyglas GT tires for the rims I purchased last year. Now I know they are not correct for 69 because they have the F 60 15 showing, but my car is not a real H/O so I'm ok with that. The tires came off a 69 Boss 429 Mustang and no the rims didn't come with the tires.

 December 29th, 2019, 08:28 AM

 Also, paint the hood AFTER the hole cut, or if not, you'll need to address the naked steel edges. I'd file them smooth and paint the edge with some sort of rust preventive coating of your choice. Same with the drill holes for the scoop mounting.