When you click on links to various merchants on this site and make a purchase, this can result in this site earning a commission. Affiliate programs and affiliations include, but are not limited to, the eBay Partner Network.
Just started the 69 and found a valve cover gasket leaking on the right side. My question to all my Olds fans should I go back with cork or rubber. Side note the cork are currently on it and have been there since 87.
Yes thicker the better.
with the rubber.
Advise.
Use rtv lightly on the bottom of the valve covers. Let dry...then your not fiddle ******* around trying to line up
I have used those Rocket Racing gaskets, they worked quite well. Oh and the basic Felpro rubber gaskets also become brittle over time. I pulled off a set in about 100 pieces.
I have used those Rocket Racing gaskets, they worked quite well. Oh and the basic Felpro rubber gaskets also become brittle over time. I pulled off a set in about 100 pieces.
Which ones did you use, and with or without sealer?
I still prefer cork. I took over 20 removals of the valve cover for them to start to leak and that's because between race dates I check valve lash and give the valve train an inspection.
A trick I use to keep valve cover gaskets in place is to buy enough 1/4-20 socket head set screws that are 1 inch long to screw into all of the bolt holes in each head. Slip the gaskets over the set screws and then place the valve covers on over them. Use flanged 1/4-20 nuts to mount the valve covers. Never had a problem with gaskets slipping out of place.
I used these valve cover studs and the FelPro rubber gaskets with my cheap Spectre chrome valve covers. I did not use any RTV, and it all worked perfectly. Not a drop. The valve cover studs were great. Besides holding the gasket perfectly in place, it felt like the nuts torqued down much more consistently than the bolts did.
I used these valve cover studs and the FelPro rubber gaskets with my cheap Spectre chrome valve covers. I did not use any RTV, and it all worked perfectly. Not a drop. The valve cover studs were great. Besides holding the gasket perfectly in place, it felt like the nuts torqued down much more consistently than the bolts did.
I used something similar with my recent new engine build (455) and the M/T valve covers. Loved the stud kit as it held the gaskets correctly and kept things from leaking....
Would the stud kit work for the 455, and why do you suppose that worked better than the regular bolts?
Yes, the stud kit will work fine for the 455, too.
Besides the fact that the studs hold the gasket in place, I think that the reason why it seemed to torque down better for me could be due to the finer threads of the top section of the studs versus the bottom threads that went into the heads. I did not measure the width of the nuts versus the heads of the bolts, but that could be a small factor, too.
And you went hand tight then a 1/4 turn for torque?
And you went hand tight then a 1/4 turn for torque?
No, I torqued them to spec, 7 ft.-lbs. using a 1/4" torque wrench. I started in the middle and worked my out to both ends, before repeating. Another reason I thought that they torqued better was that I only had to repeat it one time, and by the time I got to the front and back studs the second pass, they required almost no additional turning. I think that it took three passes using the factory bolts when I tried those before, and that time the new gaskets leaked.
Then, again, my perception that the studs worked better could be all in my head, but again, they don't leak.
A trick I use to keep valve cover gaskets in place is to buy enough 1/4-20 socket head set screws that are 1 inch long to screw into all of the bolt holes in each head. Slip the gaskets over the set screws and then place the valve covers on over them. Use flanged 1/4-20 nuts to mount the valve covers. Never had a problem with gaskets slipping out of place.
This way is a lot cheaper and they can be bought at your local hardware.
Ok..so I changed my valve cover gaskets today and I SHOULD HAVE LEFT WELL ENOUGH ALONE!!!
Can you tell I'm frustrated???
I removed the old (rubber) gaskets and thoroughly cleaned everything before installing the new ones.
Got the new ones on and using the proper torque spec and sequence, I tightened everything thing up..hit the key, and whammo!!! Both bottom middle bolts leaking like a sieve!!! I'm talking oil was pooling in the heads!! No Bueno! So I closed up shop and called it a day.
I used the Felpro rubber gaskets with no sealer as recommended...what did I miss? Should I have gone back a second time and checked the torque??
Becausr unless I can be convinced otherwise, I'm going to back up and punt and use sealer this time...not a fun job to do three times.
I really should have not messed with it. The leak wasn't that bad before, but NNNOOO!!! I had to try to make it better! I absolutely feel like I wasted 4 hours when I could have been doing something else!!!
Last edited by 72455; September 14th, 2021 at 01:51 PM.
Ok..so I changed my valve cover gaskets today and I SHOULD HAVE LEFT WELL ENOUGH ALONE!!!
Can you tell I'm frustrated???
I removed the old (rubber) gaskets and thoroughly cleaned everything before installing the new ones.
Got the new ones on and using the proper torque spec and sequence, I tightened everything thing up..hit the key, and whammo!!! Both bottom middle bolts leaking like a sieve!!! I'm talking oil was pooling in the heads!! No Bueno! So I closed up shop and called it a day.
I used the Felpro rubber gaskets with no sealer as recommended...what did I miss? Should I have gone back a second time and checked the torque??
Becausr unless I can be convinced otherwise, I'm going to back up and punt and use sealer this time...not a fun job to do three times.
I really should have not messed with it. The leak wasn't that bad before, but NNNOOO!!! I had to try to make it better! I absolutely feel like I wasted 4 hours when I could have been doing something else!!!
I totally understand your pain. This happened to me, too, when I used the FelPro cork gaskets which led me to changing to studs and a rubber gasket.
If you have not re-torqued after the first pass, check them again. Using bolts, it took me three passes. Using the studs, it took two passes.
Other possibilities:
Did you get the surfaces very, very clean by scraping the old gasket and sealant off?
Did you check the valve cover itself for deformations? I had to hammer a few places to get the valve cover completely square.
If you are using bolts and not studs, are you certain that the gasket stayed in place before you bolted it down?
Dave - Try changing the oil pan gasket on a 350 cid & butchering the installation like I did. Everything was great, front of engine hoisted ~4" to gain access for removal of the oil pan, thoroughly cleaned, etc....blah, blah, blah. Then, I put so damn much gasket maker on the oil pan gasket slipped and, well....it was start all over again. Painful lessons learned.
I totally understand your pain. This happened to me, too, when I used the FelPro cork gaskets which led me to changing to studs and a rubber gasket.
If you have not re-torqued after the first pass, check them again. Using bolts, it took me three passes. Using the studs, it took two passes.
Other possibilities:
Did you get the surfaces very, very clean by scraping the old gasket and sealant off?
Did you check the valve cover itself for deformations? I had to hammer a few places to get the valve cover completely square.
If you are using bolts and not studs, are you certain that the gasket stayed in place before you bolted it down?
I know how frustrating it can be. Good luck!
Yup..checked all the above. No deformations on the valve covers...everything was nice and clean, and I used set screws to keep the gasket in place while I was putting it all back together. The only thing I didn't do was go back and check the torque, and I do not know how I am going to properly torque the the lower bolts on both sides next to the firewall. I was able to get then pretty tight with a socket, but there was no success with a torque wrench. All the others are torqued to spec though...
Yup..checked all the above. No deformations on the valve covers...everything was nice and clean, and I used set screws to keep the gasket in place while I was putting it all back together. The only thing I didn't do was go back and check the torque, and I do not know how I am going to properly torque the the lower bolts on both sides next to the firewall. I was able to get then pretty tight with a socket, but there was no success with a torque wrench. All the others are torqued to spec though...
Man, that sucks. I am sorry to hear that. It sounds like you are doing everything right.
I believe when I replaced my VC gaskets I allowed the RTV sealant to set overnight. This provides some modest rigidity to the otherwise goopy sealant and offers a little better tightening (squash) factor around the bolts, bolt holes and attending areas near the bolt holes.
Possible "chance" corrective issue. I realize its late in the 9th inning but what's to lose by attempting a fix as opposed to starting over. Remove all (as many as you can) the VC bolts and clean the holes as best as possible - blow them out with an air compressor might be good or possibly some brake cleaner. Next, modestly fill each hole with some Permatex� Ultra Black� Maximum Oil Resistance RTV Silicone Gasket Maker. Screw in each VC bolt ONLY hand tight - Do not overtighten. Allow the RTV and the bolts to set ON. Tomorrow or whenever (say a minimum of 12 hrs to 16 hrs) torque the bolts down. DO NOT start the car immediately after torquing down the bolts. Allow to set another 12 hrs to 16 hrs. Then, perform a final (finishing) torque to the bolts. See if that works it just might save you some time.
I use black weather strip cement and glue the gaskets to the valve covers, dry against the head. I like to use socket head cap screws instead of nuts and studs. It's easy to get an allen wrench in tight places. I never have used a torque wrench for 7 lbs just snug then a little more and go around twice. After a few heat cycles I'll go around one more time and then just leave them alone.
I use black weather strip cement and glue the gaskets to the valve covers, dry against the head. I like to use socket head cap screws instead of nuts and studs. It's easy to get an allen wrench in tight places. I never have used a torque wrench for 7 lbs just snug then a little more and go around twice. After a few heat cycles I'll go around one more time and then just leave them alone.
Pretty much how I torque VC gasket bolts, as well. You can easily judge 7 lbs-ft. I often snug up VC bolts frequently as I do carburetor bolts w/o a torque wrench.
Well, things are progressing. I called my buddy yesterday and told him what was going on. He dropped by and we took off the driver side to check the gasket fitment, and turns out that there was an issue. The gasket didn't line up right with the valve cover, so we had to trim one of the "ears" on the bottom of the gasket to get it to lay flat in the valve cover. Then we put the gasket onto the head and checked hole alignment there, and guess what...the holes in the gasket didn't quite match the holes in the head, so we had to do some "massaging" on the holes in the gasket to get it to lay flat on the head. Once all that was done, we put everything back together (no sealer) and this time, she was dry as a bone. So we moved over to the other one, and when I took the gasket off, there was a crack on one of the ears on the bottom (apparently I over tightened it), but we figured we'd give it a shot. After doing what we did on the driver side, I fired it up and although it didn't leak as bad as the first time, I still have some leak by on two of the bottom bolts. I'm guessing this is because of the crack. So I'll put another gasket on and see what happens, and this time, I'll check the fit first (lesson learned).
Well, things are progressing. I called my buddy yesterday and told him what was going on. He dropped by and we took off the driver side to check the gasket fitment, and turns out that there was an issue. The gasket didn't line up right with the valve cover, so we had to trim one of the "ears" on the bottom of the gasket to get it to lay flat in the valve cover. Then we put the gasket onto the head and checked hole alignment there, and guess what...the holes in the gasket didn't quite match the holes in the head, so we had to do some "massaging" on the holes in the gasket to get it to lay flat on the head. Once all that was done, we put everything back together (no sealer) and this time, she was dry as a bone. So we moved over to the other one, and when I took the gasket off, there was a crack on one of the ears on the bottom (apparently I over tightened it), but we figured we'd give it a shot. After doing what we did on the driver side, I fired it up and although it didn't leak as bad as the first time, I still have some leak by on two of the bottom bolts. I'm guessing this is because of the crack. So I'll put another gasket on and see what happens, and this time, I'll check the fit first (lesson learned).
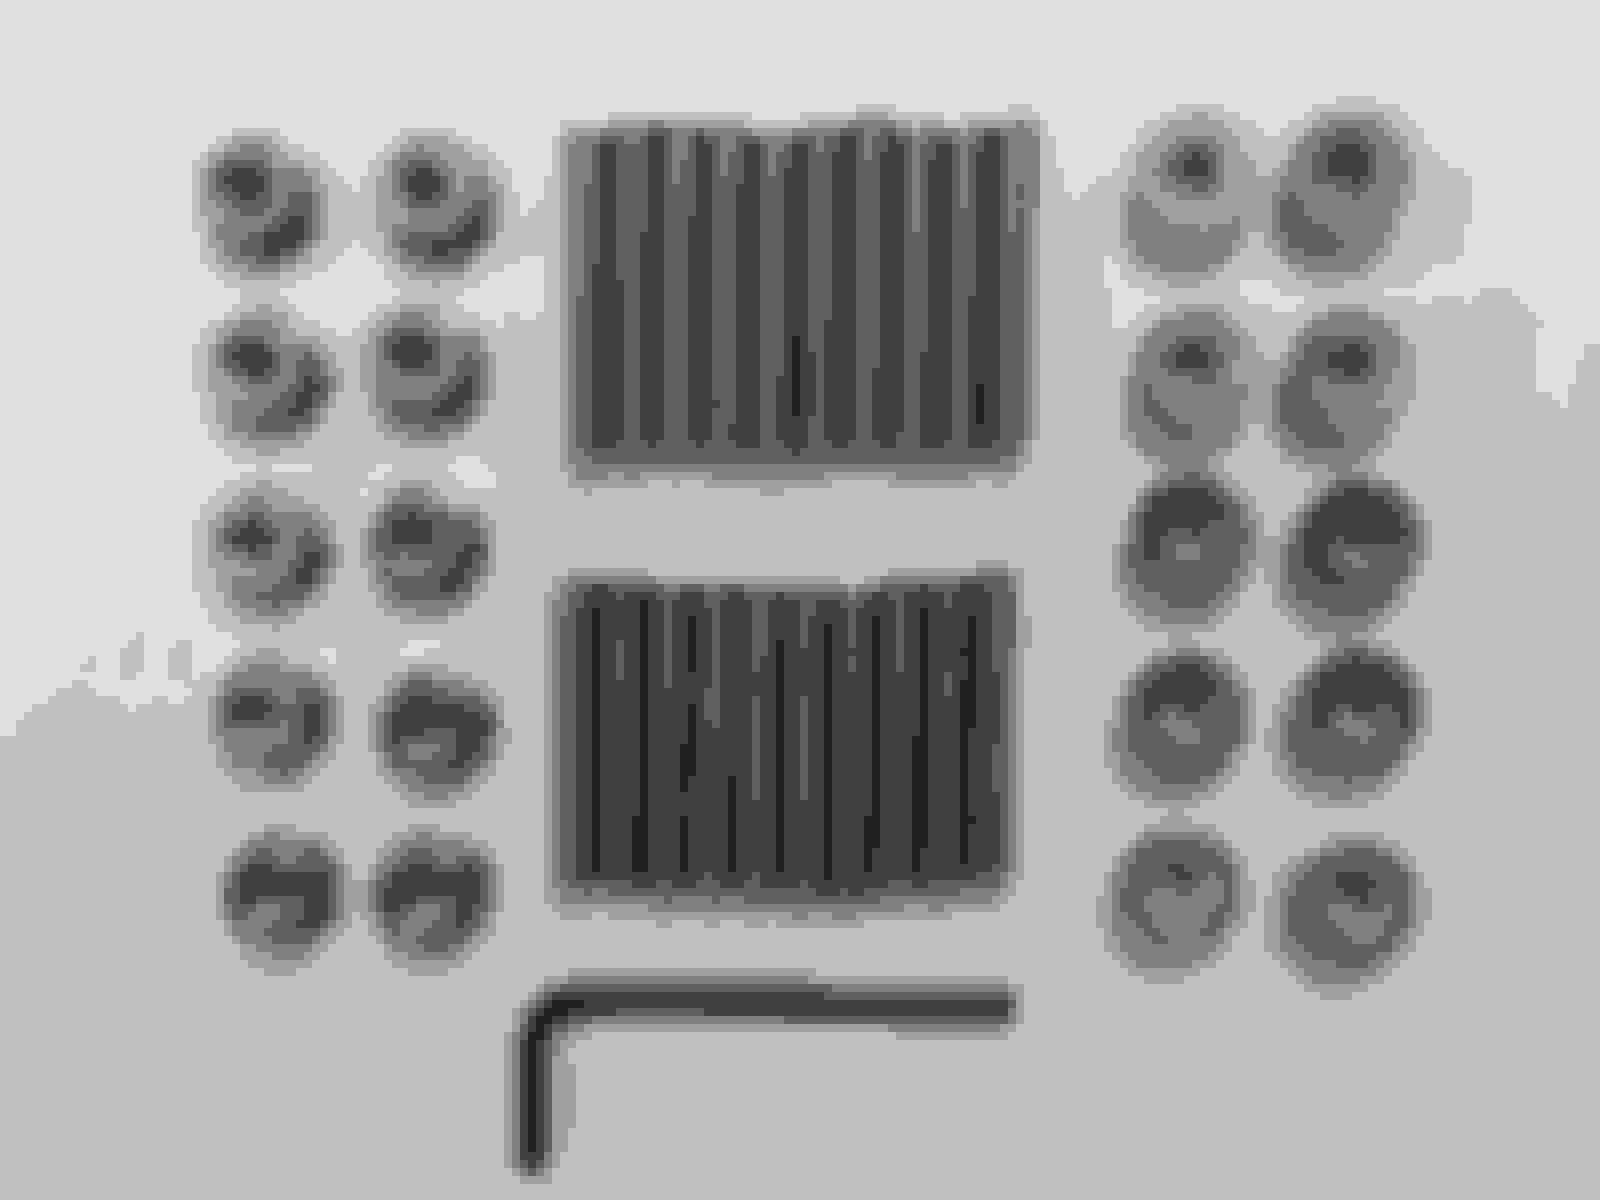
Glad you got it (mostly) fixed Dave. When I had my first Cutlass I put a pair of cheapy chrome valve covers in it and used a stud kit to hold them on. I found that using a 7/16 nut driver worked just right for getting them hand tight for no leaks. I had to buy two sets because there weren't enough in just one set. This "Hemi" set looks like it would work great though. Just the right number of studs and nuts. Looks like they are available in black oxide and SS. I found these two on ebay so they are probably available on Amazon as well. I will probably put them on mine soon because I have stacked gaskets. The rockers were trying to chew their way out of my valve covers when I first started it up.
Well, I finally gor it done with my buddy's help. We took off the passenger side (again) and tried a new gasket. Got everything buttoned up, hit the key, and still had the same leak on the same two bottom bolts. So we took it apart (again) and we were gonna try some sealer. While Mike (my buddy) was cleaning off the valve cover, he noticed this...
...turns out that the valve cover had split from constant tightening/removal of the bolts over time, and the oil was seeping through the splits. Now I was in a jam...I needed to get this done 'cuz I'm taking it to a show this weekend. Well, Mike really came through for me. He just happened to have a brand new set that he was going to put on his '69 Cutlass, and instead, he offered them to me for 40 bones. To say I was happy would be an understatement (I gave him 50). So we tried one more time with the new valve covers, and voila! We fired it up and let it run for a good 20 min, and she was dry as a bone...finally...Success!
After a good 4 hours of wrenching, we decided to go for a cruise, so off we went for a good 45 min drive. Got back to the house for one last check, and all good!
So that's that with rhat, and here's a pic of mine and his in my driveway after our cruise.
 August 12th, 2021, 03:11 PM