When you click on links to various merchants on this site and make a purchase, this can result in this site earning a commission. Affiliate programs and affiliations include, but are not limited to, the eBay Partner Network.
Success mounting a Sanden Compressor using A6 mount.
I previously ask if anyone had mounted a Sanden A/C compressor using the cast mount for an A6 compressor. I think my effort was a success.
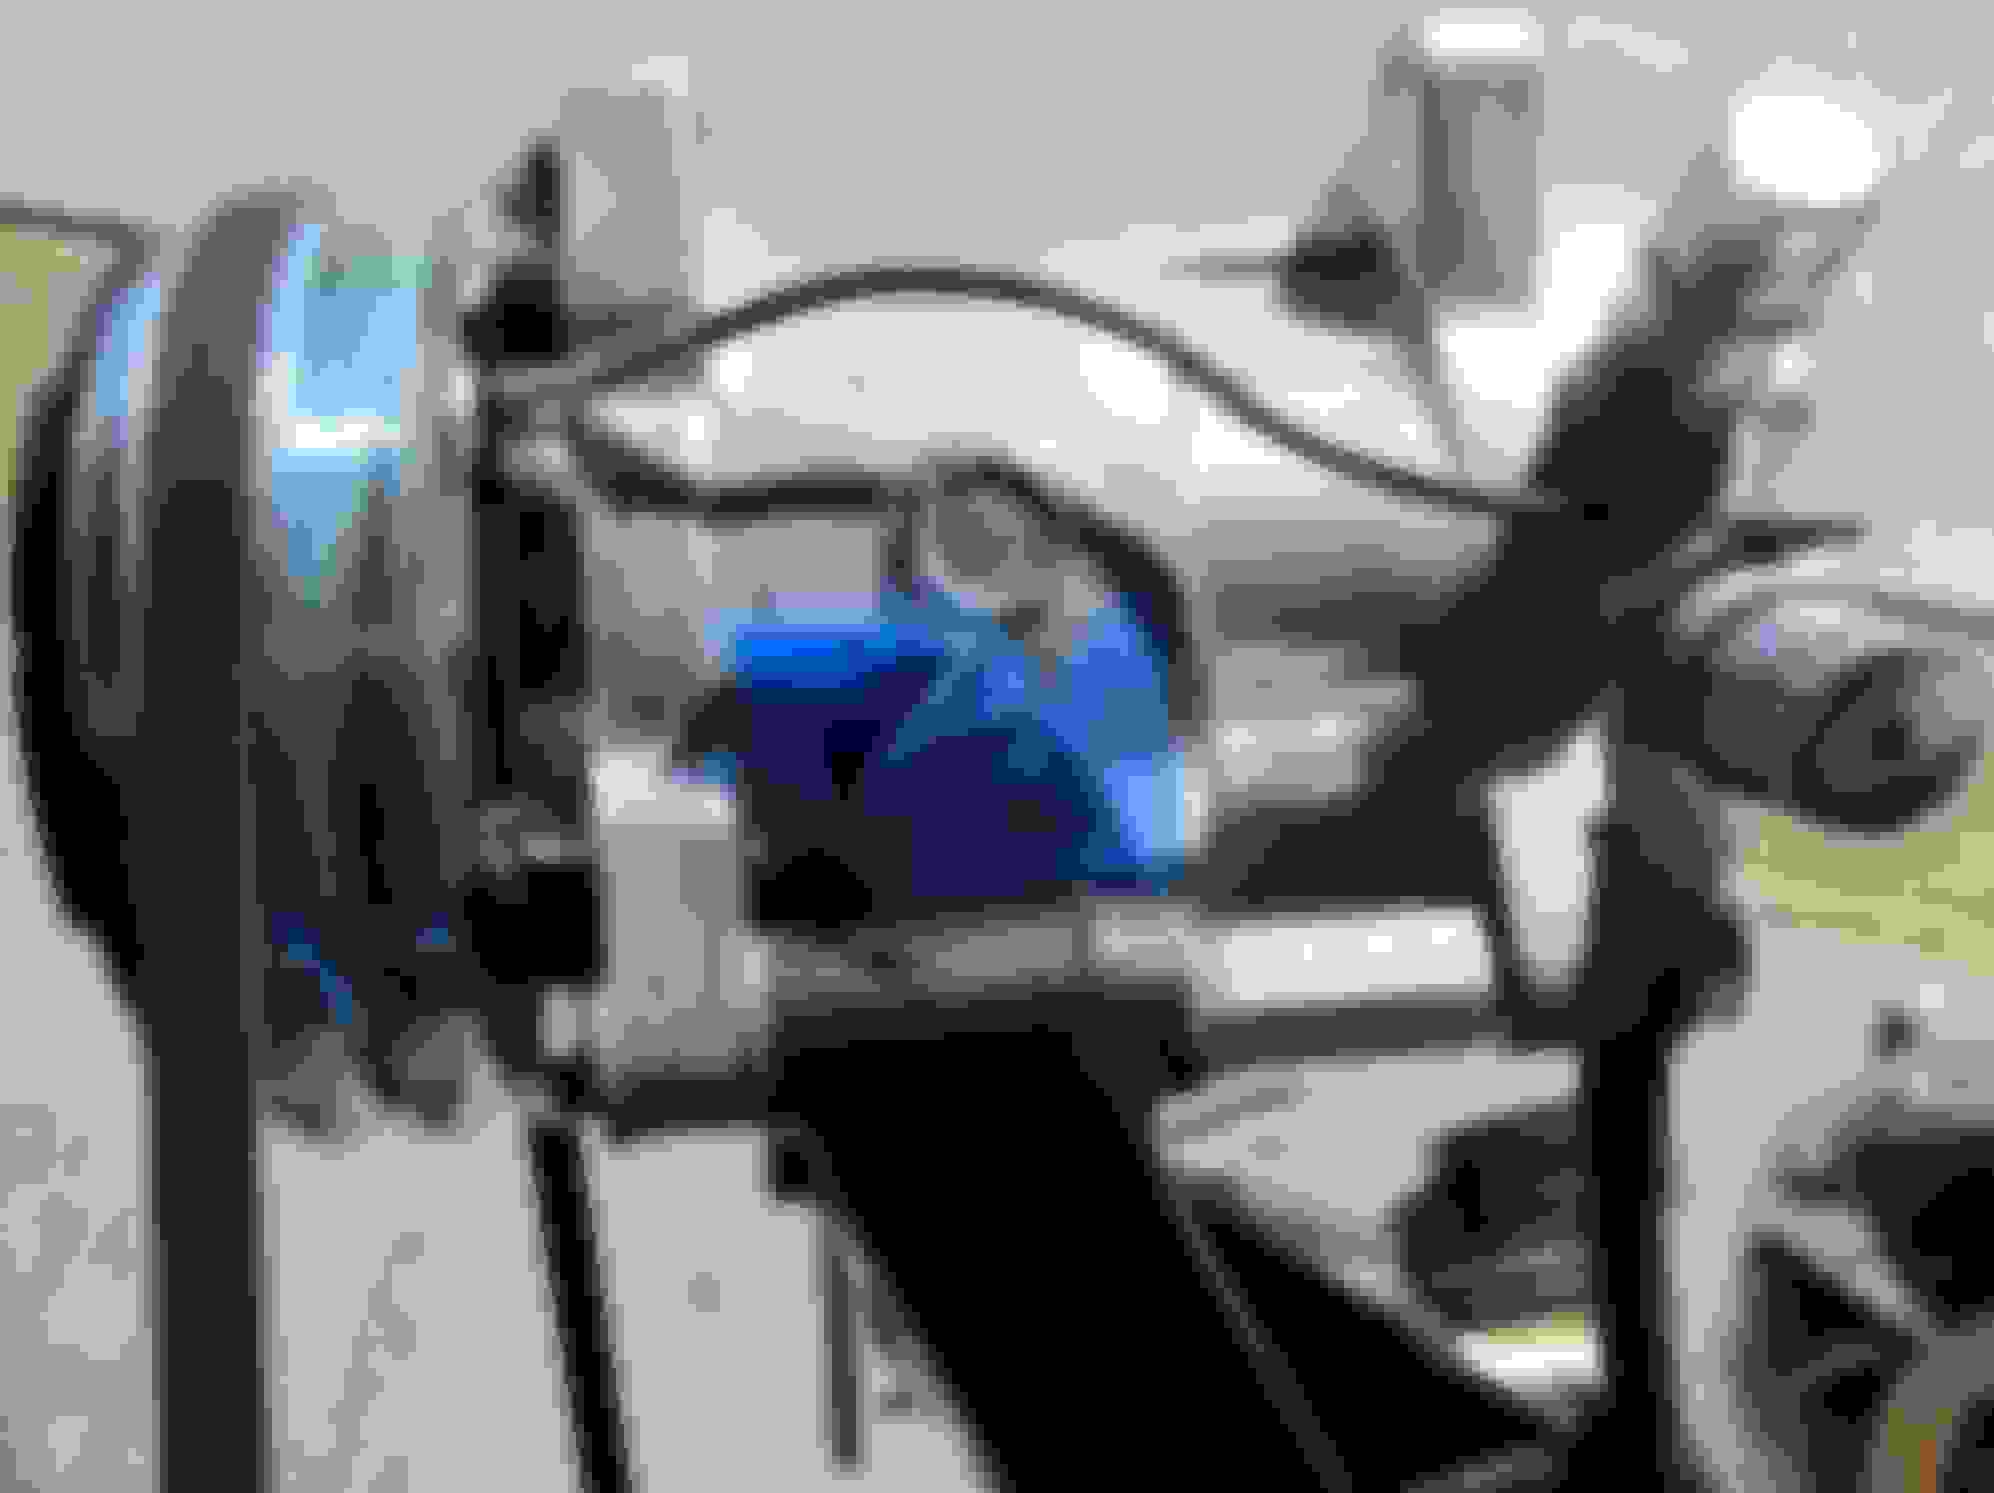
I first used a 5" bolt that spanned both mounting ears with spacers to maintain alignment but I found that the compressor would twist out of alignment when tightening the belt. I found that the pivot hole in the mount was oversize and the slop let the rear of the compressor move away from the engine causing the misalignment. To minimize the slop I used a 3" bolt with nut. By tightening this front bolt I minimized deflection due to the loose pivot hole of the mount but felt that I was putting undue strain on the front mounting ear of the compressor. I then used a cut down coupling nut so a second bolt could be added through the rear ear of the compressor that would be held in alignment with the front bolt. To the rear ear I added a strap that prevents the compressor from twisting when tightening the belt. I used 3/4" wide 10 gauge flat steel .130" thick because I had it on hand and it seems adequate. I created 2 washers and a strap approx 7.5" long. I installed the spacers and strap between the mount and the block.[img]file:///C:/Users/Ralph/AppData/Local/Temp/msohtmlclip1/01/clip_image004.jpg[/img]
The strap and spacers moved the mount away from the block .130" and I had to space the compressor out another .100" to get the pulleys to line up with the pulleys from a 76 Toronado with a 6" water pump. This aligns the front groove on the compressor with the front groove on the crank.
I ended up adding AN washers (approx. .030" thick) between the front compressor ear and mount(for a total of .100") , between the washer(approx. .070" thick) and coupling nut, leaving just enough room to push one AN between the coupling nut and the rear ear. I added the third washer just to fill all the space between the ears. The coupling nut comes 1.75" long and I cut it down to 1.25"ish to fit in the available space. The compressor ears have 3.25" between them, the cast mount is 1.75" wide.
I bought the universal slotted adjustment arm off ebay and cut it down to fit. I was able to use the standard 61-5/8 long A/C belt for a 76 Toronado.[img]file:///C:/Users/Ralph/AppData/Local/Temp/msohtmlclip1/01/clip_image010.jpg[/img]
It allows for easy adjustment. It keeps the compressor in alignment. I have less than $20 in the mount and half of that was the cost of the slotted adjustment arm. when making the strap for the rear of the compressor I would make the distance between holes a little short and file to fit so the strap just fits with no looseness. Any slack and the compressor will move out of alignment. Ask me how I know! I had to shorten the rear bolt so it wouldn't bottom against the front bolt in the coupling nut. Lastly, if you do this, make sure you tighten the front bolt to the mount first. If there is any slop it won't stay in alignment.
I measured the alignment of the belt using a 2 foot level for a straight edge held against the face of the crank pulley. I stopped adding washers when I got a consistent 1/16" measurement from the belt from near the waterpump to the compressor. I'm happy with the way it turned out. Its simple and cheap...
Last edited by danktx; Feb 22, 2019 at 01:30 PM.
Reason: No pictures
Without the original rear bracket, you've got a lot of cantilever load on that cast iron bracket. Check it frequently for cracks. Better, add a real rear strut that goes to the head bolt stud. Admittedly the Sanden is lighter than the A6, but do not discount the effects of fatigue on the stock bracket. Cast iron is brittle.
Congrats on the successful mount, I like it, but you do need to have an extremely solid mounting/pivoting point at the front and rear of the compressor. The Sanden compressors are much lighter and require less power to turn but they do still vibrate. This can fatigue the mounting points over time and like Joe says, cause them to crack or break.