
Re-tightening

Thread Starter
Oldscarnut
Joined: Jul 2018
Posts: 430
From: NW Washington
Re-tightening
I had another delay in finishing my project, this time cold weather and lots of rain, which led to a cold which seemed like flu and hung around like cancer. I think I am beyond the point of worry, so I have 5 days in a row off if I can keep my assistant well enough that I can enjoy time off. I have been close for a long time but we all know how that really goes. I still haven't plugged the enormous hole in the firewall, but I have made progress, and fabbing fiberglass not being a strong suit, I make some progress and then ignore it for a time. I have the heater core secured, and the final step is to enclose the inside so that the little blower motor has some constriction so it can make pressure and blow air into the half-cabin of an El Camino. I've considered just a piece of sheet metal cut to fit utilizing the same screw holes as the front side and some kind of upholstery goo, and using PVC as the directional outlets on the hump. Remember, I do not ever intend to drive this is ice or snow, probably never in rain, so the biggest part of the job will be to seal the engine smells in to engine compartment and isolate the incoming interior air. It might be bad form to get CO2 poisoning from my own design! Second, I will put the timing mark to about 10 Degrees BTDC, then install the distributor. I've pre-marked the #1 on the cap so to avoid bending a rod later and make sure it is firing right. Third, I have to get the vacuum hoses, PCV and emissions hooked up. Fourth I will get the throttle cable hooked to the carb. and a vacuum line to the modulator since I am going without a kickdown. The belts go on and snugged, the lower radiator hose installed and the radiator filled, the distributor connected, the battery in. Starter in, and temp mufflers attached. Gas line connected to the carb....You might see where I am headed here!!!
Cam break-in
timing
Carb Adjust
Cam break-in
timing
Carb Adjust
Last edited by Chuck Cole; Mar 3, 2020 at 03:53 PM.
Thread Starter
Oldscarnut
Joined: Jul 2018
Posts: 430
From: NW Washington
I had another delay in finishing my project, this time cold weather and lots of rain, which led to a cold which seemed like flu and hung around like cancer. I think I am beyond the point of worry, so I have 5 days in a row off if I can keep my assistant well enough that I can enjoy time off. I have been close for a long time but we all know how that really goes. I still haven' plugged the enormous hole in the firewall, but I have made progress, and fabbing fiberglass not being a strong suit, I make some progress and then ignore it for a time. I have the heater core secured, and the final step is to enclose the inside so that the little blower motor has some constriction so it can make pressure and blow air into the half-cabin of an El Camino. I've considered just a piece of sheet metal cut to fit utilizing the same screw holes as the front side and some kind of upholstery goo, and using PVC as the directional outlets on the hump. Remember, I do not ever intend to drive this is ice or snow, probably never in rain, so the biggest part of the job will be to seal the engine smells in to engine compartment and isolate the incoming interior air. It might be bad form to get CO2 poisoning from my own design! Second, I will put the timing mark to about 10 Degrees BTDC, then install the distributor. I've pre-marked the #1 on the cap so to avoid bending a rod later and make sure it is firing right. Third, I have to get the vacuum hoses, PCV and emissions hooked up. Fourth I will get the throttle cable hooked to the carb. and a vacuum like to the modulator since I am going without a the kickdown. The belts go on and snugged, the lower radiator hose installed and the radiator filled, the distributor connected, the battery in. Starter in, and temp mufflers attached. Gas line connected to the carb....You might see where I am headed here!!!
Cam break-in
timing
Carb Adjust
Cam break-in
timing
Carb Adjust
Registered User
Joined: Mar 2013
Posts: 1,914
From: St. Clair, MI
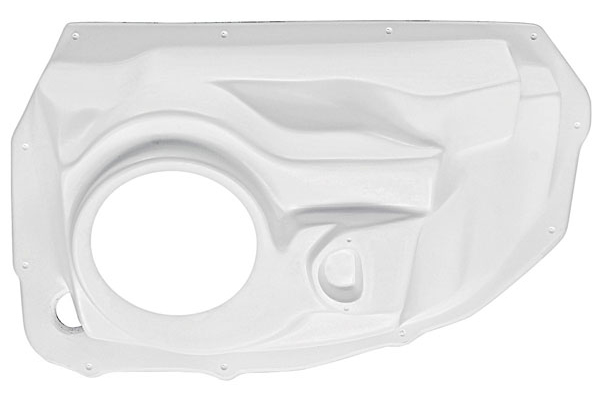
You do know that a Heat only aftermarket cover is available for a/g bodies from Summit, Jegs, OPGI, etc.
https://www.opgi.com/cooling-heating..._BwE#gallery-2
https://www.opgi.com/cooling-heating..._BwE#gallery-2
Thread Starter
Oldscarnut
Joined: Jul 2018
Posts: 430
From: NW Washington
I have that, but it does not close on the back side and there is no way to move the air to defroster or heater without closing it off, plus there is no place to put the heater core. It is intended for racing I think, where a functioning heater is unnecessary, but a closed firewall is. I'll get pics of what I have soon

Thread
Thread Starter
Forum
Replies
Last Post


