Please help me!!!!!!!!
#41
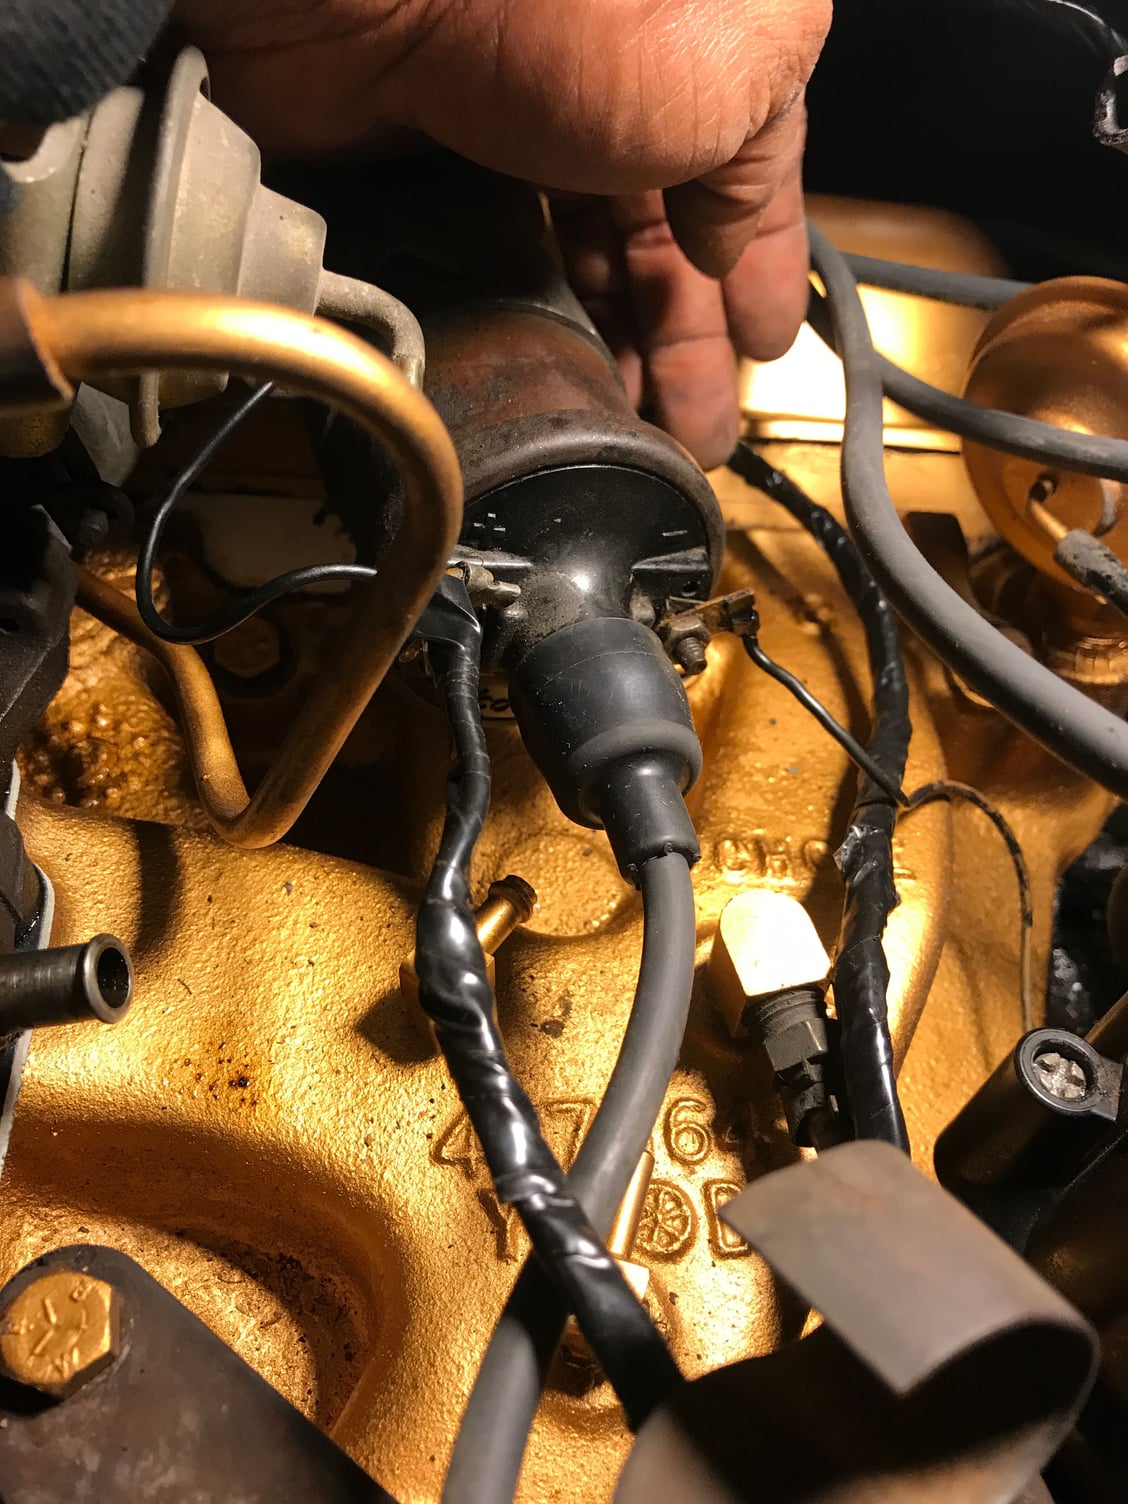
Picture #34, that would be the second to last picture, I see a wire coming from the distributor to the negative post on the coil. That wire is correct, the other taped wire, the one with multiple wires needs to go to the positive side of the coil. Again leave the single black wire on the coil and the multiple taped wire on + positive.
See if that works
See if that works
#44

Picture #34, that would be the second to last picture, I see a wire coming from the distributor to the negative post on the coil. That wire is correct, the other taped wire, the one with multiple wires needs to go to the positive side of the coil. Again leave the single black wire on the coil and the multiple taped wire on + positive.
See if that works
See if that works
Did what you said just now with new battery since the trying killed the other one... still nothing

#45
If that single black wire I see on the positive side of the coil is from that small body on the coil bracket, take it off. Only the double wire goes to the positive, and only the single wire from under the distributor goes to negative for now.
#47
you said you took the distributor off?correct.if so did you get it back in correctly.pull number 1 plug and turn engine and feel for compression,then check the timing pointer and line up the marks then see where the rotor is pointing,then check with cap to see if it's anywhere near the number 1 terminal.
#48
you said you took the distributor off?correct.if so did you get it back in correctly.pull number 1 plug and turn engine and feel for compression,then check the timing pointer and line up the marks then see where the rotor is pointing,then check with cap to see if it's anywhere near the number 1 terminal.
Yes I took it off which now I wish I never have. I'm about to do as you said now
#49

you said you took the distributor off?correct.if so did you get it back in correctly.pull number 1 plug and turn engine and feel for compression,then check the timing pointer and line up the marks then see where the rotor is pointing,then check with cap to see if it's anywhere near the number 1 terminal.
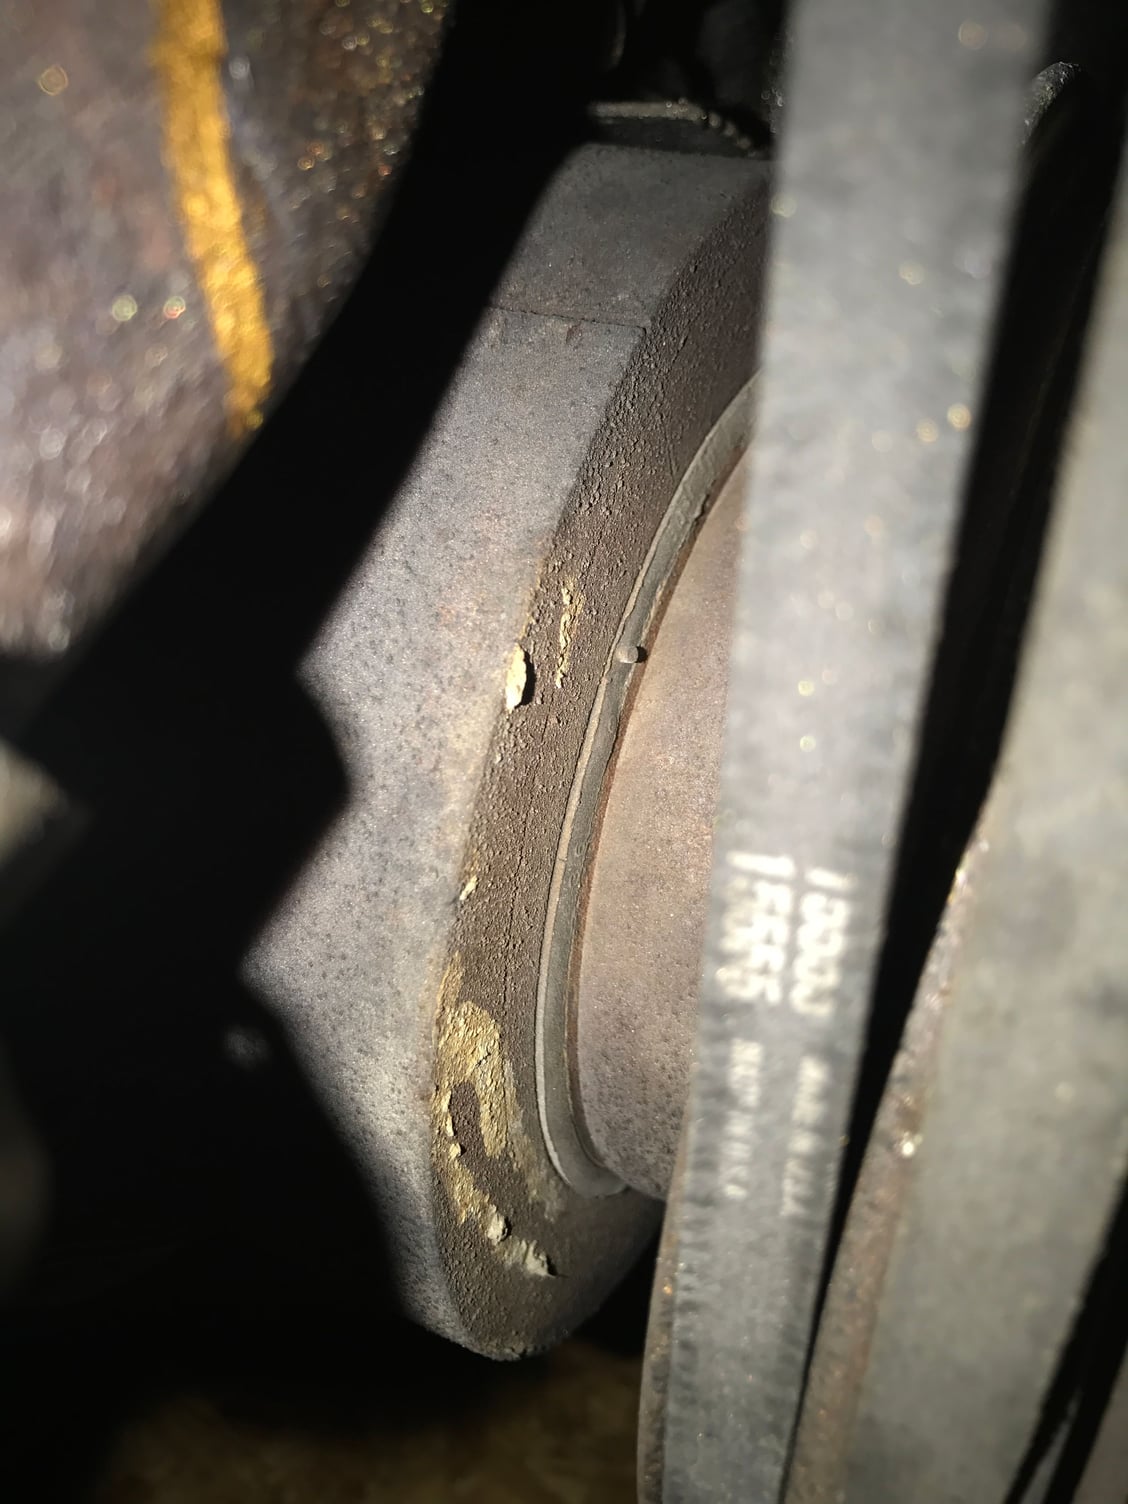
This is the timing pointer correct? The little notch? Also where should it be pointing
#55
#56
just to clarify,the timing marks are on that little tang above the balancer with the saw teeth on it,it's on the drivers side of the engine behind the power sterring pump sometimes its hard to see down there..clean off the top of it and you will see lines and numbers.0 is top dead center.
#57
just to clarify,the timing marks are on that little tang above the balancer with the saw teeth on it,it's on the drivers side of the engine behind the power sterring pump sometimes its hard to see down there..clean off the top of it and you will see lines and numbers.0 is top dead center.
Thanks for the Clarification I was surely about to ask but i will do that
#60
#62
#63
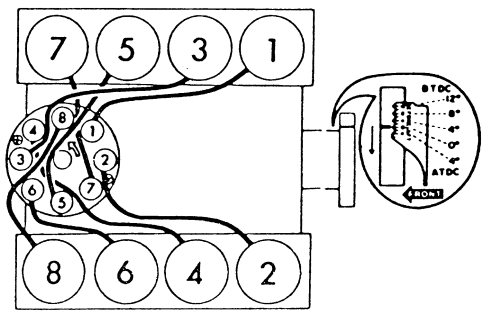
Verify that you have the rotor pointing to the #1 spark plug with the timing mark on the balancer pointing to 0 on the tab. Make sure the points are gapped to .016 and are in good condition. Make sure your firing order is correct for the spark plugs.
Pull the heavy coil wire in the center of the coil. Have a helper turn the key on and check that you have voltage at the coil+ terminal with the ign key in both the run and start position.
Put your test light on the coil- side, crank the engine with the key. The test light should flash. Reinstall the heavy coil wire and see if the engine will start. If it will not start, pull a spark plug wire and insert a screwdriver in the end and hold the metal shank near the block and see if there is spark.
If you have spark verify you have fuel by operating the throttle linkage while looking down into the carb, verify 2 solid streams spraying.
If you have all this you may need to rotate the distributor cw or ccw a bit while cranking. Keep body parts away from the top of the carb while cranking.
This is a good read:
https://classicoldsmobile.com/forums...-ignition.html
#64
Joe mentioned before, check the wire from the negative side of the coil to the points on the distributor. This can be done 2 ways, the first is take the "-" wire off the coil and with a continuity tester go from the open side of the wire to the points terminal. No continuity the wire is bad. If you do not have a continuity tester then leave the wire on, turn the ignition on and put your test light leads from the terminal on the points to a good source of ground. If you are not showing power then you need to start tracing your wires. If you are then follow the steps Eric mentioned in the post above this one.
Above all slow down and take a deep breath. If you need to walk away for a while then do so. Moving wires all over to see what works is never a good way to solve the problem. These systems are very simple if you take a few minutes to learn them there is light at the end of the tunnel.
Thank you for your service.
Last edited by zeeke; December 30th, 2017 at 08:45 AM.
#69
Yes it was running beautifully. This is what I did. Changed All plugs and plug wires took distributor off to remove Manifold and changed manifold gasket. Removed Valve Covers and changed its gaskets. Everthing on the car was from factory so it was in dire need of changing since they never was changed before. I was getting oil leaks from both valve covers and from behind the manifold (close to the firewall leaking on top of tranny). I kinda wish I wouldn't have touched it because it ran like new but the leaks was annoying The valve cover gaskets was so old the cork gaskets was cement hard to scrape off
#70
This may sound a little like a smartazz but it is not intended to. You did remember to put the rotor back in and make sure it seated properly on the distributor. I am sure you did since you indicated where it was pointing.
#71
Yes I did and also got the two strews turned into the casing to make sure it's down all the way
#77
Do not jumper things for ***** and giggles because you will cause damage.
Again, you are sure that the rotor is pointing to the #1 spark plug terminal in the cap with engine at TDC?
Did you make sure the point gap is set to .016?
Remove the wires off the coil+ terminal and tape the ends for now. With an ohmmeter, check continuity of the wire between the coil- terminal and the points terminal inside the distributor. Also check continuity between the plate that the points mount to and the engine block.
Remove the coil wire at the center of the cap, stick a long screw driver inside the wire boot and hold the shank near some metal. Run a temporary 14 or 12ga wire direct from the battery positive cable to the coil+ terminal. Have someone crank the engine and see if there is spark at the screwdriver jumping to ground.
If still no spark remove the jumper wire and replace the uniset points, the condensor is probably bad. Redo the test.
#80
You went through the trouble of going out for another coil you should have picked up a test light. You still have not established if the wire from the negative terminal on the coil to the points contact is broken or not. You will most likely not see that break it has to be done with a tester. If that wire is broken you will never get power across the points. I had 3,500 miles on a brand new AC Delco distributor over the summer and that wire went bad. It's 46 years old and yes moving it around could cause it to be damaged. Changing parts to get results can get costly, so the best method is to troubleshoot and eliminate what's not broken. I doubt your coil is bad since you've installed a new one and still have the same issues.


