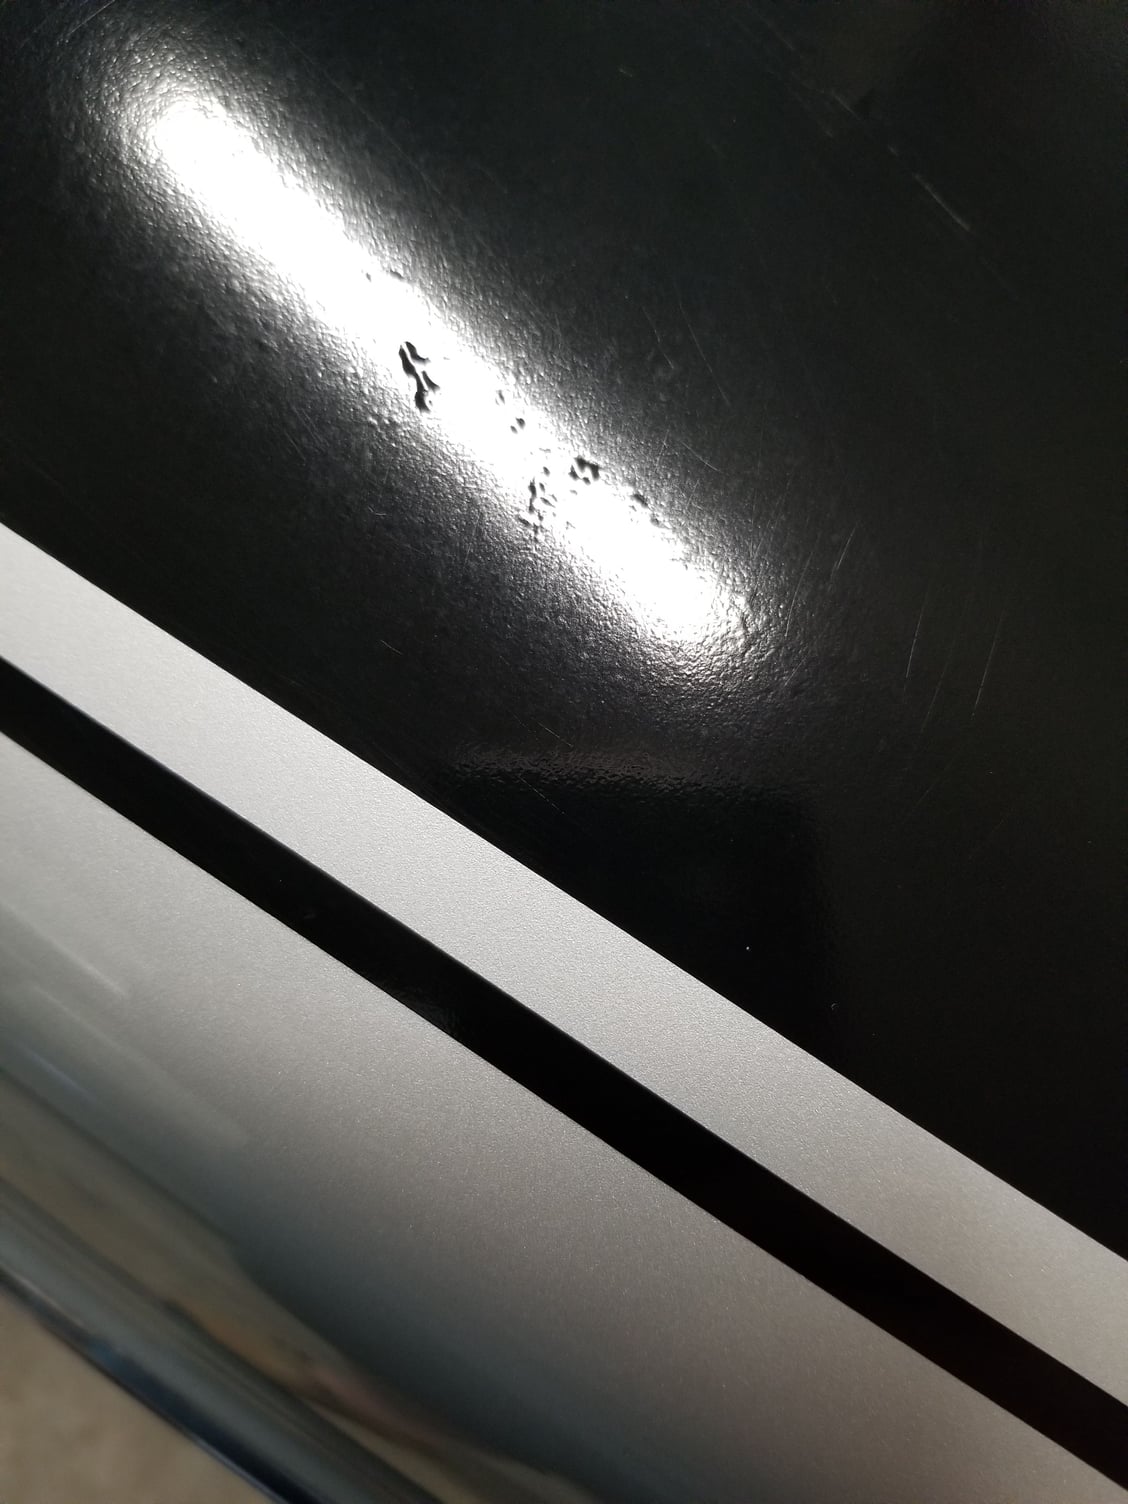
Pheonix graphix install
#1
Pheonix graphix install
Anyone around south central pa and good at putting stripes on my hood? The guy I had do it was vinyl graphic installer and screwed them up so he bought me a new set, but I dont think I wont him to try it again. Thanks
#2
Do it yourself. Once you have the stripes aligned with reference marks or tape, spray the surface of the hood with water that has a few drops of dish soap in it. This lets you slide the decal around on the hood to get placement correct. When you have it aligned, squeegee out the water and let it dry. Done.
#3
These are super easy to do on your own, using enough soapy water you can move the graphics around and get them right where you want them. Use the squeegee from the center of the graphic outwards watching so that you don't trap a bubble in the middle. You'll be amazed how easy it is.
#6
Depends how much water/soap you use.
As joe said use tape to mark your locations, have your set up all laid out
wet the hood and back of the graphic position as needed w the layout already on there should only be a few minutes needed.
squeegee out the excess moisture and let dry for at least 24 hrs
my nephew and i just did his dirtbike w graphics which may be a little more complicated as we had to position multiple graphics to line up w each other as well as heat some to form around bends and curves.
I used windex which works same or similar as water w soap. if we werent happy w how it looked we peeled up a graphic and resprayed to get more time...ill try to post a pic
#11
I assume you used a soft rubber squeegee to spread the graphic out and a hair dryer or better (if used correctly) heat gun? If it hasnt been heated i would try gently local heat and squeegee w soapy water to either move larger bobblue s along towards the edge or w heat smaller ones may just lay down.
Thread
Thread Starter
Forum
Replies
Last Post


