When you click on links to various merchants on this site and make a purchase, this can result in this site earning a commission. Affiliate programs and affiliations include, but are not limited to, the eBay Partner Network.
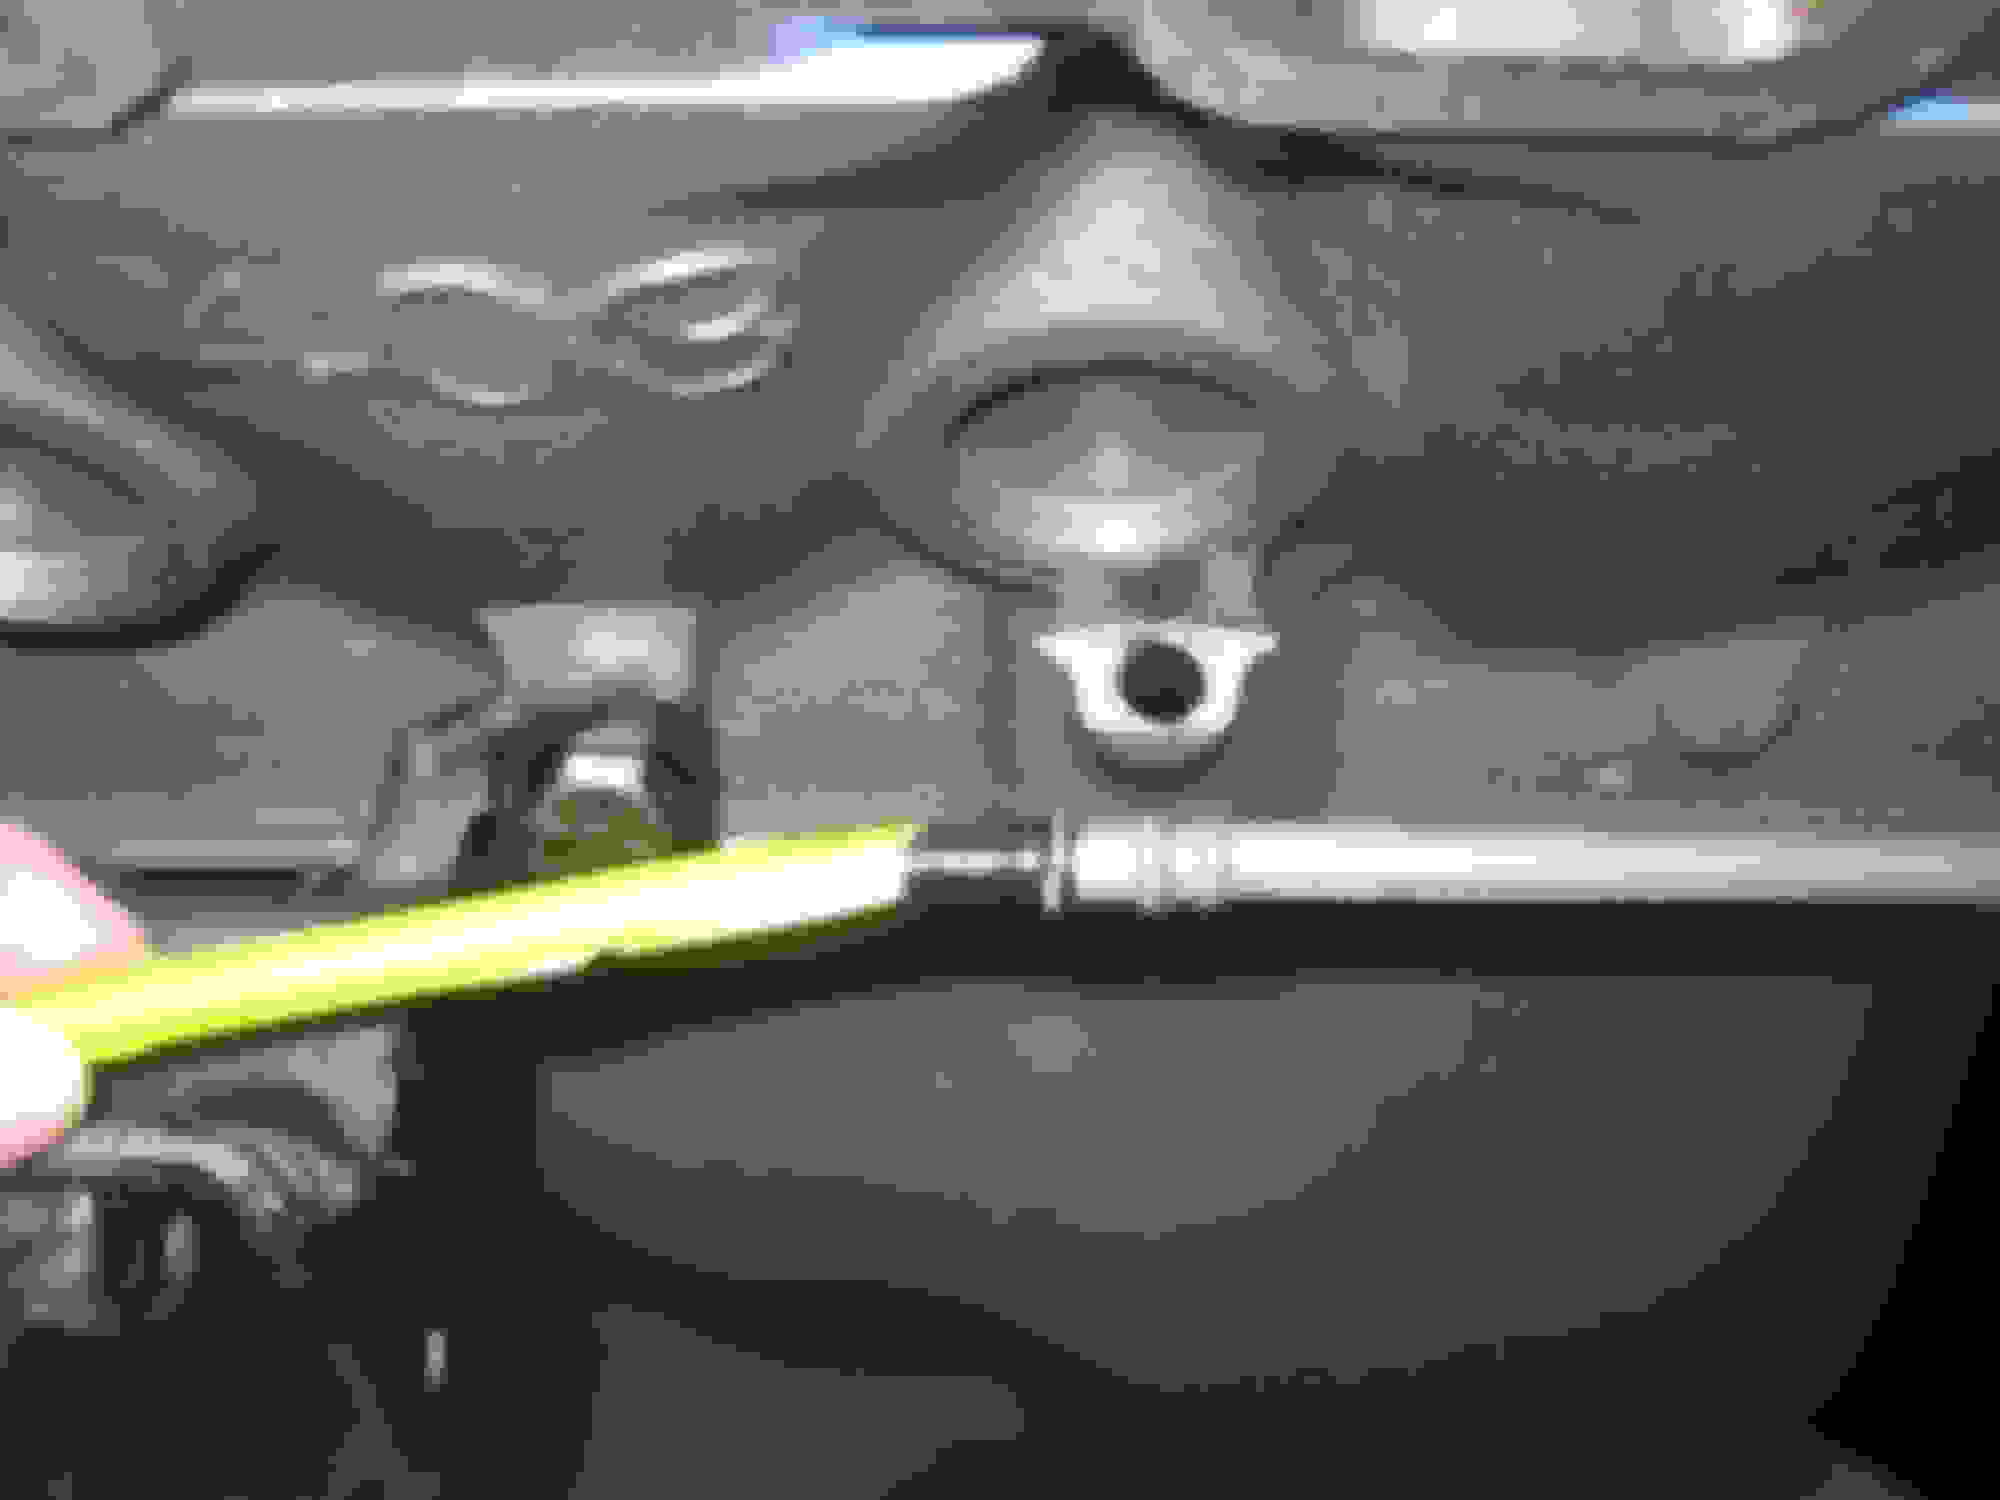
Seems so easy... but this is my 1st Olds motor, and it was built from scratch, so I don't have any reference. The service manual says to use a 1/4-20 bolt inserted into the tube, and drive it into the block. My question is do I have to go past the (2) shoulder ribs until I hit the painted black flange on the tube? Any tricks to this? RTV or dry? Thanks guys!
I think you sink the two and bottom out the top one on the boss surface. If that's a repop tube, the two may be too wide around. I think you want to oil them for sliding in. I don't think you need RTV. Someone will be along shortly to confirm or correct me here.
It is a repop from Inline Tube. Just like you said, I was thinking that the (2) ribs go into the block, and the black ring rests against the block, but like you're saying the 2nd rib has an O.D. that is larger than the hole, and I've hit it pretty hard, and nada...
It is a repop from Inline Tube. Just like you said, I was thinking that the (2) ribs go into the block, and the black ring rests against the block, but like you're saying the 2nd rib has an O.D. that is larger than the hole, and I've hit it pretty hard, and nada...
Our resident expert Joe will confirm as he has done this, but I think you can emery cloth the OD of the 2 bumps to the right size for friction fit in the bore, then land on the last one.
Correct, sand the perimeter of the two lower �bulges� until you can drive the tube into the block. I use a piece of 2x4 on the top of the tube and tap with a hammer.
I just did this last week, with an OEM tube. Use the bolt in the top end to prevent damaging the tube. Make sure you are lined up well, with a direct, straight-in, alignment. Then don’t be afraid to hit the bolt in the top, ensuring that the tube remains in alignment. It took me about four or five good whacks with the hammer. When you come up against the third/final flange, you will feel it seat home. No RTV.
Ive yet to see and aftermarket tube that fits properly .Get your file out and carefully file down the first two ribs ,it doesn't take much but will save you from beating the hell out of your tube .Ive had to do this twice with aftermarket tubes .The oem tubes are hard to come by.
Seems like I used a open end wrench the same size as the tube to slide over the top of top buldge and tap on wrench to set in. Been a long time but I think that is what I did, less chance of bending tube...
Seems like I used a open end wrench the same size as the tube to slide over the top of top buldge and tap on wrench to set in. Been a long time but I think that is what I did, less chance of bending tube...
This is how I do it. I have a steel rod bent to fit around the headers or whatever else is in the way. Place the rod on the wrench, have a helper tap the rod with a hammer to drive in the tube.
Ive yet to see and aftermarket tube that fits properly .Get your file out and carefully file down the first two ribs ,it doesn't take much but will save you from beating the hell out of your tube .Ive had to do this twice with aftermarket tubes .The oem tubes are hard to come by.
^^^THIS. Even the open end wrench trick will crush the upper bead that seats against the block unless you first file down the two beads that go into the block. I needed to take 0.010" off the diameter of those two beads to match the size of the OEM tube. Once I did that, installation was a breeze.
Thanks to all that responded. I will emory cloth / file the bulges, and hammer the bolt head, until I achieve a good press fit,
Just don't pretzel that biotch. Also make sure the tube is situated as not to touch the head or exhaust manifold when it's seated. Good luck, we're all counting on you.
This is how I do it. I have a steel rod bent to fit around the headers or whatever else is in the way. Place the rod on the wrench, have a helper tap the rod with a hammer to drive in the tube.
I finally had a chance to get back to the shop and finish the dip stick install. As I was advised, I used 80 grit emory cloth and sanded the top rib.. stop check... sand again. About 4 times, I could feel it was ready. 3-4 taps with a hammer, it seated nice and tight into the block. Full disclosure... even with a bolt in the tube, the top of the tube was �mushroomed � a little. I had to use the emory cloth on the top of the tube, in order to get the dip stick to seat and go in all the way. This thing was a little bit of a headache, but it turned out well. Thanks again guys for the tips on how to install it.
 April 16th, 2021, 08:18 PM


 Also make sure the tube is situated as not to touch the head or exhaust manifold when it's seated. Good luck, we're all counting on you.


