When you click on links to various merchants on this site and make a purchase, this can result in this site earning a commission. Affiliate programs and affiliations include, but are not limited to, the eBay Partner Network.
I've seen countless times when people have asked how the heck they should get these silly (but good looking) grills installed in the stone shield. One such individual was James Kryta of ILT fame. Even he was having a terrible time. IIRC he ended up wrecking one stone shield with modifications when all he needed to do is what I've discovered. Well, not to brag, ok, maybe a little, I I've found an answer that works with almost no modifications whatsoever.. I've tried it with the ones I have and my experimentation has yielded the results I want. I can now pop these things in/out on test dry fits inside of 5 minutes. What's the secret?? Not having 3-4 beers and more while you're doing this for a start Here goes
BTW, I don't think it matters if you have a repop or OEM stone shield. Mine is OEM. Just make sure it's intact and not missing any mount locations where the tabs need to attach. Also make sure the line up slot isn't broken; more on that in the following pictures.
Step 1
After carefully looking at the OEM grills and repops, it's clear that the fastening system for the bright reveal is the major cause of the problems everyone is facing. The top arrow shows where the mounting pin and snap washer for the repop used to be. Although the distance from the line up tab (second arrow and red line) is identical to the OEM grills, the length of the attaching post and washer make it impossible to get that line up tab into place without damaging it. Solution: Although some might think it's barbaric, I simply cut that pin off so there's no interference at all. Now that section of the repop has been suitably modified for installation, but WAIT, THERE'S MORE!! Yes, these grill hold yet another surprise......
I ended up taking the bright work off entirely because I didn't know how the measurements of those pins (see them circled in red?) would line up in the stone shield pockets for them. Turns out I was right to be suspicious. The mounting tabs are in the correct position, but they again are pretty long and will interfere with the fitment of the grill into the stone shield. Solution? I got my nippers out and took them down by 1/8".Turns out you can do this with the fasteners on the reveal to all of them. But as noted ^^ you've gotta get rid of the high inboard one entirely. So now I have that trim entirely off the grill and want to test fit it. Will it fit?? Bahahahaha, not really. Why?? Read on.....
See these areas (bosses) circled in yellow on the long part of the stone shield?? They need to be 'massaged' and by that I mean they need to be sanded or filed down about 1/16" so they're flush or slightly lower than the surrounding plastic. Who designs stuff that requires all these mods to a perfectly good stone shield?? Ah HAH you say. That's all there is to it??? NOPE, keep reading my Padowan.....Yoda I talk might so understand can you....
Now repeat this process for the upper grill boss on the stone shield (circled in red). OK, now to save you a step or two??? You need to do this to BOTH sides of the stone shield or you'll just start to learn a lot of blue 4 letter words.
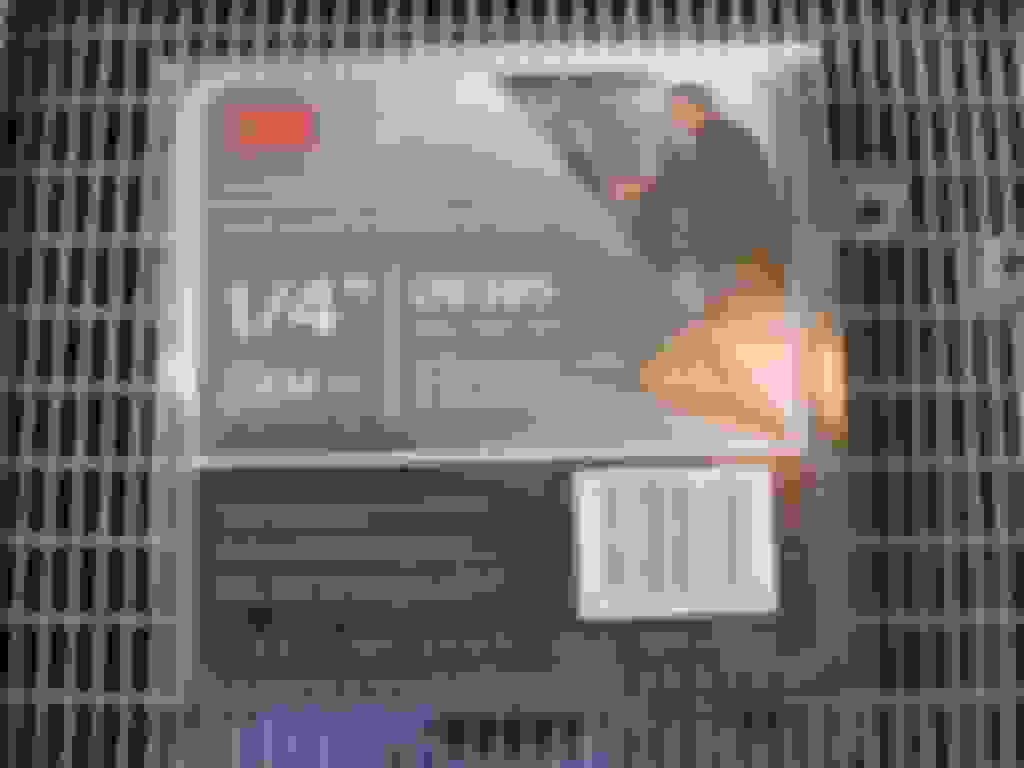
Now remember that I took off the bright work from the one side of the grill? No way I'm putting those stupid washers back on. So how to get them back on without making a mess with JB Weld or epoxy?? Your local supply shop will have body molding double sided tape and reasonably low cost. I bought this roll for about $12.00 which is pretty cheap for the amount I got. Not like you're gong to use the whole roll on this project anyway. The dimensions of the product are shown at the bottom of the package. Sorry it's in metric because we're a slave to metric up here in the frozen wastelands. Anywho, I tested a short section on the molding and popped it onto the grill. Perfect - it's the proper thickness so there's no gap between the reveal and the grill. So I'll be using this to re-attach that bright work. AHHHHH, what about the other grill?? Don't I have to use it there too? In a word - YES, Spot on!! So you know what I'm going to suggest next don't you? Uh huh. Trash those pins and snap washers and use the mounting tape to secure the bright work when you're ready. I left the pins on the sides and bottom about 1/8" high so they'd help line up the bright work with the holes in the grill. Piece of cake....
And here here's dry fit # 1. Looks reasonable. What I also was looking for is making sure the grills are properly 'seated' into their correct position. If they aren't the won't line up properly and will show the 'pockets' that are there for the mounting tabs used by OEM grills. You're looking to make sure the grills are equal to the grill opening. The red lines in the picture are there to emphasize how the grills need to be level and plumb. It takes some experience to learn how to get them in and out without getting upset. Read on and I'll describe the process.
Ok, now that you've done all the hard stuff, it comes down to the install. Ready?? Of course you are. Remember you're dealing with plastic and it is not always very forgiving. ALSO, I wouldn't try this in COLD weather or you run the risk of snapping plastic on both grill and stone shield. My stone shield is an OEM NOS replacement service part and sadly I cracked it in 2011 working on the front end. But not enough to be a problem here. It's an easy fix that will look like new when done and color matched.
(stupid insert space not working...)
The grill needs to go into the stone sheild with the inboard tab first, and slightly high so the line up tab will be able to slot down into the stone shield groove at a later step - not now..
The grill will be slightly **** eyed now, but the next step will help straighten it out. CAREFULLY move the lower tabs into position on the stone shield. They may need help to get over the mounting bosses circled in photo 3. They will feel very tight. If they are TOO tight, go back and remove some more material from that area. It shouldn't be terriby hard to line these up now.
With those tabs in place, you'll notice they don't line up with the holes for mounting. So that means you need to gently force the grill towards the center. It will be high on the inboard side, Now is the time to gently make sure the inboard mounting tab is properly over top of the mounting boss. Don't worry if it' doesn't line up with the bolt hole.
Now slide the grill down on the inboard side so the line up tab slides into the stone shield groove. The inboard mount should now be close to centered on the mounting boss. Now it's just a matter of gently applying pressure from one area to another to get the proper fit on all mounting bosses. You might hear the plastic 'snap' as it releases tension in some areas, at least I did.. Don't be alarmed, the grill is just finding it's seating position. (I hope)
After mounting one side, make sure the stone shield is adequately supported so the insertion of the next grill doesn't put unnecessary stress on the thin extension to the side. As mentioned, this is just plastic.
Put the brightwork (dry fit) onto the grills and verify that the grills are properly concealing all the shallow pockets for the trim. IF it looks good? secure the grills with the necessary hardware.
Apply the 2 sided tape to the brightwork and apply it to the grills. Once that stuff is on, it's no going back because it sticks very well. Not that it matters anyway because now taking the grill out and re-mounting it is fairly easy.
If you've dry mounted the grill but want to take it out? Ezpz. DON'T start yanking from the middle. Lift the OUTER grill tabs straight up and the grill will pop slightly forward. Then simply apply SLIGHT upward pressure from the outside edge of the grill and the whole thing will literally pop up and out of the stone shield. I've done this several times to verify the procedure and it works..
I hope this helps those of you that are looking at doing this install for your rides. Good luck. This worked well for me so I thought I'd share it. Be careful and work smart.
I have used a much simpler tried and true method, though not aesthetically pleasing, zip ties! I Probably wont get to the grills till spring. Thanks for your post. No beer, need something to crush when things go wrong.
I think there is a piece missing from the top mounting holes and the 2 holes in the outer center - the grill mounts near these holes The mounting point in question is the part of the grill with the nutplate - this does not line up at all
Hey I have been trying to install my shield and grill just like what you described. Had the car all torn apart and reassembling. The trouble I am having is the actual mounting of the grill, especially the inner section. Looks like 1 of the 2 mount holes for the grill mounts to the stome shield and the other mounts to the large bracket that holds the hood release mechanism. I think a part is missing, I took off the core support to have it powder coated andf think they failed to reinstall some type of bracket.. I have enclosed a couple pics. The problem I am having is the grill does not even come close to lining up with the bracket on the core support.
I see what you're getting at. When you put the grills in, the last part of the line up is getting that vertical tab (at the top of the grills) to fall into the lineup slot. I also had a bit of issue with that tab not wanting to snap into place. Look back at step 4 of my experience. I also had reservations about how much to 'massage' it but after a bit of fiddling it just popped/snapped into place. Looking at your picture it looks like that line up tab isn't properly seated as the grill tab is way too far off to the side.
Your radiator support looks identical to mine; nothing missing on the center that I can see. But, the shop may have removed and not installed the brackets that help the grill fasten on the outside closest to the headlights.
Hard to see, the hole is at least 1/2" off and the mounting tab is not flush to the bracket either This gives you a better idea how far off it is - I tried pushing the grill upward but will only go so far.
Allen,
I appreciate the input, I know about the tab, I simply placed the grill onto the guard as a reference. I have enclosed some more pics, these are without the stone guard. So the grill bolts directly to the top front of the core support, L and RH brackets and the center of the core support bracket. Take a look at how far off the hole is, also the grill mounting is at an angle where as the bracket is straight. This car is all OEM except for the grill chrome which in my opinion is cheap junk. Thats another story! The hole is at least 1/2" off - I just keep thinking there is something missing or I'm overlooking.
I got it figured out after doing some research. It just came down to loosening the bolts at the hood latch assembly, that allowed everything to drop into position. Common sence, things don't get assembled they same manner as dissassembly.
This thread is great!
I'm experiencing the same sort of problems, and am totally baffled about the poor fit of the repop grills from you-know-who. Left side looks pretty good. right side too. At the center, horrible. Left. Right
I have nipped the pins off right down to the washers. I am not opposed to removing the brightwork and using the space-age body tape.
After reading here, I think one of the problems is that the alignment slots on both sides of the stone shield are broken.
Does anyone have more advice, Or better yet, a source for a good stone shield, or better than that, a good way to repair mine...............thx.
How do I adjust the size of the photos?? They are huge!
I don't know about the repro 72 supreme grilles but I can tell you about the repro 71-72 442 ones. The fit into the stone shield sucked, they were under tension because one or both of the bottom tabs under the left grille were not molded in the correct position, which then led to the upper center not fitting into the stone shield. I was shaving and sanding plastic off the tabs trying to make those damn things fit perfectly into the stone shield. I came to realize the mounting points on those grilles are off so it throws everything else out of wack. For the money spent they should have fit perfectly into that stone shield so I emailed Fusick and they said they'd never had a problem with them which is BS because there is another thread on here of people complaining about them. I got sick of messing with the repro grilles and sent them back and bought some NOS ones from a member here and those NOS ones fit into the stone shield perfectly. This was years ago so I am not sure if they ever corrected the issues with those specific grilles?
Looking at your photos, the missing alignment slots would pull those grilles in, I believe, but as to how much because the grilles are reproduction, I don't know? You could buy a new stone shield or build up new alignment slots with JB Weld possibly?
Thanks for the reply.
I called them and got the 'we've sold these for years, but never had a problem with them' story.
I can't remember the last time I spent so much money to purchase a problem.
I think I'm going to dismantle the grills again, make the suggested modifications shown above and see what happens.
The blessing in all of this is that it's winter so the car isn't being used much.
Edit: The drivetrain is out of the car due to an engine issue. Do you think the absence of it's weight might compound the problem? I don't think so, but then I'm not familiar with the true effect of suspension vs body movement.
I don't think Fusick wants to address the problems because it would cost them money to actually fix the issues with the molds overseas. These grilles were released years ago at a time when reproduction parts accuracy and quality sucked but the repro companies said ehh close enough, let's sell em. While I am thankful there are parts being produced for our cars, it would be nice if they went the full mile to ensure they fit correctly.
With the 3D scanning technology we have today, original grilles could easily be scanned and reproduced with 100 percent accuracy, but that would require trashing those old inaccurate molds Fusick paid money for and starting over and thats not something they are willing to do.
I don't think having the drivetrain out of the car would cause the issues you are having with these grilles. I think they just weren't produced correctly.



 Here goes