When you click on links to various merchants on this site and make a purchase, this can result in this site earning a commission. Affiliate programs and affiliations include, but are not limited to, the eBay Partner Network.
After i had some bad luck with my 355 project, i ran out of courage (and time) to mess around with engines for some time and ran my Cutlass with its stock 350 all Summer long and enjoyed that its just running without any issues.
Unfortunately, a few weeks ago, i found a 455 olds with q-jet and TH400 trans for sale, just 2 hours from where i live and decided to pick it up, just because its very rare to find any olds - related stuff in europe.
casting code over timing cover is 396021 F, casting letter in the rear by the flexplate says F1.
Engine has C Heads with the small 2.000 intake valves, and had its stock steel shim head gaskets, even the oil filter adaptor had still the steel shim gasket.
If i read the stamped code in the left front corner right, it should be from a full size car in year 1969:
Crank is the N nodular crank:
Pistons have the "V" - notch, which i guess theyre the 'high compression' pistons:
I hoped that it will not need to be bored, but i can feel the wear-difference with a fingernail on the top of the cylinders:
I already disassembled the drivers side head, because all runners are very dirty and need a good clean up. Lucky that the valve guides have no excessive wear like once ive seen it on my 350's 7a heads. I guess, ill have to get the heads resurfaced, even to compensate the thicker fel-pro head gaskets.:
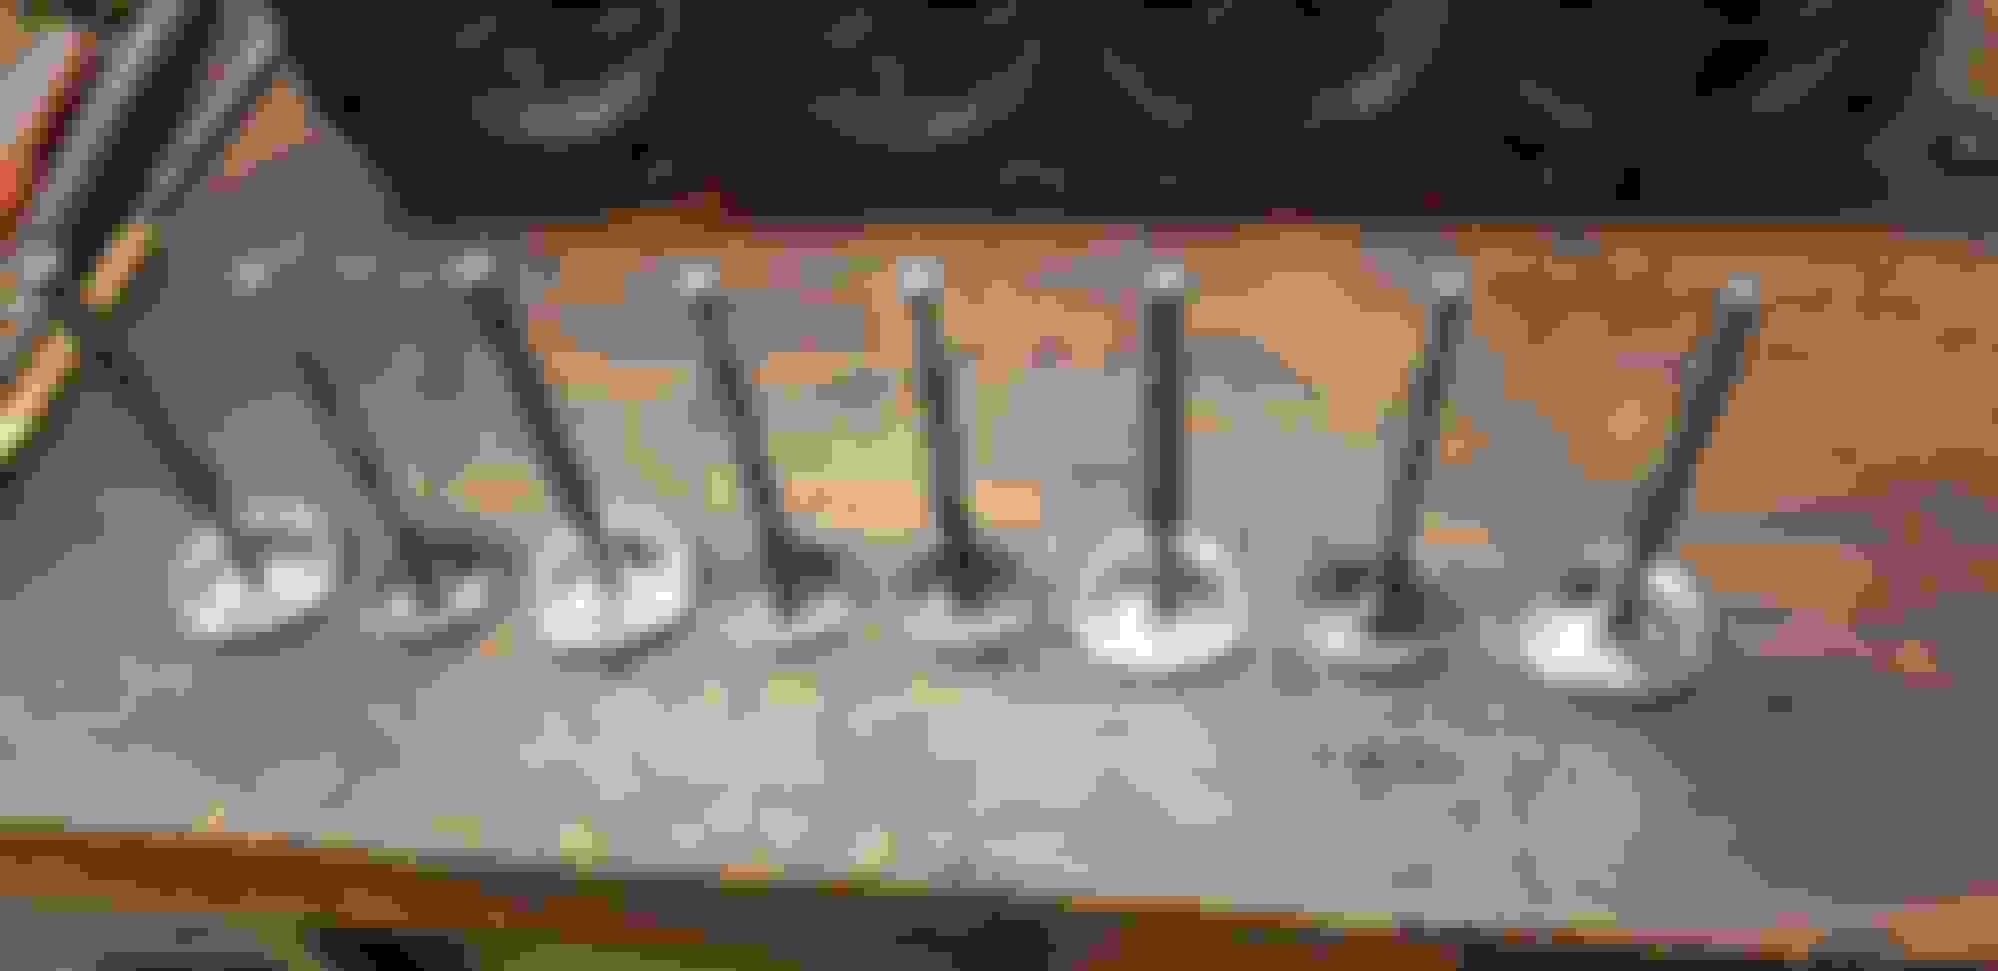
some of the valve tips showing some wear too, so i guess that the have to be replaced.
I guess this timing set is aftermarket, because the cam sprocket has no nylon-teeth:
valley looks quite clean, and as i turned the engine over, all lifters spun like a champ. I assume that its still the stock camshaft.
i just wanted to share some pictures and maybe get some ideas, because im not 100% sure how much of rebuild i want/have to do.
Goal is just a nice healthy street engine, not a screamer or something really wild.
If going with speed-pro pistons, do i have to get the rotating assembly balanced? Or is the weight of them similar to the stock pistons? I ask this, because its very hard to find a machine shop here around who can balance V-Engines due to loss of expierience and master weights.
I will go the real slow way with this project, because my car is running, and i want to do it right at the first time, because my failed 355 project has told me some lessons and lot of headache .
Depends on your goals. Even a stock 455 will be an improvement over a stock 350. Have the heads checked and milled. Want to save money just keep the valves you already have. The ends can be cleaned up along with a valve job. Or have the heads redone with slightly bigger valves. Stock high compression pistons are fine. Remove the ridge, ball home cylinders and add some new rings. Check bottom end bearings/clearances if good send it or replace the bearings. Or you can go full rebuild and replace a bunch of parts. Depends do you want to just cruise or are wanting to hot rod.. My 71 had a Frankenstein 455 in it with a 3.08 rear was a great car and quick enough..
Depends on your goals. Even a stock 455 will be an improvement over a stock 350. Have the heads checked and milled. Want to save money just keep the valves you already have. The ends can be cleaned up along with a valve job. Or have the heads redone with slightly bigger valves. Stock high compression pistons are fine. Remove the ridge, ball home cylinders and add some new rings. Check bottom end bearings/clearances if good send it or replace the bearings. Or you can go full rebuild and replace a bunch of parts. Depends do you want to just cruise or are wanting to hot rod.. My 71 had a Frankenstein 455 in it with a 3.08 rear was a great car and quick enough..
Thanks for the informations! Good to know that the valve tips can get reground! I was thinking about to do as much as possible of the cylinder head work by myself. I thought about keeping the 2.000 valves because i doubt that with in the rpm range this engine will be mostly be the larger valves would be noticable. For sure, i want movement when i floor it, but 90% of its running time will be <2500-2500 rpm.
Im going to clean up the intake and exhaust runners to remove rough surfaces, for sure no polishing, just smoothing the surfaces and casting-ridges. Maybe removing the bumps in the exhaust runners.
For sure, i will measure the bores with a bore-micrometer to determine how worn they really are.
Do you mean removing the ridge with one of those ridge-reaming tools? I was thinking about the same, maybe just to ball hone the cylinders and re-ring the pistons. I just would like to avoid overboring/honing the block, because its about 700� here in europe and, it means that i would have to get oversize pistons and that would mean balancing the rotating assembly is necessary. I know that this would be the 'best' to do, but if its possible, i think for my goals the stock hc- pistons, some refurbished heads, maybe decent cam, q-jet and headers are good to go.
Ditch the idea of the SP pistons, much better stuff out there now for not a lot more money.
And don�t waste your time grinding this or that on the heads if you�re staying with the stock size valves and an overall mild build.
Best of luck in your build.
The long tail TH400 is from a full size car. It probably doesn't have the provision to drive a speedometer cable. 1969 VIN derivative on the block. That's a good motor.
I have the same engine here ,(year & 2bbl,low mileage, but low comp.), same condition. I would clean the top of the bore before using a ridge reamer to be sure the reamer is needed. Perhaps even using crocus cloth to help clean off the carbon.
If your able to just do the hone yourself a three stone hone will leave a rounder finish than a dingle ball, be sure to hone with the correct grit for the rings to be used.
I would have the crank at least polished before putting it back in service.
Competition Products has very good pricing on quality products.
Ditch the idea of the SP pistons, much better stuff out there now for not a lot more money.
And don�t waste your time grinding this or that on the heads if you�re staying with the stock size valves and an overall mild build.
Best of luck in your build.
Yeah, i know. Theres Keith black, Mahle and some other much better Pistons than the SP's, due to weight and modern ring sets, and if i would be in the US, i would not bother using SP instead of a better piston. but in europe, we are a bit forced to order at big sellers like Summit to get shipping conditions i can live with. Even if i would order SP's from Summit or Rockauto, till i have them in my garage, i have to pay all in all about 700�. For this motor, the speed pros would just be used as stock-replacement pistons to get a good bore again.
I will measure the actual bore sizes on all cylinders, to determine if i really need to change pistons to 0.30 over or something or can do a ball hone and re ring the stock pistons.
yeah i know, the TH400 i got with the Motor is a long tailed version. Im not quite sure what transmission im gonna use. I dont like the idea of a long tailed th400 in a A-Body.
But, i also dont like the idea of changing output shaft and housing. Maybe i try to find a short th400 and a Stock th400 A-Body driveshaft to make it work in my cutlass OR, rebuilding + reinforceing my current TH350 would be another option too, because then it would be a plug and play swap in case of the drivetrain.
Good luck with the build, please come back to update this thread because a lot of threads are left open-ended and nobody ever learns if it was a raging success or a failure.
Happy Motoring and Happy Holidays, please send pics of your beautiful countryside rides !
Good luck with the build, please come back to update this thread because a lot of threads are left open-ended and nobody ever learns if it was a raging success or a failure.
Happy Motoring and Happy Holidays, please send pics of your beautiful countryside rides !
Thanks for the help!
I already cleaned some carbon off the top of the cylinders and there is some kind of ridge, i can feel it with a fingernail. I dont really know how much ridge is too much, thats why im goin to measure, i think this will help me to determine how worn the bores really are.
I know these DIY-honing tools just from some Youtube-videos, i have never used one. But i always heard that IF doing a re-hone by yourself, the 3-stone tool with using the proper technique and lubricant is the better choice than the dingleberry. IF i can re-use the stock pistons, i think about re-ring them with regular cast rings, maybe no moly coated rings are needed and i heard that they are easier to get seated properly.
thanks for telling me about Competition Products, i will check how theyre shipping costs are.
I also really think about going with a roller cam, maybe its overkill for my project/goals, but since my Lunati flat tapped cam failed at break-in in my 355, im afraid to have the same disaster again.
For my understanding, does every roller cam need a thrust plate? Ive seen some thrust plates made out of bronze, that get attached with the front oil galley plugs.
I will definitely keep posted about news in this thread, but i will go the slow way on this project, just to do it right. I have no reason to rush, since my stock 350 is in the car and running well .
Which is the better, or lets say, the common way to use? Plate or button? Is there anything else that has to be paid attention to if going with a roller cam beside that shorter pushrods are needed due to the taller roller lifters?
Are there some good Kits which are including cam, lifters, thrust button/plate?
i red somewhere that if going with stock heads, valve lift shouldnt be higher than 0.500?
The better way is the plate but the buttons are the most common. As far as I know there isn't a kit that includes either.
I know there's a lift restriction with stock rockers because of the slot length.
Ok, i think IF i go with a roller cam, the plate will do it. I think its a nicer solution. I dont really like the fact that a spinning extended screw is rubbing on the timing cover.
Does the engine in the car that is running good now have flat tappets ? A roller cam and all the supporting stuff costs a big amount.
Yes, the engine in the car is my stock 71 350 with #7 heads, its the engine that came with the car. I just converted it from 2bbl to qjet. Still has its stock cam.
I know, roller cams are expensive and for my goals some decent flat tapped cam would be more than good to go, but the messing around with flat tapped cam break in, zinc additive and the danger of break in failure make me really think about going with a roller cam.
Ok, i think IF i go with a roller cam, the plate will do it. I think its a nicer solution. I dont really like the fact that a spinning extended screw is rubbing on the timing cover.
Yes, the engine in the car is my stock 71 350 with #7 heads, its the engine that came with the car. I just converted it from 2bbl to qjet. Still has its stock cam.
I know, roller cams are expensive and for my goals some decent flat tapped cam would be more than good to go, but the messing around with flat tapped cam break in, zinc additive and the danger of break in failure make me really think about going with a roller cam.
Did you ever figure out why the cam/lifters failed ?
Did you ever figure out why the cam/lifters failed ?
I dont know why. Only 1 lifter/lobe failed. (Exh. #4).
I used High zinc oil + break in additive, prepared the cam with cam break in lube and all lifters were spinning when turning the engine over. Did the break in with 2000 - 2500 rpm for about 30 minutes. After that, i heard a lifter ticking that was getting louder and louder. So i figured out that exh. Lifter of cyl #4 failed.
The only thing which was maybe a mistake to do the break in with the stiffer valve springs (Lunati 73126, single springs).
I can understand you being "gun shy" about flat tappet cams, but there was something wrong. You are going to a lot of extra expense to not use flat tappets. With that 455, keep it simple and get a "good quality cam", "good quality lifters" and new valve springs comparable to an Olds 442. Cutlassefi might be a big help to you.
Make a list of all the stuff you have to buy for the roller cam.....
1. cam bumper/spacer
2. Cam and kit
3. Rocker arms
4. Rocker arm studs
5. Push rods
6. Guide plates
Total it up in Euro's. Compare that to a new hydraulic flat tappet cam, lifters and new valve springs.
.....Just my .02 Euro's
For sure, youre absolutely right! Its true that a roller cam is not 'needed' for my goal and a lot more cost intesive, compared to a flat tapped cam.
The cam that failed in my 355 was a Lunati 272/276, 0.485 lift in and exh., the lifters has been lunatis micro trol lifters. I guess, lunati products are quality products, but yeah, something must have been wrong on this #4's exhaust lobe.
do you use stock (soft) valve springs for cam break in procedure?
Which valve spring kit would be compareable with the 442 455 springs? Maybe someone knows the specs of them.
I would like to go with a good off-the-shelf cam,
Maybe some people here are running some off-shelf cams in there 455's and can chime in.
Other question, what about the stock camshaft?
ubnfortunately, i have only a 71 CSM in my garage and no 69 to identify the stock cam.
I really apprechiate all the informations i can get here! Thanks a lot
Yesterday + today i had some time to remove all the crud off the valves and the heads intake manifold meeting surface:
I removed the surface-crud with a sharp blade and the took a flat stone with WD-40 to 'resurface the meeting surface for the intake. lucky, that theres not too much corrosion around the water ports on both heads. Should be no problem to use a Turkey tray here.
i cleaned the valves in a Drill-press. Put a rubber hose on the valve stems to prevent them from scratching of the drills chuck. Cleaned all the crud off with emery cloth and WD-40, it worked very well on the intake valves, i think the dirt is really burned in at the exhaust valves, so theyre still some kind of black, but i guess, clean enough.
Next step is to clean the rocker area, oil drain back holes, intake/exhaust runners and combustion chambers. I havent planned to do much on the heads gasket meeting surface, since i will have these surfaces resurfaced due to the thicker fel-pro head gasket i plan to use.
Is it right when i calculate 0.040 (fel-pro gaskets) - 0.018? (stock steel shim gaskets) = ~0.022 resurfacing from the heads to get the heads back to the same position than with stock gaskets?
I hope that i will not have to get the decks resurfaced too.
Today, i continued cleaning the heads. Now all the crud is removed from the ports. Die-Grinder with a small wire-brush did the job.
I smoothened the edge of the drain back holes a bit too:
I plan to run comp's magnum roller tip rockers on this engine. I have ARP 5/16 to 3/8 rocker studs here and comp 4842 guide plates. Since i had some rocker geometry problems on my 355 engine, i will mill down the rocker pads on these C heads to give more rocker bottom clearance.
I found, when i screw the studs in the heads without a guide-plate, the threads in the heads are a bit to short:
With the 4842 guide-plate, for sure no problem. It acts like a washer.
My question is, if i mill down the rocker pads the thickness of the 4842 guide-plates (0.064), i would have to shorten the 5/16 base threads of the rocker studs, correct? I mean, is this common practise?
i know, best would be to open the heads threads to larger (3/8?) Threads. I could do this easily by myself since i am a metal/machine-mechanic, but i dont think its necessary for my build, and there are not much UNC/UNF thread-tapping bits available in europe , all just metric in my home-workshop
Last edited by 71OldscutlassS; December 10th, 2022 at 04:53 AM.
Today, i continued cleaning the heads. Now all the crud is removed from the ports. Die-Grinder with a small wire-brush did the job. That is good.
I smoothened the edge of the drain back holes a bit too: Do that all the way around the drain back holes.
I plan to run comp's magnum roller tip rockers on this engine. I have ARP 5/16 to 3/8 rocker studs here and comp 4842 guide plates. Since i had some rocker geometry problems on my 355 engine, i will mill down the rocker pads on these C heads to give more rocker bottom clearance. Do you really want to get into another mess like the 355 ? Why not just replace worn components with stock replacements and change the cam ?
I found, when i screw the studs in the heads without a guide-plate, the threads in the heads are a bit to short: Before you start cutting anything, run a bottoming tap in the threaded holes to gain a little more "full thread" depth. Don't break the tap. BUT, if you stay with stock replacements, you wouldn't have to do anything except clean the threaded holes.
With the 4842 guide-plate, for sure no problem. It acts like a washer. But you might have interference between the rocker arms and the radius on the stud.......just like the 355 ?
My question is, if i mill down the rocker pads the thickness of the 4842 guide-plates (0.064), i would have to shorten the 5/16 base threads of the rocker studs, correct? I mean, is this common practise? If you mill for push rod guide plates, you are back to needing to run a bottoming tap down the threaded holes. Don't break the "bottoming tap". I would also use a little thread cutting lubricant on the tap.
i know, best would be to open the heads threads to larger (3/8?) Threads. I could do this easily by myself since i am a metal/machine-mechanic, but i dont think its necessary for my build, and there are not much UNC/UNF thread-tapping bits available in europe , all just metric in my home-workshop What you appear to have is what I call "screw machine taps". These are used in production applications and are meant to be flooded with thread cutting coolant. What you need are commonly called "hand taps" over here and they can be used to thread holes. They have straight flutes and come in "plug" or "bottom" style, are "genera; purpose" and GH3 tolerance..
What you really need is a 5/16-18 UNC "bottoming hand tap". You will probably have to get it from and "industrial supply" place in Austria. Here is a place that might ship to you also...... https://www.mcmaster.com/taps/chamfer-type~bottoming/ .
Ok, ive saw some pictures, where the edges of the drain-back holes have been smoothened just on the bottom, so i did the same, but it makes sense to do it all around!
I thought about using the comp stud mounted rockers because i would like to have the ability to adjust. And i already have them laying here. there should be nothing wrong going with them. I think the only problem with them on the 355 has been the unmilled rocker pads.
for sure, if i would use stock replacement rockers, no modifications are needed.
yeah, i looked down the threads and saw that the thread could be cutted deeper, since its not cutted all the way down.
That type of taps on my picture are the most common to use here in europe. We use them on machines and to cut threads by hand. To cut threads all the way down the hole, some peope just take a second tap the same size, and grind away the tip, to get a "bottom-style" tap. Im sure, there are metric` "bottom-style" taps available too, but theyre not common, since the right way is to drille the hole deeper than the thread has to be (just like in the rocker pads).
the type of tap that you mentioned is here around known as the "old-style"-hand cutting tap. Heck, there has been sets, where you have to use 3 taps to make a thread. Pre cutter, middle cutter and end cutter.
But, youre right, this type of "old-style" bottoming tap is exactly what i would need for the job.
I will take a look on ebay, im sure UNC/UNF taps are available in europe too for a fair price.
Last edited by 71OldscutlassS; December 10th, 2022 at 01:16 PM.
Ok, ive saw some pictures, where the edges of the drain-back holes have been smoothened just on the bottom, so i did the same, but it makes sense to do it all around! You have the heads off, and they can be easily cleaned. Now is the time to do it.
I thought about using the comp stud mounted rockers because i would like to have the ability to adjust. And i already have them laying here. there should be nothing wrong going with them. I think the only problem with them on the 355 has been the unmilled rocker pads. Did you have a problem with rocker arm not contacting in the middle of the valve stem ?
for sure, if i would use stock replacement rockers, no modifications are needed.
yeah, i looked down the threads and saw that the thread could be cutted deeper, since its not cutted all the way down. Then a general purpose bottoming tap is what you need. I would get at least a couple of those taps, so you have a sharp one to finish all the holes. Be sure to check with the studs after machining.
That type of taps on my picture are the most common to use here in europe. We use them on machines and to cut threads by hand. To cut threads all the way down the hole, some people just take a second tap the same size, and grind away the tip, to get a "bottom-style" tap. Im sure, there are metric` "bottom-style" taps available too, but theyre not common, since the right way is to drill the hole deeper than the thread has to be (just like in the rocker pads). A normal (plug type) tap has a cutting taper ground on about the first 4 threads because it puts lees stress on the tap. A bottom style tap is generally tapered on about 1.5 to 2 threads to make threads nearer to the bottom. The bottom tap puts more stress on the end of the tap and they break more often because a lot of material is being removed at once.
Grinding the end of a tap to make a bottom tap is a world wide "trick of the trade". We do that over here too. There is a steeper taper on a bottom tap. Drilling the hole deeper is to keep the tap from "hitting bottom" and breaking the tap. Also gives room for packing chips in the bottom of the hole which would lock up the tap and break it.
The spiral fluted taps you have, help to encourage the removal of chips out of the hole. .
the type of tap that you mentioned is here around known as the "old-style"-hand cutting tap. Heck, there has been sets, where you have to use 3 taps to make a thread. Pre cutter, middle cutter and end cutter. Straight fluted taps are kinda "old style", yes. They are cheaper to manufacture than the spiral fluted taps available today.
I have seen the "3 tap sets". The "end cutter" looked to me like a normal tap thats used when the proper size hole is drilled. The "pre cutter" and "middle cutter" appear to me to be used to up size a smaller stripped out hole where you can't drill or use a "Heli-coil". The "pre cutter" has a very long taper and is very small on the end. The "middle cutter" makes more of a thread. The end cutter" is the last step to make full threads.
But, youre right, this type of "old-style" bottoming tap is exactly what i would need for the job. Well, you know what to do.
I will take a look on ebay, im sure UNC/UNF taps are available in europe too for a fair price.
I am sure you can find them in Europe on the internet. Where ever you get your metric taps may have a distributor that can supply you with what you need. Think about getting the sizes to clean head bolts/main bearing cap bolts and intake manifold bolts too. The spiral fluted taps should work well enough.
I am sure you can find them in Europe on the internet. Where ever you get your metric taps may have a distributor that can supply you with what you need. Think about getting the sizes to clean head bolts/main bearing cap bolts and intake manifold bolts too. The spiral fluted taps should work well enough.
Yes, thats what i thought too, getting a kit for the other threads too.
On the 355, i had the problem that, for a perfect pattern on the valve tip, i would have needed shorter pushrods than possible, because the rockers have been bottoming on the stud. But if i would have milled the pads, it would have worked.
adjusted the micrometer to 4.125, zeroed my dial bore gauge in the micrometer at 4.125.
Top of cyl #1, right under the ridge: + 0.12mm = + 0.0045
middle of cyl #1: + 0.06mm = + 0.0025
Bottom of cyl #1: + 0.03mm = + 0.001
A few other cylinders that i checked are very similar to these measurements.
So, my cylinders all have the typical tapered wear.
Since, i am no engine building expert, i would like to ask some of you with better expierience. If i would use forged pistons (which need more piston to wall clearance like 0.0045 or something like that), CAN those bores maybe done by hone-to-fit?
i ask, because this would maybe safe me some money, not having them to bore .030 over? But, i can imagine that it would be not easy just to hone the taper out to get straight +.0045 top to bottom, so maybe the block needs to be overbored anyway.
Last edited by 71OldscutlassS; December 11th, 2022 at 03:29 AM.
I found this UNC - Hand Tapping kit at a local motorcycle parts store for very cheap. I guess they have it in program for all those Harley Davidson enthusiasts we have around here.
The quality is, well, not comparable to my other taps i have in my garage, but for cutting the rocker stud threads slightly deeper and cleaning out all the other threads, they work good enough.
BTW i recognized, the depht of the rocker arm threads in the heads is not the problem why the Studs are "bottoming out" without the Guideplates, its the stud itself. The thread is not "cutted free" at the studs head, thats why its not possible to screw them all the way in:
So, milling down the Rocker pads shouldnt be a problem for thread lenght, but i tapped them deeper anyway.
adjusted the micrometer to 4.125, zeroed my dial bore gauge in the micrometer at 4.125.
Top of cyl #1, right under the ridge: + 0.12mm = + 0.0045
middle of cyl #1: + 0.06mm = + 0.0025
Bottom of cyl #1: + 0.03mm = + 0.001
A few other cylinders that i checked are very similar to these measurements.
So, my cylinders all have the typical tapered wear.
Since, i am no engine building expert, i would like to ask some of you with better expierience. If i would use forged pistons (which need more piston to wall clearance like 0.0045 or something like that), CAN those bores maybe done by hone-to-fit?
i ask, because this would maybe safe me some money, not having them to bore .030 over? But, i can imagine that it would be not easy just to hone the taper out to get straight +.0045 top to bottom, so maybe the block needs to be overbored anyway.
You need to measure the bore paralell to the wrist pin and 90 degrees to the wrist pin. You should check for out of round condition. You want the pistons, piston rings, crankshaft, rod bearings and main bearings in good to excellent condition. If its not, you'll have to pull the engine to fix it.
Honing the bores takes rigid mounted stones and some time. A spring loaded, cheap hone will not remove out of roundness. Forged pistons are stronger and need more clearance, yes. Until you measure the bores twice (at 90 degrees), top, middle and bottom, you really can't make a good choice. Write down your measurements on each cylinder.
I found this UNC - Hand Tapping kit at a local motorcycle parts store for very cheap. I guess they have it in program for all those Harley Davidson enthusiasts we have around here.
The quality is, well, not comparable to my other taps i have in my garage, but for cutting the rocker stud threads slightly deeper and cleaning out all the other threads, they work good enough. That set should work fine for what you need. I also like to run some "bottle brushes" down, reverse the drill and back out, to clean all threads. Be sure to wear safety glasses and blow out the holes. https://www.mcmaster.com/bottle-brus...style~twisted/
BTW i recognized, the depht of the rocker arm threads in the heads is not the problem why the Studs are "bottoming out" without the Guideplates, its the stud itself. The thread is not "cutted free" at the studs head, thats why its not possible to screw them all the way in: Ah, that makes a difference.
So, milling down the Rocker pads shouldnt be a problem for thread lenght, but i tapped them deeper anyway. It should work, but check to make sure.
You need to measure the bore paralell to the wrist pin and 90 degrees to the wrist pin. You should check for out of round condition. You want the pistons, piston rings, crankshaft, rod bearings and main bearings in good to excellent condition. If its not, you'll have to pull the engine to fix it.
Honing the bores takes rigid mounted stones and some time. A spring loaded, cheap hone will not remove out of roundness. Forged pistons are stronger and need more clearance, yes. Until you measure the bores twice (at 90 degrees), top, middle and bottom, you really can't make a good choice. Write down your measurements on each cylinder.
thanks for the instruction! This was just a quick measurement on a few cylinders to give me a first impression how worn they are. I will measure them all exactly like you mentioned and write down the results when i find some time the next days.
yeah, for sure, honing the cylinders to fit a forged piston is a machine shop thing, nothing for at home with spring loaded cheap drill honing tool.
Im quite unsure in selecting/choosing pistons, because i understand all the facts that make modern pistons better, lighter, less friction and so on, and on the other hand, i see that really fancy engine projects from people who are investing maybe a lot more �/$ than i will are going with speed pros. This makes me think 'those are good enough for my project too'.
 December 1st, 2022, 08:55 AM


") .
.