When you click on links to various merchants on this site and make a purchase, this can result in this site earning a commission. Affiliate programs and affiliations include, but are not limited to, the eBay Partner Network.
So after doing a complete LS swap and driving it may 25km's, I sold it to a friend building a 67 Nova.
Since I did the swap a part of me wanted the 455 Big Block back in the Engine Bay of the 69.
So I have decided to try to build a 455 Big Block Olds Motor on my own or at least collect all the parts I would need. I have a lead on a 68 - 455 Block stamped 396021F & two 73 - 455 Blocks, both of them are stamped with the 396021FA numbers. They are listed locally for $500CDN a piece and have been pressure tested and include the main caps and are of standard bore. Is that a average price for bare blocks?
Also I have a lead on a crankshaft for a 68-76 Oldsmobile 455 big block engine. It is casting number 397363 and has the "N" on the front counterweight, which identifies it as the more desirable nodular iron type. It is in good condition. Main and rod journals are standard size. It is not drilled for a pilot bushing. He is asking $300 cdn. Is this too much???
Could you direct me to some good reputable sites or dealers that sell the parts needed to build a 455? Pistons, Rods, valve, pushrods etc??
Or better yet, could anyone help me out and maybe guide me on what parts are needed to get 500 HP/Tq numbers.
thank you,
Am
Last edited by Big Dawg; June 21st, 2022 at 01:19 PM.
Reason: Change title name
Happy to help any way I can. You can visit my website or pm me here. I�ve done dozens of different combinations so I�m sure we can come up with what you need.
Thanks!
Mark
newoldsperformance.com
Okay, so I pulled the trigger on getting another 455 built for the 69. I will not be building it, but found a reputable builder in Langley BC. He was saving it for a 69 project Cutlass S, but sold the car. He had collected tonnes of parts to make a H.O. style motor. The parts he has collected are very performance orientated and on the high side price wise. The Crank is 397363 and has the "N" on the front counterweight, the deal was to good to pass up. He has every nut & bolt and the complete front accessories drive. Brand ignition, holley Carb, mint set of ceramic coated W Z manifolds, 2 starters, dual snorkel air Cleaner, motor mounts, tonnes of other parts as well. I feel like I lucked out as I had sold everything needed to have a running motor when I sold my previous 455.
I will update the progress on the engine build.
I dropped off the 442 last weekend to get all the body work done.. It will be getting all the rust issues taken care of on the car as well, rear quarters, complete truck pan and all braces that go under it, both Rockers, small area in the driver's side pan in front of seat, and both the rear inner and outer wheel wells along with the trunk drop off panels..I had bought a replacement trunk lid from an wrecker outline Kelowna BC about 5 yrs ago that I will install as the one on the car had alot of rust.
This was the car he had got from Colorado, but sold it.
Last edited by Big Dawg; November 18th, 2021 at 11:12 AM.
Decided to paint the 455 with the 350 olds Gold POR15. I wanted to have the engine bay black and the motor Olds Gold as my car will be painted the stock Gold with black stripes. I think the little bit of contrast of both the Gold colors will look nice. For the people that think its a 350, or i did wrong by painting it the incorrect color,that's fine with me, to each his own I guess.
The trunk pan and quarters are getting tackled as well as the vinyl roof has been removed as well.
Here are a few updated pictures of the car.....
Here are some pictures of the motor and accessories after sandblasting and the Olds Gold paint applied.....
Last edited by Big Dawg; February 16th, 2022 at 11:26 AM.
Here are some more pictures, also I decided to upgrade my hydroboost setup as well, I got steal of a deal on brand new hydroboost unit for the 442, it is a unit for a 2500HD Chevy. I bought a Billet bracket and threaded the pushrod so it would slip right on to my existing brake pedal. Purchased a clevis kit from Summit, which came with a selection of clevis and pins......also got some power steering lines that will line right up with my steering box.
I will be updating this thread as the build goes on, thank you for all your support guys.
stay safe....
AJ
Last edited by Big Dawg; February 16th, 2022 at 11:24 AM.
thats going to look nice when complete! I love the gold interior and N34 wheel.
I was going to mention those valve covers (not notched) might be tight w a stock booster (but then saw you went hydroboost) but if you still have the AC box on the firewall its going to be tight (to tight?) there.
I can only get the last spark plug on that side w a wrench on an external hex spark plug socket.
I don't think I will have an issue with the valve covers, as I had hydroboost previously with the stock valve covers on my previous 455 and had no issues, and unfortunately I don't have AC.
Last edited by Big Dawg; February 16th, 2022 at 05:09 PM.
Make sure your machinist knows that those Speedpro pistons need to run looser piston to wall clearance than what is shown in the instructions. There is a ton of history with people running those too tight and scuffing/seizing. I think the instructions say 0.001-0.002", but they really need >0.004", which is typical for forged pistons.
I'll also jump on the "Don't blast your engine parts" bandwagon. I bought a set of valve covers years ago that were blasted by the seller... due to years of oil and sludge buildup in the baffles, it was a magnet for the blasting media and you couldn't get the media out of there. You don't want that dripping on your valve train. Better to have a machine shop hot tank the parts for you.
Last edited by 83hurstguy; February 17th, 2022 at 07:17 AM.
Make sure your machinist knows that those Speedpro pistons need to run looser piston to wall clearance than what is shown in the instructions. There is a ton of history with people running those too tight and scuffing/seizing. I think the instructions say 0.001-0.002", but they really need >0.004", which is typical for forged pistons.
I'll also jump on the "Don't blast your engine parts" bandwagon. I bought a set of valve covers years ago that were blasted by the seller... due to years of oil and sludge buildup in the baffles, it was a magnet for the blasting media and you couldn't get the media out of there. You don't want that dripping on your valve train. Better to have a machine shop hot tank the parts for you.
That makes alot of sense! I will touch base with the builder regarding this. If need be its easier to paint parts than rebuild motors..Thanks
Id guess because residual sand in the parts can be problematic in engines.
I have bead blasted engine parts before, but only after some very careful prep. I used thick tape to seal off the internal baffles, shoved paper towels down in the PCV/breather grommets, and was very careful to keep the nozzle away from the sensitive areas. Once I was done blasting, I throughly blew out everything while banging/tapping the valve covers on a hard surface to make sure nothing was lodged in the crevices. Then ran lots of clean solvent thru everything, followed up with lots more compressed air. Once I was confident they were
clean and debris-free, I repeated the process.
The Valve Covers and the oil pan have been sprayed Olds Gold, i also confirmed that they were hot tanked as well....thanks again.
I also grabbed the stock exhaust manifolds as well, I am going for a stock appearing setup, so no hookers headers this go around. Will give them a couple coats of the VHT high temp Ceramic coating. I used this spray on my hot air turbo on my GN. After a year it still looks like I just sprayed it recently.
What color were they from the factory? Cast iron grey or black??
The motor is almost complete, just a few things left to go... accessories, waterpump pulley, plugs , oil , filter housing, prime and set the timing😁almost ready to run, this went together really nice, couple hours maybe left to finish ✅.
Sorry for the pictures being out of order, it is very difficult to keep track when attaching pics the order they need to go.
Last edited by Big Dawg; May 15th, 2022 at 12:40 PM.
Quick question, I have the original 2 line mechanical fuel pump, and a new Spectra 3 line mechanical fuel pump. I am wanting to use the new Spectra pump, my question is if I was to plug the 3rd line will it cause any issues for the motor?
I have Tanks Inc. fuel tank and an electric fuel pump that has been installed on the car for a few years and did not want to go back to non electric setup, so i have purchased the Carb Swap Kit so the motor gets the required 5 psi fuel to the carb. This setup will have the fuel return in the regulator. This is why I was wondering if I could just plug the 3rd line in the mechanical fuel pump.
The 3rd fuel line is a metered �leak� back to the tank. It�s mainly used on cars with A/C or anything that might get worked hard. The �leak� is designed to constantly circulate fuel thru the pump to keep it cool. The other purpose is to provide a vent to relieve fuel pressure when you shut off the engine. Without the vent, the fuel in the pump and line will continue to absorb heat and raise the fuel pressure, possibly high enough to push the needle off the seat in the carb. That will cause flooding and hard restarts.
I�d suggest either adding the return line, or getting the proper pump.
I picked up the motor and it is all assembled. I have finished installing the sensors and ignition system. Got my 2 line Carter Fuel pump installed as well. Now I am just in the middle of getting all the brackets setup.
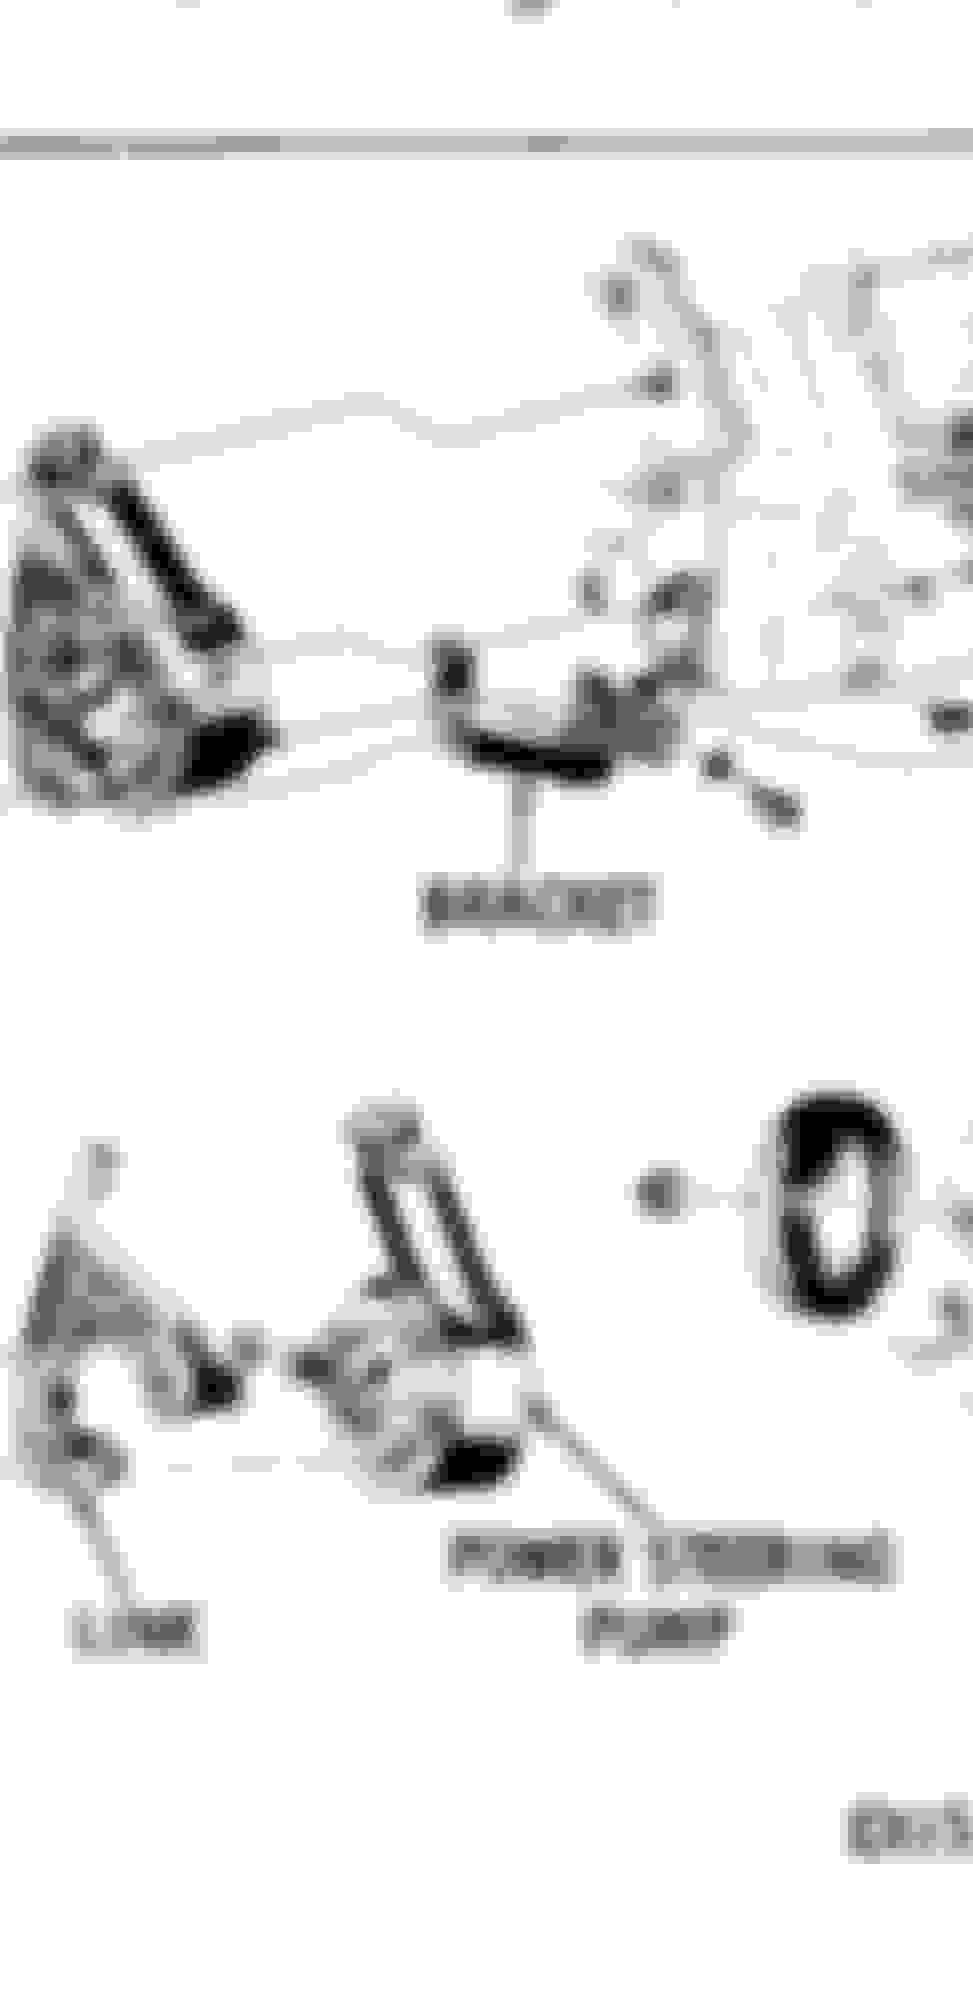
Again thanks Mike for the 3 pc alt brackets, now I am just getting ready to mock up the power steering brackets and pump, and can not seem to figure out the brackets. I think i am short a bracket. I figured out one of the brackets.
In my assembling manual I can't seem to find a non A/C diagram, where the alternator is on the passenger side of motor.
I have another bracket that i have, but no idea where it goes.....it may even be a bracket for an A/C car where the Alternator is on Drivers side of motor, this is the bracket below.
If anyone is able to take a picture of there power steering bracket setup with non A/C would be greatly appreciated.
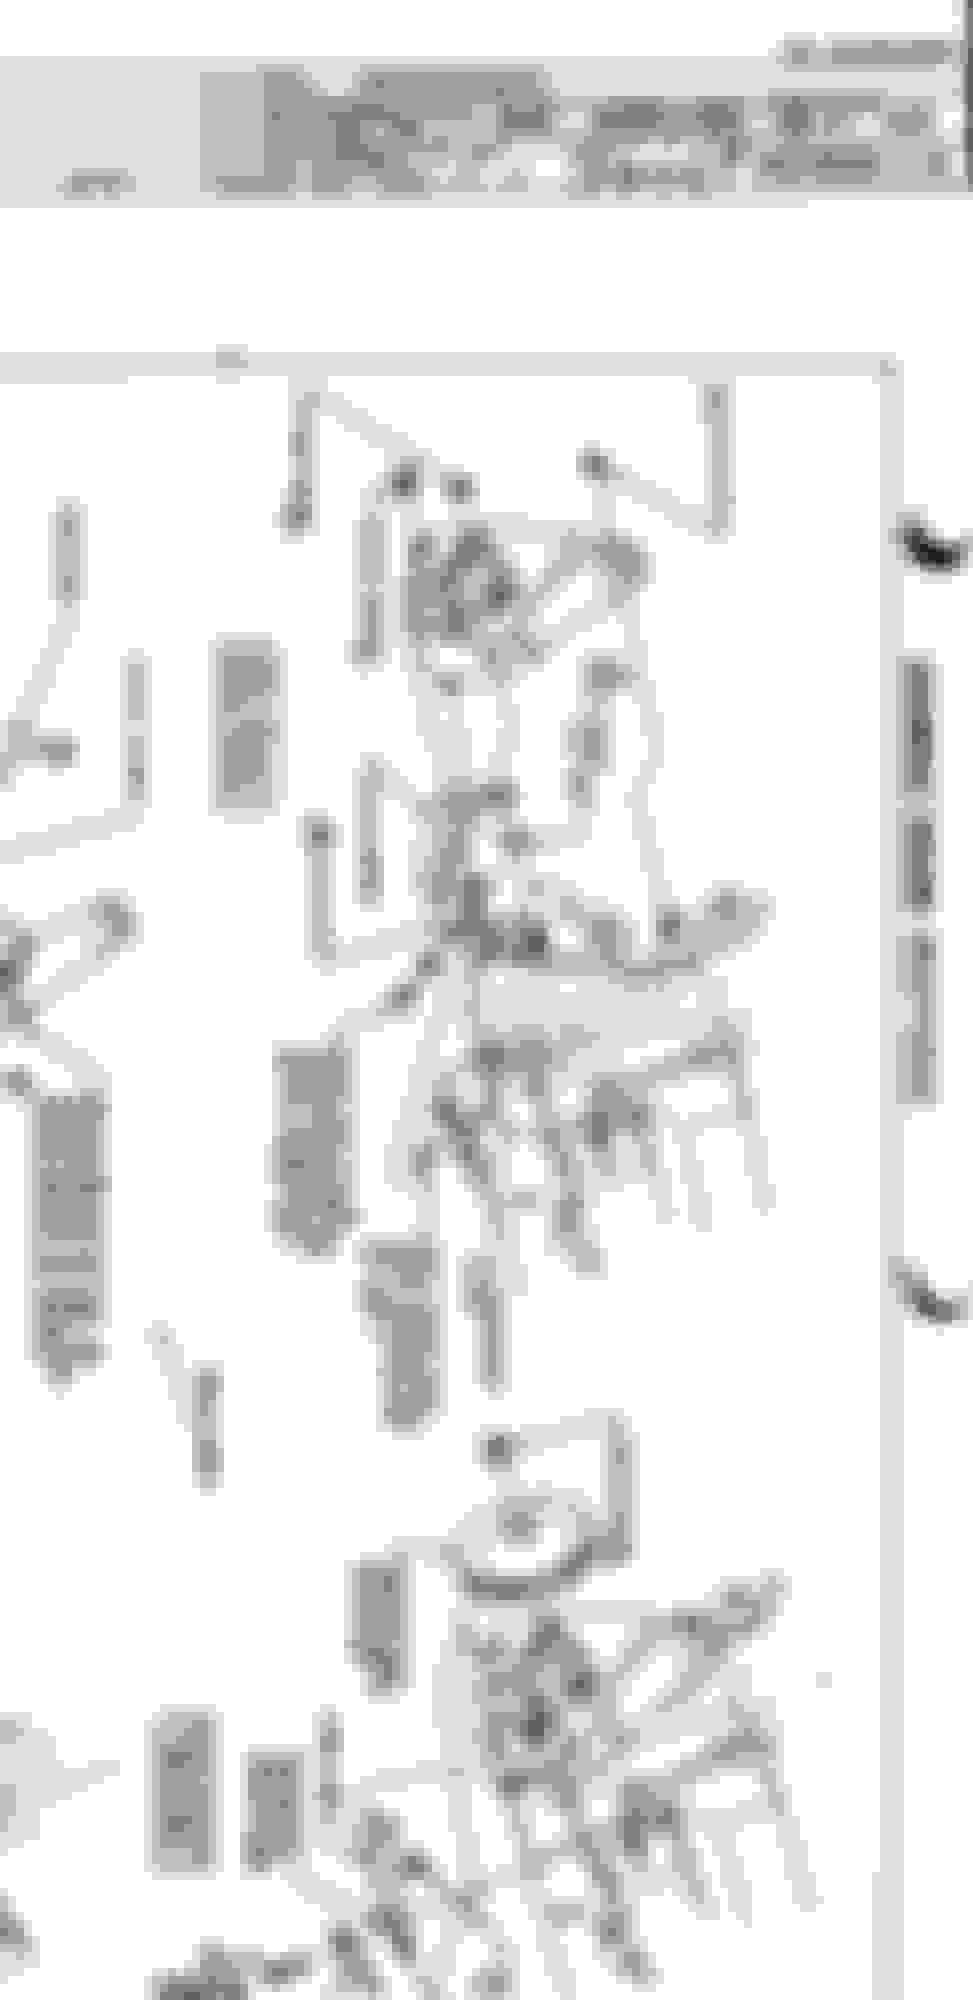
Okay I think I figured out the brackets, i have the correct ones for the motor. I found my Fisher and Chassis Manual on Disc and it had a few other diagrams that the assembly manual didn't have (photocopied so it may have been missed).
I bead blasted all the brackets and sprayed some gloss black on them already. I found one of the spacers for the bracket assembly, but could not find the 2nd larger one, so for now I may just stack some washers.
Also resprayed the Alternator brackets Gloss Black as I had originally sprayed the Semi Gloss Black
Recieved the Flex Plate from RockAuto today as well. I had purchased a SFI plate from MOPAC in Langley, but quickly realized it was incorrect ( was listed for a Pontiac and Olds 455 in there catalogue, but in all actuality it was only for a Pontiac 455).
I purchased ARP flexplate bolts, but still have the factory Grade 8 flexplate bolts as well. I am just wondering would you guys use the ARP or factory bolts? They are still in great shape.
Here is the diagram i have that shows the brackets for the power steering setup.
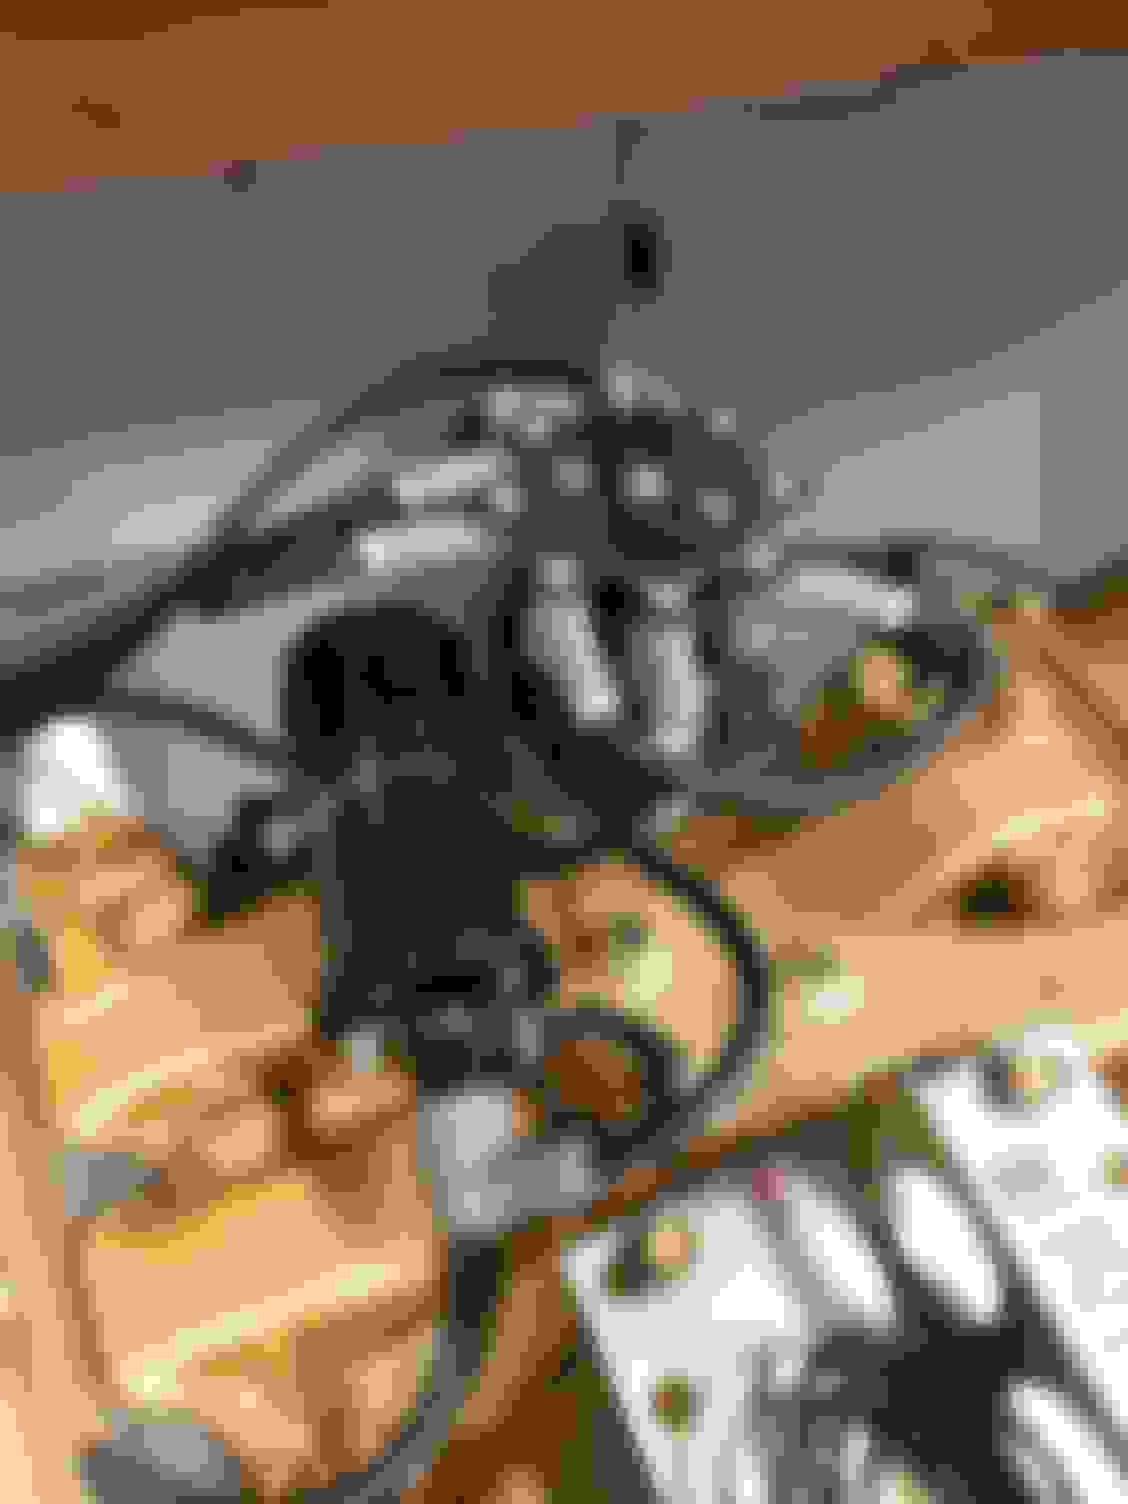
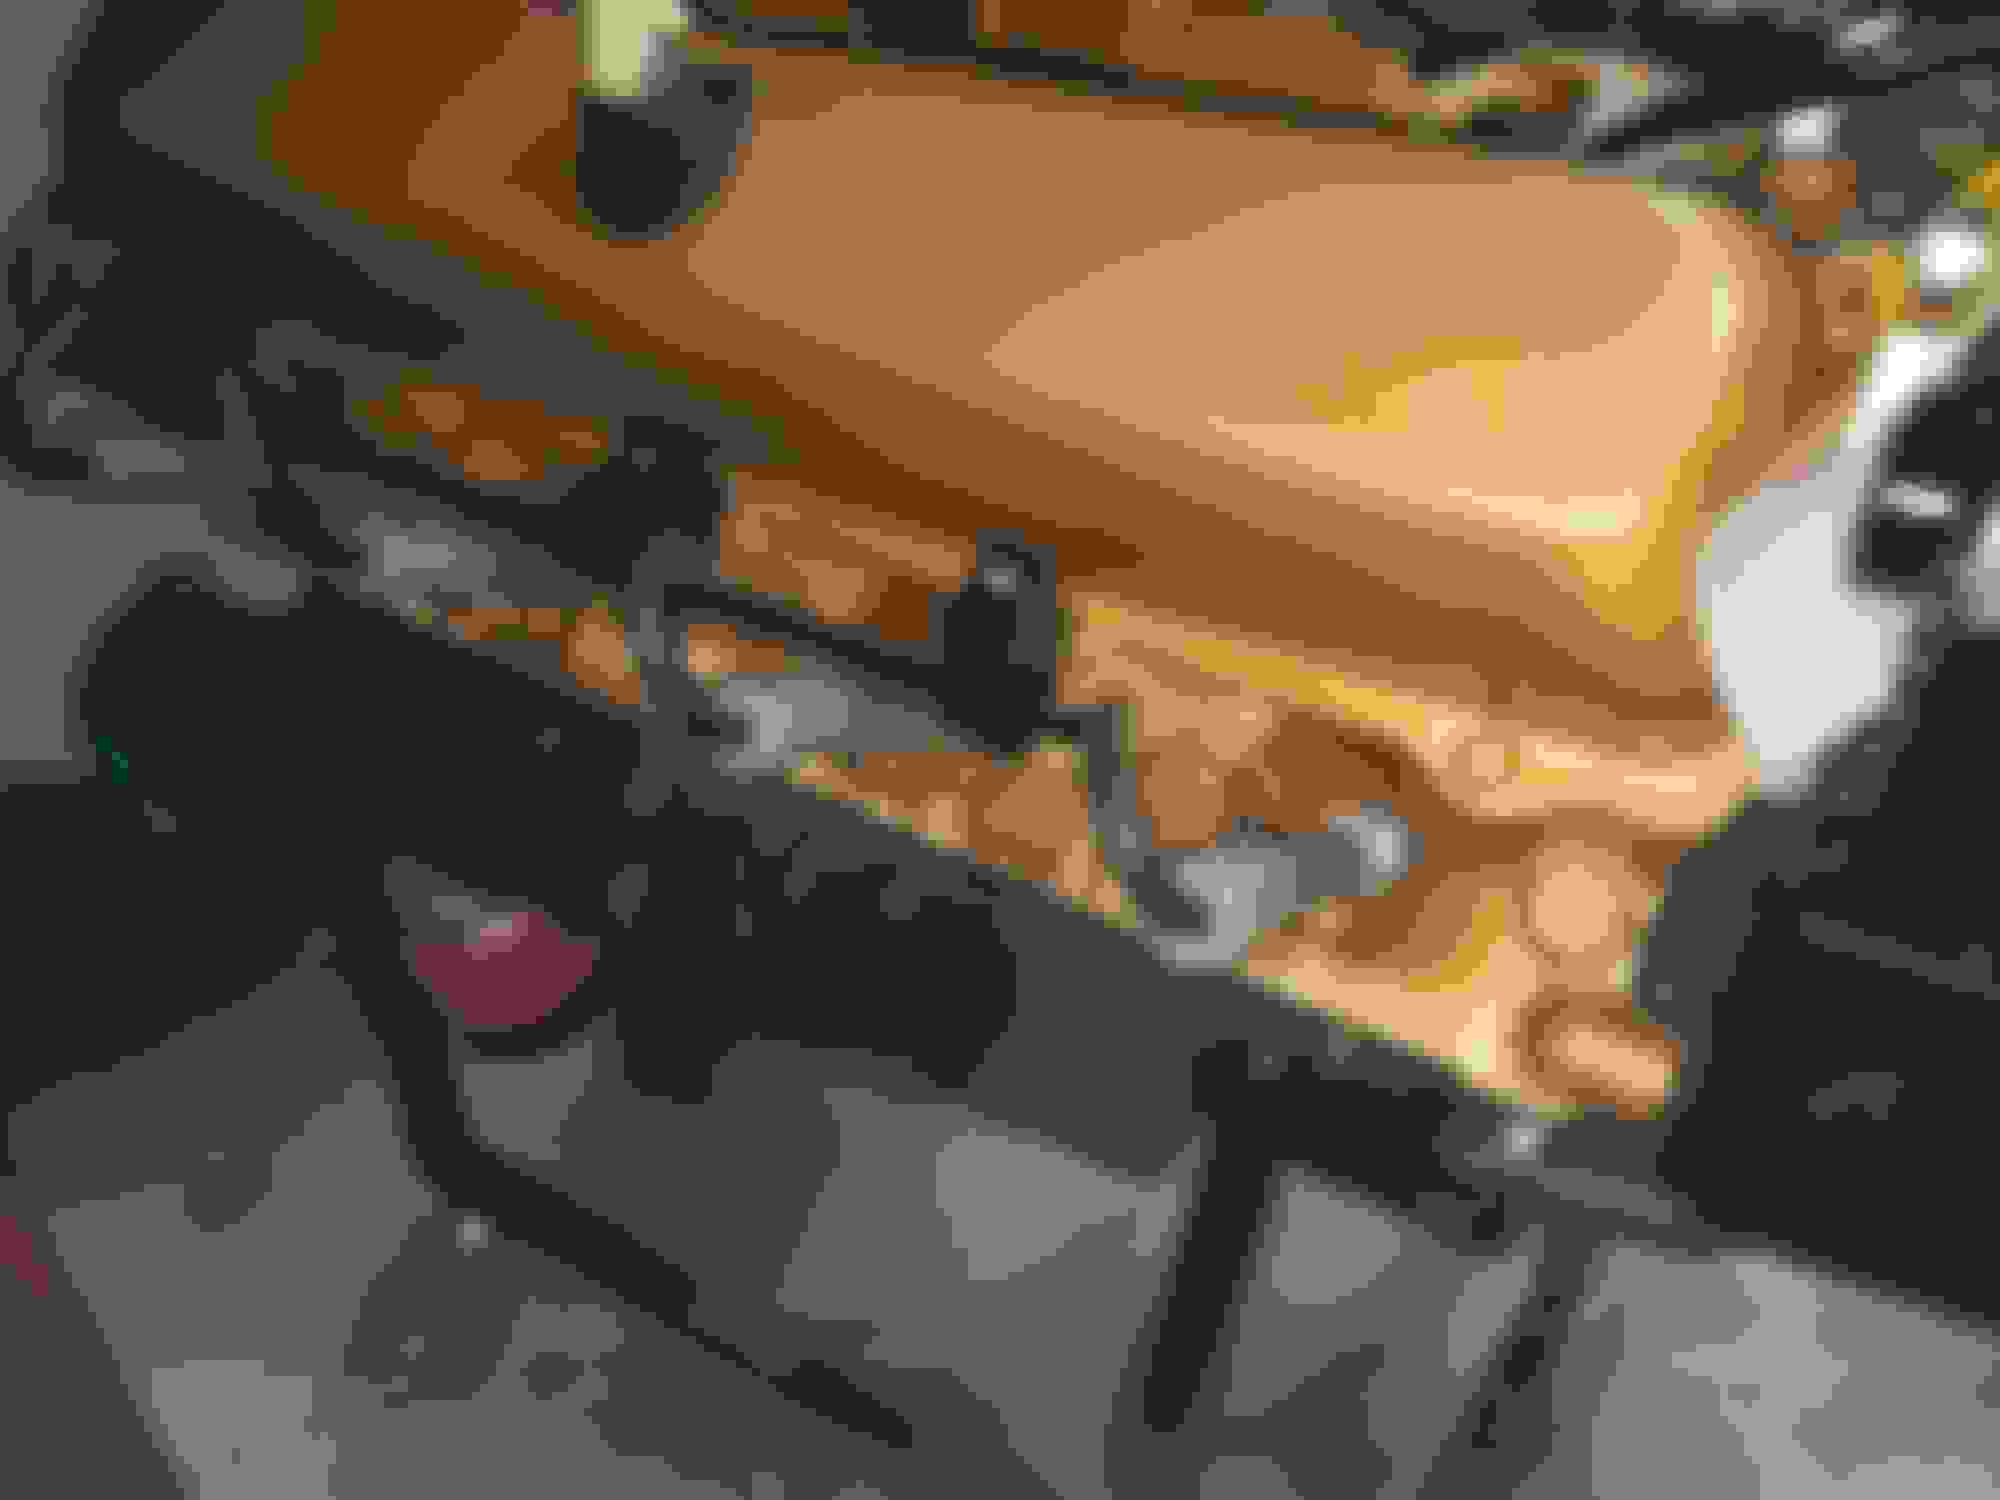
Got the front accessories and brackets all setup. Power steering pump is mounted and a new 150amp Powermaster alternator installed as well, along with the oil pressure and coolant temp sensors for the Dakota Digital Dash gauges. Also setup an idiot light for the oil pressure which will be connected to the check engine light on dash, and have installed a thermostat sensor to engage #1 electric fan.
150 amp Powermaster alternator Power steering pump all cleaned up and mounted. Dakota Digital Oil Pressure and Collant temp sensor and plug-ins, also have a stock oil pressure sender off the T. Coolant temp switch sensor for one of the dual electric fans. Carter 2 line Mechanical fuel pump
OMG, it's been over a year and a half since i posted last. Busy with kids and everyday happenings. On the automotive side just worked on my Grand National and stayed busy with a father son project that i picked up for my son...92 Prelude. He is still about 2 years away from getting a drivers license......but with his Basketball clubs and the car he is staying out of trouble and diving in to the car world..
As far as the 442, finally got it back in August and brought it home from getting both quarters replaced, both inner and outer wheel wells, trunk pan and braces, and trunk drop offs replaced.....bit of rust on the bottom corner of the doors (which i will tackle myself).
I decided to go back to EFI, it was a easy choice as the car was already wired and already had a Tanks Inc tank installed. I picked up a slightly used Holley Sniper from a buddy that has a 70 442 that went back to Carb as he was getting tonnes of interference and he didn't want to get rid of his MSD 6AL box from its location....(show car).
I went ahead and purchased a Holley Sniper 4150...550-511, Hyperspark Distributor, Holley ignition Box, Holley Sniper ignition Coil and MSD Super Conductor 8.5mm plug wires.
I have already installed the Distributor and custom made the MSD cables....I also installed a Taylor Spark Plug Loom Kit to make sure that I don't create a rats nest of wires. I took off the Mechanical Fuel Pump as well and made up a Block of Plate.
I hope to get the drivetrain back in the car in the next month or too as the weather is not so great and it gives me time to hang out in the garage again....be it I have 3 vehicles in there now.but
Here are a couple of pics of the Holley stuff...
I will slowly update this thread as I progress with the reinstall.
Very cool! I've been running a sniper on one of my 455s for a couple years now and have learned a few things so if you have any questions feel free to reach out.
Very cool! I've been running a sniper on one of my 455s for a couple years now and have learned a few things so if you have any questions feel free to reach out.
 October 30th, 2021, 10:36 PM


 ^^
^^