When you click on links to various merchants on this site and make a purchase, this can result in this site earning a commission. Affiliate programs and affiliations include, but are not limited to, the eBay Partner Network.
Thanks for the link. I'll get it read tonight. I'd forgotten that I used VHT aluminum paint on the coolant crossover pipe and it's done great for 5k miles. I realize it doesn't get as hot though.
Originally Posted by coppercutlass
Wire brush and brake cleaner. I cleaned an intake like that and worked great.
Really? I'll give it a try tomorrow. And we're talking off-the-shelf brake cleaner, right? The castrated weak stuff? Or do you "know people"? Lol.
I've only used the red cans, never seen green but I'll look. My first choice would be to leave it unpainted. I wish I knew what kind of paint it was. That blue metallic stuff.
Brake cleaner indeed took more paint off. I soaked the areas for a bit then used a stiff bristle artist brush on them until the bristles were gone.
I realize I probably won't have the hood clearance for the spacer (although I did on my small block) but I wanted to see how it looked
Yeah man, I thought about brake fluid but didn't know if I'd ever get it all out of the pores. Like getting silicone on wood; it can never be properly finished.
That is looking sweet. Be sure to measure the center of the crankshaft to the center of the camshaft, just to make sure that you can still use a stock length timing set, or you may need an undersized timing set (measure before you buy).
That is looking sweet. Be sure to measure the center of the crankshaft to the center of the camshaft, just to make sure that you can still use a stock length timing set, or you may need an undersized timing set (measure before you buy).
I wouldn't have thought about that. Thanks Joe. The motor came with a new double roller timing set. I can at at least use it to verify fit. I'm not sure if I would trust it for final assembly. There's no brand name on the gears that I can see.
Come to think of it; am I going to have clearance issues with the ARP main bolts and the oil pan? Since the block is still in Streator and the pan is with me at home, I can't check.
Normally, there is a part number on the crank sprocket. Hopefully, you can use a nominal size timing set as the undersize units are very expensive. Also, be sure to degree your camshaft.
Carb cleaner removes paint much better than brake cleaner. The VHT aluminum works very well, get the flat aluminum in the extra high temp. Doesn't matter what brand the timing set is as long as you degree it. My Cloyes Street Roller was spot on, Cloyes Billet Roller is nicer and my custom cam from Cutlassefi was also very close on all it's specs. Degree your cam! This was the first cam I degreed, very glad I did it.
Normally, there is a part number on the crank sprocket. Hopefully, you can use a nominal size timing set as the undersize units are very expensive. Also, be sure to degree your camshaft.
The sprocket does have #s, I'll look them up. Maybe I'll get lucky and it's a Cloyes.....and luckier that it will actually fit.
Originally Posted by olds 307 and 403
Carb cleaner removes paint much better than brake cleaner. The VHT aluminum works very well, get the flat aluminum in the extra high temp. Doesn't matter what brand the timing set is as long as you degree it. My Cloyes Street Roller was spot on, Cloyes Billet Roller is nicer and my custom cam from Cutlassefi was also very close on all it's specs. Degree your cam! This was the first cam I degreed, very glad I did it.
Roger that. Do you guys have a degree-ing kit you recommend?
Mac, the degree wheel that I use is this one: COMP Cams Sportsman Degree Wheels 4787, and I use this socket COMP Cams Crankshaft Sockets 4799. And it appears that you already have a dial indicator. Your set!
Btw that cam and timing chain set im giving you was degreed in. Off by 1.5 degrees not enough for me to worry.
Mac, this is good info Copper is giving. I would still check it to make sure your crank shaft is on target, and most of all the its installed correctly. That degree wheel is easy to read. You can measure the intake opening event, and that should be sufficient.
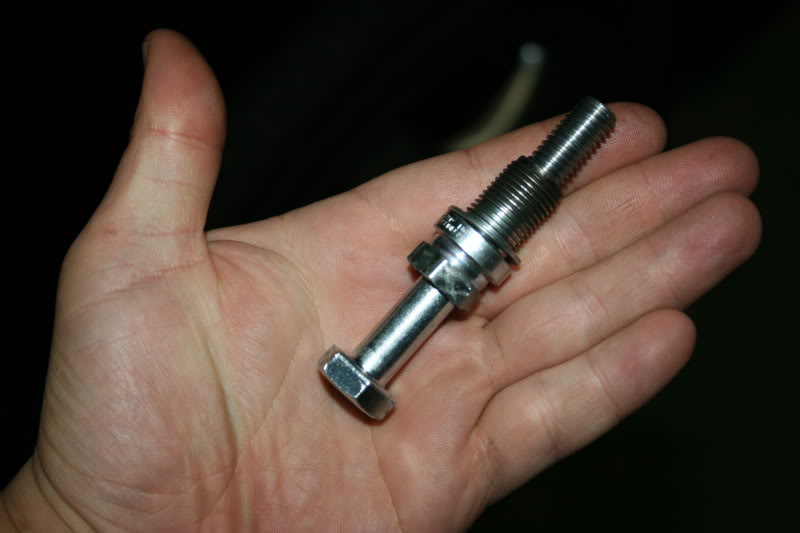
I forgot to add that to the list I posted. I made one by breaking the ceramic out of an old spark plug, threading the inside of the hex portion, and inserting a long bolt into the new threads.
Voila, adjustable piston stop.
edit: Here's a web pic that is very similar to the one I made:
Last edited by Fun71; August 3rd, 2017 at 04:51 PM.
Mac i still have the cam card and yes degree it in . My degreeing set up is what most would call ghetto but it worked enough for me to know everything was happening when it should. In the next few weeks i will yank that stuff from the engine on the. stand
Don't forget you need a piston stop. I use this one when the heads are off. COMP Cams Top Dead Center Tools 4933.
You must build a lot of engines! You have all the "used it only once" tools
Originally Posted by Fun71
I forgot to add that to the list I posted. I made one by breaking the ceramic out of an old spark plug, threading the inside of the hex portion, and inserting a long bolt into the new threads.
Voila, adjustable piston stop.
edit: Here's a web pic that is very similar to the one I made:
Perfect. Thanks Ken.
Originally Posted by Troys Toy 70
Mac,
To answer your other question,no clearemce problems ARP studs and stock pan
Good to know. Thanks man. Now tell me what paint that is. It's exactly what I want! That's beautiful dude.
Originally Posted by coppercutlass
Mac i still have the cam card and yes degree it in . My degreeing set up is what most would call ghetto but it worked enough for me to know everything was happening when it should. In the next few weeks i will yank that stuff from the engine on the. stand
No hurry, dude. But are you going to get a race in at Byron before the end of the season? Maybe we could hook up.
Originally Posted by coppercutlass
I wouldnt trust plasti gauge personally. I prefer using bore gauge and a good micrometer set.
I'll probably use plastigauge AND my bore gauge but I don't trust my bore gauge skills, lol. Measure the OD of the crank journals and set the bore gauge to that diameter then measure the ID of the mains, yes?
I measured off the edge of a lifter and used a piece of wire clothes hanger for a timing pointer.
I did the same, pieced it all together. I actually bought the Proform lifter and dial indicator all in one, worked really well.https://m.summitracing.com/parts/pro...bileSwitchYes#
With the piston stop, you only really need a degree wheel and the checker lifter. I used a piece of solder for the pointer.
 July 31st, 2017, 04:31 PM