When you click on links to various merchants on this site and make a purchase, this can result in this site earning a commission. Affiliate programs and affiliations include, but are not limited to, the eBay Partner Network.
As Eric said, they will probably work. I agree that it might be good to contact the manufacturer of the rings and/or the vendor. If you purchase them, when they arrive, be sure to check that they don't "bind" in the piston's groove and that the end gaps (gap clearance) are reasonable. For me, it's far easier than trying to fix my computer, but it still requires a bit of attention to detail.
Got the the rest of the pistons out, discovered a broken top ring on #3 , pistons 4 & 3 also pitted, I've honed the bores and they've come out pretty dam good, very minor pitting where the bad pistons came out of, but very shallow and after honing almost gone.
I also removed the main bearing caps but don't know if it's possible to do them without removing the crank??
The pitting in that bore is deep enough that it should ideally be bored out, but considering the amount of use this car will have over the next decades, I think you can get away with the hone.
You should be able to change the mains by dropping the crank, which will entail disconnecting the engine from the transmission. It won't be fun. Far from it, actually.
And bench-pressing the crank back into place, while carefully placing the bearing caps and screwing them in, will be an experience.
If there is any possible way for you to pull the engine at this point, you'll be glad you did.
... After all, you Might As Well.
- Eric
Your so right Eric, I do have an engine hoist (never used) but the problem is no garage, I would dearly love to do all this with the engine out, so much easier, and probably do a better job too... I was hoping to get her on the road for the summer, do you think my oil pressure would improve if I just did the piston bearings?
Meanwhile i'm going to cross everything and look for two more NOS pistons.
The main bearing clearance being correct is key to good oil pressure. Too loose equals low oil pressure, too tight equals not enough oil between the bearing and the crank and the bearing spins or scores the crank.
The upper main bearing inserts can be changed by removing the main bearing cap and placing an object such as a blind rivet in the oil hole in the crank, then rotate the crank and insert/shell will rotate out as you rotate the crank. Rotate the insert/shell using the same method...roll it out then roll it in.
The upper main bearing inserts can be changed by removing the main bearing cap and placing an object such as a blind rivet in the oil hole in the crank, then rotate the crank and insert/shell will rotate out as you rotate the crank. Rotate the insert/shell using the same method...roll it out then roll it in.
Yes, but...
Would you recommend this technique to an inexperienced mechanic, working on his back, with oil dripping onto his face?
I'm not saying he couldn't do it, just that it might not be the most likely way to succeed without a hitch.
The Olds shop manual says that you can do it. Just go slowly and carefully and remember to rotate in the proper direction.
In case Nigel does decide to do it in the car, I would point out to him that each bearing shell has a locating tab on one edge, to keep the shells from spinning, and that he can see the tab both on his own bearing shells and on the one in the video - you have to roll the shell out in the direction that backs the tab out, and then roll it in the opposite way, because it won't work if you try to roll it the other way.
I was surprised that the video narrator didn't point this out.
You might want to plastic gauge the rods and the mains if you can while you are there, this would tell you a lot about the condition of the rotating assembly and how it has held up compared to the upper end.. Just saying.... Tedd
Hi guys, I watched the vid and did it in the car, worked fine, apart from having trouble with getting the cotter pin in as the oil holes are drilled at an angle so it was difficult to get the pin to sit low enough to just catch the bearing.
Anyway, they're all in, I didn't bother with the plastigauge didn't figure it would make any difference what they told me as the new shells are going to be installed either way.
The only issue I'm now having today is how to get the top half of the rear main seal out....maybe I'll just end up replacing the one on the cap and hope it doesn't leak.
Last edited by Eightbanger; Apr 9, 2017 at 05:17 AM.
When I have done this in the past, I've done it with the engine out of the car, and been able to grab the end of the upper rope seal with a pair of fine needlenose pliers and just pull it out, but they do make a special tool for this, the Lisle 2700 "Sneaky Pete Tool:"
When I have done this in the past, I've done it with the engine out of the car, and been able to grab the end of the upper rope seal with a pair of fine needlenose pliers and just pull it out, but they do make a special tool for this, the Lisle 2700 "Sneaky Pete Tool:"
Brilliant! You guys have a tool for everything
The only query I would have is, these rope seals are fat and need to be compressed into the grove, I don't know how I would get the new one back in above the crank.
Just after thought but have you thought of using a neoprene seal rather than a rope seal. I've had good luck with that seal not so much with the rope variety... Tedd
You've got several choices on how to deal with that rear seal. Here's one more that Oldsmobile recommended, for those that wanted to keep the upper portion of their existing seal. (As time progressed, and asbestos got to be a bad word, the rope seal makers had to change materials; some people feel that this was a detriment to the rope seal.) Anyway, attached is yet another procedure shown in an Olds Service Manual being performed on one of the Stage II 8 cylinder engines. The Internet is full of information (& perhaps a bit of misinformation) on rear seals. I have successfully used the "packing" example in the manual. Here's another U-tube of a fellow doing the rear seal on a Pontiac engine.
Nigal, most all engines today are built with neoprene gaskets and their bottoms are seldom wet, most go 200000 or more without leaks.... Just saying.... Tedd
Hey, Nigel,
Don't forget -- or maybe you never knew -- but I have a N.O.S. set of
16 G M in the G M boxes !!!!!!!! Valve Lifters -- that fit the 1949 - 1956
Olds 303, 324 application!!!!!!!!!!!
Yours, Craig, Mobile Parts
My books show the same part number as Larry & Charlie show. Something must have changed with the 303 piston in 1952, as the older 303 has a different part number.
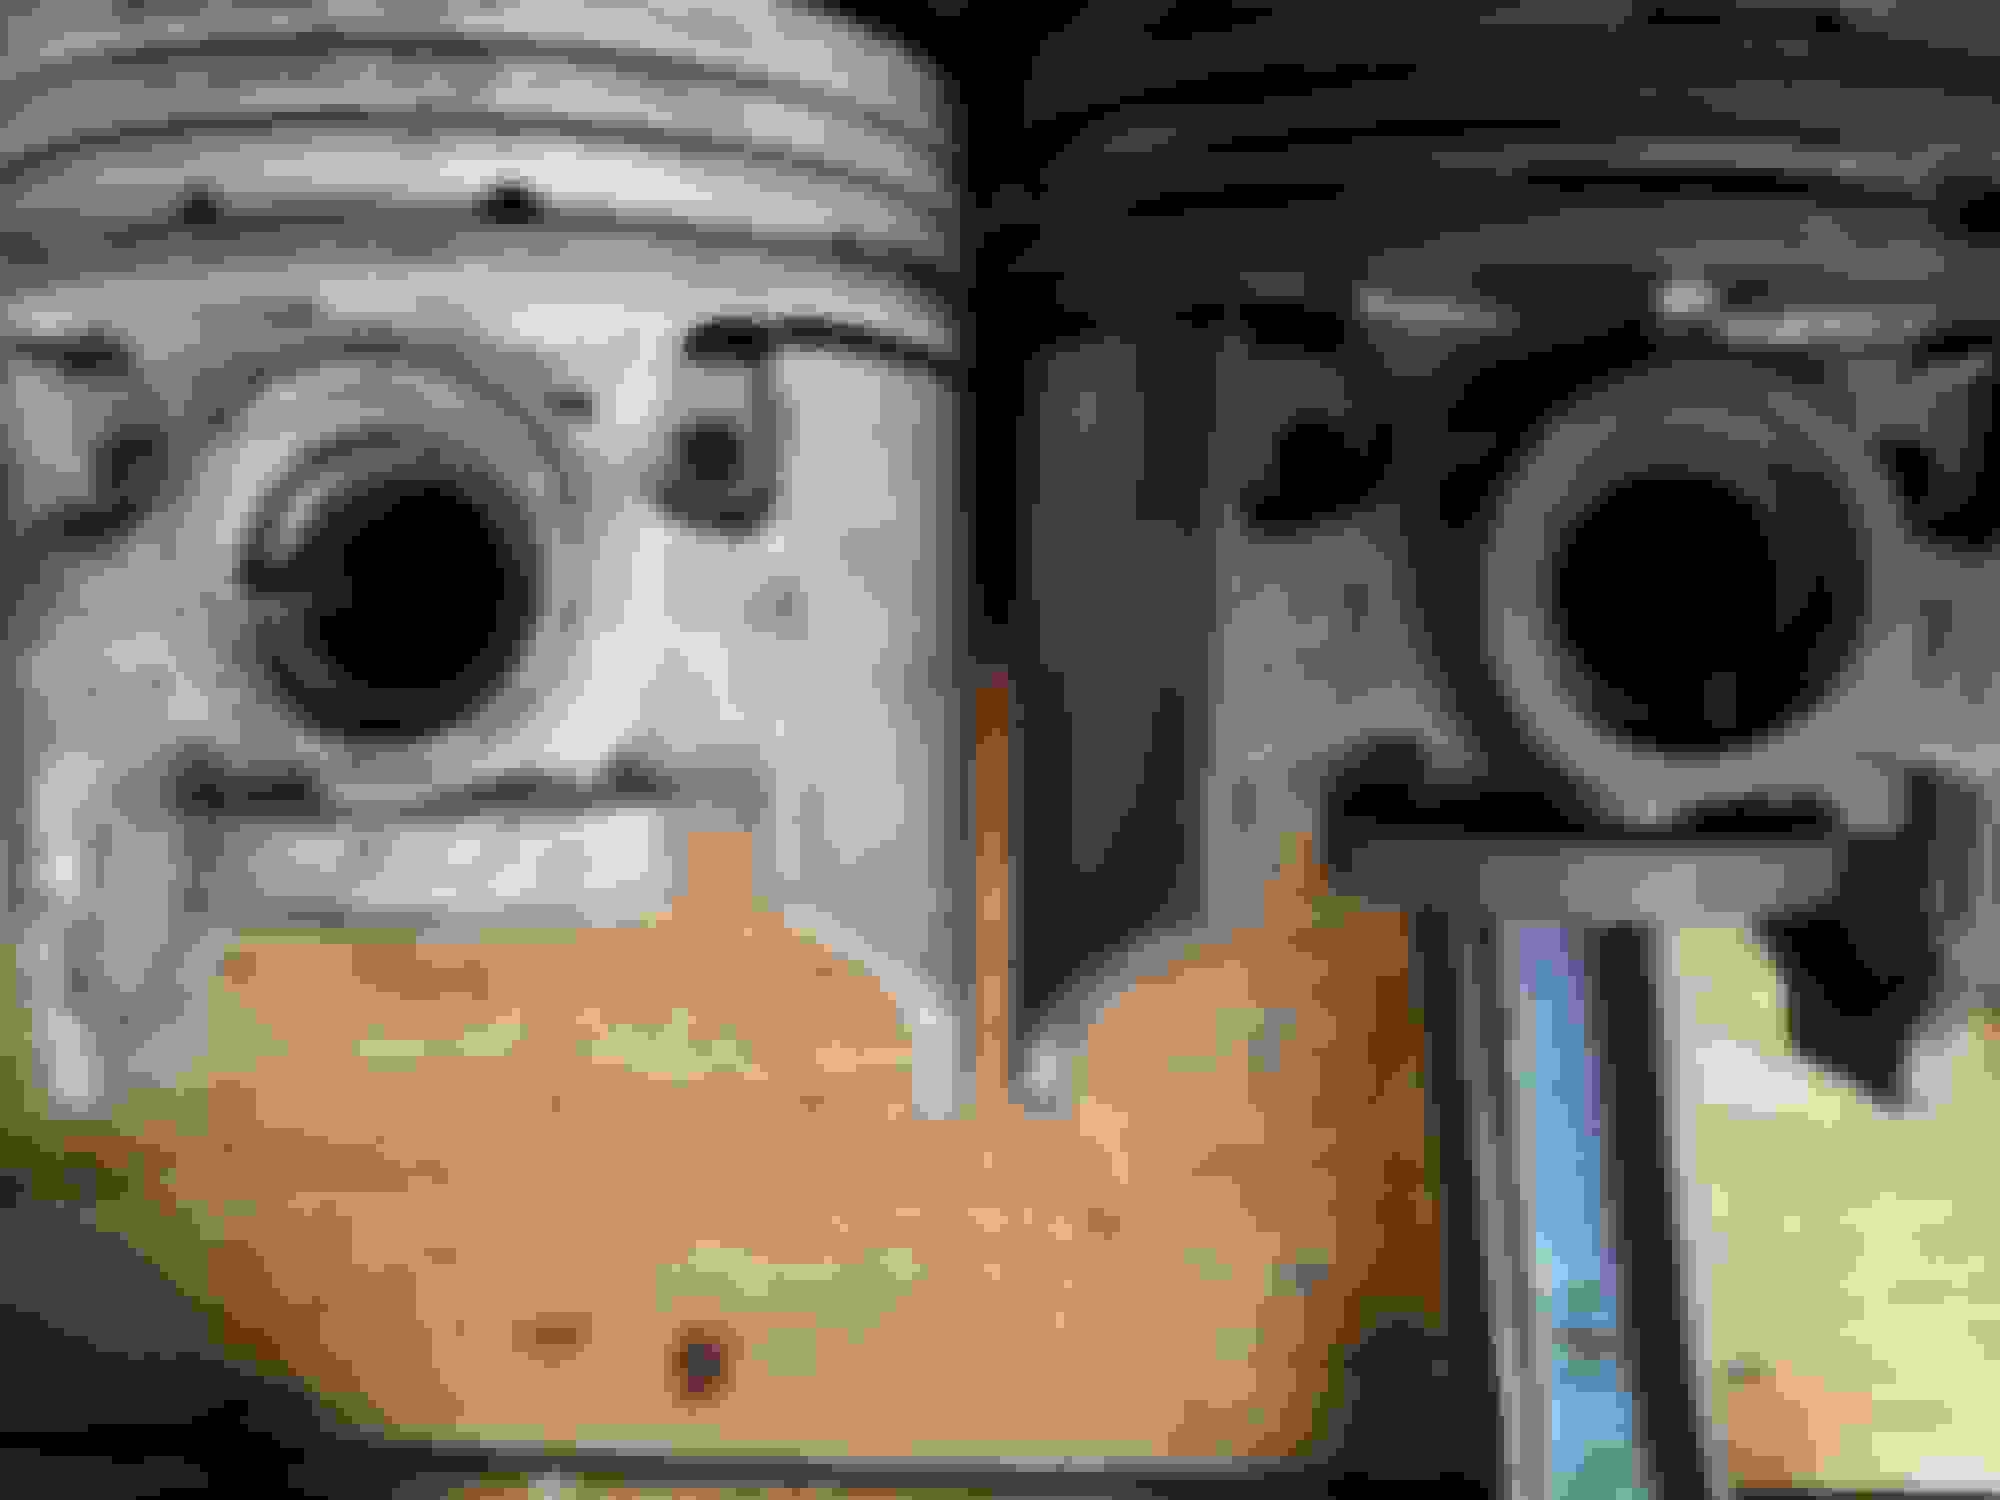
The NOS Piston arrived today, a close inspection has turned up a small difference which could be the reason for the change in part #'s (see pic 2-3) I'm no expert for sure but this area above the wrist pin being thicker than the originals would make the new one slightly heavier and create an imbalance?
It looks like the casting was strengthened, Nigel, but I doubt it will be a problem.
I know that Europeans use far more weight measurements when cooking, as opposed to volume, so they've always got a scale in the kitchen, but I'm not sure about you Brits. If you do have a scale, I'd weigh them, and then you'd know for sure.
A few grams difference shouldn't matter.
In the past, when getting obsessive about balancing, I've used a Moto-Tool to grind away small amounts inside the skirt, but I doubt you'll need to do anything like that.
The NOS Piston arrived today, a close inspection has turned up a small difference which could be the reason for the change in part #'s (see pic 2-3) I'm no expert for sure but this area above the wrist pin being thicker than the originals would make the new one slightly heavier and create an imbalance?
You may be correct. My parts book shows part number 556342 for the standard bore piston for 1949-1951 and 561577 for the standard bore piston for 1952 & 1953. Sometime it doesn't require much of a change to generate a new part number. I'm not enough of an expert to clarify the situation. If all "fit" dimensions remain the same they may be interchangeable. As it is a reciprocating only part, balance may not be affected in any significant way.
Is it just me, or does this picture make it look like the original piston is slightly taller than the new one? Also, the ring lands look to be in slightly different locations. Could be just the way the picture was taken, but I would certainly measure everything carefully before installing.
I wouldn't worry about the weight difference in the pistons myself. When I was in high school auto shop we took a block (292 Ford) and bored one hole to 312 diameter to clean up a gouge a wrist pin made.Though it ran rough at low RPM it ran for years. I don't know the weight difference was but it had to be huge..... Tedd
My $0.002...get it weighed and compare it to the old pistons before installing it, hopefully it is close enough as-is. If it is heavier, lighten it. If it is too light, well...how much is too much???...perhaps others can weigh-in... on that.
The original Pistons in the 302-324 Olds were weak in that area (I always called it the skirt of the Pistons ) would often crack straight up from the lower part of that area,and would make a clacking sound when the car was pulling hard.The probably "beefed up that weak area " in replacement Pistons to eliminate that problem. I doubt if you will have any problem by that being different. Good luck, Larry
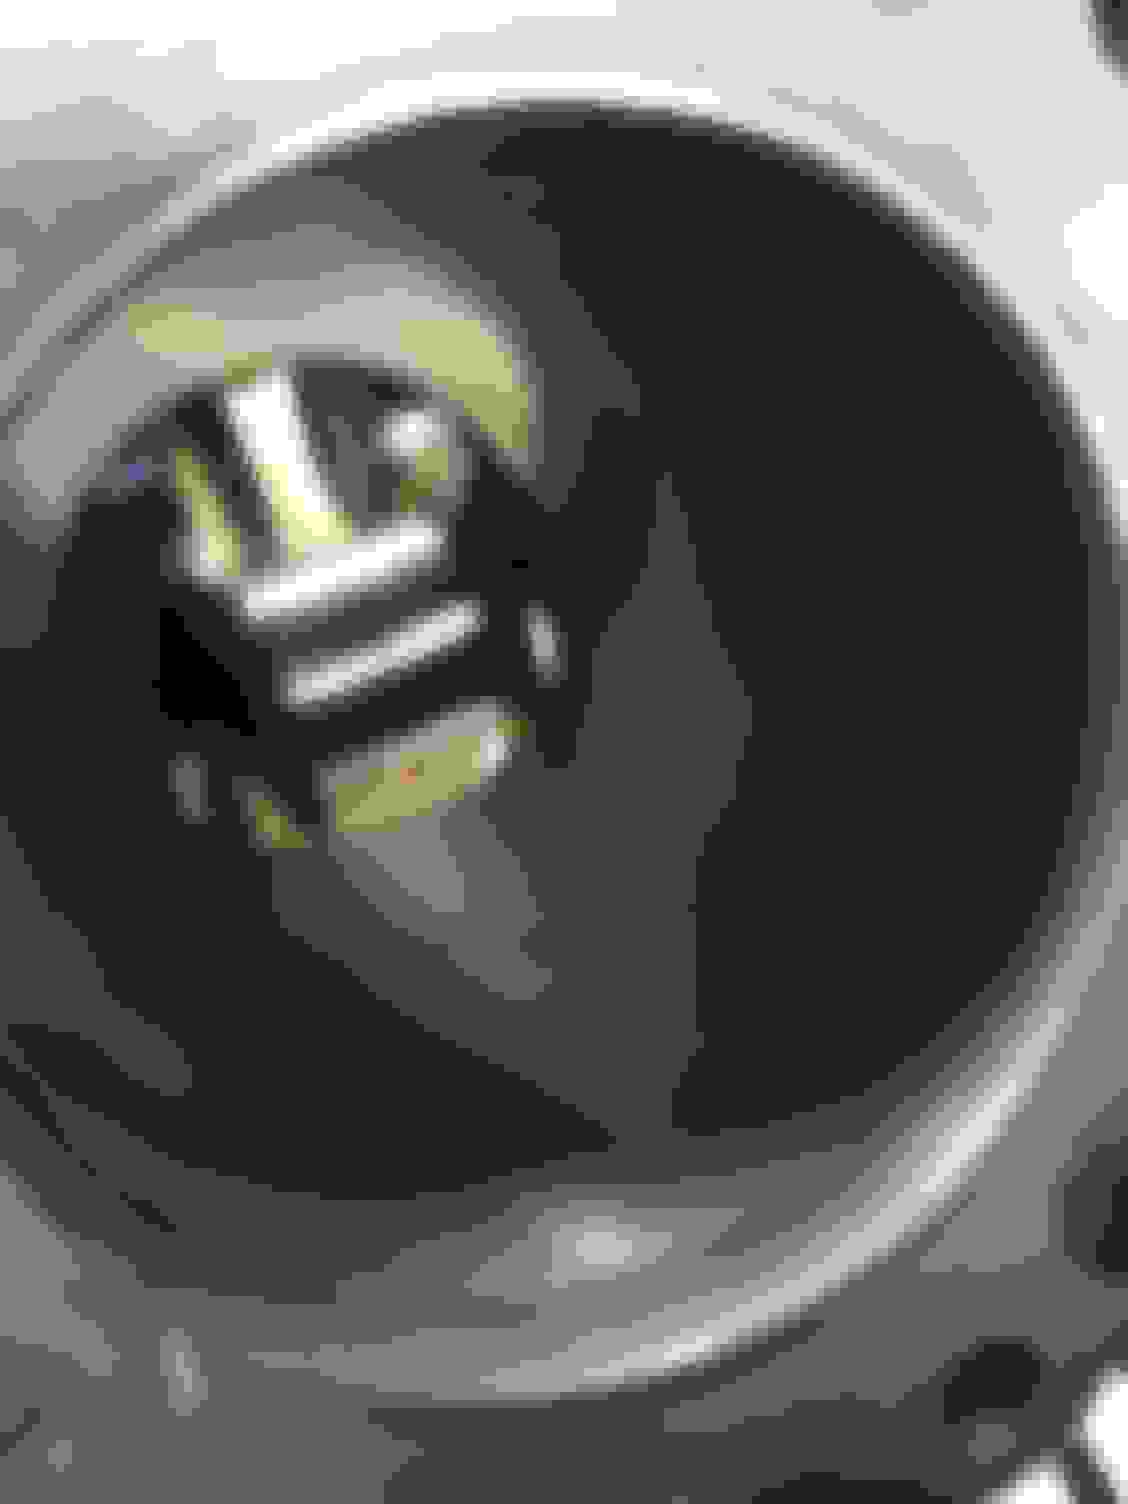
Hi guys, my new rings arrived, and just a cursory look shows the gap as being a lot smaller, also what could just be a trick of the light but ever so slightly thinner? I don't have the special tools to measure these things.
I also purchased some kitchen scales and weighed the pistons....see pics.
Hi guys, my new rings arrived, and just a cursory look shows the gap as being a lot smaller, also what could just be a trick of the light but ever so slightly thinner? I don't have the special tools to measure these things.
I also purchased some kitchen scales and weighed the pistons....see pics.
You don't mean the gap with the rings in your hand like that... Do you?
You measure the ring gap with the ring in the cylinder, squared up using the piston (without rings) as a guide.
Use a feeler gauge to be sure the ring gap is correct for each ring in each cylinder, and use a ring file to increase it if it's too small (It'll probably be fine).
As for the thickness, you need a micrometer to measure that. There's really no other way.
You can get one for a reasonable price at a swap meet or flea market - make sure that it zeros (zeds?) perfectly when gently screwed shut. You guys must have a zillion of them kicking around from the war, now that all the old guys who swiped them from work are passing on.
Of course, that being said, the important measurement is not the ring thickness, but the ring clearance in the piston groove, which you can measure with a feeler gauge.
The piston weights look great. Not surprising, really - the one was designed to replace the other.
- Eric
You know Eric the funny thing is the old guy next door has a couple and said he try and find them
I've had a great day removing the old rings, cleaning out the ring lands etc, only installed on one piston to see how it looked, I put both the new and old rings in a cylinder and the gap was 00.4, though a tad slack, the gap on the old ring I could have put a match in there .
Still waiting on Sneaky Pete to arrive for the removal and install of the upper seal on the crank.
I did also manage to fit my drop blocks today, and the happy discovery of whitewalls on my car which had been installed on the reverse and painted out, so I had them removed cleaned and switched around...its been a great day working on the old girl.
A few more pics.
Last edited by Eightbanger; Apr 22, 2017 at 10:52 AM.
Referring back to the specs in post #39 of this thread, the clearance between the ring and the groove of the piston should be .001-.003". Oops!!! I just re-read...Eric said the same thing...You can put the rings in the groove and check the clearance with a feeler gauge.
As for ring end gap, follow what Eric stated, put the ring in the bore and square it up with the piston and measure the gap in several depths to find the tightest gap area which is probably toward the bottom of the travel. Shoot for .004" per inch of bore...or 3.75" x .004" = .015" File the ring ends as needed to provide sufficient gap, this is important.
When installing the piston with rings, oil them heavily, be certain that the ring gaps are offset and put something on the crankshaft rod journals and fuel hose over the connecting rod bolts to protect the crank from being scratched when the connecting rod comes down to meet the rod journal.
Nice work and good luck!!!
Last edited by Sugar Bear; Apr 22, 2017 at 03:29 PM.


 Thanks man.


 My parts book shows part number 556342 for the standard bore piston for 1949-1951 and 561577 for the standard bore piston for 1952 & 1953. Sometime it doesn't require much of a change to generate a new part number. I'm not enough of an expert to clarify the situation. If all "fit" dimensions remain the same they may be interchangeable. As it is a reciprocating only part, balance may not be affected in any significant way.


 .
.


