When you click on links to various merchants on this site and make a purchase, this can result in this site earning a commission. Affiliate programs and affiliations include, but are not limited to, the eBay Partner Network.
I posted this at the AACA Forum as well. It is more pertinent to Vintage Olds so here it is
All of us have at some point or another been unable to find a part for our old cars. The growing field of 3D printing seems to be the answer. The major difficulty is to create a 3D computer file. Once it is done, it can be used over and over again to fabricate the part at a very reasonable cost. It will be very helpful if any organization, for instance AACA, can start compiling a data bank of files. Seems especially fit for interior parts, plastics, trim, and the like.
The following is the first part I am fabricating. It is a plastic trim that is used on the door of my 41 Oldsmobile. I searched for several months for a replacement and they are not to be found, except in much worse condition than mine and with the entire garnish molding that I don't need.
These are ivory colored plastic trim pieces. I spent exactly 2 hours at my local Public Library with a staff member creating the file by taking careful measurements with his caliper. Of course I provided the damaged original part which is required to do this job and I was adding input when needed. He created a file with the extension .stl and used a printer fed with a PLA plastic filament (I learned all these things just now by seeing him do the work). He printed a sample that needs minor touch ups to be perfect (sanding and painting the correct color). It looks very good and once I can have those minor adjustments completed, it will be a perfect piece. The cost was $1.5 (one dollar and 50 cents) for the materials only. The work is performed by city employees and has an educational purpose to apply new technologies. The best use of tax dollars I have seen in a long time !!!
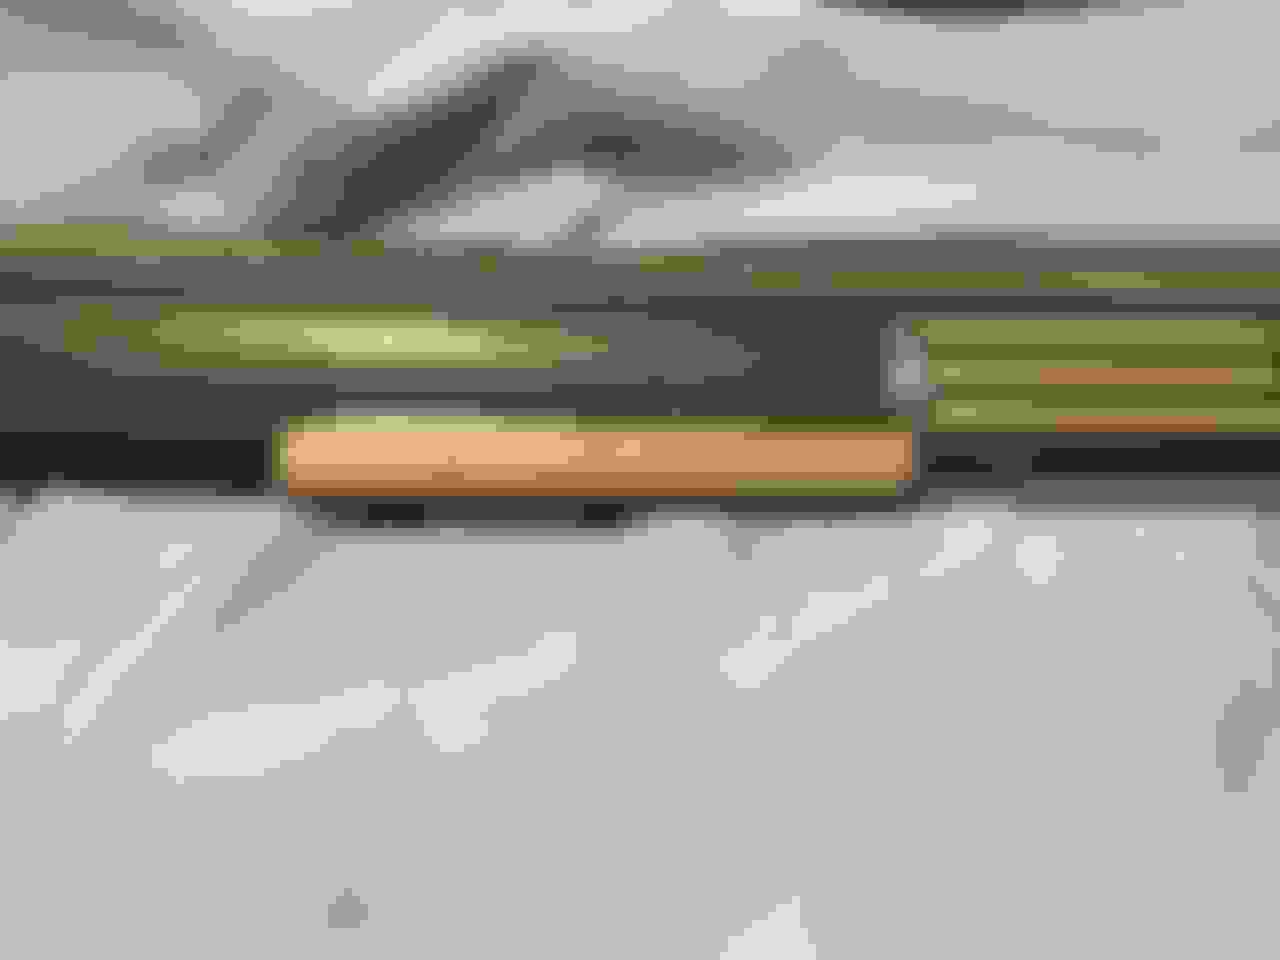
Driver's door garnish molding with the ivory trim. The original is all cracked, warped and deformed after 80 years. The new one is shown ready to test fitness
It fits perfectly well. The grooves need to be a bit deeper, needs sanding and matching the color with the other pieces
The 3 rounded tabs on the back of the trim that fit into the metal holes will be added and then will print the final sample. Or can just glue the trim to the metal base.
I will be happy to share the file with anyone interested for his own restoration. Manuel
I posted this at the AACA Forum as well. It is more pertinent to Vintage Olds so here it is
All of us have at some point or another been unable to find a part for our old cars. The growing field of 3D printing seems to be the answer. The major difficulty is to create a 3D computer file. Once it is done, it can be used over and over again to fabricate the part at a very reasonable cost. It will be very helpful if any organization, for instance AACA, can start compiling a data bank of files. Seems especially fit for interior parts, plastics, trim, and the like.
The following is the first part I am fabricating. It is a plastic trim that is used on the door of my 41 Oldsmobile. I searched for several months for a replacement and they are not to be found, except in much worse condition than mine and with the entire garnish molding that I don't need.
These are ivory colored plastic trim pieces. I spent exactly 2 hours at my local Public Library with a staff member creating the file by taking careful measurements with his caliper. Of course I provided the damaged original part which is required to do this job and I was adding input when needed. He created a file with the extension .stl and used a printer fed with a PLA plastic filament (I learned all these things just now by seeing him do the work). He printed a sample that needs minor touch ups to be perfect (sanding and painting the correct color). It looks very good and once I can have those minor adjustments completed, it will be a perfect piece. The cost was $1.5 (one dollar and 50 cents) for the materials only. The work is performed by city employees and has an educational purpose to apply new technologies. The best use of tax dollars I have seen in a long time !!!
Driver's door garnish molding with the ivory trim. The original is all cracked, warped and deformed after 80 years. The new one is shown ready to test fitness
It fits perfectly well. The grooves need to be a bit deeper, needs sanding and matching the color with the other pieces
The 3 rounded tabs on the back of the trim that fit into the metal holes will be added and then will print the final sample. Or can just glue the trim to the metal base.
I will be happy to share the file with anyone interested for his own restoration. Manuel
hello Manuel, I would very much appreciate getting that 3-D printer file for both of my doors on my 41 olds series 76. Also, if you know anything about the baker light handles on the rear ashtrays, that would be very helpful also
Thank you sir.
Last edited by oldcutlass; Mar 22, 2026 at 09:26 AM.
Manuel, excellent! Nice work, and 3D printing of obsolete parts is needed more every day. I became aware of a rubber steering column gasket/seal that was unavailable being 3D printer created for a 1957 Oldsmobile 88. It would be worth putting this idea out on the OCA boards. I believe that OCA has 'technical advisors' for each model year. In my experience sourcing parts for my '57 can be time consuming and I have been told that record-keeping at Oldsmobile may not have envisioned the needs of us enthusiasts. Thanks for sharing, David
I bought a 3D printer (Creality K2 Plus) a year and a half ago and taught myself Fusion 360 3D solid design software (they offer a free hobbyist version). STL files on their own are great for sending directly to your printer, but if you need to modify the design, they need to be converted back to a solid model for most changes. I had my 54 Olds Super 88 painted last year and had problem with finding some of the trim clips, particularly for the rocker trim. I designed my own in Fusion and printed them out in PETG-CF (carbon-fiber) and also Nylon-CF which were a LOT easier to fit into the trim and snap into place in the body.
3D CAD software seems a bit daunting at first to learn to use, but there are some great YouTube video series that I used to teach myself the basics (one of them is "Learn Fusion 360 in 30 Days").
The tricky bit with these clips was the stress put on them where they mount into the body. When you print on a 3D printer, you end up with "layer lines" that you can see in the photo and this is where the weakest area of your printed part is. I discover I needed to print these on their edge rather than "flat" (which seemed at first the simplest way to print them), in order to strengthen the part of the clip that inserts into the body, otherwise the little "wings" would snap off at the base of the clip.
That being said, a 3D printer, a 3D software application and some trial/error/knowledge is incredibly useful when working on these old cars (or other things where no commercially available parts exist). Rocker Trim Clips