When you click on links to various merchants on this site and make a purchase, this can result in this site earning a commission. Affiliate programs and affiliations include, but are not limited to, the eBay Partner Network.
I am new to this forum and I had a couple of questions about putting a 4-speed in my car.
I recently purchased a 1971 Cutlass "S" Rocket 350 Automatic Console Car and i was looking to put a M21 Muncie 4-speed in it. It has the original automatic floor console that i would like to re-use.
I am going to purchase: MT10110T, and CP1547T from The Parts Place.
I know i will have to check to see if the crankshaft is drilled to accept the pilot bearing/ input shaft. Also, the frame rail on the drivers side DOES NOT have the bolt holes for the Z-bar bracket. I guess it will have to be welded?
My question is, what else am i going to need after i purchase those 2 things from the parts place? ( Other than the transmission, bellhousing, clutch kit, flywheel, shifter, different drive shaft) And im also confused on how to have the z-bar bracket in the correct place, since the bolt holes are not there.
If anyone has ever done this conversion in their car, and has any input/pictures i would GREATLY appreciate it!
-What parts/other things will i need to complete this project?
-How do i install the Z-bar bracket/have it in the correct place before its welded.
Thanks, Joe.
You MAY be able to drill the 2 holes needed to mount the z-bar bracket on the frame. Possibly with an angle drill. Check to see if your block has the mount for the other side of the z-bar. It is threaded, and you will need a ball stud. I'm not that familiar with the s.b.'s but on the 455's some DON'T have the mount cast on the block for it.
You will need to replace the pedals(obviously), get a lower steering column mounting plate with the cutout hole for the pedal linkage and boot.
I don't think it will be possible to re-use the automatic console.
You MAY want to consider a hydraulic clutch release setup. It eliminates the z-bar and linkages/brackets, and pushes on the front of the transmission bearing retainer, rather than on the bellhousing pivot(a far superior method IMO). It also makes it easier if you run headers, as there is only one flexible hydraulic line to deal with in that area, not z-bars and pushrods and brackets. I have one in my '68 and LOVE it compared to the mechanical linkage system. They are a bit pricey, but if you add up the linkage pieces, release fork, t/o bearing, and the aggravation of installation of the mech. set-up, it's an easy choice to me. I've been running it for 5 years now....not 1 missed shift, easy on the leg at red lights, is smooth as butter, and no exhaust system interference. (just a thought)
Any other questions, let me know, I've done several of these on big blocks.
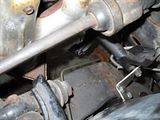
Also, the frame rail on the drivers side DOES NOT have the bolt holes for the Z-bar bracket. I guess it will have to be welded?
Look again. The bolt holes are on the top of the frame rail, below the master cylinder.
Originally Posted by gregvm
I don't think it will be possible to re-use the automatic console.
Read the Chassis Service Manual. All the 1970-72 consoles use the same body for MT and AT. The CSM shows were to cut the console (there are molded marks on the underside) so you can add the bezel and adapter for the MT shifter boot. The top chrome and woodgrain trim pieces are different for the MT application. Also be aware that the console requires a specific shifter stick to align with the boot location.
I'm with Joe, surprised if holes are not there. Pic of mine for location. If yours are missing, just mount directly across from block boss. Just an FYI, mine is slightly relocated to use a bellhousing boss mounted Z bar,
Also, I saw there was a console specific shifter metal tunnel hump.
The console is marked on the bottom for cutouts. Somewhere on this site are the assembly manual instructions where to cut too.
What are you planning to do to address the neutral safety switch & the back up lights?
Note that if you retain the factory backdrive linkage from the trans to the steering column, the original backup light switch works just fine. Manual transmission don't use a neutral safety switch, they use a clutch safety switch on the clutch pedal. Of course, simply making sure you have the clutch pedal depressed and trans in neutral before turning the key also solves that problem. Keep in mind that the CSS is a relatively new phenomena. Older cars simply relied on operator competence.
If you don't have the backdrive linkage you can go with the bracket and switch mounted on the tranny for your back up lights like they used in 68 (and probably other years). There was no nuetral safety (clutch) switch in 68
If you prefer video, try looking on the net for Car Fix Skylark Project. They do this conversion on a 70 Skylark, its decently informative. I have the videos saved on my DVR in case I do the conversion on my 69 Cutlass later.
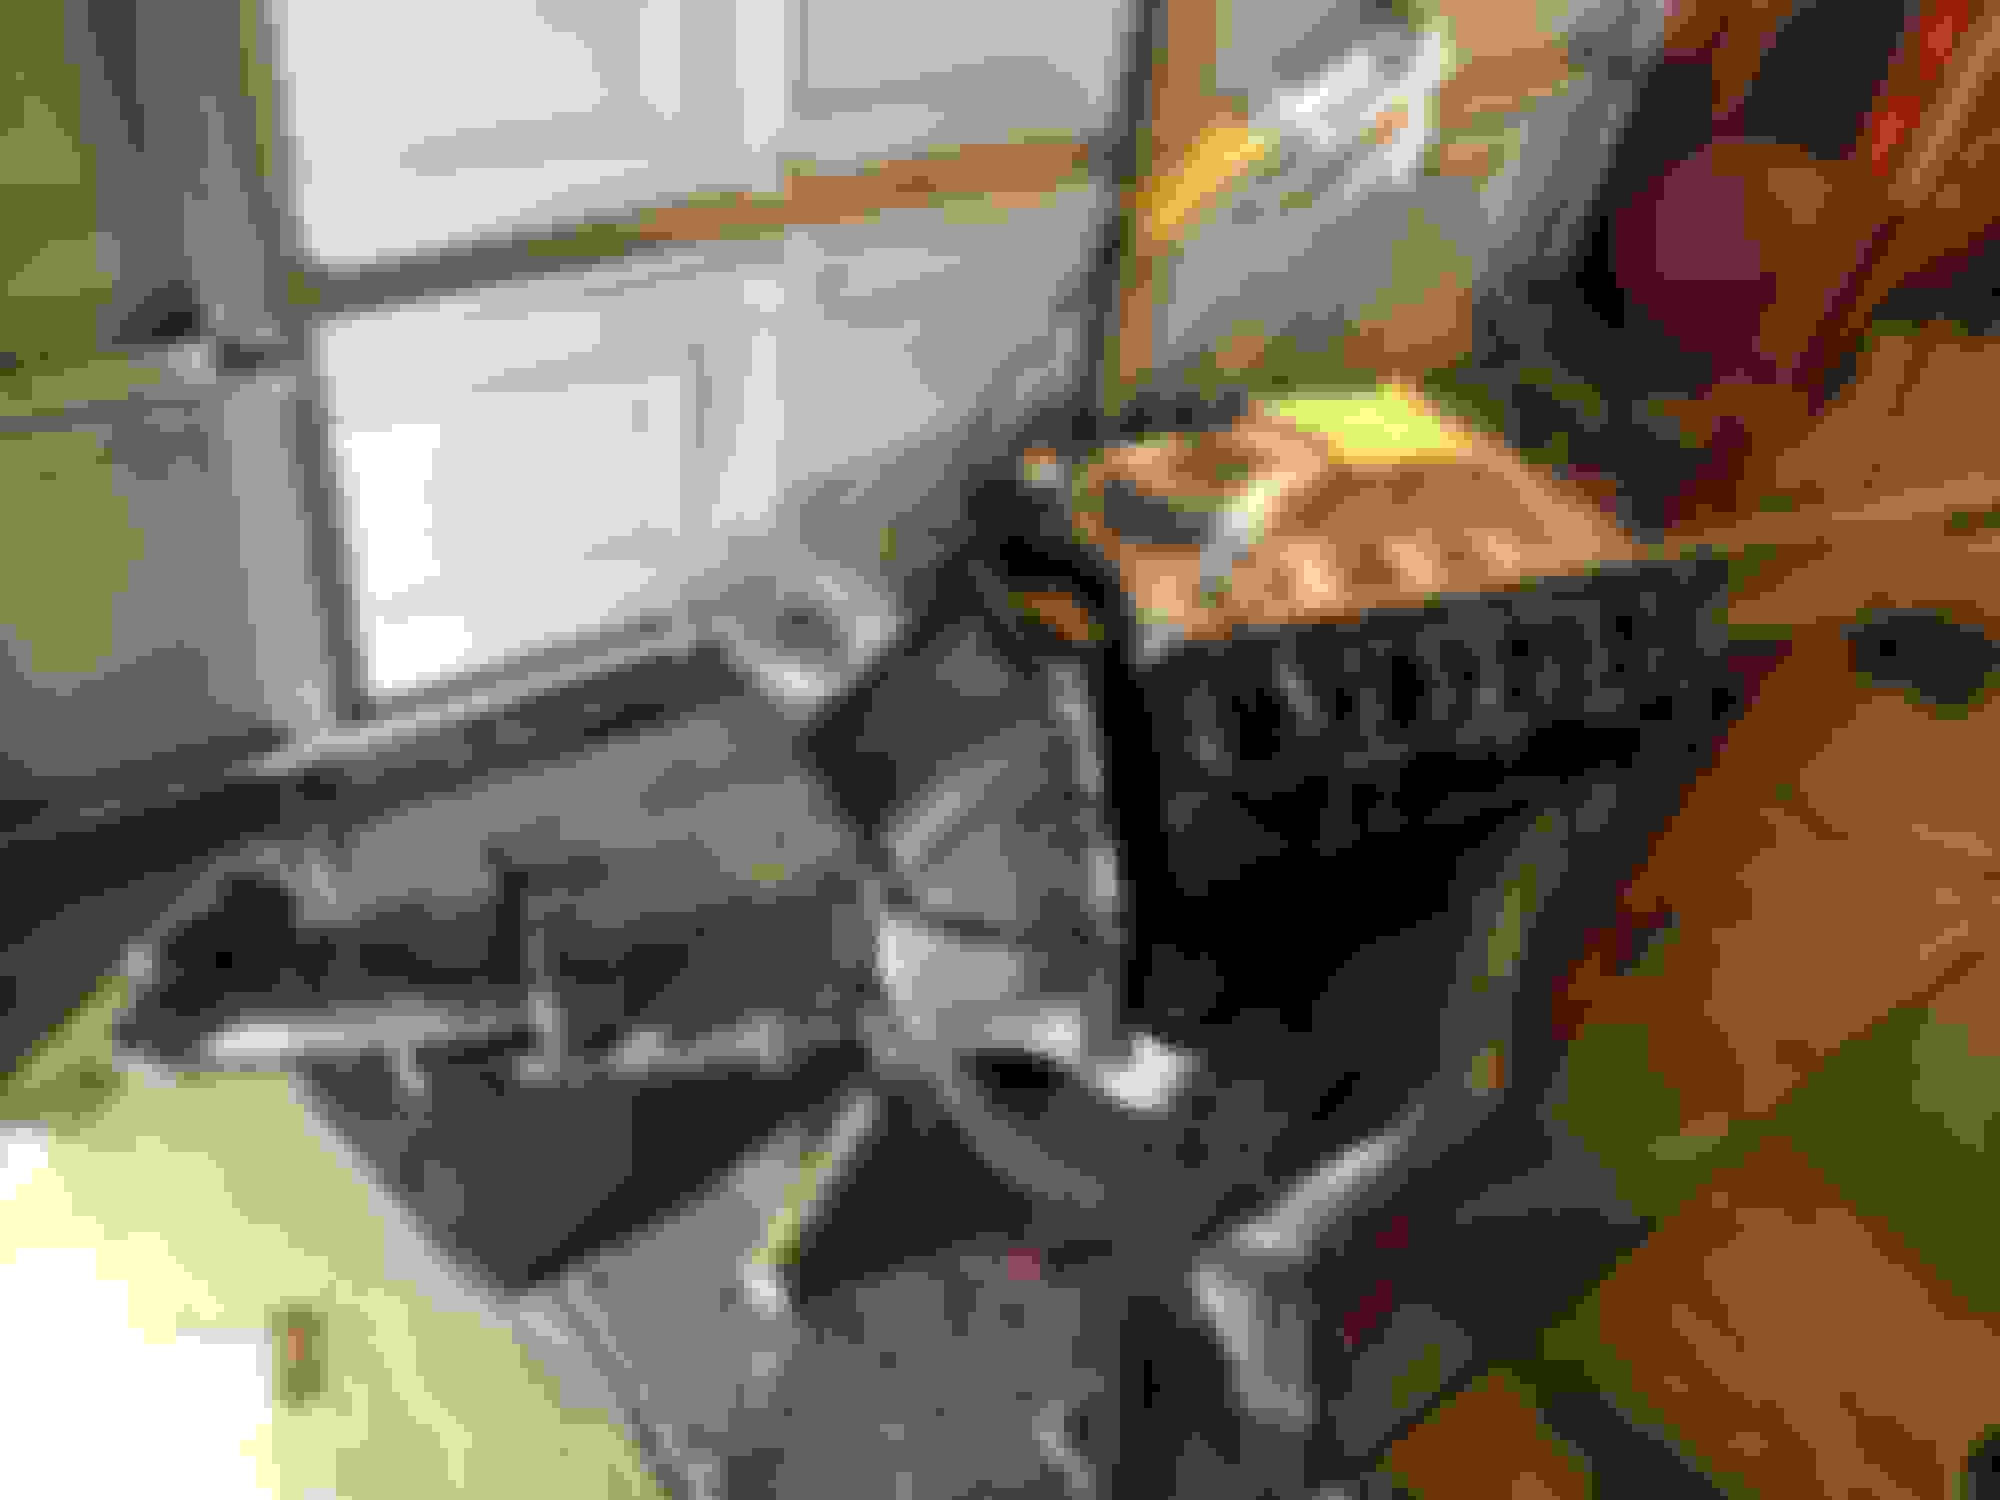
I took some pictures of the drivers side frame rail. It does have 2 fairly small holes that are a little further back than i imagined the z bar would be. Can anyone confirm that these are the correct holes? And as far as the Z-bar ball stud that bolts to the engine, will that be with a threaded hole that is closer to the bellhousing, under the exhaust manifold? Thanks guys!
So aside from the two items I will purchase from the parts place, I will need:
MANUAL TRANSMISSION CONVERSION KIT - KIT INCLUDES: BRAKE AND CLUTCH PEDALS, Z-BAR, CLUTCH PEDAL PUSHROD, PEDAL PUSHROD BOOT & RETAINER, CLUTCH FORK BOOT, CLUTCH FORK, ADJUSTABLE CLUTCH FORK PUSHROD, CLUTCH FORK BALL, CLUTCH RETURN SPRING(S), Z-BAR FRAME BRACKET, Z-BAR HARDWARE KIT (CONTAINING AN ENGINE BALL STUD, FRAME SIDE BALL STUD, 1 RETAINER, 1 FELT WASHER AND 2 NYLON BUSHINGS)
-transmission
-bell housing
-clutch
-flywheel
-pressure plate
-new yoke/driveshaft
-special hurst competition shifter (like factory)
-What about the crossmember? Will I need to relocate that? Or purchase a new one?
-will I need to purchase a shifter mounting bracket?
If anyone has a complete LIST of parts I need for this conversion I would GREATLY appreciate it! I would really like to do this conversion before spring rolls around.
Thanks guys! Joe
You don't need to replace the crossmember, there are a set of holes drilled in the frame rail that adjust the forward/rear placement.
Also, what trans WAS in it? If it was a th-350 then the slip yoke will work with a Muncie M20/M21(but NOT an M22), if it was a th-400 then it won't work with the Muncie M20/21 but WILL work with an M22.
You MAY have to change the intermediate parking brake cable length as well, because it runs off the crossmember, hence it changes based on the location of the crossmember.
This was posted years ago by My442. I used it 10 years ago when I was gathering parts to put mine back together. My car a originally a four speed but the only thing left was the steering column elements and the pedals.
You'll find that a parts supplier like Ames Performance will carry a lot of things like the backdrive linkage. I don't know if there is any difference between the Pontiac and Oldsmobile version. Joe P probably knows off the top of his head
Originally Posted by My442
Here is the list for my 70 442 conversion:
4-speed transmission - GM rebuilt
Floor hump - GM used or repro
Console for 4 speed - Convert an auto console with aftermarket parts
Muncie compatible driveshaft - GM rebuilt or aftermarket
Bell housing - GM Used
Bell housing inspection cover - Repro
Shifter and correct ball - GM Used
Shifter linkage - GM Used
Shifter to transmission bracket - GM - Used
Flywheel - GM Used or Aftermarket
Pedal Assembly and pads - GM Used for pedals, Repro pads
Neutral Safety switch - GM Used
Z-bar - GM Used
Z-bar to clutch fork rod - GM Used or Aftermarket
Z-bar frame bracket - Repro
Back-up light switch - GM used or Repro from M+H Electrical
Clutch fork - GM Used
Clutch pedal to z-bar rod - Repro
Speedometer cable - Aftermarket
Engine ball stud - Repro
Clutch pedal to z-bar rod boot & retaining ring - Boot is repro, ring is used GM
Shifter boot & retaining ring - Boot 1s repro, ring is used GM
Steering column lower support with hole for clutch pedal to z-bar rod - Used GM
Pressure plate, clutch disc, throw out bearing, pressure plate bolts, flywheel bolts - Aftermarket
Reverse lockout rods and bracket - Repro
Battery Cable - Repro fro American Autowire
Battery cable tube - Used GM
Firewall boot - Repro
You will also need to have a 4 speed crank that is drilled for a pilot bearing, or drill an automatic crank for a conversion bearing. I bought my conversion bearing from Supercars Unlimited.
The wiring is simple for the clutch switch and the back up lights.
The console harness from an automatic car can be used in the manual trans console.
There are 2 push in sheet metal nuts that are used on the base of the steering column to hold the back up light switch. My auto column did not have them.
Part Numbers from v8buick.com
68" Speedo Cable - 88959477 For 68-72 manual shift cars
Clips for shift rods - 12338114 Also used on the reverse rods too
Z bar and pedal bushing - 406172 Upper bushing and pedal bushing
Wave Washers - 9428369 Used to take out play in the linkage
Lock out rod bushing (upper) - 1394293 On the steering column
Bushing, reverse linkage (on frame) - 1377083 On the "L" shaped rod
Last edited by allyolds68; February 26th, 2015 at 05:50 AM.
Soooooooo its been a while but i finally bought all of the stuff i needed to start on this manual trans swap on the 71. I also replaced the rear main seal (what a pain in the butt.....) I have an M21 Muncie with the M22 gears in it. The transmission input shaft had to be shaved 3/8'' to have sufficient clearance since my crankshaft was not drilled out for it. Then i installed the special tapered pilot bearing i bought from parts place. With the trans in everything is perfect, no binding on the input or output, everything spins freely. I rough cut the hole for the shifter to come through the floor but the only trouble im having now is lining up the console with the floor hump i bought. The console doesnt seem to line up correctly. I dont have the floor hump secured or anything yet I wanted to make sure everything fit right first. Does anyone know if there are different mounting brackets I have to buy? Or any other modifications that need to be done? The console and hump both have clearance from the shifter so thats not an issue, just the mounting of the console itself. Maybe i have to move the original brackets? The console i have was originally for the automatic shifter, but i bought the boot and cut the console to accept the adapter( i followed the instructions in the Olds Service Manual.)
Any help would be greatly appreciated! I wanna wind these gears out soon!
Where's your alignment issue with the Console? Height? On factory 4 speed cars, the bottom half of the body/base is trimmed or completely cut off on the driver's side. Probably the front 10-12 inches. That allows it to sit properly on the mounting brackets.
Terry
Originally Posted by 71OldsJoe
Soooooooo its been a while but i finally bought all of the stuff i needed to start on this manual trans swap on the 71. I also replaced the rear main seal (what a pain in the butt.....) I have an M21 Muncie with the M22 gears in it. The transmission input shaft had to be shaved 3/8'' to have sufficient clearance since my crankshaft was not drilled out for it. Then i installed the special tapered pilot bearing i bought from parts place. With the trans in everything is perfect, no binding on the input or output, everything spins freely. I rough cut the hole for the shifter to come through the floor but the only trouble im having now is lining up the console with the floor hump i bought. The console doesnt seem to line up correctly. I dont have the floor hump secured or anything yet I wanted to make sure everything fit right first. Does anyone know if there are different mounting brackets I have to buy? Or any other modifications that need to be done? The console and hump both have clearance from the shifter so thats not an issue, just the mounting of the console itself. Maybe i have to move the original brackets? The console i have was originally for the automatic shifter, but i bought the boot and cut the console to accept the adapter( i followed the instructions in the Olds Service Manual.)
Any help would be greatly appreciated! I wanna wind these gears out soon!
I am in the middle of doing a swap on my 1970 cutlass 350 I rounded up a Muncie which I believe is a 64-65 m20 I think mayb from a corvette, it already had a hurst competition plush shifter 3216274 on it, that I believe some one has fabricated where the shifter stick attaches to the shifter. I�ve seen some other pics on threads from this site I know I�ll need a different H shifter stick with the offset. I guess the question is can I use this shifter on for my application I will have a console car. Is there a part that I can by that attaches the stick on? Thanks in advance knowledge is power to bad I have neither Gotta start on my grand fathers �RIP� car somewhere I guess thank goodness for this site What in tarnstion is going on where the stick attaches 64-65 Muncie?? M20 ?? I think
Last edited by Jabenge; February 14th, 2020 at 11:37 AM.
The one to the left is what I am trying to achieve Can this part be bought and put on my shifter and also just by a new offset H stick I guess there�s this route if so can I use all the rods and other parts off my old shifter and apply it to this set up
The angled part of the shifter is integral to the shifter mechanism. You can swap it out, but that requires completely disassembling the shifter mechanism and rebuilding it. Also, you cannot buy just that part; it is not sold separately (or at all anymore). The Hurst 3138 shifter body with the correctly angled bracket for the stick is actually relatively easy to find, as it was used on a wide variety of GM cars in the early 1970s. The correct 7169 stick for the 1970-72 console cars is rare and difficult to find - and priced accordingly when you do find one. No currently-available aftermarket Hurst shifter will exactly line up with the console. Back in the 1980s you could get them from Hurst, but those days are long gone. I have no experience with the shifter sold by OPGI. I had not seen that product before.
I bought the OPGI Hurst console shifter, mainly because it was cheaper and way faster than getting my original rebuilt and getting the handle re-chromed. It is a Hurst product and it has adjustable stops to prevent over shifting. It also has a bolted connection between the handle and the shifter. Both of those tighten things up from a stock set up.
I don't have the body back on my car yet, but it appears like it will fit fine. It just gets there in a different way if you look at the lower part.
Pat
Last edited by fasteddy; February 17th, 2020 at 05:50 PM.
Thanks, did you paint the tranny and bell housing if so what u use my muncie is a little beat up I was thinking of painting up but still want it to look natural, good luck on the project
Last edited by Jabenge; February 17th, 2020 at 08:11 PM.
Thanks, did you paint the tranny and bell housing if so what u use my muncie is a little beat up I was thinking of painting up but still want it to look natural, good luck on the project
Yes, the person I had rebuild my transmission did paint the transmission and bellhousing.

 February 24th, 2015 | 12:28 AM


