When you click on links to various merchants on this site and make a purchase, this can result in this site earning a commission. Affiliate programs and affiliations include, but are not limited to, the eBay Partner Network.
So today my new Thrust washers finally arrived, so I removed everything back to the output piston. I installed the new thrust washers as I went along.
I put everything back to the Center support. I then continued and installed the sun shell, front planetary gear and carrier.
Now I am just waiting on a new input shaft, and Machined direct clutch piston. Once I get those last two parts I should be able to complete the case rebuild.
Replaced the 3 Bushings in the Pump and the Direct drum bushing. The direct Drum Bushing was a bit difficult to drive in, I was able to get it flush with the Drivers I had but didn't have one that would fit in the bushing race so I could drive it down below flush, I ended up finding one of the plates in my Brake caliper kit that fit perfectly so I was able to drive it down where it needed to be.
Pump Bushings installed
Put the Trans to bed for the night.
Looks like you know what your doing! Bushing replacement is sometimes a pain. I have the old Kent Moore bushing kit for the 350 and 400 trans that has stops machined into the drivers to prevent installing them too far. However, I�m not sure if the bushing manufacturers has changed designs or maybe the bushings that are used aren�t an exact duplicate of the originals, but I sometimes have to use a wheel cylinder hone to polish the bushing to get a good fit.
When it�s all done and on the road you can proudly tell everyone you did it yourself!
Matt
Thanks
Yep definitely happy with the progress.
Everyone I know are very surprised that I would even take this project on in the first place.
It is just my nature, to always "do it myself" if I can, even If I have never done it before.
So far The only thing I haven't done myself in my restoration of this car is the Engine Head work.
No Machine shop Like I have always told my Sons If you can't do something yourself you better be able to pay someone who can.
But then again, They have me to do it for them they do try to watch and learn, But they are all numbers guys like Mom, Math formulas and sports stats and stuff like that roll off their tongues like nothing.
Makes my head spin .
That�s how I approach many things in life. If I can learn to do the task myself, even if it takes a couple tries then it�s worth the effort.
The only exception to the rule is if the tools needed to do the task cost more than paying an expert, especially if it�s tools I have no desire to own or ever use.
Absolutely !!
But sometime I fall to the premise, It is better to have it and not need it, than to need it and not have it. Or as my wife says "your a pack rat"
My replacement forward drum and input shaft arrived today, so I took it all apart and cleaned it all then began reinstalling the Piston, springs and snap ring.
I then installed the clutches and steels along with the Backing plate and snap ring.
Completed forward clutch. checked clearance on clutch pack and I have .030, Book says .020-.040
Installing the piston springs, I used an old piston to compress the spring cage and install the snap ring.
Installed into the case with Torrington bearing
I cleaned the Pump and removed the sealing rings, after cleaning everything I noticed the top two grooves have a spacer ring that sits behind the sealing rings.
question: Do I need to remove the spacers or do I keep them and then install the new seals over them like it was?
Old seals
re checking pressure test of Low Reverse clutch pack, sounds great no air leaks and solid thud of clutches
I ordered a Machined direct clutch piston so I can add a fifth friction, from CK Performance, I ordered it on Dec.2, I called them today to find out if it was shipped..
I was told "Oh it is going out today" I got an email with a tracking number about 3 hours later. Then I got another email with a $10.00 credit. Guess they felt bad for not shipping it for 8 days. So I guess I am waiting for another week.
I think the spacers were only used with the Teflon rings. Carefully remove the spacers and install the cast rings (assuming that�s what came in your kit?) The Teflon rings are mandatory with a trans that runs fixed line pressure (no vacuum modulator) like with a manual valve body or transbrake. The iron rings will quickly wear out and cut grooves into the drums and pump, a constant 200psi forcing the iron rings into whatever there ride against will do that. Obviously, that�s not a issue with your build.
I wouldn�t worry about .030 clutch clearance on the forward. Since the forward clutch isn�t a shifting clutch (it�s only used in forward gears) once you shift into any gear other than reverse cuts applied so there are no worries of shift timing issues. If it�s too tight, the car may want to creep forward in neutral. If it�s too loose, it may bang into gear. Your nowhere near out of spec for either of those to be a problem.
I wouldn�t worry about .030 clutch clearance on the forward. Since the forward clutch isn�t a shifting clutch (it�s only used in forward gears) once you shift into any gear other than reverse cuts applied so there are no worries of shift timing issues. If it�s too tight, the car may want to creep forward in neutral. If it�s too loose, it may bang into gear. Your nowhere near out of spec for either of those to be a problem.
Sound good
Originally Posted by matt69olds
I think the spacers were only used with the Teflon rings. Carefully remove the spacers and install the cast rings (assuming that�s what came in your kit?) The Teflon rings are mandatory with a trans that runs fixed line pressure (no vacuum modulator) like with a manual valve body or transbrake. The iron rings will quickly wear out and cut grooves into the drums and pump, a constant 200psi forcing the iron rings into whatever there ride against will do that. Obviously, that�s not a issue with your build.
Thanks
I will have to look at the rings that came in my kit, If iron I'll remove the spacers, Teflon I will keep them in place.
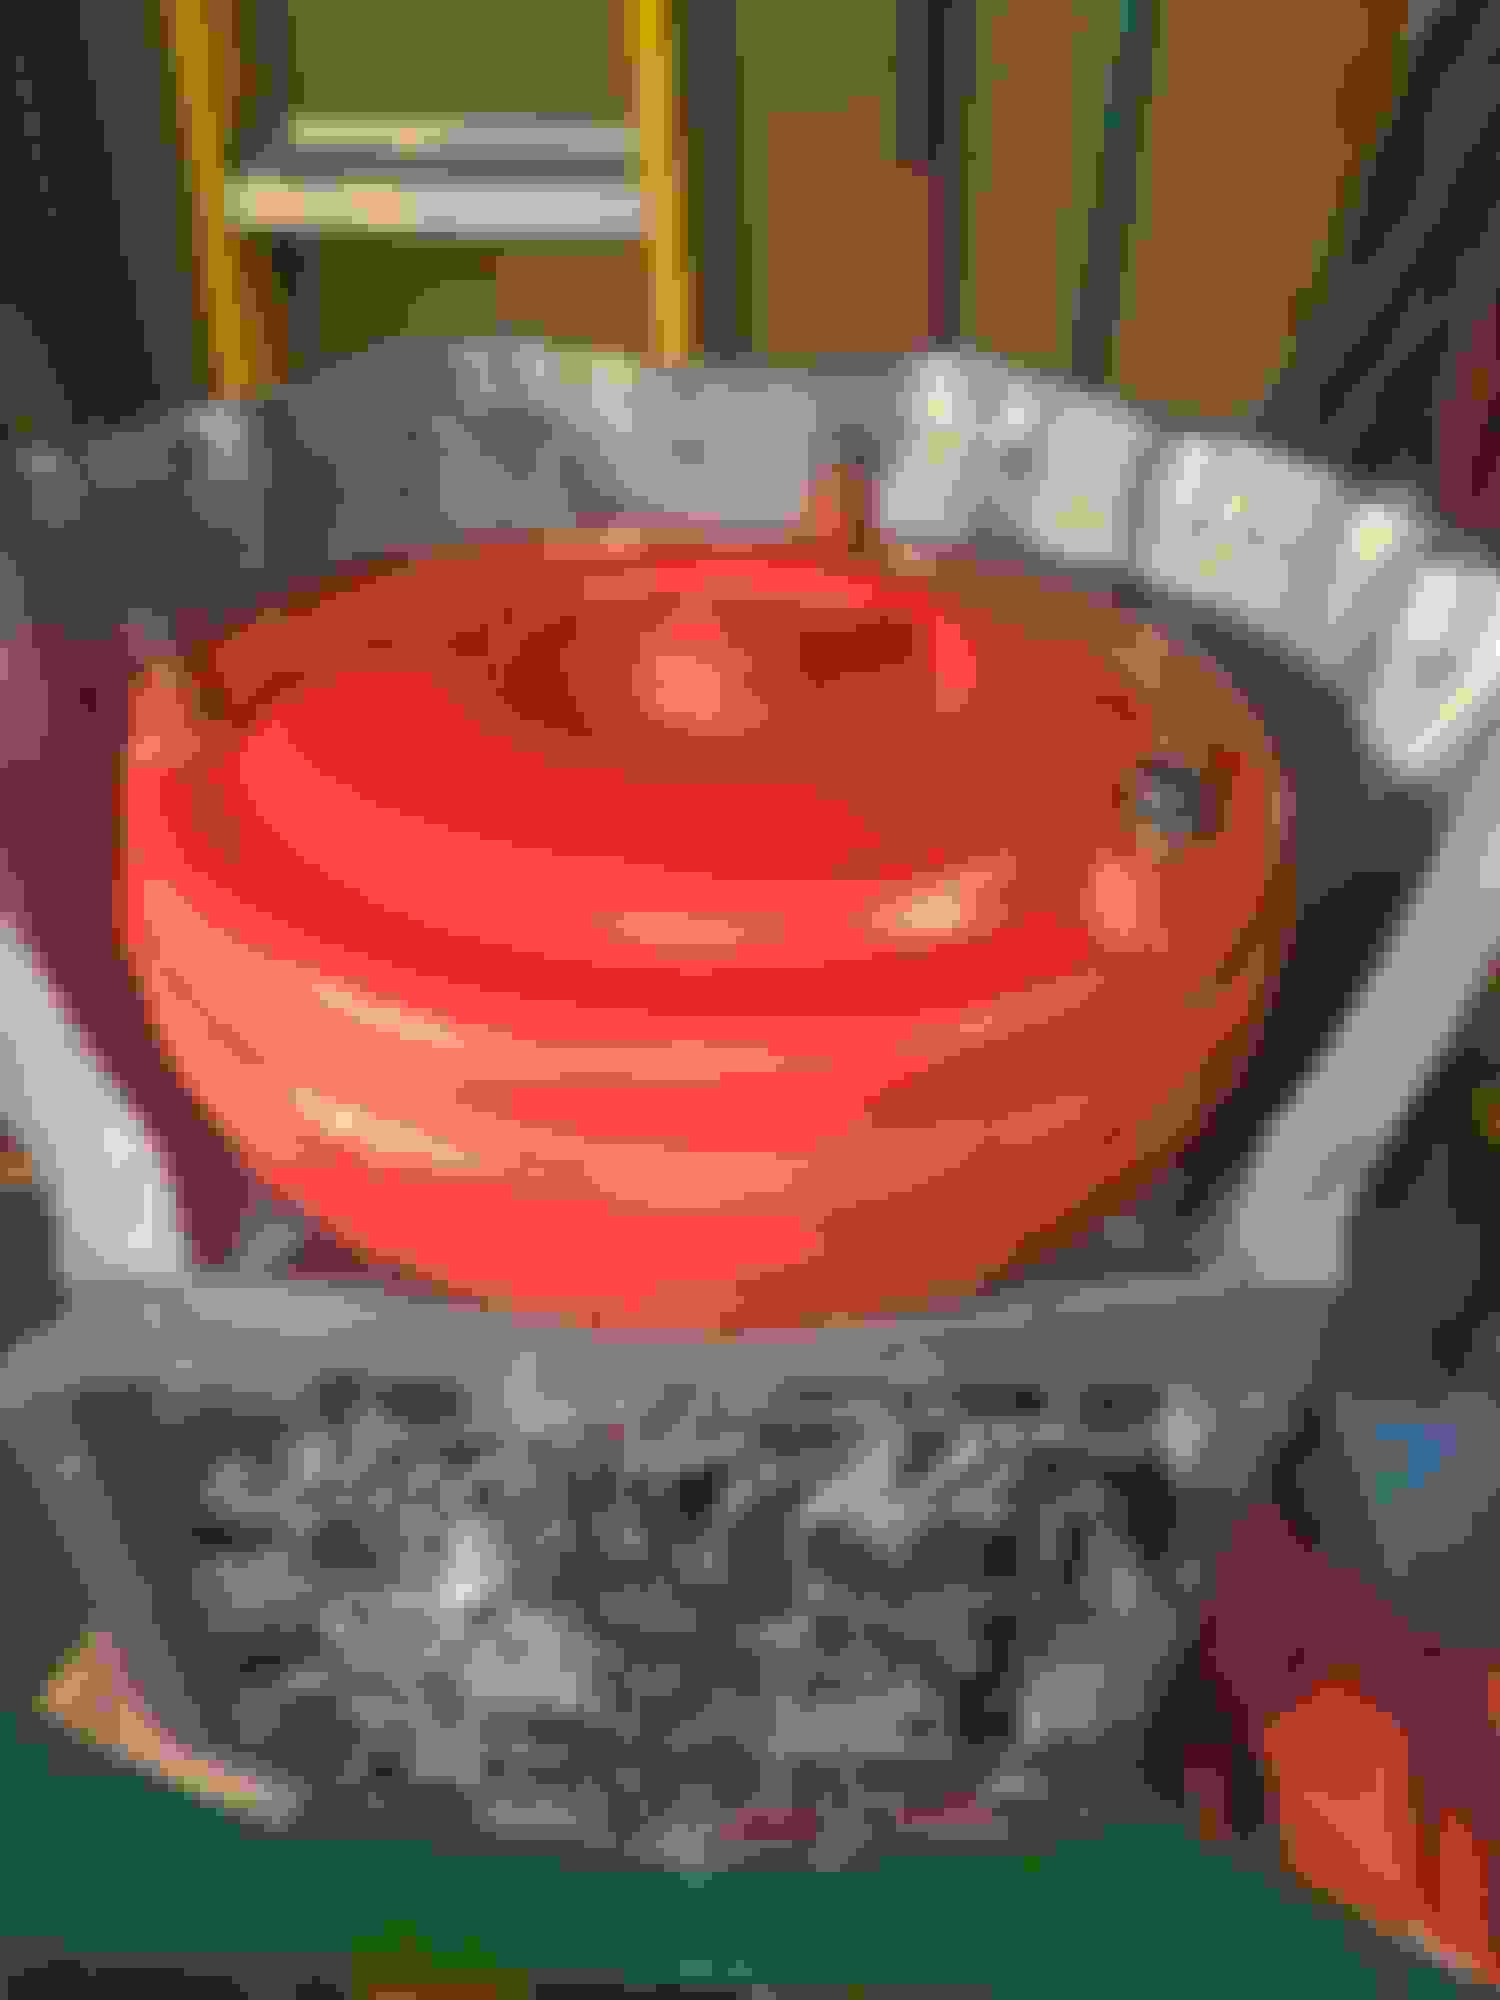
Todays progress, I put the Pump together,
Installed the spacer ring as suggested by Matt69olds.
Put Pump Piston in place loosely installed Piston retainer and bolts.
Set pump into case upside down as suggested by Matt and aligned bolt holes and torqued down Pump bolts to 13 ft/lb
Installed Pump sealing rings, removed spacer rings as mentioned earlier
Installed Pump shaft seal and O ring
You need to scrap the friction material from the low/reverse clutch before putting it under the piston. With the friction material the clutch is too thick, it will reduce the clutch clearance too much.
You need to scrap the friction material from the low/reverse clutch before putting it under the piston. With the friction material the clutch is too thick, it will reduce the clutch clearance too much.
I did scrape all of the clutch material off, I didn't polish it to shiny metal but I did sand it with 400 grit
Maybe hard to tell from the picture.
Dont get the valve body gaskets from the shift kit and overhaul kit mixed up.
Is your trans old enough to have the aluminum accumulator piston? If not, you need to get one. If it hasn�t broken, it will almost definitely break when you compress the piston to remove the e clip.
Dont get the valve body gaskets from the shift kit and overhaul kit mixed up. Got it, I wont start the Valve body work until the Trans case is completed, at which point I will remove all rebuild kit parts and open the box for the shift kit.
Is your trans old enough to have the aluminum accumulator piston? If not, you need to get one. If it hasn�t broken, it will almost definitely break when you compress the piston to remove the e clip.
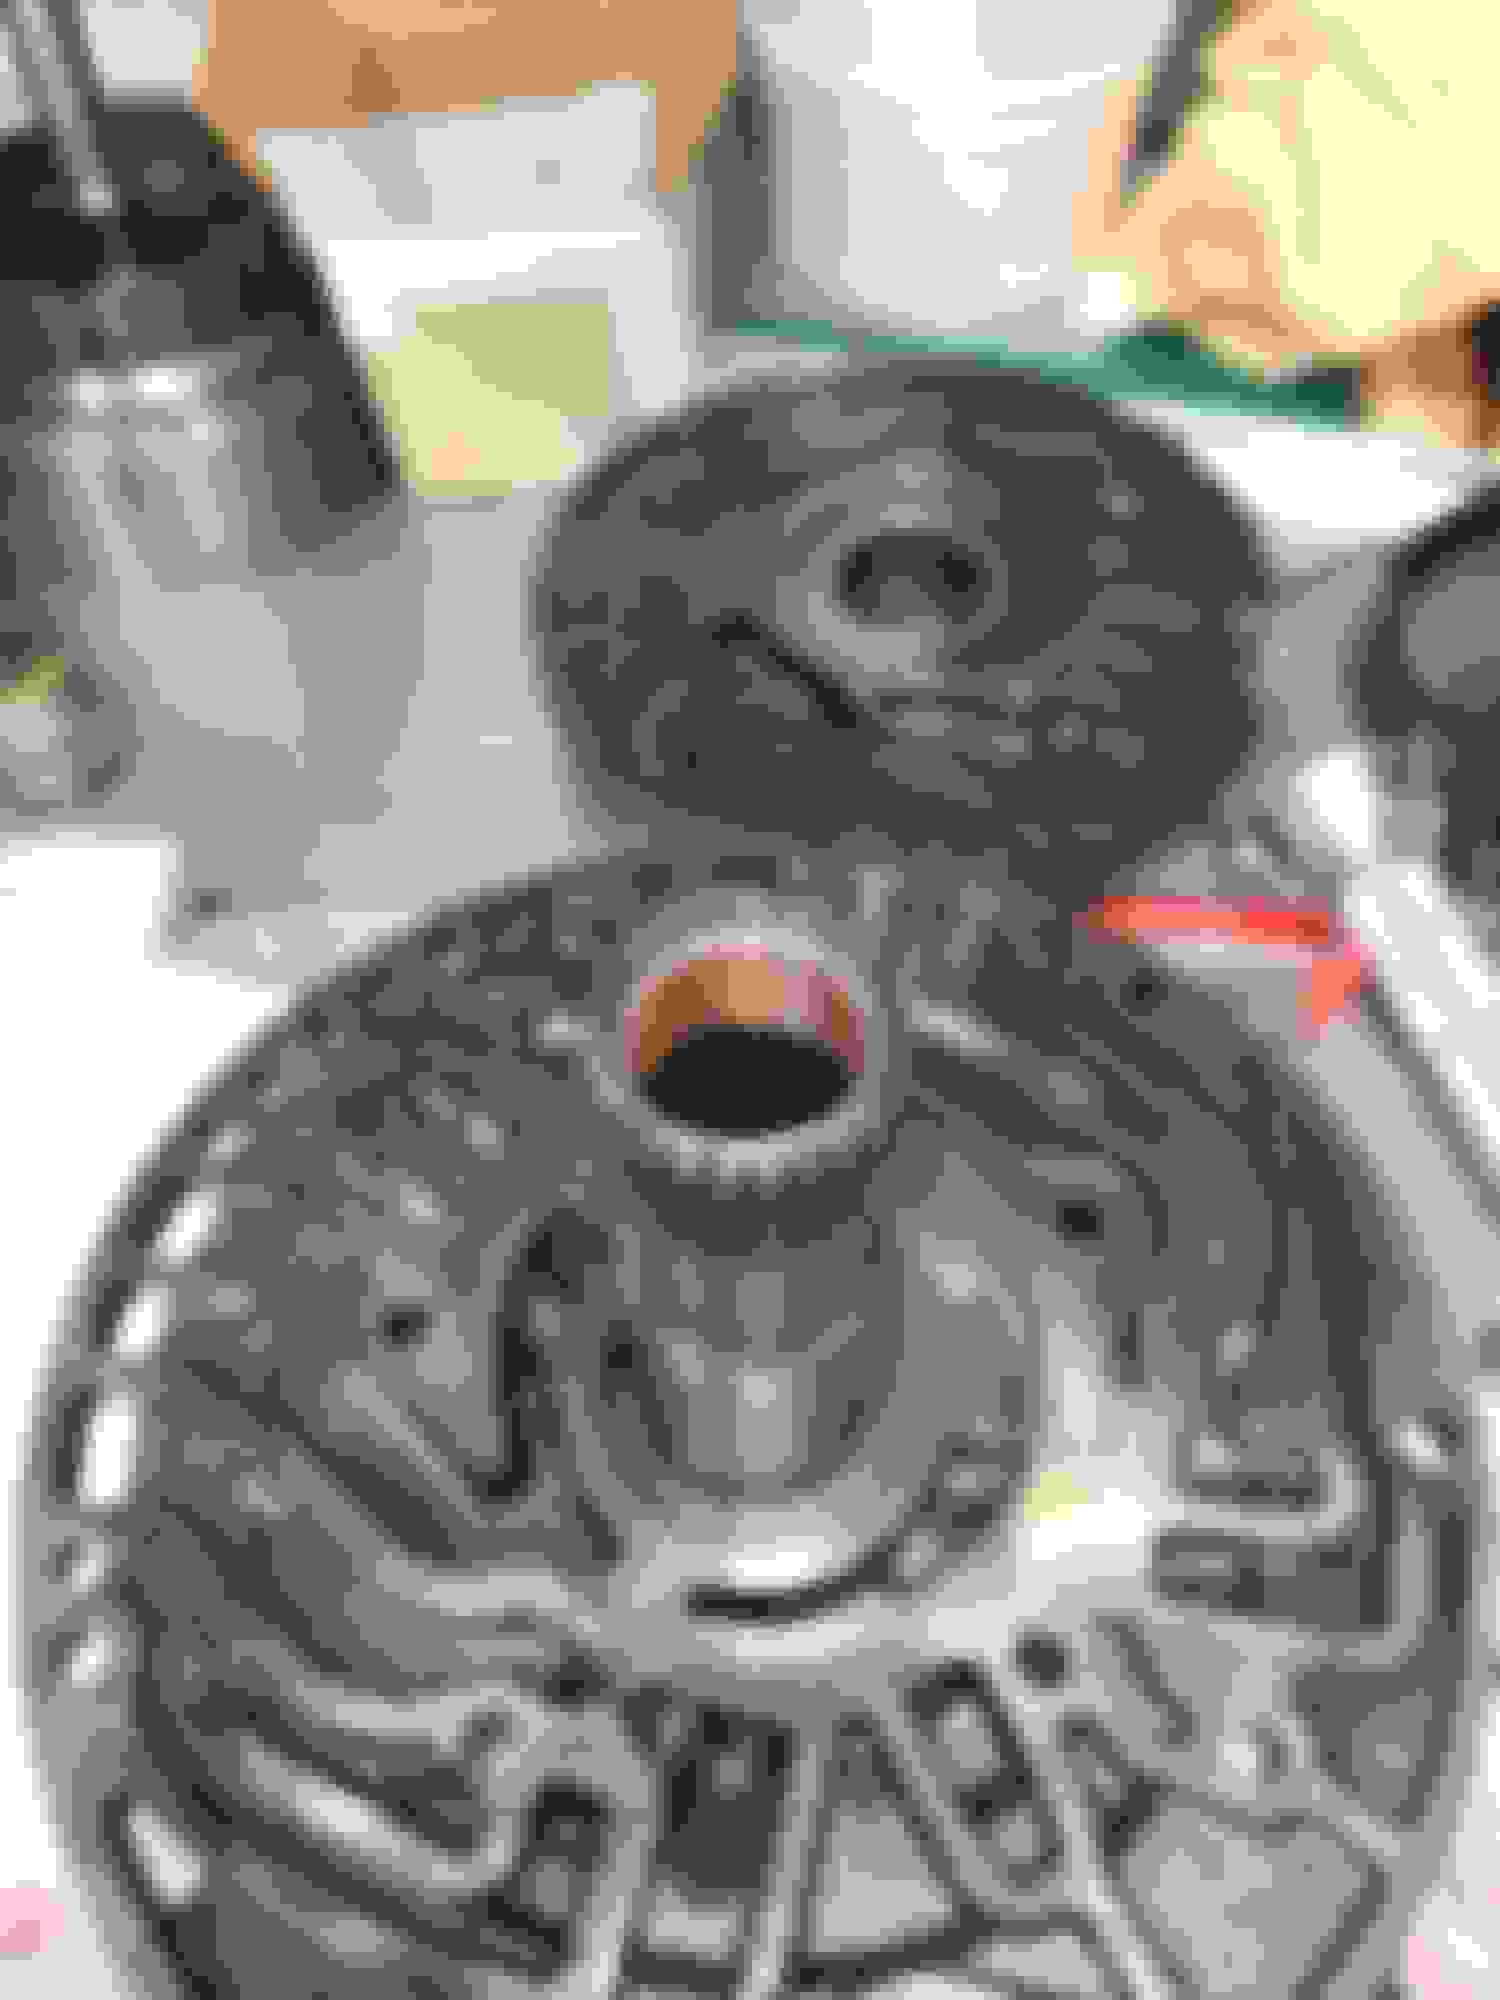
Finally received my single direct drum friction plate, (took 17 days from the west coast)
I installed the friction plate and retainer ring with snap ring, I checked the Clutch pack clearance and got .050"
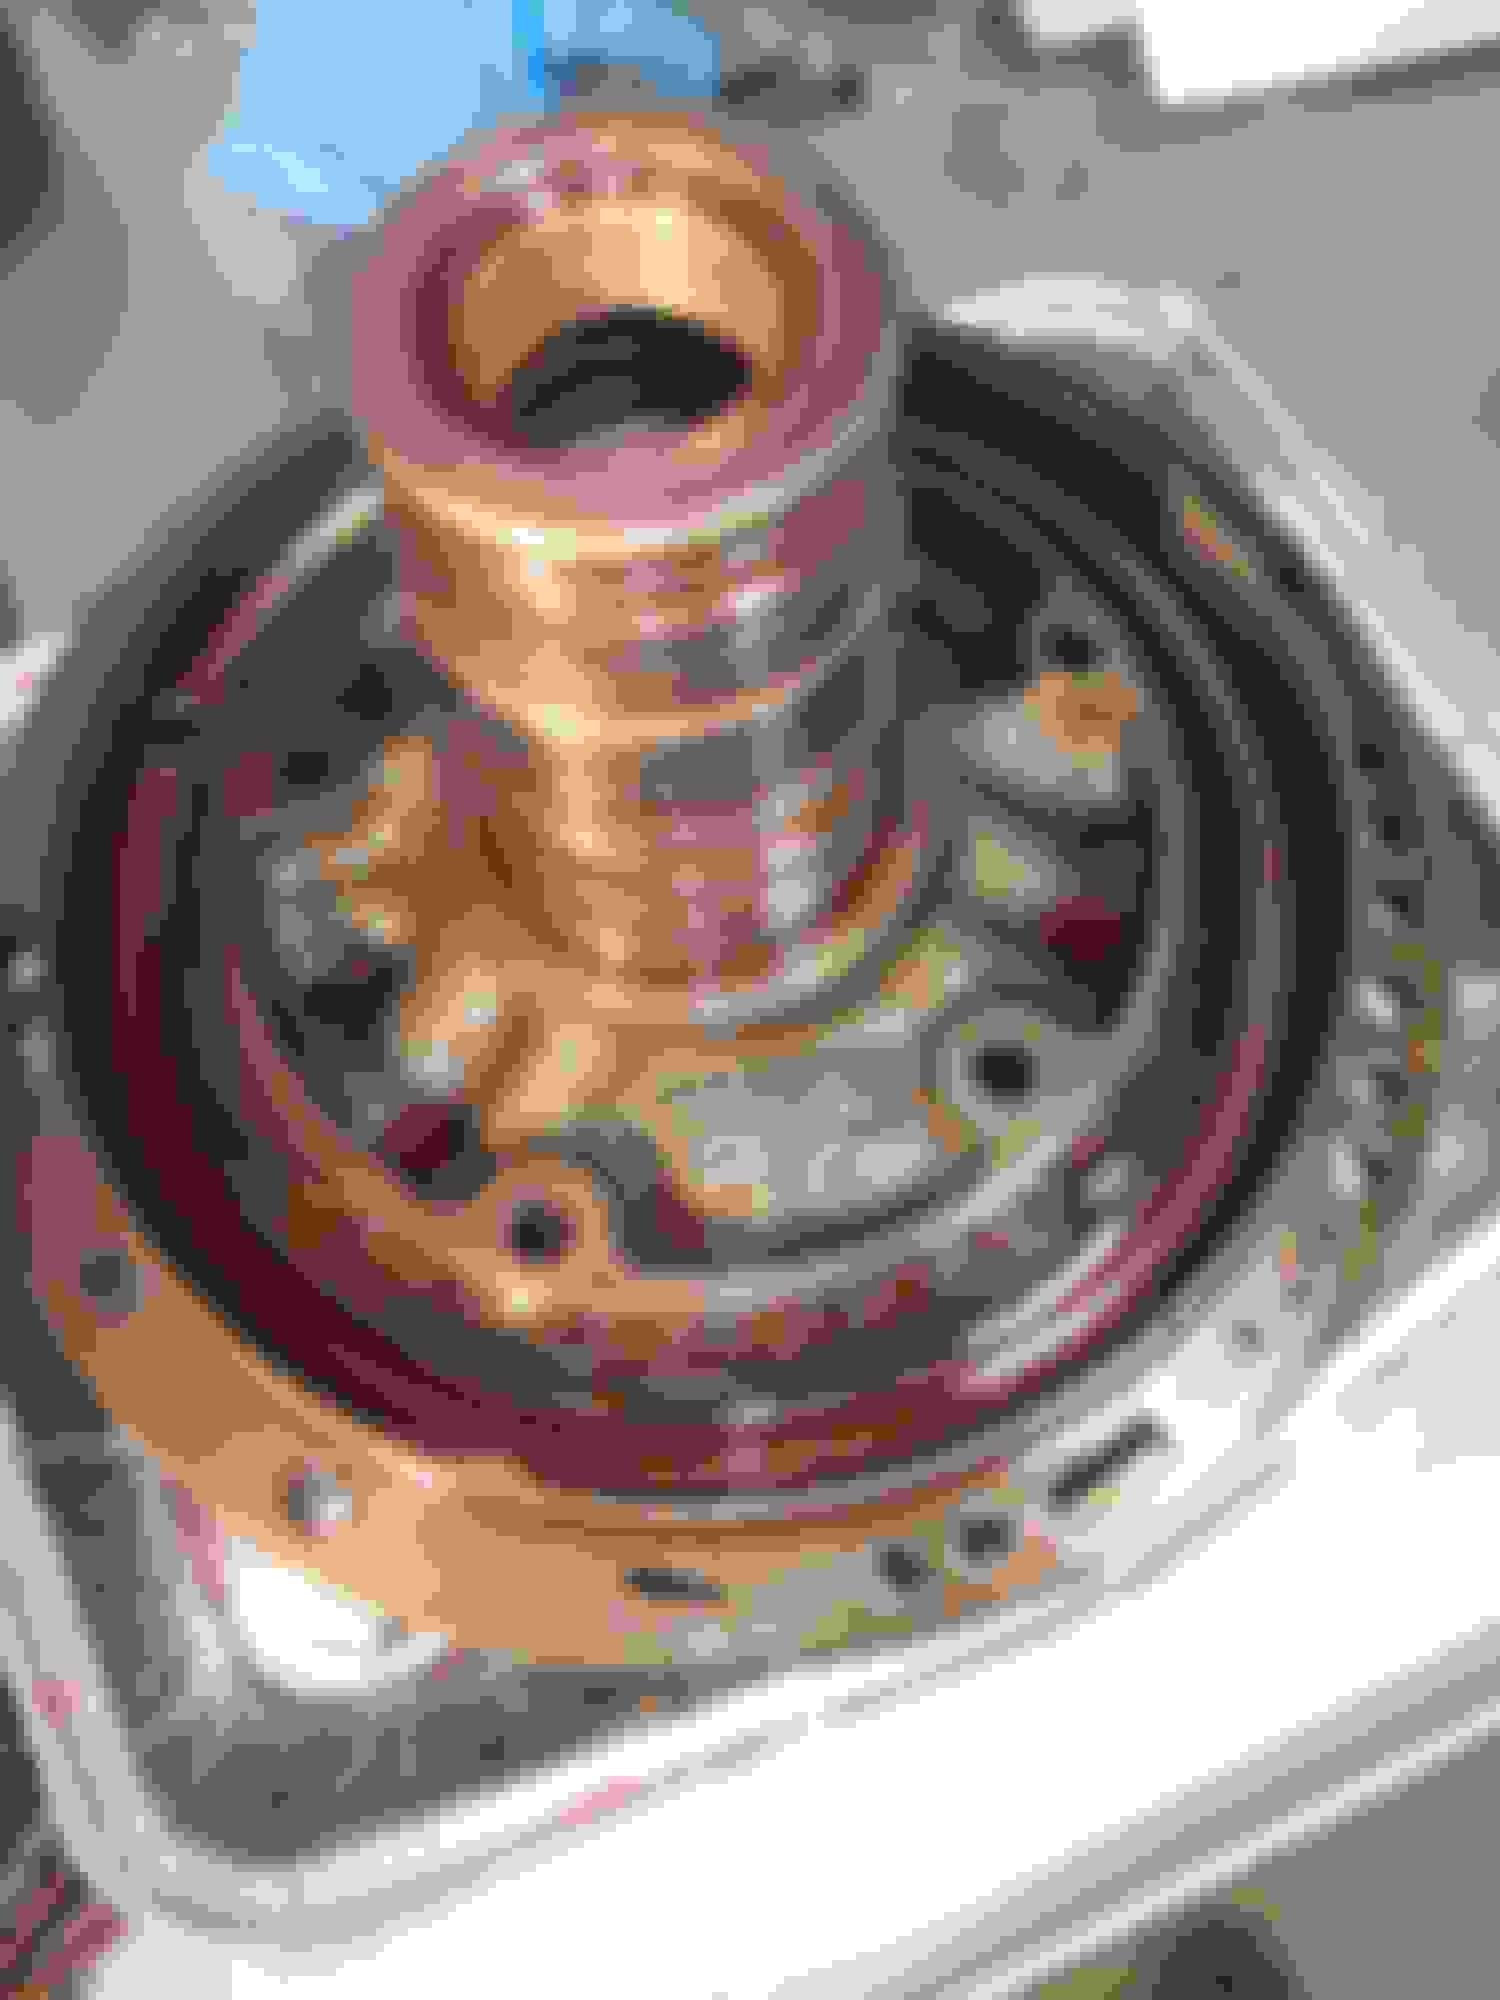
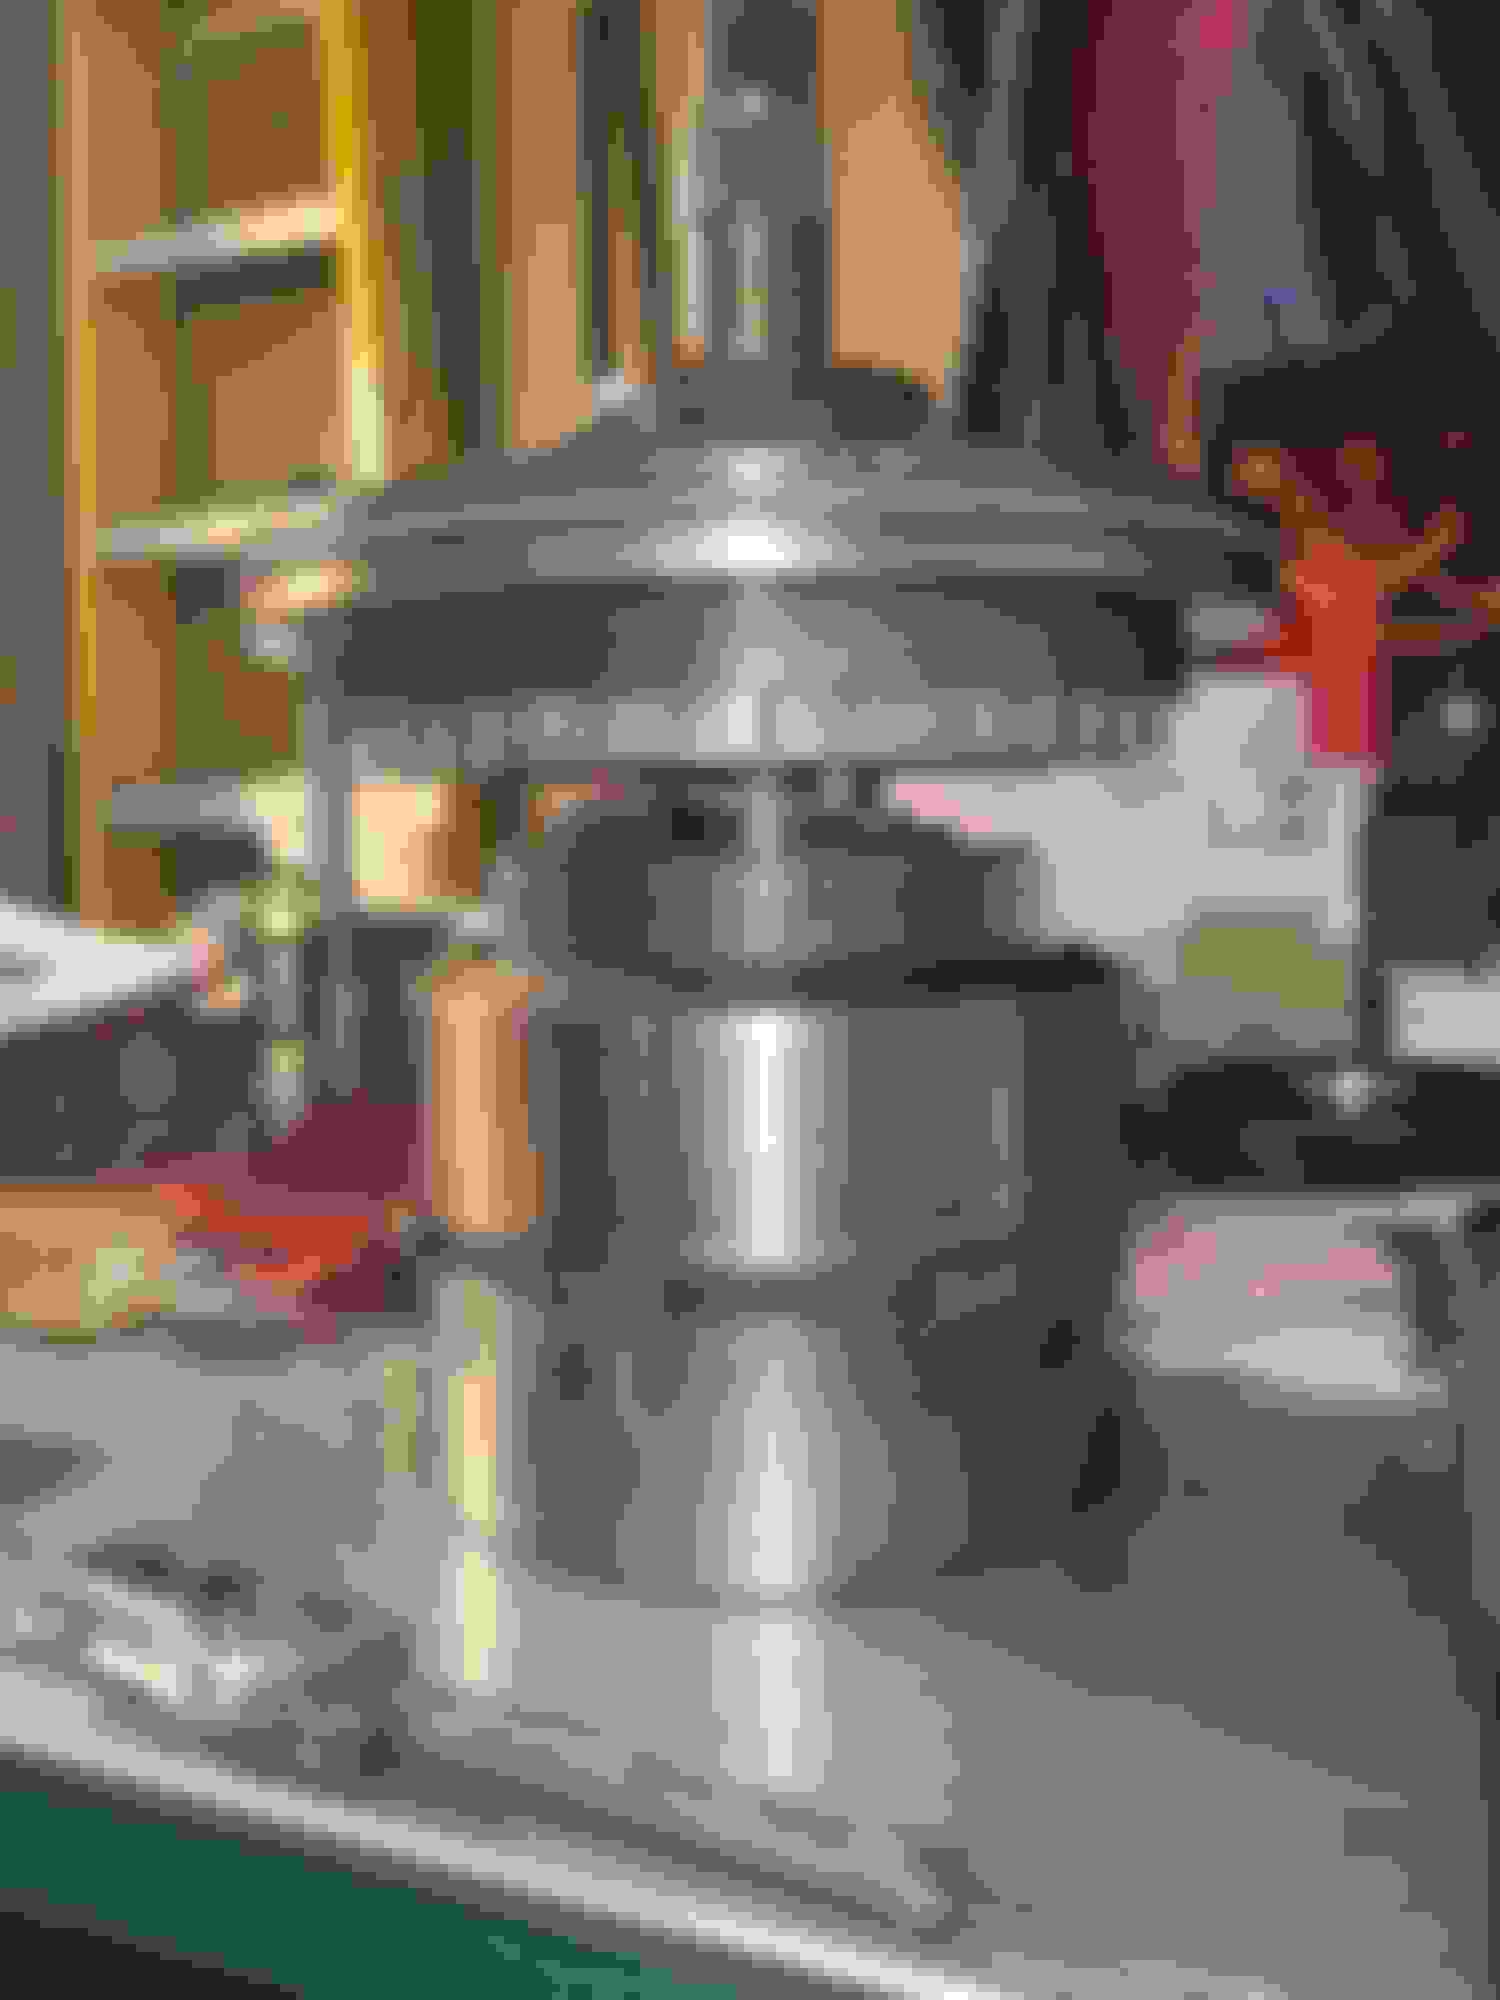
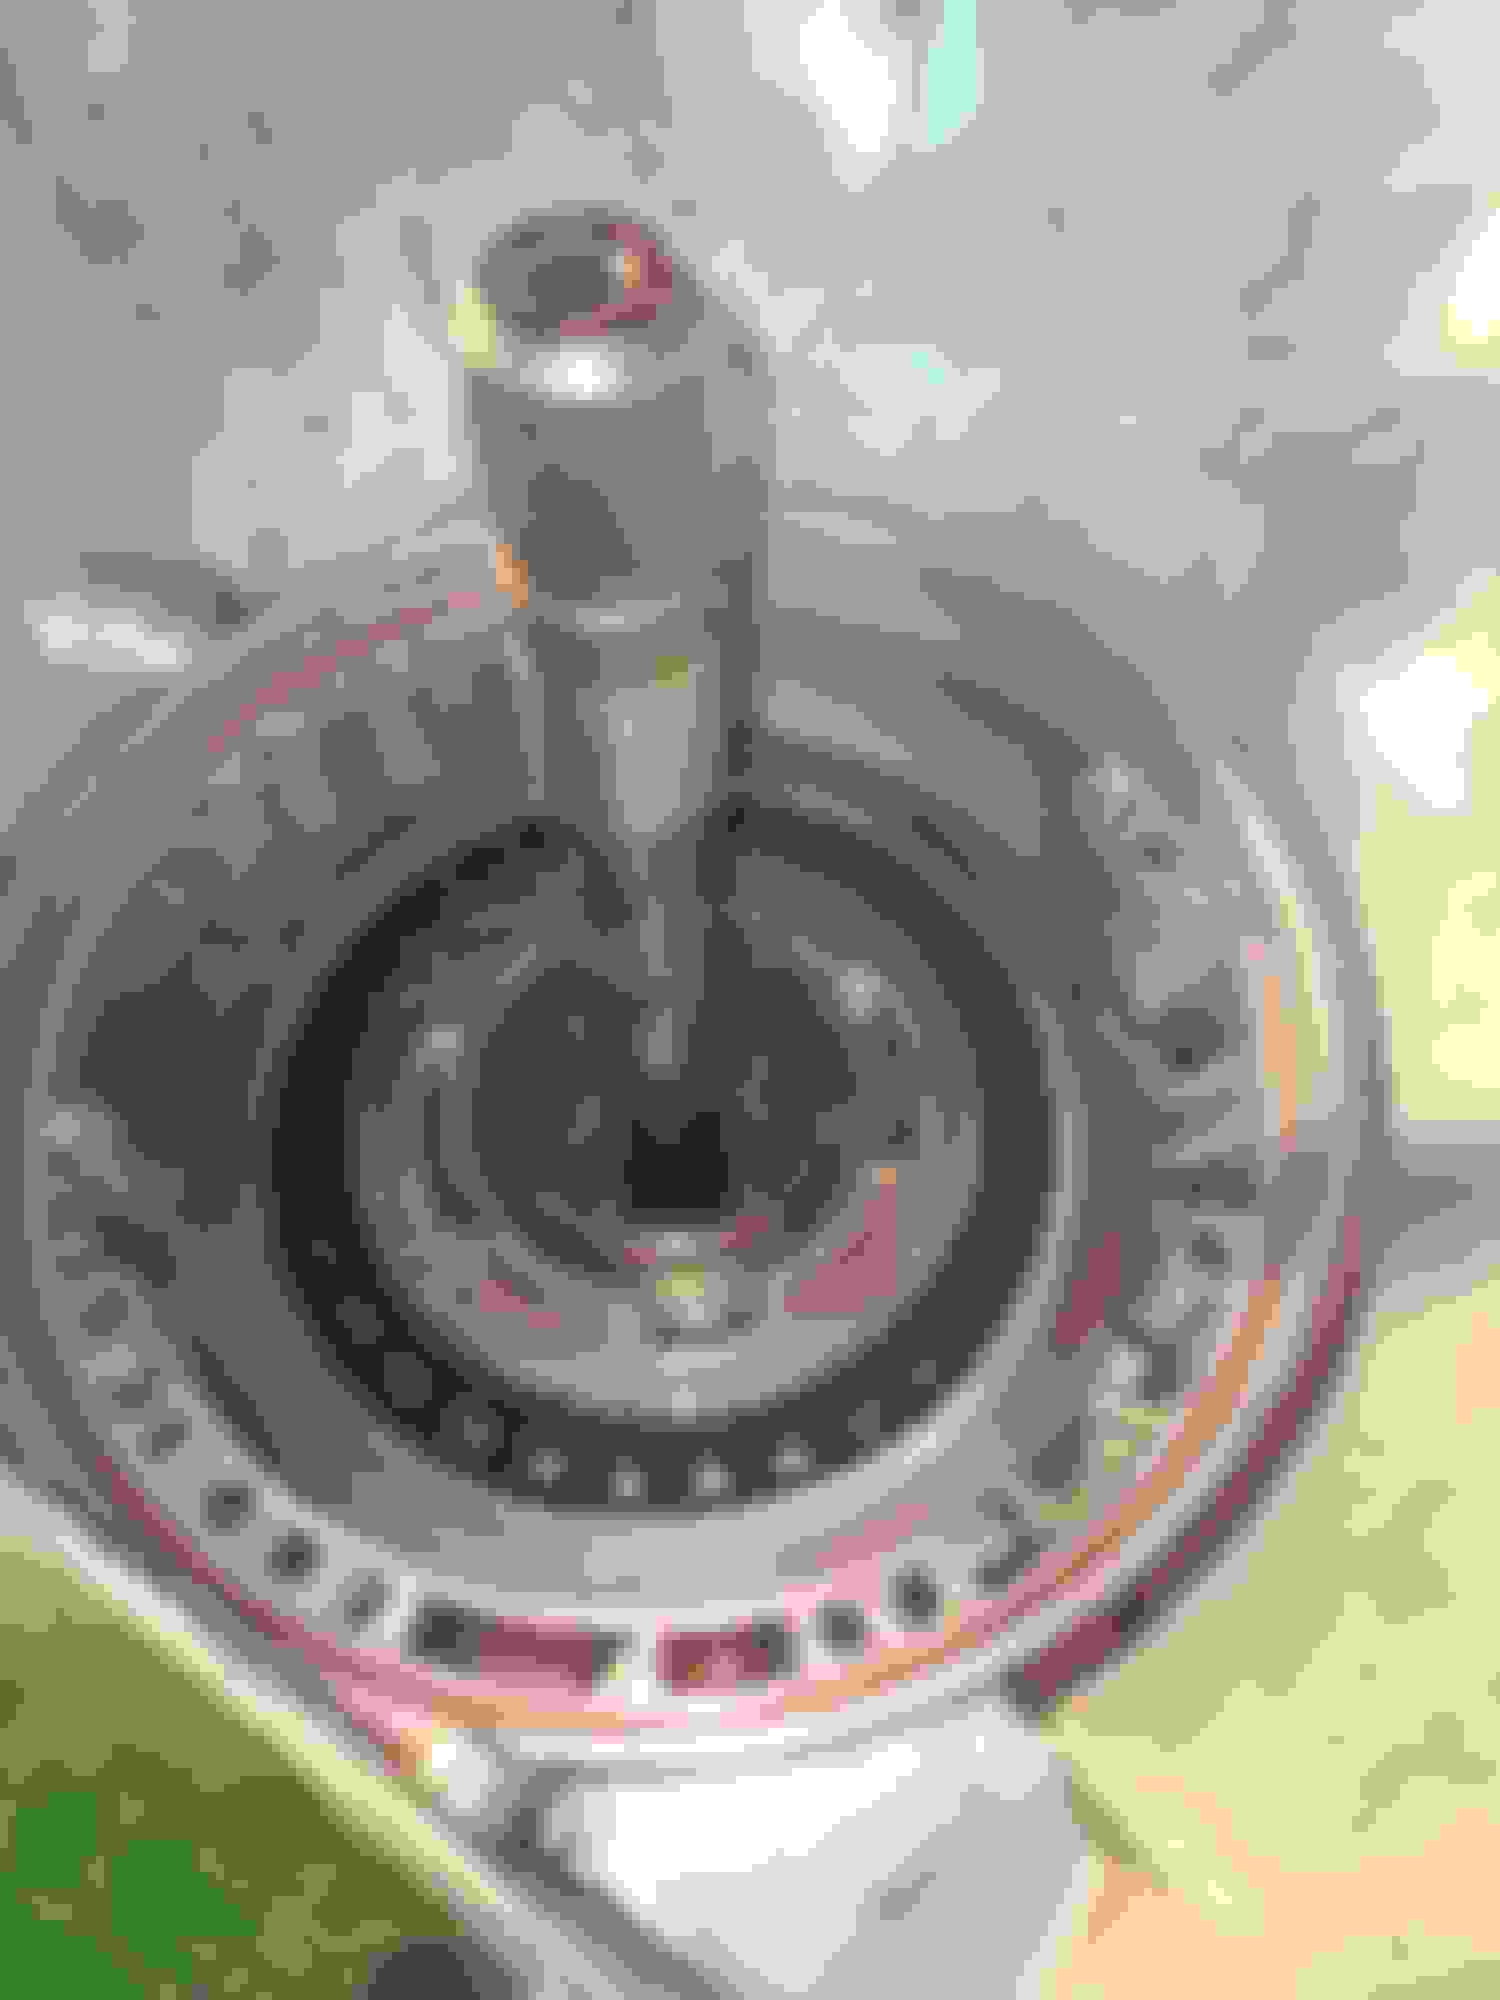
I placed the Direct drum on the Forward Drum and then tried to set the Oil Pump on the shaft.
I was having a problem where the Direct drum Bushing was to tight on the Pump Bushing race.
After trying several times to get the pump to seat on the Direct drum, I finally realized that I had to "Open up the Bushing"
I ended up using some small sanding Drums on a drill to increase the Bushing Inside Diameter, after several sanding sessions, the Direct drum finally fit on the Pump. After cleaning the Direct Drum I reassembled it and completed the install of all the case parts.
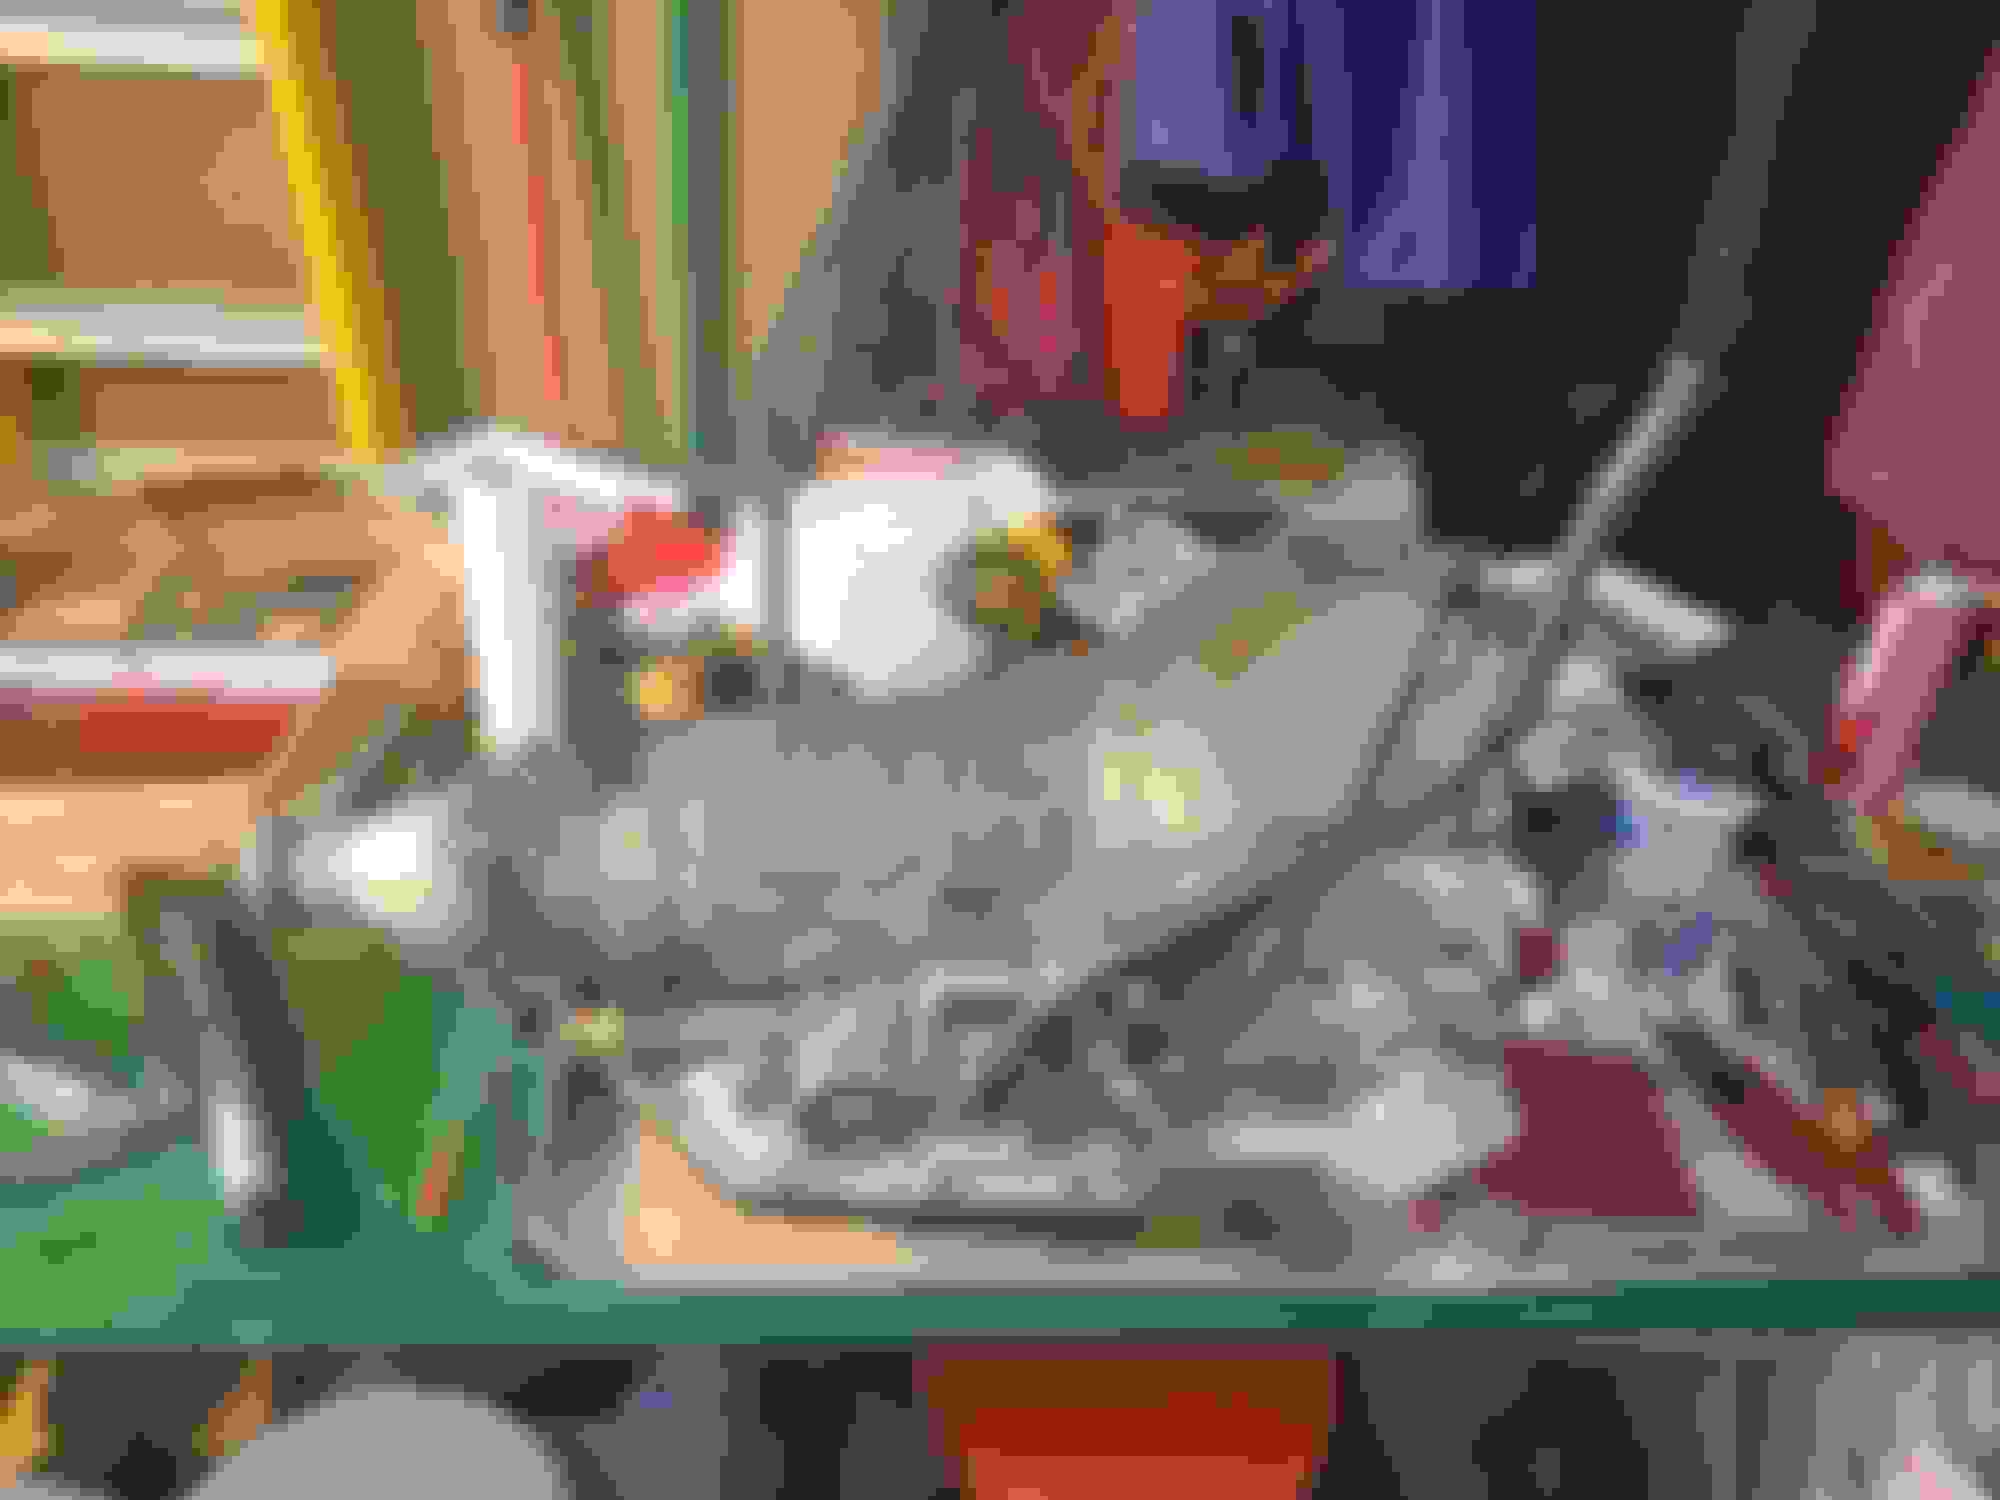
Here are some pictures.
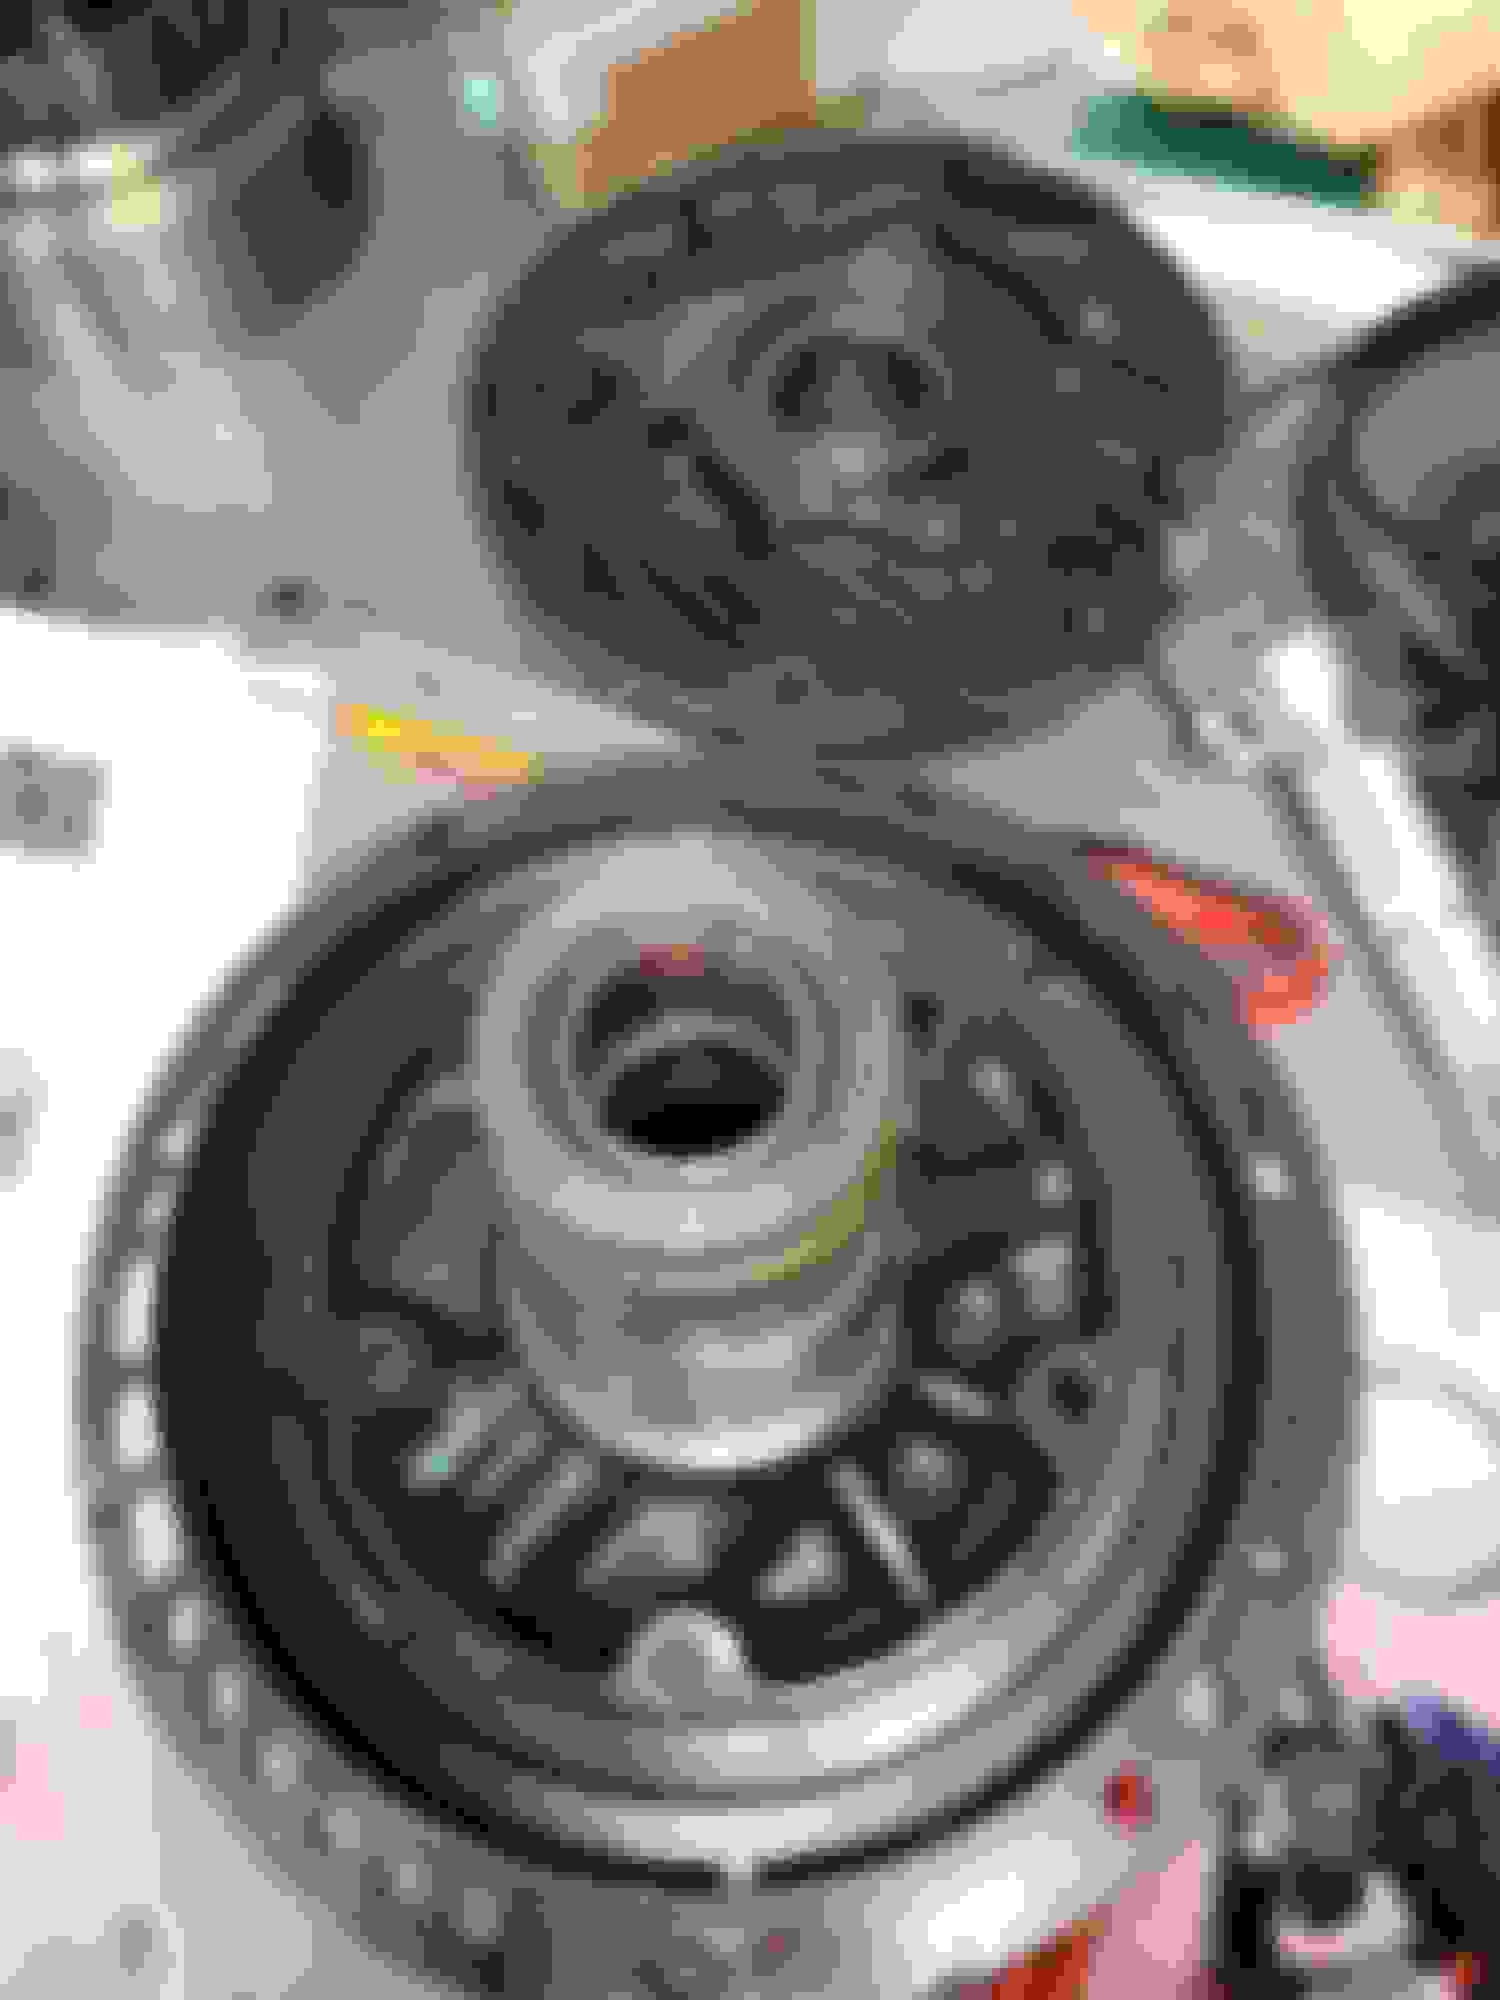
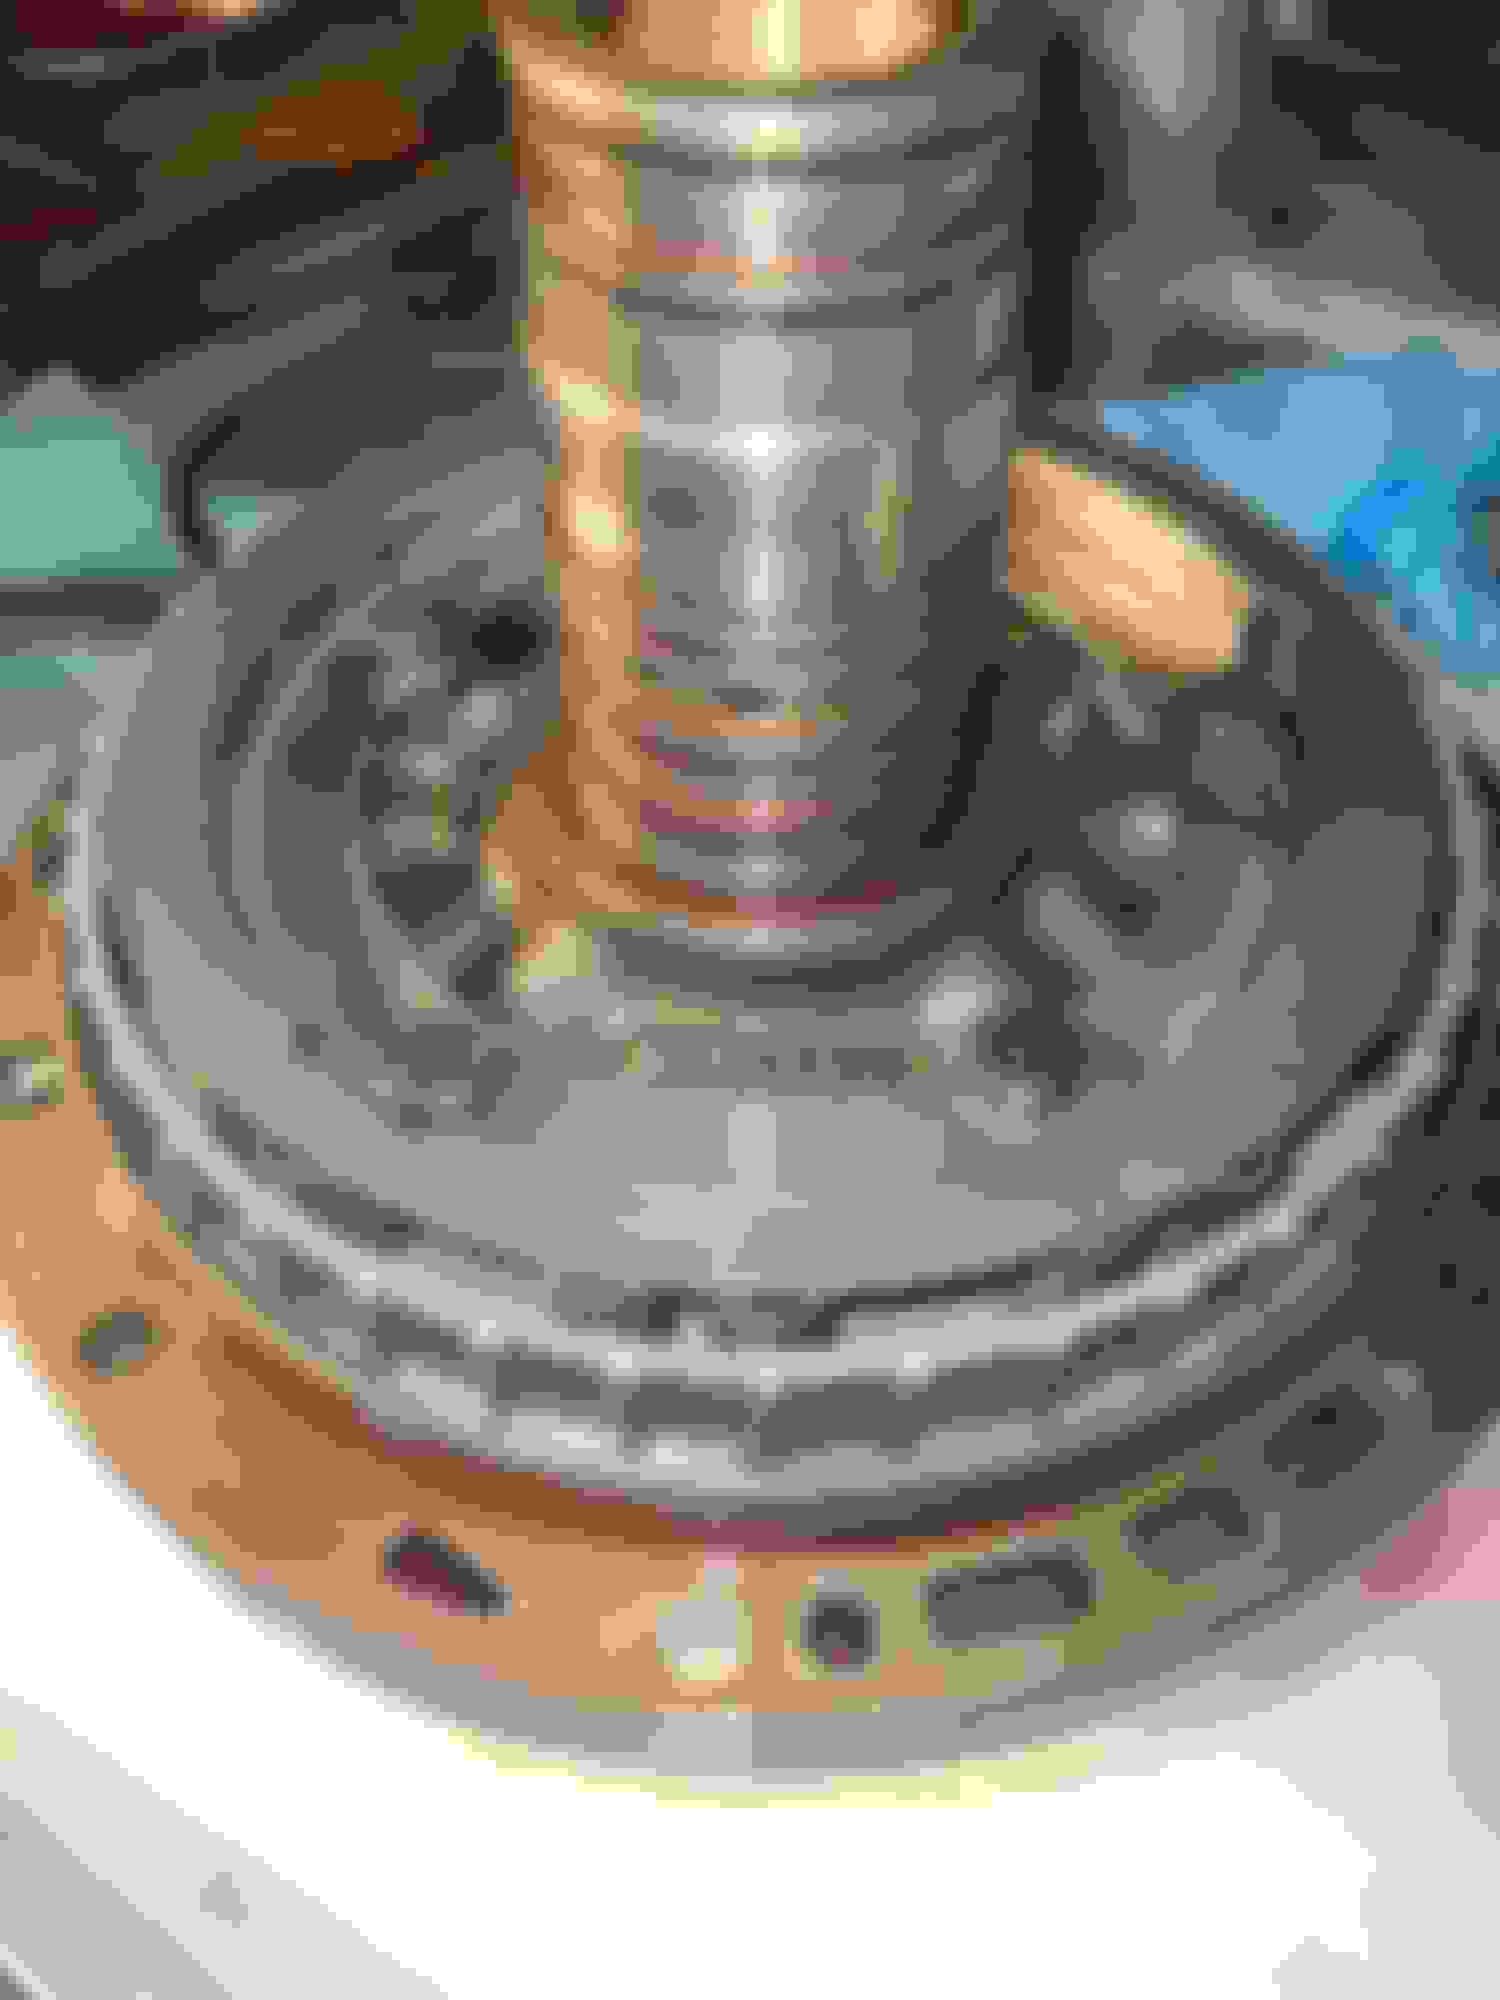
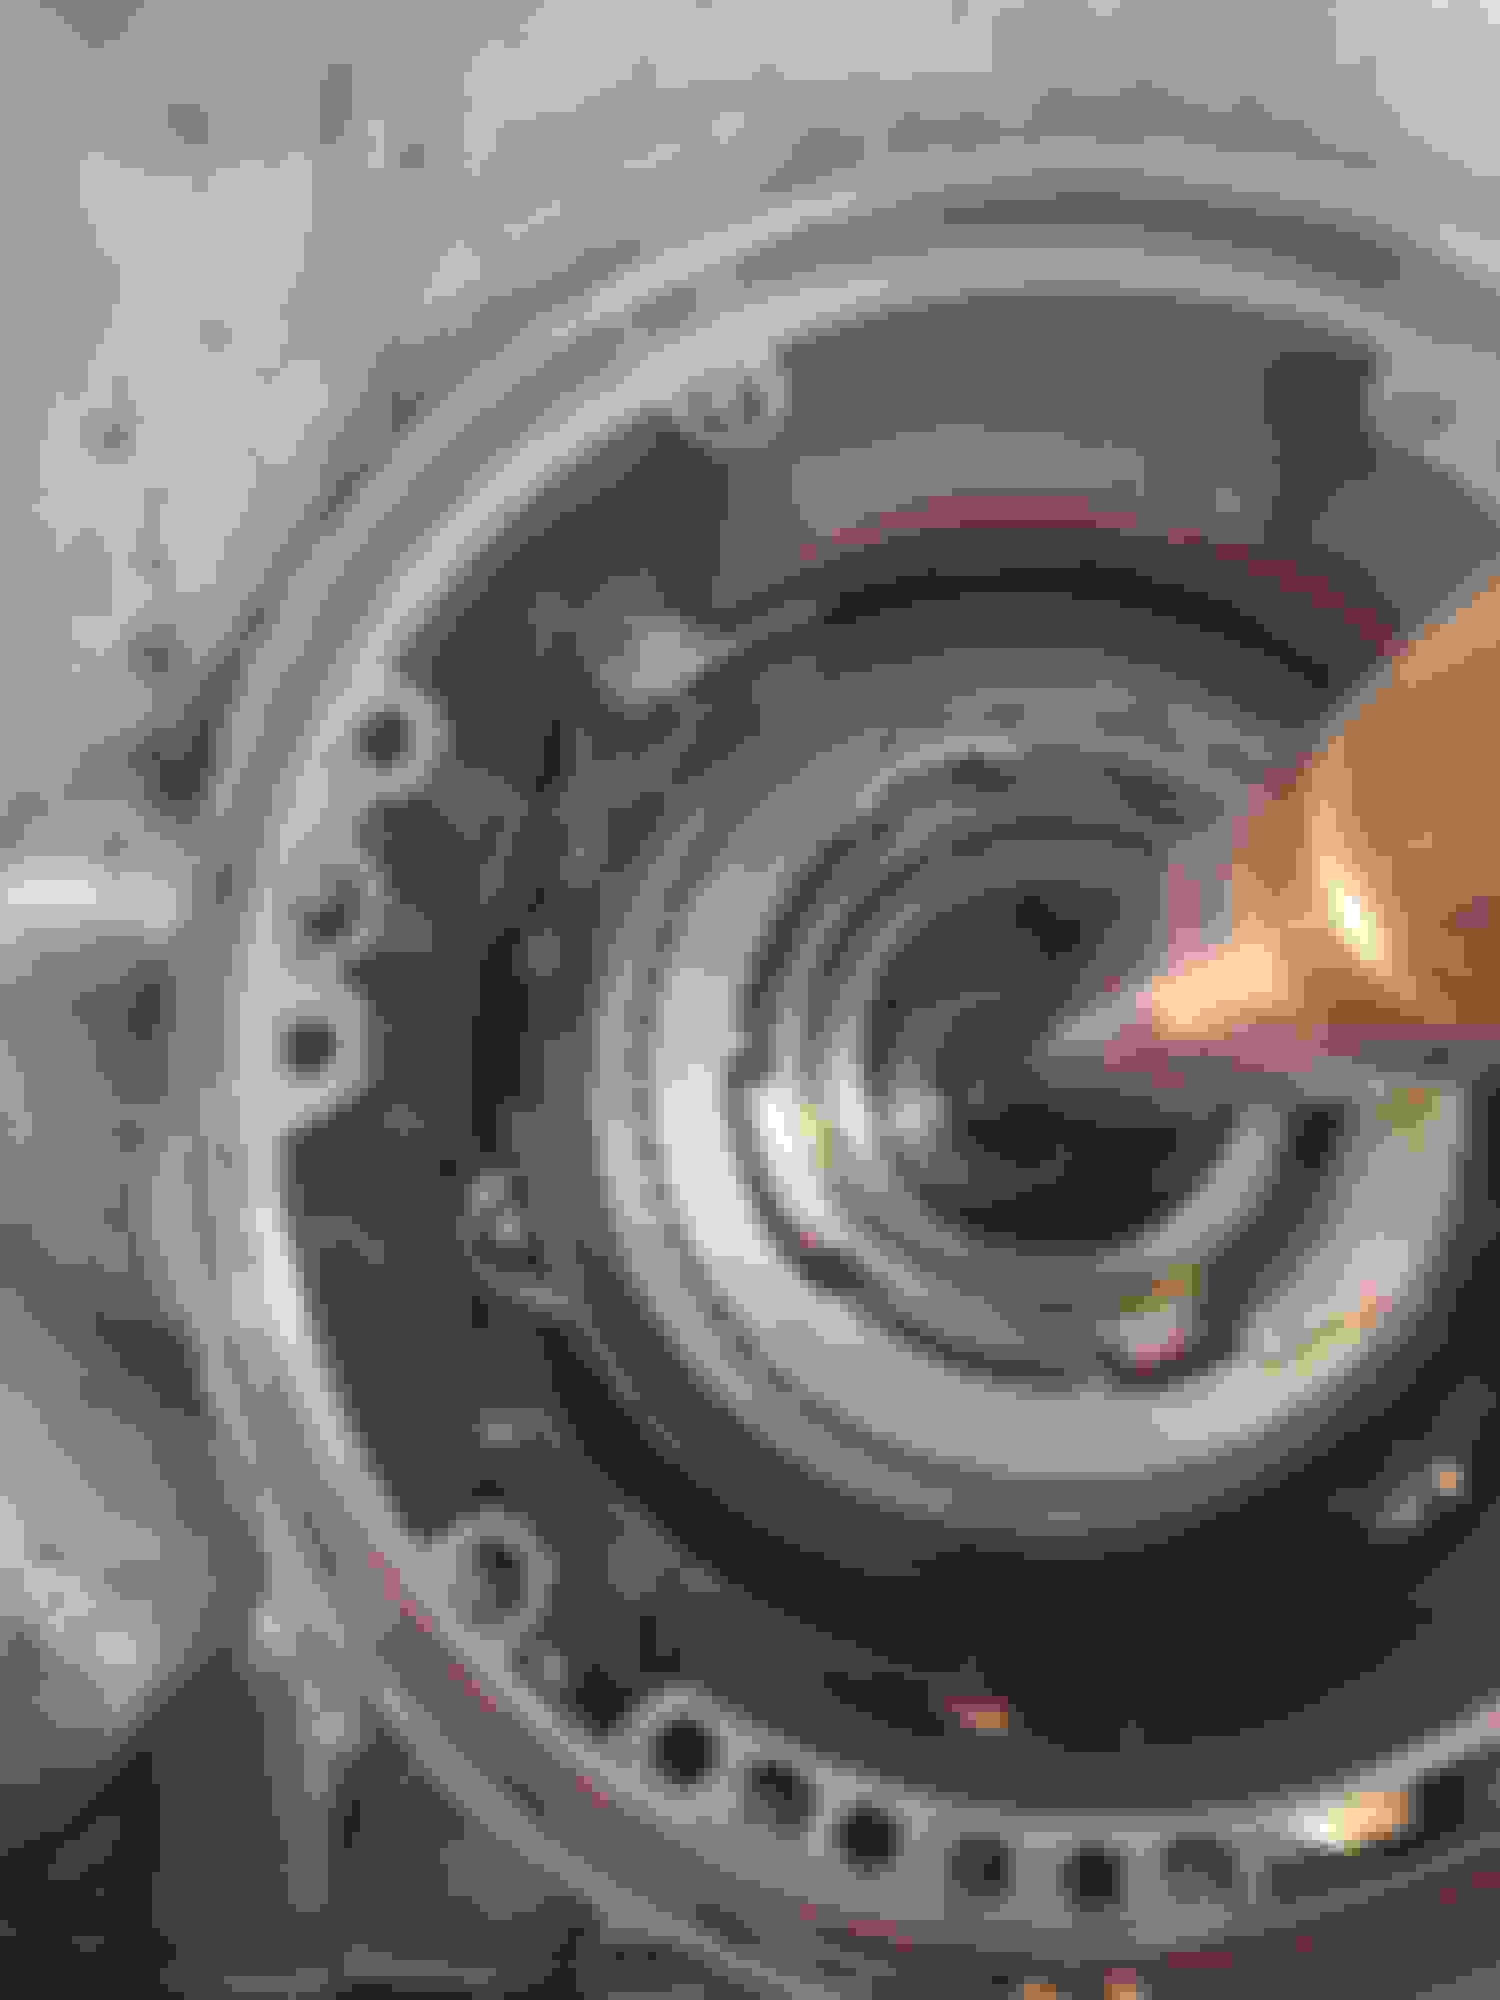
Pump not seating on the Input shaft and drums before Bushing adjustment.
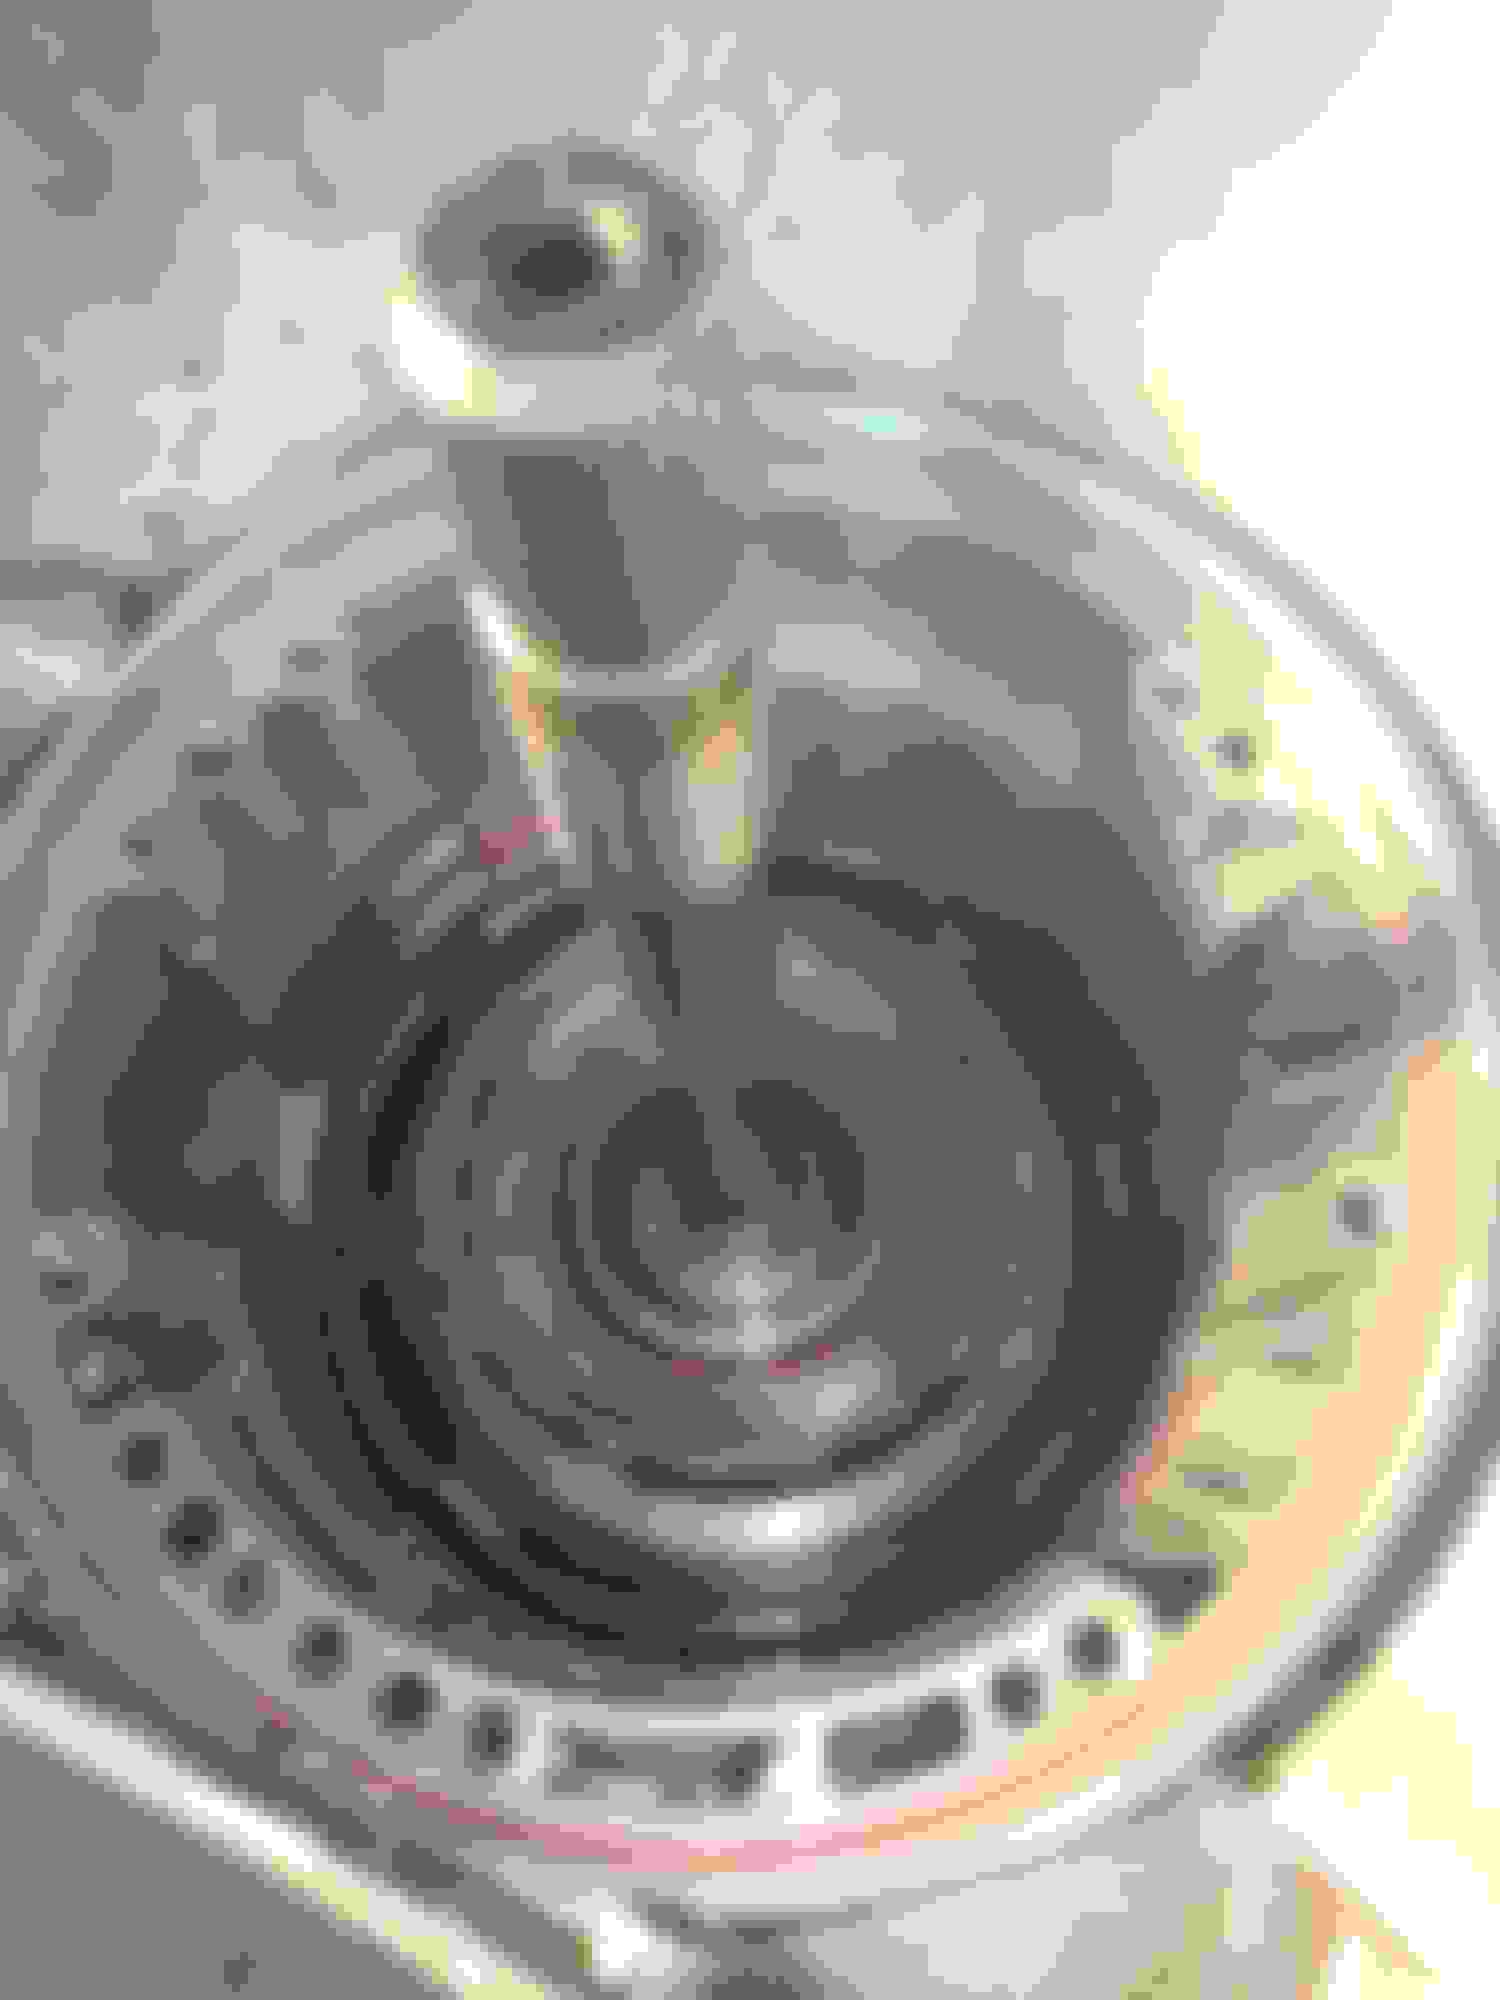
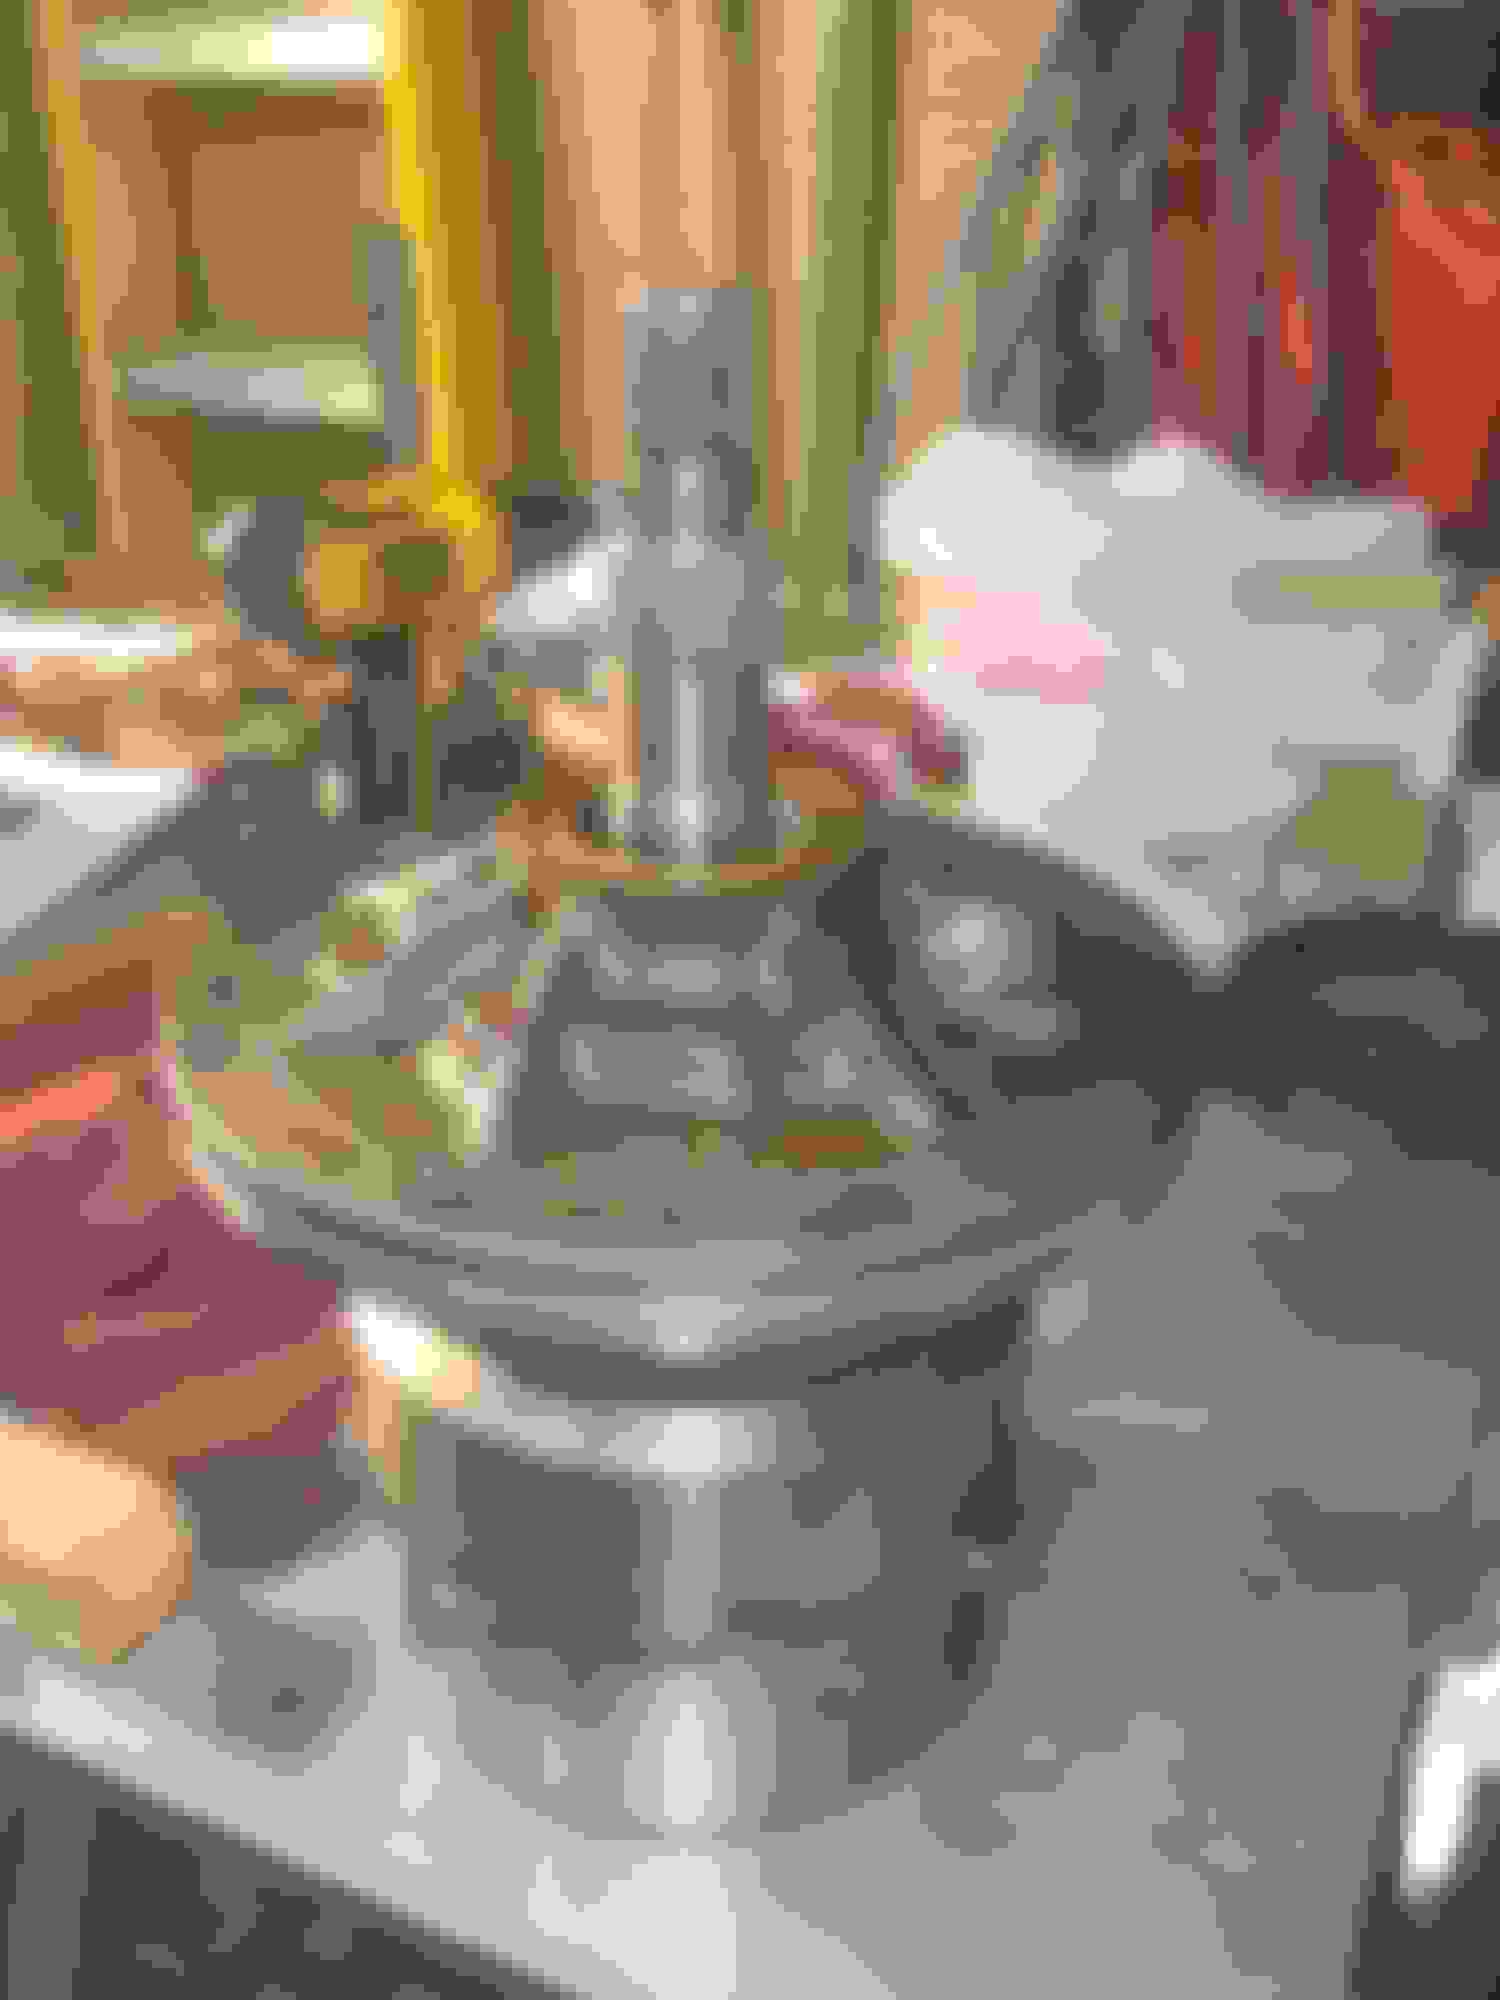
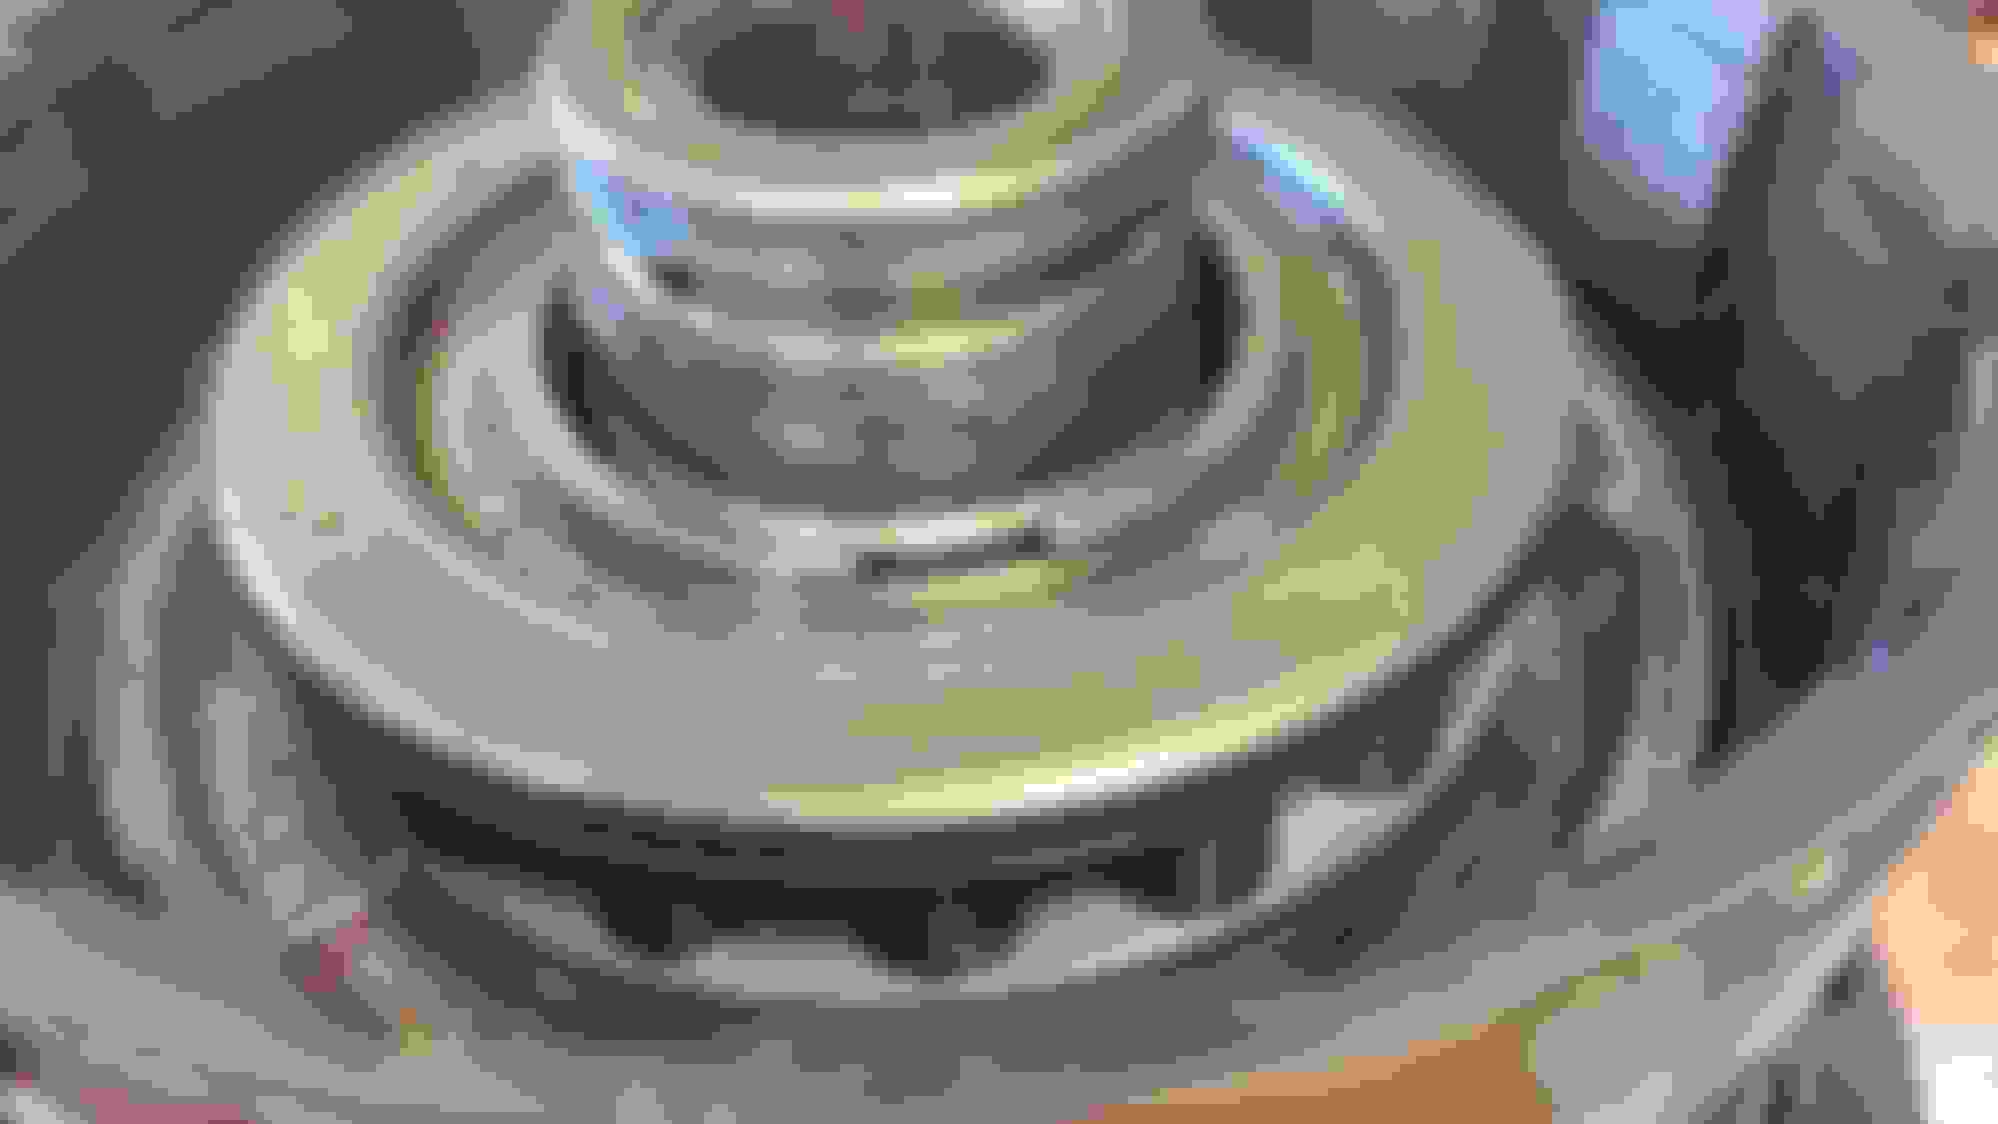
After adjusting Bushing clearance, Got the pump to rotate with no drag in either direction
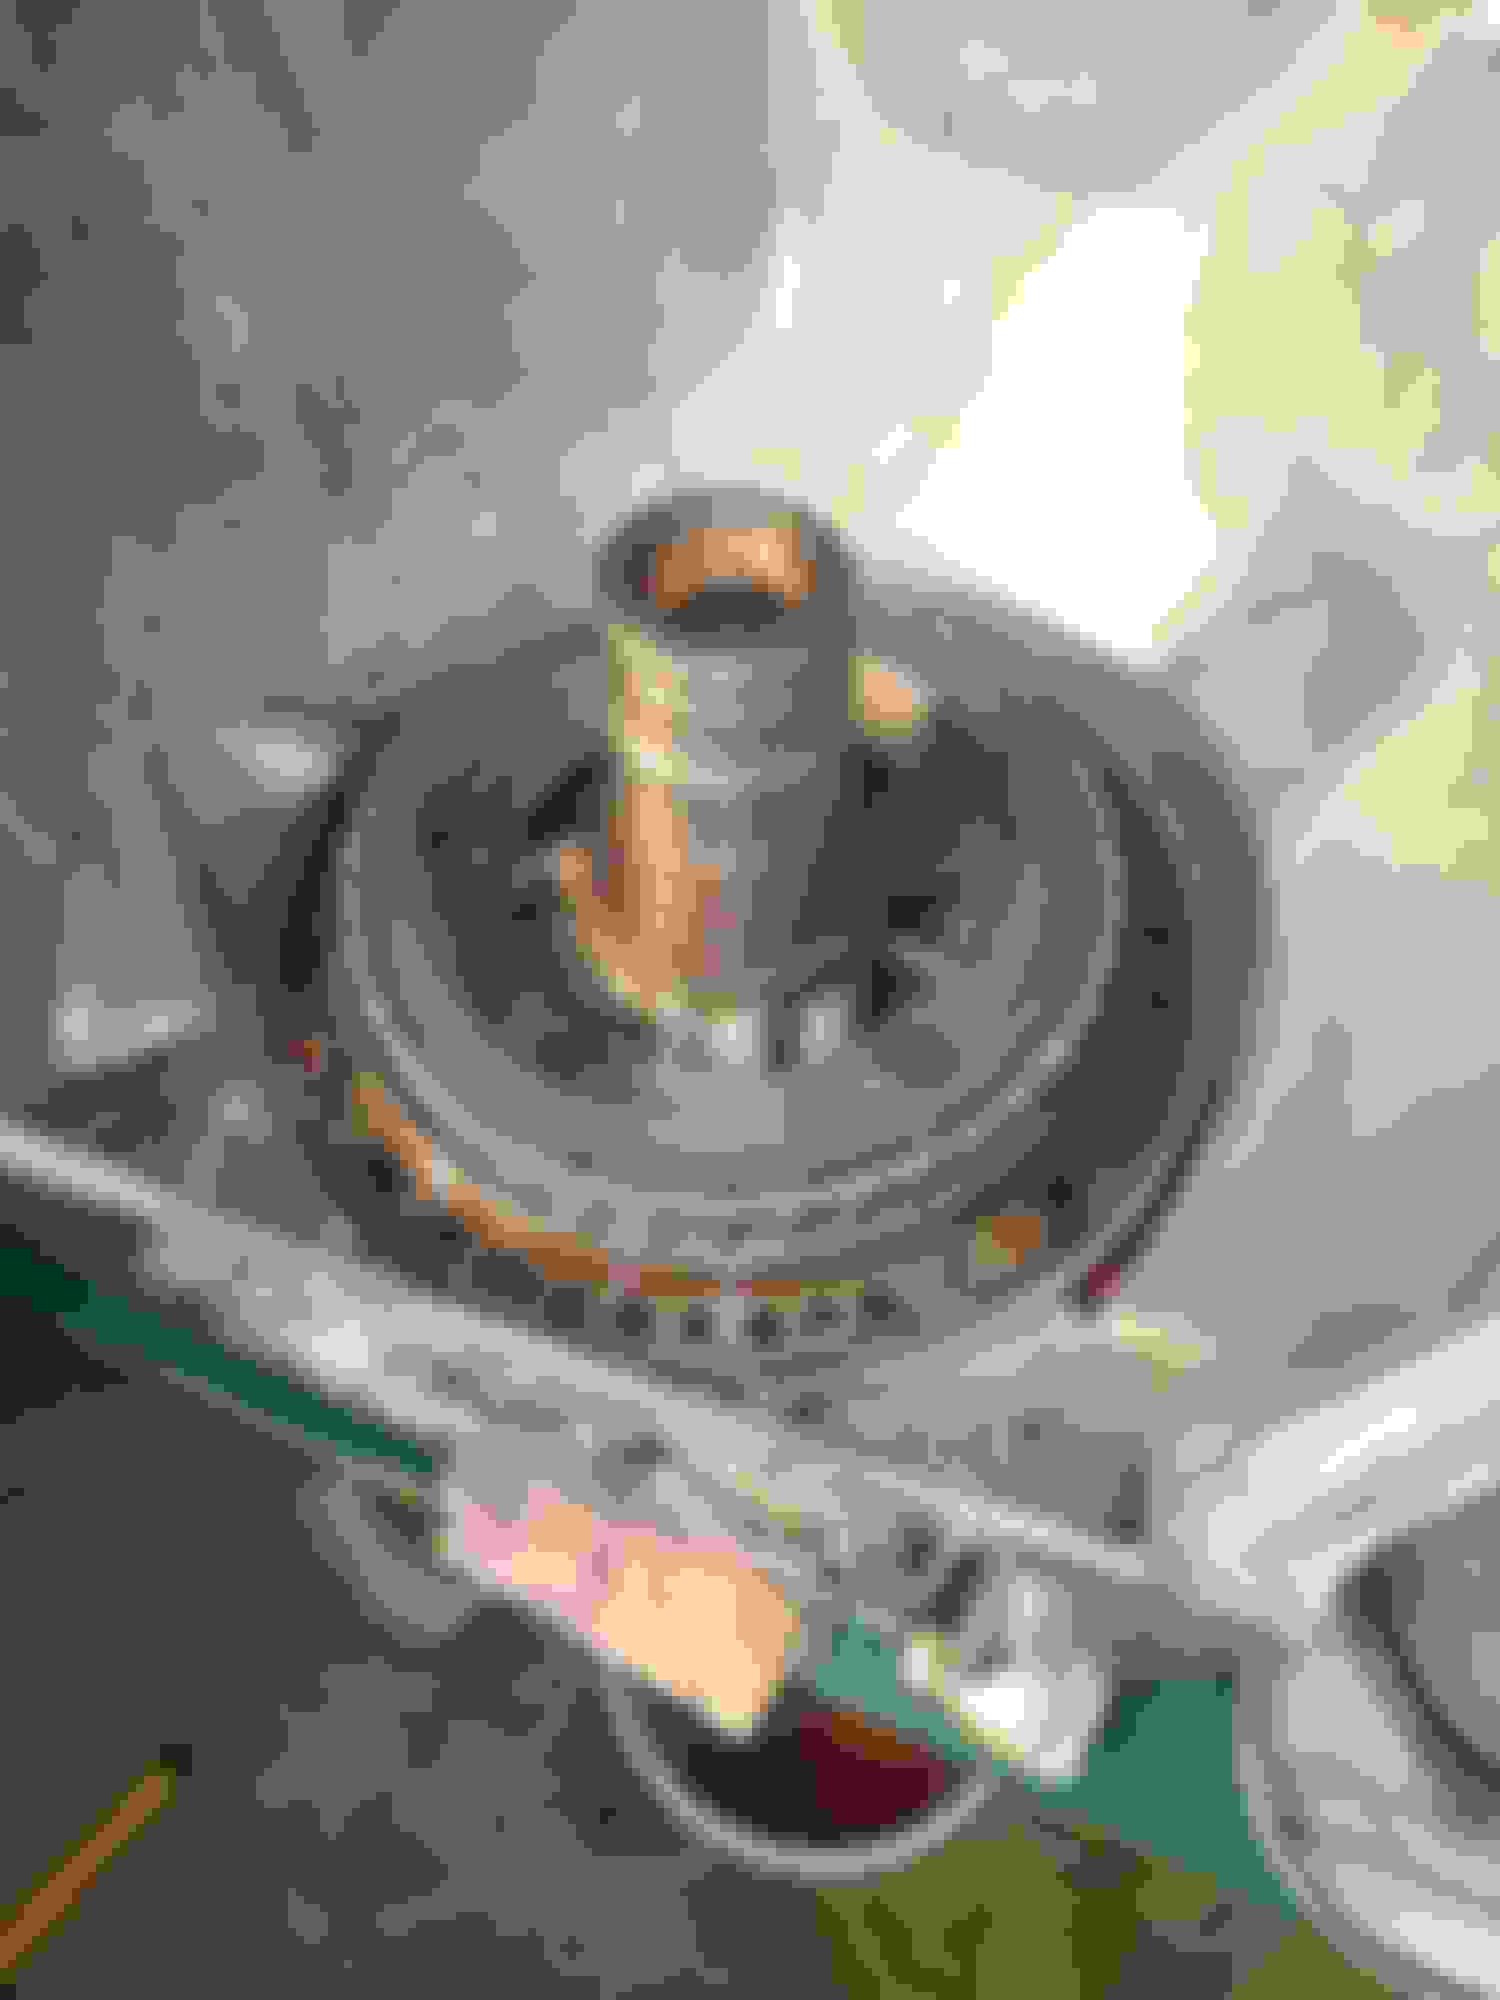
Pressure tested the Pump, Forward and Direct Pistons all looked and sounded good
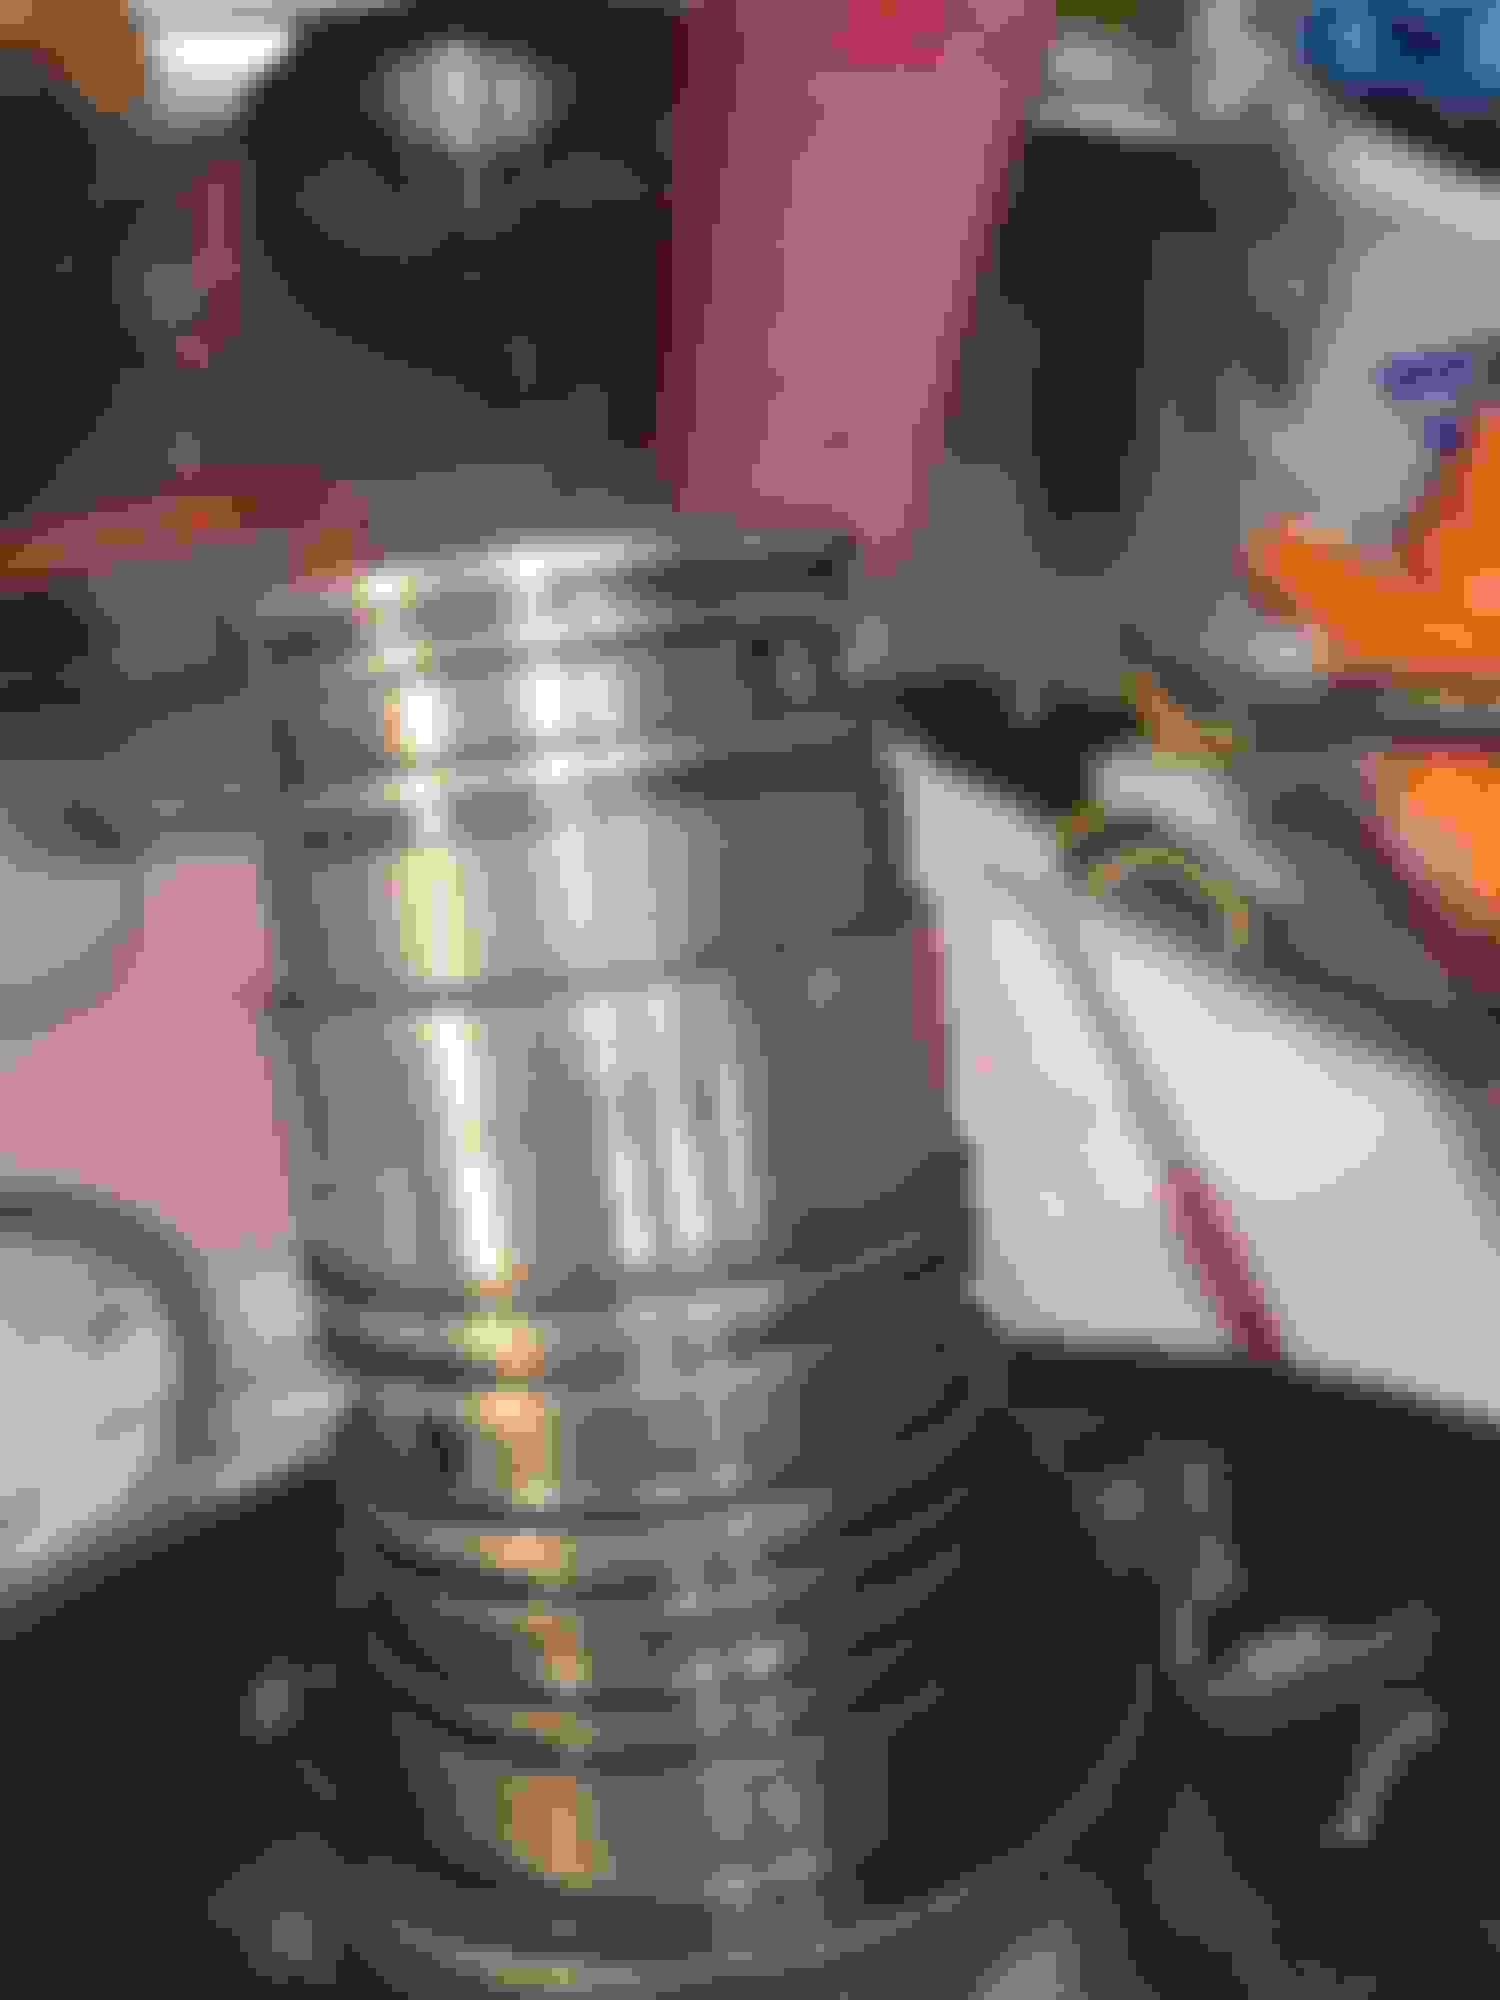
Completed assembly and installed Pump into case.
Need to check end play, as of now I don't seem to have any.
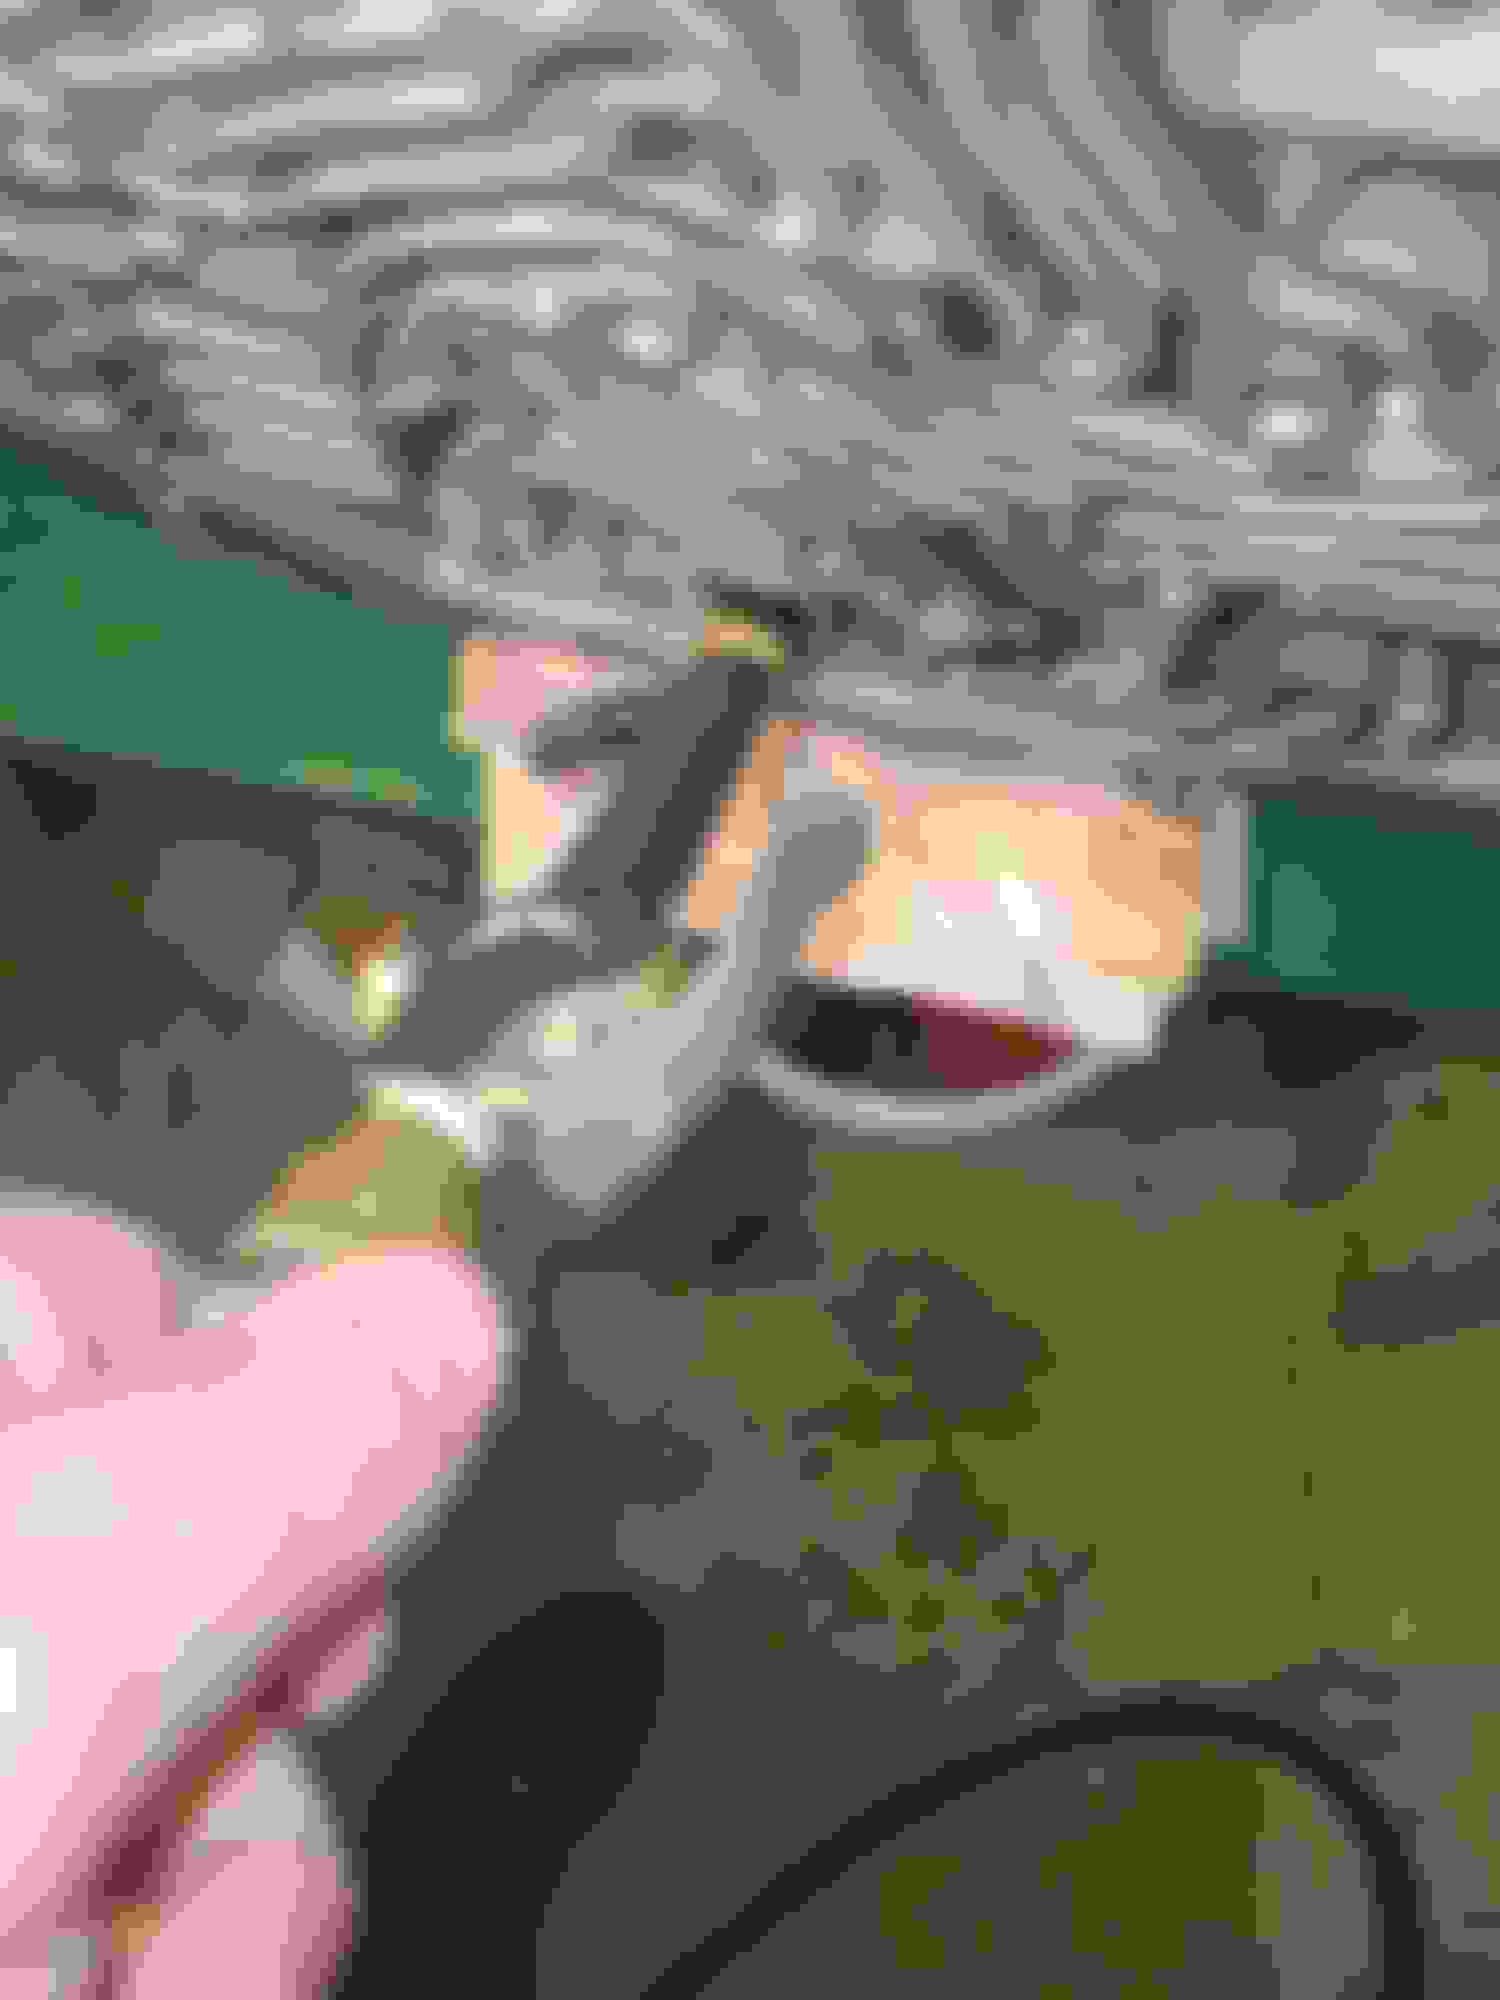
will have to install a couple Pump bolts and then try to get a good hold of the input shaft and see if I can get some movement.
Otherwise I will have to remove the Pump and remove the spacer washer that I installed under the Thrust washer.
As I mentioned earlier, it�s not uncommon to have to polish the direct drum bushing for a decent fit. I don�t recall that problem when I first started building these years ago, I�m guessing the bushing supplied is actually for something else and is included with a TH350 bushing kit because it�s �close enough�.
Before you take it apart to remove the shim for a endplay adjustment, use a plastic or brass hammer and give the input shaft a couple medium taps. This will ensure you don�t have any big blobs of assembly grease between thrust washers/bearings taking up clearance.
Looks like your in the home stretch, good job!
Thanks Matt
Your continued responses are greatly appreciated
They really help with confirming my thoughts and processes
and build confidence with a first time project .
I will try your suggestion on the the endplay adjustment.
Thanks again
Well todays adventures in Trans rebuilding led me to tearing the input section back out to try to get some discernable end play.
I removed the Pump, Intermediate clutches, Direct Drum and Forward Drum, I checked all of the clutch packs in each and reassembled each unit paying particular attention to seating the Direct Drum into the Forward Drum and Sun Gear Drive shell. I removed the spacer washer(.020 thick) from under the Thrust washer on the Pump and reinstalled the Pump. I torqued the Bolts back to 19ft.lb. and tested for End Play.... I think I feel a little movement.
So next I placed the Torque Converter onto the Pump to check for alignment and make sure it engages properly into the Pump gear, It started out with a bit of drag on rotation but after a few turns it smoothed out and spins freely in both directions.
Next I cleaned the Valve Body and installed the Trans Go shift kit following the directions. I referred back to what Kenneth (Fun71) suggested about the first gear issue but Trans Go must have figured it was an issue and changed the procedure and parts (see second set of directions below)
Directions for new set up
I disassembled and cleaned the entire valve body including the Down shift Detent piston, what a mess, the Black crud that blew out with compressed air went every ware
I went through 2 cans of Brake clean just flushing out the piston bores.
When I started to install the Valve Body onto the Trans I dropped the "S" hook and of course it fell down into the Trans Case by way of a Casting hole just under the Rooster comb.
At first I thought, Great now I need to tear it all apart again just to get the Part. So first I turned the Case over just to see if I could see the hook and maybe reach it through the hole.
after about a good pint of Trans fluid poured out of the case and onto my work station, the hook also dropped out. Thank God.
I was extremely carful the next time. Torqued the VB bolts to 13ft.lb.
Installed the New speedometer gears 39 Driven and 15 Speedometer gear (double seals) for eventual Diff. Upgrade to 3.42 Posi. Installed Tail shaft housing. Also installed the Governor and cover. I was going to change out the Governor springs but there was already a Blue and White Spring installed, which is what I was going to set it up with per the Trans Go instructions. Plus the replacement springs seemed really small in diameter compared to what was already in there. I can always change them later if I don't like how it shifts after my Test drive.
I installed the Accumulator and Modulator, all new O rings and I also installed the Trans Go Gold spring for the Modulator piston.
Just noticed in this Picture that I missed one of the spring windings for the Detent Regulator valve, I hope this wont affect anything.
Lastly I was going to install my pan but I found that the Two Cork Gaskets That came in the Rebuild Kit and the Trans Go kit are wrong for my Trans and Pan.
So I guess I need to see if I can find one that will work, Must be a Chevy Thing
So today I pulled the Valve Body and refit the Detent Regulating Valve that had the pin caught in the spring.
Next I found an Oil pan gasket in with an extra Filter I had bought. I also figured out that the Gaskets I had would work.
I guess it was getting late and I didn't realize that I had the Gaskets upside down, Brain fart
So I installed the Pan
Next I installed the Fill Tube, Kick down cable and the 2-3 shift Pressure Switch.
All set to reinstall into the car.
Here are some pictures of some of the Markings I found on the case.
Bell housing markings.
Looks like a number 11 next to serial Number
2/72 Date code
Today I installed the Transmission back into the car,
After getting everything hooked back up including the cooler lines that are a real Bitch to thread back onto the Trans fittings without stripping them.
I proceeded to bolt the Flex Plate to the New Hughes 2500 Torque Converter ,the first two bolts went in with out issue, the last one didn't want to thread into the converter.
I went back and loosened the first two thinking I could adjust the plate to fit the last bolt, no go.
I eventually found out that the one Lug that I couldn't get to thread in was welded on to the converter a bit crooked.
Here are a couple of pictures of the issue.
Here is the first picture I took so I could see why it wouldn't line up
So I figured I could just grind the Flex plate a bit to get the Bolt to go in, No Bueno.
After screwing with it for what seemed like an eternity I found that the Lug was not just off a bit but was welded on crooked.
It was sitting at an angle so even if I opened up the Flex Plate bolt hole the bolt wouldn't go in square to the Flex Plate.
These show the gap between the Plate and Converter, even with the other two bolts tight.
Here is a picture of one of the lugs that is correct, you can see how it sits square to the Plate, No Bolts installed
I purchased this converter from Summit, so I called and they said it is covered under Warranty, So they are sending a new one out tomorrow and I will need to send the bad one back after I swap it out, They cover shipping both ways.
Not looking forward to doing this again. I hope I can just slide it back enough to get the one out and the new one back in.
That sucks, Hughes is a quality company that I normally wouldn�t hesitate to use.
Don�t completely remove the trans. You can leave it on the jack and remove/install the converter. It is heavy, so be sure to eat your Flintstone vitamins!
My plan is to put my floor jack on top of a four wheel furniture dolly so I can roll the Trans back easier.
I had my 22 year old son help me put it in the first time, He is my muscle.
I on the other hand am sore as hell right now from from crawling back and forth from under the car.
Thank god I have some time to recover while I wait for the replacement Converter
I recall swapping my first engine in my parents gravel driveway (in January) no garage, couldn�t roll the engine hoist in the gravel, raised the engine up then rolled the car unde the engine.
Swapped my first transmission in the same driveway. Also in January. Seemed like every major failure happened in winter!
Moved into my first house around age 22 It had a big garage. I spent lots of time crawling around on the concrete. Didn�t bother me at all.
Now I�m almost 50. I knew the time would come when I got �old� it just got here much sooner than expected!! A couple hours on the floor hurts for a couple days after!
I suppose when I�m 70 I�ll reminisce about when I was 50.
Removed and installed the Replacement Torque Converter,
I called Summit on Wednesday and had the replacement Converter on Saturday morning.
I tried just dropping the trans down enough to get the damaged converter out and the replacement in place. Short of disconnecting the trans cooler lines from the case,
I had to disconnect everything including the Trans cross brace. After all of the screwing around with trying to slide the trans back, I could have just disconnected the cooler lines from the case and take the Trans back out and swap the converter. I ended up bending up the cooler lines and modulator line all which I had to straighten back out.
I needed at least 6 inches but with the Cross brace slid back as far as I could get it only had 5 inches. ( insert size joke here) With experience comes knowledge. LOL
Only need to install last four bell housing bolts, put in trans fluid and I am ready for a test drive. (after Bears game)
Ended up scratching the crap out of my freshly painted pan.
Took Her out for a first drive around the Block almost didn't make it back to the Garage, Needed to add another quart of fluid (9 quarts total so far) checked CSM to verify capacity, still need another quart to top it off and reach capacity as stated in the CSM. Went for another short drive after adding more fluid.
May still need to make an adjustment to the Modulator shift points, seems like it is shifting Much later than
I remember from before the rebuild. 2-3 gear seemed to be around 3800 RPMs. Maybe just need to get used to the new Performance Trans.
It was dark out by the time I got her out of the garage, so I didn't really take the time to record the RPM's at gear change.
Depending on the weather I will try to get out and make note of the new shift points.
May firm up after I get complete Fluid fill (10 QT.)
Definitely learned a lot and made plenty of mistakes along the way, But so far so good
At least I didn't blow up my engine on the test drive.
I want to thank Matt (Matt69olds) for all his help on this first time build, Greatly appreciate his responses and suggestions.
Gary
Get it full of fluid and put some miles on it before adjusting anything. You may find the shifts acceptable as parts seat and settle in.
Some of the TransGo shift kits include a heavier 2-3 shift spring if I remember correctly. If your kit is one of then that does, that would explain your delayed shift. I think they have you change that spring to eliminate a �shuttle shift� basically the trans rapidly upshift/downshift continually at a certain speed and throttle position.
Get it full of fluid and put some miles on it before adjusting anything. You may find the shifts acceptable as parts seat and settle in. That is the plan 32* and sunny today, so I will be out on the road getting a feeling for the new Trans.
Some of the TransGo shift kits include a heavier 2-3 shift spring if I remember correctly. If your kit is one of then that does, that would explain your delayed shift. I think they have you change that spring to eliminate a �shuttle shift� basically the trans rapidly upshift/downshift continually at a certain speed and throttle position. The TransGo 1&2 kit that I used gives you the option of a red or orange spring for the Pressure regulating assembly, red is for Street/ heavy duty use and the orange is for competition only, I used the red spring. The 2-3 shift spring is just changed out with a white spring, no options on that one
Congratulations!
Well, I am updating this original thread to show what happened from my last test drive back in November 2020
The issue I had while driving was I noticed a really hard Clunk when shifting, Reverse to Drive.
I also had an issue with the down shift cable getting stuck when letting off from WOT, I didn't realize it was the cable at first, and thought it was stuck in first gear.
Wouldn't upshift.
I got out and checked the Fluid level and it looked low so I added some and tried driving again , still wouldn't shift and it was now leaking fluid which I thought was maybe the
Oil pump seal , from trying to change the new Torque converter for the bad Lugs.
I ended up limping home and parked it for the winter, I was just to disgusted to work on it in a cold Garage.
Fast forward to today,
I pulled the Trans out and started the tear down, I knew I wanted to remove the spacer washer under the Torrington bearing at the output shaft.
and check the seals, and just double check everything was done as all my research and questions directed.
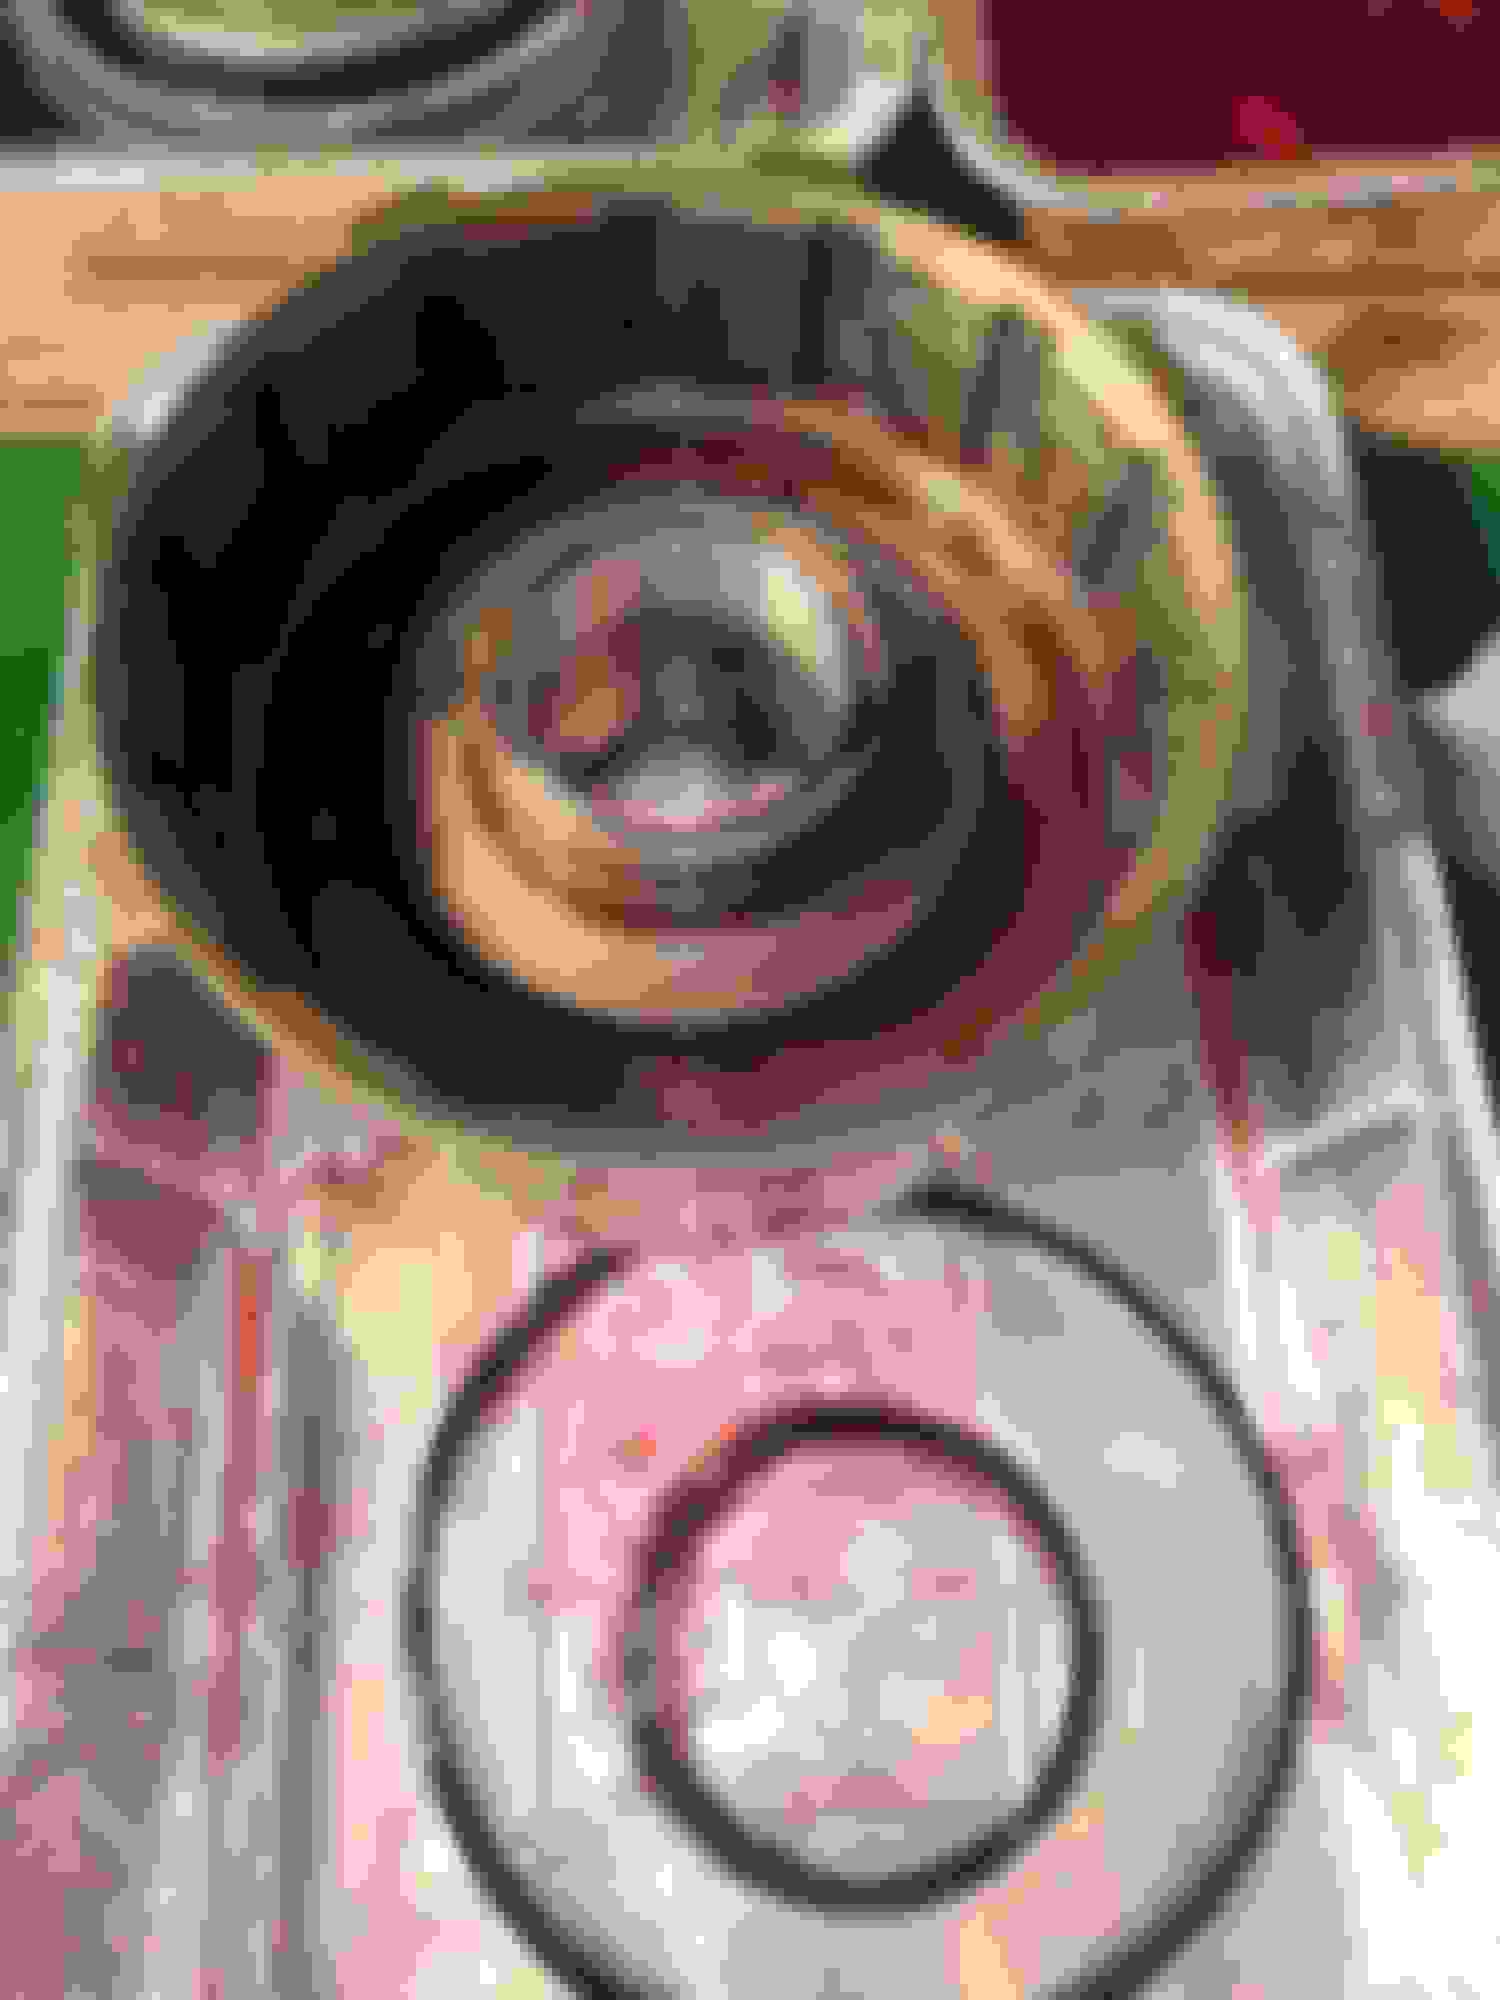
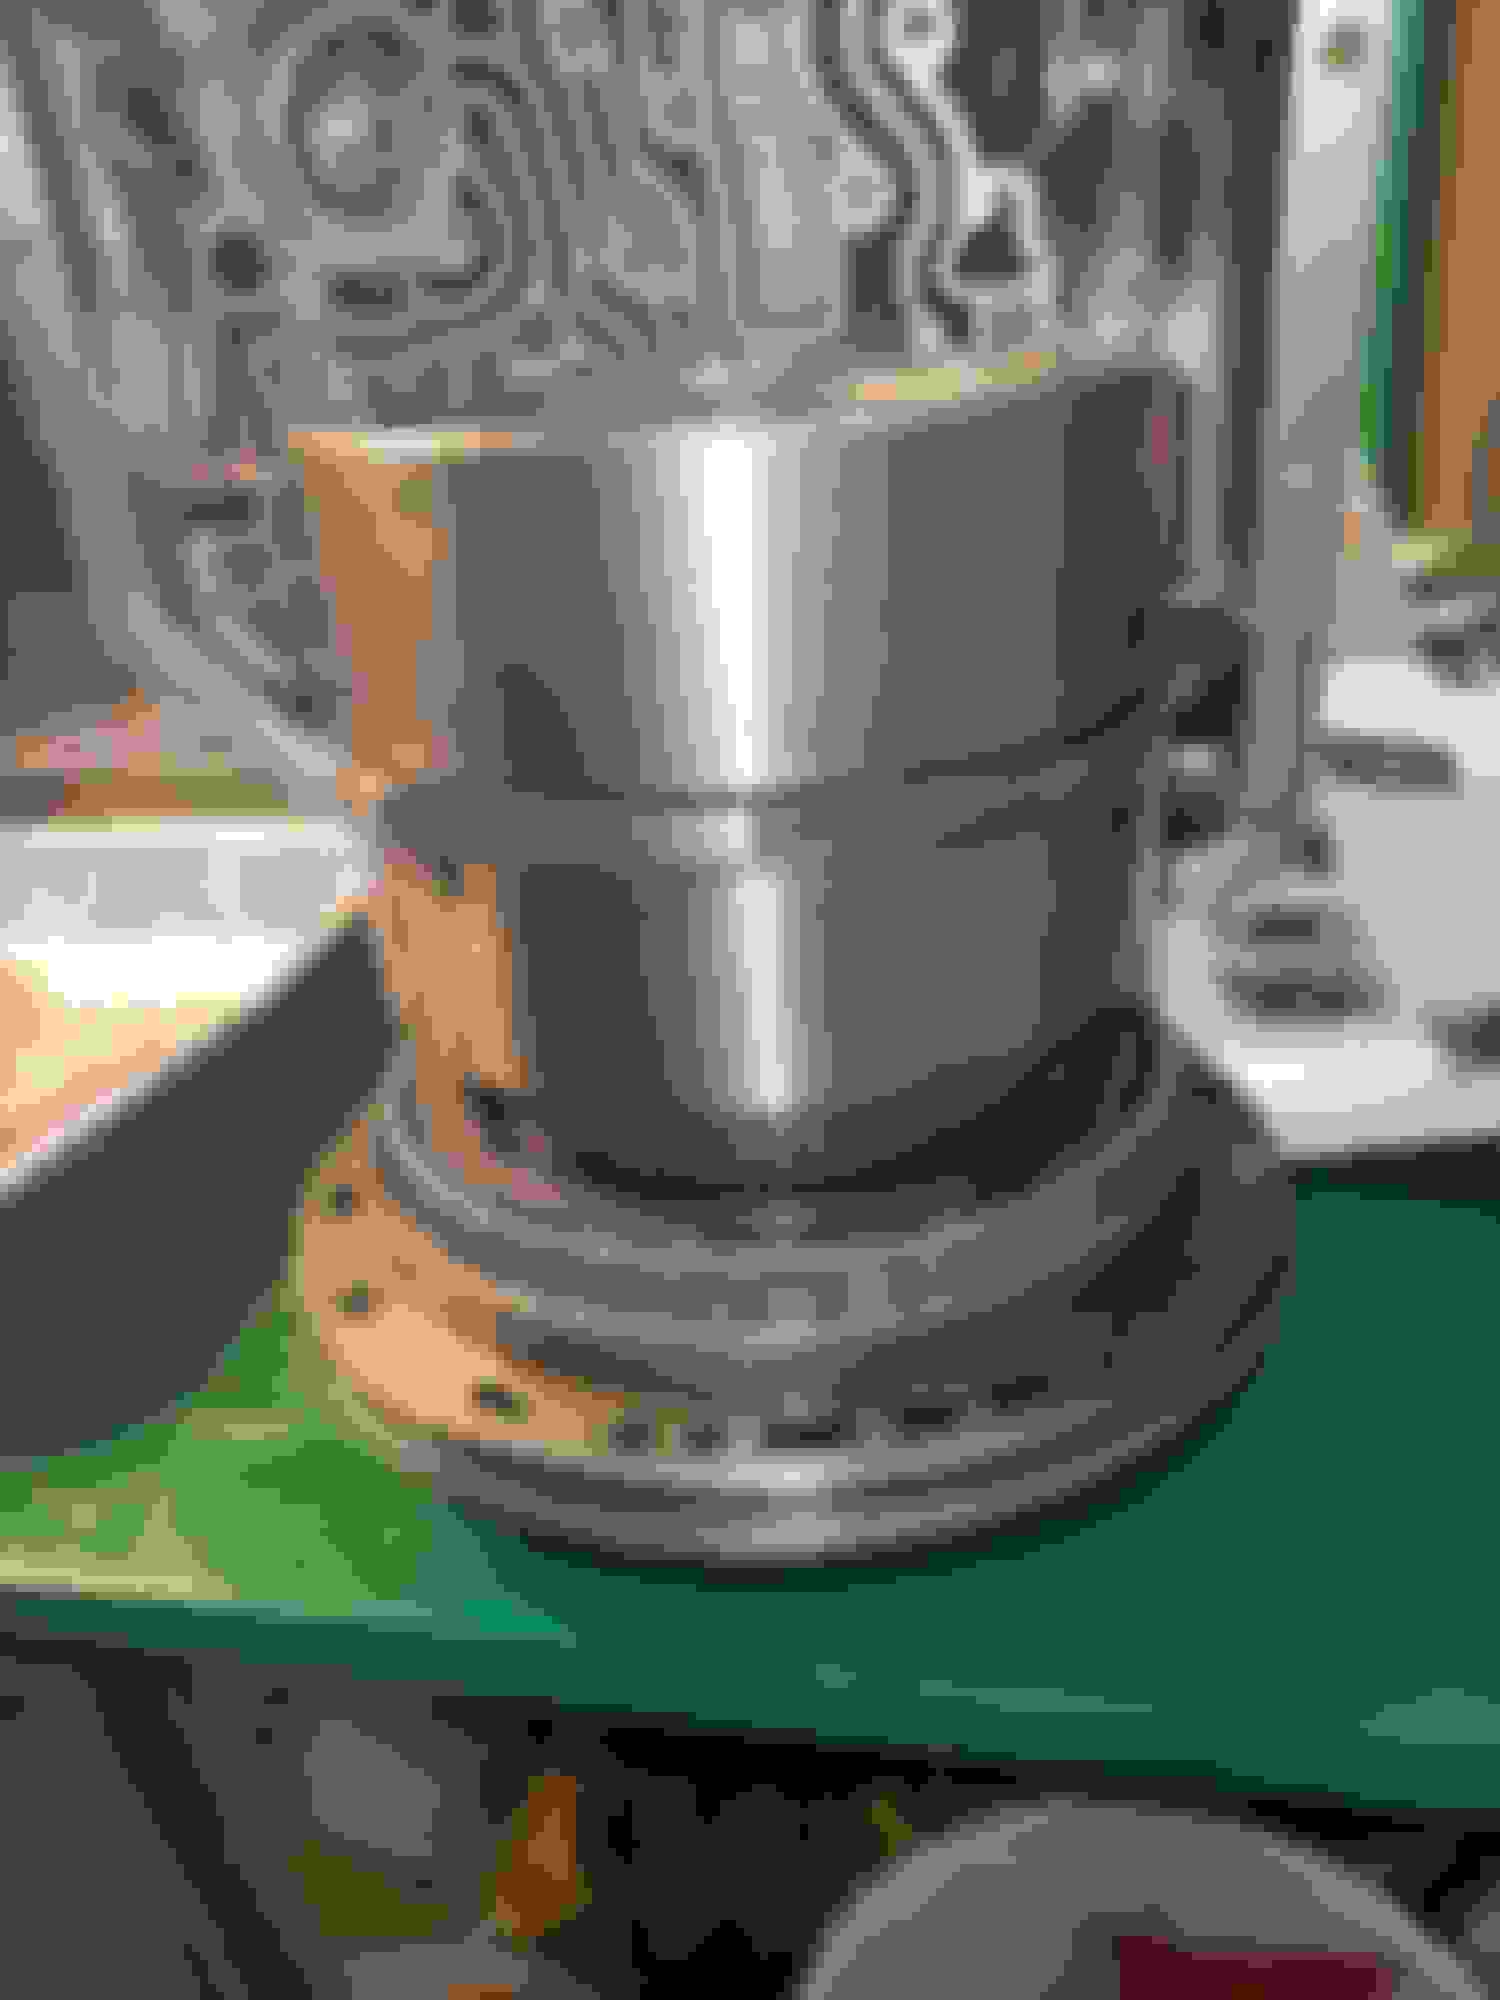
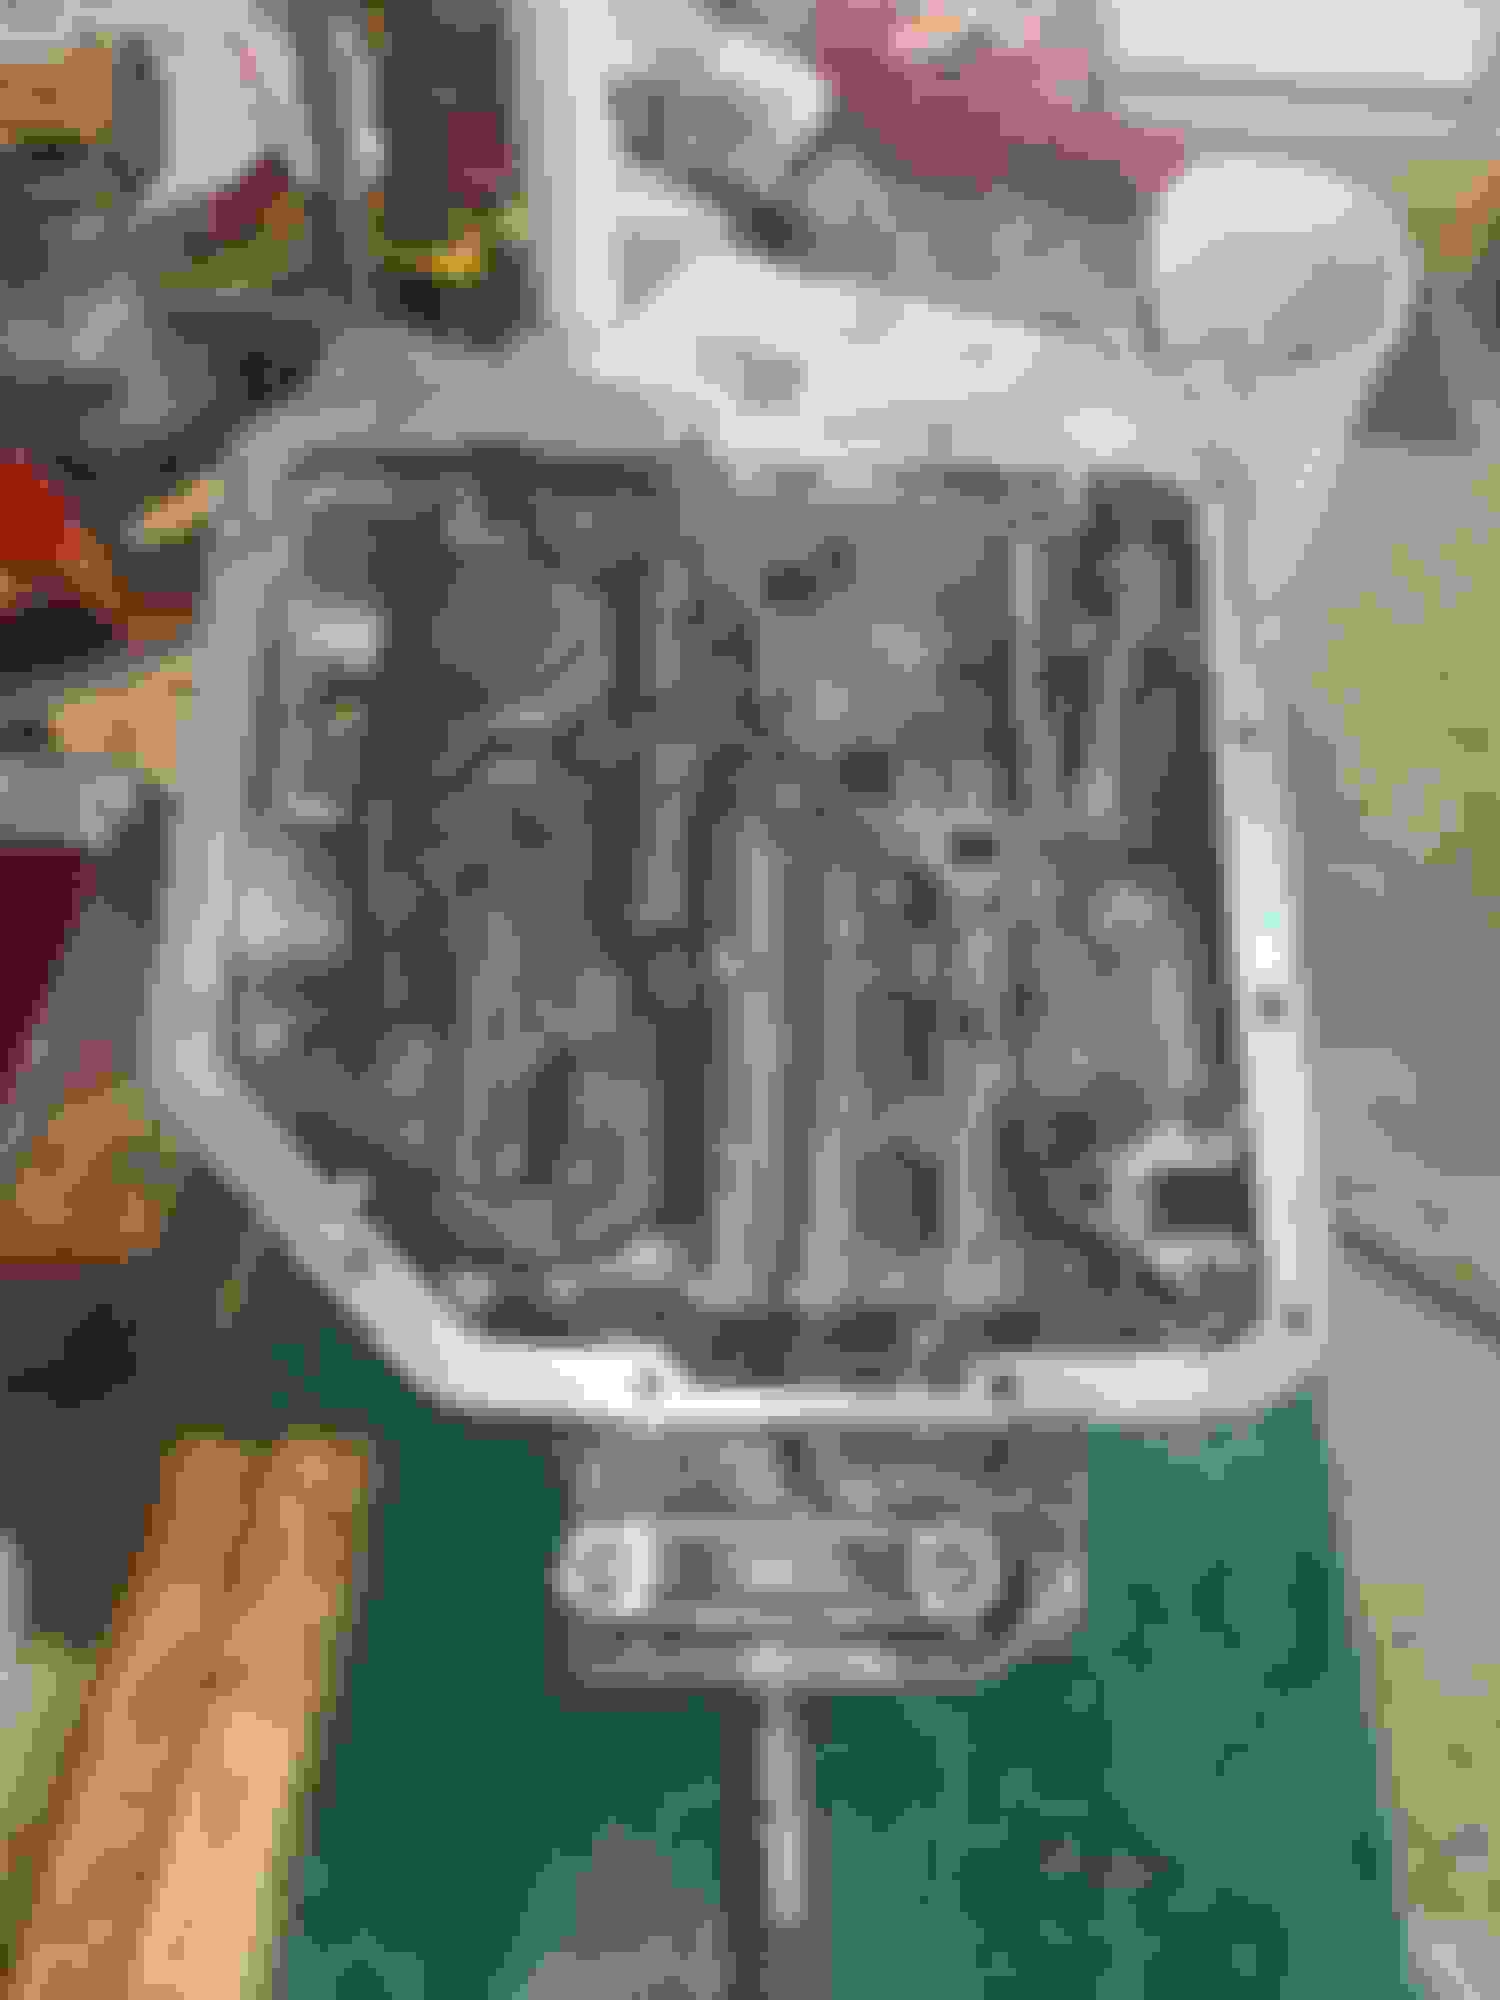
Here is what I found
Metal in pan
Metal in filter
Piece of Bearing
Bottom of the Bearing cut into by pump shaft( picture of bearing upside down)
I now know why I didn't have the end play I should have felt on rebuild.
It seems either the Bearing was too wide to begin with or I shouldn't have driven it down as far as the Books said too.
The Pump shaft between the rings ate into the top of the Bearing in the Direct clutch assembly. as I took it all apart I found the piece of bearing sitting in the clutches.
The Bearing needs to be replaced ,obviously.
I assume I need to take all of the clutches and steels out and clean everything to remove any metal .
Oh well live and learn
It is unfortunate to have to tear into it again but after this transmission is done I bet you'll be a master rebuilder. I am almost through the first read through of the Ron Sessions book and slowly collecting tools for the rebuild on my 150k mile '71 TH350. Seeing this post inspires me and I thank you for the write-up and updates.
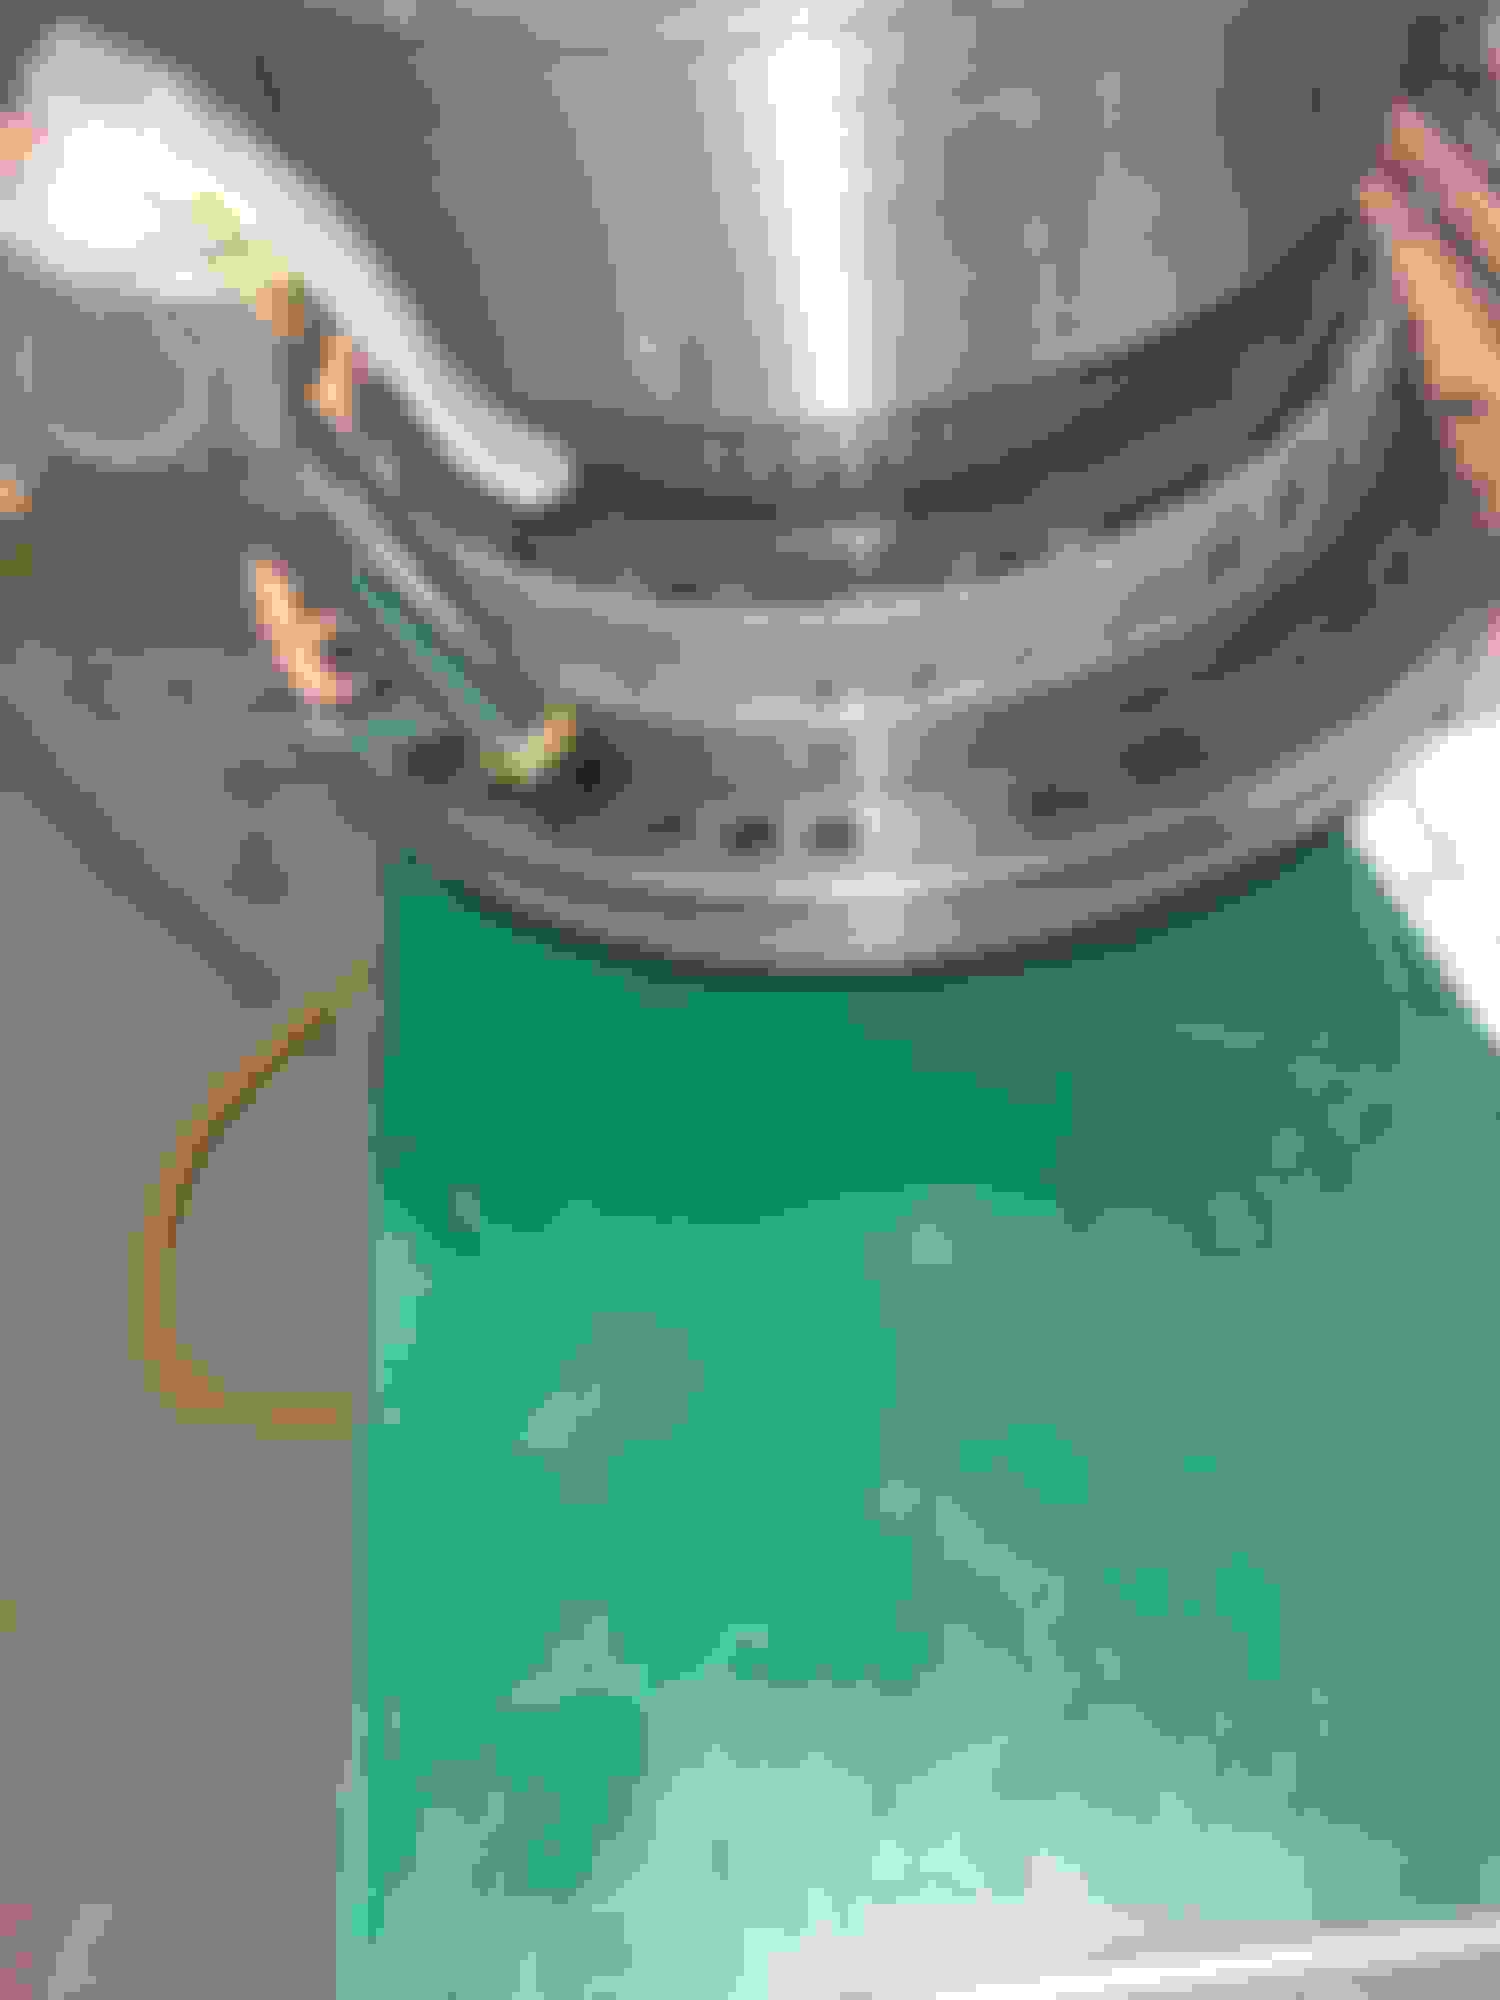
After removing the damaged direct drum bushing, I fit the Pump into the Direct Drum and could see that when I installed the upgraded wider bushing .5" to .75"
I drove the Bushing down too deep. causing the pump to cut into the bushing causing the damage.
I tore down the entire Transmission and am in the process of cleaning everything.
I ordered a replacement bushing along with thicker steels for the clutches, the stock are .066" and the thicker ones are .090"
I noticed when I first replaced the clutches and steels the clearance on the direct Drum is .075" need to be .040" max per Ron Sessions Book
so I will add the necessary thicker steels to make up the difference, should help with the shifting.
I will also change out at least one of the steels in the forward clutch to tighten it up too.
The bushing needs to sit up at least an .125" above the bottom of the notch in the drum
I originally drove it down flush as you could see in the previous pictures of the build.
If you are doing this upgrade in a build you need to make sure you don't set the bushing too deep.
Last edited by Schne442; May 12th, 2021 at 05:40 PM.
Got transmission back together
I replaced 3 of the stock Direct drum steels with the new .090" ones, decreased the clutch stack clearance to .030
I also replaced 2 of the forward clutch steels and now have a .022" clearance
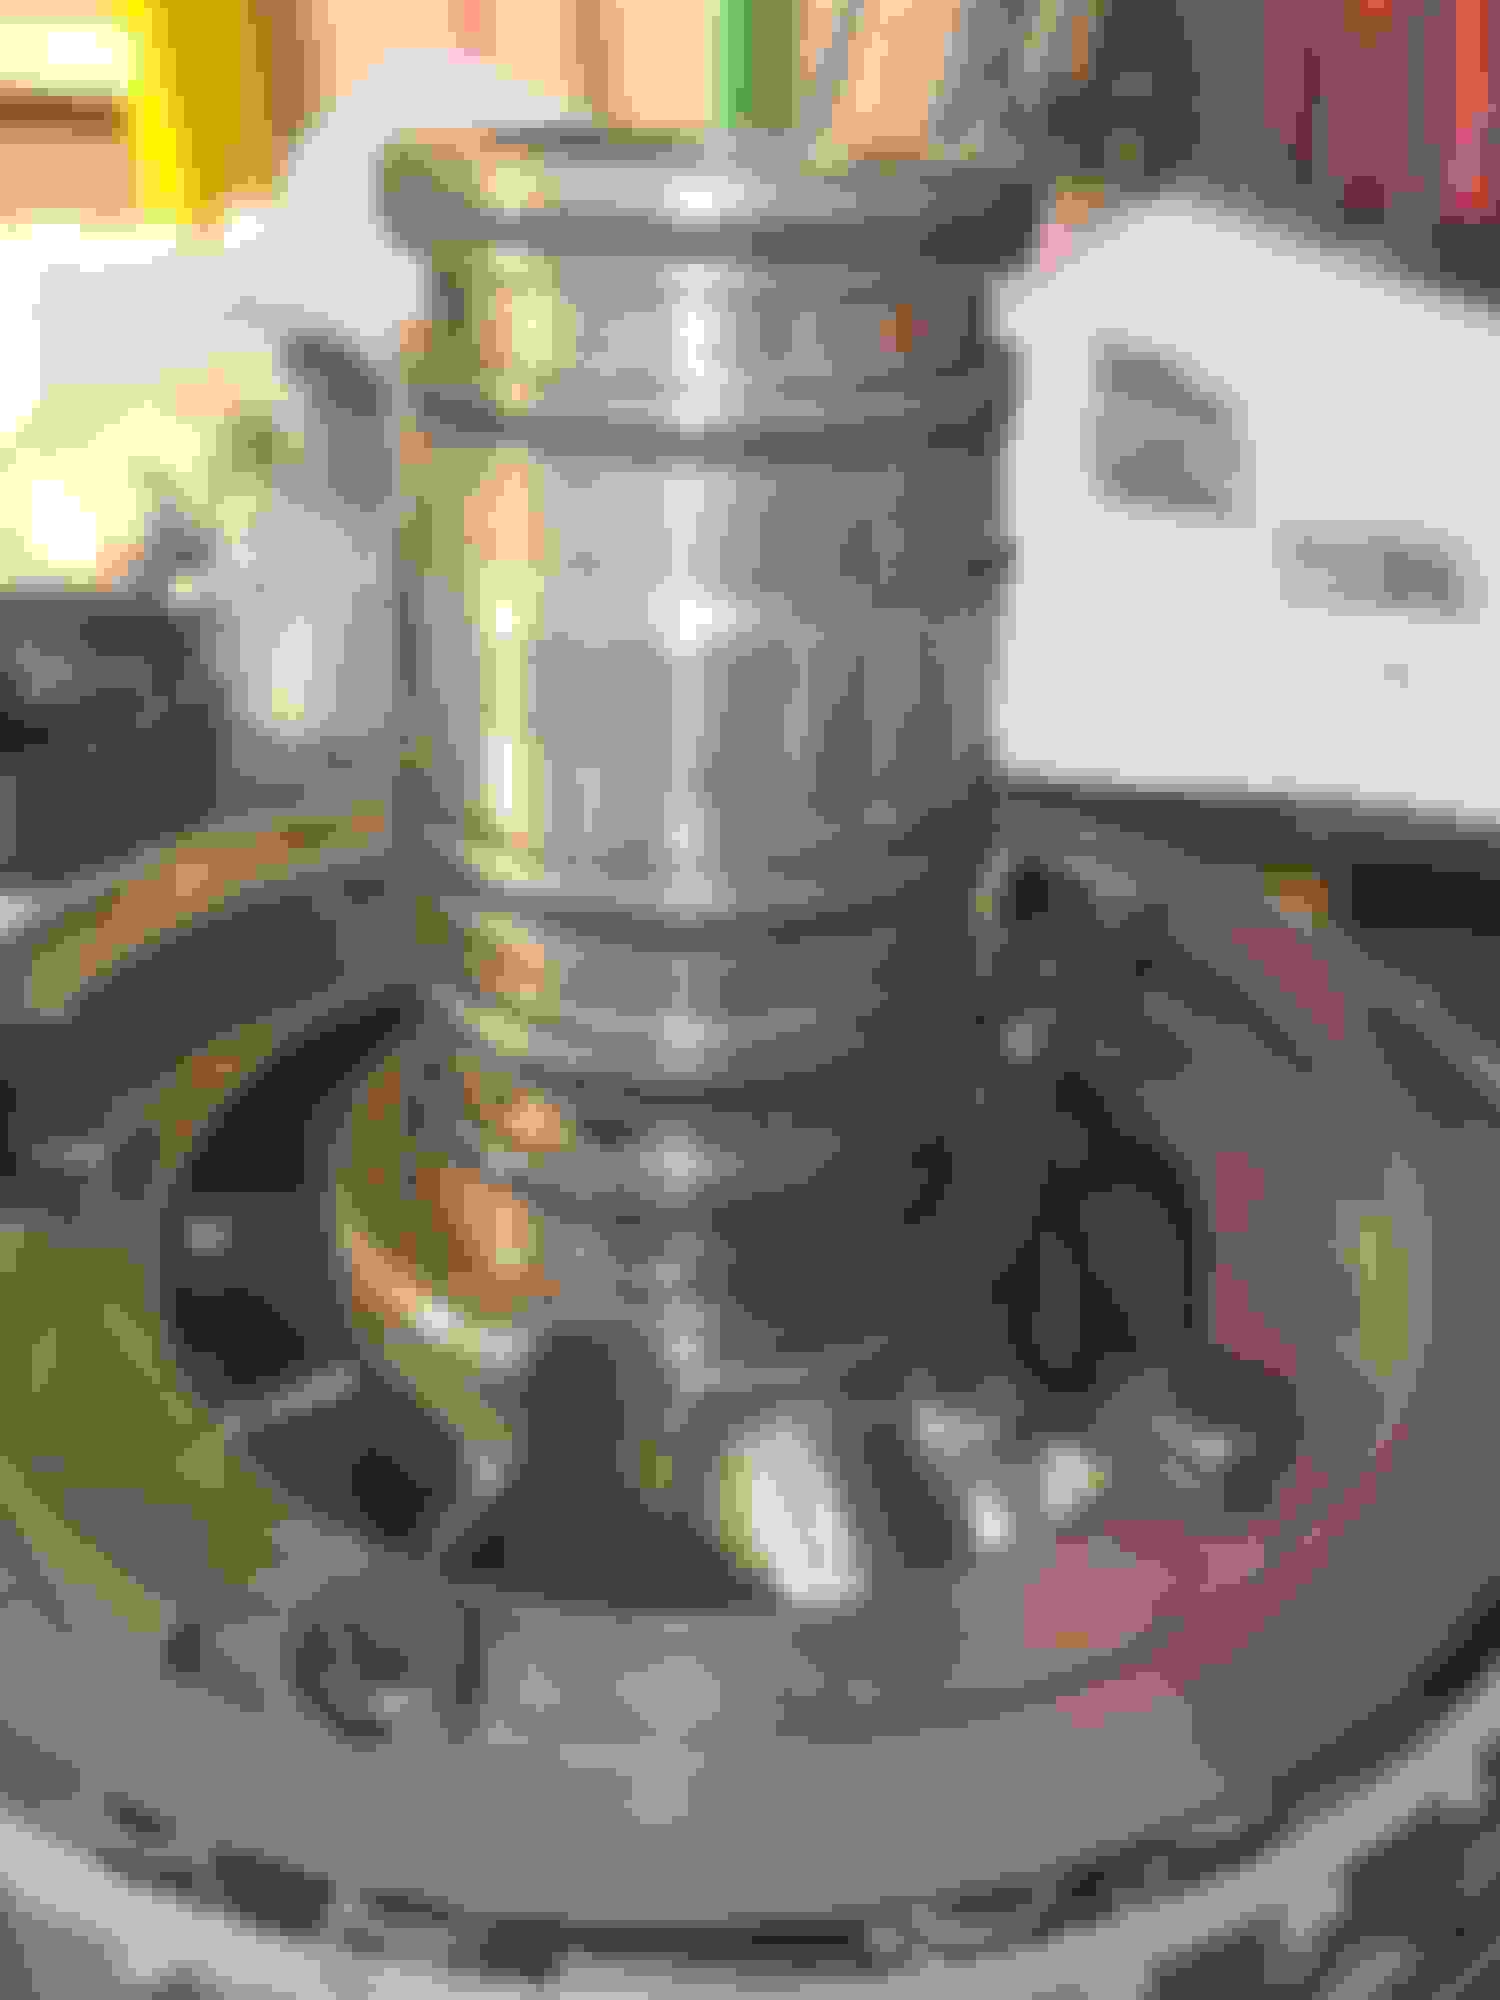
I also installed a new Direct drum bushing, the new one also has oil grooves to help keep things lubed up. As you can see in the picture I left
it raised up more to make sure I have clearance for the Pump seals.
I hope to have the Trans reinstalled this weekend and ready for a test drive.
The rule of thumb is .010-.015 per clutch. Your direct clutch is way too tight. Assuming you installed 5 clutches in the direct drum, the minimum is .050, .060 would be about perfect. The clutch will tend to drag with the clearance you have it set at.
The forward clutch isn�t quite as picky, since it�s not a shifting clutch. With it set as tight as it is, the car may tend to creep if when in neutral.
Matt
I was going by what it says on
GM TH350 Transmission Assembly Guide
, Check for clutch pack clearance. Because the forward clutch is applied for all forward gears, it only needs some clearance to work correctly. The frictions inside the drum should turn freely once the snap ring is in place. Factory clearance is .020 to .040 inch, but it will be fi ne if it�s a little tighter. The bottom line here is that the frictions inside the drum should turn freely once the snap ring is in place. If the forward clutch is assembled with insufficient clearance, the vehicle may creep forward when in neutral. And this, The rule of thumb for direct clutch pack endplay for the TH350 is .010 inch per friction used, or .050. It is okay in the .040- to .060-inch range. Never go less than .030-inch clutch pack clearance on the direct drum. Going out past .060 may result in a slight delay on engagement.
At this point I have had this thing apart and back together so many times I can probably do it with my eyes closed.
I can go back and swap one of the thick steels for a stock one to get me to back to about .055" still better than the .075" I originally had
On a side note.
I ended up tearing one of my Shift kit Valve Body Gaskets so now I need to contact TransGo and see if I can get a replacement
It is a small tear next to the bolt hole, But, I don't want to take any chances at this point.
You could use a stock gasket once you add the hole for the dual feed modification. Lay a stock gasket over the TransGo gasket, if I remember correctly the only difference is the addition of one hole by the transfer plate
You could use a stock gasket once you add the hole for the dual feed modification. Lay a stock gasket over the TransGo gasket, if I remember correctly the only difference is the addition of one hole by the transfer plate
Matt
I will look at that, Luckily I still have the gaskets from the rebuild kit
Will report back my findings
Thanks
Matt
I will look at that, Luckily I still have the gaskets from the rebuild kit
Will report back my findings
Thanks
Ok so I grabbed my extra rebuild kit Gaskets and checked each one against the damaged TransGo Gasket.
one lined up with all of the holes in the TransGo gasket, the rebuild Gasket had one extra hole but, since the TransGo kit spacer plate
has no hole in that location it should work fine. I did have to cut off a section of the Gasket that is not needed
New Gasket with removed section
Here are the two gaskets, new one on top of torn TransGo one, If you look to the right of the larger square hole you can see the extra hole in the new Gasket that is not in the torn one.
Here are the two gaskets side by side New one on the right
I can now proceed
Once again a knowledgeable CO member comes to the rescue
Thank you Matt
There is a hole in the case to spacer plate gasket that need to be cut into a stock gasket for the shift kit. Compare the plates that go under the stock transfer plate. You will notice the one that goes on the valve body gasket has a couple small holes. Then the middle plate has a trough cut into it. Then the stock transfer plate fits on top. The holes in the first plate are what needs cut into the gasket.
The dual feed modification can be accomplished a couple ways. Either block the reverse feed hole in the case and eliminate the center seal in the drum and on the pump, or use the shift kit transfer plate stack. I really wish I had gaskets on hand to show you the difference.
Whatever gasket you use, every hole in the spacer plate needs a matching hole in the gasket.
Most gasket kits include valve body gaskets for the standard 350, and a 350 with a lockup converter. Make absolutely sure you have the right gaskets. Lay the case gasket on the case, on the spacer plate, do the same on the spacer plate to valve body gasket. There can be no covered holes, no holes that could leak between �worm tracks�.
There needs to be a hole cut between the upper right hand bolt holes. There is any hole up from the vertical line of the �Z� slot The holes are where I put the yellow dots.
There needs to be a hole cut between the upper right hand bolt holes. There is any hole up from the vertical line of the �Z� slot The holes are where I put the yellow dots.
Matt, the Gasket that I tore was the one that goes between the Valve Body and the Bigger Steel Plate that goes between the Case Gasket and valve body.
The area below the line in this picture is the area that the Gasket fits. The area above the line, Middle support Plate is good.
The yellow Dot is were the extra hole is in the new Gasket
after cutting the unneeded gasket area that would go under the area you are referring to the only difference in gaskets is the extra hole in the new gasket and the Plate has no hole there so no issues.
I swapped out the Direct steel and now have .055". I put it all back together, at first when I put the pump back in, I was not able to turn the input shaft at all,
I took everything back apart again and kept working on getting the forward and direct drums seated and for the first time since rebuilding this Trans I actually
have END PLAY, I also installed a new Detent cable.
I will work on installing it into the car some time this week and go for a drive, Wish me luck
 December 9th, 2020, 06:56 PM


 Like I have always told my Sons If you can't do something yourself you better be able to pay someone who can.
") they do try to watch and learn, But they are all numbers guys like Mom, Math formulas and sports stats and stuff like that roll off their tongues like nothing.
they do try to watch and learn, But they are all numbers guys like Mom, Math formulas and sports stats and stuff like that roll off their tongues like nothing.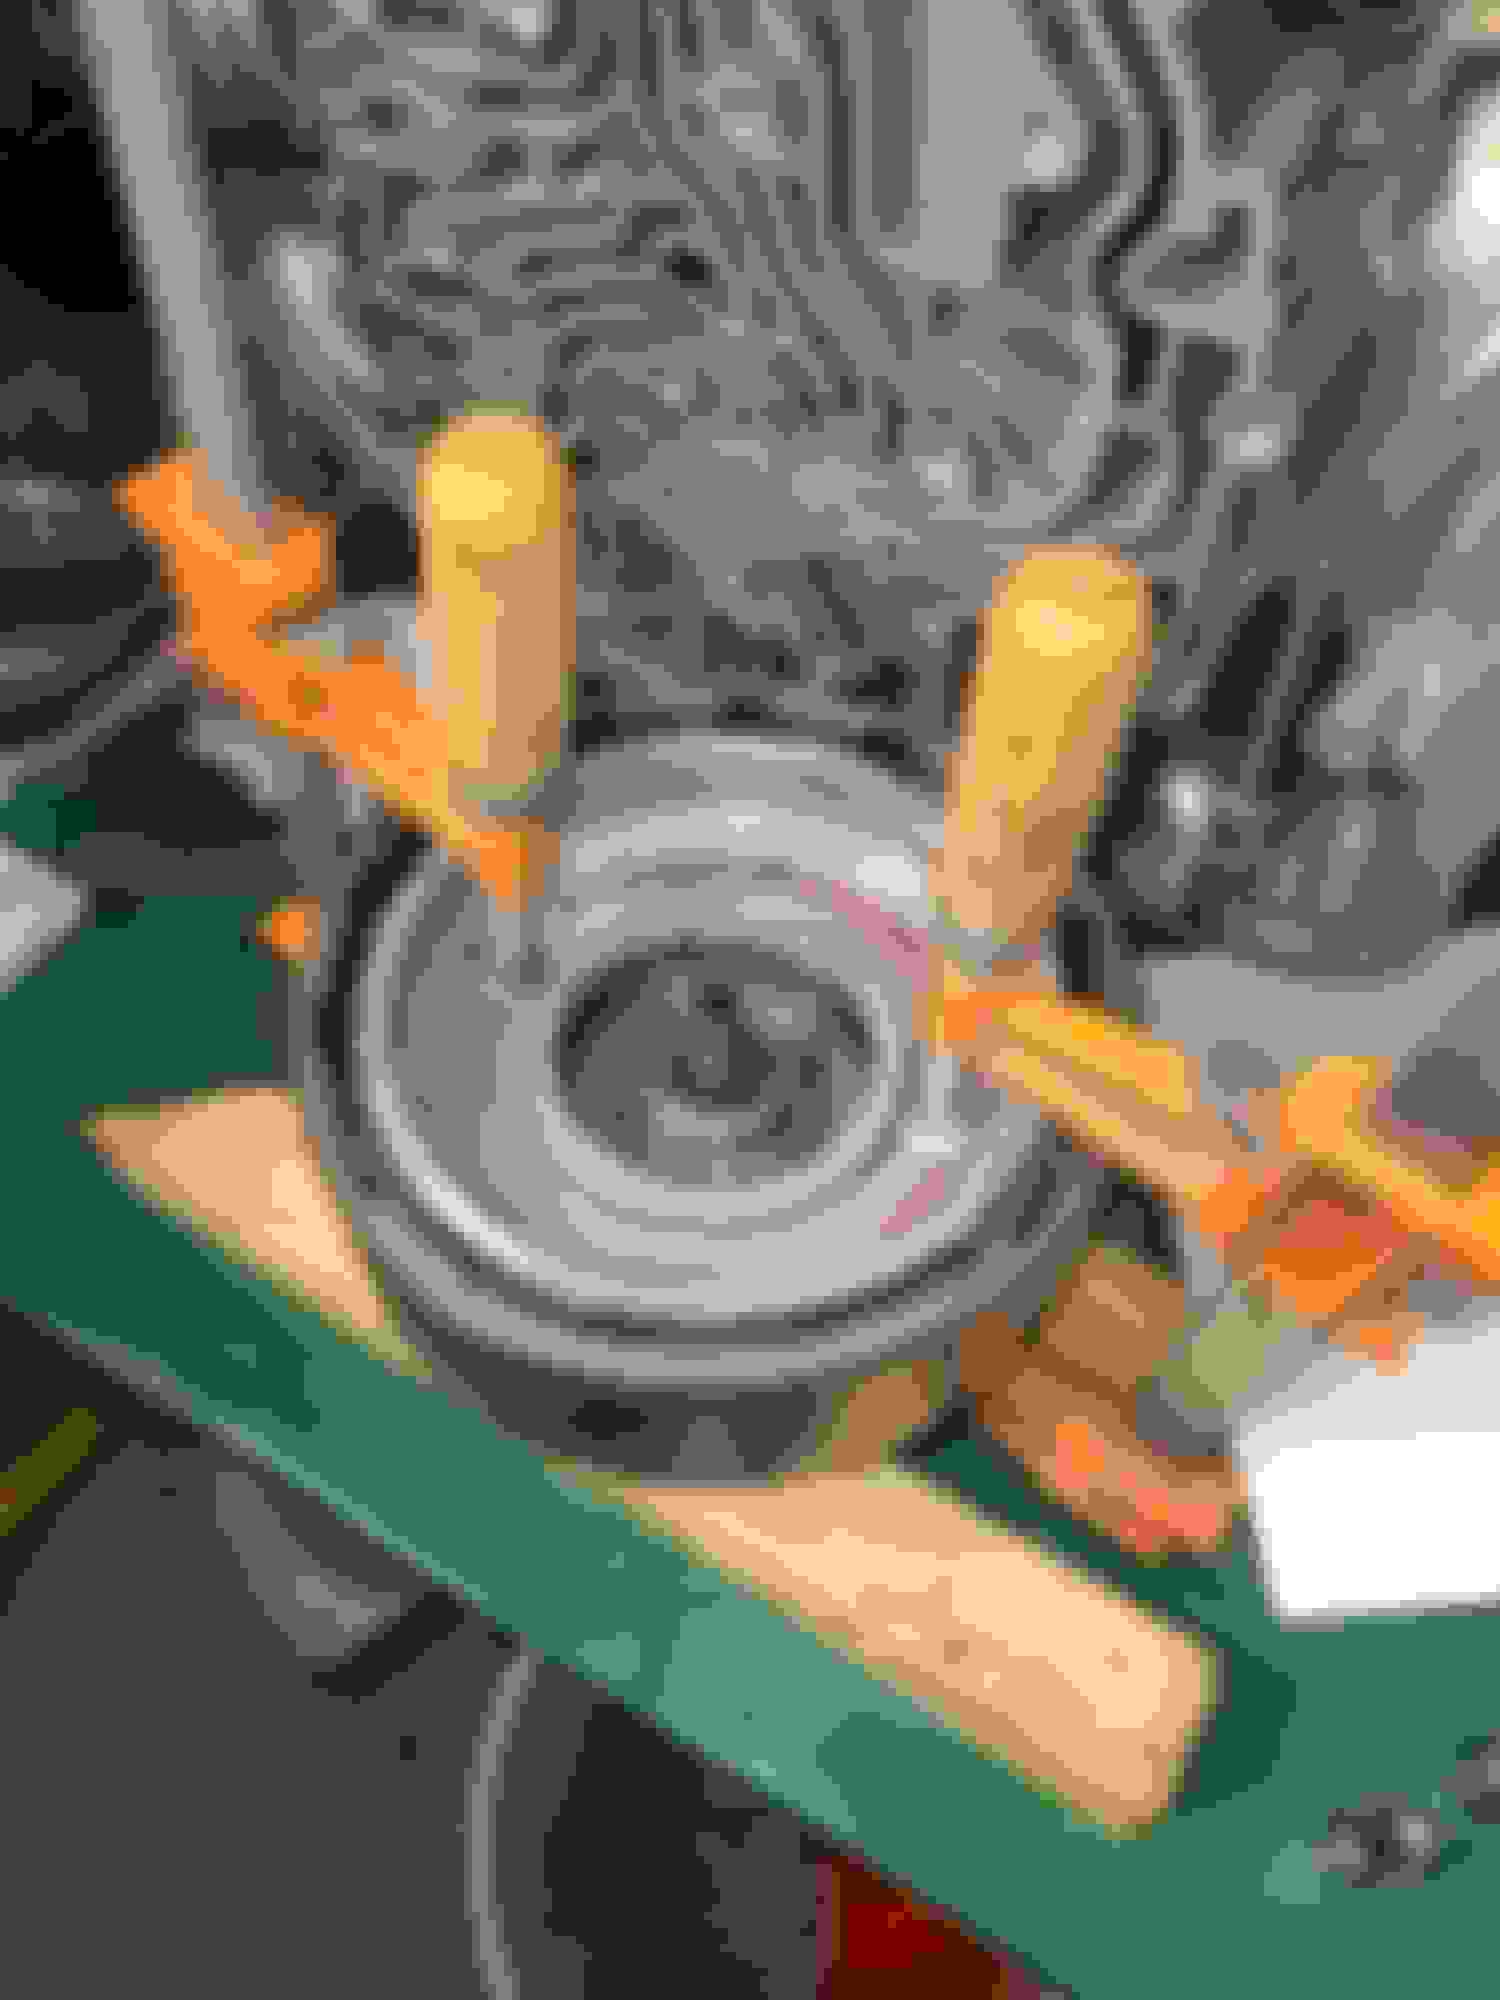


 With experience comes knowledge. LOL


 almost didn't make it back to the Garage, Needed to add another quart of fluid (9 quarts total so far) checked CSM to verify capacity, still need another quart to top it off and reach capacity as stated in the CSM. Went for another short drive after adding more fluid.


 Check for clutch pack clearance. Because the forward clutch is applied for all forward gears, it only needs some clearance to work correctly. The frictions inside the drum should turn freely once the snap ring is in place. Factory clearance is .020 to .040 inch, but it will be fi ne if it�s a little tighter. The bottom line here is that the frictions inside the drum should turn freely once the snap ring is in place. If the forward clutch is assembled with insufficient clearance, the vehicle may creep forward when in neutral. And this, The rule of thumb for direct clutch pack endplay for the TH350 is .010 inch per friction used, or .050. It is okay in the .040- to .060-inch range. Never go less than .030-inch clutch pack clearance on the direct drum. Going out past .060 may result in a slight delay on engagement.


