When you click on links to various merchants on this site and make a purchase, this can result in this site earning a commission. Affiliate programs and affiliations include, but are not limited to, the eBay Partner Network.
Today I started to pull my Trans to do some upgrades, Hughes 2500 Torque converter and Trans Go shift kit along with some PM work, while I have it out.
I plan on replacing the seals on the Front Pump and tail extension along with the Bushings and O rings at both ends, Tans was last rebuilt 30+ years ago by Aamco just before I purchased the car. Also will be changing out the Speedometer and Driven Gears for a near future 2.73 to 3.42 Posi Gear swap.
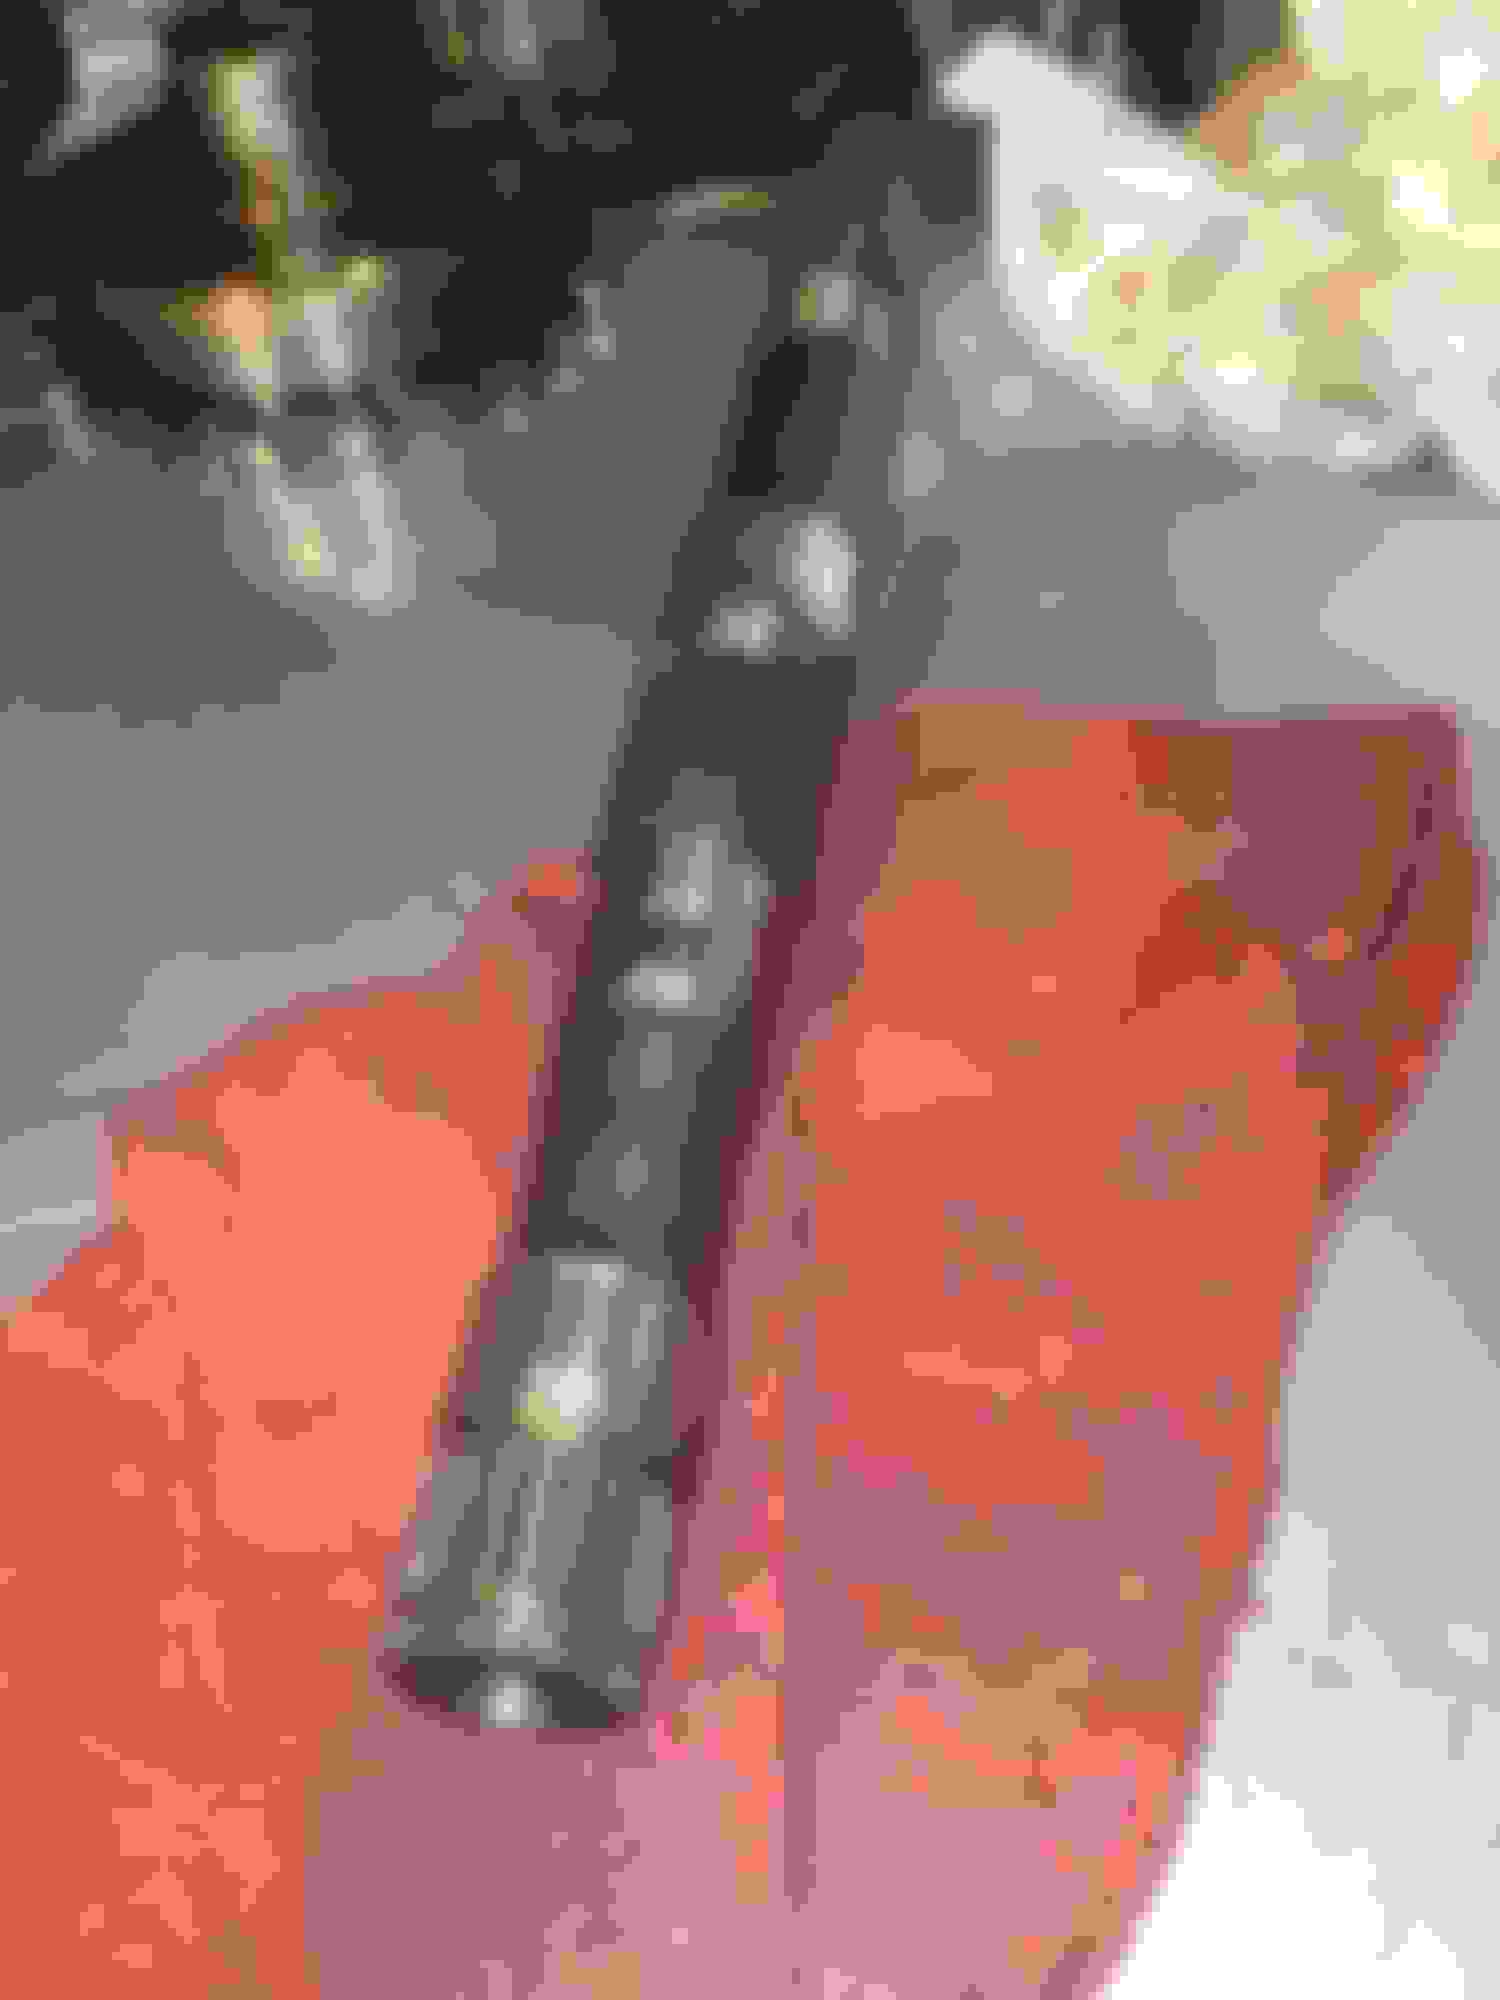
Ran into an issue while removing the Flywheel bolts, somehow I rounded the head on one of the bolts and cant get it out.
I tried all of my 9/16 wrenches and a pair of Vicegrips/ Heat added, to no avail. Only made thing worse
While I was writing this up, a light bulb went off and I figured out how to get this fixed, I am going to MiG weld a good bolt to the bad bolt and then I should be able to break her loose.
Maybe I should have posted this in the "What have you done to your car today" Thread
Last edited by Schne442; November 25th, 2020 at 06:54 PM.
I cant believe you dont get the bolt loose with heat and good strong vice-grips 🤔
The transgo shift kit is a good choice! Firm shifts when accelerating hard and soft shifts with gentle accelerating. Its very easy to install, i installes mine laying under the car in the garage, a bit oily job, but no problem 👍
If I wasn't also changing out the Torque converter I would have just done the shift kit while trans was still in the car.
The Vicegrips wont get a good enough bite into the head of the bolt and keep slipping off,
I will probably try them one more time before I break out the welder.
I think your idea will work, as long as there is enough room, maybe you can turn it so it is in the starter area to get enough room to weld it. I would recommend getting a set of 6 point (not 12 point) closed end wrenches- probably won't work on this one as rounded as it is but might save you from this happening again on a future job. Good luck and let us know if it works.
One tip on the TransGo shift kit:
You can maintain the factory 2-1 downshift override function by leaving the original spring in place. I did this after my brother-in-law broke his transmission by downshifting at too high of a speed (emergency stop from 90 MPH). This is one area where I think the factory had it right and should not be modified.
Schne442 - Dont go to deep end with the shift-kit when it gives you choices of different setups. Dont make the same mistake i did Need to pull governor out. Thank god its easy.
Fun71 - How do you feel about your 2500 stall Hughes? Just noticed your sign states you have one. I have the same, and for me it feels super mushy under 2500, and starts to really grab at 2700.
Just collecting info about how individuals feel about it.
A quality street converter shouldn�t feel mushy. A converter stall speed is directly related to vehicle load/engine speed. Low speed/low throttle=low stall speed.
A converter with a rated stall speed of 2500 isn�t much higher than a factory converter.
The converter (code D5) used in the Grand National/442/Monte SS was rated at 2800. Granted, it took some serious throttle to get it to flash that high, but GM wouldn�t have used it if it resulted in drivability complaints.
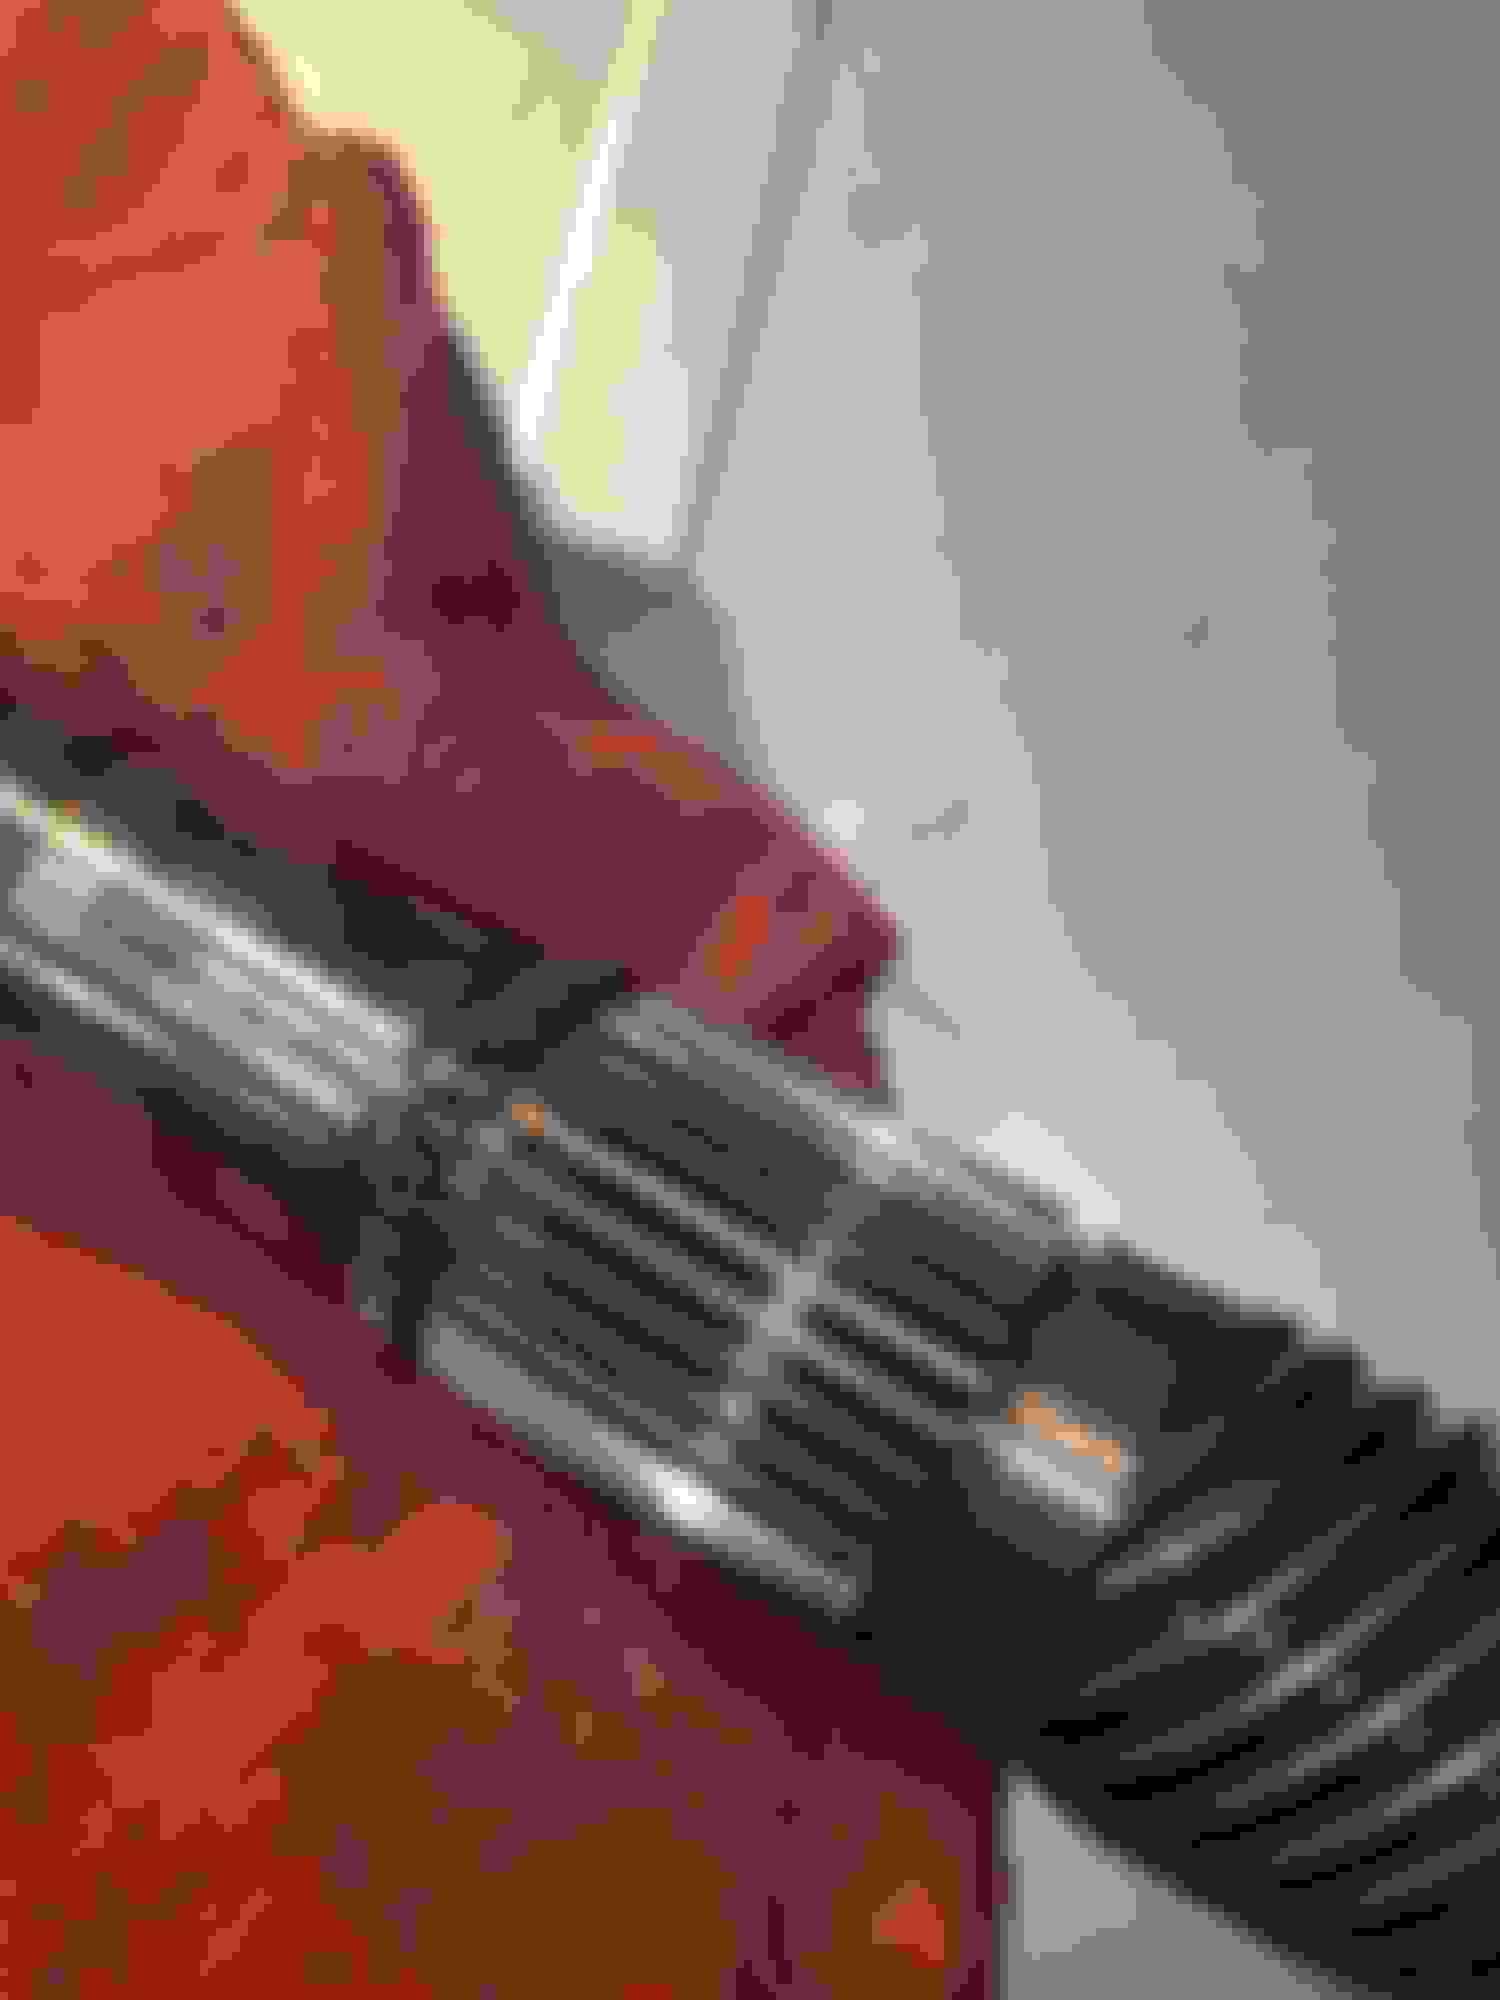
Well I finally got the Trans out, took me 3 hours today
I ended up having to use a Sawzall to cut the lug off the converter, I welded on one of the old Bolts to the head of the stripped bolt,
used a set of vice-grips to hold the Flex plate in place then proceeded to snap the head off of the welded bolt .
Cut Lug on converter,
I will try to get the Bolt remnant and piece of the converter lug off the Flex plate, But as things have been going on this thing I'm sure I'll end up having to Pull the plate and drill it out.
My parts are supposed to start arriving from Summit, Classic Transmission Solutions and Rock auto tomorrow , So I will start the teardown once I have everything in hand.
Fun71 I will definitely take that suggestion under advisement.
My Car has a complete stock 350, I changed from a 2bbl to 4 bbl and added dual exhaust I changed the original Cam to a Sealed power CS-651 cam 207 exh / 194 int.
very mild but I was on a very tight budget when I redid the Engine so it was cheap and gave Stock results .
All my Trans work and the eventual Gear change should really wake up this Engine.
how is your trans so clean ? when i took mine out it was 1/2" deep in grease and dirt!
Well it was out when I started my restoration on the Frame and Engine last year and it was as you described caked in grease and Grime.
It is nice working on the car now that it is all clean, makes Operator clean up much quicker
I may even spray it Eastwood Cast Aluminum before I re install it.
Last edited by Schne442; November 24th, 2020 at 06:05 AM.
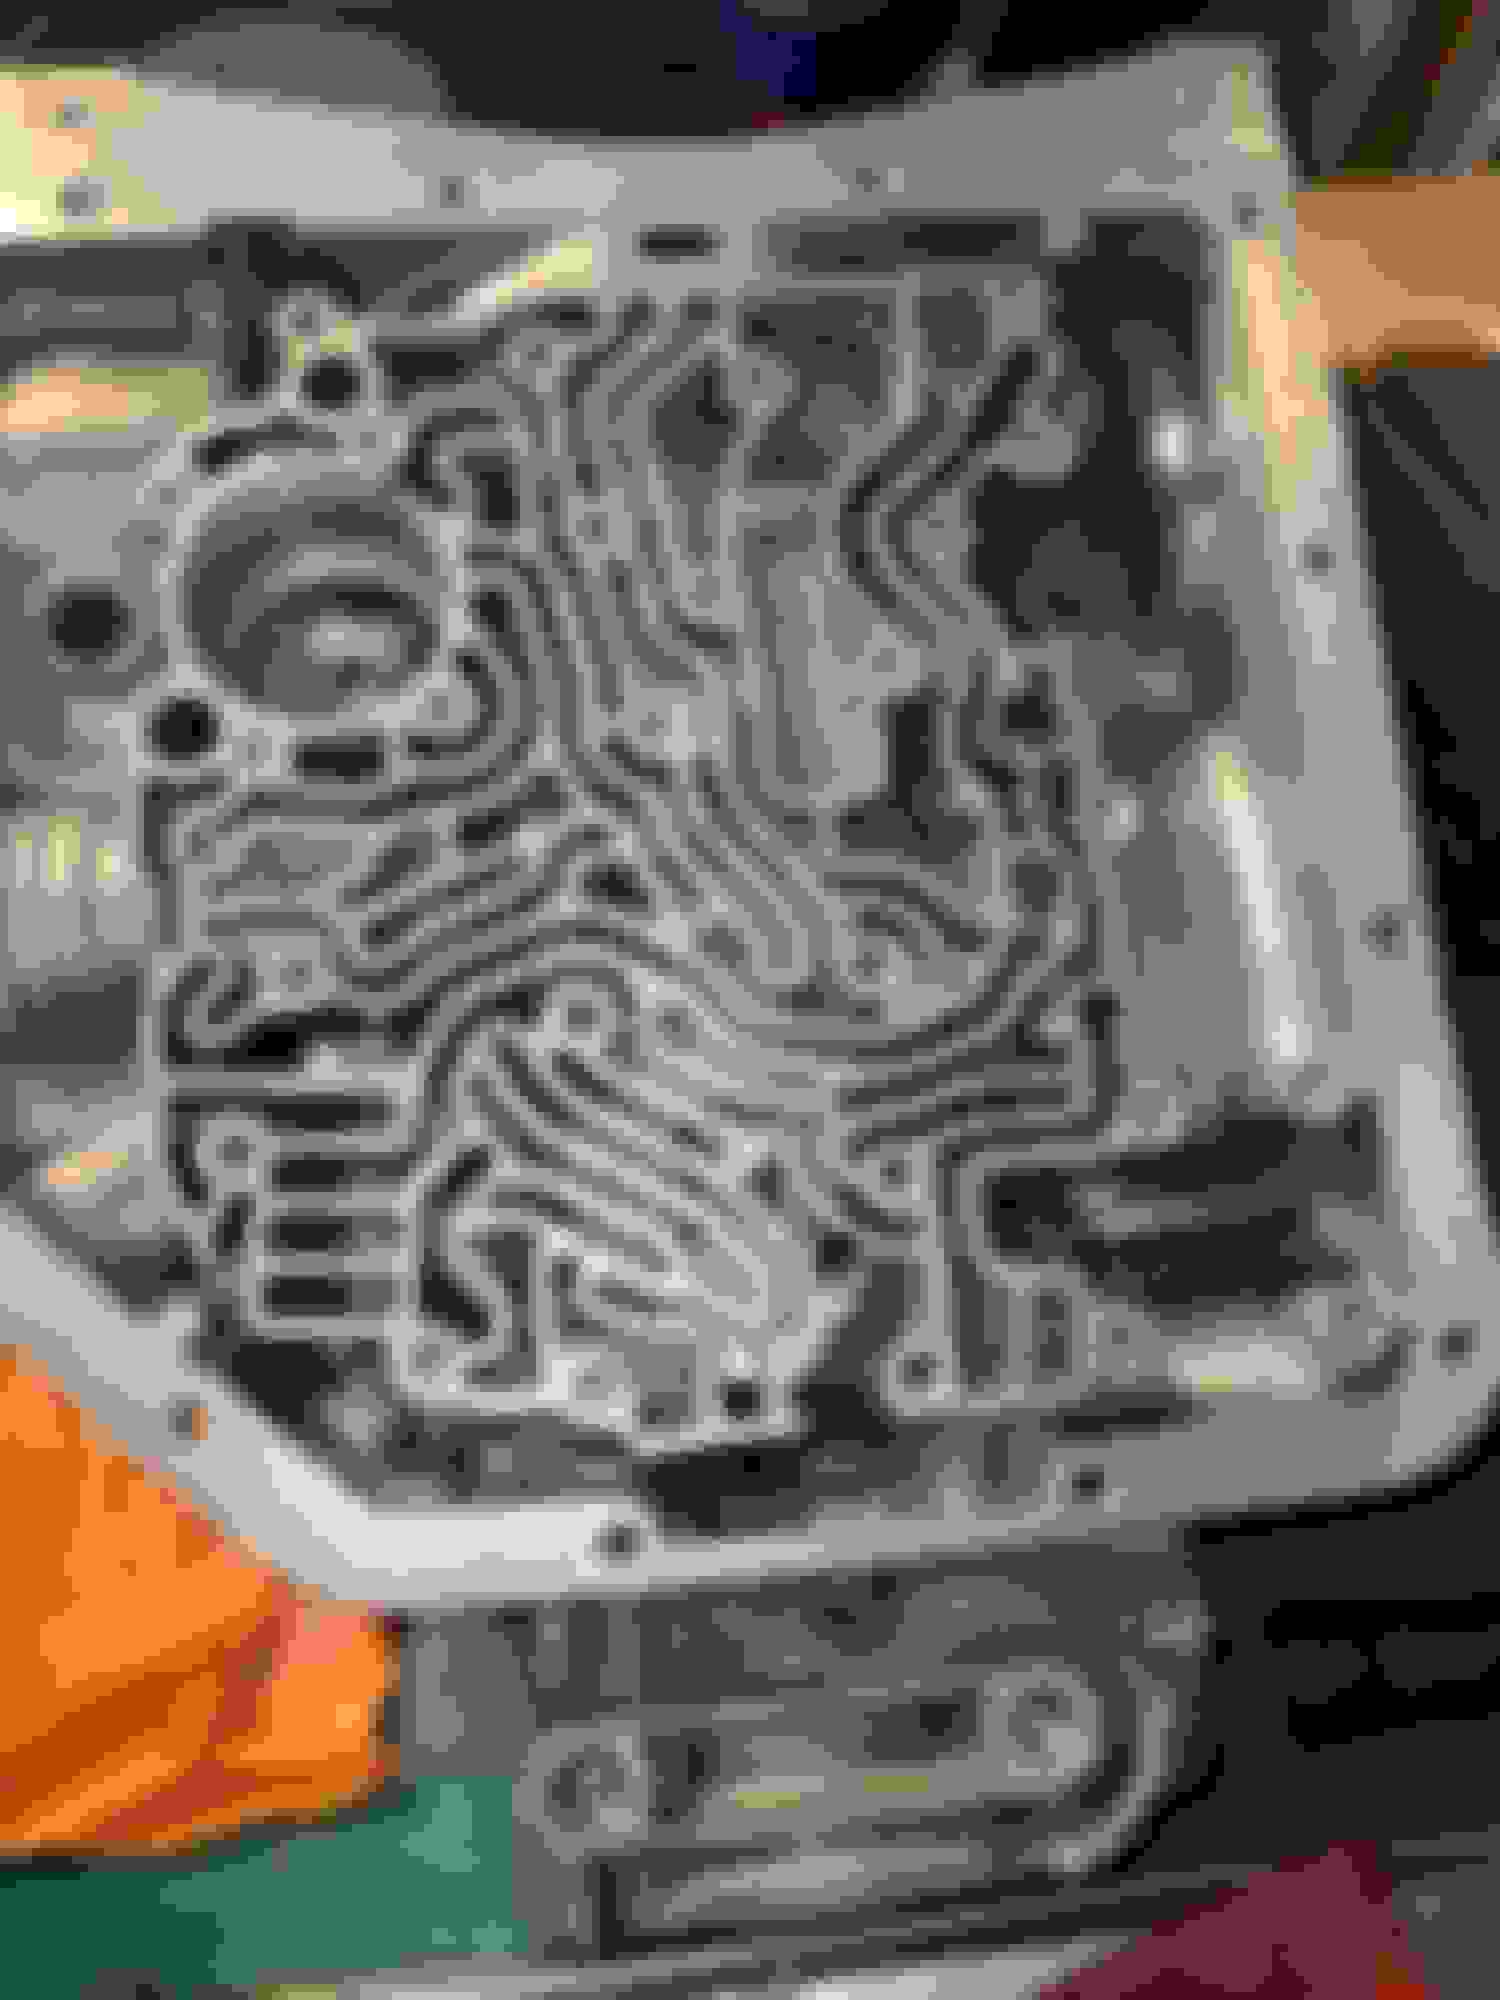
Well the tear down begins, I pulled the valve body out along with the governor, accumulator, dipstick, modulator, speedo gear housing and tail shaft section.
I sprayed down the trans case passages and removed all of the gasket material that was baked on.
The pan is nasty, the fluid came out almost black. Obviously having the trans sit for almost 30 years and never changing the fluid and filter probably not the best idea.
Will clean the valve body and start the Trans Go install next.
With the trans out and torn down as far as it is, it�s much cheaper and effective to do a couple internal modifications for better shift performance. But if you already have the shift kit, no point in describing the process.
Well after pulling the valve body out and starting to clean up the pan I see an awful lot of metal in the pan sludge,
Sooooooo looks like I will be doing a rebuild.
I have been watching quite a few YouTube videos and researching on CO, so I think this should be a piece of cake.
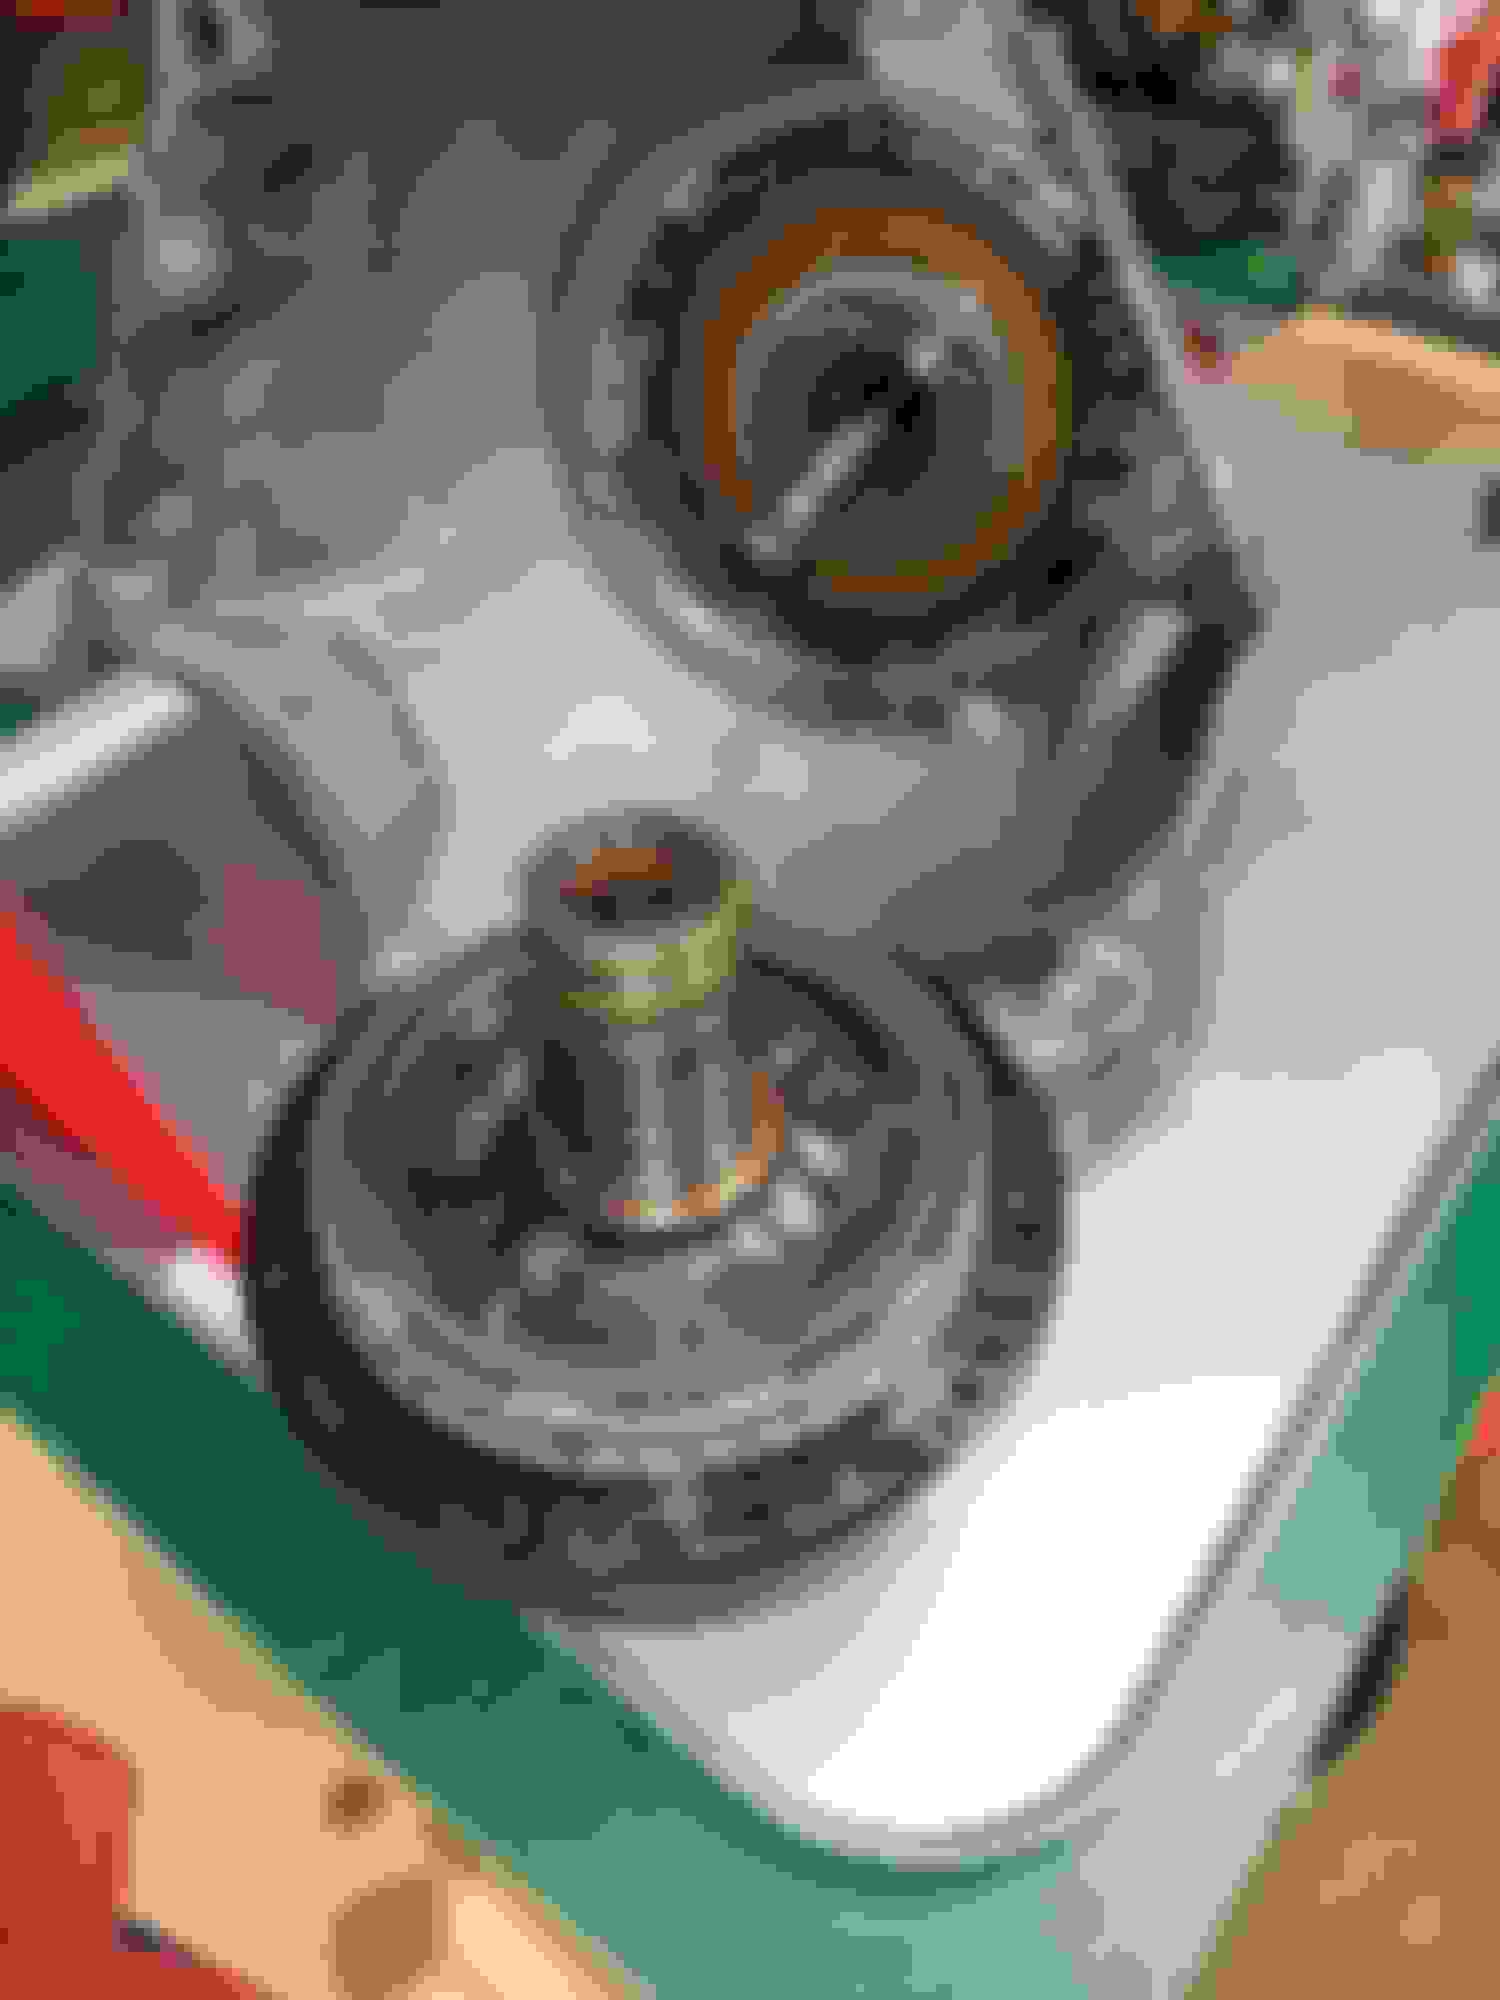
I started to tear into the trans and got as far as the output carrier, I removed the snap ring but for the life of me I cant remove the carrier from the output shaft gear.
The Carrier will move in and out a bit with the snap ring removed but wont come off the gear it almost looks like the face of the output shaft is worn and the
Carrier teeth wont clear the Shaft teeth. I can feel a slight ridge in the base of the "V" of the Output Shaft Gear teeth with a small pick.
I was going to try my gear puller but the jaws wont clear the Carrier Pinion gears.
Any suggestions on this would be appreciated. Don't want to break anything
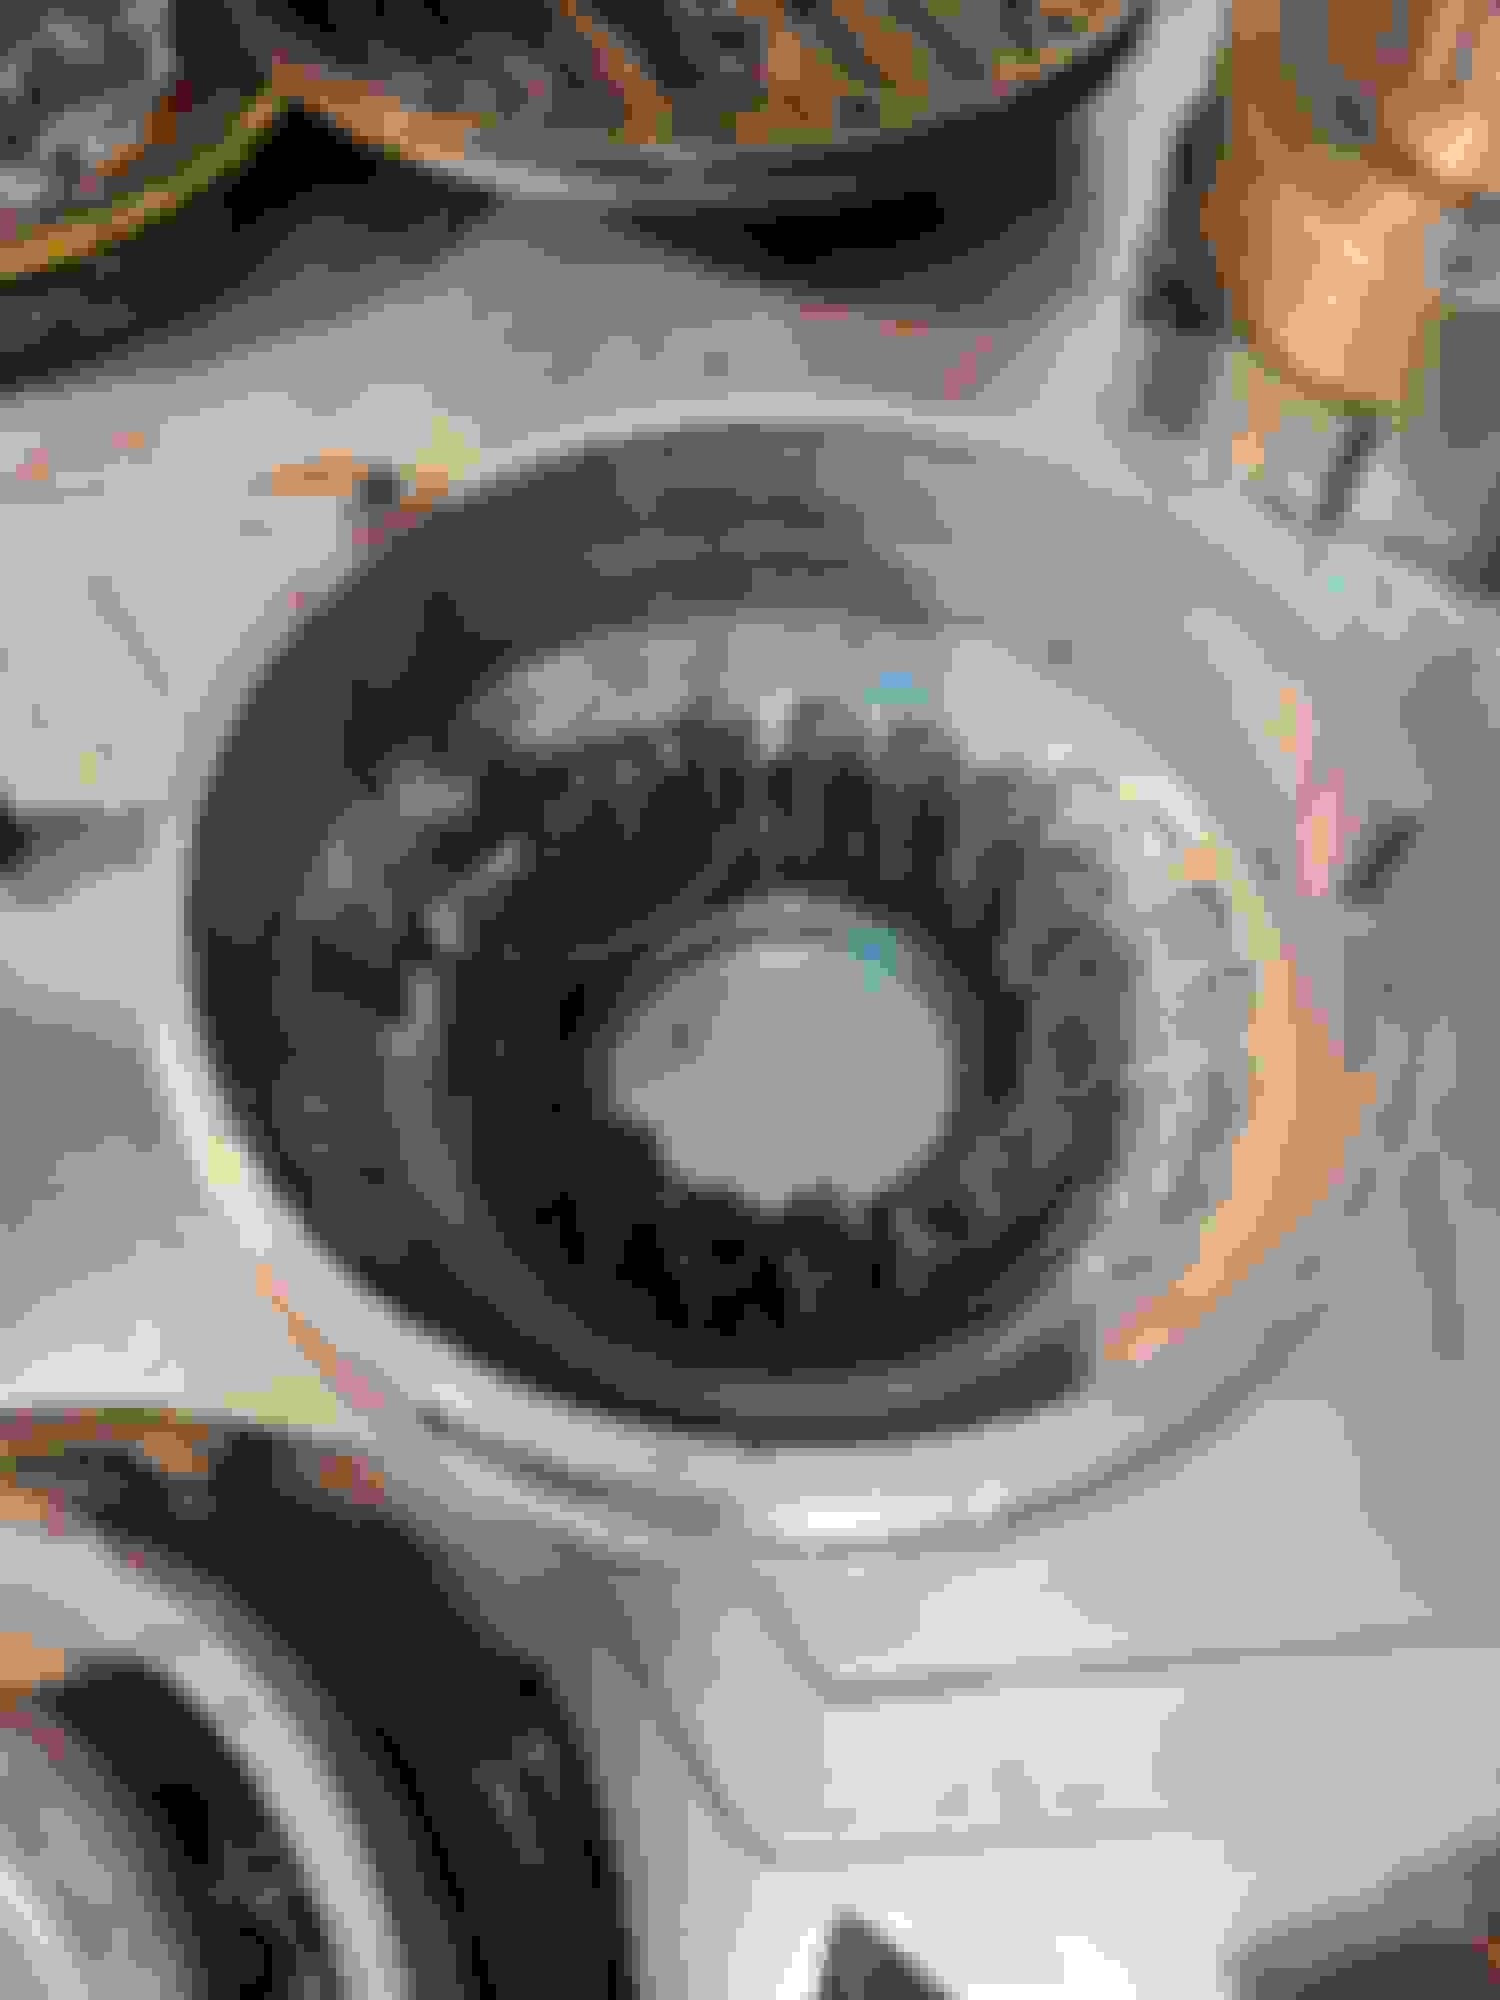
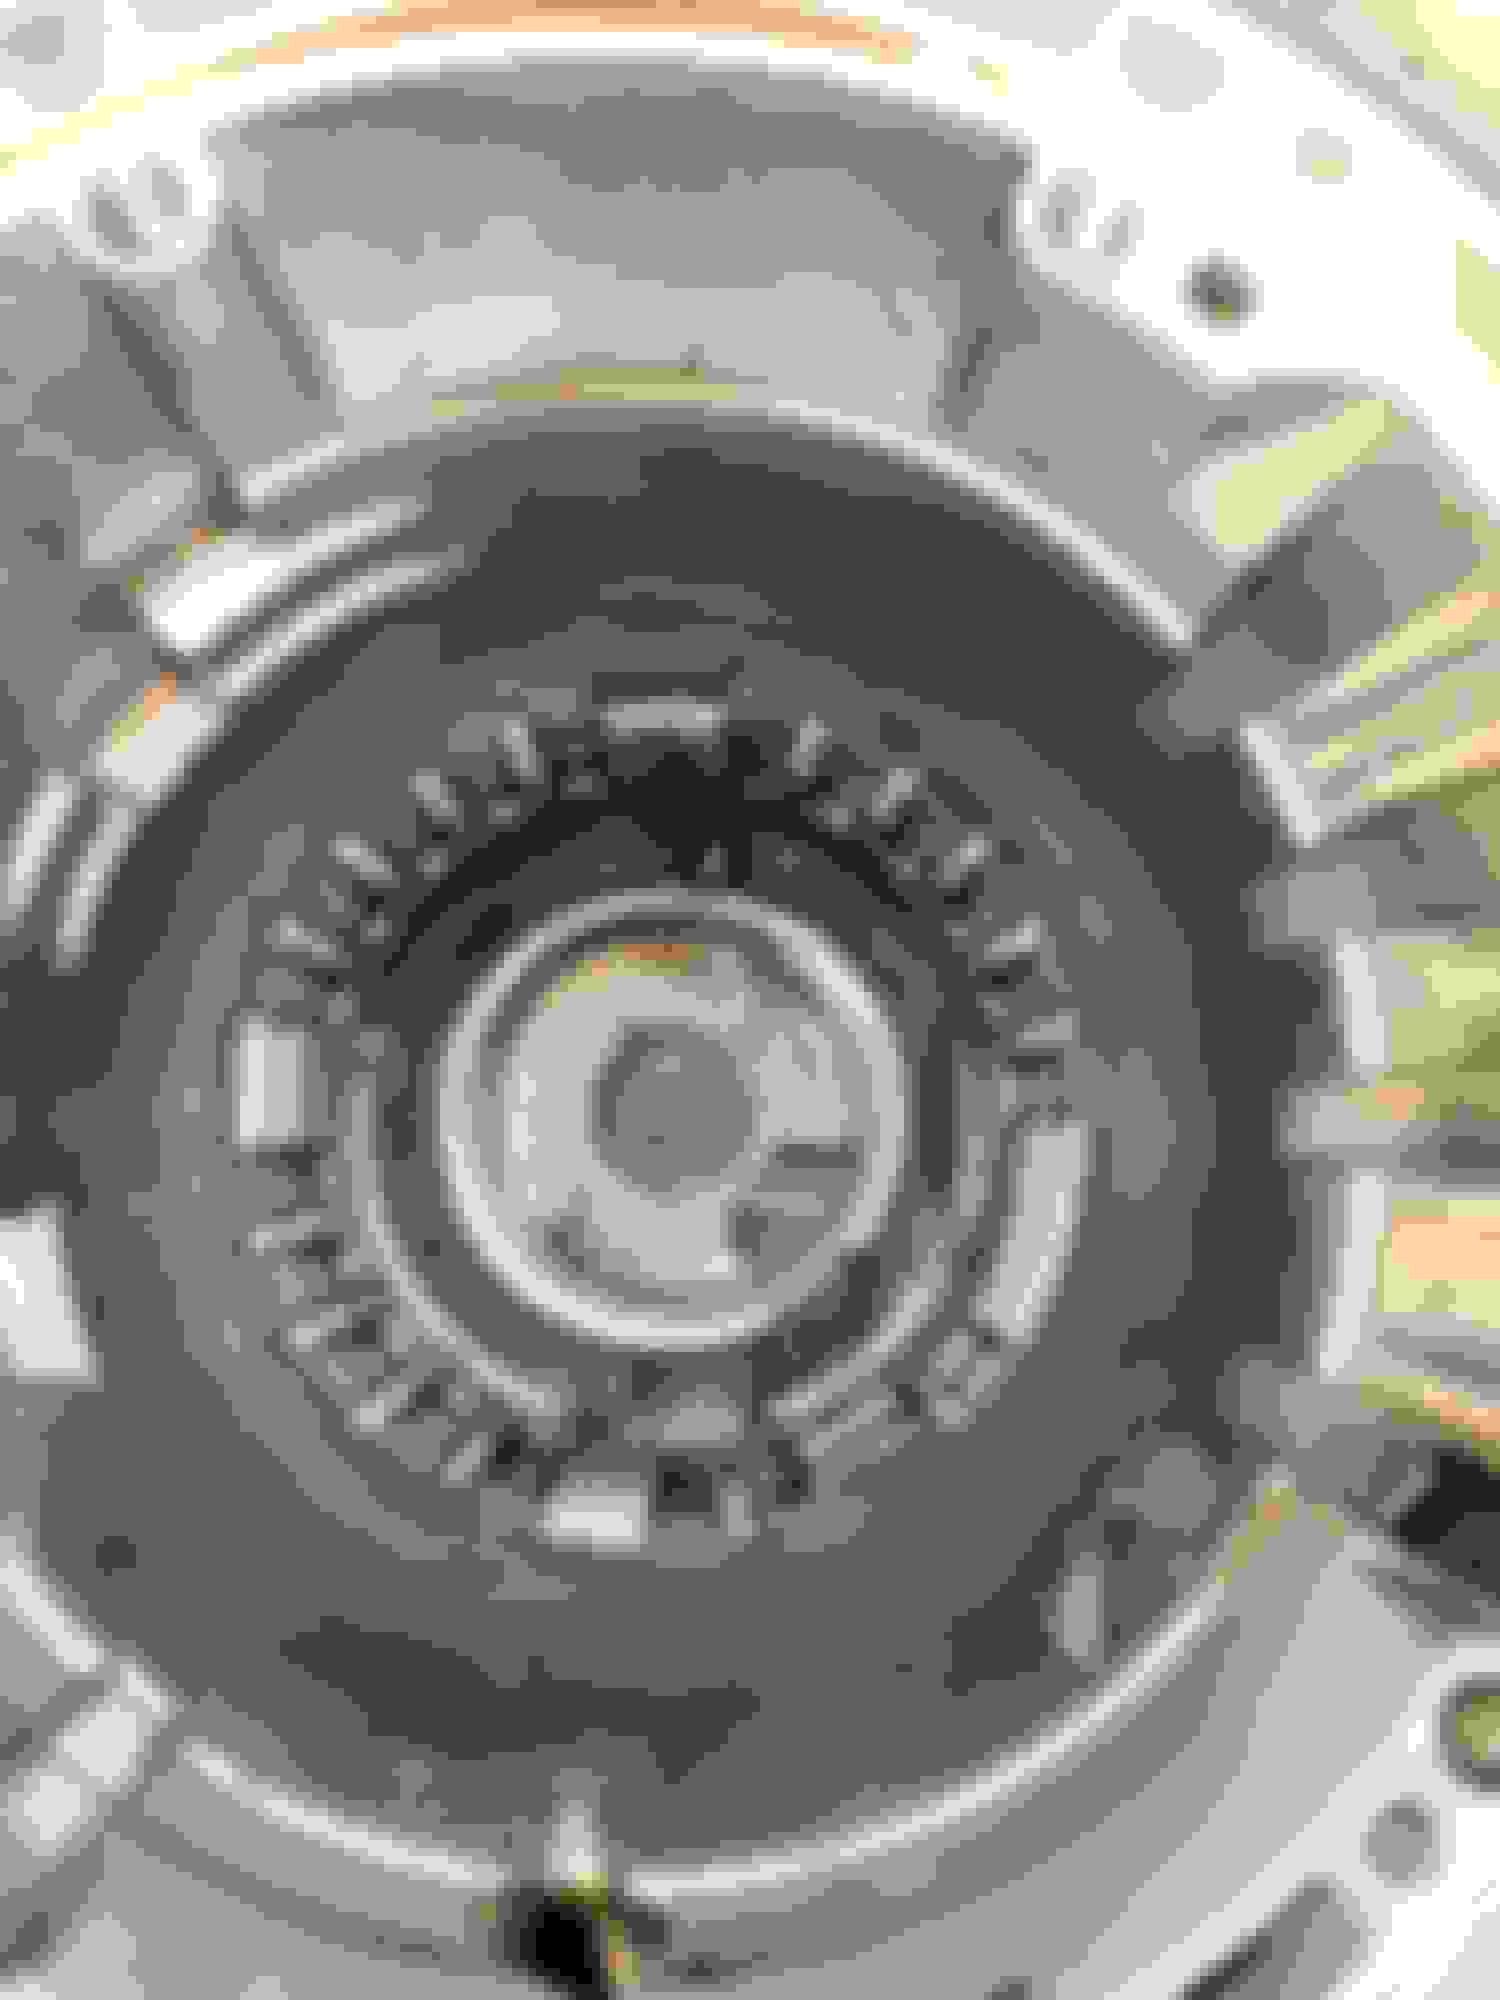
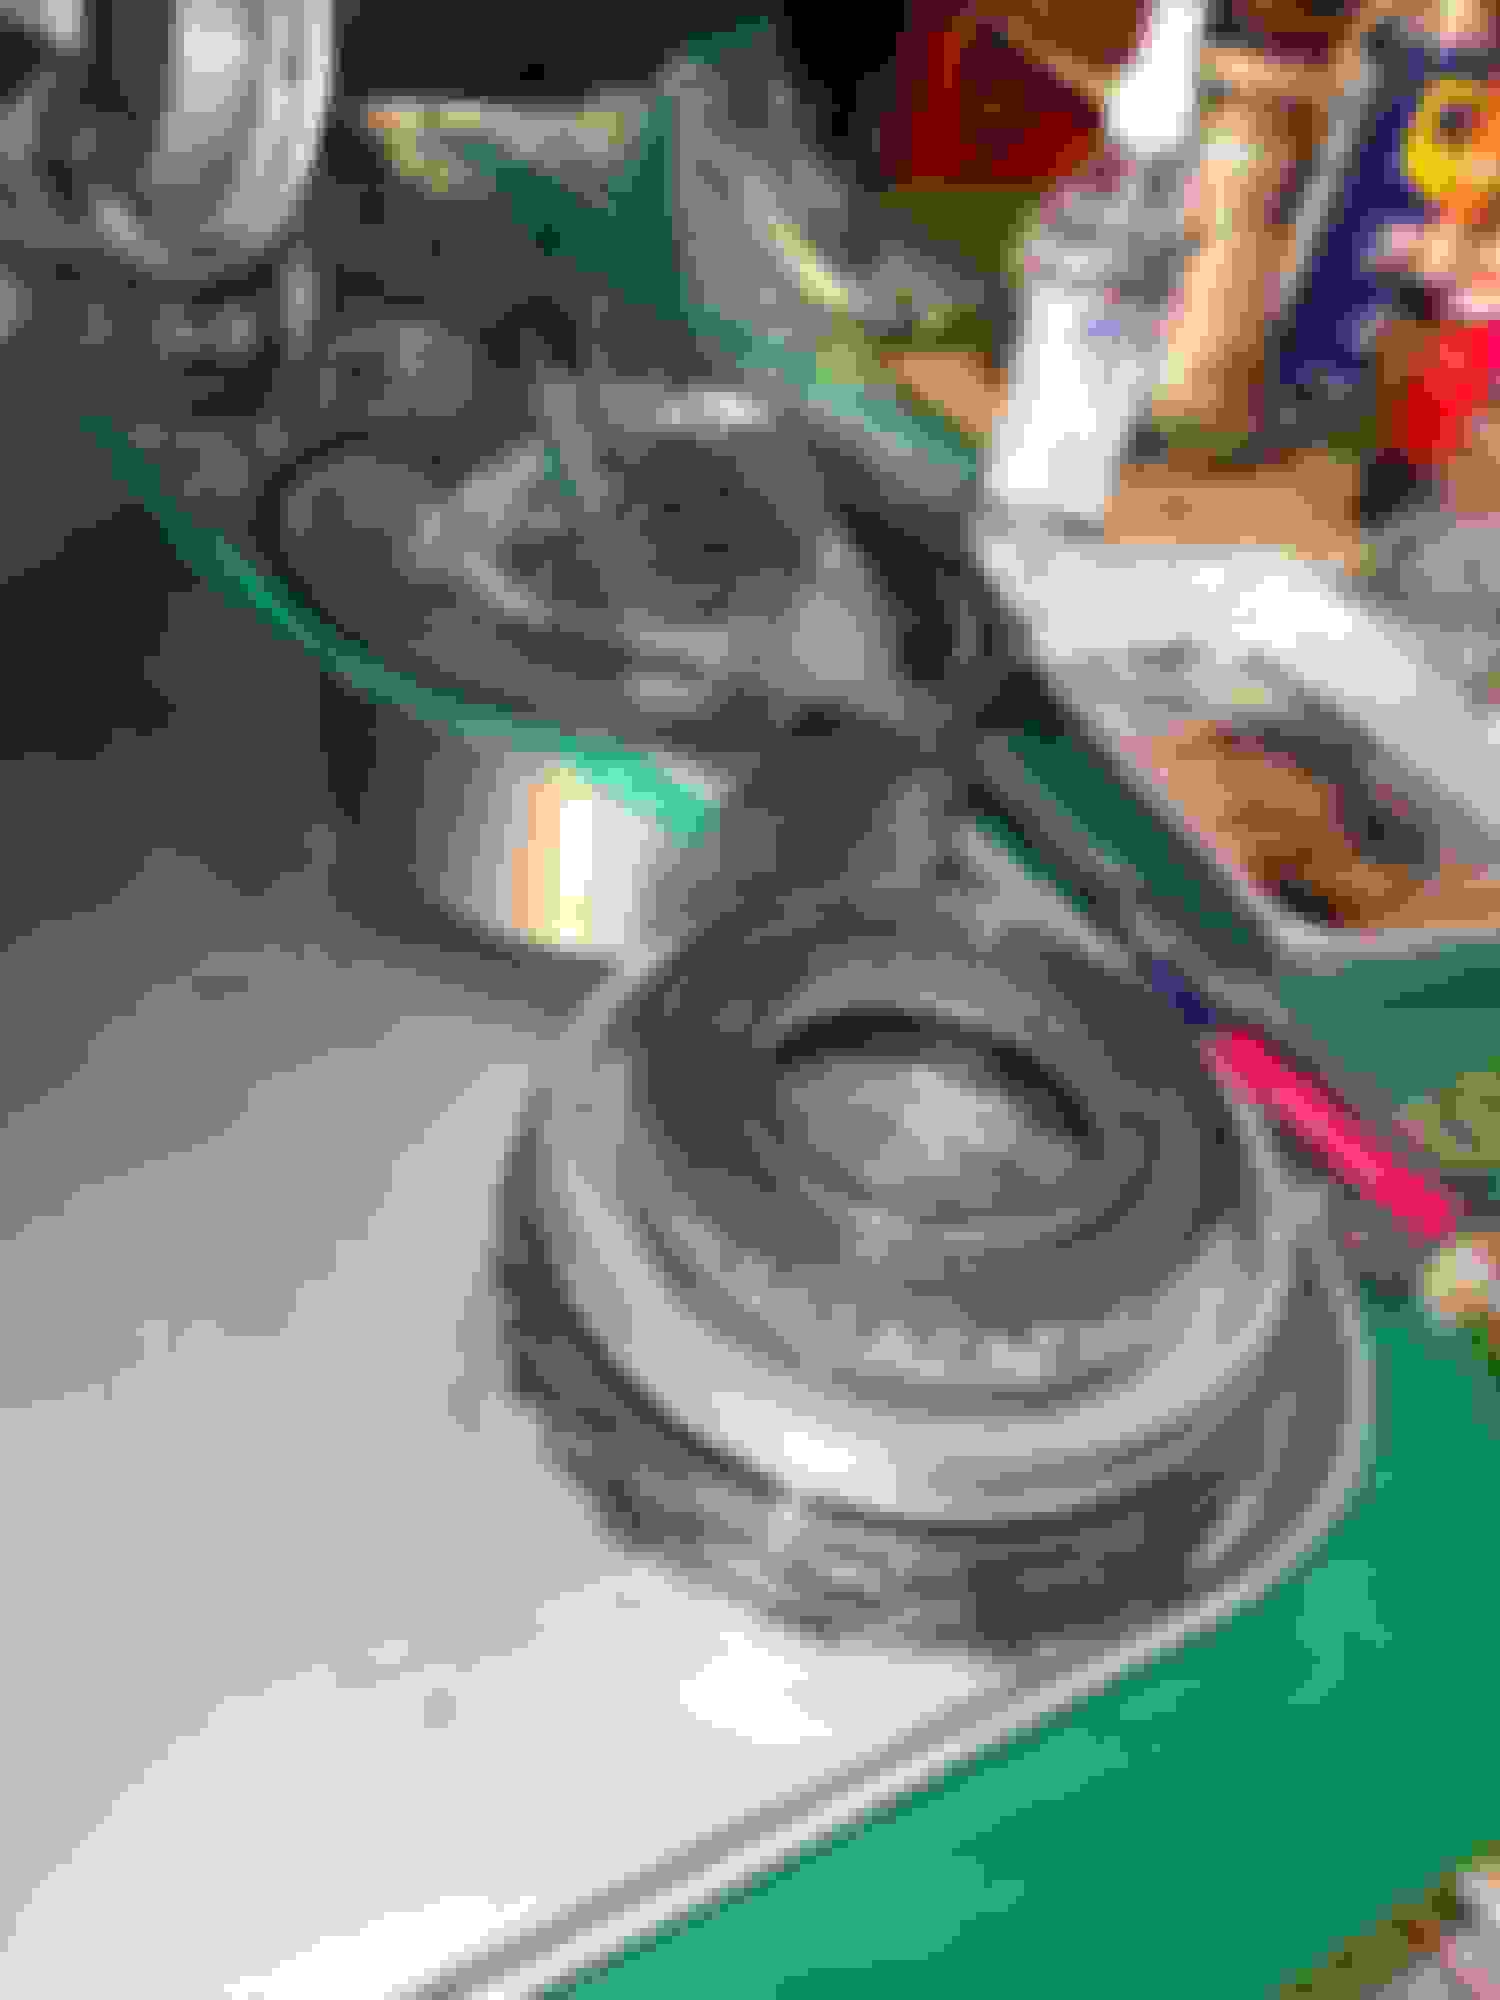
Here are some pictures of the Clutches and Spacer Bearings as I removed them, Definitely confirmed my decision to rebuild ,I Think
Pump
Direct Clutch Thrust washer
Intermediate Friction Plates (not too bad)
Direct Clutch assemble (disassembled) and Direct Clutch Friction plates, all are very worn.
I ordered a rebuild kit from Rockauto, ATPSMS9Master Kit Plus. I also ordered
by Ron Sessions
should have it all by Monday.
Along with my CSM, YouTube and the ever helpful CO Members I feel pretty confident this will go well, fingers crossed
Well back to the Garage !!
With the trans out and torn down as far as it is, it�s much cheaper and effective to do a couple internal modifications for better shift performance. But if you already have the shift kit, no point in describing the process.
Matt thanks for the offer, I bought the Trans Go kit before I started this journey.
I will definitely be asking some questions along the way and look forward to any suggestions you would have.
Ok I went and got a different gear puller and was able to get the Output carrier out.
Now I'm trying to get the Roller Clutch Retainer spring out, does anyone know a trick to getting it out?
I tried a screwdriver and Needle nose pliers but can't get a good enough grip to pop it out
I also pulled the Pump apart and the Thrust spacer was just as worn as all the others I've removed
Ok so I got the Roller clutch and Support out, the retaining spring fell out after the whole assembly came out, Had to wiggle it around for a while to get it to come out, After I set the case on the extension end it came out much easier. Watched a video on YouTube explained how to get it apart. YouTube Channel (Automatic Transmission) Very informative TH350 Video 2 Parts Watched them a couple times since deciding to start the Original upgrades about 3-1/2 Hours total.
spline end of Output shaft that the Output Carrier was hung up on. Looks worn to me, But then again this is the first time I have ever seen the inside of a Transmission
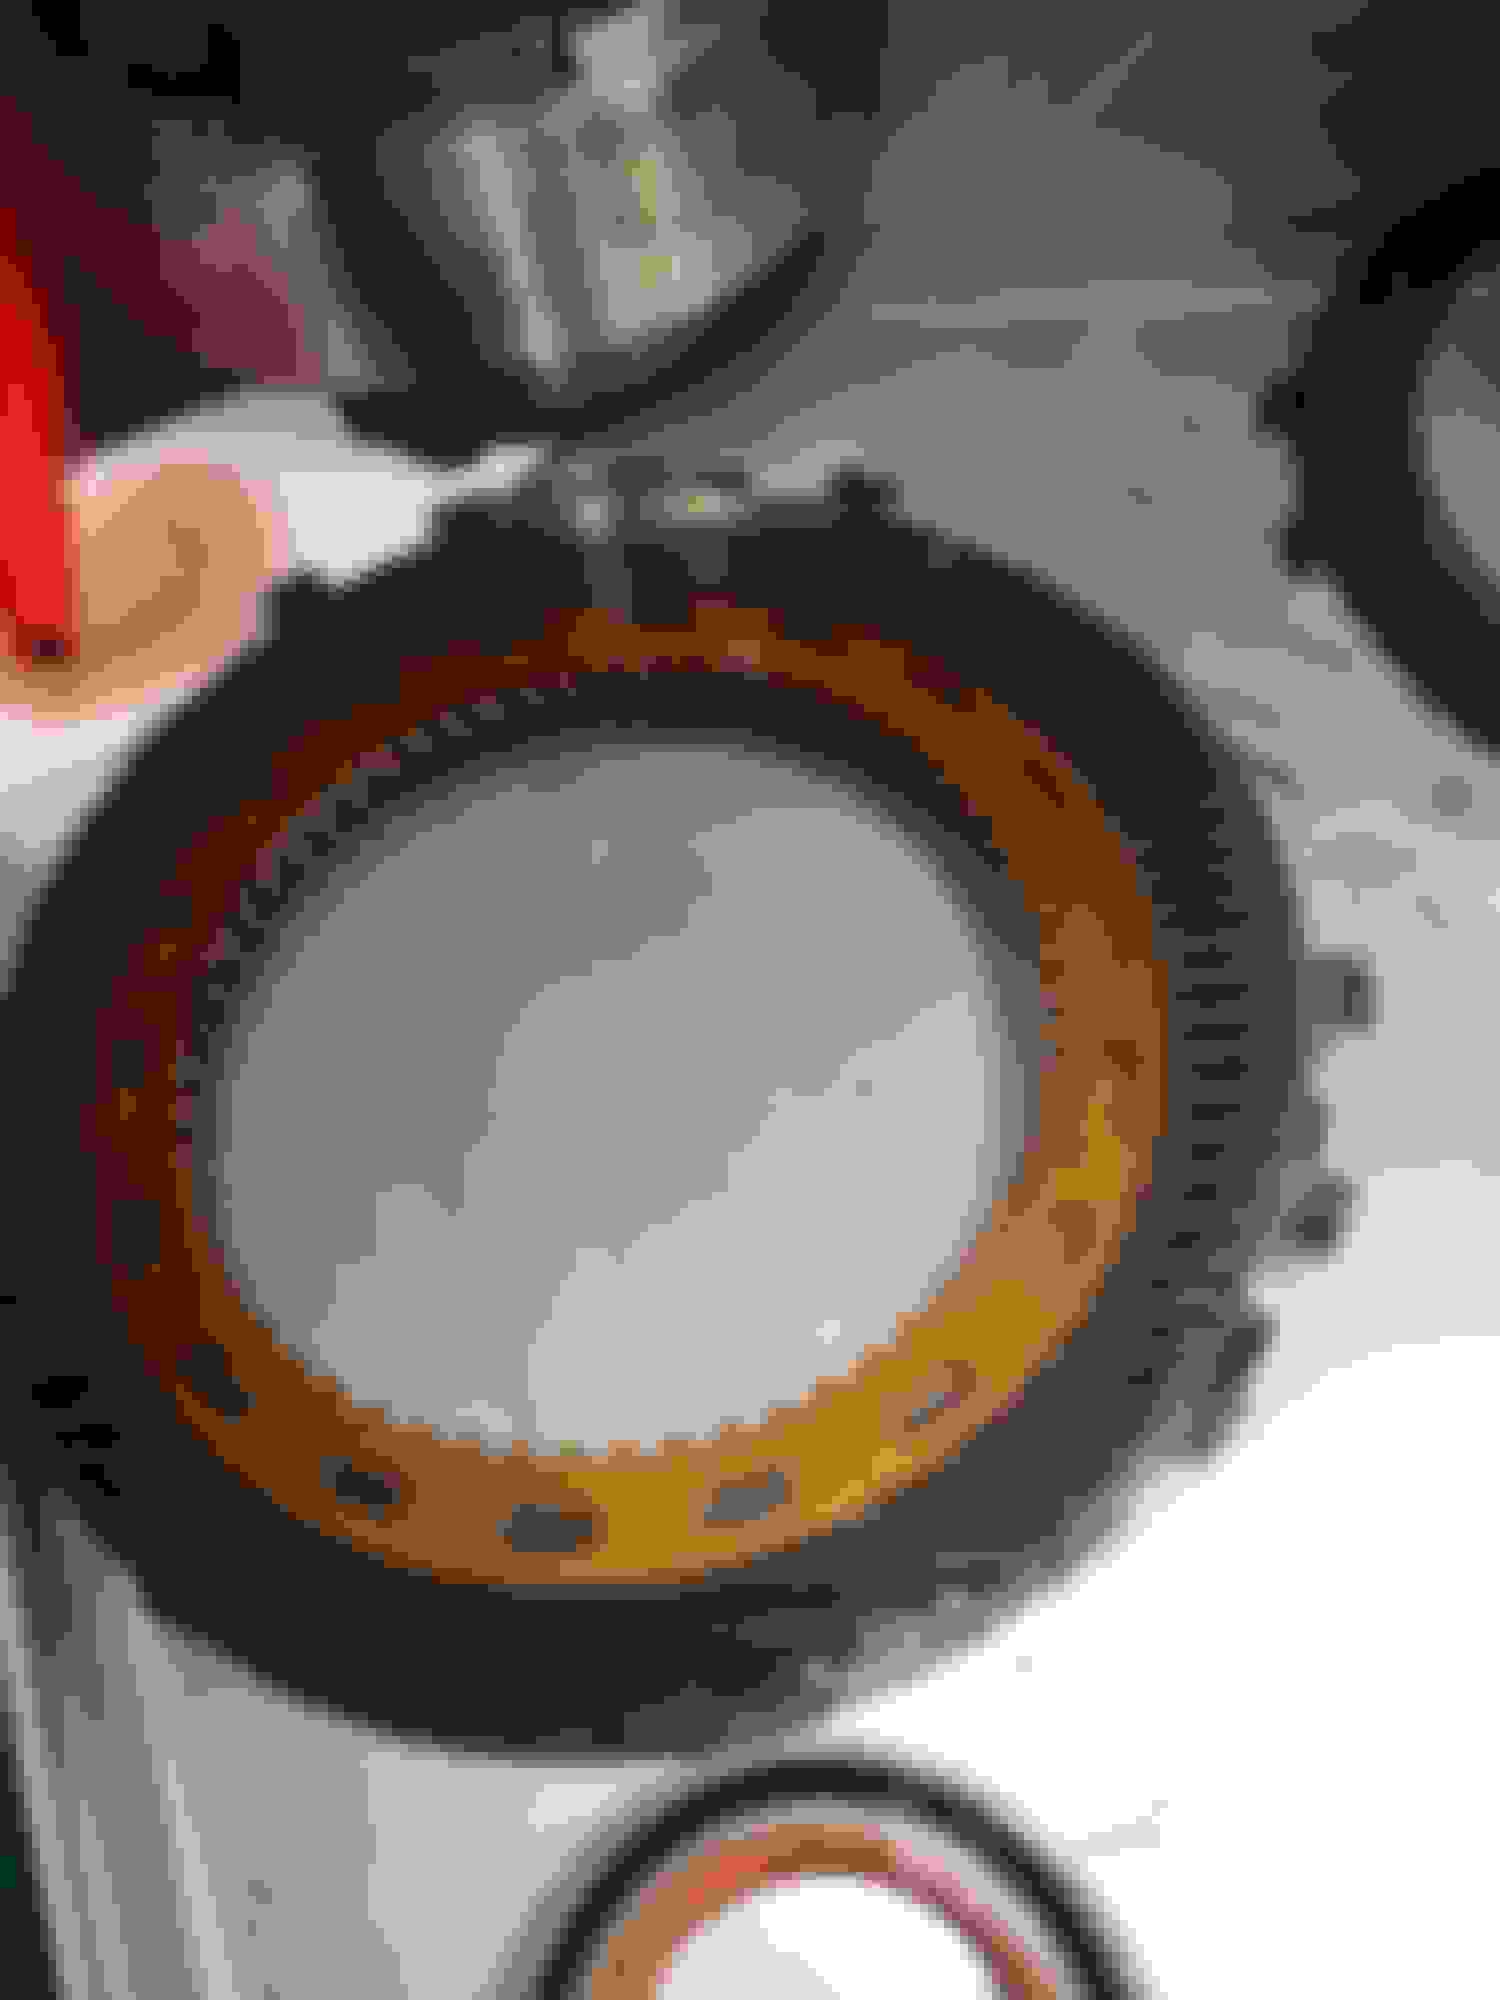
Low and Reverse Clutch Pack looks to me like the Friction material is completely worn away.
Last part I need is to remove the snap ring in the Reverse Clutch spring seat.
I have to compress the Spring seat and then I should be able to pop out the snap ring.
I used a couple Bar Clamps to do the Oil Pump and and Output Carrier, They wont work on this last one (too big)
May go get some Threaded Rod and some Fender washers and make myself a Compressing Tool.
Picture of the Thrust washers They look pretty worn to me, what do you guys think?
Some all thread and some scrap iron is all you need to make a tool to compress the low/reverse piston spring retainer. Some 3/16 or 1/4 flat stock bent into a U shape, with the legs just wide enough to push on the outer edge of the spring retainer.
Save one of the old low/reverse clutch plates, preferably one with the friction material already flaked off. Either that or scrap the friction material off with a razor blade. The clutch plate makes a perfect spacer to go under the intermediate piston in the pump. Take a pair of tin snips and make a slice thru the clutch, place it in the pocket on the pump where the intermediate piston goes. That will tighten up the clutch clearance for 2nd gear
Hopefully the overhaul kit you bought includes the wide bushing for the direct drum. The wife bushing really helps keep the direct drum spinning straight.
A thrust washer kit is always a good idea. Usually the kits include several pump thrust washers in various thickness to set end play. While your don�t look terrible, a couple thousands worn off each washer can add up pretty quickly.
A bearing kit is also cheap insurance. Replace any bearing that has a rough feel when spinning the bearing hsves.
Machine the direct piston the equivalent of of one friction/clutch to install 5 clutches instead of the factory 4.
Since the trans is apart, use everything in the TransGo shift kit except the included spacer plate, transfer plate, and gaskets. I would strongly suggest using the original spacer plate and internally dual feed the direct clutches. It�s just a all around better way instead of the shift kit method. The procedure is outlined in the Ron Sessions book.
Clean the rust off the outer circumference of the pump halves. Once the pump is cleaned, assembled, and ready for final torque use the case to align the pump halves. Install the pump upside down into the case, the tighten the bolts to spec. Remove the pump, install the new outer o-ring, and set it aside for final assembly.
Sometimes those carriers get hung up on the splines. It�s not uncommon to need a gear puller to get the carrier out.
Work slowly, work cleanly, don�t force anything, and you will do just fine.
Last edited by matt69olds; November 27th, 2020 at 06:04 PM.
Some all thread and some scrap iron is all you need to make a tool to compress the low/reverse piston spring retainer. Some 3/16 or 1/4 flat stock bent into a U shape, with the legs just wide enough to push on the outer edge of the spring retainer.
Save one of the old low/reverse clutch plates, preferably one with the friction material already flaked off. Either that or scrap the friction material off with a razor blade. The clutch plate makes a perfect spacer to go under the intermediate piston in the pump. Take a pair of tin snips and make a slice thru the clutch, place it in the pocket on the pump where the intermediate piston goes. That will tighten up the clutch clearance for 2nd gear
Hopefully the overhaul kit you bought includes the wide bushing for the direct drum. The wife bushing really helps keep the direct drum spinning straight.
A thrust washer kit is always a good idea. Usually the kits include several pump thrust washers in various thickness to set end play. While your don�t look terrible, a couple thousands worn off each washer can add up pretty quickly.
A bearing kit is also cheap insurance. Replace any bearing that has a rough feel when spinning the bearing hsves.
Machine the direct piston the equivalent of of one friction/clutch to install 5 clutches instead of the factory 4.
Since the trans is apart, use everything in the TransGo shift kit except the included spacer plate, transfer plate, and gaskets. I would strongly suggest using the original spacer plate and internally dual feed the direct clutches. It�s just a all around better way instead of the shift kit method. The procedure is outlined in the Ron Sessions book.
Clean the rust off the outer circumference of the pump halves. Once the pump is cleaned, assembled, and ready for final torque use the case to align the pump halves. Install the pump upside down into the case, the tighten the bolts to spec. Remove the pump, install the new outer o-ring, and set it aside for final assembly.
Sometimes those carriers get hung up on the splines. It�s not uncommon to need a gear puller to get the carrier out.
Work slowly, work cleanly, don�t force anything, and you will do just fine.
Matt
Thanks for the reply, I have been working on this all day, every time I got stuck I would walk away and take a break and post my progress.
I was able to overcome all of my issues after thinking about it a while or watching a YouTube Video.
Thank god I don't do this for a living, I would starve to death
I will use your Idea for a tool to compress the low/reverse spring retainer.
I just ordered a new Bushing kit and Thrust washer kit.
I also ordered new Sprags for the low/reverse and Intermediate units and a Case saver kit.
I noticed that the Pump and Governor filters were missing so I ordered them also.
Probably have about $600.00 into this so far, including the shift kit and Torque converter.
Will probably need a few other things when I start changing out the bushings.
I think the governor filter is included with the overhaul kit. Look in the small bag of o-rings and small seals. The other filter is occasionally included, most of the time I don�t bother with them if I don�t have a replacement. I think Hydromatic eliminated the filter on the later 350s as a cost savings. If you think about it, it�s really not needed, the filter in the pan should catch any debris long before it gets to that small filter.
Nice to watch your progress. It will be fine, i believe.
If you dont mind me sharing some tips, atleast i chanceg all the bushings, everywhere. Have few spare.. Like another set, its so cheap that no matter if you end up using only one of them, its funnier than waiting new bushing. I think i used 2 out of the other bushing set due to various reasons. I bought universal, aluminium cam-bearing assemly tools, and cut each tool needed from those by the measurements given in Ron Sessions book. Aluminium is soft so its nice and fast to cut on correct size. I used improvised angle-grinder lathe + wood chisels to cut them Everything goes!
I remember that i had to use small honing tool to some bushing, just cant recall what.
That trans looks way worse than mine looked when opened. Have fun.
[QUOTE=matt69olds;1297120]I think the governor filter is included with the overhaul kit. Look in the small bag of o-rings and small seals. The other filter is occasionally included, most of the time I don�t bother with them if I don�t have a replacement. I think Hydromatic eliminated the filter on the later 350s as a cost savings. If you think about it, it�s really not needed, the filter in the pan should catch any debris long before it gets to that small filter.[/QU
Matt
The rebuild kit has not been delivered yet, I'm sure there are going to be parts that I ordered that I will end up having duplicates of, since I originally was going to just change the seals and bushings in the Pump and extension.
I ordered all of the parts for that job. Then once I decided to rebuild, I ordered the rebuild kit, then a complete bushing kit and Thrust washers, I'm sure some of those parts will be in the kit but the parts list was pretty vague .Once I have all of the ordered parts I will use what I need and keep the rest as spares or donate if someone needs a part I have extras of.
Nice to watch your progress. It will be fine, i believe.
If you dont mind me sharing some tips, atleast i chanceg all the bushings, everywhere. Have few spare.. Like another set, its so cheap that no matter if you end up using only one of them, its funnier than waiting new bushing. I think i used 2 out of the other bushing set due to various reasons. I bought universal, aluminium cam-bearing assemly tools, and cut each tool needed from those by the measurements given in Ron Sessions book. Aluminium is soft so its nice and fast to cut on correct size. I used improvised angle-grinder lathe + wood chisels to cut them Everything goes!
I remember that i had to use small honing tool to some bushing, just cant recall what.
That trans looks way worse than mine looked when opened. Have fun.
It was pretty worn and dirty inside, I even found a long human hair inside of it, That was gross and I know it wasn't mine cause I don't have any hair left
This is definitely a learning experience I'm sure I will Have some questions along the way.
If you have suggestions, Share away, I'm sure I or anyone following would appreciate any information that would make this a more successful rebuild.
A quality street converter shouldn�t feel mushy. A converter stall speed is directly related to vehicle load/engine speed. Low speed/low throttle=low stall speed.
A converter with a rated stall speed of 2500 isn�t much higher than a factory converter.
The converter (code D5) used in the Grand National/442/Monte SS was rated at 2800. Granted, it took some serious throttle to get it to flash that high, but GM wouldn�t have used it if it resulted in drivability complaints.
I found the stock TH350 converters flash at 1600 rpm behind my SBO's, they suck. The stock D9 2004R that was pretty much in every 2004R I have bought stall around 1900 rpm. The OPT(2000-2600 stall) 2400 flash stall was quite mushy with 2.56 gears. After going to 3.42 gears, the mushiness went away. This current PATC 2200-2500, 2350 flash stall drives completely stock even with 2.78 gears.
Ok so today I made a spring compressor tool so I could get the Low and Reverse piston spring retainer snap ring out.
I made it out of a piece of 1-1/2 x 3/16 flat stock and a 5" 3/8 Bolt
after I got the snap ring out I removed the springs, Parking pawl bracket, and the piston.
The Trans case is now ready for cleaning.
I also received the Trans rebuild kit today.
I bought it from Rockauto and it was the most complete kit they had, unfortunately it is pretty lacking in parts for a master kit $144.00
I ended up buying more parts to complete the list of thing I needed, if I would have just done a better search on eBay I would have found a
better kit that included all of the parts I ended up buying separately. $214.00
I would have saved about $50.00 over buying everything separately , Oh well, Live and learn
I also picked up a container to use for cleaning all the parts with degreaser.
Removed all of the old bushing tonight, still working on getting the output shaft bushing out.
Cleaned the case and tail shaft housing as best I could, installed the Bushing and seal in the extension.
I ordered a single clutch plate and a modified Direct clutch piston so I can upgrade to 5 clutch plates as suggested.
Now to start cleaning all the internal parts, then the reassembly begins.
Does any one have any suggestions on how best to modify the low/reverse clutch for installing the case saver kit, I was thinking of using a cut off wheel but don't want to destroy anything. When in doubt ask a question.
Gary
Last edited by Schne442; December 3rd, 2020 at 06:48 PM.
youre doing such a good job im gonna send you my trans to overhaul next
Thanks, appreciate the compliment.
No problem on the Trans rebuild request
You just need to convince my wife to give up her Garage space for a couple more months during our Cold Chicago Weather
The case saver replaces the factory anti clunk spring, the ones I have seen and use look kinda like the state of Texas and drop in with no modifications. Use a blob of Vasoline to hold it in place. Case wear is most common in trucks with snowplows (the constant backing up, dropping into gear) or people who back out of their driveway and refuse to come to a complete stop before dropping the trans into gear. Unless the case is worn, I would use the factory spring.
Btw, what are you using for assembly lube? Don�t use wheel bearing grease, it won�t dissolve is the trans fluid. You will find a blob of grease in the pan. Use either the proper assembly goo or Vasoline. It helps if you put the jar in the refrigerator so it thickens up.
You can use low/reverse frictions and steels from a 700 or Powerglide trans to help adjust clutch clearance. I don�t recall the exact specs, but if I remember correctly each trans family uses slightly different thickness parts, but the same overall clutch diameter and spline count. You can also use the late model 4L60E steels with the turbulator holes. They started using those sometime in the early 2000, the purpose of the holes is to scoop off excess fluid and reduces frictional drag.
Did your bushing kit come with the wide direct drum bushing? If not, I�d use one. The original bushing is pretty narrow for what it needs to do. The later pumps included a nylon wear surface to help keep the drum spinning on center.
They also make replacement thrust washers that are a little thicker than the factory stuff. You can also use rearend pinion shims under the factory washers to take up a little clearance. The factory end play was pretty sloppy, add 50 years of wear it�s probably worse. Good luck!
The case saver replaces the factory anti clunk spring, the ones I have seen and use look kinda like the state of Texas and drop in with no modifications. Use a blob of Vasoline to hold it in place. Case wear is most common in trucks with snowplows (the constant backing up, dropping into gear) or people who back out of their driveway and refuse to come to a complete stop before dropping the trans into gear. Unless the case is worn, I would use the factory spring. The instructions say you need to modify the ring ? If I don't need to make modifications and I already have the savers would it hurt to just drop them in along with the spring.
Btw, what are you using for assembly lube? Don�t use wheel bearing grease, it won�t dissolve is the trans fluid. You will find a blob of grease in the pan. Use either the proper assembly goo or Vasoline. It helps if you put the jar in the refrigerator so it thickens up. I got trans assembly lube , its blue and says low tack
You can use low/reverse frictions and steels from a 700 or Powerglide trans to help adjust clutch clearance. I don�t recall the exact specs, but if I remember correctly each trans family uses slightly different thickness parts, but the same overall clutch diameter and spline count. You can also use the late model 4L60E steels with the turbulator holes. They started using those sometime in the early 2000, the purpose of the holes is to scoop off excess fluid and reduces frictional drag. The Frictions and steels that came in my rebuild kit are the Alto HEG model, I ordered a separate friction so I could add it to the stack.
not trying to make a race transmission, just something that will hold up to my stock 350 with some future upgrades. This is turning into one crazy MAW project.
Did your bushing kit come with the wide direct drum bushing? If not, I�d use one. The original bushing is pretty narrow for what it needs to do. The later pumps included a nylon wear surface to help keep the drum spinning on center. No, I had to order a whole bushing kit and then had to order the wide Bushing separately, still waiting on delivery.
They also make replacement thrust washers that are a little thicker than the factory stuff. You can also use rearend pinion shims under the factory washers to take up a little clearance. The factory end play was pretty sloppy, add 50 years of wear it�s probably worse. Good luck!
I ordered a set of replacement Thrust washers, supposed to be Old stock all metal , still waiting on delivery
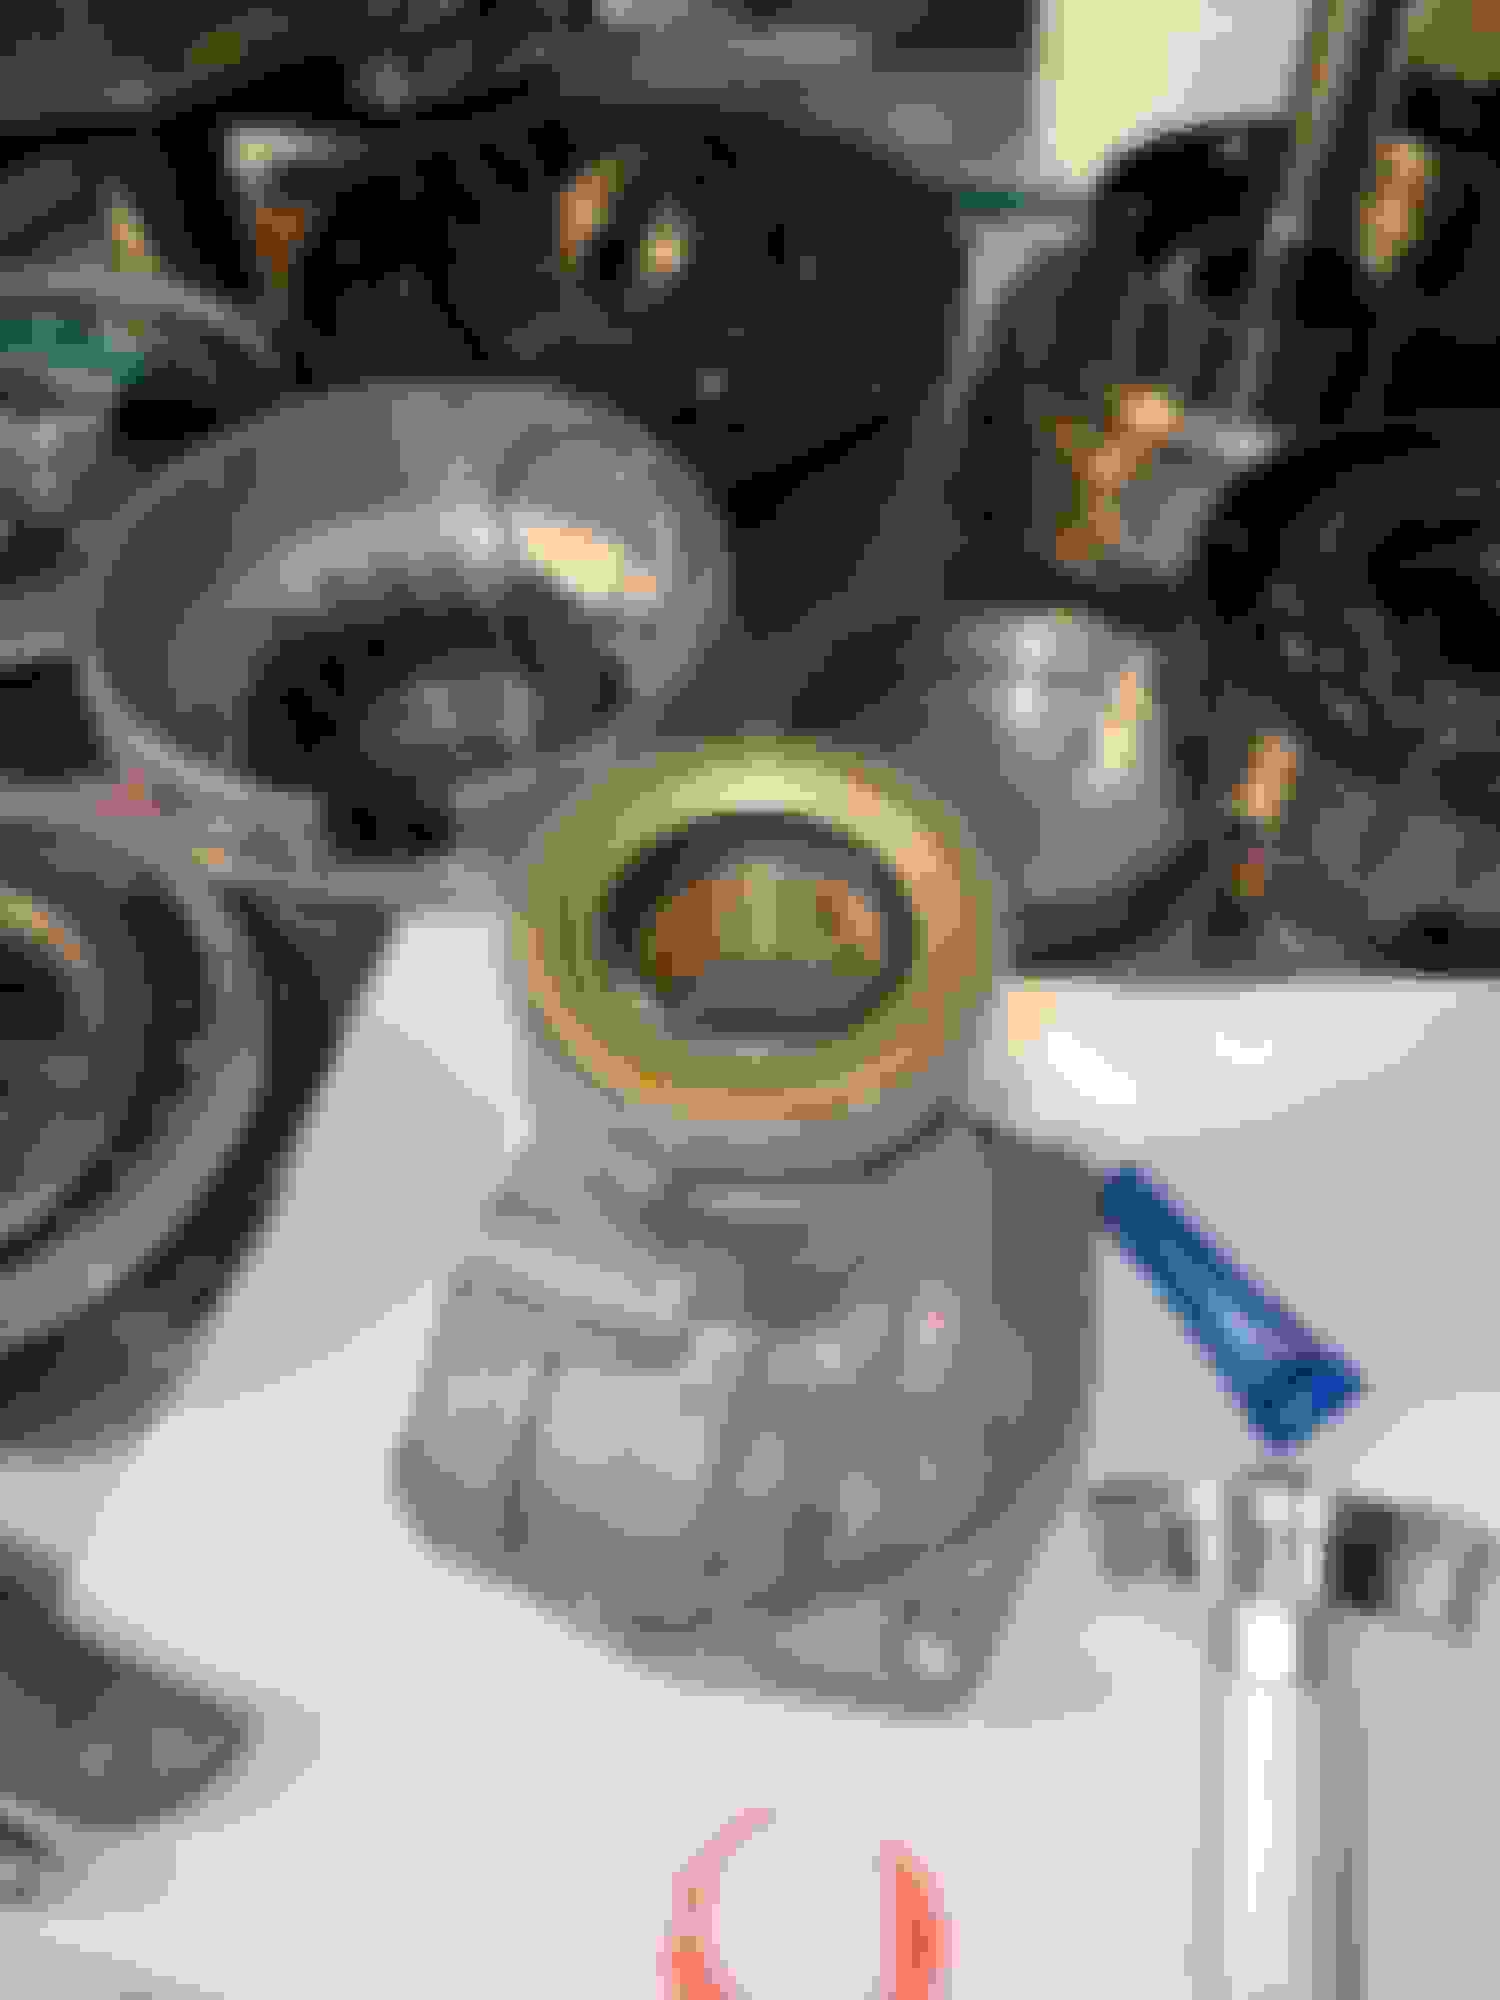
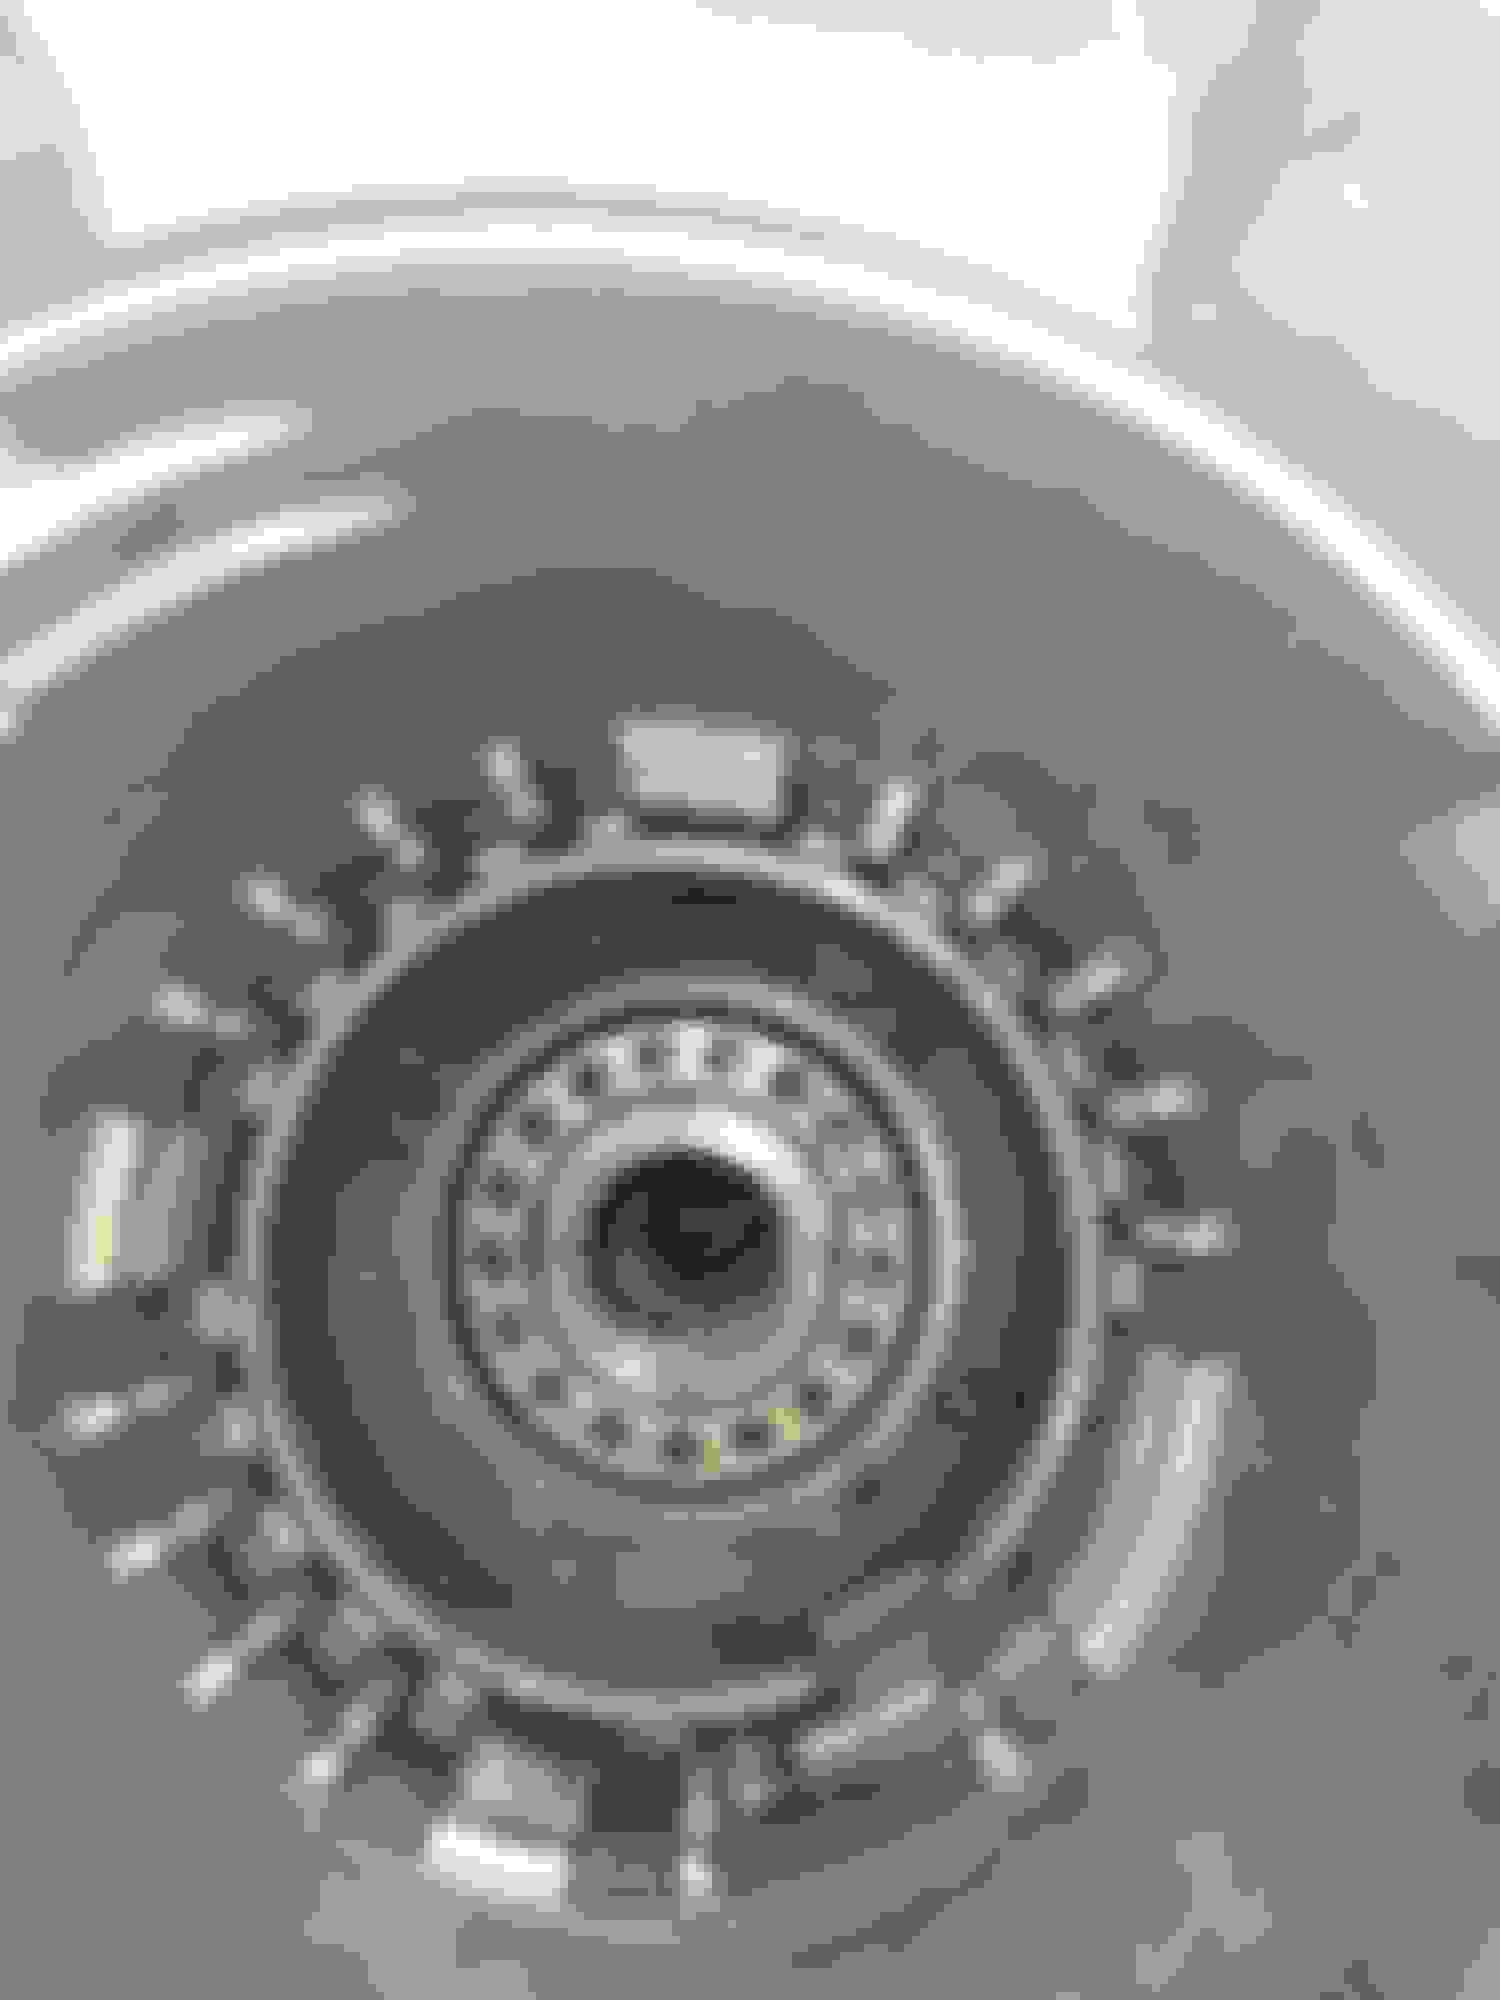
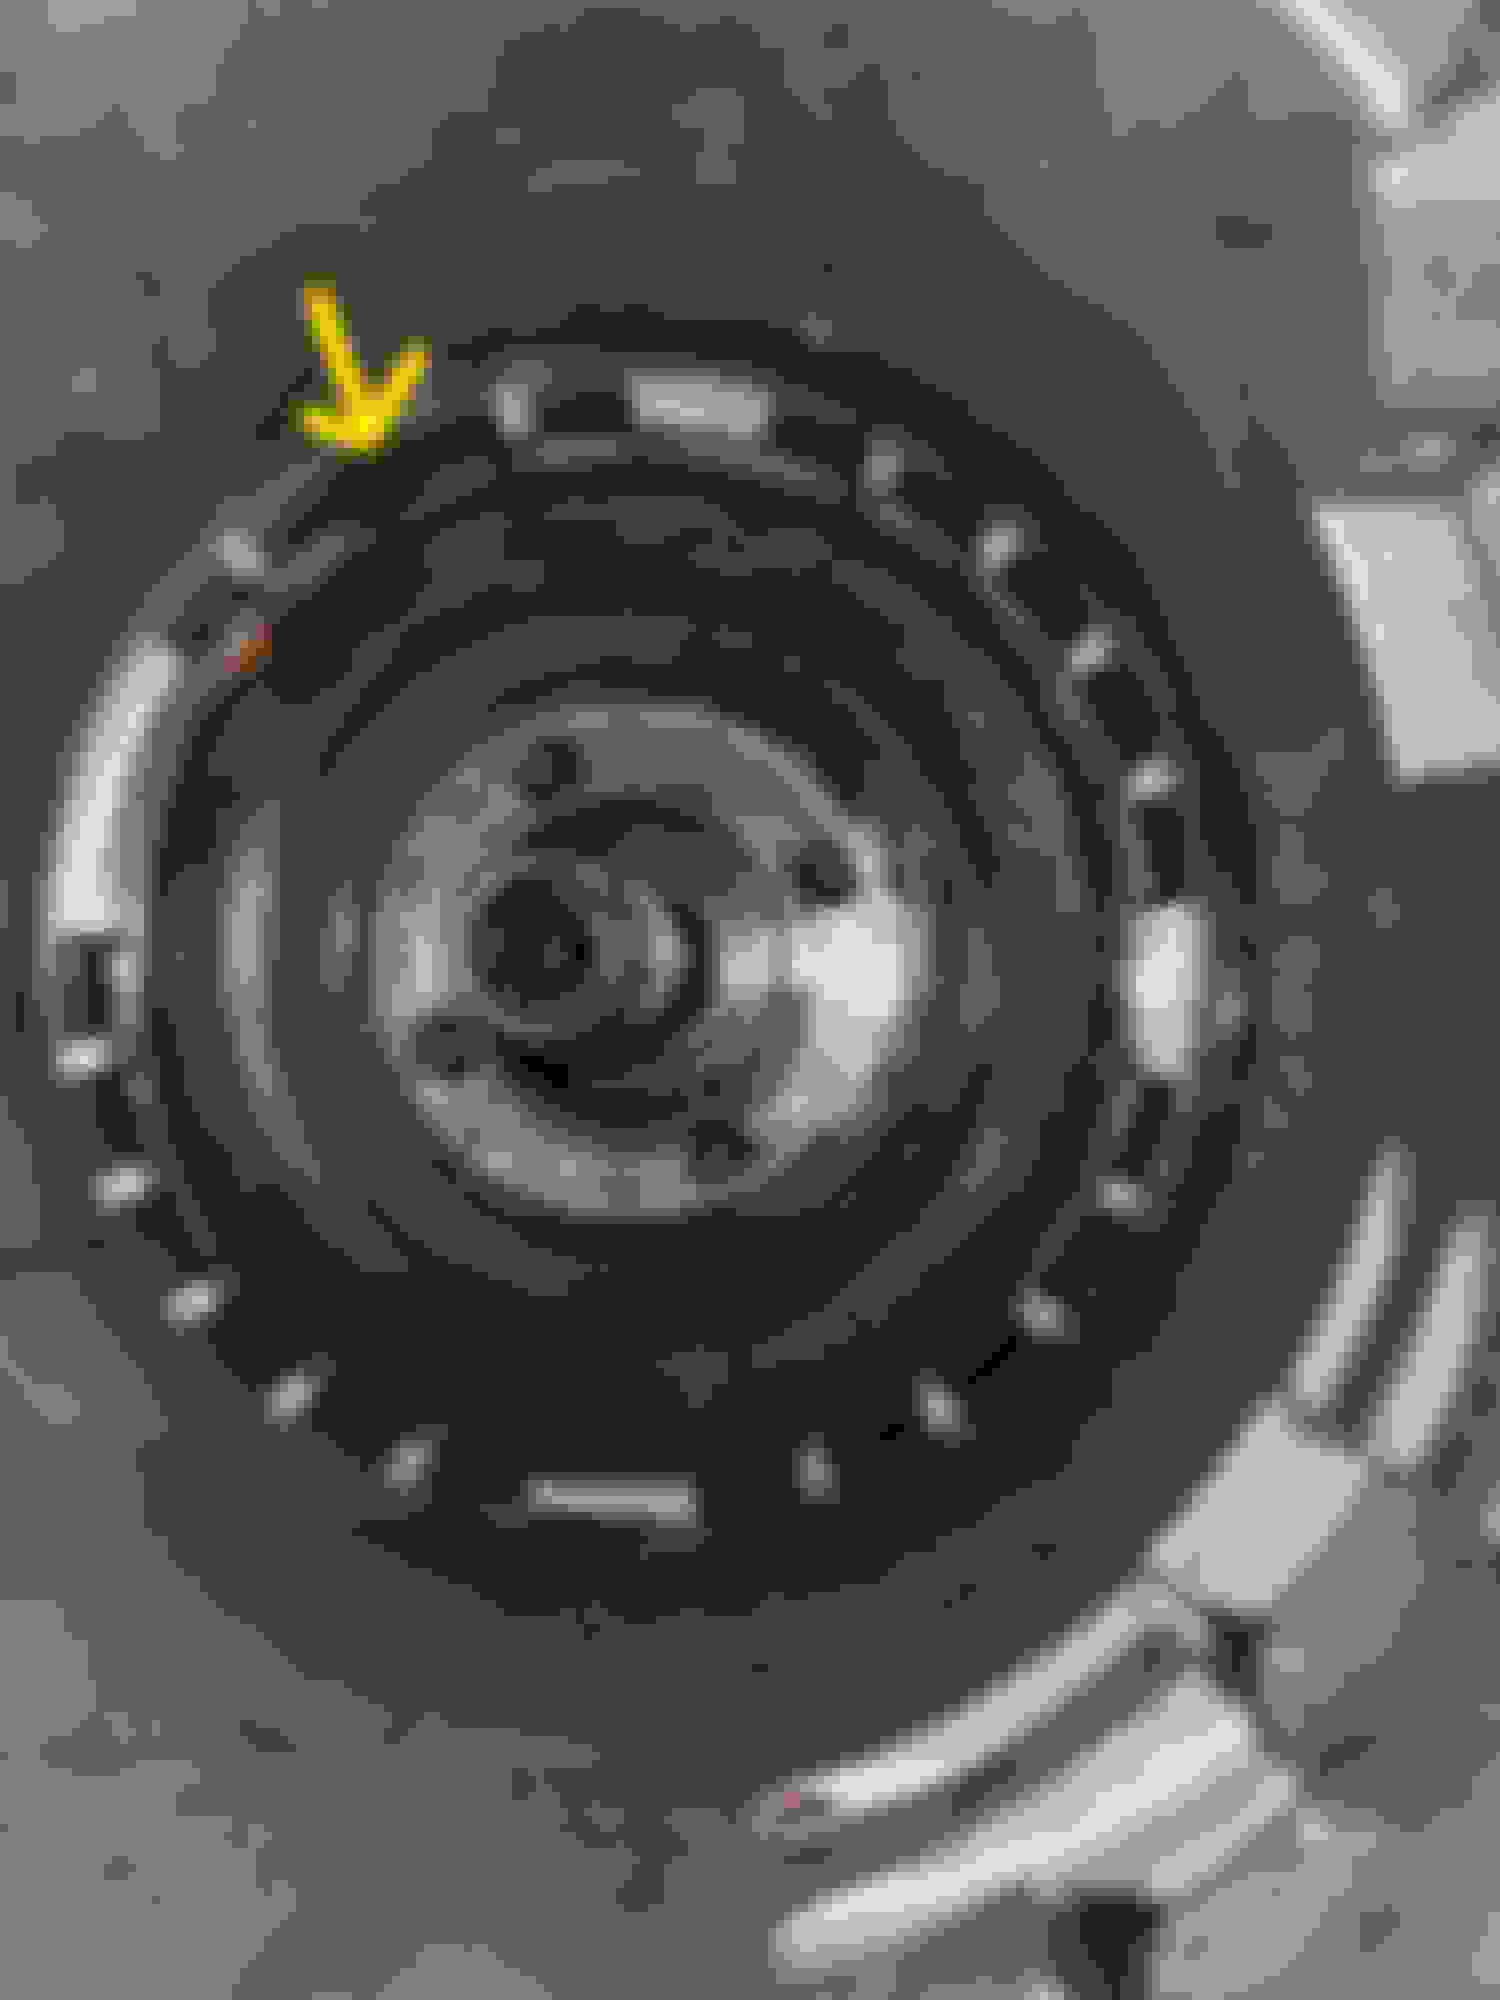
Ok so new issue, I was looking at my Input shaft and noticed that the bearing race is worn to the point that you can see and feel a lip at the top and bottom of the race were it contacted the bearing. I will be installing a new wide Bearing but does it look like the shaft needs to be replaced ? I can get a reconditioned one on eBay for $50.00
Last edited by Schne442; December 5th, 2020 at 07:46 PM.
The only bearing on the forward clutch housing is at the base of the input shaft, there is a lip machined into the housing to center the bearing. Post a pic of the area your questioning. If you can�t polish the lip or groove out, most likely the part will need replaced
The only bearing on the forward clutch housing is at the base of the input shaft, there is a lip machined into the housing to center the bearing. Post a pic of the area your questioning. If you can’t polish the lip or groove out, most likely the part will need replaced
Matt
The shaft is worn on the other end where it sits in the Pump bushing. sorry if I didn't explain it better in my last post
Hopefully the picture explains the area that seems to be extremely worn.
Thanks
Last edited by Schne442; December 5th, 2020 at 09:11 PM.
What did the bushing look like? If you can�t polish out the wear without making the shaft diameter too small then it will need to be replaced. That�s kinda strange, the bushing is softer than the input shaft, there must have been some debris in the fluid to cause the wear.
What did the bushing look like? If you can’t polish out the wear without making the shaft diameter too small then it will need to be replaced. That’s kinda strange, the bushing is softer than the input shaft, there must have been some debris in the fluid to cause the wear.
Matt
I did not notice anything unusual with the bushing, some wear, but it was intact.
I really didn't notice the wear in the shaft until I started to clean it.
from what your saying, looks like I will be replacing it. I just went out and looked at the shaft again
and checked the other two areas that ride in the bottom Pump bushings and there is some slight wear
in those areas also, not nearly as bad but wear non the less,
safe to say there was something going on in this trans that wore out the shaft.
From what I was told this Trans was rebuilt a few years before I bought the car.
So who knows what condition it was in before original work was done, Bearings may have been replaced in the Pump
so wear would should be minimal with the few thousand miles put on since that rebuild.
Started to put Trans back together yesterday , Case output Bearing installed, I used the Output shaft to help drive the Bearing in. put the Low/ Reverse piston back in along with Spring cage and snap ring.
I also made an upgrade to my home made spring compressor tool, I welded the nut to the flat piece that sits on the Extension side of the case. Now I only needed one socket to tighten the Bolt from inside the case.
Made it much easer to keep everything lined up while compressing the springs.
I put the Output shaft back together once cleaned.
Installed the lower Planetary, Friction plates and steels. The hardest part to get back together was installing the inner race into the new roller clutch, The rollers kept falling out even after packing it with assembly lube.
It probably took me over an hour to finally get it put together.
Next I set the ant clunk spring into the case ( lots of Assembly lube) and then set the Center support in place. I tried installing the Case saver kit I ordered, didn't want to go in so I left them out for now.
lastly I installed the Snap ring retainer and checked the End play. also had to use the plastic bushing for the Output shaft, new Bushing kit only had the plastic one even though it showed it in the description picture.
I had to use one of the old Thrust Washers because I haven't gotten my new ones delivered yet. I am planning to take it apart after I measure the End play and install the new washers to tighten it up a bit.
Clean parts waiting for assembly
Once you have the rollers installed in the roller clutch, pack the center support with Vasoline and put it in the freezer for a couple hours. The frozen Vasoline will hold the rollers in place.
Unless you have some wear in the case lugs, there is no need for the case saver. The stock anti clunk spring works great. Make sure the snap ring isn�t sitting on top of the anti clunk spring, if so it can work it�s way out of the groove.
What clutch clearance do you have? It�s easiest to check before all the gear train is installed. Stack up the low/reverse clutch pack, install the center support without the roller clutch installed, install the snap ring. Use compressed air to apply the clutch a couple times to make sure everything is seated. There is a small window near the park pawl where you can see the piston move. I don�t recall if GM published a clearance, or if you could even get feeler gauges in there to measure. Since that isn�t a shifting clutch, the clearance isn�t critical. If it�s on the loose side, all you will get is a ever so slightly delayed engagement in reverse. The ideal clearance is .010-.015 per friction. So 5 clutches would be around .050-.075.
Good luck! Looks like things are going back together easy enough.
Last edited by matt69olds; December 8th, 2020 at 06:44 AM.
Once you have the rollers installed in the roller clutch, pack the center support with Vasoline and put it in the freezer for a couple hours. The frozen Vasoline will hold the rollers in place.
Unless you have some wear in the case lugs, there is no need for the case saver. The stock anti clunk spring works great. Make sure the snap ring isn�t sitting on top of the anti clunk spring, if so it can work it�s way out of the groove.
What clutch clearance do you have? It�s easiest to check before all the gear train is installed. Stack up the low/reverse clutch pack, install the center support without the roller clutch installed, install the snap ring. Use compressed air to apply the clutch a couple times to make sure everything is seated. There is a small window near the park pawl where you can see the piston move. I don�t recall if GM published a clearance, or if you could even get feeler gauges in there to measure. Since that isn�t a shifting clutch, the clearance isn�t critical. If it�s on the loose side, all you will get is a ever so slightly delayed engagement in reverse. The ideal clearance is .010-.015 per friction. So 5 clutches would be around .050-.075.
Good luck! Looks like things are going back together easy enough.
Matt
Thanks
I will try the Vaseline trick when I put it back together after taking it back apart for replacing the Thrust Bearing.
On the Case Savers, I figured I would use the Anti clunk spring and since I hade the Case savers it wouldn't hurt to use both, sort of like wearing two condoms, you know for extra protection
But since the case lugs actually look really good, I guess it would just be unnecessary over kill.
I will check the clearance on the clutch pack and record my numbers, I read that my end play should be .10-.20 Thou. Just from pulling the shaft up it feels like I have more than that, If I do I will have to add an extra washer under the Thrust washer to get it in spec.
This rebuild seems to be going along quite well, Just wish I had all my ordered parts already. It has been 12 days since I ordered the Washers, the Tracking says they are in a Minnesota Post office since the 4th.
Slow Boat from Minn-a-soda, Like Wisconsin without the cheese, yah hay der. I could Drive there and back in less than 10 hours.
 November 22nd, 2020, 02:53 PM


 Need to pull governor out. Thank god its easy.


")