When you click on links to various merchants on this site and make a purchase, this can result in this site earning a commission. Affiliate programs and affiliations include, but are not limited to, the eBay Partner Network.
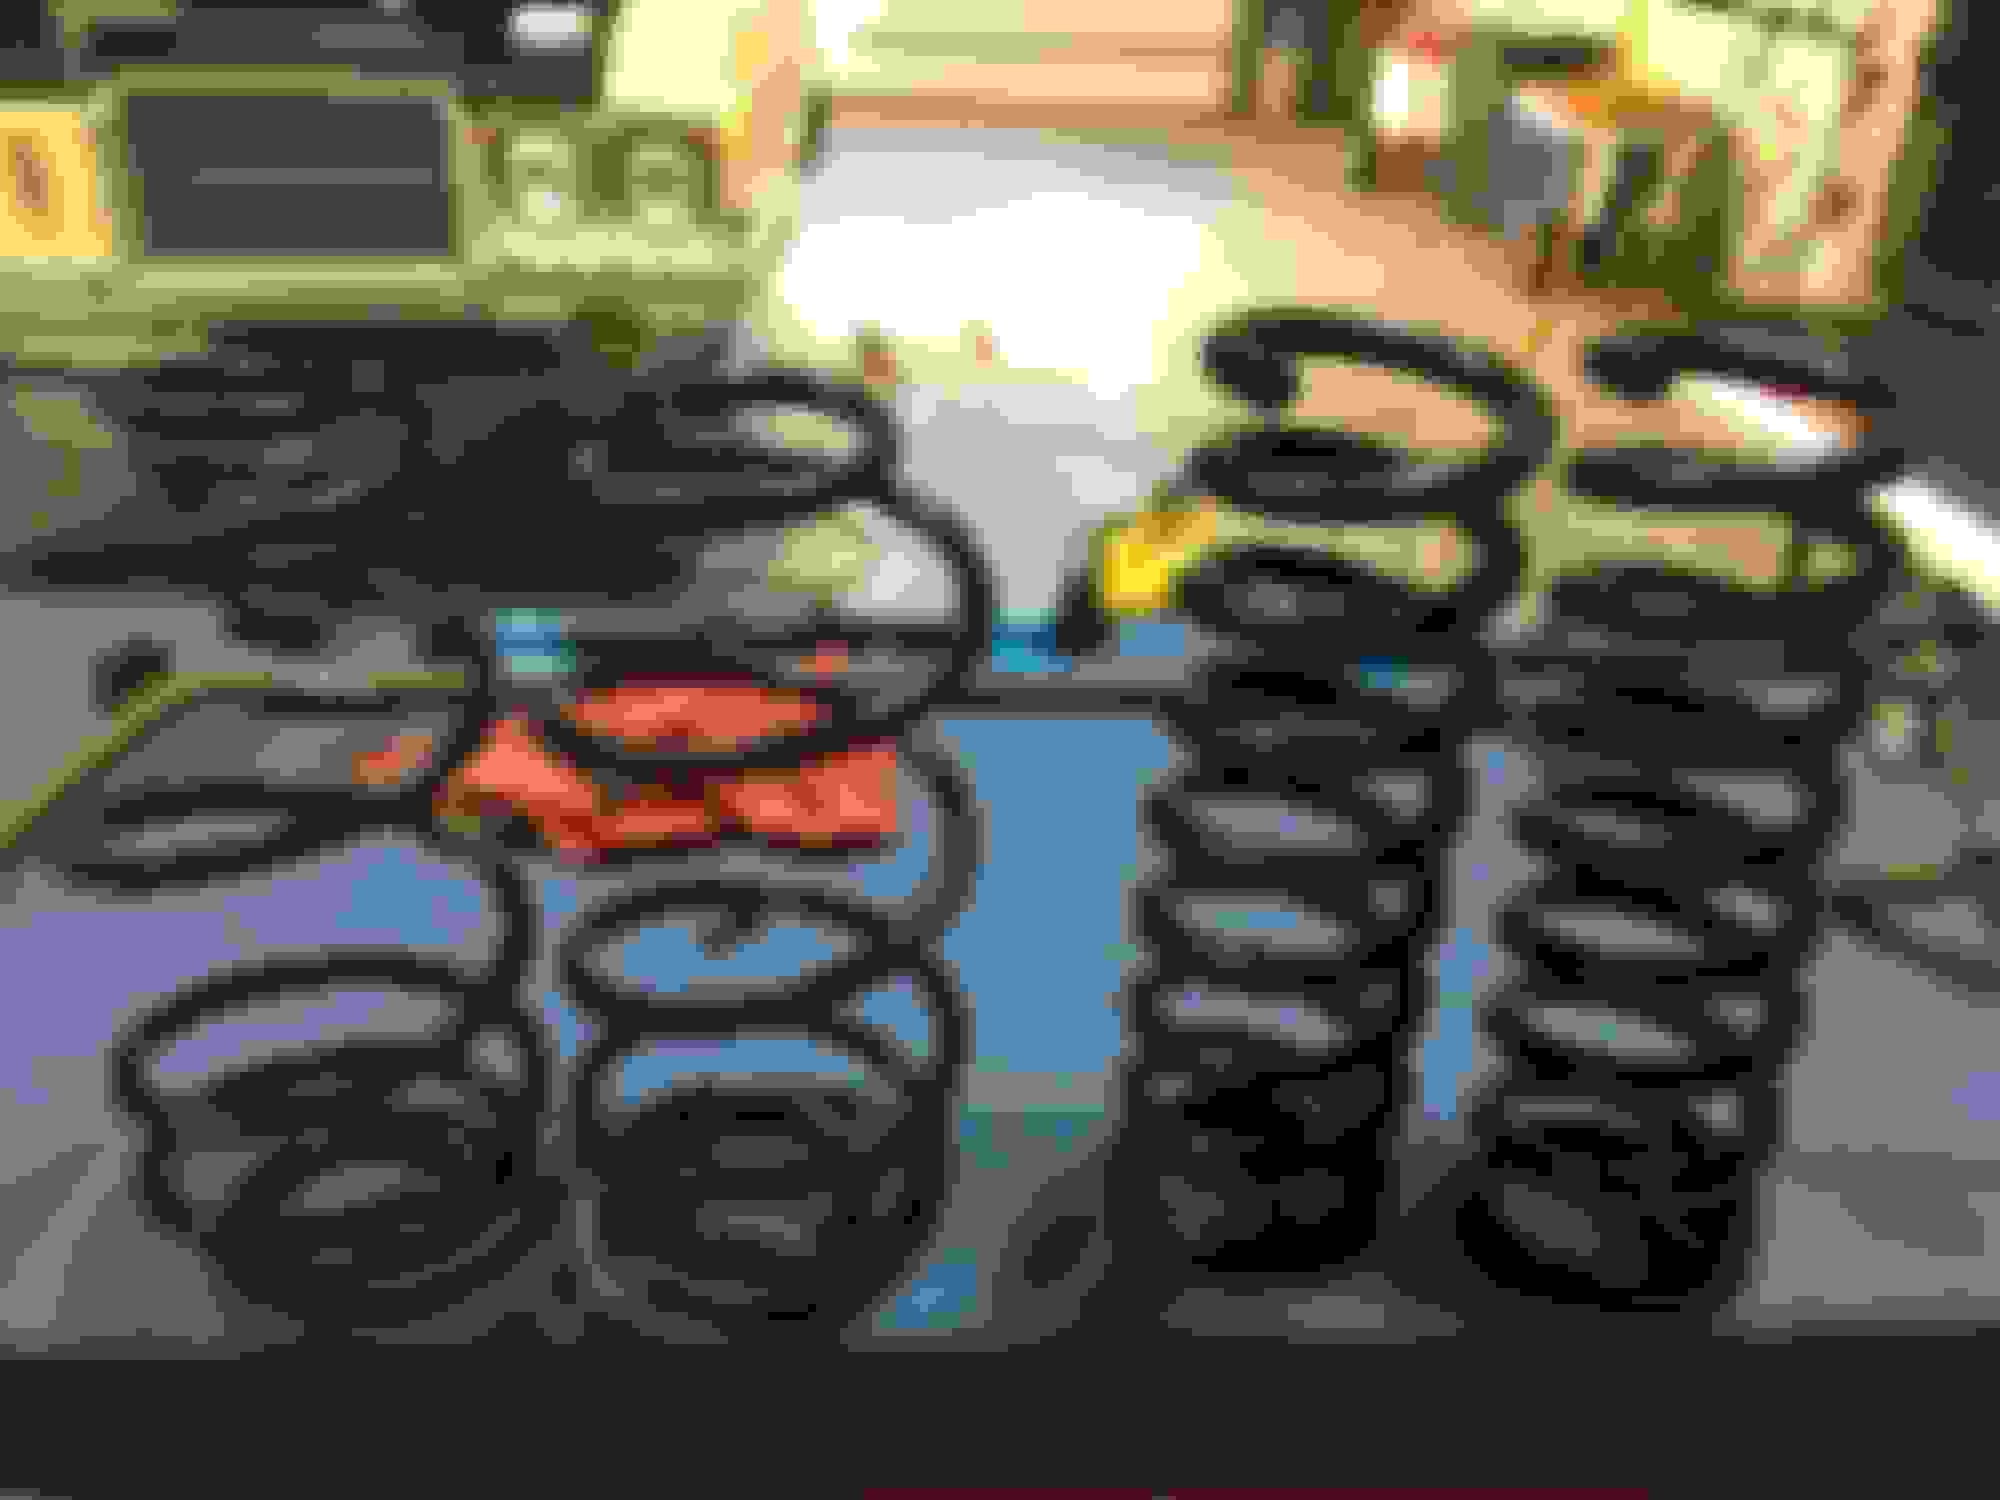
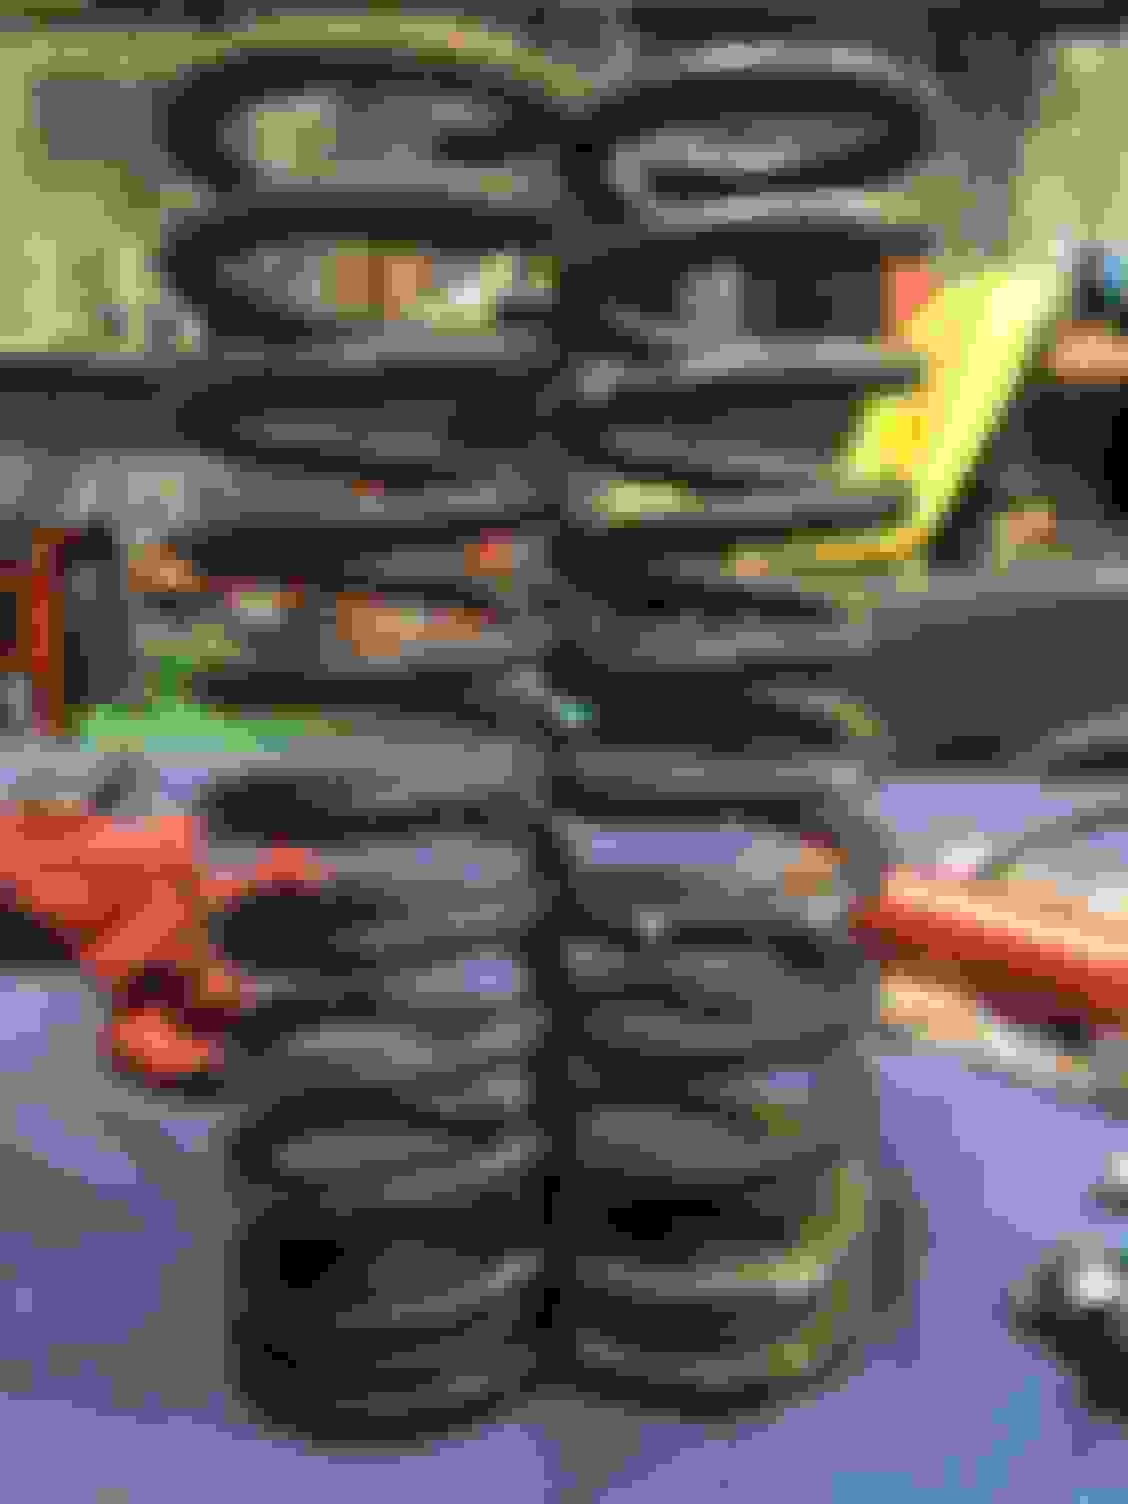
Springs: I ordered UMI Performance factory height springs. I was skeptical when they arrived - they were significantly shorter in height. I read the documentation which states: "UMI coils have shorter free height than factory coils. Free height is only one variable and cannot be used to compare our springs to other springs. The important measurement, the loaded height, is correct on our springs." With this information & the reputation of UMI Performance, I felt confident to install the springs without calling UMI Performance for further clarification. They were true to their word. The springs were perfect. The factory OEM front springs measured 16 5/8" tall - they required a compression to 14 1/4" for removal. The UMI Performance front springs measured ~14 1/4" tall. The ride height of the vehicle was perfect at the end of the day. Note the factory OEM front coil springs have 11 coil windings (16 5/8" tall); the UMI Performance front coil springs have 9 coil windings.
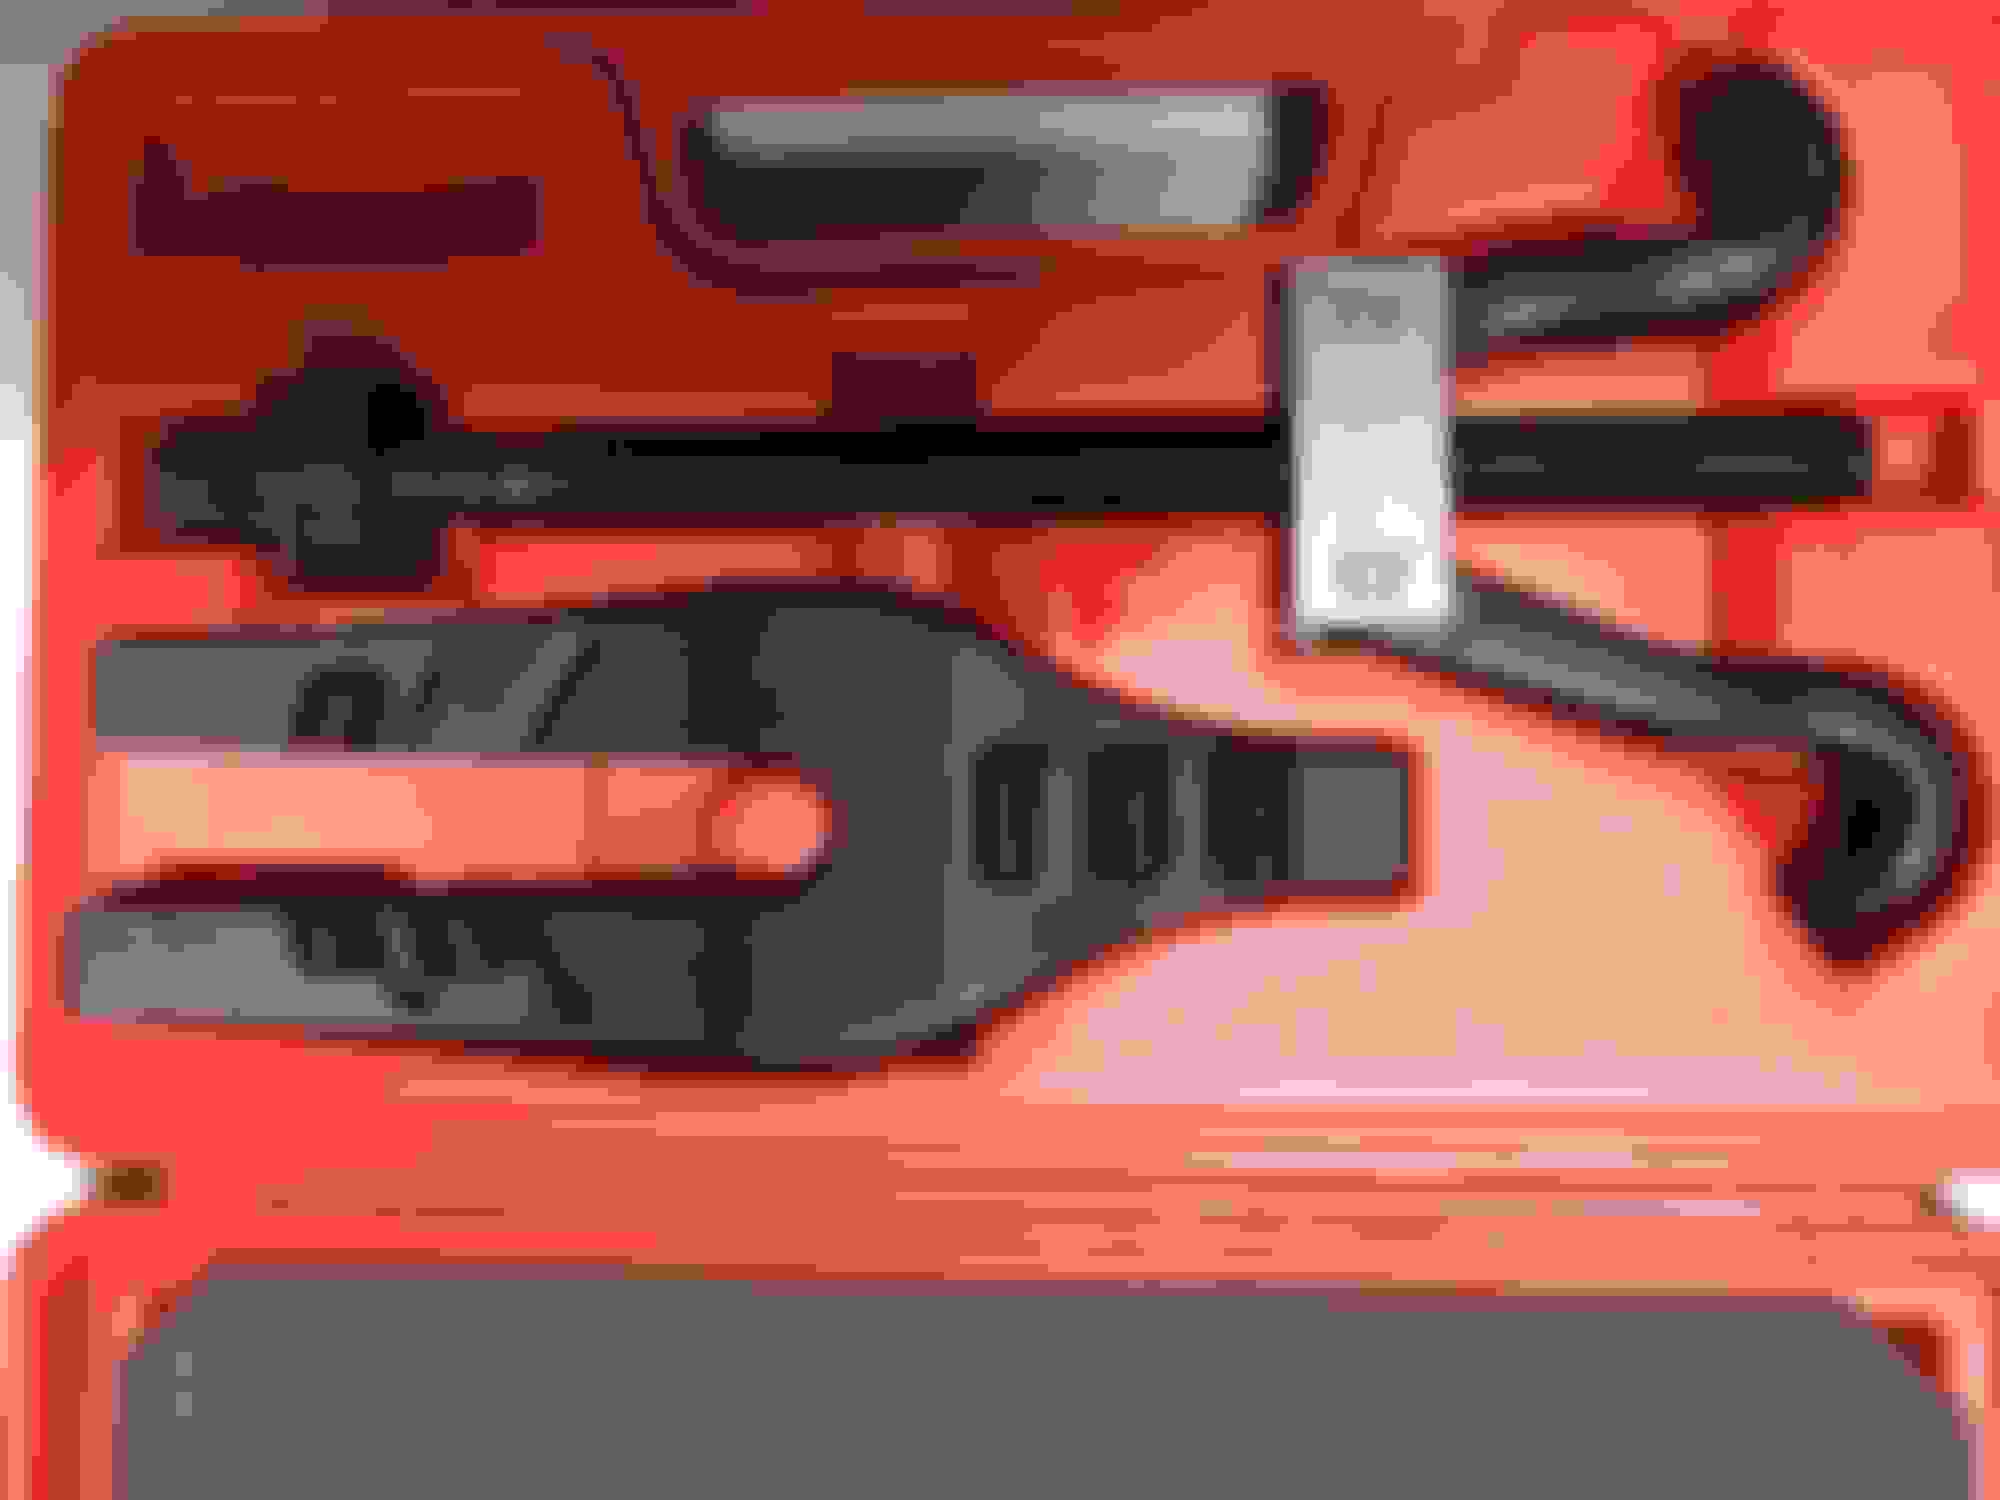
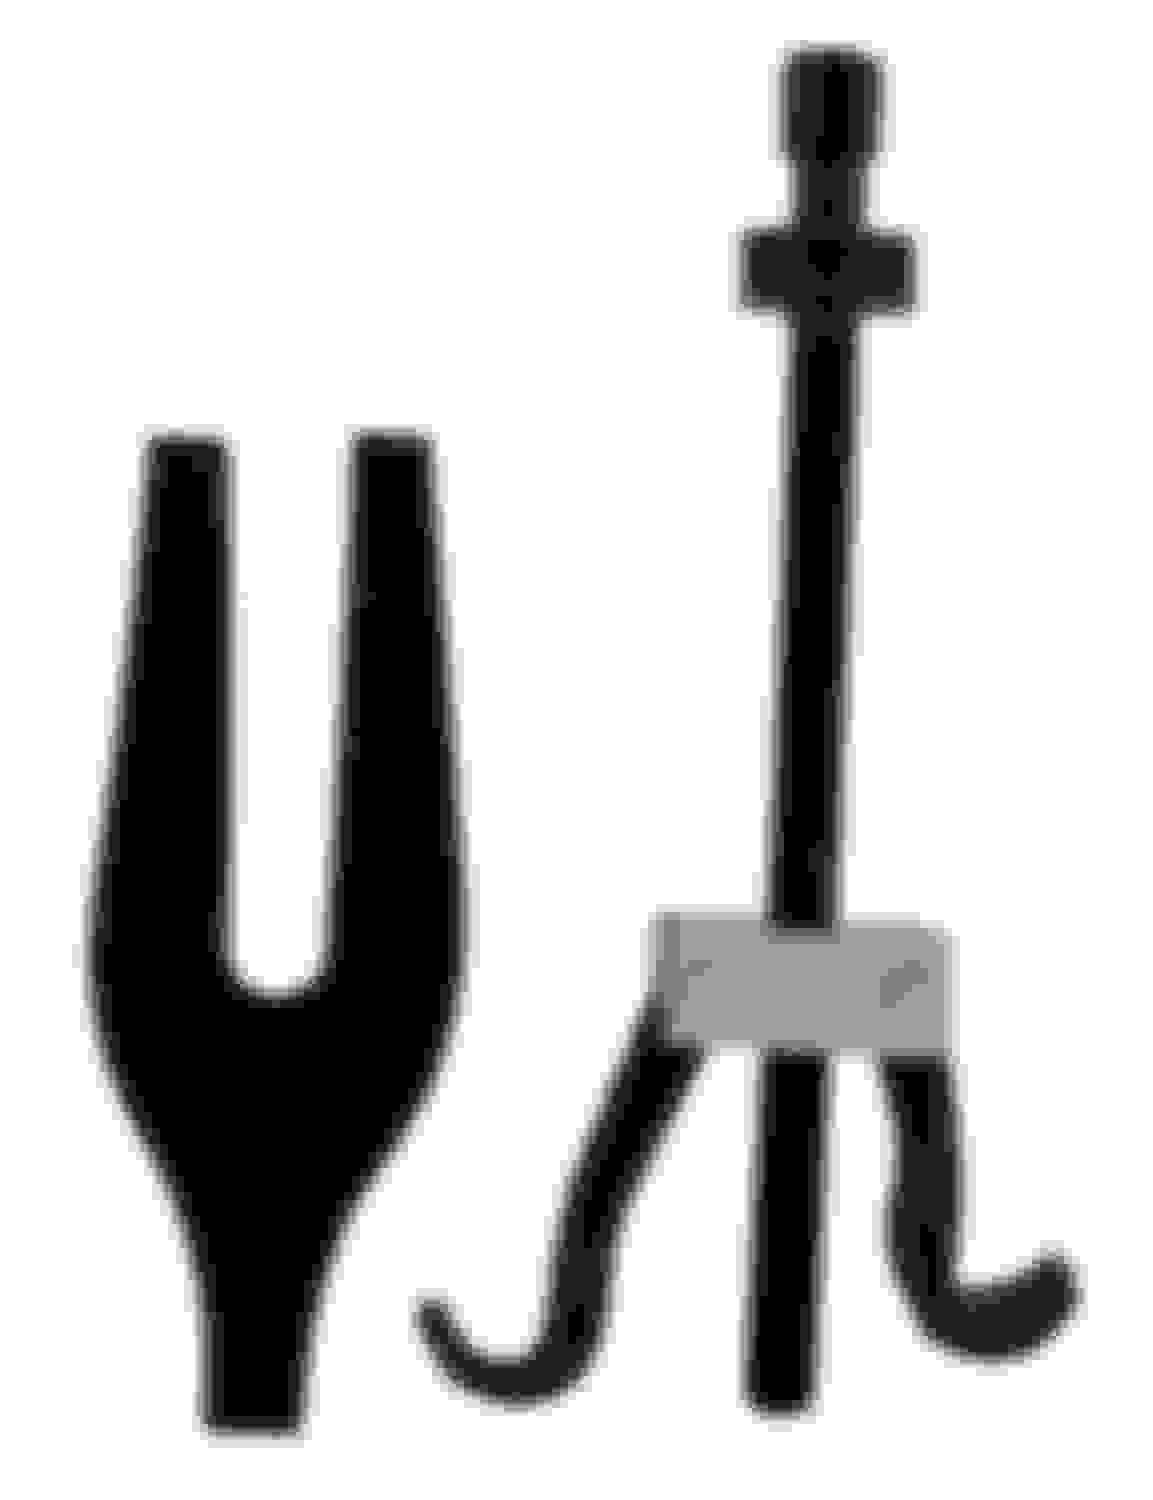
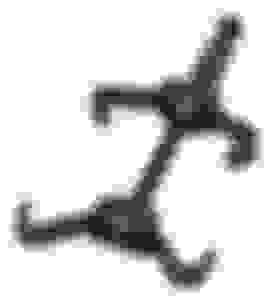
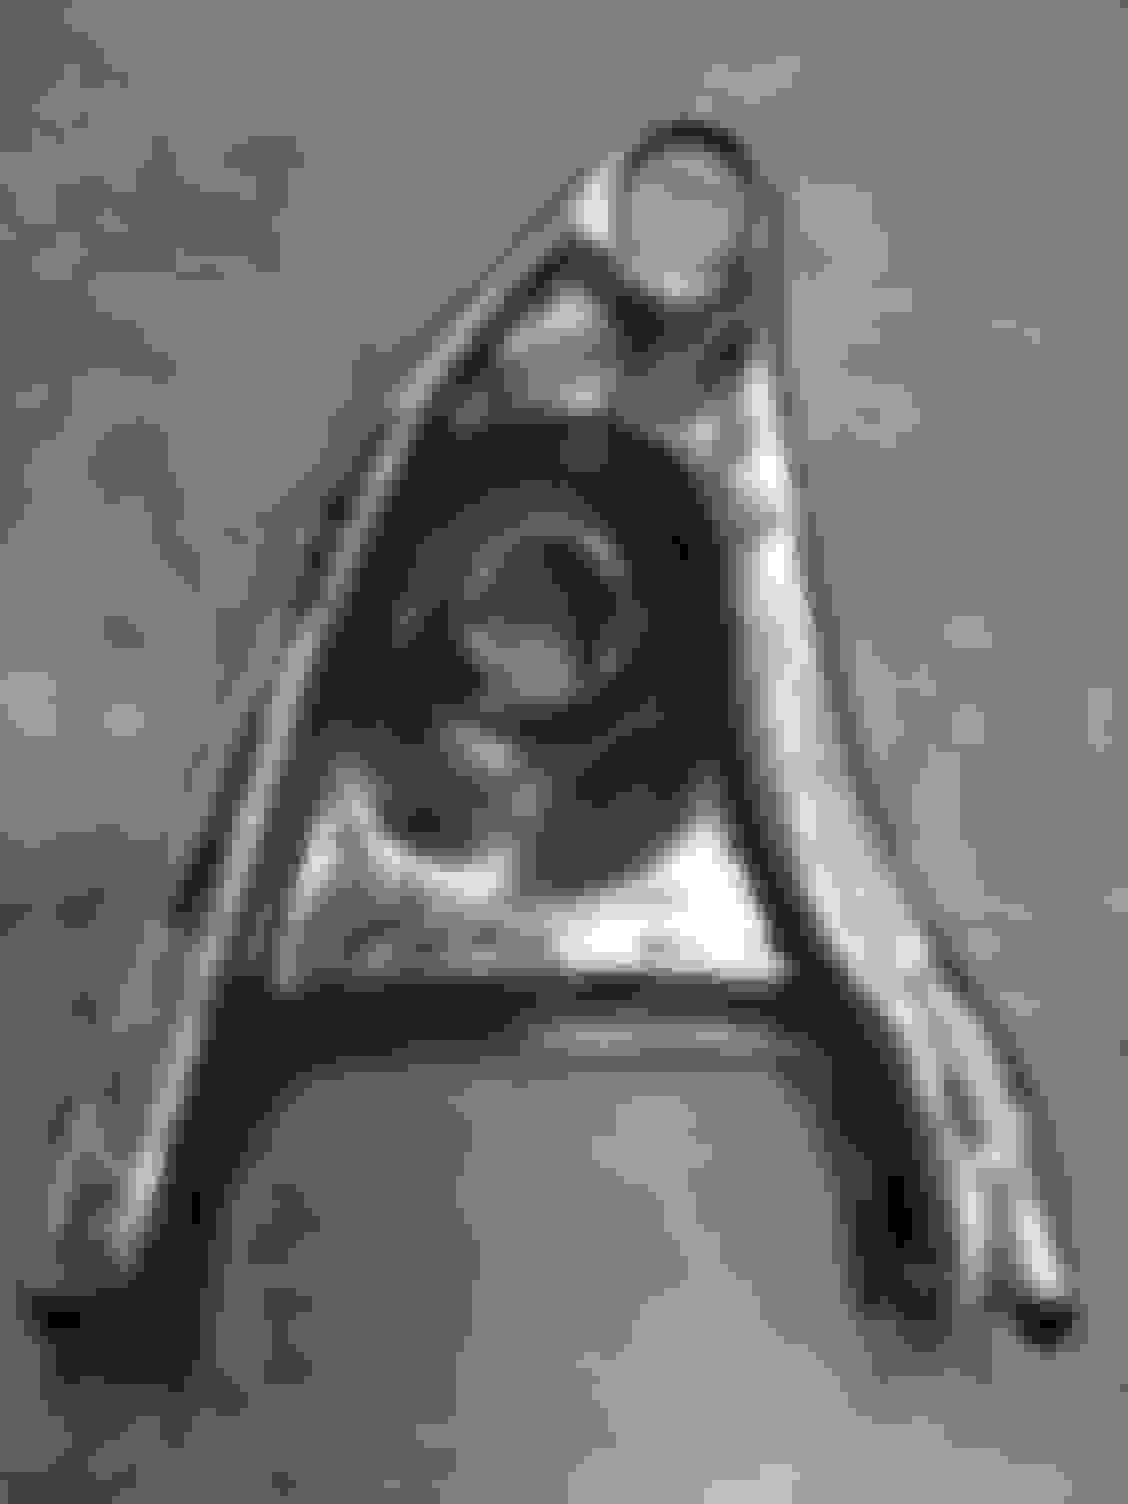
Spring Compressor: Do not use the spring compressor I used (1st image below). I thought I had the correct spring compressor for the job based upon a previous coil R&R I performed far too many years ago on my '72 442. I made a mistake. The problem with the type coil compressor I used is the paddle (which looks like a spatula) gets in the way (you will struggle forever) when it comes time to find a correct orientation for the spatula inside of the coil spring when compressed and then inserting that compressed coil spring back into an A-Body LCA. As Old(s)fart joe_padavano has pointed out in several threads, the correct spring compressor to employ can be identified by the last two images (below). Don't use an external (side) coil spring compressor - use an internal coil spring compressor.
Aside from the coil spring compressor (which I did continue to use to complete the project) nuisance/annoyance, the remainder of the project went w/o issue.
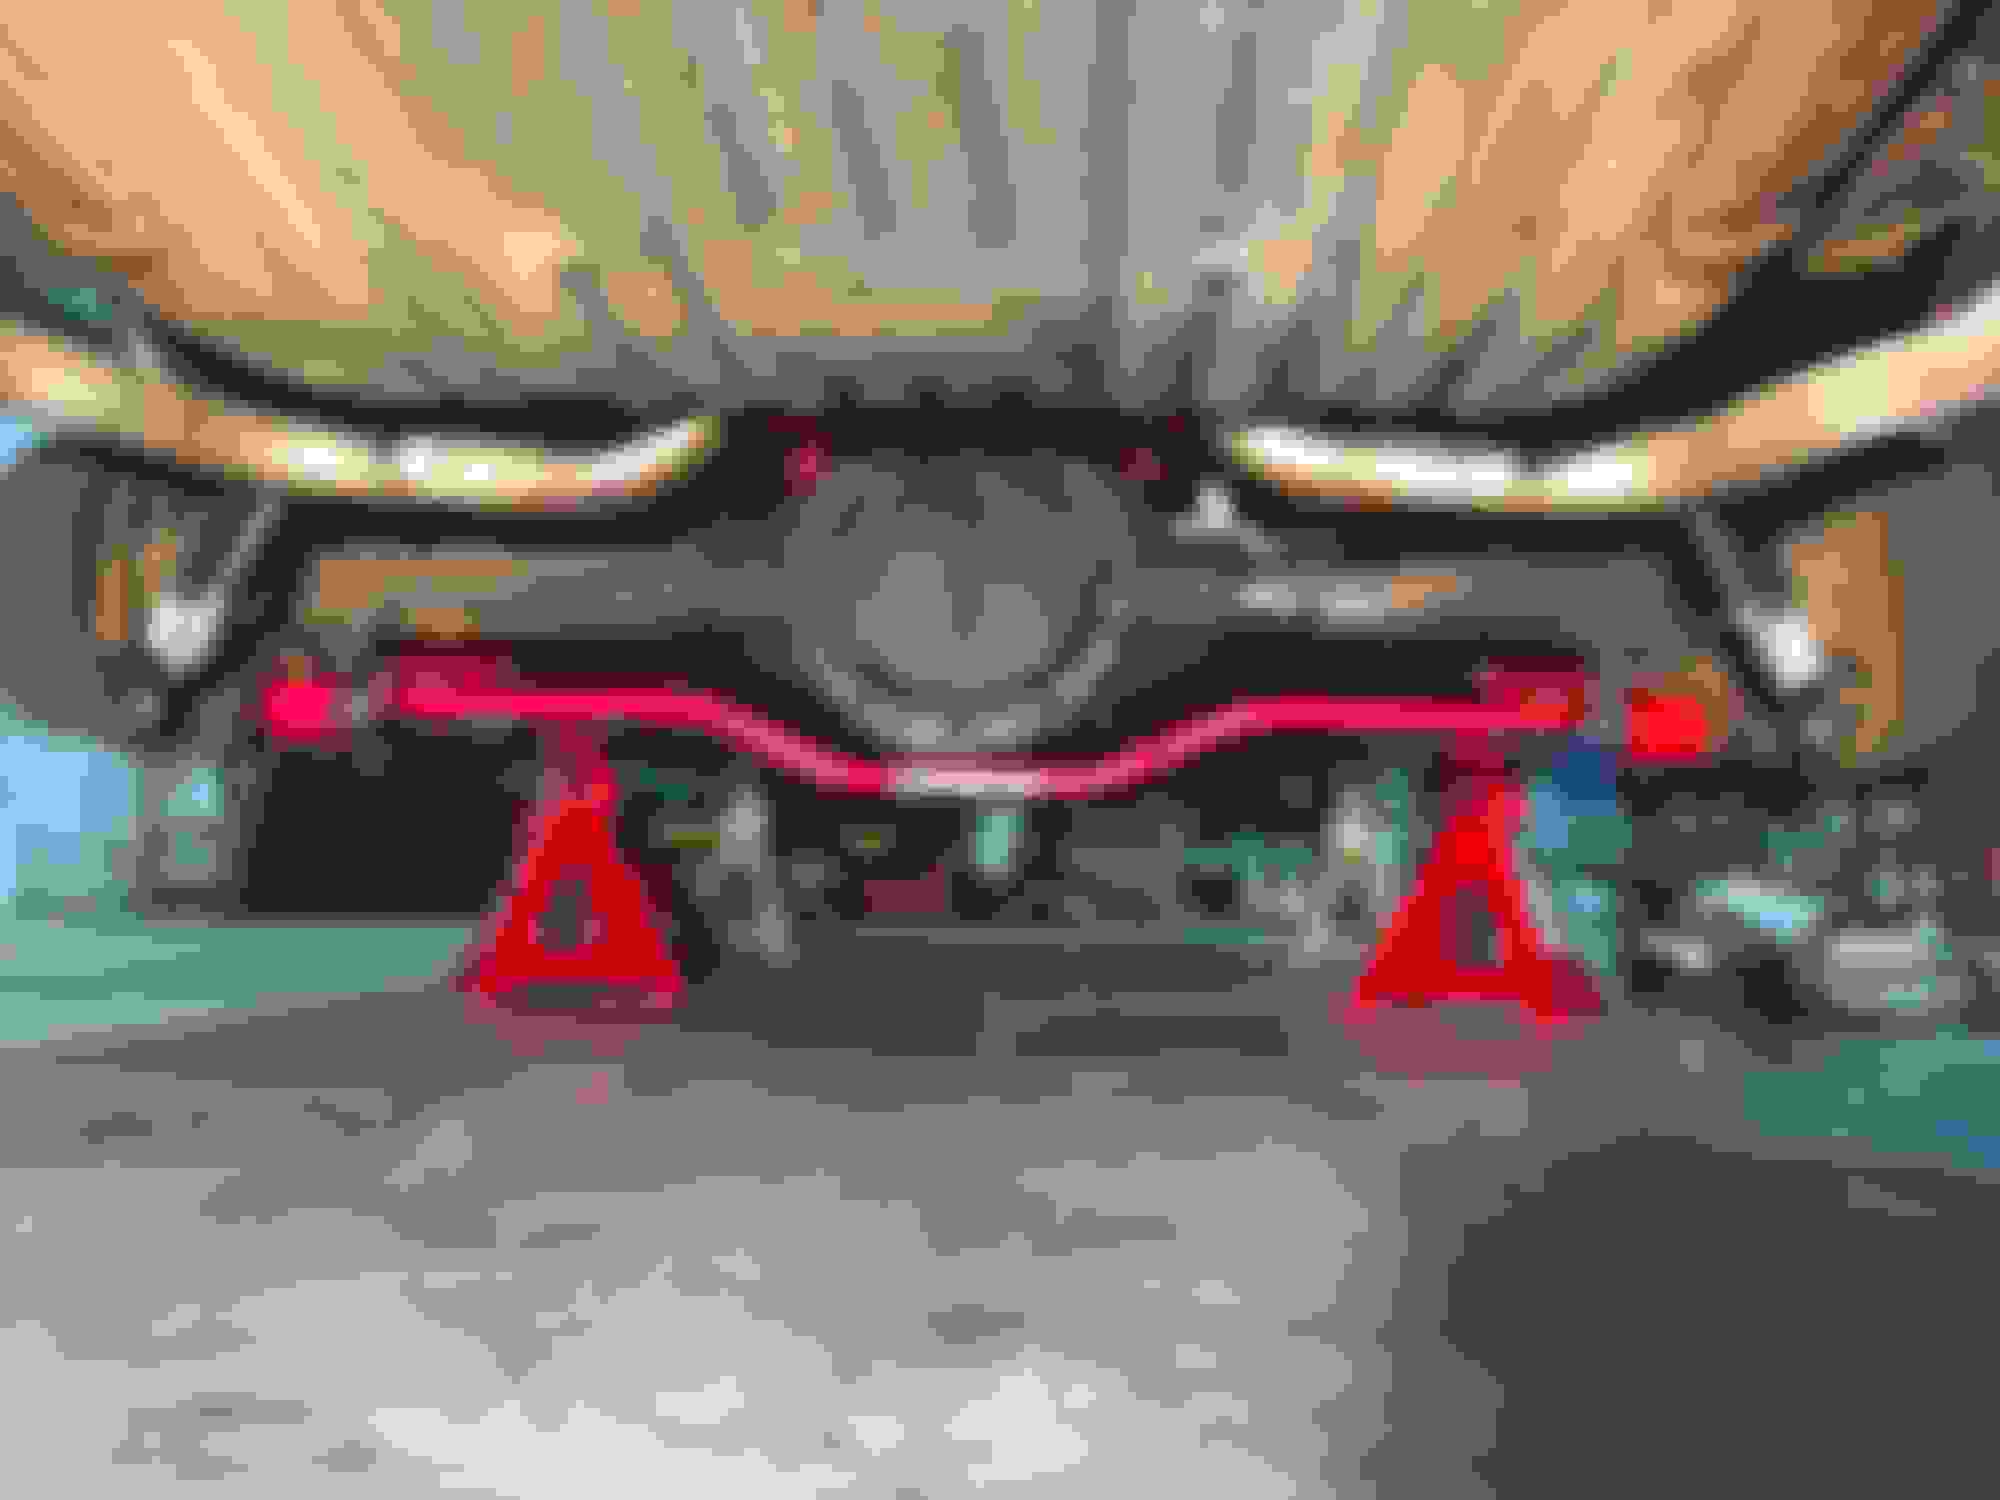
NOTE: The sway bar is forward of the differential & there remains plenty of room to raise the rear-end under the differential w/ my 3-ton floor jack w/ the jack pad fully engaged under the differential.
Nice work Norm. The stance is great and I am sure a well deserved upgrade. I see the same upgrade in my future with the 72 I am buying from my brother. The info and photos you have shared are helpful for a lot of folks. Thanks for your courtesy.
Nice work, Norm. Your bushings look like the ones I pulled from my 67 Delta. FYI the WalMart foaming oven cleaner works just as well as EZ Off for $2.97 a can.
See....? Now you got it all done... What you gonna do the rest of the winter??? Looks good Norm.
Hmmmm.....come up to MI, finish your '56 150 w/ you, fill my trailer & back of my 250 w/ firewood from your 76 acres, head to Mike's drop it off, head home & put my '71 on jack stands - that should only take a couple weeks.
Had the front-end aligned today. I have no idea the last time the tires were balanced, Mark (alignment shop owner) took it for a spin after alignment and noticed very slight vibrations he believes are emanating from the wheels/tires. I mentioned I thought a wheel balance was in order & he agreed. I asked him about the type of wheel balancer he had because I told him I'd prefer to have the procedure done with a floor spin balancer. He said he has a floor spin balancer and we both agreed spin balancing the wheels/tires on the vehicle is the way to go. So, next week I'll drop by to have them spin balance the wheels/tires.
After that, back on the jack stands for awhile as I perform an R&R of the rubber hose fuel lines leading to & from the fuel tank.
I may have found the issue w/ a slight (what I believe is fuel) leak somewhere around the front of the carburetor. I thought the slight leak may have been coming from the fuel pump gasket, but when I remounted the air cleaner and spent additional time examining the leak I found not puddles, but a minor amount of fuel which appears to be coming down from the base carburetor gasket which mounts to the manifold. I reviewed the four carburetor/manifold attachment bolts and only the front ones were (actually) quite loose. I rebuilt the carburetor last summer & very gradually I've noticed a slight smell of gas, a little less gas mileage and then finally a minor slow leak. So (hopefully) I'm suspecting the front carburetor mount bolts were/are the issue. I think I used brand new GRADE VIII bolts when I remounted the carburetor and I always torque to recommended specifications but a 49 year old vehicle has had the carburetor dismounted (probably) several times, and the bolt hole threads might not be as 'tight' as when it was new. I don't like using Lok Tite of any color unless it's required in specific areas, but this may be a case where I might fudge a bit and use some. At any rate, I'll re-tighten the bolts to specs and see how the leak plays out and just keep an eye on it for now.
Then, I need to replace the whatever you call 'em - front door pillar/windshield windlace insulation? That rubber stuff.
Last edited by Vintage Chief; January 10th, 2020 at 06:25 PM.
How did it drive with the new alignment? I would not spin balance the tires on the car because it locks them in that location on the vehicle (can't rotate tires) and that specific mounting position on the hub.
I'm still going to spin balance the wheels/tires w/ the floor spin balancer since I believe this method is superior to the stand-alone spin balancer & that was the reason for me asking if he had one - he actually has two of them in great working condition. I should probably have used my words more carefully but maybe I didn't describe it as well enough.
It's the old-school type of floor spin balancer - I guess maybe it's referred to as a Dynamic Spin Balancer. We used to refer to this type of balancer as a wheel/tire/chassis harmonic balancer. I have probably performed several hundred balancing acts w/ this type of spin balancer in my youth while working at our local Shell service station in the '60s.
For the same reason described in the comments of this video I found on YouTube, I believe this method is superior to other methods available including bubble balancing. Perhaps this method isn't much better than other methods available today because it takes time to balance in this manner; but, when it is done correctly it is very, very sweet. As it spins up, it's balancing not only the wheel & tire, but it's balancing the wheel & tire in relation to the harmonics of the chassis - disc/drum/bearings & hub. To a lesser degree, the brakes/calipers, etc. but only w/ regard to harmonics as those harmonics will be contained w/in the dynamics of the wheel & tire as it spins.
I believe folks have varying opinions regarding the types of wheel/tire balancers they prefer. This method does not afford you the ability to rotate tires for the reasons you indicated; yet, IMO the balance is superior to a free-standing spin balancer and/or a bubble balancer. My f250 gets the free-standing type spin balancing since I rotate those expensive huge tires often, my motorcycle(s) get the bubble balance. On this classic old piece of metal I'd prefer to balance the entire harmonics contained w/in each wheel 'assembly' for the reasons indicated.
Honestly the car did not handle much differently after the alignment compared to before the alignment.
Nice work! That is a beautiful Cutlass, I had the Pontiac version for many years. I didn't know anyone still did on car balancing anymore. We had a Mobil station from '66-'86, I remember my old man would set a glass of water on the hood, when he was done it was as smooth as glass. Now most places use a road force balancer if needed.
Norm:
I really like the stance of your car, especially that it doesn't have the nose-down rake that is so common. What springs did you use? Big block or small block? What size are the wheels and tires? Thanks!
Thanks Ragz. I’m not sure Mark (alignment/tire shop) does many of them. I noticed he does have a standard full floor-mount spin balancer and a bubble balancer, as well. So when I indicated I’d prefer an on-car dynamic (harmonic) spin balancer he said he had two of them in working condition.
Rodney. The springs I used are UMI Performance springs designed for factory OEM ride height - identified in the link above (^). I’m tightening down some final items and can’t recall the exact tire sizes - I’ll look at them in a moment and post back. The wheels are 15”, as I recall.
Norm:
Thanks for the tire & spring info; although my rims & tires are 245/45R18, my overall tire height is nearly the same as yours which really helps me estimate my ride height and wheel lip clearance.
Hmmmm.....come up to MI, finish your '56 150 w/ you, fill my trailer & back of my 250 w/ firewood from your 76 acres, head to Mike's drop it off, head home & put my '71 on jack stands - that should only take a couple weeks.
The shocks which were on the car I removed directly after purchase of the vehicle (July 2018) and I installed Monroe spring overs on the rear Bilstein on front. These remain on the vehicle.
Now that you been using this suspension for a while is there anything you would do differently if you were to do it again?
I keep hearing different opinions on rubber vs poly bushings.
Thanks
I heard various opinions regarding rubber vs poly prior to my decision when I rebuilt the suspension, as well. I have zero issues with ride and handling. I wouldn't have done it differently.
The shocks which were on the car I removed directly after purchase of the vehicle (July 2018) and I installed Monroe spring overs on the rear Bilstein on front. These remain on the vehicle.
Norm I am going to order the suspension kits and parts. Do you have the part numbers for the shocks mentioned?
Pretty sure I do. Have to wait until morning. Currently a couch potato eating pumpkin pie and a hot cup of coffee. I’ll look them in the morning to let you know.
That spring tool should workout great for you - certainly don't use the one I purchased with the paddle.
I'll get those shock numbers for you shortly - need more coffee.
Thanks much for taking the time to look these up.
I am thinking about tackling the job this winter in phases. I am thinking on starting the rear first. The descriptions you have provided are really helpful thanks again for sharing.
 January 9th, 2020, 02:44 PM