When you click on links to various merchants on this site and make a purchase, this can result in this site earning a commission. Affiliate programs and affiliations include, but are not limited to, the eBay Partner Network.
I plan on building this 800 cfm model that came off a 85 Buick station wagon with a blown up 307 swirl port motor, had it for 23 years to replace the current super lean 83 carb on the 70S. I plan on totally recalibrating it for a 220ish duration cam. I need to figure out the air bleeds for this carb for primary metering rods, going to get them from Cliff's High Performance. His big kit will have fasteners, the Metric mixture screws that adjust with a standard screwdriver, the removable plug for the APT, I am notching mine like my 78 carb which allows a part throttle mixture change in seconds. I also plan to buy two fast choke pull offs, one for my 78 carb, try and eliminate the bog, thinking that a faster pull off will help. Also extra Metric mixture screws for the 83 carb. Along with a new copy of the book, about $250 US. I had moved the container outside my shop and the main body was full of water for a month but should be OK, I think. I am also planning on rebushing the primary throttle shaft with Cliff's kit, has a self guiding bit, bushing installer and instructions. I am not sure about the suggested sheet of teflon. There will always be the joining gap, so that makes it less appealing. Amazon does have 1/8" thick sheets, just not sure if I should try it. I will contact Cliff and see if he has an extra power piston metering rod hanger to go with parts I am buying.
Last edited by olds 307 and 403; November 28th, 2020 at 05:42 AM.
This carb is like my 83 carb, a weird Canadian market decode. It shows it should be a 1980 federal emissions Pontiac carb but starts with a 1708 number which should be a 82 and up model.
It was suggested vs bronze bushings. I just remembered, I will have a Power Piston in my 260 Dualjet carb. It fixed my 78's choke linkage problem, now it will provide a Power Piston for this carb. See a Dualjet is good for something, Qjet parts😁.
If you are looking for Qjet 800 CFM units - I pulled some off cars we parted out long ago.
I have a couple 77-79 Olds 403 17058253 take offs that I have had for 25yrs or so in my workshop. Shipping is the deal killer - will fit in a large flat rate US Mail Box. $75 a carb as is. Zip is 78681.
May have misc parts as well from others that we took apart back then. These are off Trans Ams w/403s. Pics or other - email me sigtauswt@yahoo.com
Thanks for the parts offer. So I got all the little pieces from the Dualjet including 51B rods and 72 primary jets. Of course this Dualjet had an oddball long rod on the end of power piston that contacts a treadle valve in the base plate. I think it will be cut off wheel time, other a normal power piston. I sprayed the passages with Motomaster carb cleaner and Kleenflo Combustion Chamber cleaner which really dissolves carbon. I soaked NGK XR5 spark plugs that were gunked up with that combo. A quick blast with crushed glass made them look new. I knocked out the aluminum in the air horn and there some play in the primary shafts.
First thing is the carbs you are using have extremely lean idle/transfer circuits. Include idle tubes in your order. Read the book and select the proper recipe for your application. Cliff has done lots of dyno testing and can recommend the right cam for your application.
Yeah, I am buying his big rebuild kit with everything. Yes, I will make sure I buy the idle tubes and probably his .044" primary metering rods. I can't remember my user name and password on his site, I reset the password, just waiting for it to reset. I am getting Cutlassefi to do a roller cam for this 9.6 to 1 424ci 403 stroker with 1.72 roller rockers. I can see what Cliff says. I plan on blending in the bowl hog cut 2.07"/1.56" #6 heads when I add the proper springs with new positive seals. Still deciding on exhaust, shorty or full length headers with 2.5" duals. A 2350 flash stall with a beefed up 2004R and a 3.90 posi in the Type O in my 70 Cutlass S.
If you dont have access to small drills have Cliff drill the tubes for you. He usually does not unless requested.
The Teflon sheet instead of bushings does work.
More like .030 thick sheet. Would have to check size of original outside throttle shaft bore VS throttle shaft(.312?) Have done quite a few and havent had any issues with air leaks.
I dont have the part # in front of me, but you can get it from McMaster Carr. Sheets are big enough to do many carbs if needed.
Good to know the teflon works, I may revisit that idea. I would probably get Cliff to predrill the tubes per his recommendation. I think Cliff has something about modifying the secondary tubes in his book. Makes sense, much like the idle circuits, if you can't pull enough air and fuel, it won't run like it should. I decided on doing this carb because I have it, along with many Qjet tuning parts. The secondary fuel starving issues caused me to rethink the Street Demon carb and I am not interested in starting over with a Holley style carb. This will take time to complete, weeks or months as I have time. I will try and get everything I need figured out and place my order to Cliff in the next couple of weeks.
Last edited by olds 307 and 403; November 29th, 2020 at 08:21 AM.
Talked to Cliff this morning. The only part he might not have is a used Power piston, he has sold a lot as of late. He told me to cut the rod off mine Dualjet Power Piston, you can't pull it out. He said double check that pin height is the same as a Qjet. He even has extra linkage, the extra linkage I had is on the carb on my 88. He said to toss the rear pull off. They allow unfiltered air in the motor after the 40 year old filters disintegrate. He is going to drill out the idle tubes to .038", I still need open at the mixture screws and idle channel restrictions and is sending his .044" primary rods and suggested 73 jets to start, which I should have. Also he figured his DA secondary rods would also be close. He also is sending his pump rod with the clip and two sets of the metric idle mixture screws. He says they stick past the base so they are easily adjusted with a standard screw driver. He says this is a great starting point for a carb and figures the cam should be in the 230 duration range. I am also going to try and purchase the small chamber Procomp heads Cutlassefi is doing for 350 dyno motor. I am also willing to buy a set of Sanderson shorties and 2.5" and 3" down pipes with an O2 bung to dyno test against each other. I don't think anyone has ever dynoed them.
The 17- part number qjets have shorter primary metering rods than the old 7- series and are adjustable for height via removing an aluminum plug above them in the air horn (I replace it with 1/8 NPT plug, and adjust with a cut off 5/16" hollow pushrod partially flattened at the end). Replace the K rods with J series rods which have a smooth taper instead of a step from very lean to full rich at WOT only.
The 17- part number qjets have shorter primary metering rods than the old 7- series and are adjustable for height via removing an aluminum plug above them in the air horn (I replace it with 1/8 NPT plug, and adjust with a cut off 5/16" hollow pushrod partially flattened at the end). Replace the K rods with J series rods which have a smooth taper instead of a step from very lean to full rich at WOT only.
I did exactly that before I sent my 78 403 carb to Everyday Performance to recalibrate, chickened out last minute before I decided to farm it out. I love it, I can go from a big tire burner to a mileage machine in 2 minutes. Cliff includes the air horn plug in his high performance rebuild kit. Cliff's .044" custom rods he is sending me have a better taper than the 44K rods. He also adds a custom restriction to his choke pull off to open quickly, got two coming.
I checked my Credit Card to see if Cliff Ruggles took a payment. He did, two of them at $750 CAD! I called him, there is a reversal coming. He accidentally charged me for regular rebuild kit, not the high performance kit. I think he is just overwhelmed and probably needs to say I am done with the Rochester Qjet.
Location: Colorado Springs Colorado/Thousand Oaks Ca
Posts: 1,721
Originally Posted by olds 307 and 403
I checked my Credit Card to see if Cliff Ruggles took a payment. He did, two of them at $750 CAD! I called him, there is a reversal coming. He accidentally charged me for regular rebuild kit, not the high performance kit. I think he is just overwhelmed and probably needs to say I am done with the Rochester Qjet.
It is $750 Canadian. There was a $314 charge, then a $433 charge in Canadian dollars. I am pretty sure the second charge is probably the right one. Still sounds high even with the conversion but multiple extras and a new copy of the book. Cliff is a very nice guy to talk to, he just sounds totally swamped.
Actually $431 CAD, other charge was reversed. So around $330 USD. Cliff probably charged me the $30 USD shipping, what he figured and probably just under $10 USD for the prepaid brokerage fees. So just under $300 for some custom and high quality parts. Still the cheapest route for a carb.
Last edited by olds 307 and 403; December 3rd, 2020 at 09:03 AM.
They look nice. Are those both 750 cfm castings? I know some of the Buick 4M castings are 800 cfm. My parts from Cilff still haven't showed up, so no progress on this build. Cleaning parts on the temporary 350, putting in the 204/214 cam along with degreeing it, installing the exhaust and doing some work on the TH2004R will come first.
Location: Colorado Springs Colorado/Thousand Oaks Ca
Posts: 1,721
Originally Posted by olds 307 and 403
They look nice. Are those both 750 cfm castings? I know some of the Buick 4M castings are 800 cfm. My parts from Cilff still haven't showed up, so no progress on this build. Cleaning parts on the temporary 350, putting in the 204/214 cam along with degreeing it, installing the exhaust and doing some work on the TH2004R will come first.
This showed up today.
I also ordered a two custom quick release choke pulloffs. The carb Everyday Performance did for me worked great except for choke sticking issues and has a slight bog at full throttle, although the 2350 converter basically eliminated it. It was more prominent with a 1900 stall and tighter air door adjustment didn't totally eliminate either. A quicker choke pull off will hopefully eliminate all together.
Ok, so looking over both carbs, I have decided to rebuild the 83 Canadian non CCC carb as it appears in better shape. It looks recently rebuilt with epoxy on the well plugs. Either one needs major idle and primary side recalibrations. Both throttle shafts showed slop. Cliff's instructions state the primary screws must be completely shaved down. I broke off screws on a Thermoquad not doing that, so heed Cliff's advice. One nice touch is the longer Metric slotted idle screws for 80 and up Qjets. Even fully seated, they sit flush with the base plate. I got the primary shaft out, definitely has wear. Next will be installing primary shaft throttle bushings per Cliff's instructions in his kit. FYI this 83 carb had 56P rods and 73 primary jets, very lean. I will probably use the 73 jets with Cliffs custom performance 44 rods as a base tune with a notched, easy adjustment APT set to the factory setting with a thread in plug in the air horn, which Cliff provides in his performance kit.
I just did primary throttle shaft bushings on my 7042250. A 6 flute self chucking reamer run in reverse so the 5/16" shank pilots the reamer works pretty well. Also fitted the carb with CCC Qjet 200-4R primary throttle shaft bracket so I'll be set to run the TV cable on the 200-4R. I'm really curious to see how you the 80s non CCC carb works. The CCC parts carb I used had a number of differences.
Other than being calibrated extremely lean, these non CCC Canadian Qjets have Metric mixture screws, Torx heads on the fasteners and are the large primary bore "800" cfm castings that were limited to 60 percent opening on the secondaries. I over shot fixing it last time, now opening to 90 degrees or dam close.
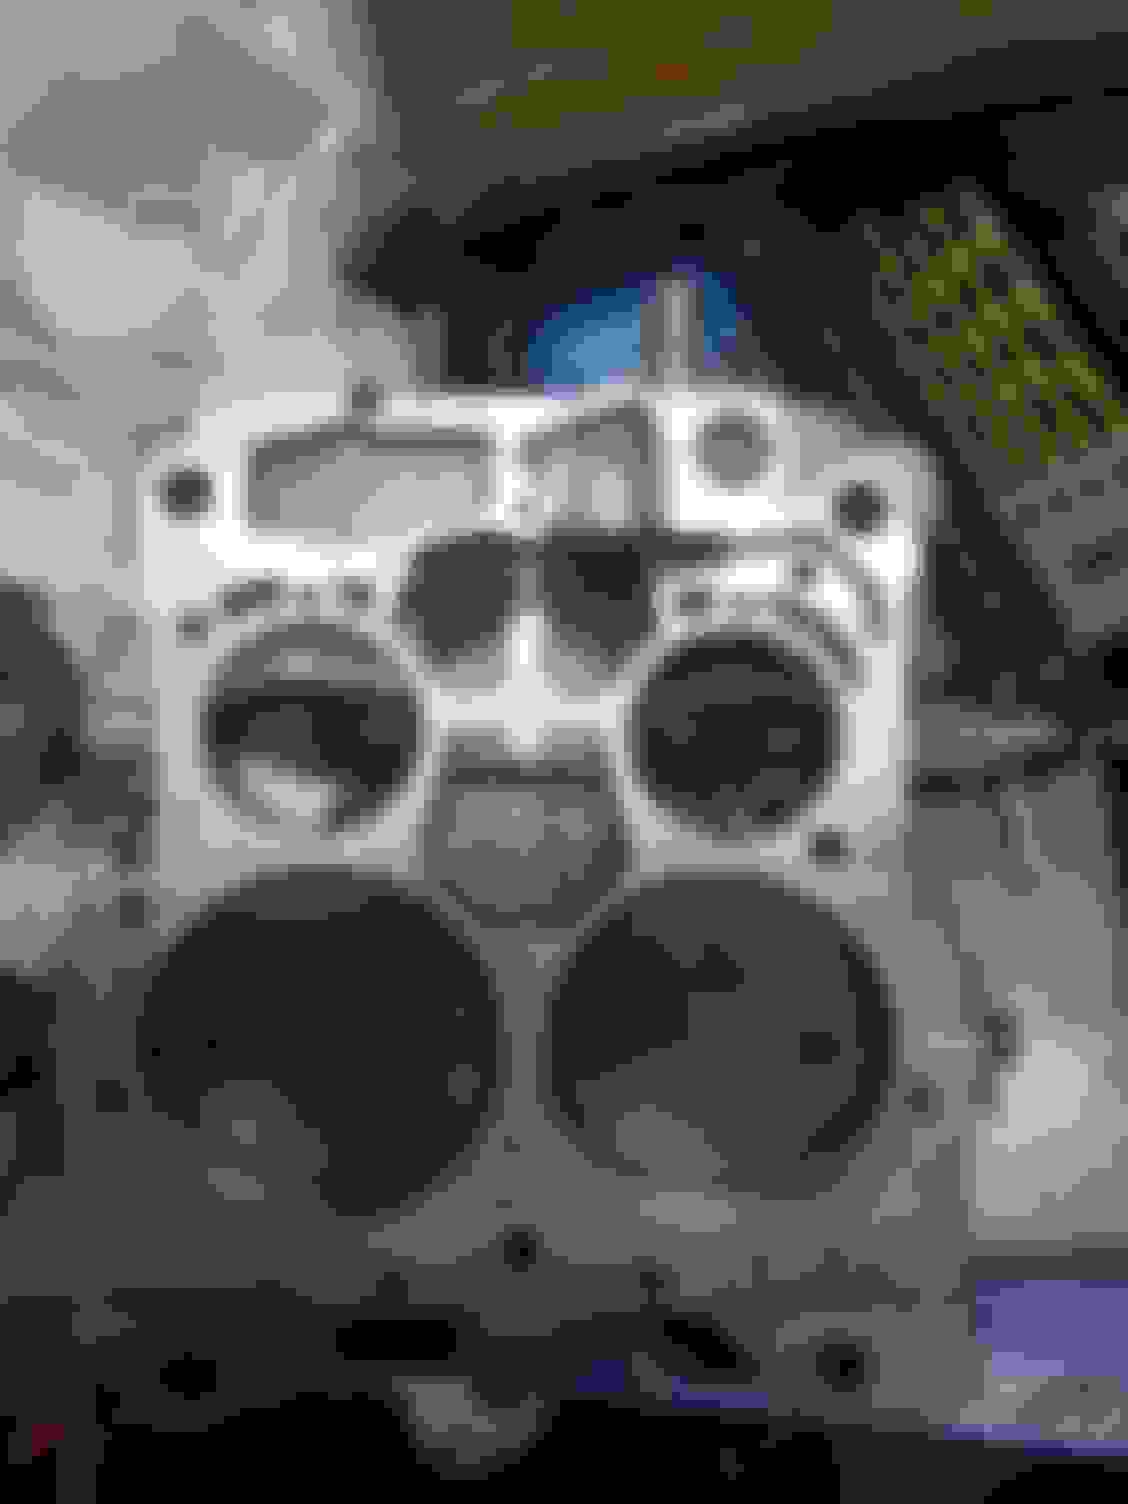
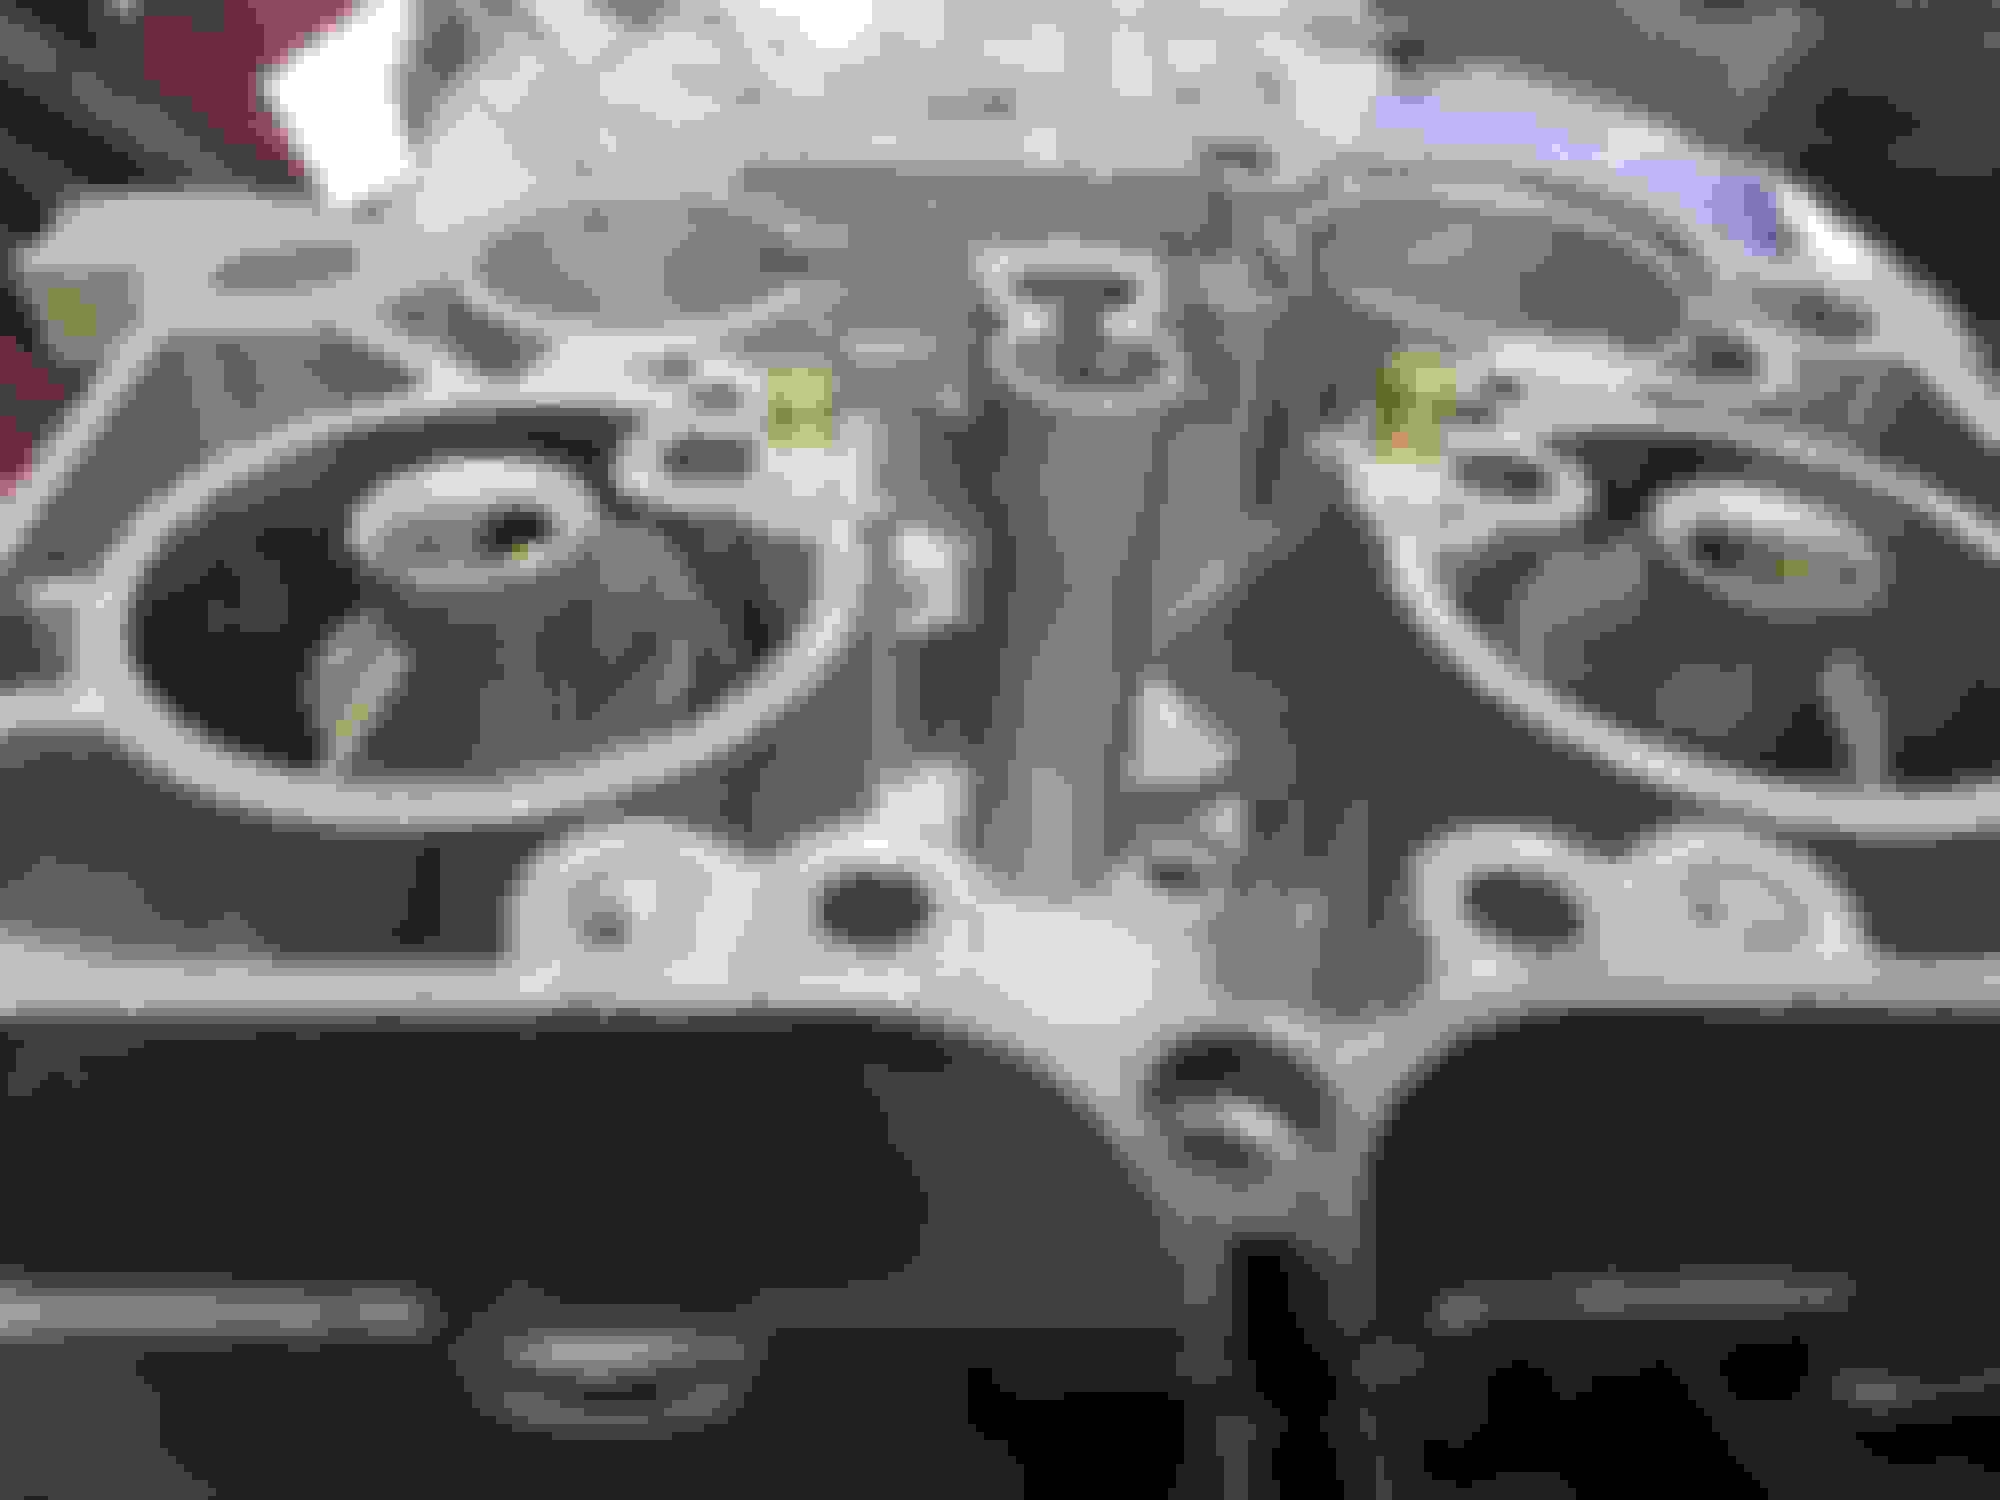
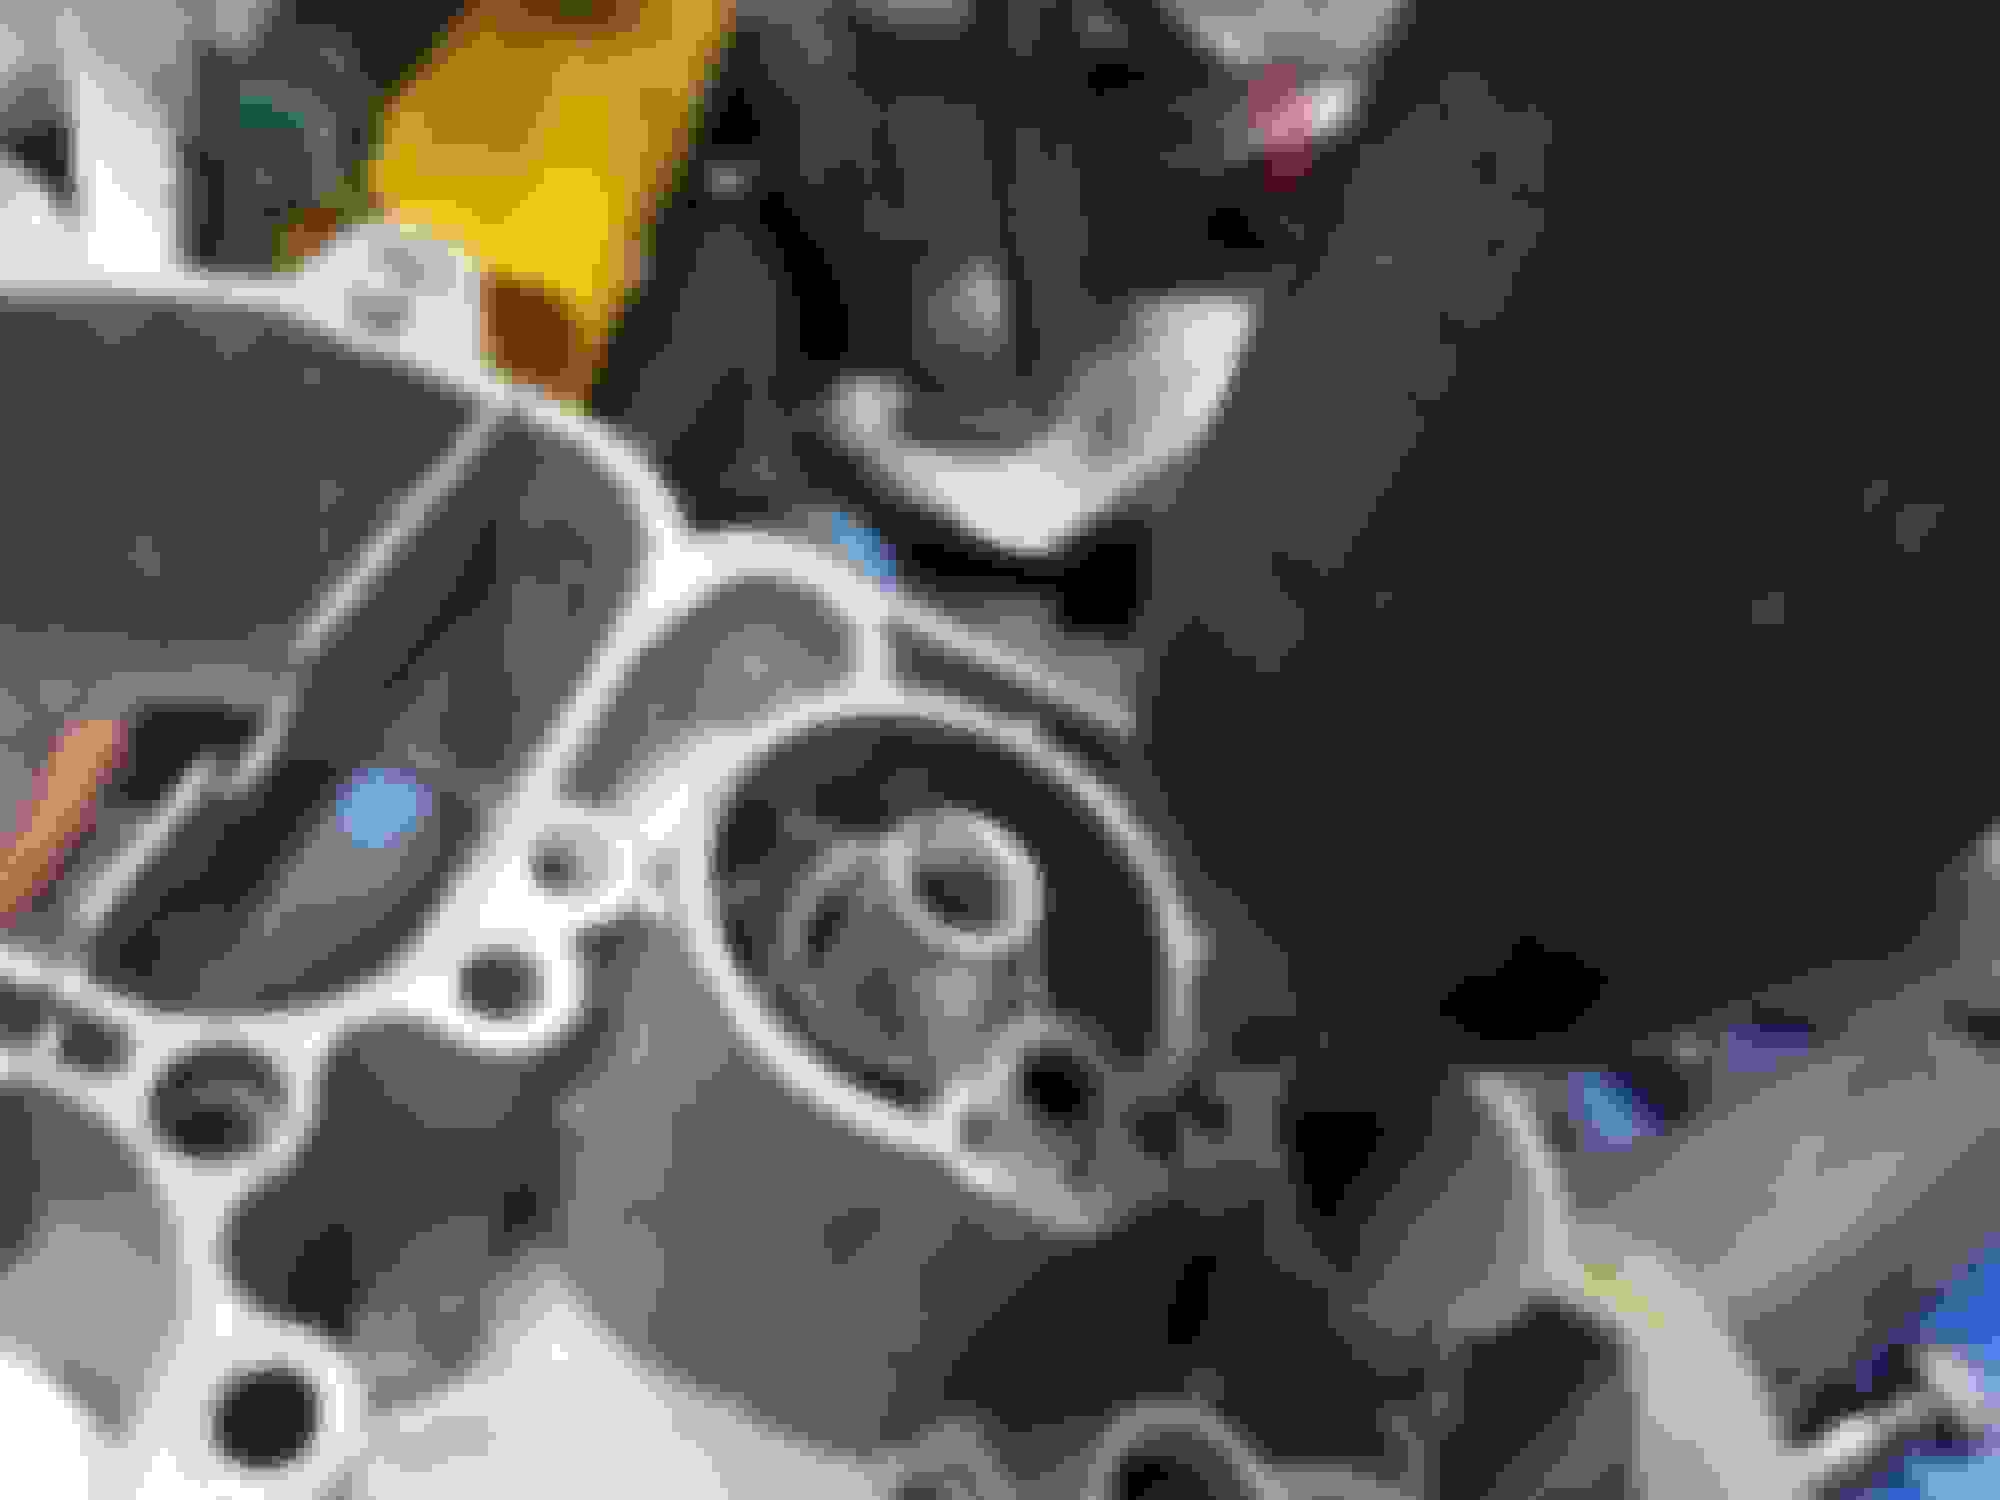
Okay, here is the rebuilding of the base plate. The stepped bit with the attachable collar makes drilling the correct depth easy. The hardest part is getting the bushings started straight. Red Loctite on the bushing and the screws for the primary throttle blades. Everything is now nice and tight without slop, phase one is complete. Next will be removing idle channel restrictions. Also a couple of pics of one of my 4 helpers, Dixie, the youngest Dachshund.
So I decided to finish the base plate. I went through Cliff's book. He suggested .106 to .110" for idle air bypass and around .100" for the idle mixture holes. A 7/64" drill bit is around .105" with my digital caliper, it was close enough for both. I also measured the main air bleed in the air horn is around .070". The one in the main body is much smaller, a 1/16" bit won't fit, that measures around .058". I need to figure that out as it affects other measurements.
Last edited by olds 307 and 403; April 11th, 2021 at 12:51 PM.
So a review of Cliff's book made it clearer. The idle air bleed in the main body is close to .070" according to my digital caliper. The main air bled in the air horn is around the same. The one in the main body seems smaller then even my smallest 1/16" drill bit. The idle tubes are being stubborn, they will need some heat to come out.
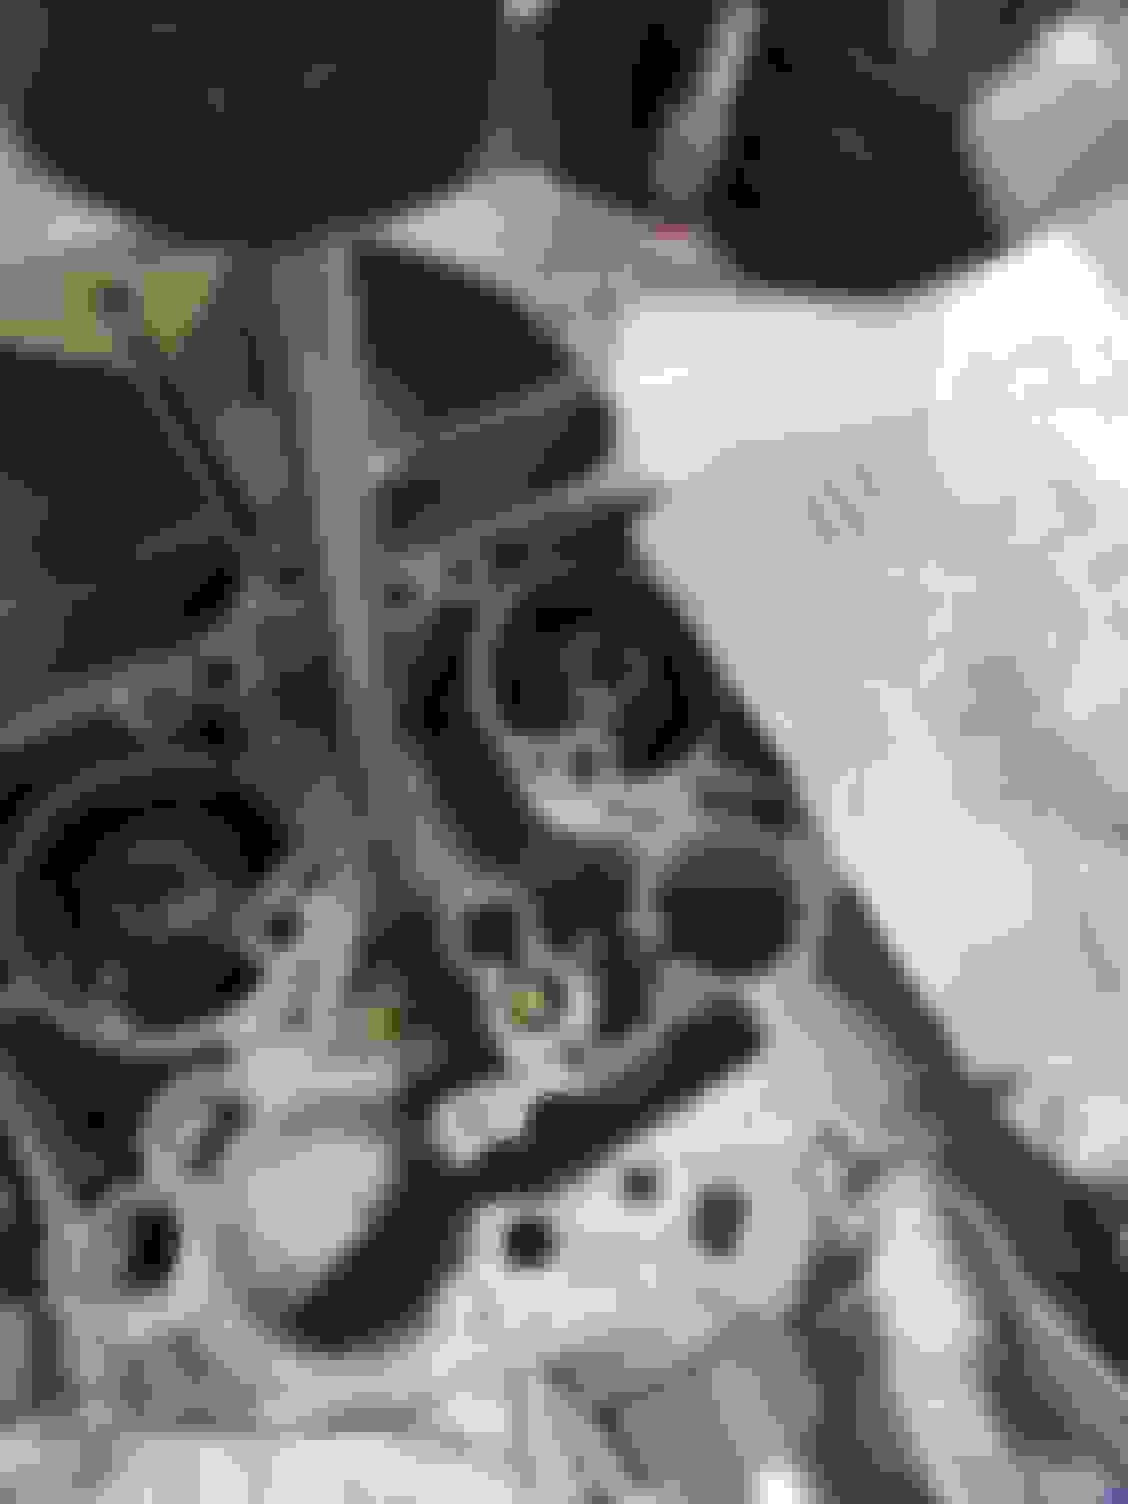
Look down the primary bores, a 800 cfm model has a bump. Nearly any 75 and up front inlet is 800 cfm. All will need the idle circuit modifications I am performing for anything over stock, they are very lean! Here are pics and explanations.
Ok, more cleaning and finally got the idle tubes out and replaced with Cliff's custom tubes, I believe .039" is what he did up for me. I also tapped the air horn for the 3/8" plug Cliff sent. The APT was 9.5 turns from seated. My other carbs were around 10.5 to 11 turns, makes this even leaner. The APT is now notched and I can easily adjust part throttle with a small standard screwdriver, the car running or not.
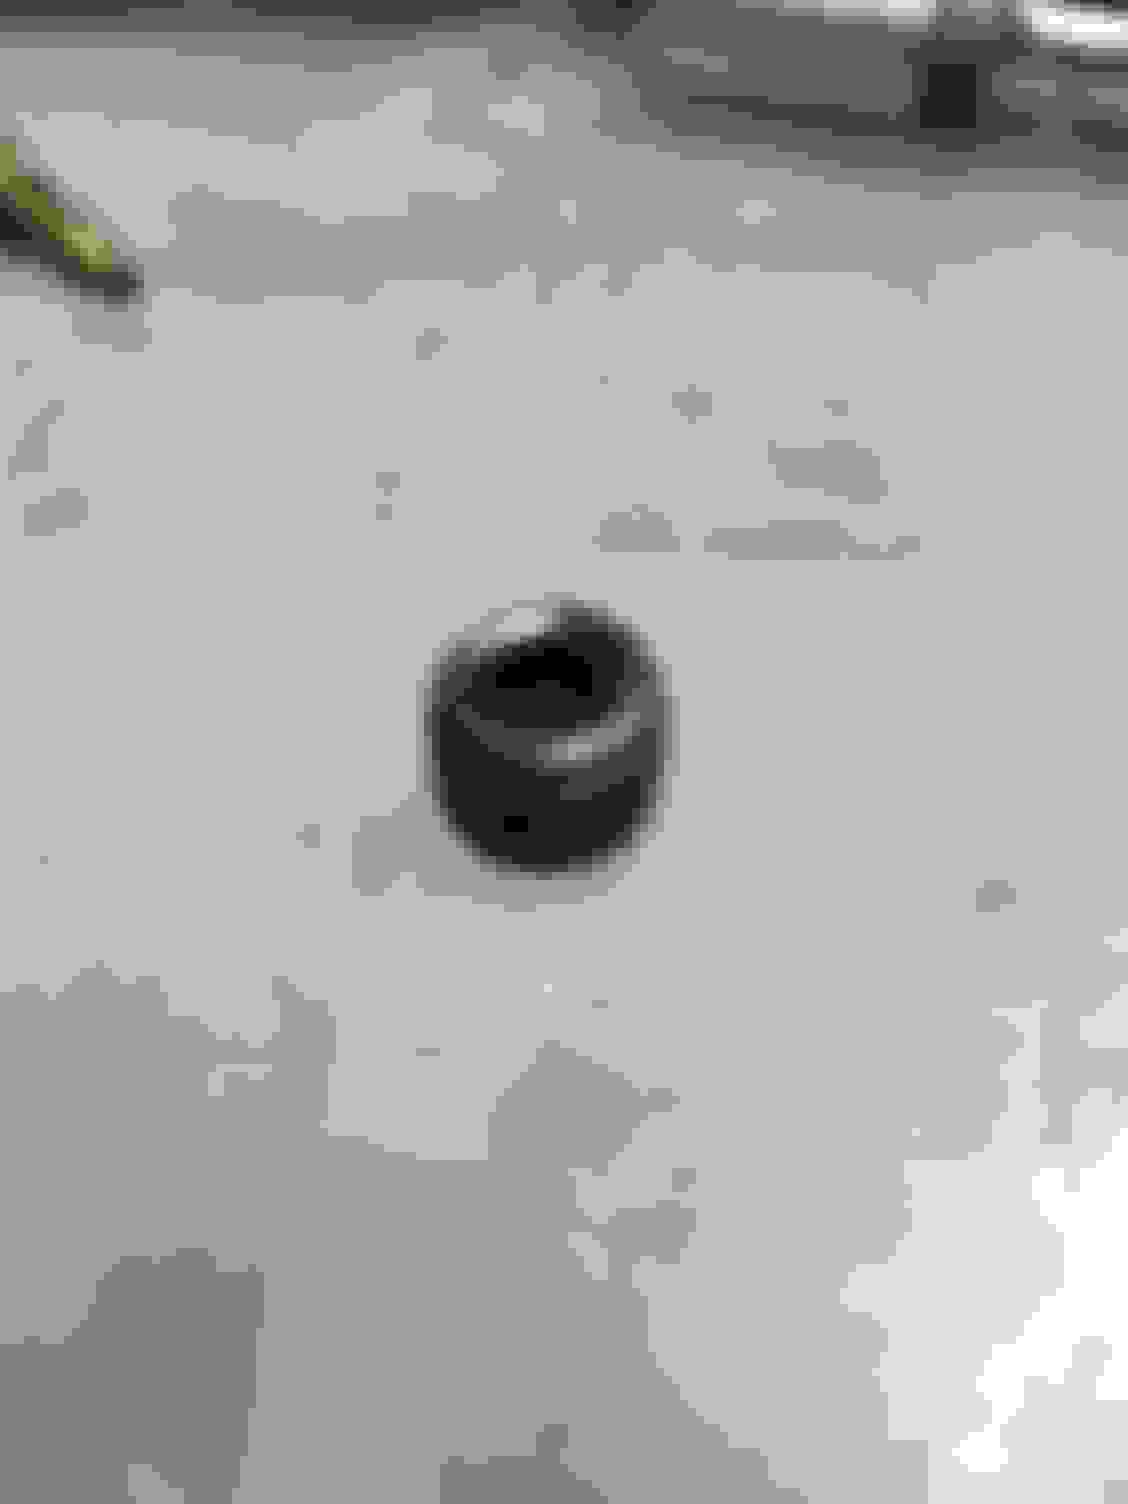
Ok, a bunch more accomplished. I drilled out the idle channel restrictions and the main bleeds with a 1/16" bit, both were tiny. The 1/16" equals a .059", about what Cliff's recipe recommends. I staked the check ball, took a few tries to get it to seal. I installed Cliff's custom 44 primary rods, new power piston collar and black power piston spring, which isn't set in stone. Main housing tapped and the 73 jets installed. Power spring and stop installed 9.5 turns from seated. Biggest screwdriver to install the .135" seat. I also changed air flap cam, spring and notched to help prevent a bog due to the secondary exit holes being above the flaps.
Last edited by olds 307 and 403; April 18th, 2021 at 03:10 PM.
 November 28th, 2020, 04:56 AM