When you click on links to various merchants on this site and make a purchase, this can result in this site earning a commission. Affiliate programs and affiliations include, but are not limited to, the eBay Partner Network.
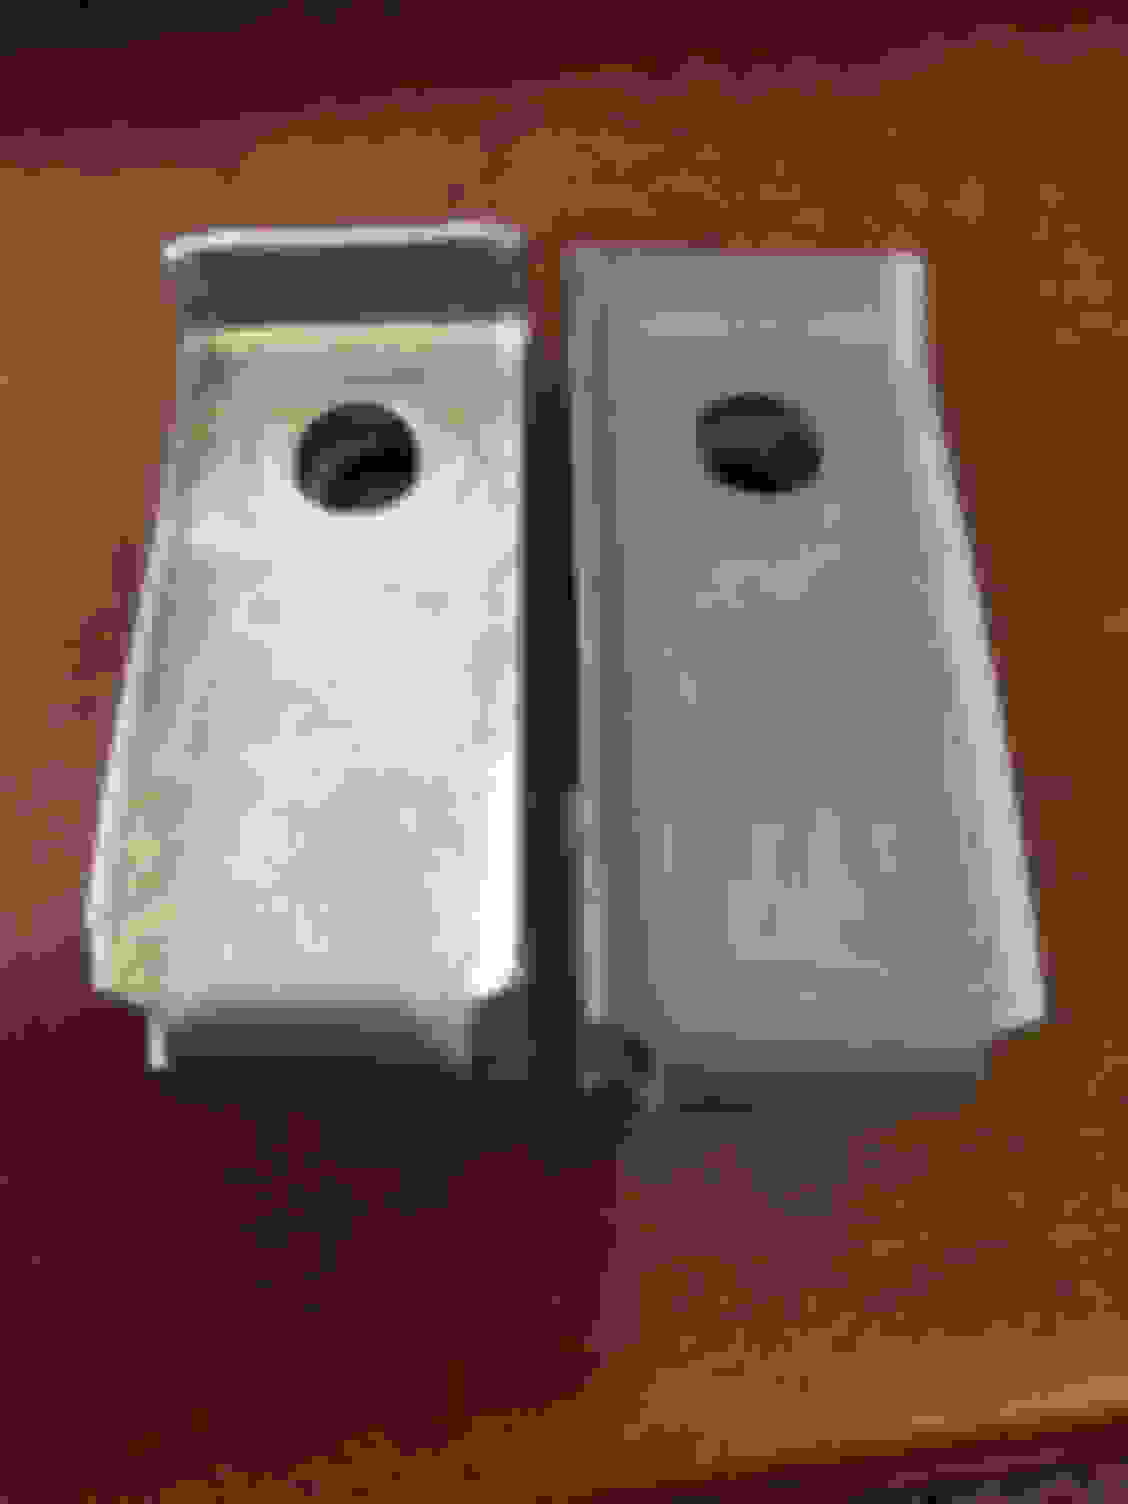
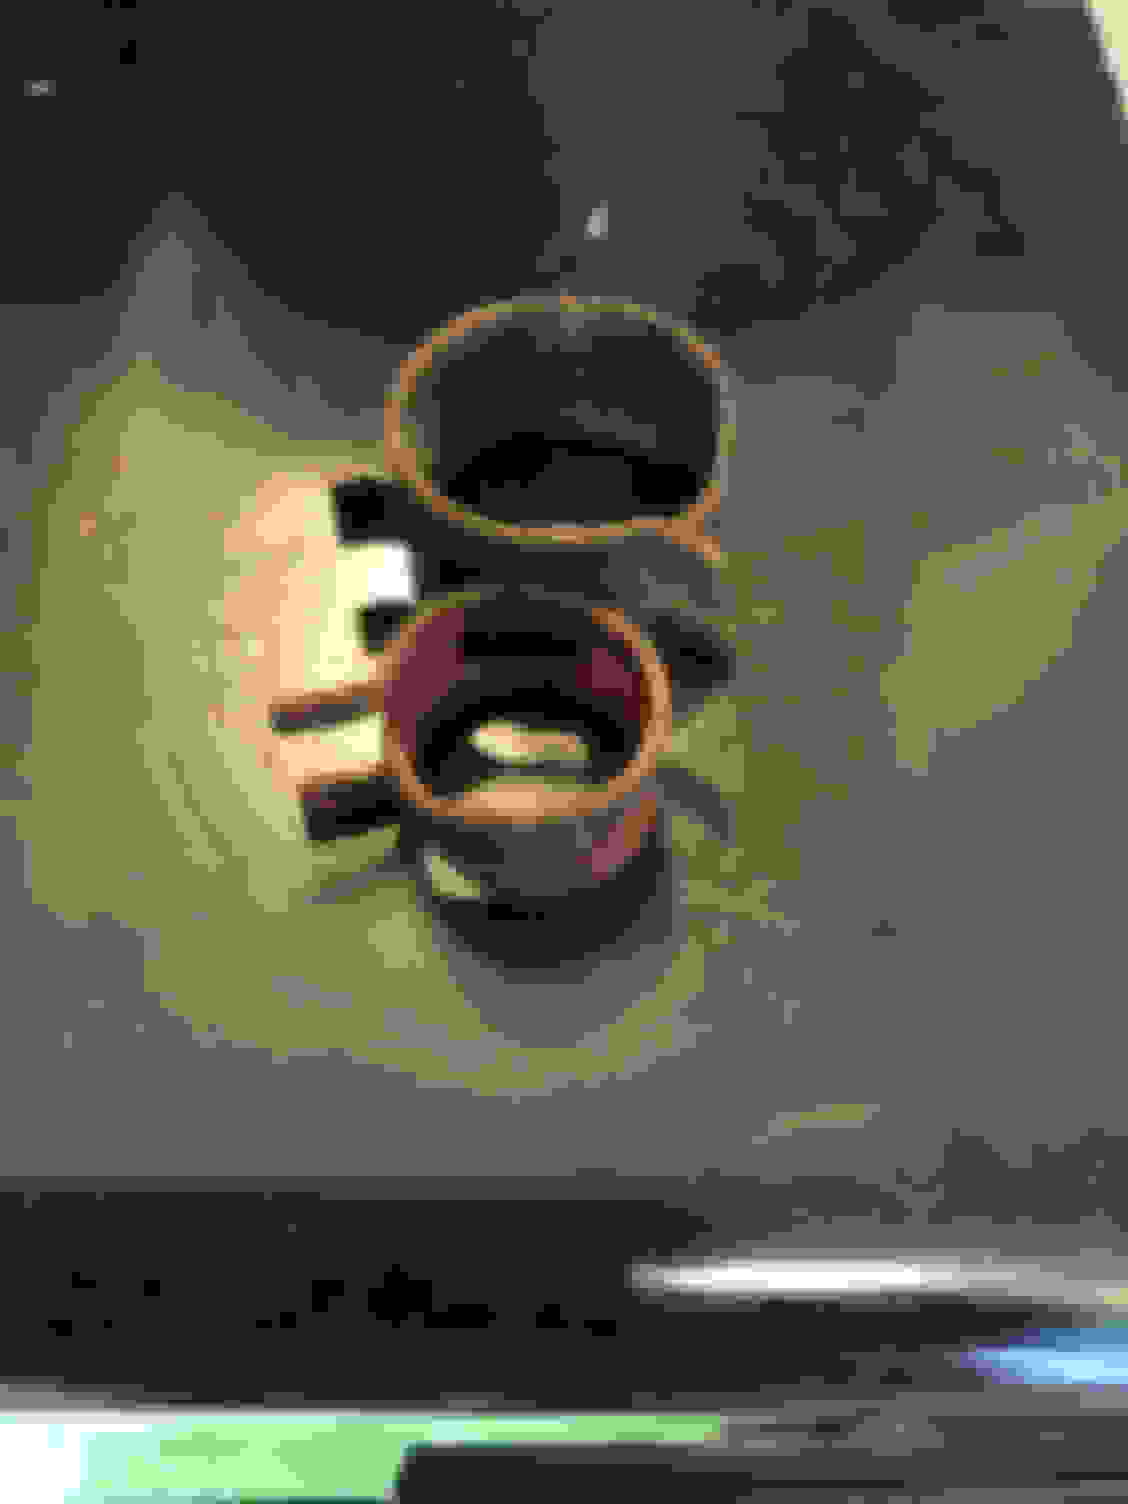
I soaked the original fuel line clips in paint thinner for a week to clean off the old black paint. They came out just okay so I decided to have them blasted. The metal is a bit pitted, however, I have yet to see a reproduction fuel line clip for a W-Machine that comes close to the originals.
As for the clips towards the rear (also used on the brake line), I opted for the Inline clip. It’s a really nice reproduction piece with only a subtle difference pictured below.
I completed the removal of the ball joints and bushings on the front upper and lower control arms. They arms really look bad and pitted so it’ll be interesting to see how / if they clean up after blasting.
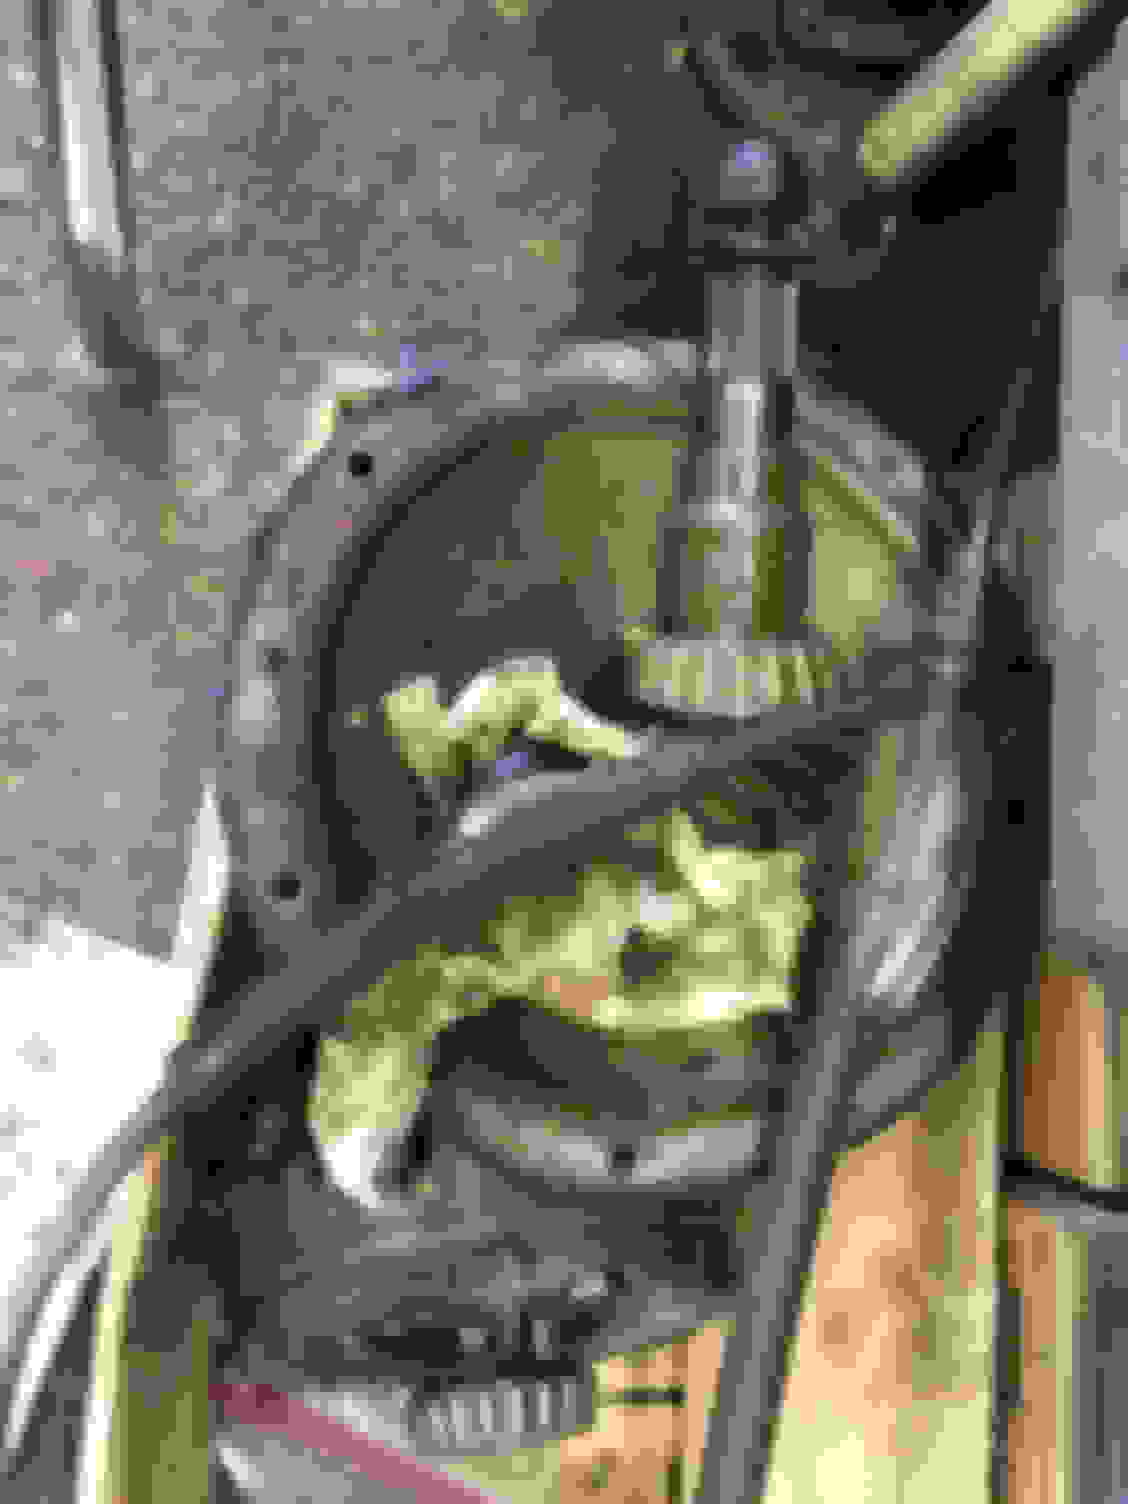
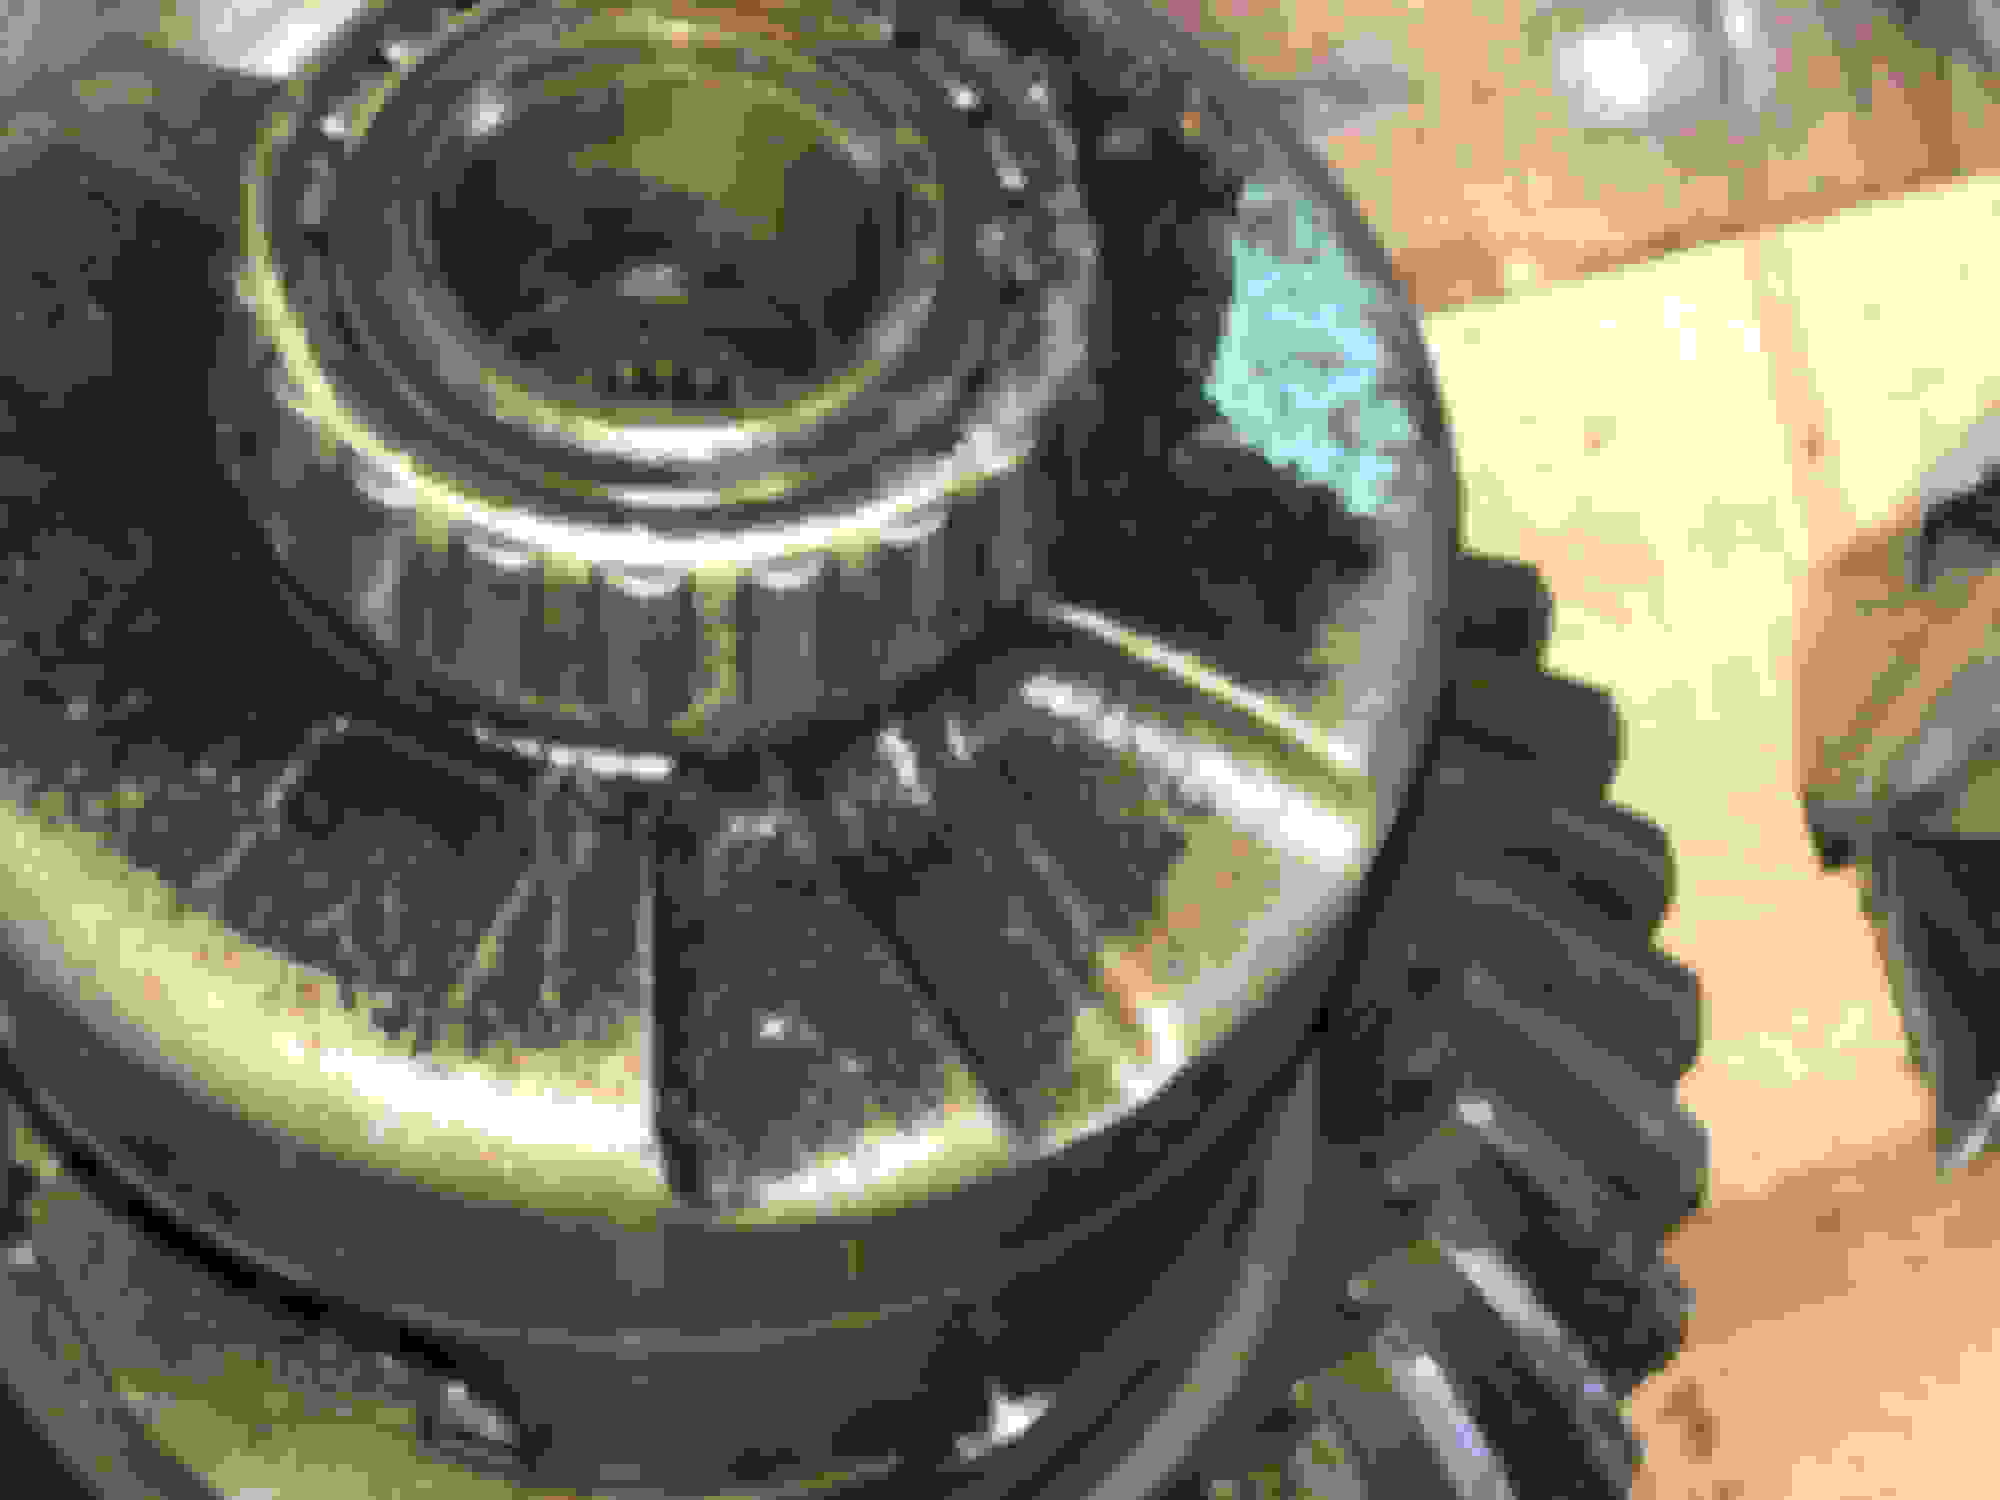
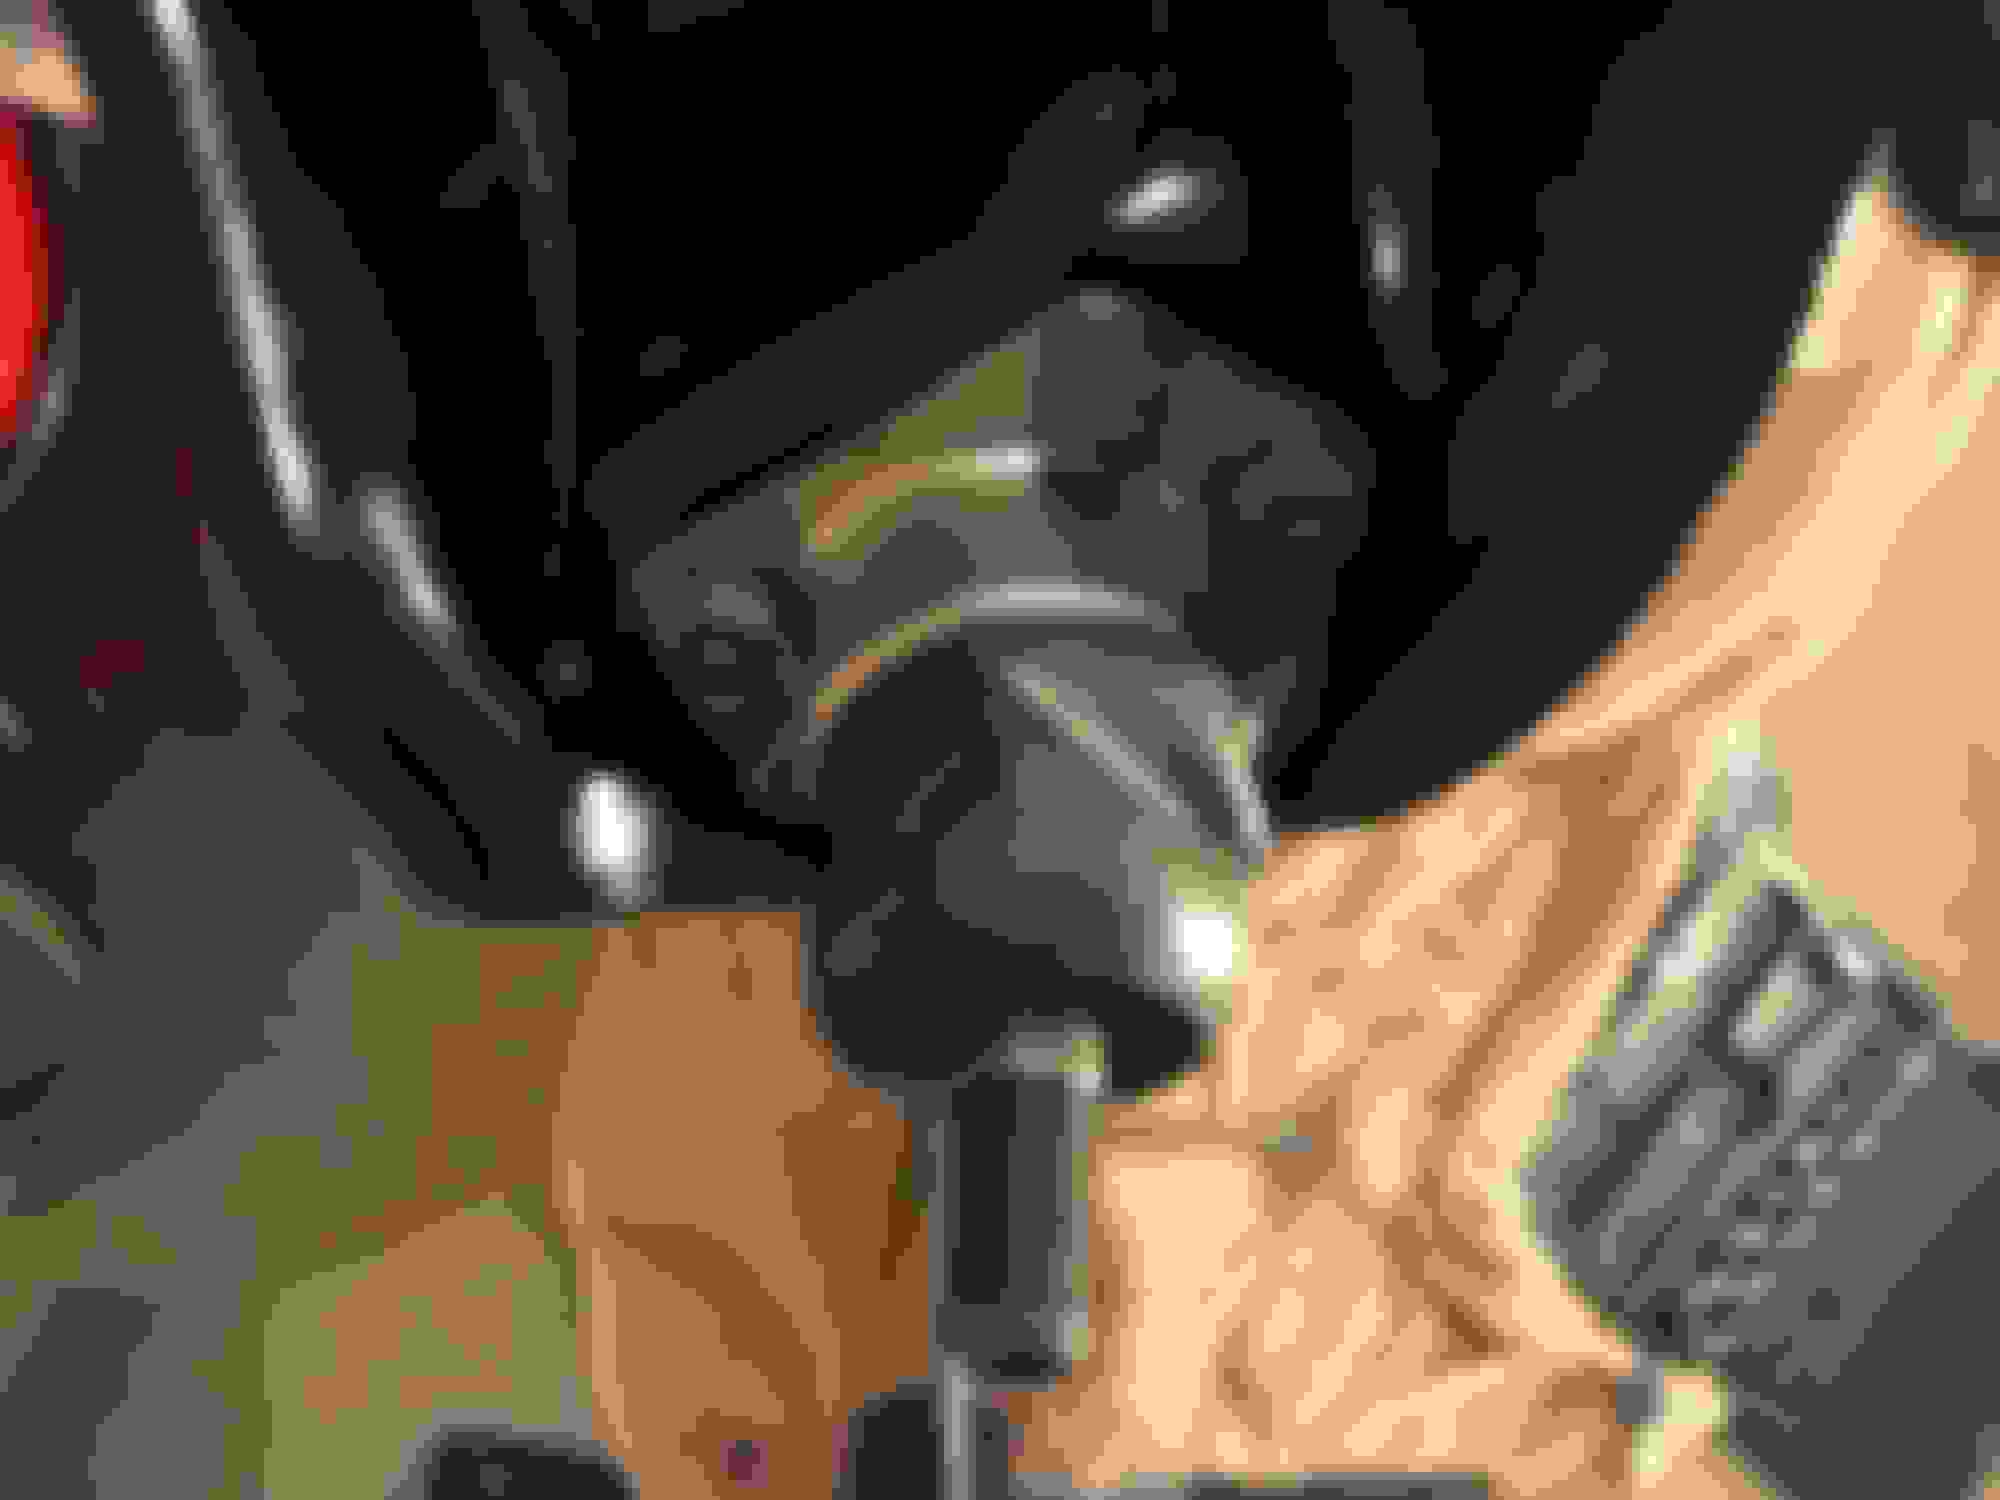
Finally, I had a chance to swing by the shop rebuilding the rear end. The car has a dealer installed 4.33 gear and they just looked okay. Very cool to see the original paint daubs on the gear and the white marks on the original axles in the background. I worked with Greg @ Supercars to get the correct rear end rebuild pieces. The kit is really nice and has all US made Timken bearings. I should have the rear by end of next week.
Last edited by WTHIRTY1; August 13th, 2018 at 05:58 AM.
I kind of figured that. I might just keep two sets. I have an OE set that are in good shape and thinking of getting a second set since I like the black with the Sherwood green black top so much
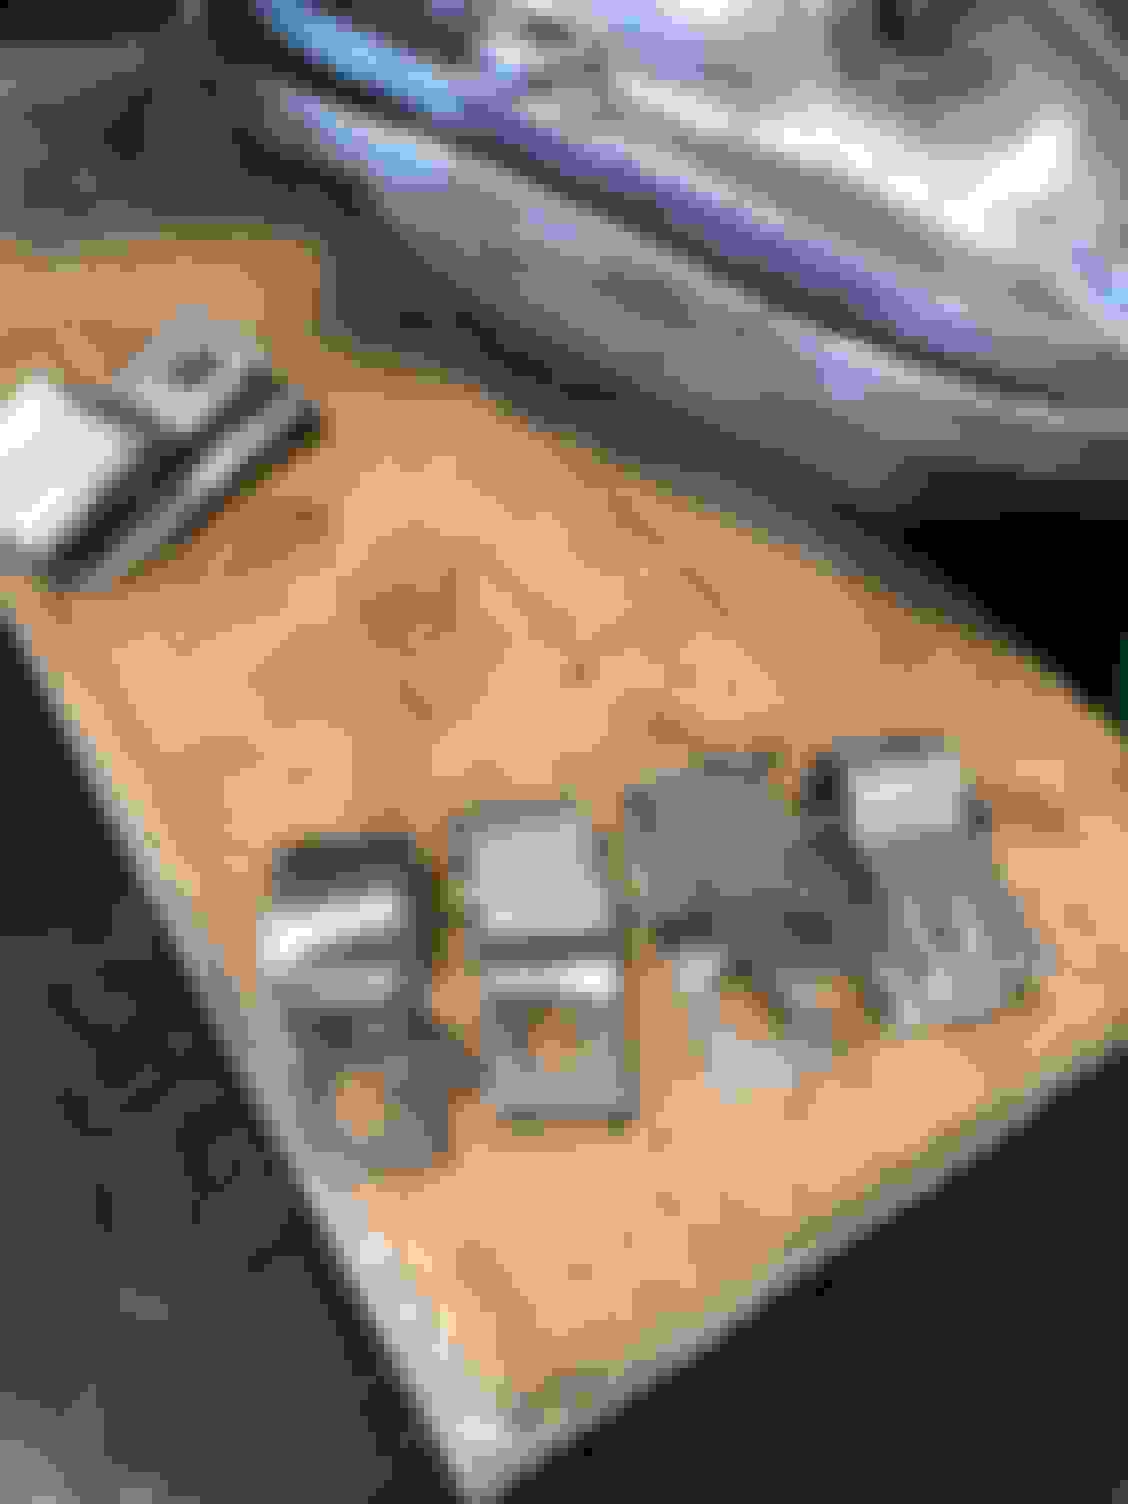
Picked up the motherload of parts from the shop today. Somewhat stuck until the control arms for the front and rear are completed along with the rear. I expect to have all of it by next weekend.
For the parts that had that natural steel look, we blasted and adjusted the clear to get a more “raw” look. I think it turned out better than expected.
Last edited by WTHIRTY1; August 13th, 2018 at 05:59 AM.
Not much to update from the weekend. The fuel lines have been installed with the original clips. The bend at the front before the rubber hose needed some gentle massaging to get it in to the right place.
I wanted to make sure I had everything I needed for a thrash when the control arms are done so I put the hardware where it’ll be going. I’m glad I did because I realized I was missing rear shock hardware. I used the original idler arm bolts and washers but opted for the new zinc nuts. Also, for those looking for the correct nuts for the engine mount pads, AMK has them as part # B-12789.
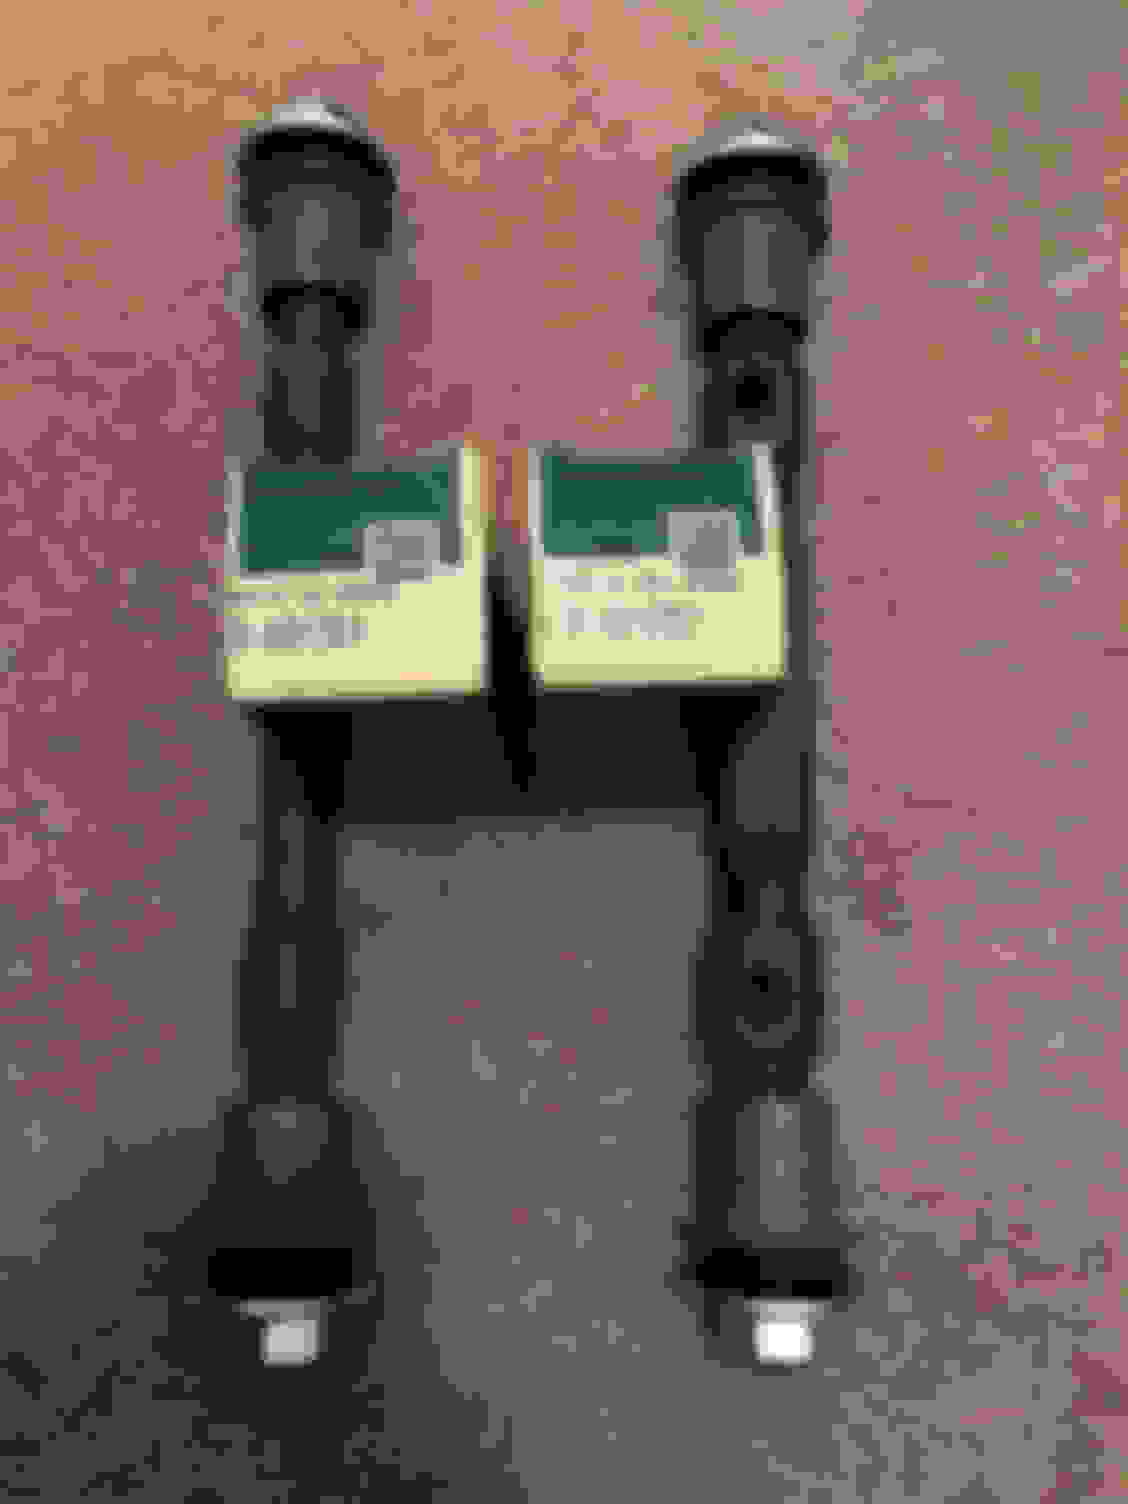
Had a mishap removing the cross shafts from the upper control arms. I scored an NOS shaft kit with correct washers, nuts, and bushings.
Last edited by WTHIRTY1; July 7th, 2020 at 02:26 PM.
The control arms are taking a bit longer than had hoped, but I was able to work on a few other items. I passed on $300-$400 NOS upper ball joints for the rebuild, but I�ll make another post on the ball joints and bushings I will be using.
As I wait for my parts to be blasted, I started putting hardware where I know it�ll go to ensure I�m not missing anything. The first part up was the rear shocks. I picked up new rears from one of the vendors, and needless to say the shock inside the box was a bit messed up. The top part is out of alignment and the welds (or whatever holds the tubing to the shaft) had broken off. I�ll be calling Monday to get a replacement.
Continuing with my hardware process, I pulled out an NOS set of sway bar bushings and brackets. I would have mounted the sway bar, but I wanted to spray the brackets with a coat of flat clear. I�ll get that in place tomorrow. Hoping to also get the steering in place after I restore the original idler arm.
Need help sorting through the rear bolts used on the W-31 (and I�d have to assume the W-30 is the same way?).
The PIM calls for three unique bolts. The original bolts don�t quite align with the PIM so let me try my best to break this down for the group.
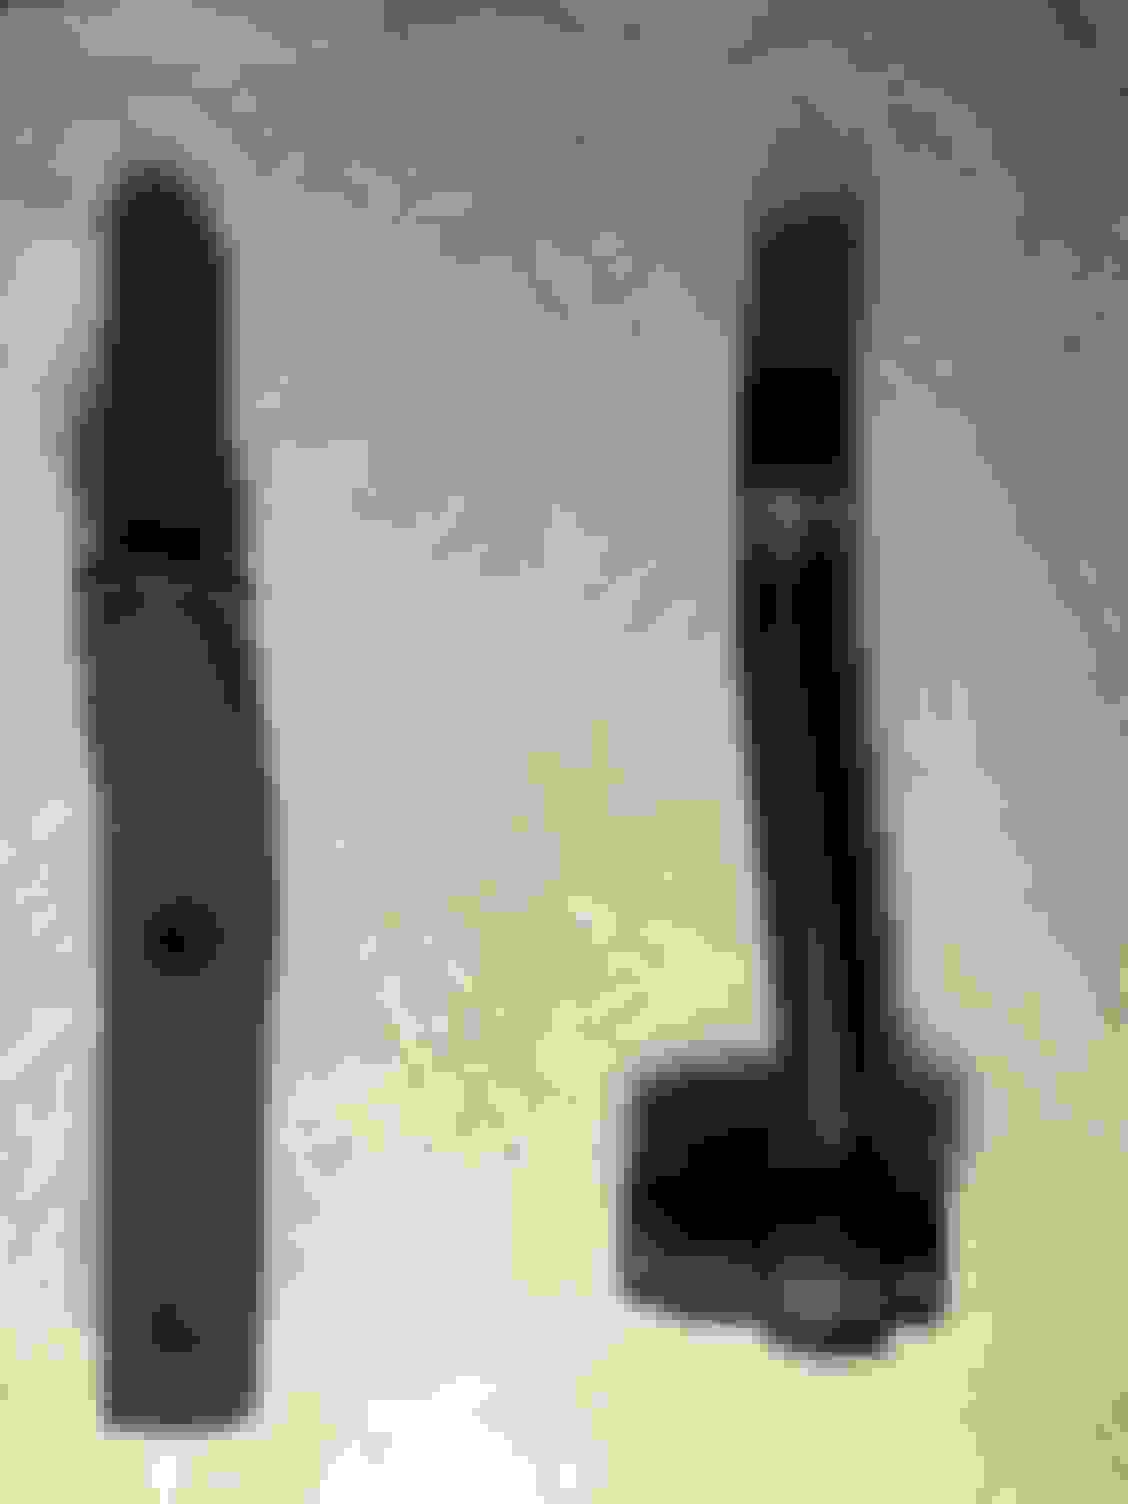
9421430 is the long pointed tip bolt used on the front lower control arms. According to the PIM it�s also used to hold the rear upper control arms to the frame. The bolts I removed were the shorter flat ones. I�ve seen this on a few other W-31�s currently under restorations.
Per the PIM, 942130 is also used on the boxed lower control arms to the brackets on the rear axle. The bolt head is on the inside and the nut is towards the �outside� of the car.
9427318 is the bolt called on to connect the rear upper arms to the rear axle. Is this the shorter flat bolt? I can�t find this number on AMK�s site.
402568 is supposed to be the bolt for the lower control arm to the frame. What is this bolt supposed to look like? The ones I removed from the car look identical to the 942130 with the pointed tip. I have to assume the longer bolt is needed because the support arm goes through there, too. There�s also a washer required.
So who can tell me what bolts go where for the rear suspension?!
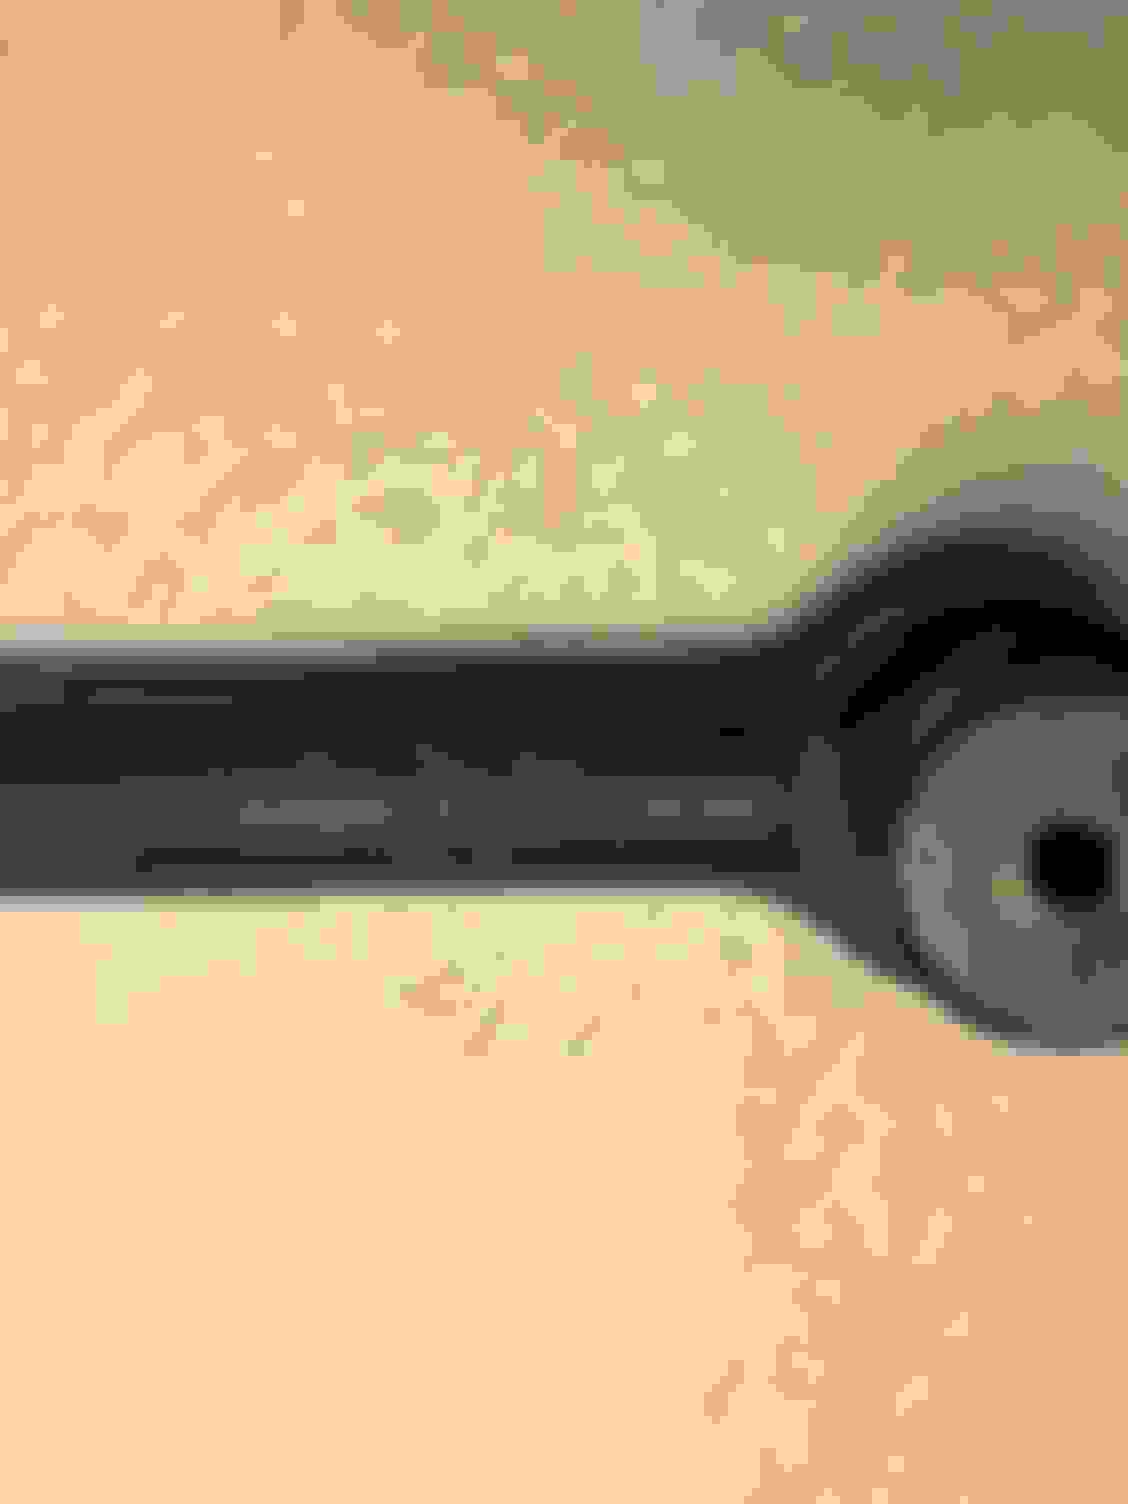
The bolt that holds the Rear LOWER Control Arm to the frame is unique (402568)....not like any other used on the rest of the suspension (shown in 1st pic below). The head of the bolt has a "flange" on it - with the bolt head going in from inside the frame. And yes, there is a thick washer used as well on THIS BOLT ONLY.
You said - " 9427318 is the bolt called on to connect the rear upper arms to the rear axle. Is this the shorter flat bolt? I can’t find this number on AMK’s site."
Yes - I believe that is the correct bolt/location for the two shorter flat tipped bolts. I'm fairly sure these two bolts are 1/2" x 3-3/8" if I grabbed the right one out of a bin to measure. I don't see any bolts in AMK's paper catalog that match this bolt. The front lower control arm bolts aren't quite the same - they have a partially pointed tip and are 3-3/4" long.
You may have to find good used versions or possibly shorten the 3-3/4" AMK #13749 front control arm bolt- 2nd pic below shows what I think is the correct bolt next to a front lower control arm bolt.
Last edited by 70Post; August 18th, 2018 at 09:11 PM.
The bolt that holds the Rear LOWER Control Arm to the frame is unique....not like any other used on the rest of the suspension. The head of the bolt has a "flange" on it - with the bolt head going in from inside the frame. And yes, there is a thick washer used as well on THIS BOLT ONLY.
Thanks, Patton. I�ll have to go searching through my hardware and see where the bolts with the flange ended up! Are these bolts and washers available from any of the vendors? I didn�t see either number available on AMK�s site.
Thanks, Patton. I’ll have to go searching through my hardware and see where the bolts with the flange ended up! Are these bolts and washers available from any of the vendors? I didn’t see either number available on AMK’s site.
I'll look in their catalog again BUT I don't think they offer the REAR LOWER CONTROL ARM - to -frame bolt either (the unique one with the flanged head - in my first pic above). I've never tried finding any of these so don't know if anyone offers this unique bolt. Do you have your thick washers??? If so I would need dimensions to try to match up with AMK's paper catalog. O.D., hole I.D, and washer thickness.
As far as "extrusions" - I think they are referring to positioning the rear LOWER control arm so the sway bar bolt holes are oriented correctly - so the sway bar is positioned under the rear diff. If you flipped the rear lower arms around the two sway bar bolts in the control arm would put the sway bar too far forward.
Last edited by 70Post; August 18th, 2018 at 09:25 PM.
I'll check some notes here on the location/placement of the THICK WASHER used on the Rr. Lower Control Arm Forward Mounting Point. I thought those went on the bolt shaft before the bolt gets fed into the hole inside the frame rail...acting as a "support" under the flange on the bolt head against the frame metal. Seems odd they would use them on the other end when you already have the additional metal of the rear control arm braces acting as a sort of "washer".
I'll look in their catalog again BUT I don't think they offer the REAR LOWER CONTROL ARM - to -frame bolt either (the unique one with the flanged head - in my first pic above). I've never tried finding any of these so don't know if anyone offers this unique bolt. Do you have your thick washers??? If so I would need dimensions to try to match up with AMK's paper catalog. O.D., hole I.D, and washer thickness.
As far as "extrusions" - I think they are referring to positioning the rear LOWER control arm so the sway bar bolt holes are oriented correctly - so the sway bar is positioned under the rear diff. If you flipped the rear lower arms around the two sway bar bolts in the control arm would put the sway bar too far forward.
The good news is that Inline carries the longer pointed tip bolt used on all the fronts. They also carry the shorter flat tip bolt for the rear pieces which means AMK likely carries them, too. As for the flanged bolt, I'll need to do some homework on that as well as the washer. Really appreciate the help, Patton!
Here's the notes from my thread on the bolt subject. Car had not been previously diassembled - late January build '70 W30. All the bolt directions were as illustrated in the PIM - apparently Lansing did not use any of "optional bolt directions"
"Turned to removing the rear axle from the frame. Since I had already pre loosened the control arm bolts, this was rather uneventful. I did note that there are three different types of rear control arm bolts. The kits you buy sell you all the same bolts, and I am sure it will work - it is just not correct.
Type 1 bolt (2 only) These are the ones that attach the lower arms to the frame. They point to the center of the car, use a flat washer on the nut side and have a "pilot" on them. Most uniquely, the head of the bolt has a built in washer (think like a big valve cover bolt)
Type 2 bolt (2 only) These attach the lower arm to the rear axle assy. These point OUTWARD from the car centerline, and have no washer behind the nut. The head is normal and these also have a "pilot"
Type 3 bolt (4 only) These attach the upper control arms to the axle assy and frame. These have no pilot, no washers, and the heads are normal. Interestingly, the ones that attach to the frame point towards the car center line, but the ones that attach the arms to the axle assy. point out wards from centerline. May be way too trivial for some, but again found out how much the repo parts can be different from OE."
Thanks for the write-up, Joe. Based on what you listed, I need to locate two of the flanged bolts to connect the lower arms to the frame.
The PIM calls out 9421430 as the bolt that goes from the rear upper arm to the frame for the 35W31. 9421430 is also the SAME long pointed tip bolt used for the front LCAs. 9427318 is the first bolt called out for the rear uppers to the frame, however, it specifies EXC. 35W31. Remember, 9427318 is the same bolt called for connecting the upper arm to the axle. This is the shorter flat tipped bolt and I think it was commonly misused during assembly. The longer 9421430 bolt makes sense since the support pieces connect to the bolt, too.
402568 is the part # for the two flanged bolts used on the rear LCAs to the frame with the washer and nut. I just went through the entire AMK catalog and couldn't find an exact match for the flanged bolt.
Type 1 bolt (2 only) These are the ones that attach the lower arms to the frame. They point to the center of the car, use a flat washer on the nut side and have a "pilot" on them. Most uniquely, the head of the bolt has a built in washer (think like a big valve cover bolt)
I may be wrong, but when I look at page 4-104 in the PIM, only the cars with the frame reinforcement Brace (3918061 and 3918062) would have the washer under the nut on the lower arm to frame bolt. Am I reading that correctly?
I may be wrong, but when I look at page 4-104 in the PIM, only the cars with the frame reinforcement Brace (3918061 and 3918062) would have the washer under the nut on the lower arm to frame bolt. Am I reading that correctly?
I may be wrong, but when I look at page 4-104 in the PIM, only the cars with the frame reinforcement Brace (3918061 and 3918062) would have the washer under the nut on the lower arm to frame bolt. Am I reading that correctly?
Yes, all my notes were in reference to my specific car. I believe all W cars, and all MT 442's had the reinforcement bars. Not sure about Rallye 350's.
To bring the bolt conversation full circle, the flanged bolts are available through Inline with the washers and nuts. The bolts are a dead match to the originals. So in conclusion, there are three bolts for the rear suspension of the W-31; the longer bolt with the pointed tip, the shorter flat bolts for the rear upper arms, and the two flanged bolts for the lower control arms to the rear frame.
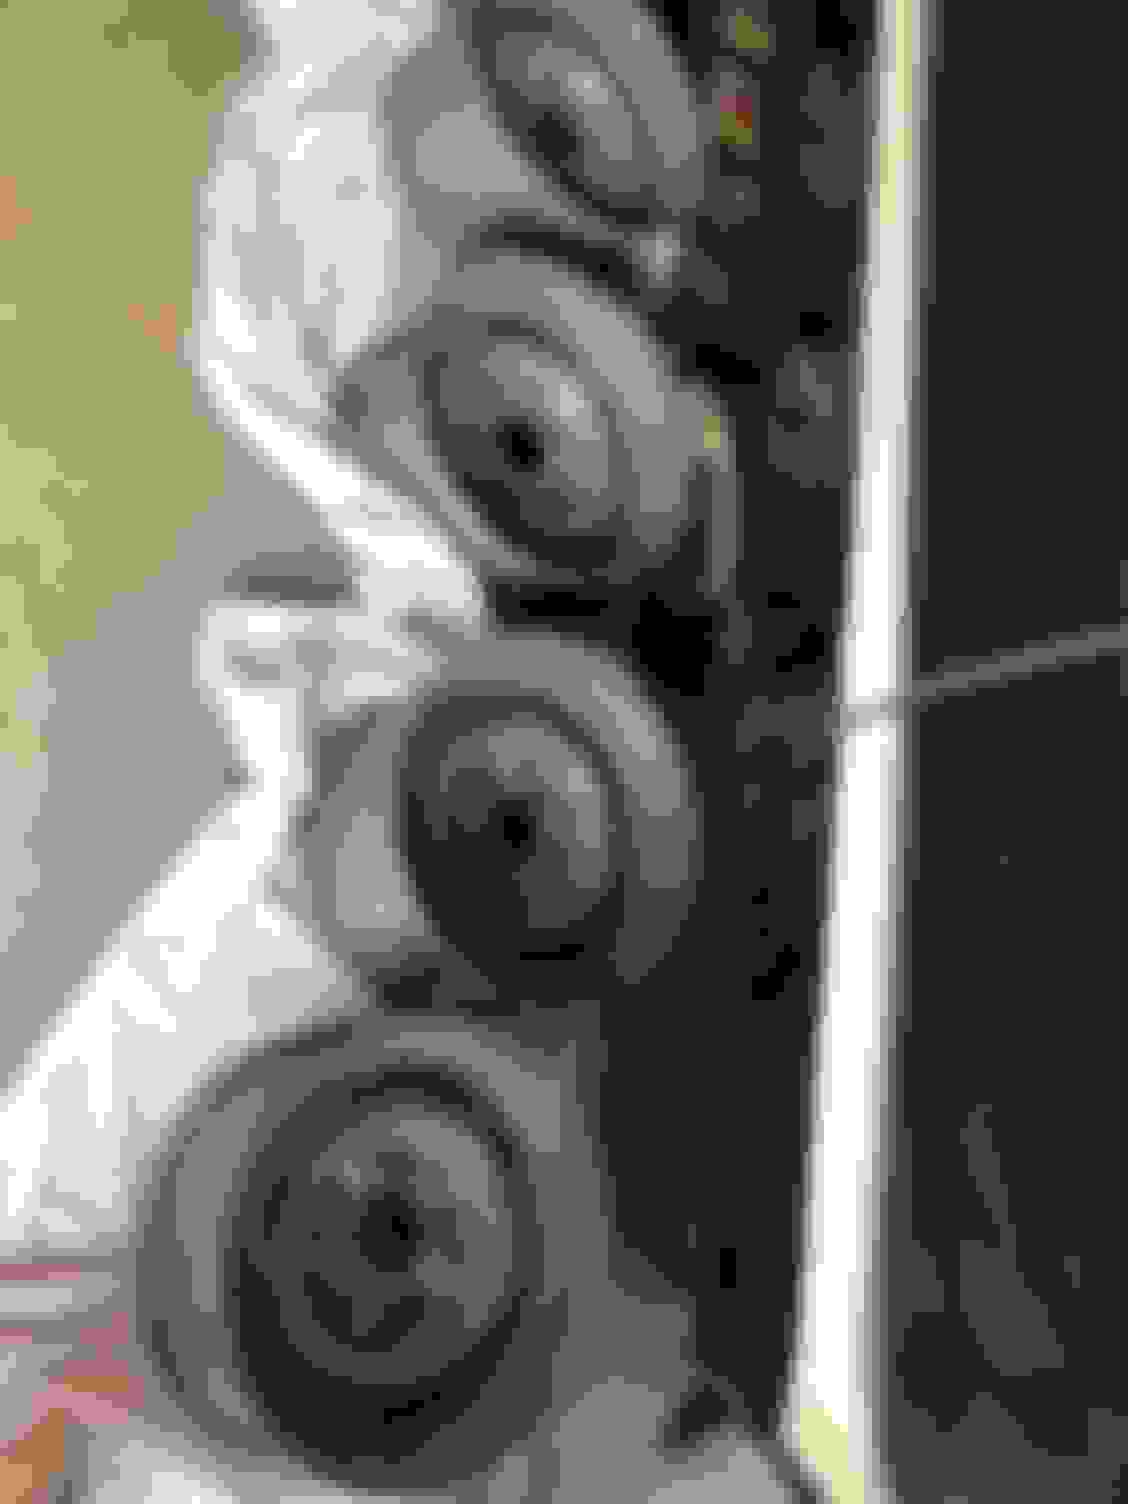
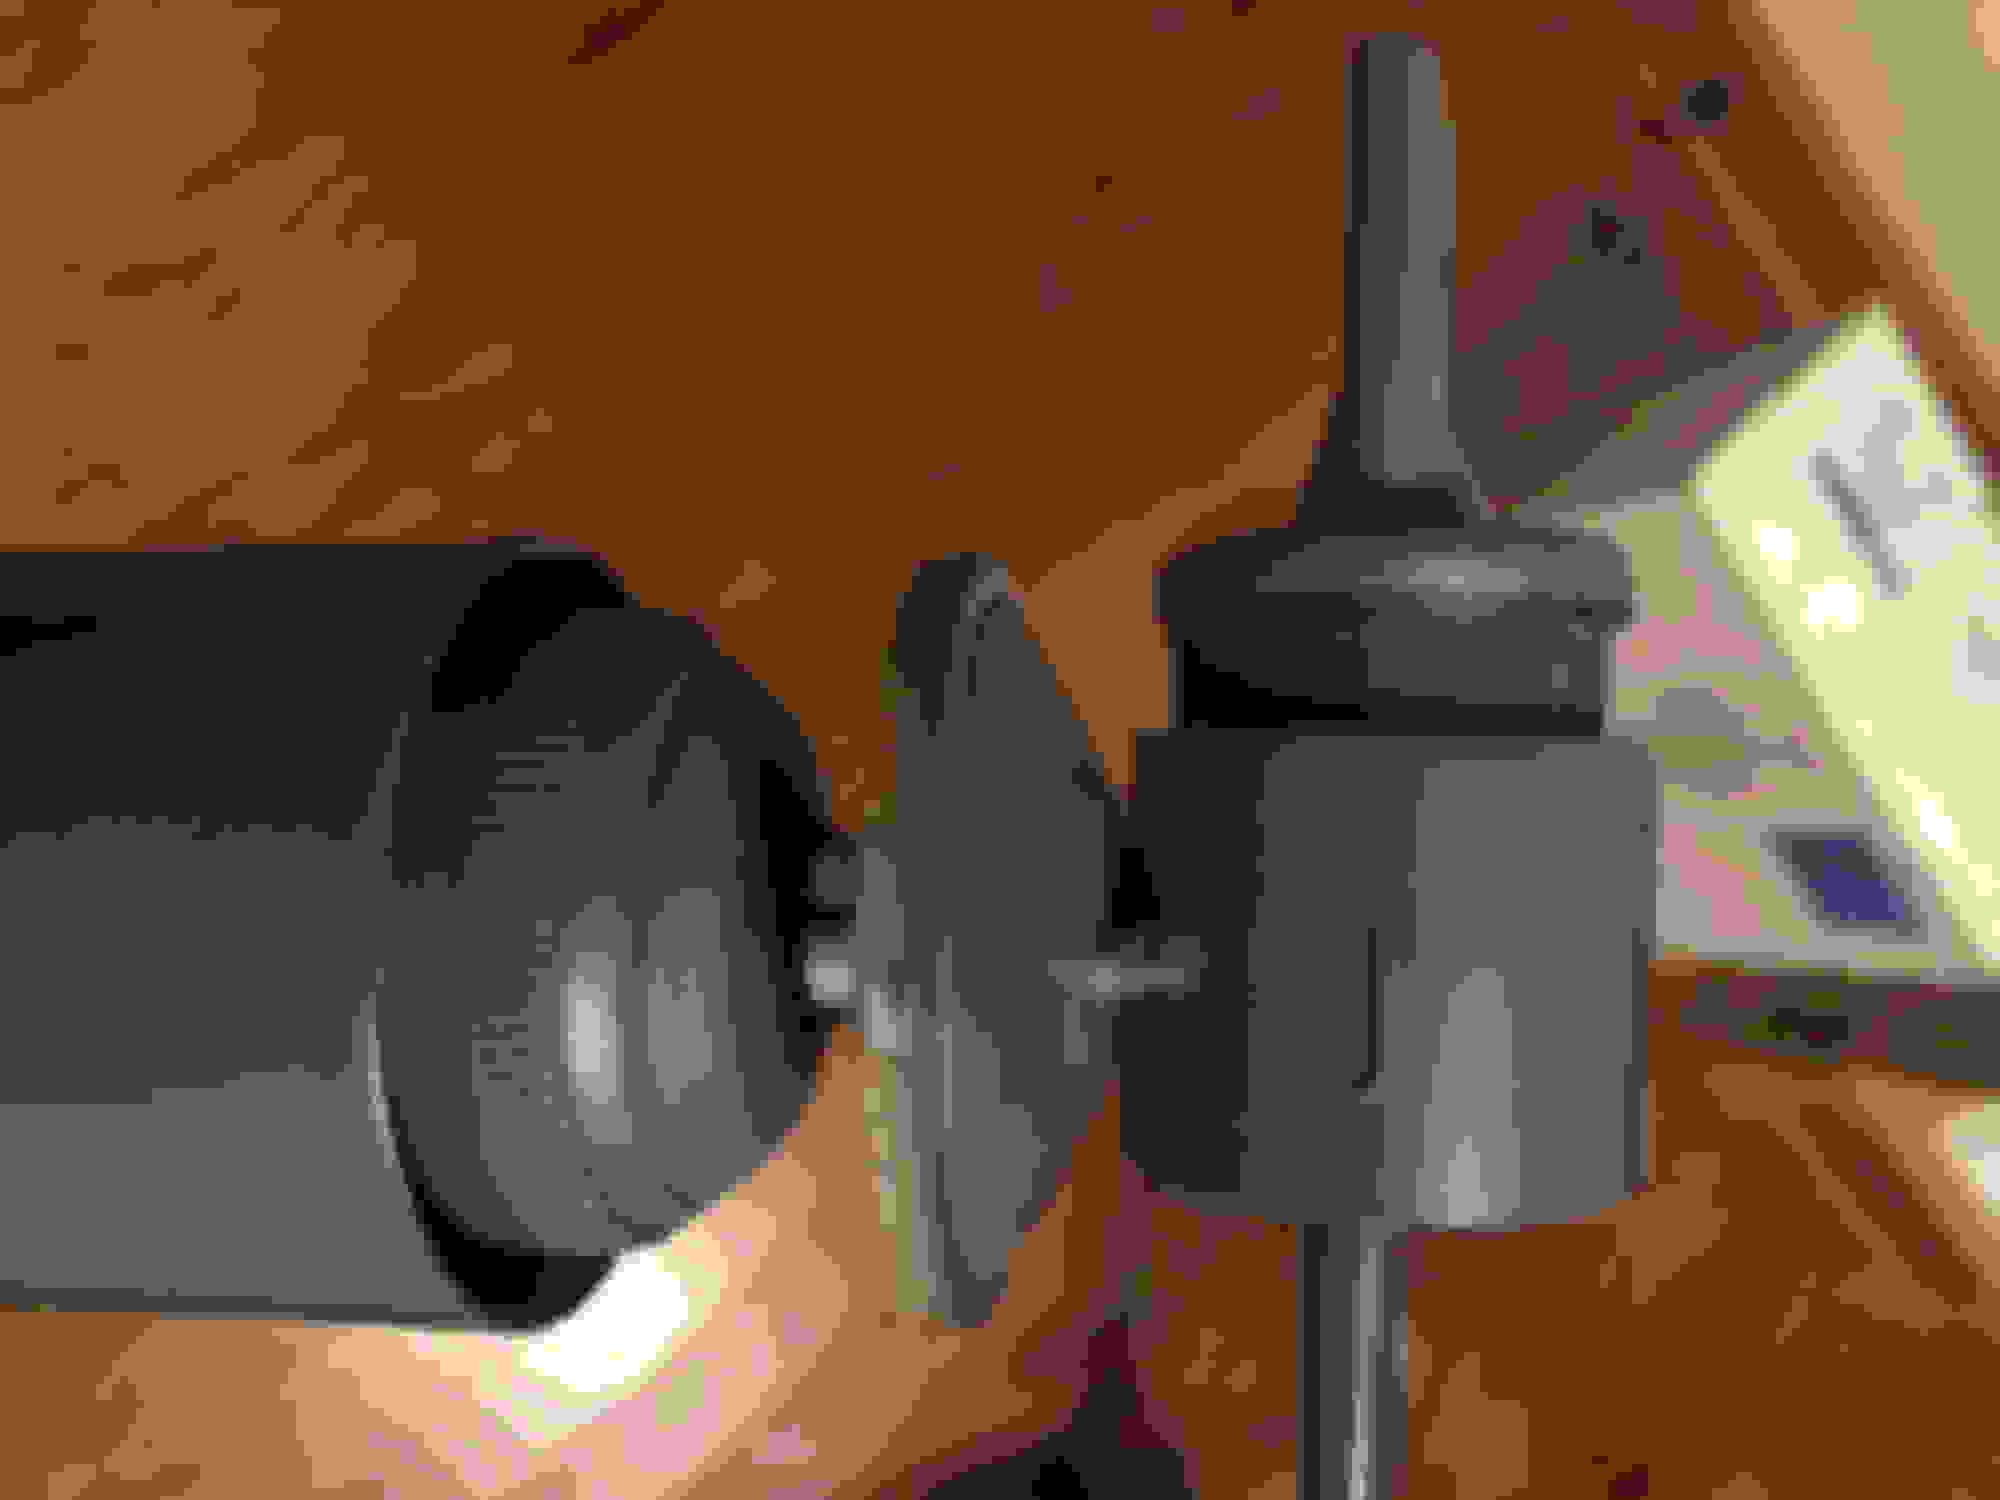
I was fortunate enough to pick up a pair of front NOS / original take off shocks a few months back. The hardware is perfect, and you can still see remnants of the original parts tags. The date codes are a perfect fit, and supposedly these shocks were removed from a W-31 factory racer and stashed for the last 48 years. The silver paint was a bit faded so I did my best to sand them and shot them with a few coats of Inline�s grey shock paint.
To bring the bolt conversation full circle, the flanged bolts are available through Inline with the washers and nuts. The bolts are a dead match to the originals. So in conclusion, there are three bolts for the rear suspension of the W-31; the longer bolt with the pointed tip, the shorter flat bolts for the rear upper arms, and the two flanged bolts for the lower control arms to the rear frame.
Did you mean to say, ". . . .and the two flanged bolts for the lower control arms to the rear end" (or differential)?
Did you mean to say, ". . . .and the two flanged bolts for the lower control arms to the rear end" (or differential)?
.
No. Maybe I could have stated that better, however, the flanged bolts hold the rear boxed arm to the frame. Also, the frame reinforcements connect to this bolt as well.
Shocks turned out decent. The spray from Inline was a nice match.
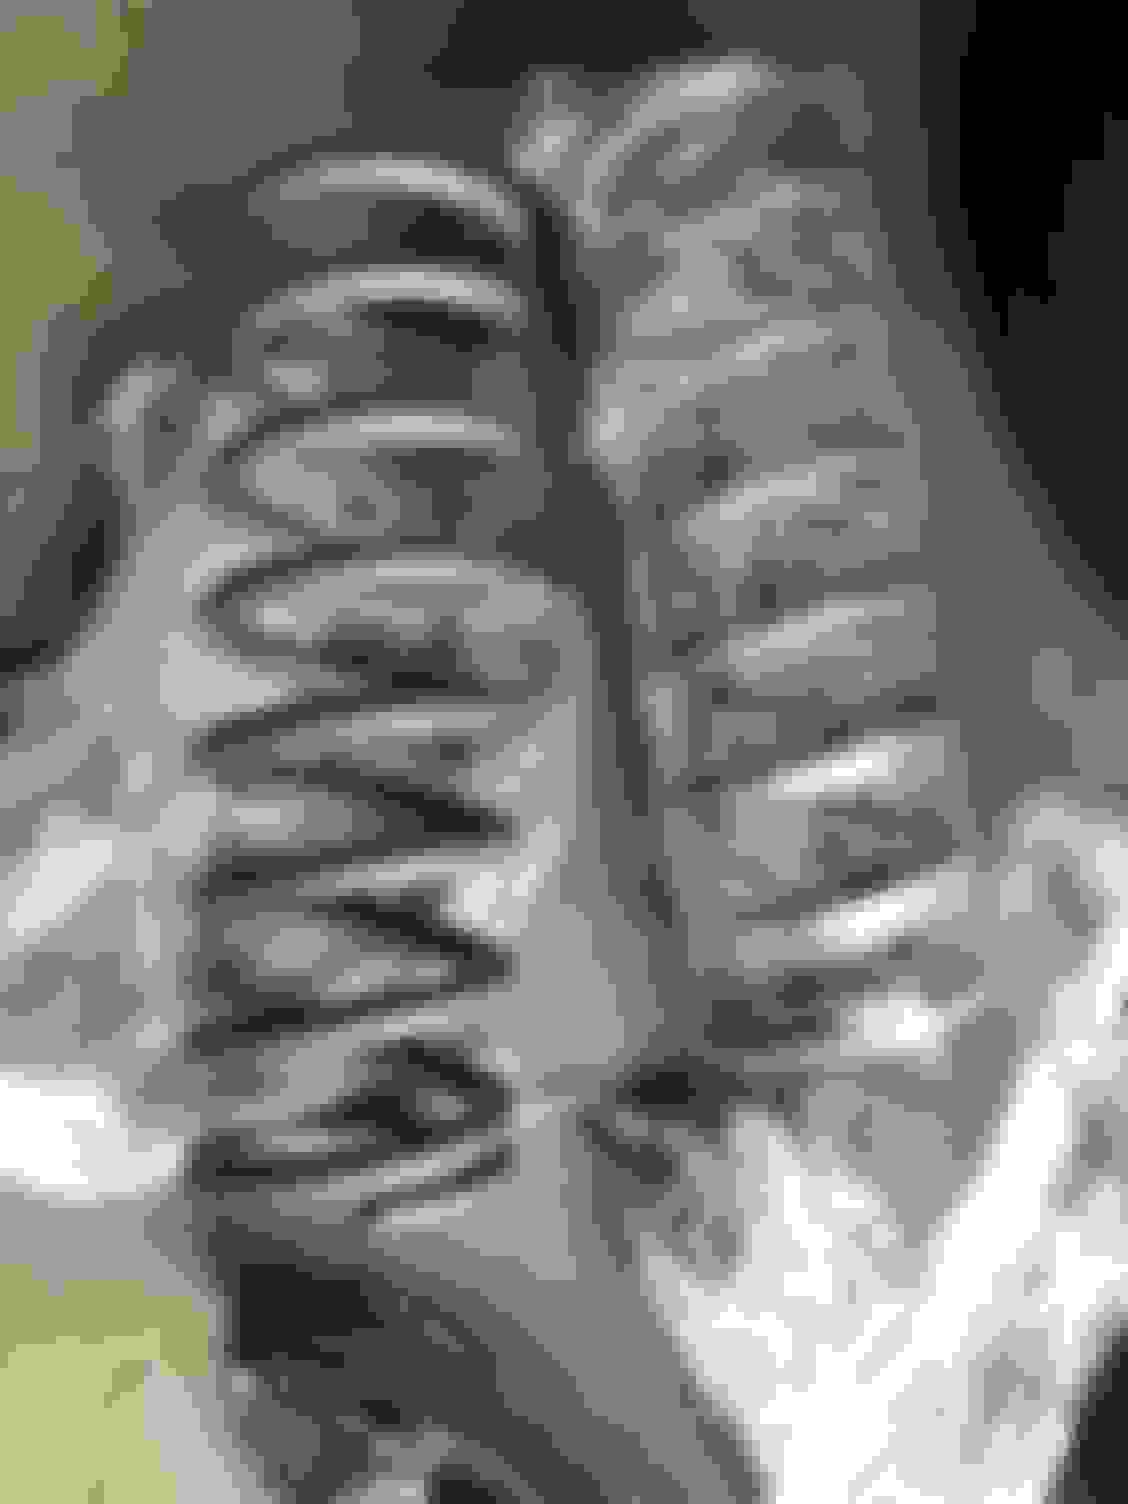
Also, I refinished the upper control arm cross shafts. I soaked them in a 5 gallon bucket of Evaporust for a few days, wiped them down, and shot them with a flat clear to prevent flash rusting. I thought the natural look would be better than trying to spray them with a cast blast.
Maybe I could have stated that better, however, the flanged bolts hold the rear boxed arm to the frame. Also, the frame reinforcements connect to this bolt as well.
There is no rear arm, there is an upper and a lower arm.
All suspension arm bolts are flange bolts.
Thanks to everyone for helping to figure this out.
The #402568 pointed lower arm front bolt is longer to facilitate the frame reinforcement and the washer.
The #9424130 pointed lower arm rear bolt is the same as the front suspension.
The #9427318 flat tipped upper arm bolts are the same.
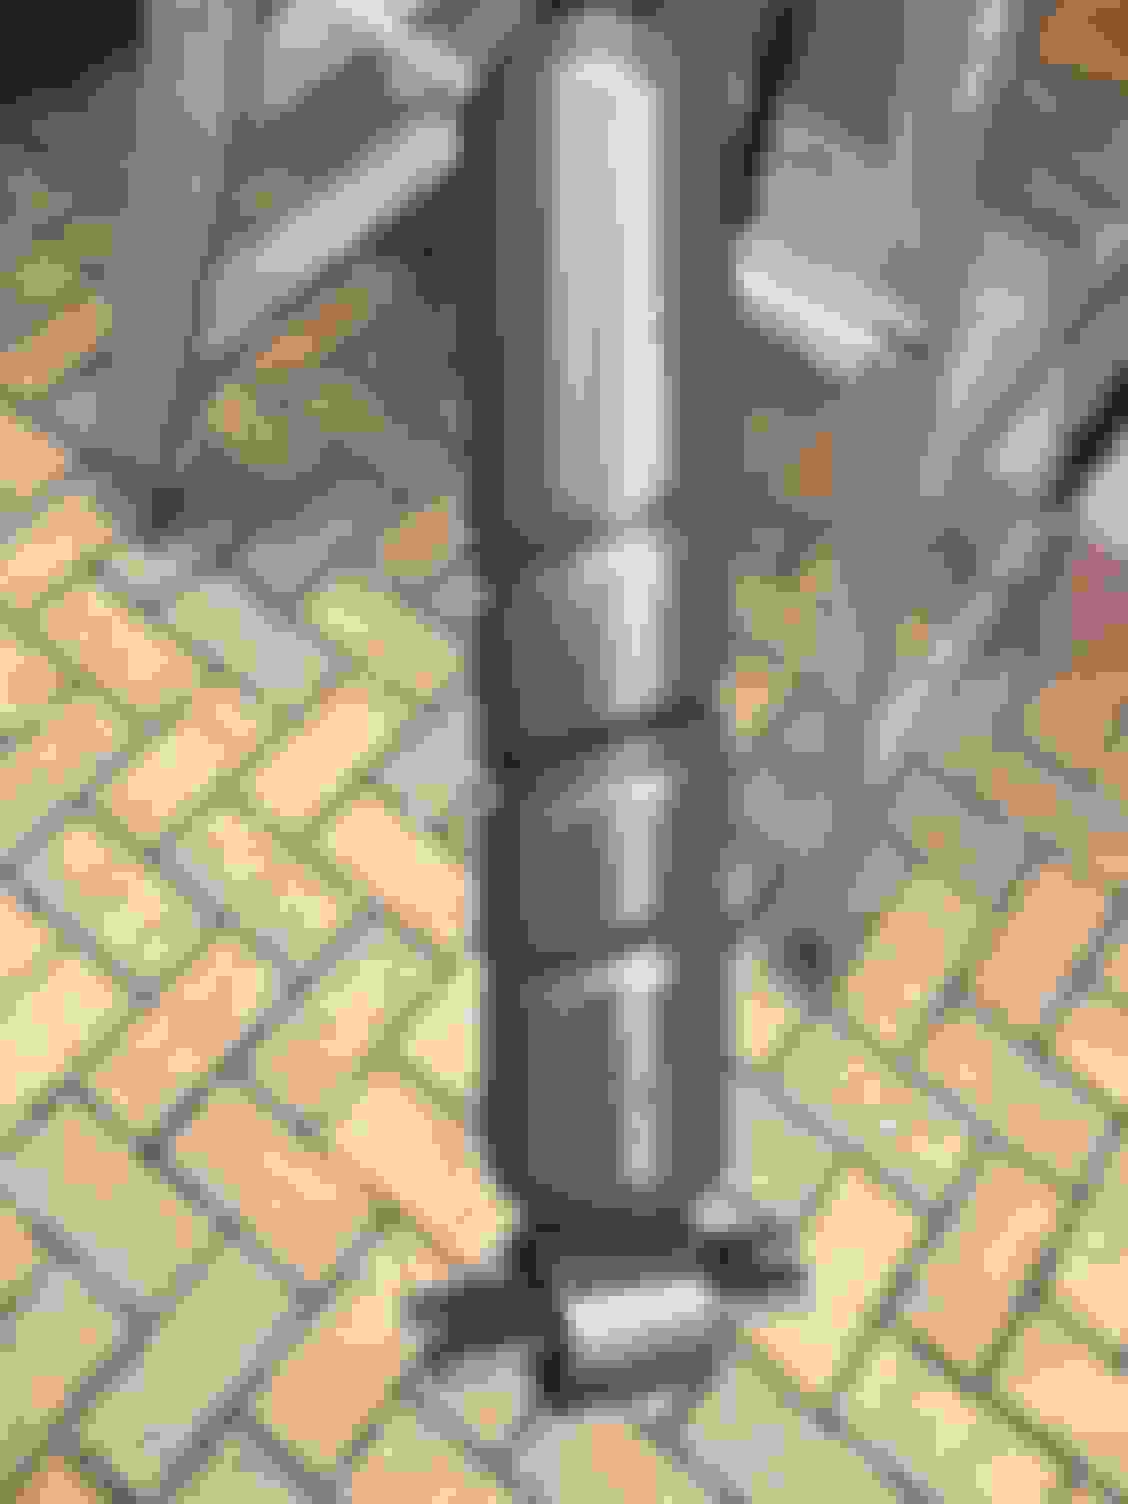
Cross shafts are ready to go. I�m going with washers and nuts from Inline and NOS bushings. Interesting to note that on the nuts for the cross shaft that run front to back, this car had two different widths. Assuming maybe they were changed at some point during the car�s life?
................All suspension arm bolts are flange bolts.
Thanks to everyone for helping to figure this out...................
.
No they are not....only the lower rear arm-to-frame bolts are. The rest are not flanged. They have a "shoulder" or wider area under the bolt head BUT these other bolts are not flange bolts like the rear lower arm-front-to-frame bolts.
Referencing back to earlier posts on the frame reinforcement bars, I'm pretty certain that all 70 442's had them. The one that i just finished, as well as my other two cars, all 442 convertibles with automatics, all had them.. My latest purchase appears to have never been apart and it has them as well.
No they are not....only the lower rear arm-to-frame bolts are. The rest are not flanged. They have a "shoulder" or wider area under the bolt head BUT these other bolts are not flange bolts like the rear lower arm-front-to-frame bolts.
Thank you 70Post; you're right and wrong : )
Only #402568 lower arm front to frame bolts are flanged; they are the longest ones with the washer. This shows in the PIM illustration on page 4-102.
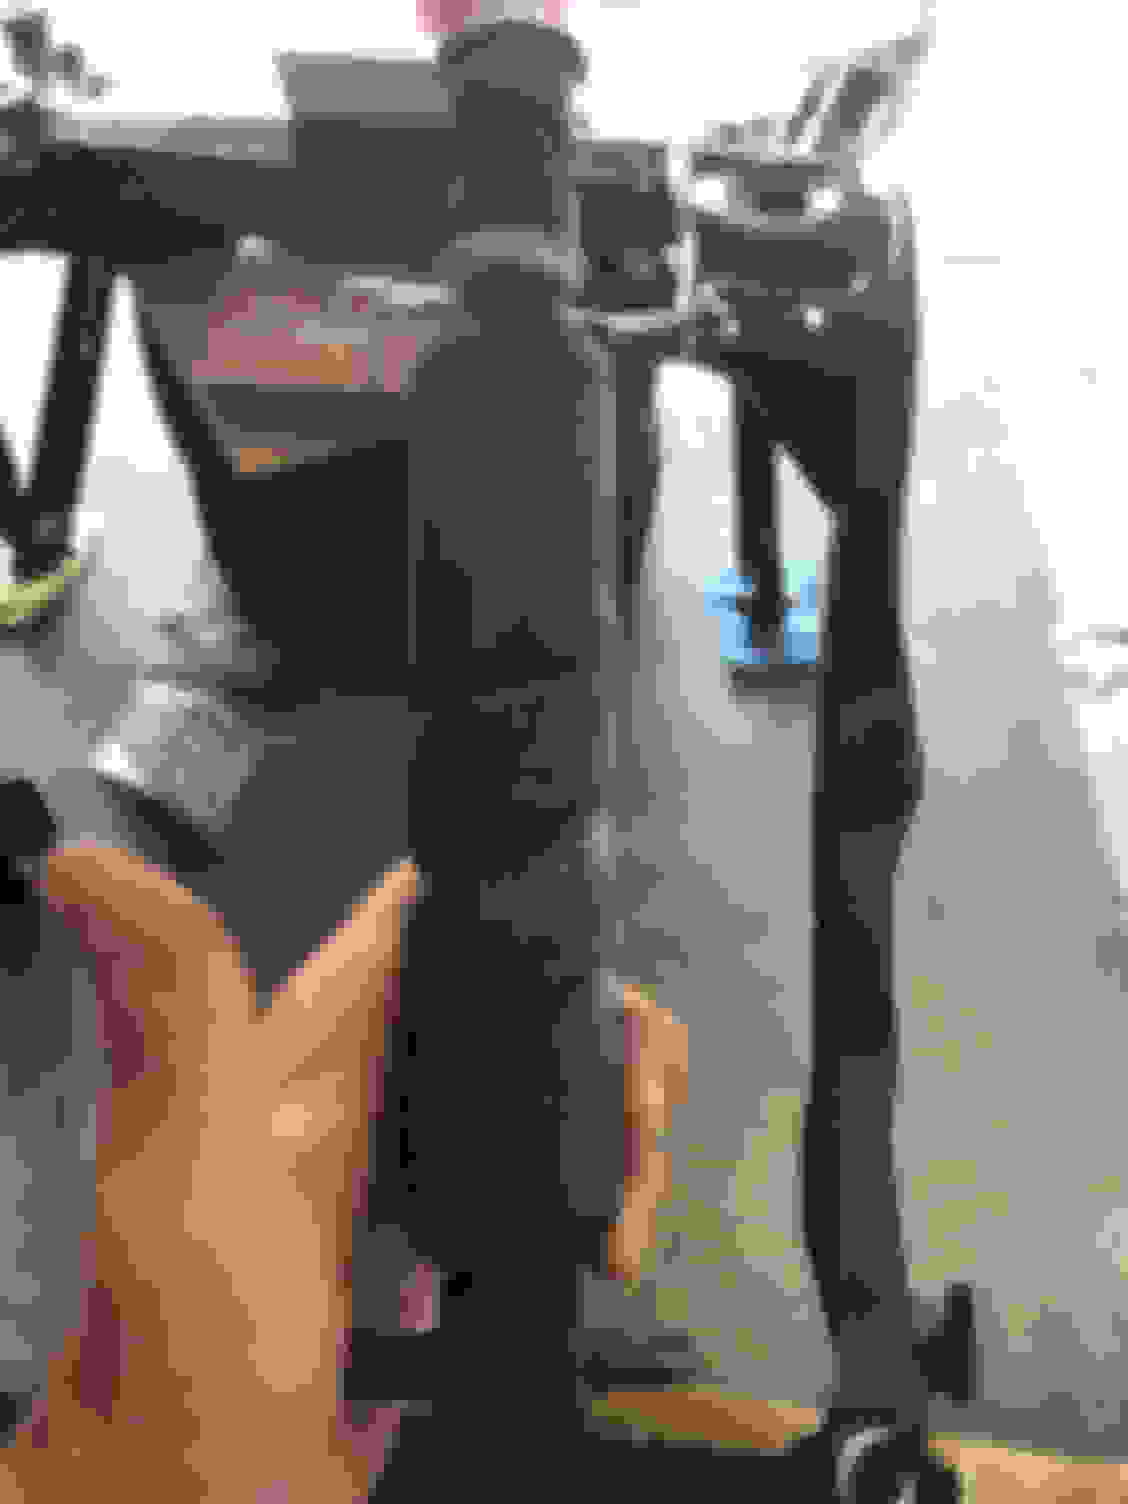
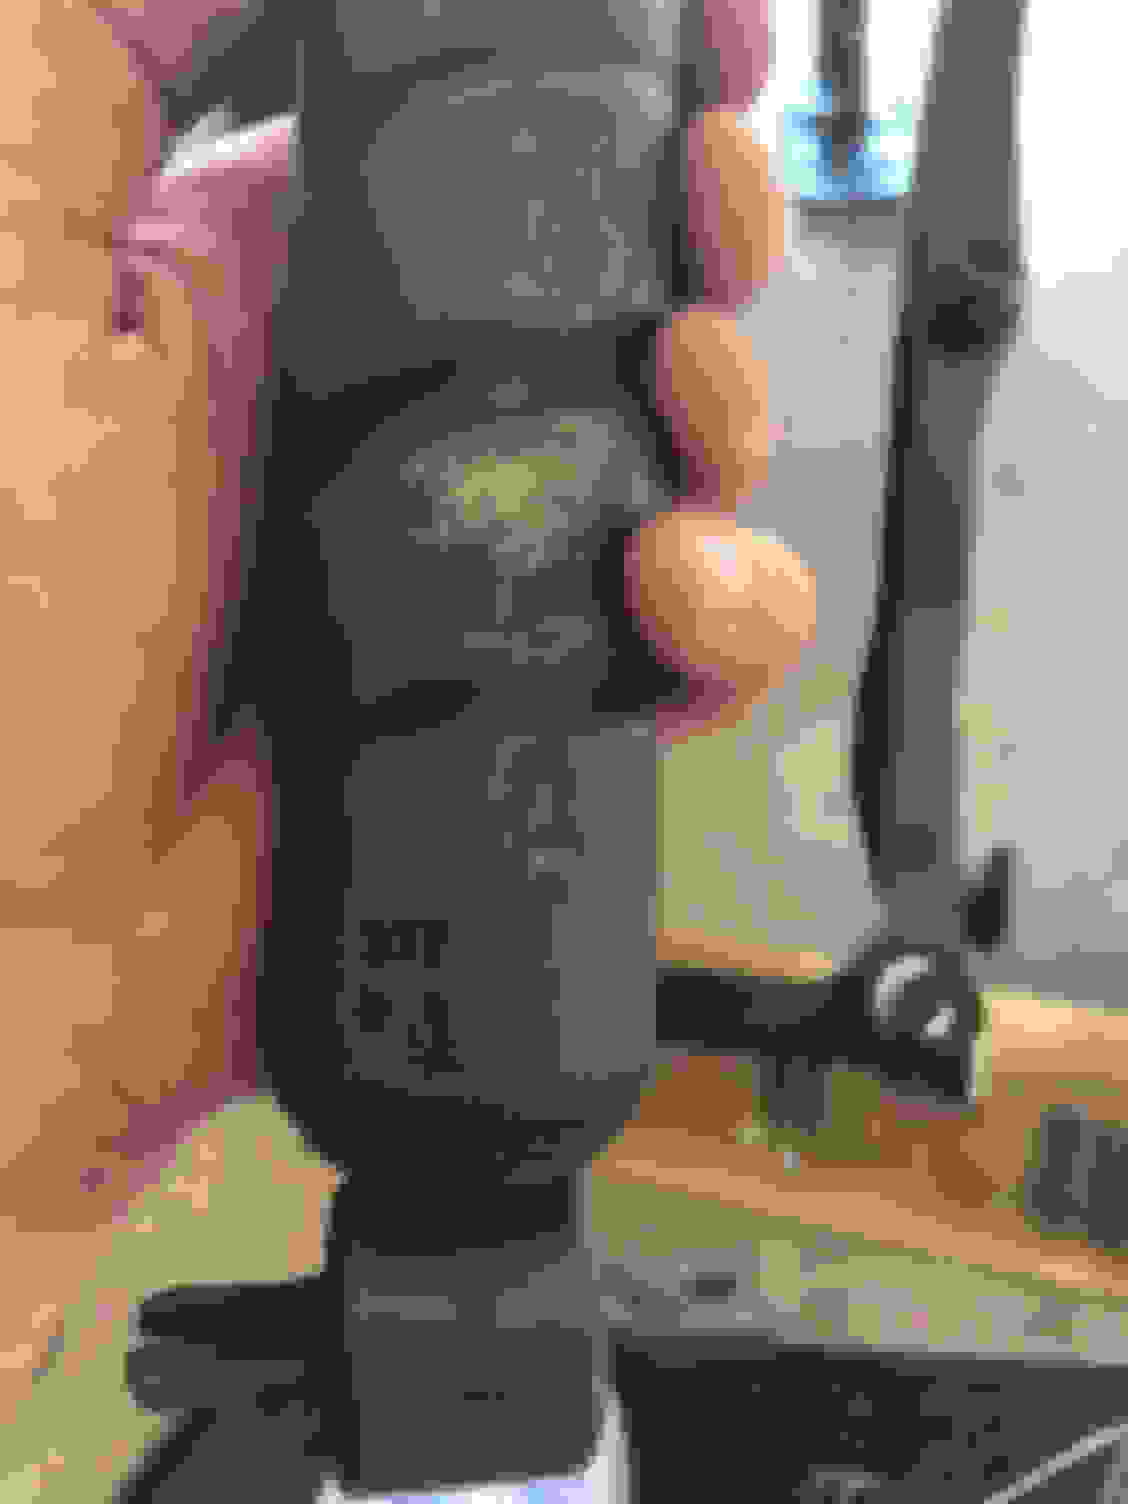
Finally! The control arms and reinforcement brackets finished up this week. I expected the putting to be worse on the upper control arms, but surprisingly they weren�t terrible. For the reinforcement brackets, they were sandblasted and cleared for the natural steel look.
Thanks to a good friend, I was steered towards vintage TRW ball joints. I couldn�t spring for the $400/pair NOS upper ball joints, and the TRW ball joints look similar to the original ones. They also work with the rivet bolts from Inline. The shaft appears to be longer than the pieces available on the market today which is good.
For the bushings, I sourced some NOS pieces for the front and the rear. I need to take the dremmel and clean up the powder finish a bit or else the bushings will never go in. I don�t think the original bushings would have had any paint markings, however, the over the counter bushings I�ve seen all have some type of paint marking on them.
Hope to have the bushings and ball ball joints in tomorrow so I can get another step closer to rolling.
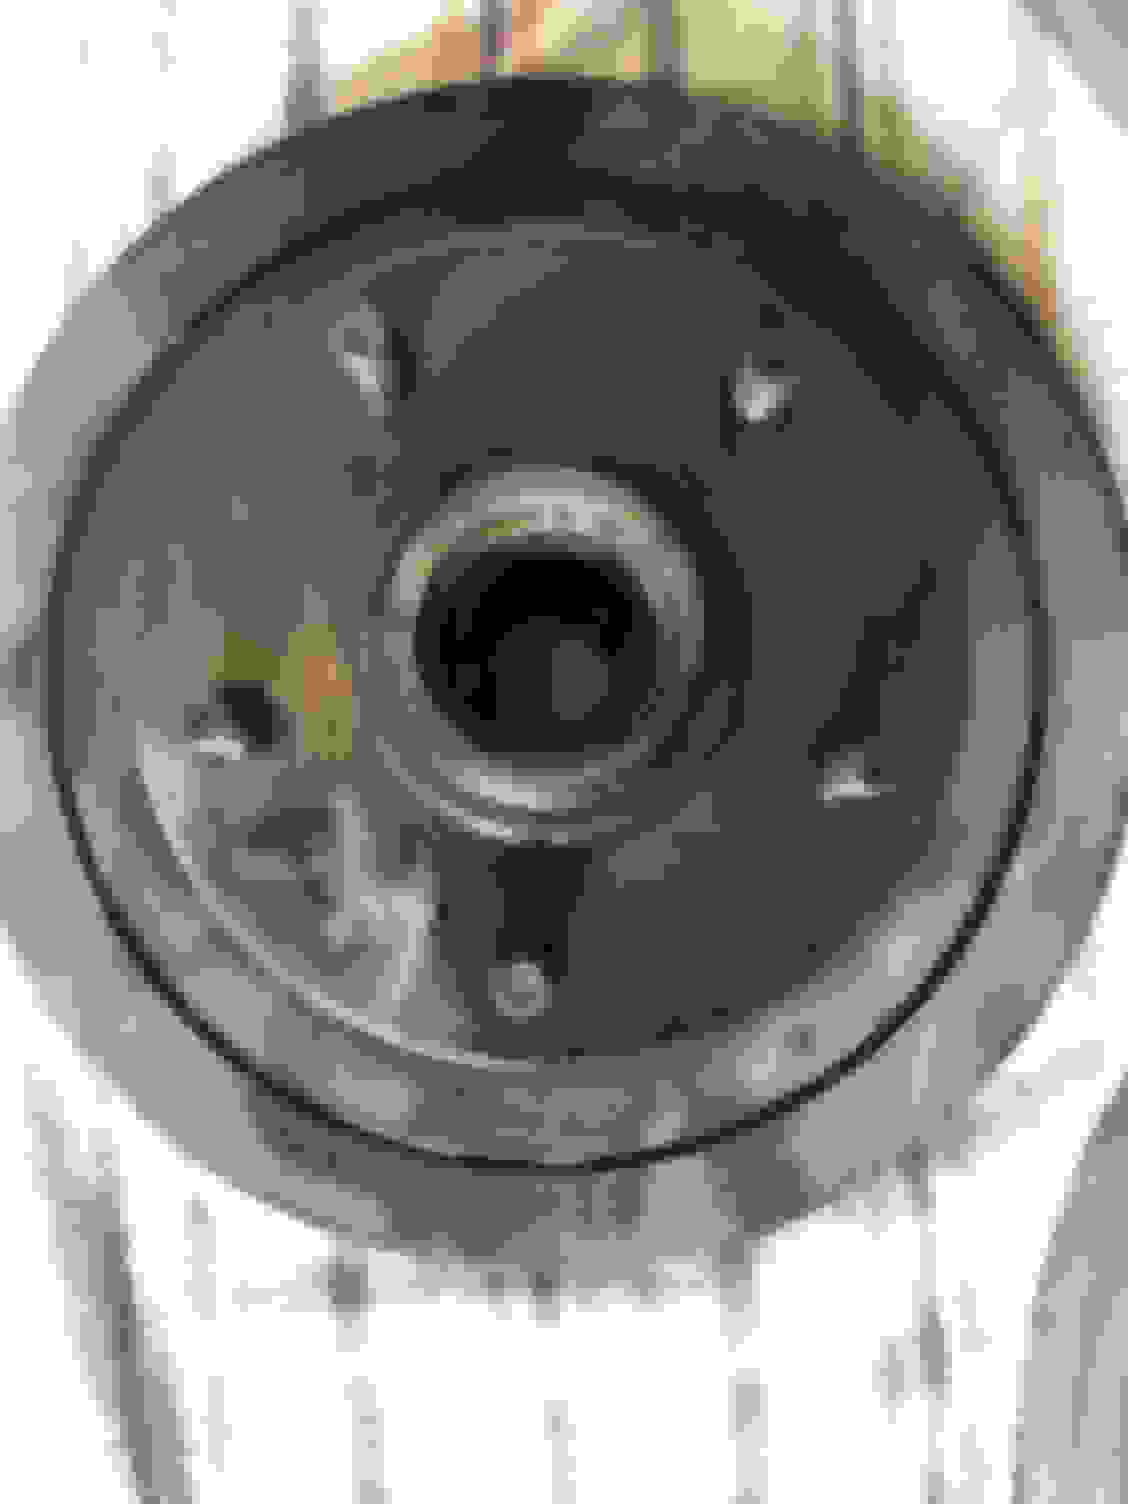
Soaked what I believe is a one of the original rotors with the julian date in Simple Green and then Evaporust for a few days. It came out looking great, and I�m going to see if I can find a shop to cut them so I can reuse them. Interesting marking on the rotor with a �D.� Anyone see something like that before?
Really nice work on those upper shafts and shocks!
I have not seen that D before, but it is way cool. It is amazing how some things survive - especially where it is. Does it look like paint or some kind of marker or dye?
I THINK, but am not positive that the "longer" control arm nuts are OE based solely on the condition of what I have in my collection of fasteners. No new ones are long, only the old obvious take offs are - your results may vary.
Interesting coincidence - on Sunday I bought those NOS upper "Tower" style ball joints on eBay. Talk about unobtanium - I've never seen another set for sale.
Had time this weekend to start reassembling the front end. A local shop pressed in the lower ball joints and installed the bushings. For the upper ball joints, I started with the Inline rivet bolts but opted to go with the bolts, lock washers, and nuts. The Inline bolts were nice, but I found it tough to get a pair of vice grips on the head and the length of the bolts was short. Maybe it was just the ball joints I was using; not sure.
As for the lowers, I�m having a hell of a time getting the rubber boot in place. The base of the boot appears to be metal. Anyone have a suggestion?
I picked up a clean used 7801910 idler arm from Nick on the forum. I disassembled it, cleaned it, and painted it. The original finish appeared to be black. I went with black and cast on the bottom, per an NOS piece I�d recently seen. My question to the group is how to I tighten this? Does it even tighten all the way? If I tighten it all the way, the bottom of the arm won�t be in position to connect the center link.
I removed the cross member and refinished it. I had it powdercoated a silver and wanted more of a natural look. Scuffed it up and shot it with two coats of cast blast.
Once I get the rubber boots installed, I�ll start on the splash shields and caliper brackets. I should have the rear end the week.
Those lower boots are a real pain to get the lip of it over the joint. I greased the inside of the lip and just kept hitting it along the flange (working back and forth) downwards with a wide blunt screwdriver and a hammer and it finally popped on. I was worried I was going to puncture through the rubber - it never happened.
On that OE idler arm, I put a used one on my blue car. I spun it around until it was just beginning to tighthen, then tightened it just enough to allow the center link to hook on. It came out OK doing this - holds an alignment and does not wander, but I've always been worried about it.
 August 3rd, 2018, 08:24 PM