When you click on links to various merchants on this site and make a purchase, this can result in this site earning a commission. Affiliate programs and affiliations include, but are not limited to, the eBay Partner Network.
Ok I have finally started on the upgrades for my 66 F85. Right now the focus is the complete drivetrain being replaced/rebuilt/upgraded. Currently she has smog 350, 700r4 and a 2.78 open O type. The plan is to clean and reuse whatever is still good thats not getting replaced. Last night I got started by pulling the engine. I pulled it with all the accessories installed to save parts and bolts from getting misplaced until I get the other engine ready to swap them over. Found a previous owners hiding spot for a spare key under the radiator top plate.
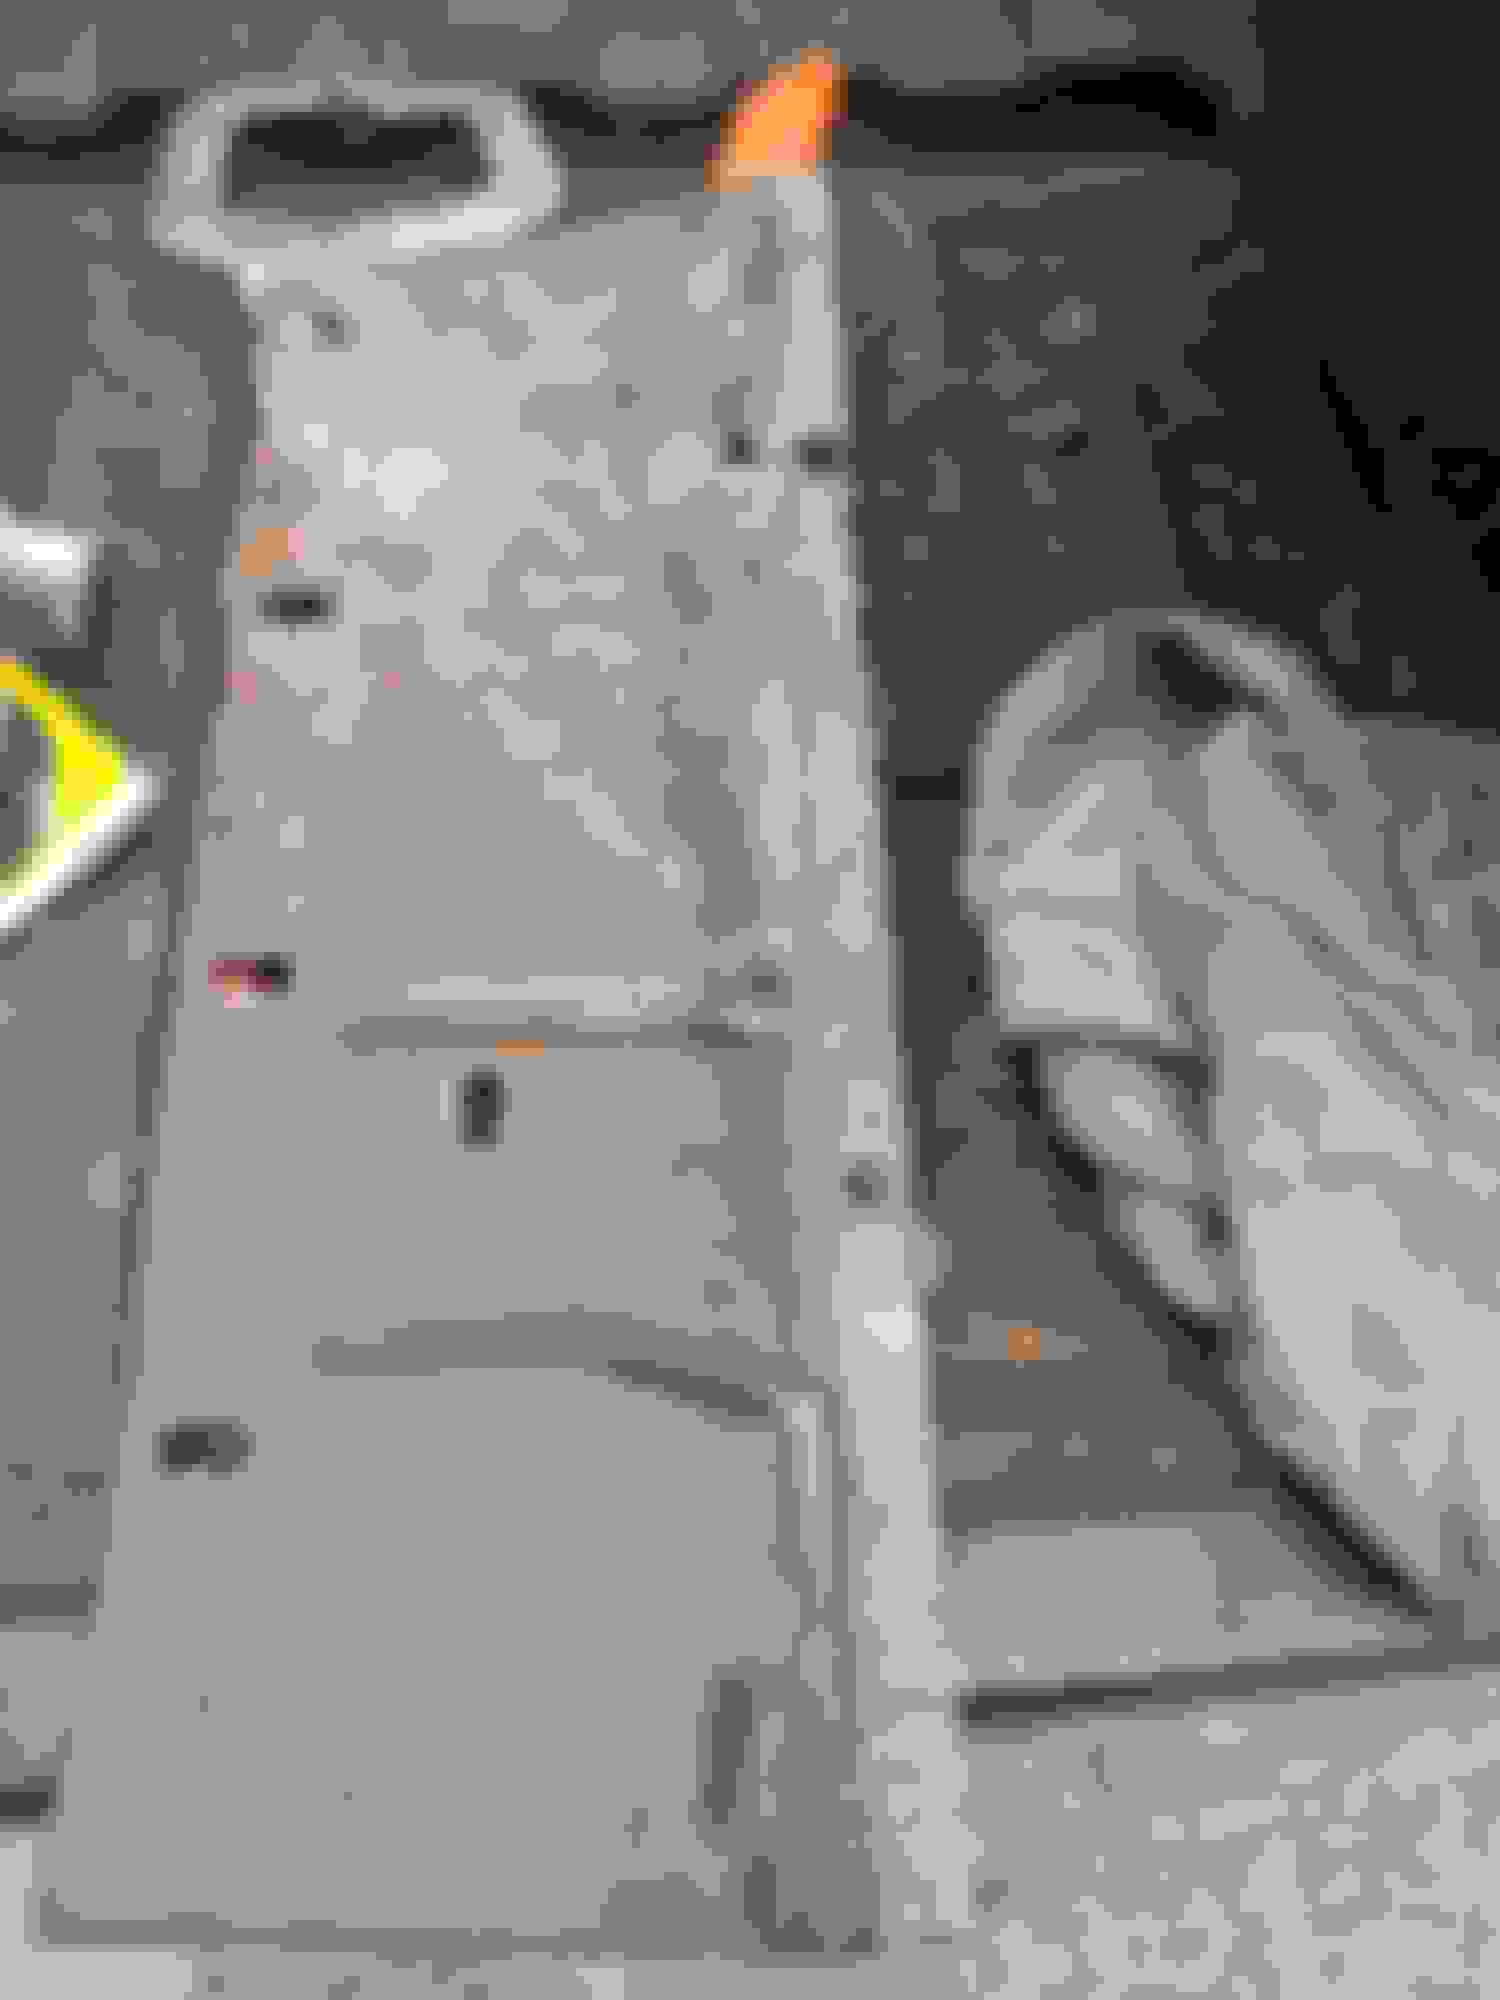
I finished removing the transmission and the cross member. This car is very clean underneath thanks to being undercoating early in life. Plan is to power wash the undercarriage and just respray the missing undercoating. The cross member is a double hump that had been modified so the 700r4 would fit correctly. But there was no rubber mount just a solid mount made out of squared tubing so I'll be getting a real mount to install.
Thanks for the compliment. She is a great driver and will be even better when done. The funny thing about the spare key is on this car you can not lock yourself out unless you lock the keys in the trunk. If you lock a door and close it the lock pops up.
Thanks for the compliment. She is a great driver and will be even better when done. The funny thing about the spare key is on this car you can not lock yourself out unless you lock the keys in the trunk. If you lock a door and close it the lock pops up.
Yep. All the old gms do that. If you hold the button on the outside door handle in, when the door is locked, and close the door it will stay locked when you close it.
Yep. All the old gms do that. If you hold the button on the outside door handle in, when the door is locked, and close the door it will stay locked when you close it.
I would point out that not only this will work. The door lock stem that have bulb ends make it easy for some one to break in to the car. That is why straight plastic stem were made to help prevent this. Gm had a key problem where the keys from other car could be used in many cars. I had this happen twice as a kid got in wrong car and it started up. One time i was a block away before i figured out i had wrong car. Talk about a quick turn around. I heard fords had a similar problem as well. I thought i would add this info in case anyone was unaware to the door keys ignition problem. Which may not be a problem with this model year. Early 60's gm was. Nice car by the way to the OP.
I had never heard of locking the door by holding the door button in. See I learn something new everyday. The issue with common keys still applies today to Fords. We have Ford E Vans at work and someone locked to keys inside. We took our random extra Ford keys out and one of them opened the door. I'll be keeping the straight door lock posts on this car especially since they are original like the rest of the interior except a front seat recover.
Since I'm trying to keep costs down I'm swapping in a rebuilt 1970 350 with a 496 lift cam and rpm intake. It's nothing radical but will be a big improvement from the stock 1976 350 that was in it even with running manifolds. I didn't want to spend the $$ on redoing the exhaust for a BB and headers or the $$ for SBO headers that fit this car. I have another built 700R4 with a 2800 stall ready to drop in minus a TV cable and the rear is being upgraded to 3.90 posi. :-) When I'm all done I'll be swapping a set of 15" chrome cragar SS's on.
True! Back in the '80s I worked at a stereo shop and was handed the keys for a white Ford Bronco. Pulled it in to the install bay, had a template in place and was about to mark it for cutting holes for 6X9 speakers. Some guy sticks his head in the door and asks not too politely just what the hell I was doing with his Bronco. Adding speakers I replied which brought me a torrent of expletives in reply. Turns out there was another white Ford Bronco in the parking lot that had the same door and ignition key combo. The guy almost had a free pair of speakers.
Well I finally got back to working on the car today. I removed the rotted battery tray and have 2 fasteners I have to drill out that I cut off to get it removed. The core support was perfect underneath thankfully. I put the chrome SSIII's back on so I could roll her outside to power wash the engine bay and front suspension before I started tear down. I then rolled her inside, put her up on jack stands, removed the wheels and got started. I removed all of the front suspension except the gearbox because i need to get a pitman puller for the JGC upgrade. Everything came off pretty easily and most of the front-end will be reused. All the tie rods feel good and the ball joints are Moog replacements. I may have to order some new boots for these items but otherwise just need cleaned and painted. The lower bushings were perfect but the uppers need to be replaced. The front sway bar was a stock 7/8" which is be swapped for a bigger one but the end links are reusable. The rotors and pads are being upgraded while the calipers will be cleaned and repainted red. I have a set of KYB's to run on the car as well. I'm not sure if I'm going to run these springs or swap in the moogs I have. These are supposed to be upgraded springs from year one but I didnt like the gap the wheels had when I swapped the 15's on compared to the 14's. Was strange the gap got bigger though both tires were 235/60's. ??
So I got back to working on the car this wknd. It was time to degrease/cleanup/paint some suspension parts. I looked over the suspension parts again and found my center link is worn and an original GM 13/16" bar so of course it had to be the more expensive hard to find one. The upper control arm shafts and bushings were removed. The bushing sleeves were a SOB to remove and I was using my air chisel. I used Rustoleum paint products for everything. I'm not worried about correct finish but close enough since this car is a driver and not a top resto. All the parts were in really good shape with little to no rust or pitting. I dug out the upgraded sway bars so they could get a quick paint job as well. The two broken fasteners were drilled out and removed without any damage to the square nut in the core support thankfully. Core support and frame were primered and sprayed in gloss black. Its not perfect but will work because I didn't scrape the frame clean but instead removed the grease/dirt/oil leaving the undercoating. The booster and master cylinder were removed. I'm replacing the MC with a new one from Autozone and tomorrow will paint it with come cast effect paint that I have. The booster was corroded from the leaking MC and painted silver. I hit the booster with a wire wheel attachment for my grinder and I must say it cleaned up very well and the gold paint I have looks pretty close to what the plating would have been. I'll finish touching up the frame and then remove the exhaust manifolds so the can get wire wheeled and painted with black ceramic high temp paint that I have on hand. After that I'll work on masking the firewall so it can get a fresh coat of gloss black paint too. I ordered the moog upper shaft kits, idler arm and the correct center link off ebay cheaper than Rock Auto with free shipping. The center link is from Part Place. I also ordered new solid rotors and upgraded pads from Summit. I decided not to go with cross drilled and slotted rotor to save some $$. I was planning on doing the JGC gearbox swap on this car but the steering shaft doesn't have a removable rag joint? Its pressed on the steering shaft. The gearbox is leak free and worked fine before I just can't remember what the lock to lock was. There is no longer a stamp on it to ID what its from. But I'm thinking it may have been upgraded since the guy who built this car went through the suspension before so I'm just going to give the box a quick repaint and reuse it. Enjoy the pics
So I today I got back on the 66 and made some good progress. I finished the MC and booster assembly and I must say they came out great! I reassembled the front brake spindle assemblies and they are ready to bolt on. Brake calipers were cleaned up and given a fresh coat of red paint. I masked off the firewall and gave it a fresh coat of gloss black. The manifolds were removed and shot with flat black high temp ceramic paint. Its nice to be able to remove the manifold without worry of breaking a stud since they were rust free. I finished cleaning and painting the original tie rods as well. I would have installed the upper CA shafts but when the kits showed up they were missing parts and I'm waiting for replacements. I haven't received any word if my sway bar has shipped though its estimated to arrive on the 21st according to Ebay. I also cleaned and repainted the gearbox and pitman arm with some metal cast paint. Once I was done with all of that I focused my attention to the rear. I used my new atv/motorcycle jack to assist in dropping the rear and its the best way to remove a rear when doing it yourself. The car had a 7/8" rear sway bar installed with open control arms and spacers used to prevent collapse. Rear springs look to be tired original GM ones which I will replace with some Moog ones I have. The rear is a 1970 O type and will be going to get a gear swap to a 3.90 posi. Rear brakes will be cleaned and reassembled with new shoes. No leaking wheel cylinders and the rubber flex hose shows no signs of cracking. Tomorrow I'll power wash the rear and work on cleaning up the tunnel to respray come undercoating in the missing areas. Overall it was a great day!
Nice work! Everything you're doing looks great so far. Just curious, what gold paint brand are you using on the booster? I used Eastwood's golden cad system and it doesn't look as good as yours.
It's been a bit since an update.. The firewall got a quick masking and semi gloss paint job to make it look better. I dropped the rearend off to get rebuilt and upgraded. I'm still waiting for it to get finished. So I went and installed my rear control arms and frame braces. The uppers are boxed from HPM and the lowers are from Global West. I have a 1" rear sway/Moog springs/KYB's to finish it off once I get the rear back. I reinstalled the master cylinder and booster. I must say looks pretty good in the engine bay. The front suspension was reinstalled today. The upper control arm shafts were a SOB to install even with a press. Same front springs went back as they were still good. I upgraded to a 1 3/8" front sway bar with poly bushings and end links. Reinstalled the calipers with new Power Stop Ceramic/Carbon Fiber pads. Kyb shocks were installed as well. Last piece to install is the front frame brace from SC&C that will minimize the front frame horns from flexing under hard steering conditions. I eye balled it today buy need a helper for setup because you have to position it center/correctly then mark/drill holes in the frame. Enjoy the pics
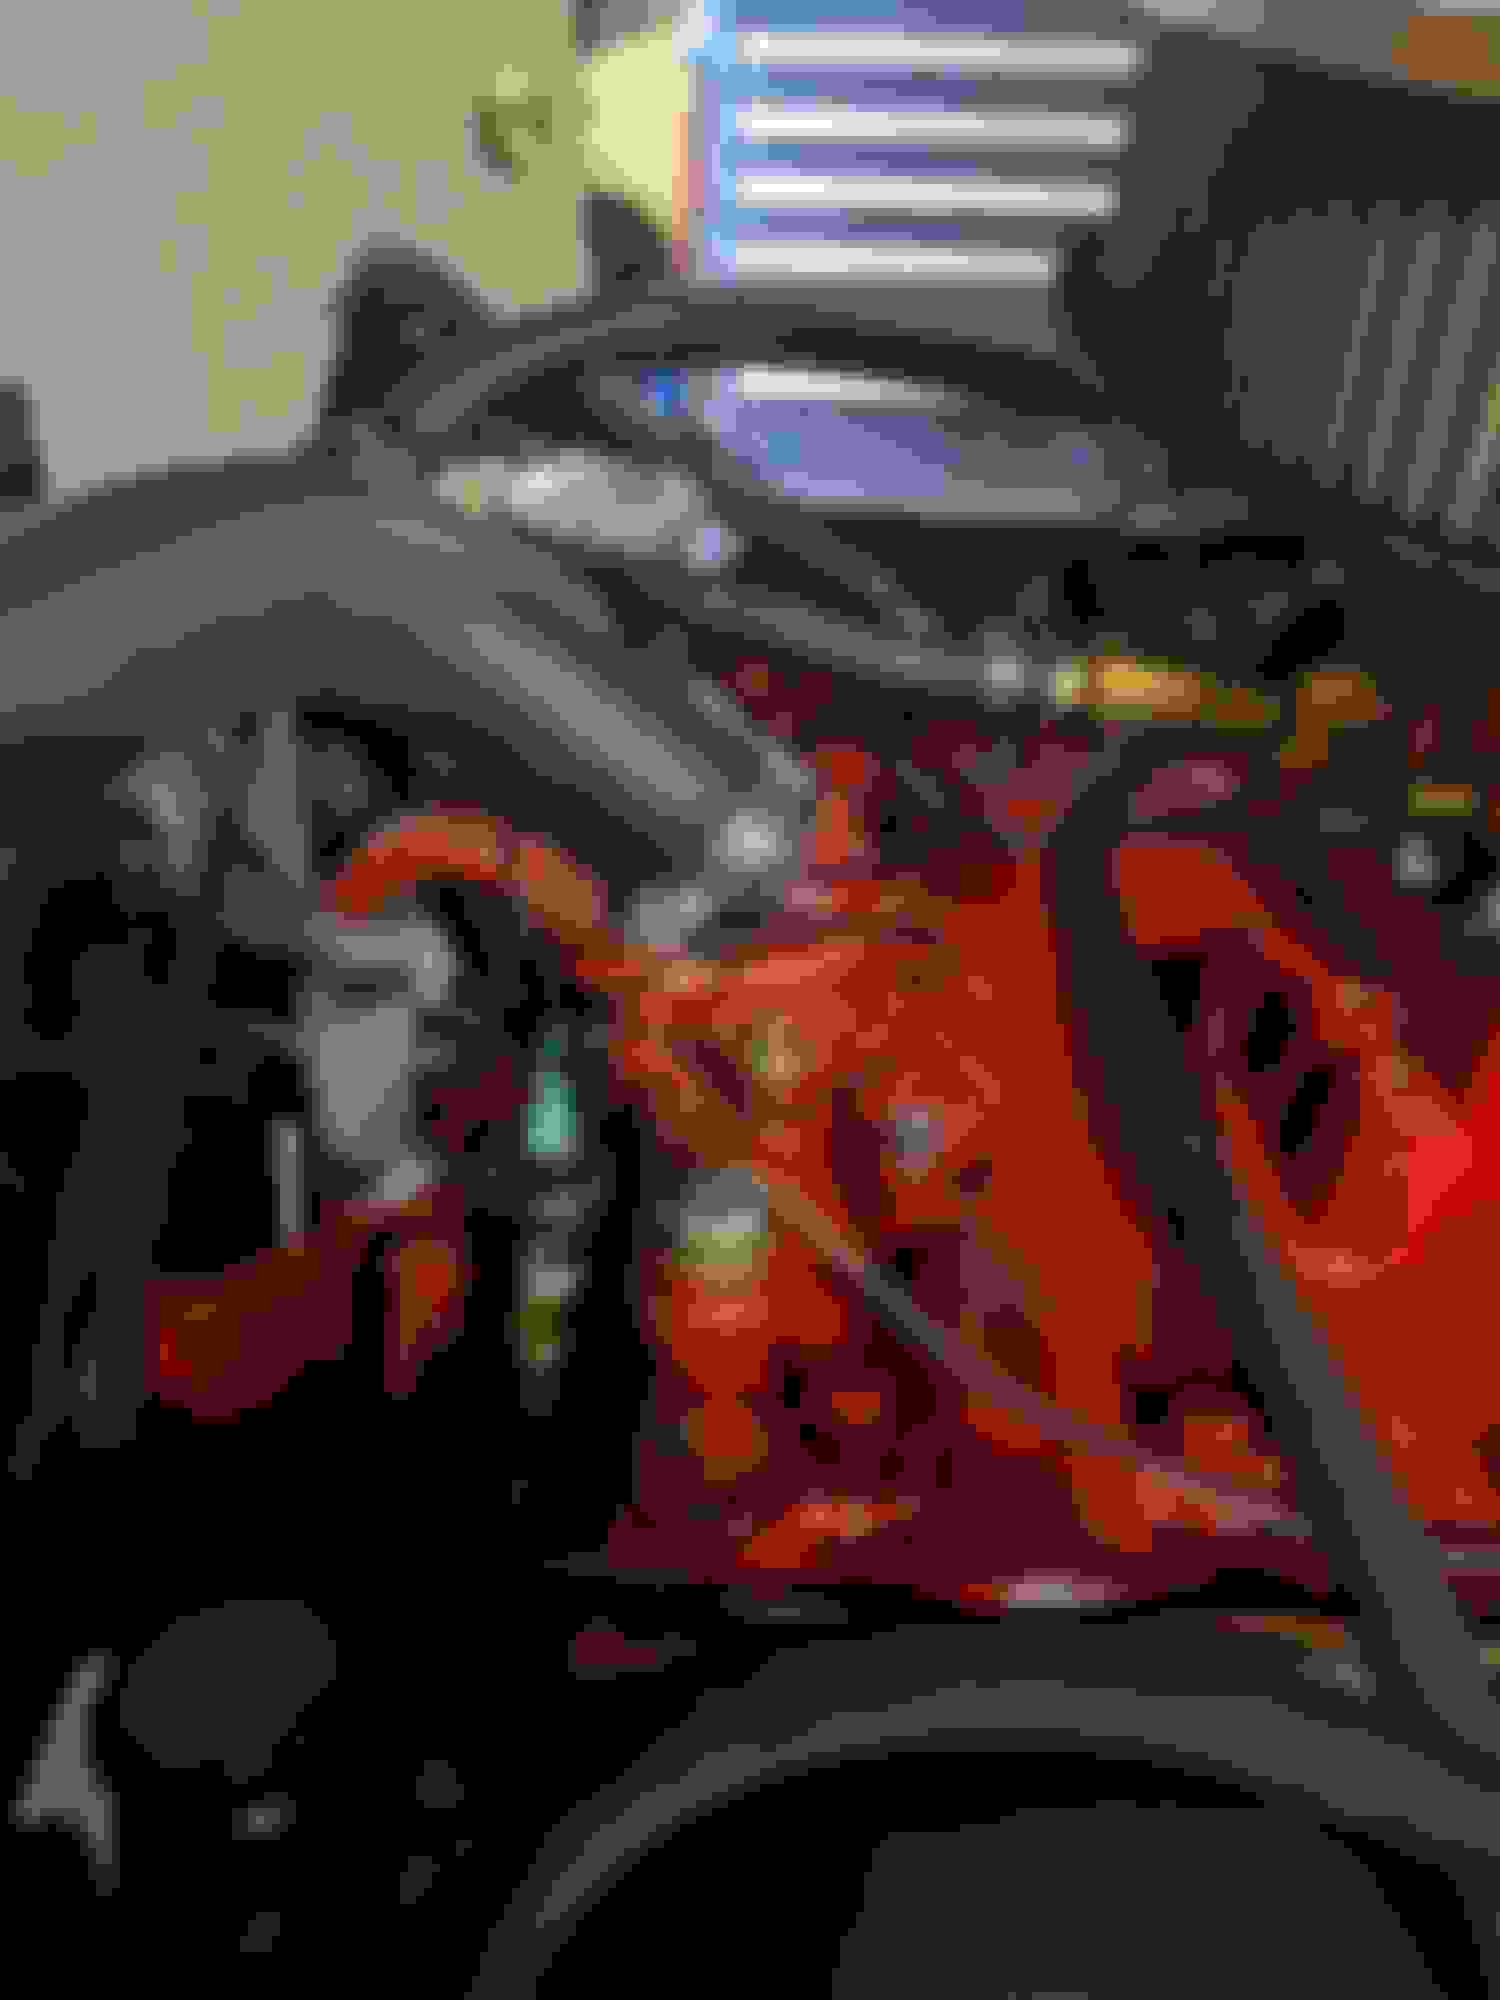
Ok time for an update on the 66. I got the rearend back from the shop and reinstalled it. Well I have reinstalled the booster and master cylinder. Brake system has been bleed and is ready to go. I wasn't able to get the two frame braces installed from SC&C. I have to install new body bushings to get the rear one in and the front i have to figure out a different way to mount it to the frame since it is alittle different than the chevelle frame it was designed on. The car is back on all 4 wheels again. I used the chrome SSIII's until i get the car aligned and running good again. When I opened up the SBO to verify the cam and compression I found that both of my spare SBO's had cams too big and not enough compression so I went the BBO route. The engine is a 462 with Speed Pros, big valves E heads, performer intake and a Comp Cam with 490 lift on both sides. I confirmed it should make enough vacuum to support the brakes. So I got to work cleaning her up and getting her ready for install. I cut back the exhaust on the car to make room for the headers and I hope to just splice in some pipe and reweld it to the collector adapters. I pulled the new transmission out to install the TV cable and adapter plate from the old one. I bolted them together for a one piece install with my hoist and level attachment. I'll tell you next time I will not have a brake booster installed on the firewall. It was always in the way as I was trying to slide the assembly in. With some adjustments and swear words I got her in. I then went on to install the headers, oil filter adapter and starter. I had to grind down the corner of the rear lower control arm mount to get the headers to slide in. No dents to the tubes. So this week I'll work on hooking everything up to get her ready to fire this weekend. I have to teardown the carburetor to see what jets and rods are inside to determine what upgrades it needs to support the BBO. Enjoy the pics
Ok it has been awhile since I updated this thread. I had to cut down my trans mount spacer to get the headers to clear the double hump crossmember. The exhaust was cut back and i connected it to the headers which a slipfit adapter/flexpipe/clamps which has worked pretty well so i can tune and tune the car. I gave up on rebuilding my q-jet and jsut used my Demon 750 mechanical double pumper. I learned no one stocks the dual feed line for this carb in the area or the brass adapters to use the Holley Line so I had to order one of Ebay. I installed an inline fuel pressure gauge and then just ran rubber hose to the fuel pump. I replaced the heater hoses because they were red and cracking at the ends. The matched HEI and upgraded wires were reused which should cut down on having to recurve the HEI. Once fuel got to the carb she fired right up. I set the timing to 18* initial and is all in at 34* by 3k. This HEI has no vacuum advance so hopefully I wont have any issues on the street. This cam was already broken in so no worries about that. Temp stays around 180 idling in the garage and oil pressure is around 25-30 hot. Current issue I'm having is fuel vaporization in the fuel line because my fuel pressure gauge will drop to zero once engine is operating temp. Once I'm home again I'll go get some insulating foam wrap and try that to alleviate the problem. Also I have a slight coolant leak from the rear of the motor on the drivers side. I haven't found the leak from intake and I retorqued those bolts. I'm going to pull the booster and MC so I can remove the valve cover to retorque the head bolts and see if that works. On the throttle linkage I figured out its to short to use but if I make it longer will some threaded rod and sleeve plus moving it to an upper hole on the pivot point it should work. On the carb side I may have make a bushing or adapter for the upper big hole for the linkage to connect/fit in. The bottom half of the carb linkage has a post I can connect my TV cable to so I'm going to try it out with a pressure gauge before I spend the $150 for the TVez kit from Bowtie. I have modified the shift likage to clear the headers and engage the transmission without issues. Is there a OD shifter indicator you can swap into these cars? After theses minor delays hopefully will be able to test drive her!!! :-)
On the throttle linkage I figured out its to short to use but if I make it longer will some threaded rod and sleeve plus moving it to an upper hole on the pivot point it should work. On the carb side I may have make a bushing or adapter for the upper big hole for the linkage to connect/fit in.
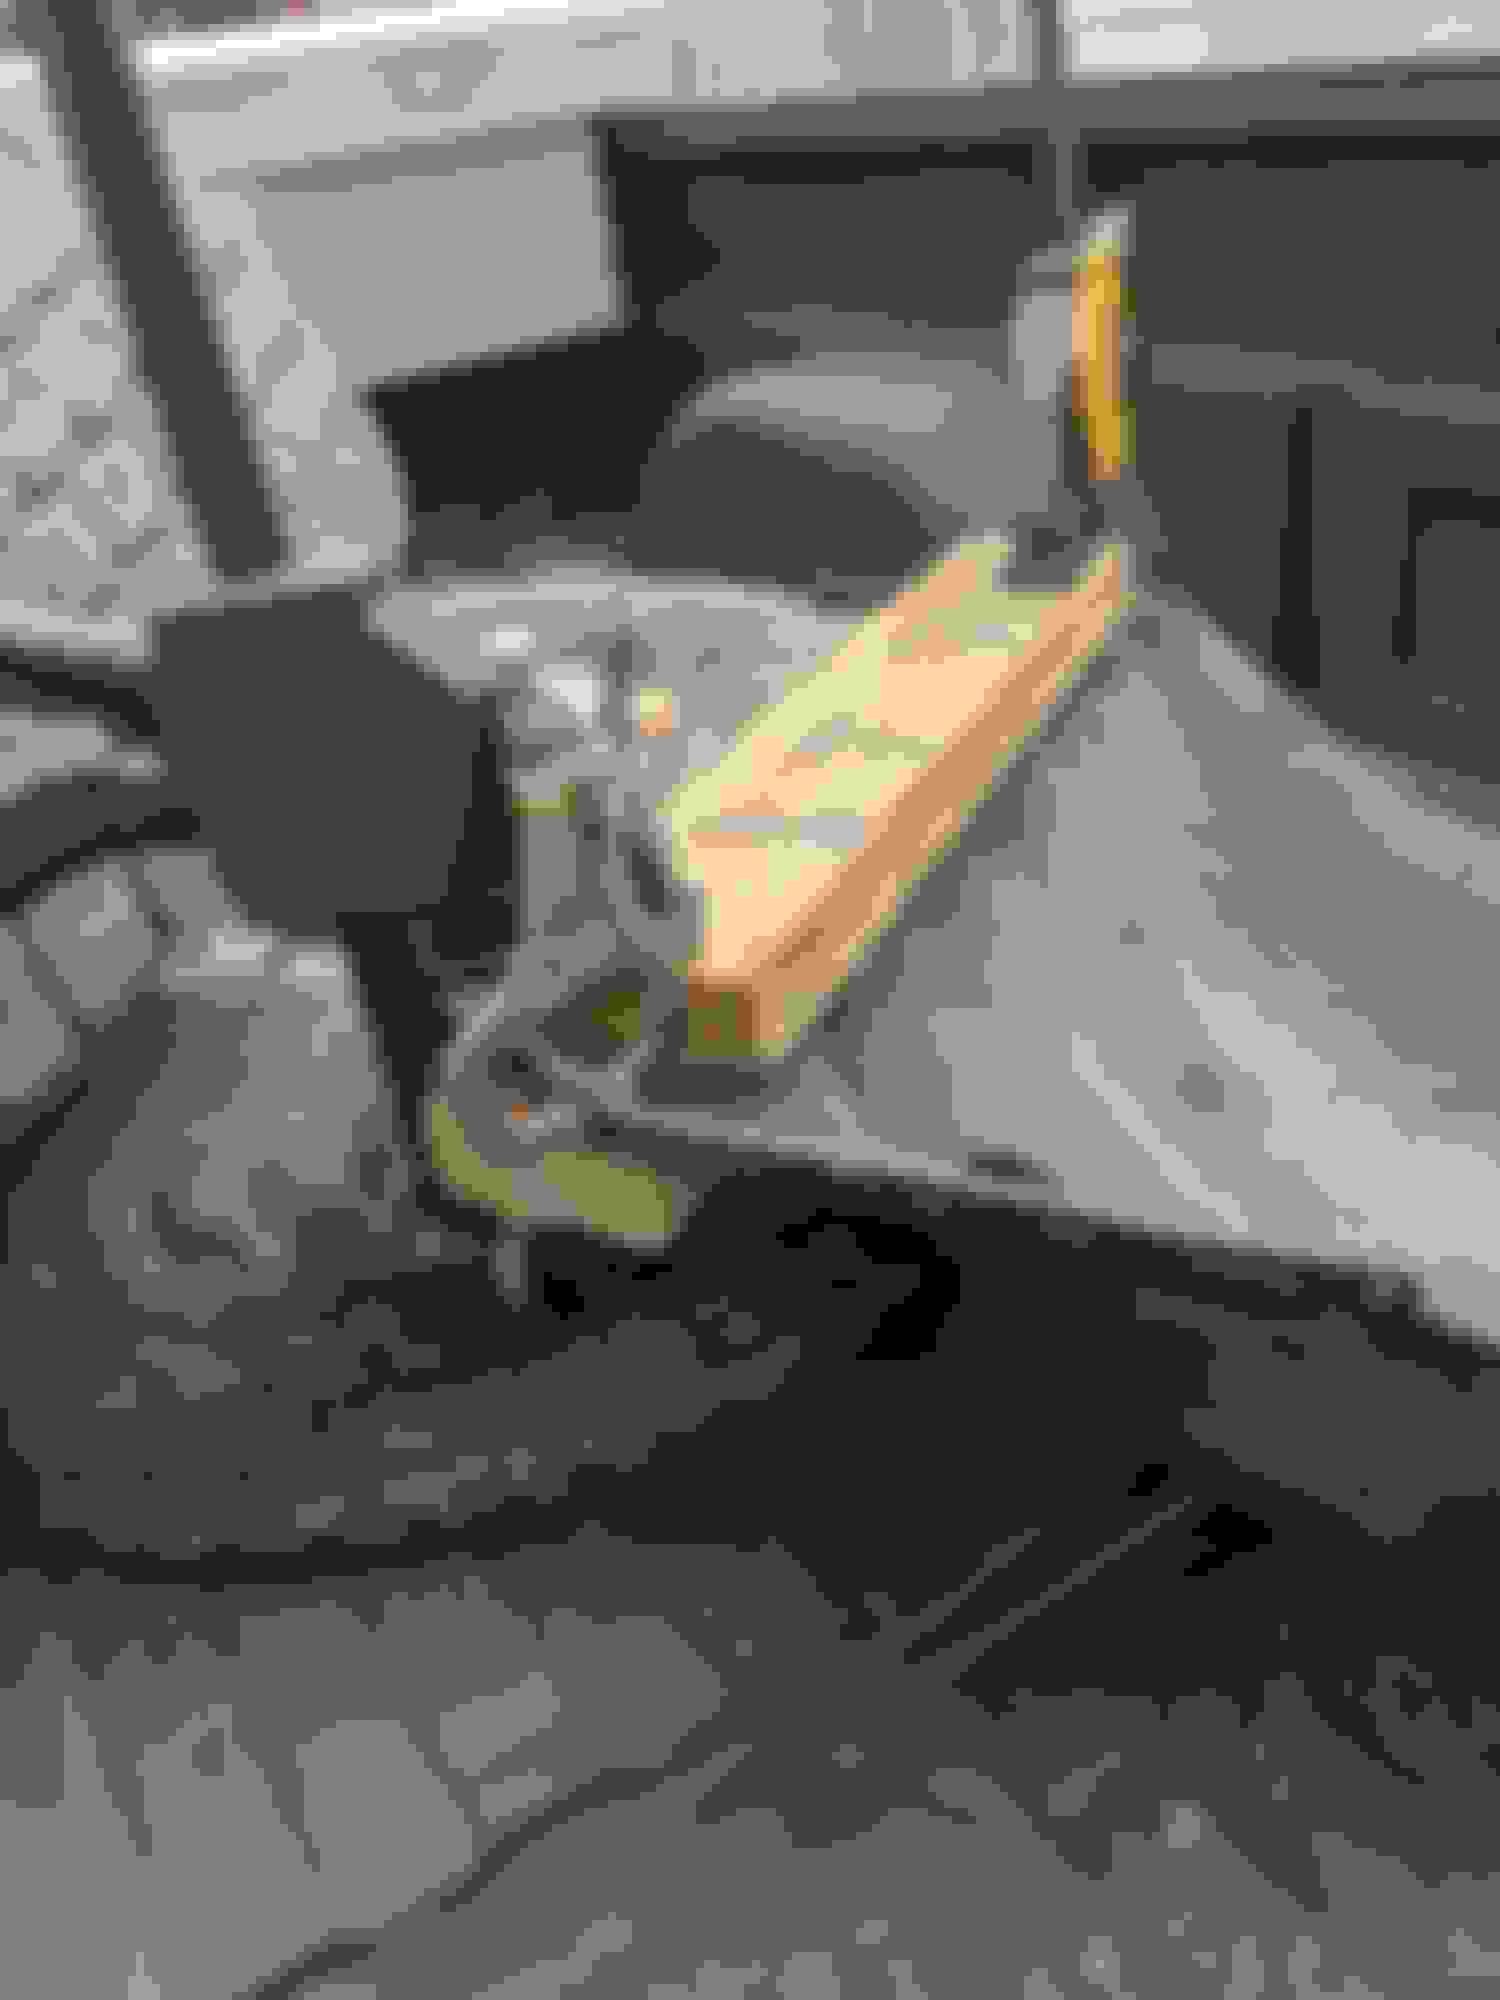
I may be able to help you out with the bushing for your carb connection. I had the same problem when I swapped the 2 barrel intake and carb on my 67 to a 4 barrel and Q-Jet. The 2 barrel carb had a rubber grommet in it but was well and thoroughly worn out so I made the bushing pictured below. It slides over the factory 1/4 inch linkage rod and is made of chromed brass tubing. Three washers fit over the bushing to keep the linkage aligned. I don't remember where the 4th washer fits in but it is part of the kit somehow. It also has a hole in it to match the factory rod for a cotter pin. PM me your address and I can send it to you if you like. It can be refined a bit more but works fine as is.
Thanks for the offer but that is not longer needed. Since then I have dumped the Demon 750 because it wouldn't stop dumping fuel and or idle. I sold it off and had my carb buddy do a later 70's qjet so I have the correct geometry for the TV cable. Which brings us to today. The carb is working but was acting up probably from sitting for 2yrs. So I've pulled it for my buddy to go thru and lean it out Abit as it's still too rich. The fuel pump issue have been found and one of them was leaking fuel into the engine 😡. There was probably a quart in there so I'm hoping it didn't hurt a bearing since I have excellent oil pressure at 65psi.
I've gotten the tach rewired/dash bulbs upgraded to LEDs so I can see them better. 9in booster and brakes have been bled again. Magnaflow SS Kit installed. Now I have to lower the car and tighten the suspension bushings. Waiting on my replacement antenna shaft so I can save my original one before finding another. I began the repair of the driver's wheel well that was pitted and rusted under the battery. It's ugly but solid so alittle more attention and paint then I can work to install new control arm flaps. Slowly but surely I am getting there.
Ok not much been updated on the car due to multiple moves. Car has been in storage for almost 2yrs but I changed that this wknd. I had it towed home as I'm tired of waiting on my garage to go up and I can get this one running without needing to dig into my parts storage unit. Plan is to get the tank drained out and clean out the lines then put fresh fuel in it. Have to get new battery cables now that I have the battery mounted correctly. Also have to set the TV cable on trans and check the line pressures in the different gears. The brakes need to be bled again and of course some tires. Then it will be roadworthy and I can work on some other stuff.
Ok today played with the car some. Rebled the brakes and adjusted the proportioning valve to get the rear drums to grab. Finally got the TV cable adjusted correctly with excellent pressures. I had it too tight by about a 1/4". Discovered I have some valve cover gasket leaks to address and will check fluids again. Car is idling as it should. Once it cools down I'll remove the pressure gauge from transmission and tighten the control arm bolts. The I can try and do a quick test drive down the street!! My repro window sweeps, arm rest bases, carpet dye and under carpet insulation arrived this week as well. After some cleaning up under the hood can work on the interior again. Note the best price on 64-67 Chrome Arm rest bases is Jegs and they are in stock for $32 spend $100 and you get free shipping.
Last edited by Magna86; August 7th, 2022 at 06:12 PM.
Ok got alittle more done today. I adjusted the brakes and prop valve so now the drums are working correctly. I put the dash back together as well. I bumped up the idle speed and now she is sounding happy and not to low in gear. I was able to finally take her out for a spin after 6yrs of being apart. She drove pretty good considering needs an alignment and new tires. Brakes worked as should and trans seemed to be doing well. I worked on replacing the dome light as the old one was melted. I cut the wires and soldered new ones. I have power at the clips when I use meter but my bulb isn't working. Hmmm going back out with my test light to see if it lights. Now the plan is to pull the seats and work on the floor insulation so I can get the new carpet in. My short drive I was already feeling the heat.
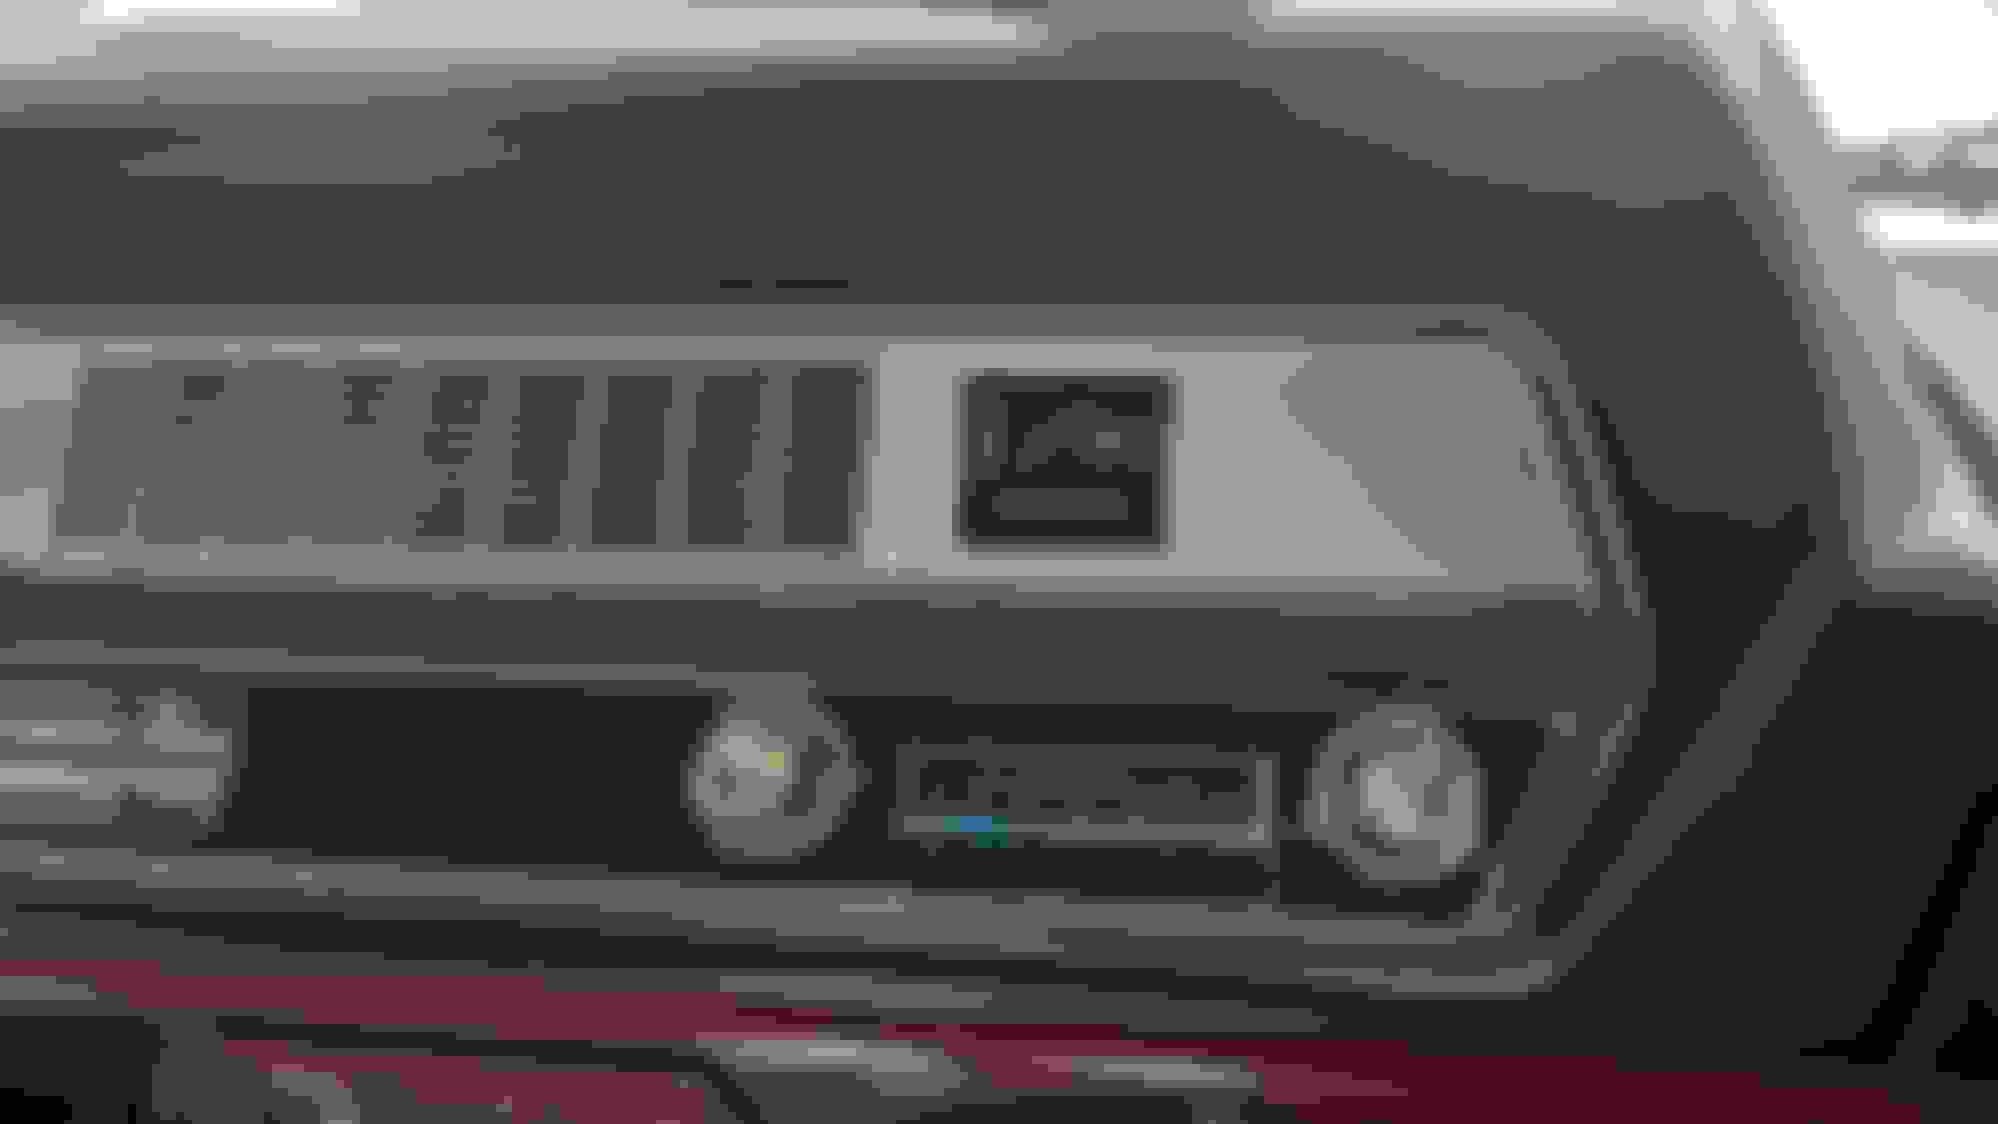
I've been busy working on getting the shop functional/organized. But I was able to get some time to tinker with the 66. I was finally able to diagnose the dome light issue to a wire in the fuse block..I was losing power intermittently to the orange wire. I pulled the seats back out to help looking under the dash. I installed a retro sound front dual speaker and a factory converted/upgraded stereo. The front speaker won't sit in the spot for a factory speaker but with screw in place. If you ever have your dash out I suggest mounting the speaker and leads to the bezel before reinstallation. My car is non AC and it was still a pain with my hands. The stereo works as it should and sounds pretty good. Next I installed some sound deadener on the front floorboards and firewall. The rear seat had some old tar still under it so I left that there. I then hooked up the Line out converter for the rear 6x9 and small amp. Hopefully will finish that up today. I have thermal/sound insulation to put down first then new carpet with jute padding.
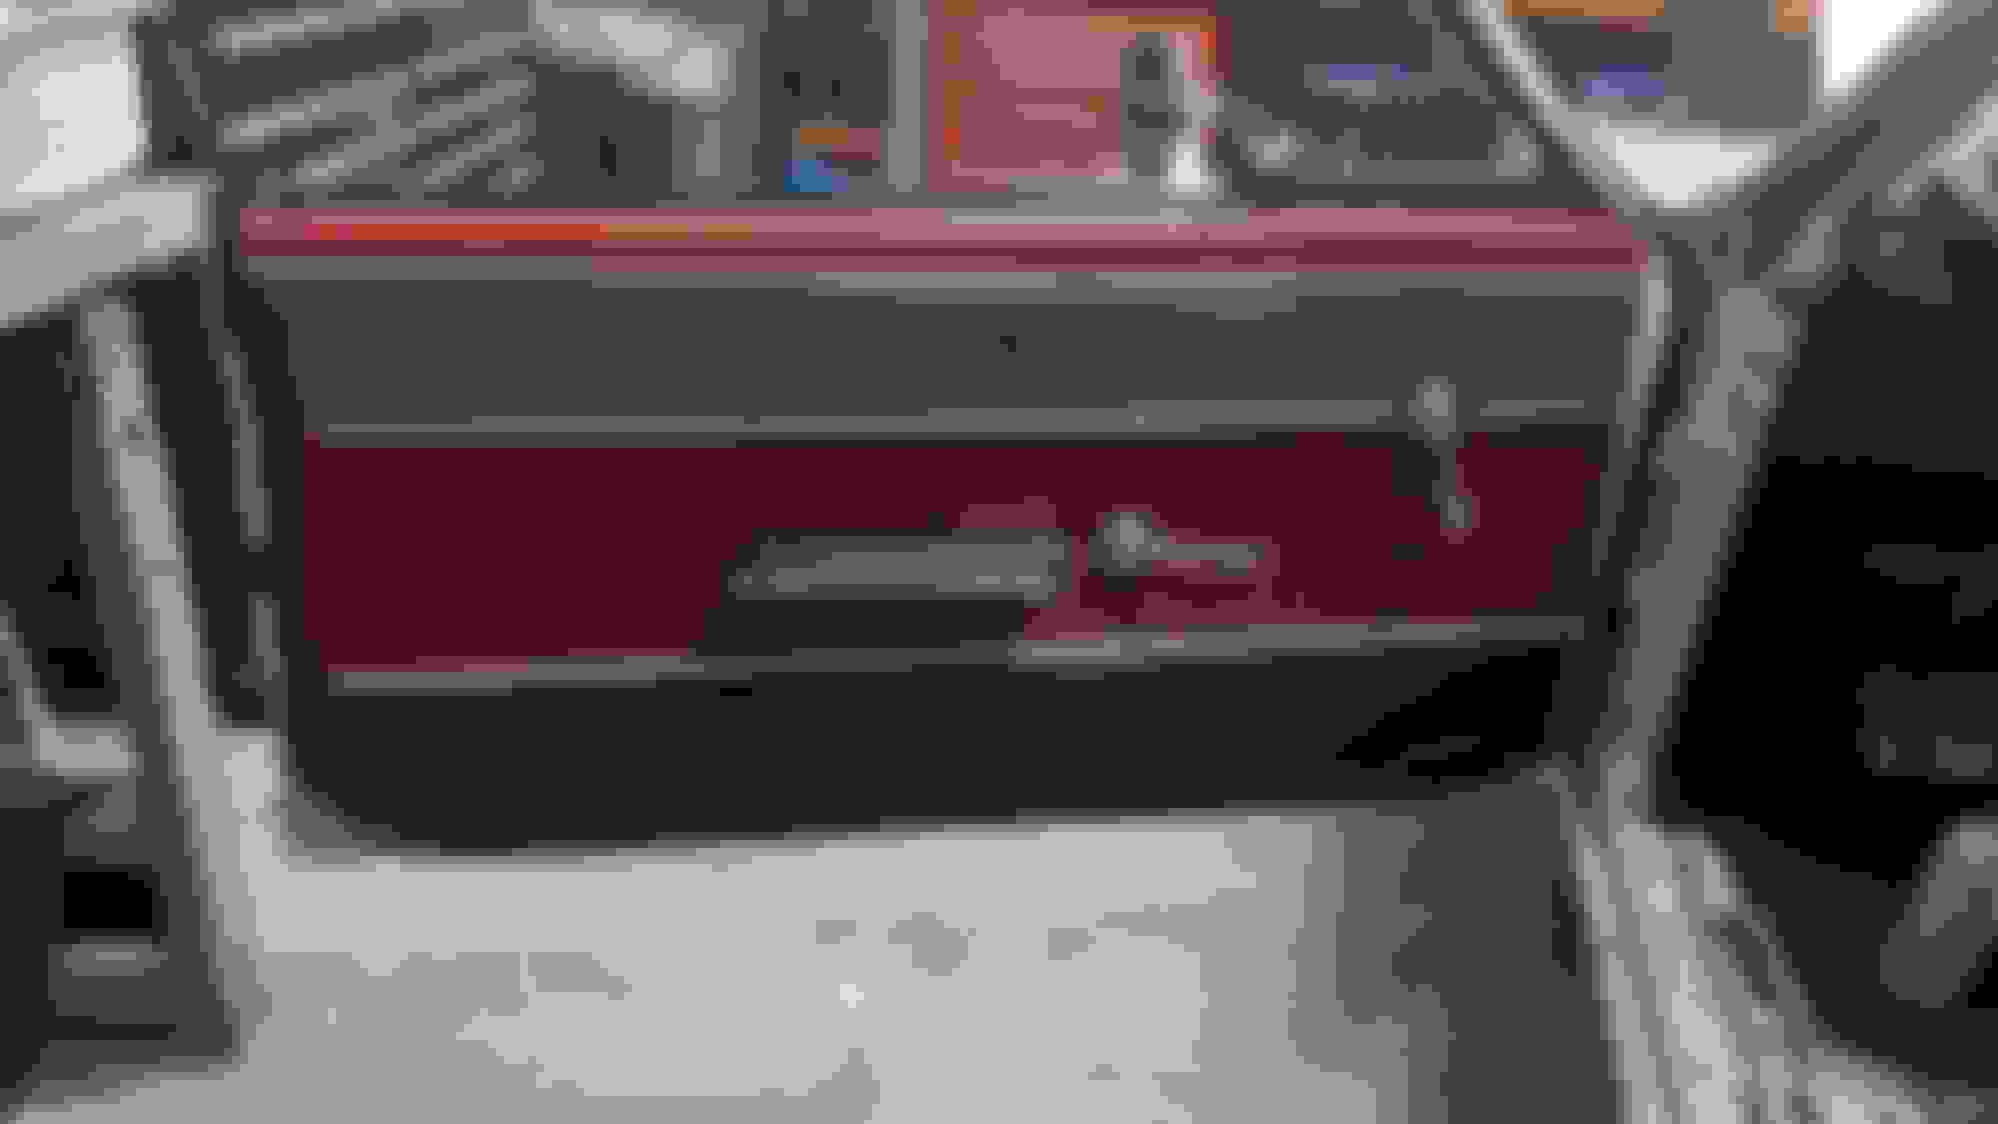
Got some more stuff done on the 66. I added some more sound deadener to the floor. I cleaned up/painted/reinstalled the package tray. Installed the 6x9's and wired in the amp. Unfortunately some how which I still haven't figured out yet I blew the stereo! This was an older conversion and it doesn't have electronic protection like the newer Aurora conversions so now I'm deciding if I'm going to buy a retrosound or have this one converted again. I finished rehabbing the passenger side door panels. This interior is all original and I just wanted to clean it up and reuse it since it's not a in stock item I can just order. I replaced all the window sweeps and weather stripping. I wire wheeled some surface rust and painted the areas to prevent further rust. I also pulled the trunk weather stripping/wire wheeled/painted the channel before installing new weather stripping. I've torn down the drivers side and started those repairs as well. Hopefully carpet will go back in this WK.
Some more progress today. I have a complete interior again! I finished up the driver's side door panels and weather stripping. But I'm going to have to adjust the drivers window so it sits on weatherstripping better. I put down my Design Engineering Under Carpet Lite and then ACC loop carpet with mass backing. Hopefully this will make the car cruise quieter and cooler. I'm going to get a blanket for the bottom seat cushions as recovering them isn't in the budget right now since I have to buy new tires. I still need to condition my dash. I had an issue with the dome light again. Basically it was grounding itself and draining the battery. So I think that may have contributed to killing the stereo. I cleaned the sill plates with steel wood and Windex which brightened then up quite a bit. Next was replacing the deteriorating fuel sock on the sender. After that I reset the distributor to cleanup the wire routing and do some more tuning. I recurved the distributor with the MSD 8428 kit and I have it close but still need to adjust carb. It fired right up and idled pretty good with 20 degrees base timing and 32 all in. It's alittle rich and I must have the butterflies adjusted too much as I'm pulling some ported vacuum at idle.

 February 14th, 2016, 10:39 AM


 I heard fords had a similar problem as well. I thought i would add this info in case anyone was unaware to the door keys ignition problem. Which may not be a problem with this model year. Early 60's gm was. Nice car by the way to the OP.


 I put the chrome SSIII's back on so I could roll her outside to power wash the engine bay and front suspension before I started tear down. I then rolled her inside, put her up on jack stands, removed the wheels and got started. I removed all of the front suspension except the gearbox because i need to get a pitman puller for the JGC upgrade. Everything came off pretty easily and most of the front-end will be reused. All the tie rods feel good and the ball joints are Moog replacements. I may have to order some new boots for these items but otherwise just need cleaned and painted. The lower bushings were perfect but the uppers need to be replaced. The front sway bar was a stock 7/8" which is be swapped for a bigger one but the end links are reusable. The rotors and pads are being upgraded while the calipers will be cleaned and repainted red. I have a set of KYB's to run on the car as well. I'm not sure if I'm going to run these springs or swap in the moogs I have. These are supposed to be upgraded springs from year one but I didnt like the gap the wheels had when I swapped the 15's on compared to the 14's. Was strange the gap got bigger though both tires were 235/60's. ??