When you click on links to various merchants on this site and make a purchase, this can result in this site earning a commission. Affiliate programs and affiliations include, but are not limited to, the eBay Partner Network.
Looks like a solid car. You have a good start and a great project ahead of you. I also have a 69 convertible. If there's any pics you need just let me know and I'll try to help - Jeff
Looks like a solid car. You have a good start and a great project ahead of you. I also have a 69 convertible. If there's any pics you need just let me know and I'll try to help - Jeff
Thanks Jeff, i might take you up on that if I get stumped. I have the assembly manual too. Hopefully I can figure it all out.
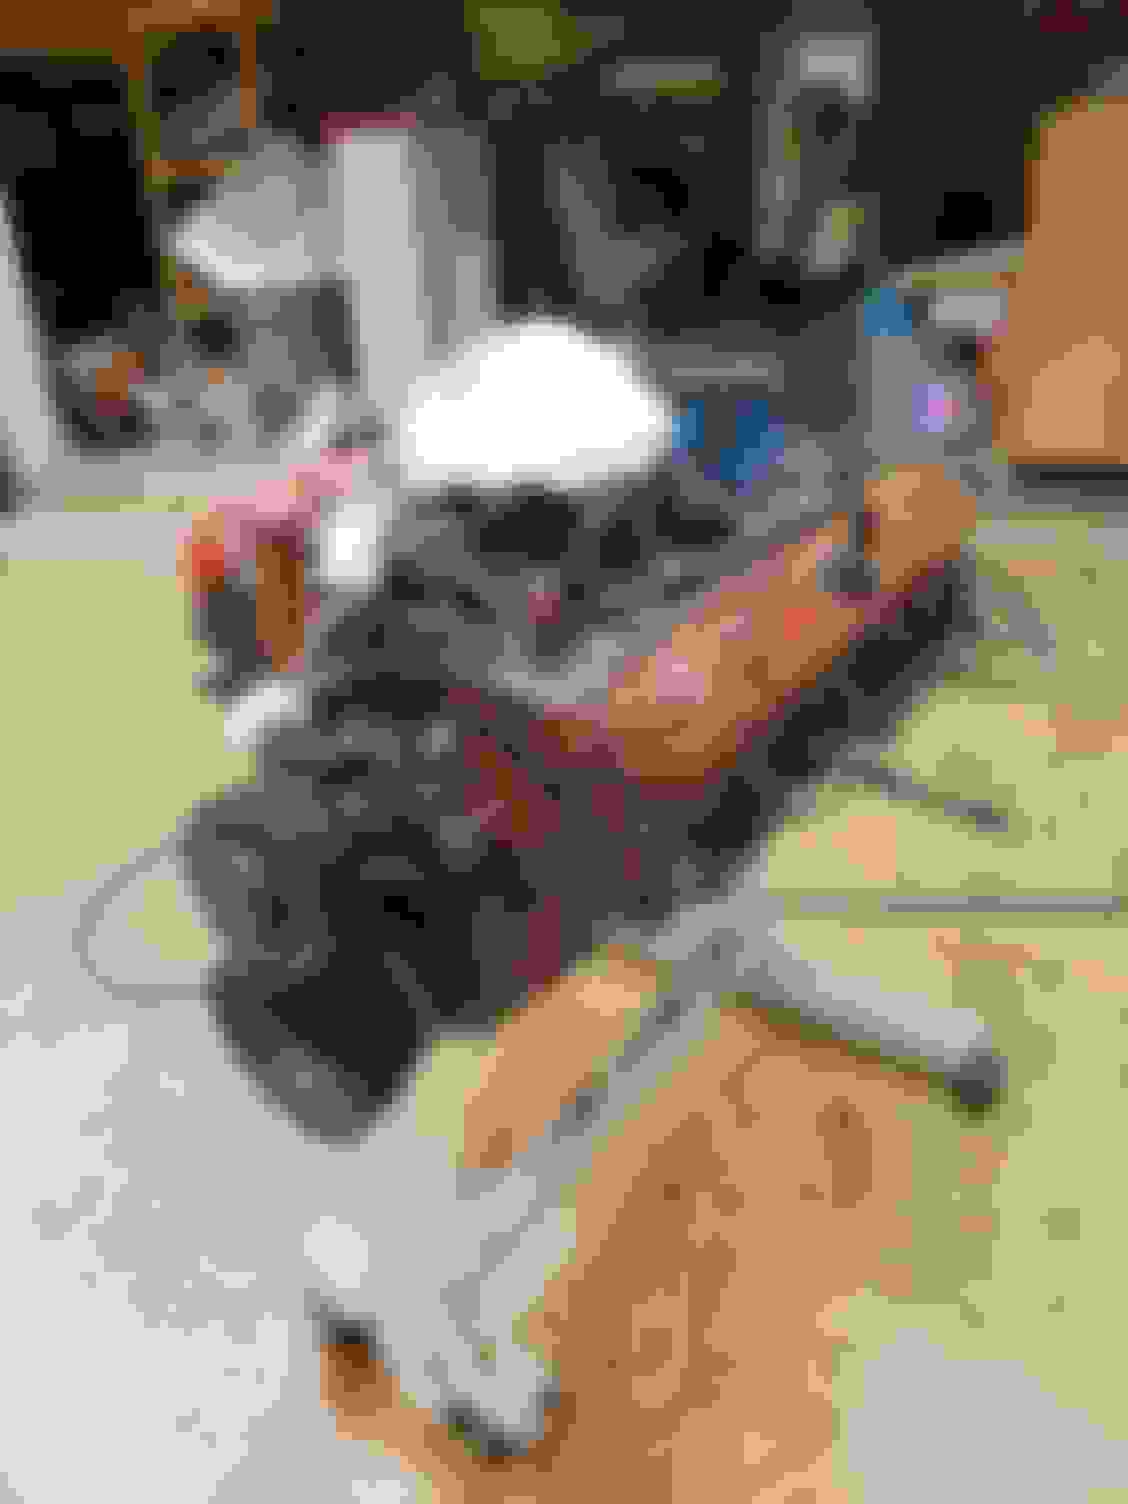
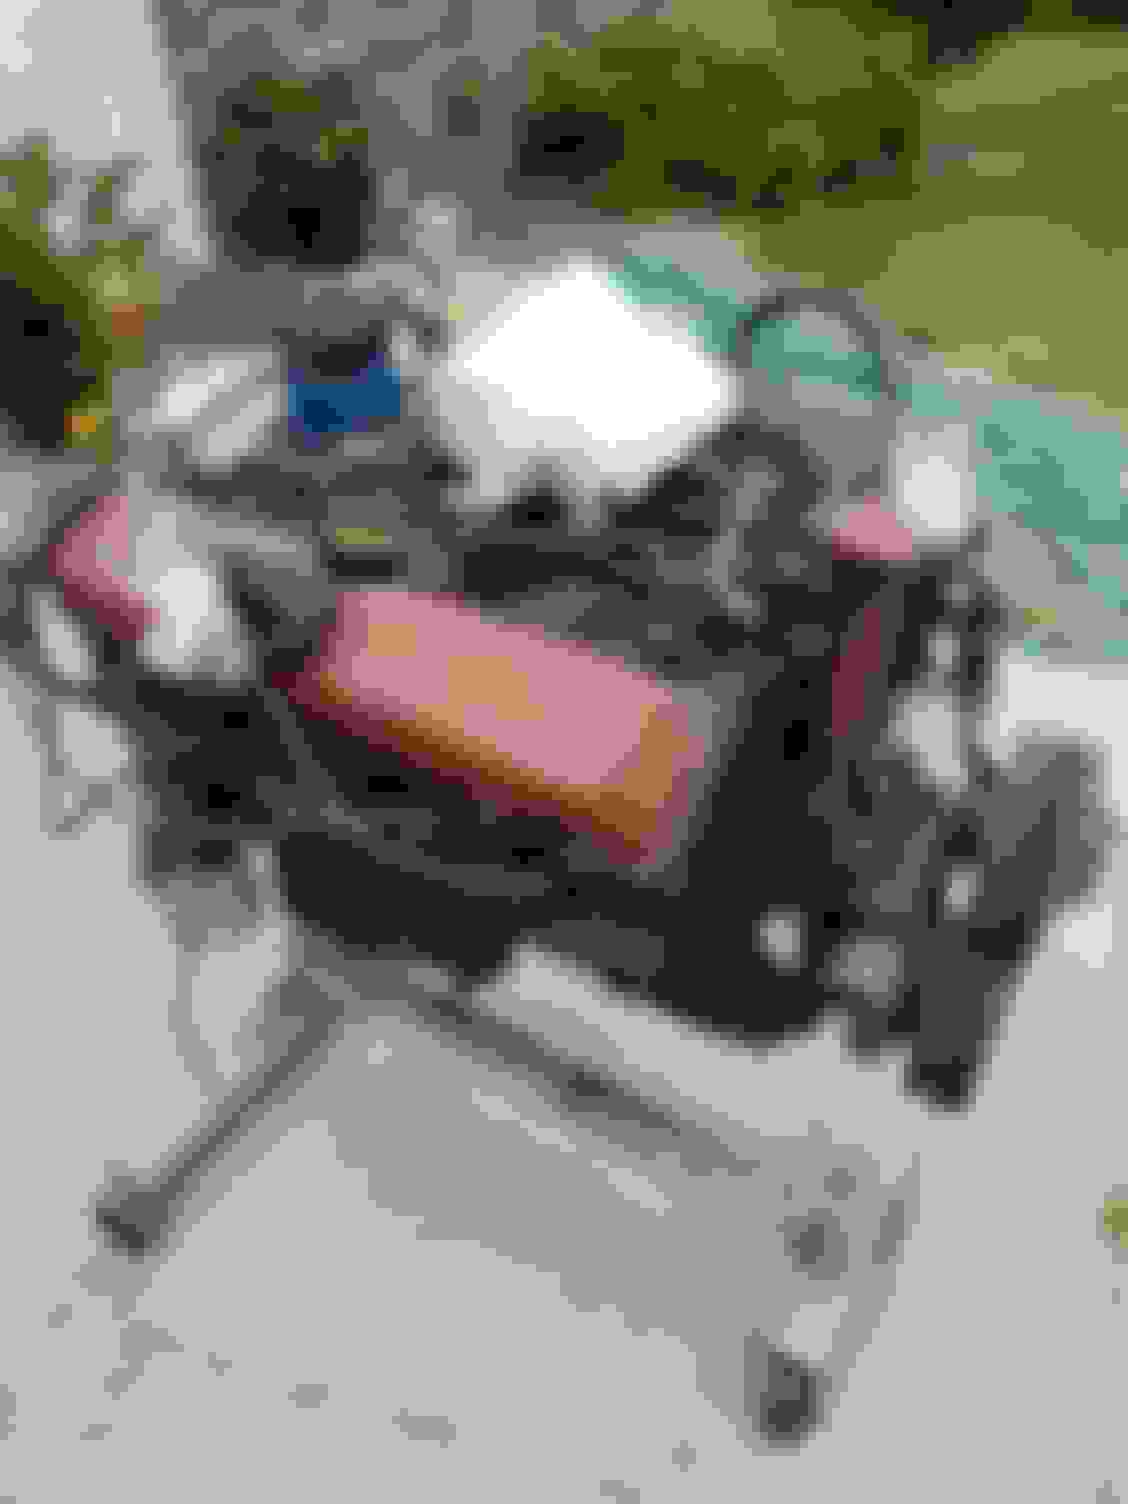
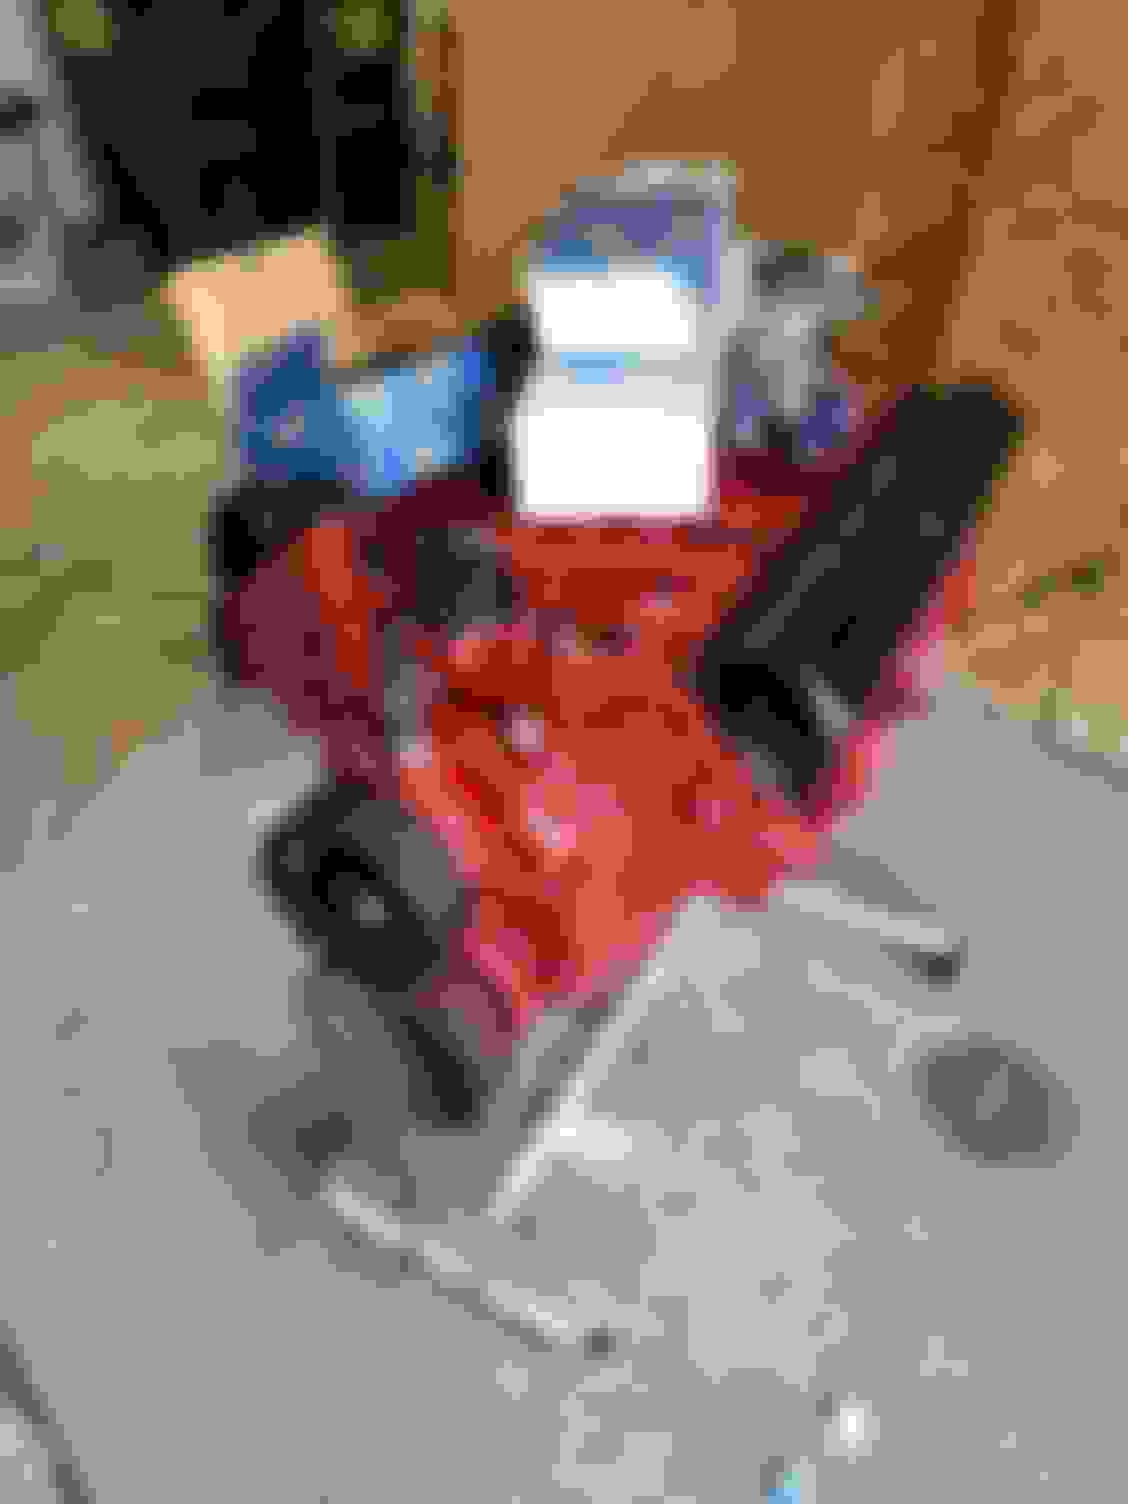
Got to work on her again today. Got the engine all cleaned and started to paint. My son worked on replacing suspension rubber. I also finished my blast cabinet, works great other than air pressure. Does anyone know if smaller tip on the gun makes any difference?
I've only used one size of tip in my cabinet but I did figure out 80 psi is optimum for my cabinet. I was trying much higher pressure and getting frustrated. For me less is more.
I've only used one size of tip in my cabinet but I did figure out 80 psi is optimum for my cabinet. I was trying much higher pressure and getting frustrated. For me less is more.
good idea, i have it at 120. I will give it a try.
Started replacing all the old rubber, decided to order new drums after a closer look. Thanks to my uncle the rest of the brakes are all new, although 20 years old. Engine clean up and paint complete Convertible top repair. Just trying to keep it dry inside until I can get it in the garage. Ready for all the new stuff
. I also finished my blast cabinet, works great other than air pressure. Does anyone know if smaller tip on the gun makes any difference?
Lots of variables to that question. A lot is going to be determined by the cfm rating of your compressor. A typical 5 Hp shop compressor will deliver 15-17 cfm @ 125 psi. A large nozzle will give more flow @ less pressure. Conversely a small nozzle will yield a higher pressure but less flow. If your compressor is loosing pressure with the nozzle you are using it is too small for the application and you will need to go to a smaller nozzle. Here is a link that helps explain.
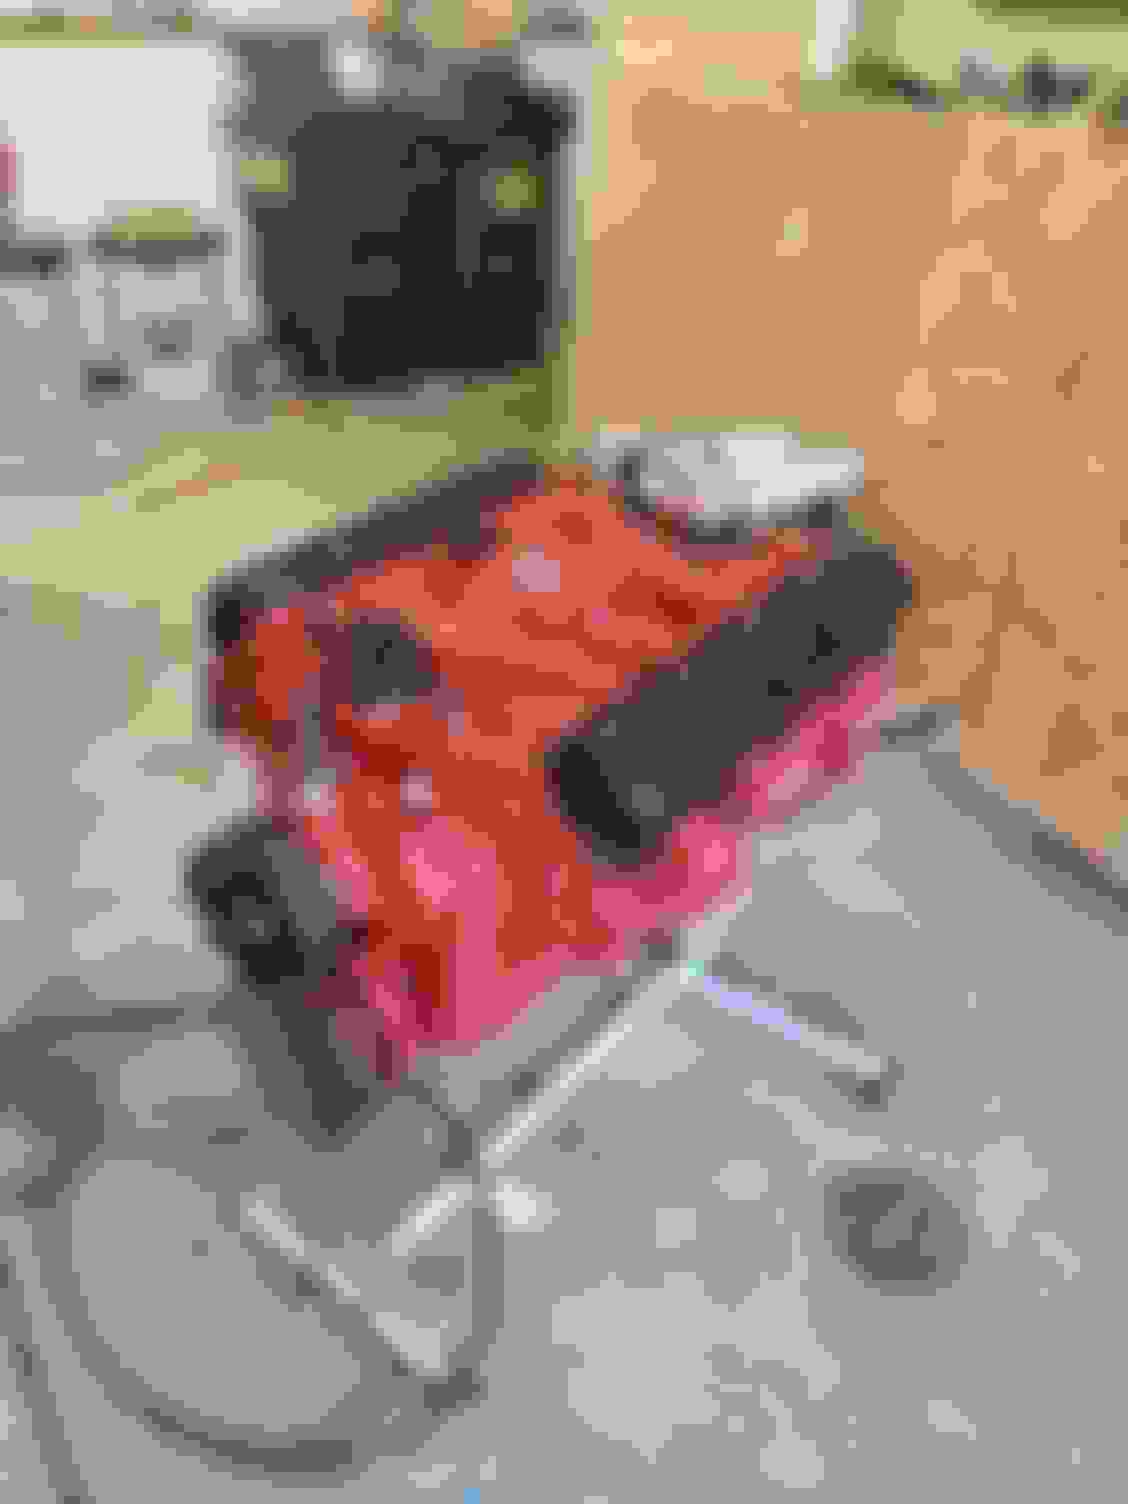
you said the engine was not original. But the before pictures sure look like the correct bronze color for a 400. Is it and F or a G block? Appears to have C heads? J
you said the engine was not original. But the before pictures sure look like the correct bronze color for a 400. Is it and F or a G block? Appears to have C heads? J
the 455 I am putting in it is an F block from a 69 delta 88 with C heads. The engine that came in the 442 is a 330 with an auto trans. Haven't looked at that one much, but it is destined for my 33 rat.
bob
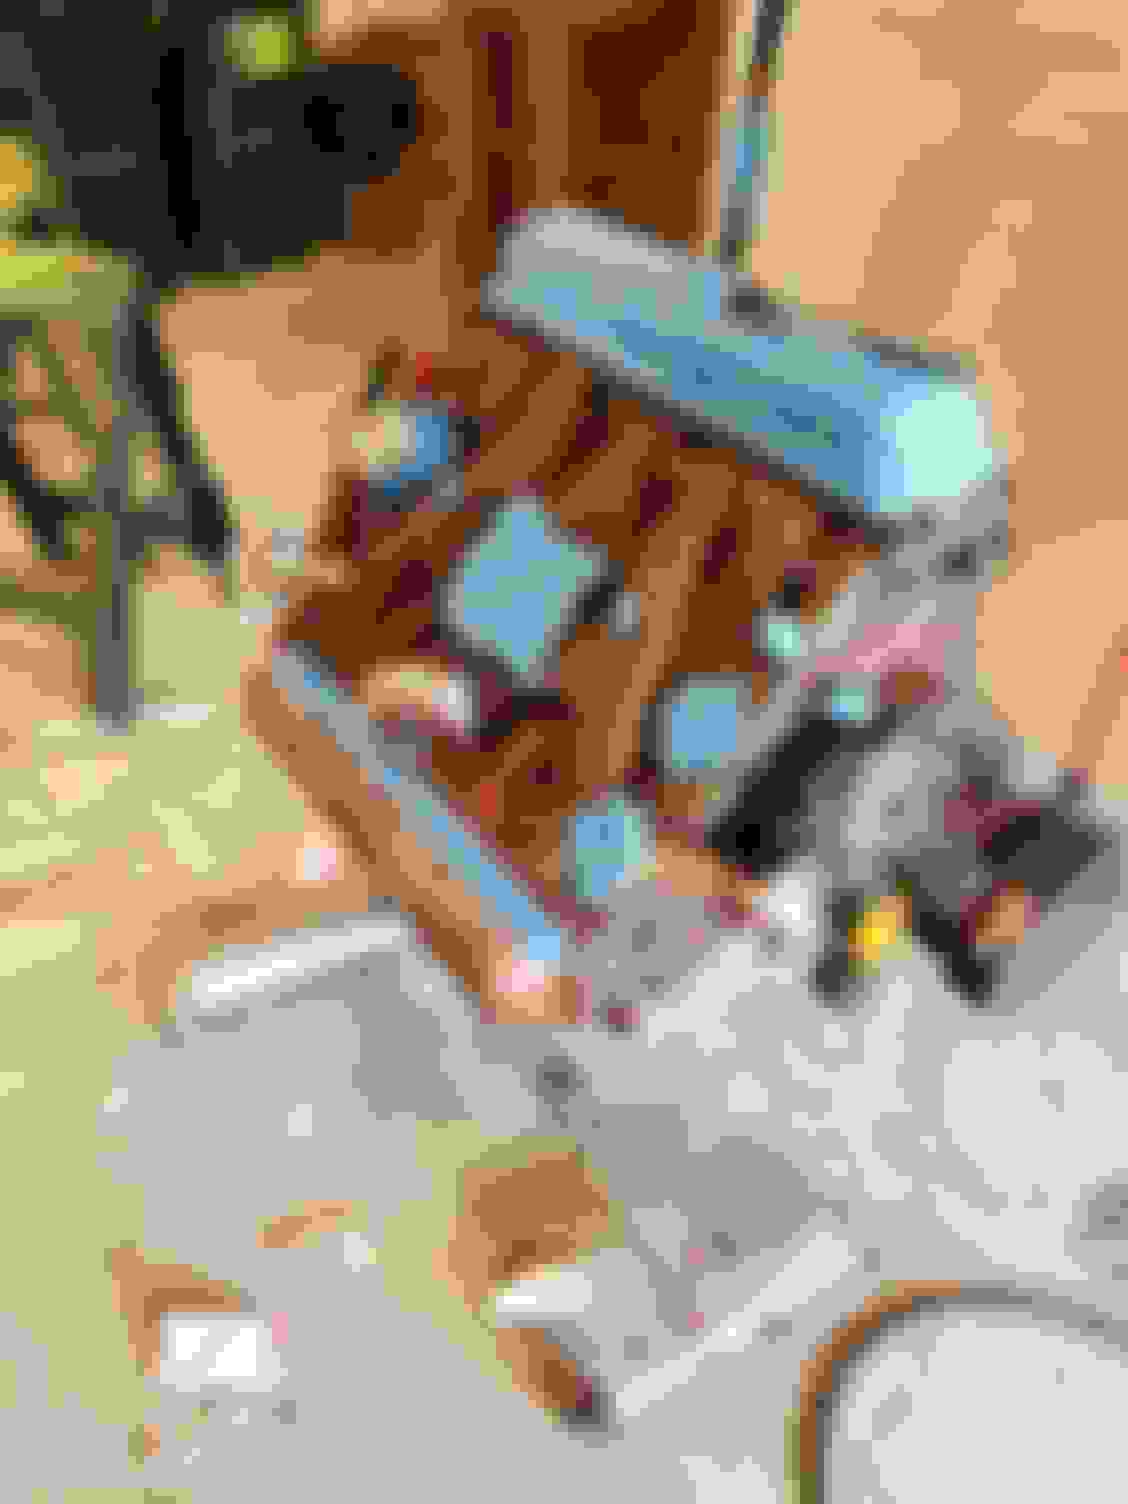
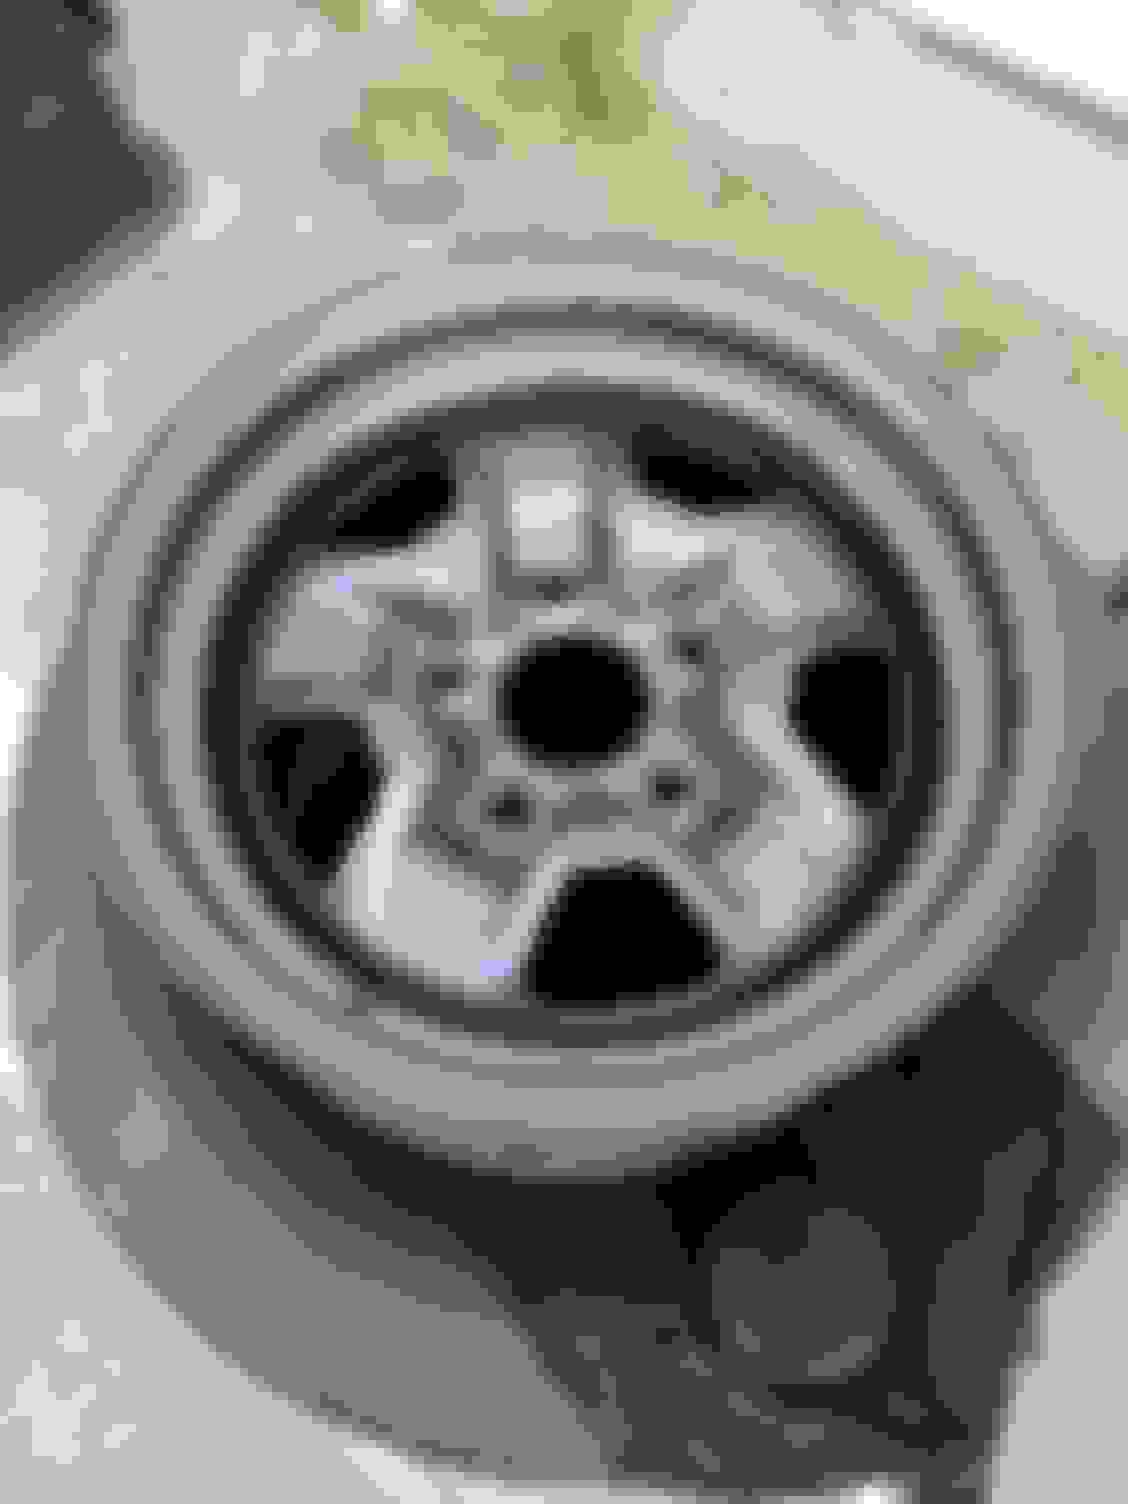
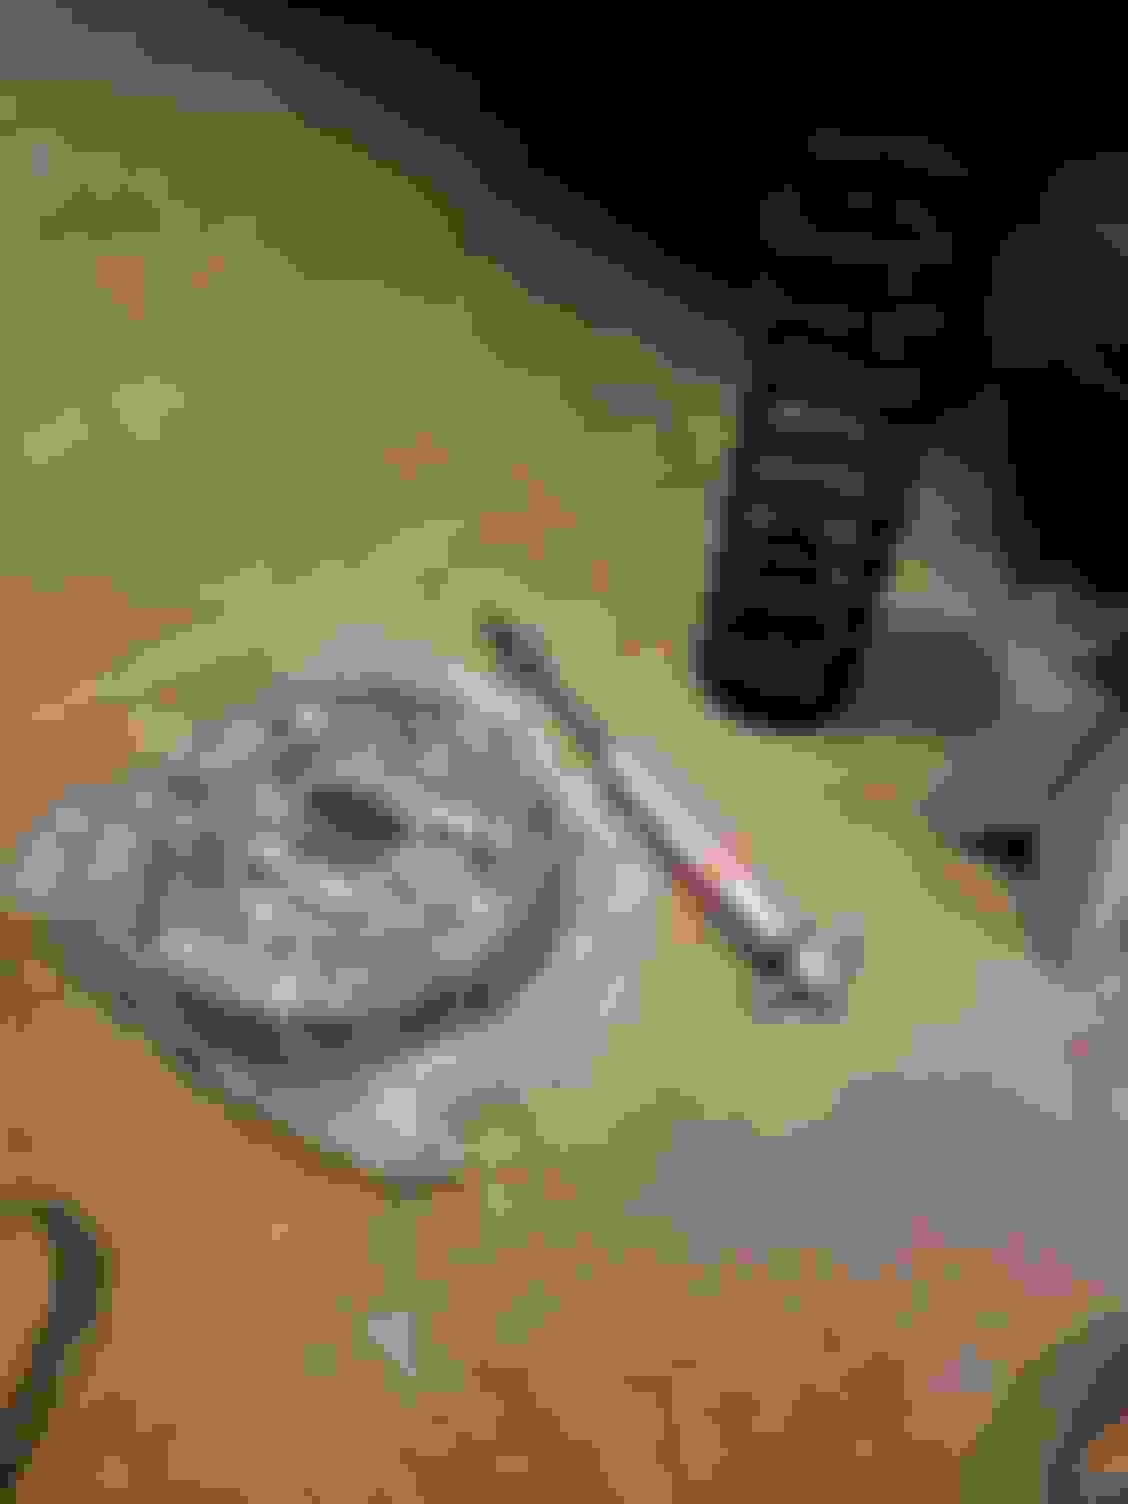
Been working the last few days on my control arms. Been frustrating and full of lessons learned. Got stopped trying to remove the lower ball joint to replace the dust cover. I am not even sure the replacement in my kit is correct. No luck getting it out. Took it out on some poor parts guy when I had to buy the tool, then return it. I know that's how it works, but the 48 hr limit or you buy it was all I could gear today. Petting the dog, and having a drink, maybe I will be in better spirits tomorrow. But here is what I got done the last couple days. Rims cleaned up nice, only 3 more to go My son took the trans from the trunk and started cleaning it up. New springs and a coat of POR 15 on the control arm. POR 15 gives it a heck of a shine. Ugh
Been working the last few days on my control arms. Been frustrating and full of lessons learned. Got stoppedj trying to remove the lower ball joint to replace the dust cover. I am not even sure the replacement in my kit is correct. No luck getting it out. Took it out on somje poor parts guy when I had to buy the tool, then return it. Rims cleaned up nice, only 3 more to go My son took the trans from the trunk and started cleaning it up. New springs and a coat of POR 15 on the control arm. POR 15 gives it a heck of a shine. Ugh
Got stoppedj trying to remove the lower ball joint to replace the dust cover. I am not even sure the replacement in my kit is correct. No luck getting it out. Took it out on somje poor parts guy when I had to buy the tool, then return it.
Good looking progress. Stop fretting over those control arms. Take them to to the local parts,house that still does machine work and have them press the old out and the new in. Mine was done by NA PA but there are plenty of others. Keep up the good work!
Well i managed to get the ball joint out. Broke it, but got it. Works out, i have a paper to write, and it is my wifes birthday this weekend. I am better off not being tempted into the garage. I think once the ball joint comes I will be ready to put one side back together and then start the process all over again.
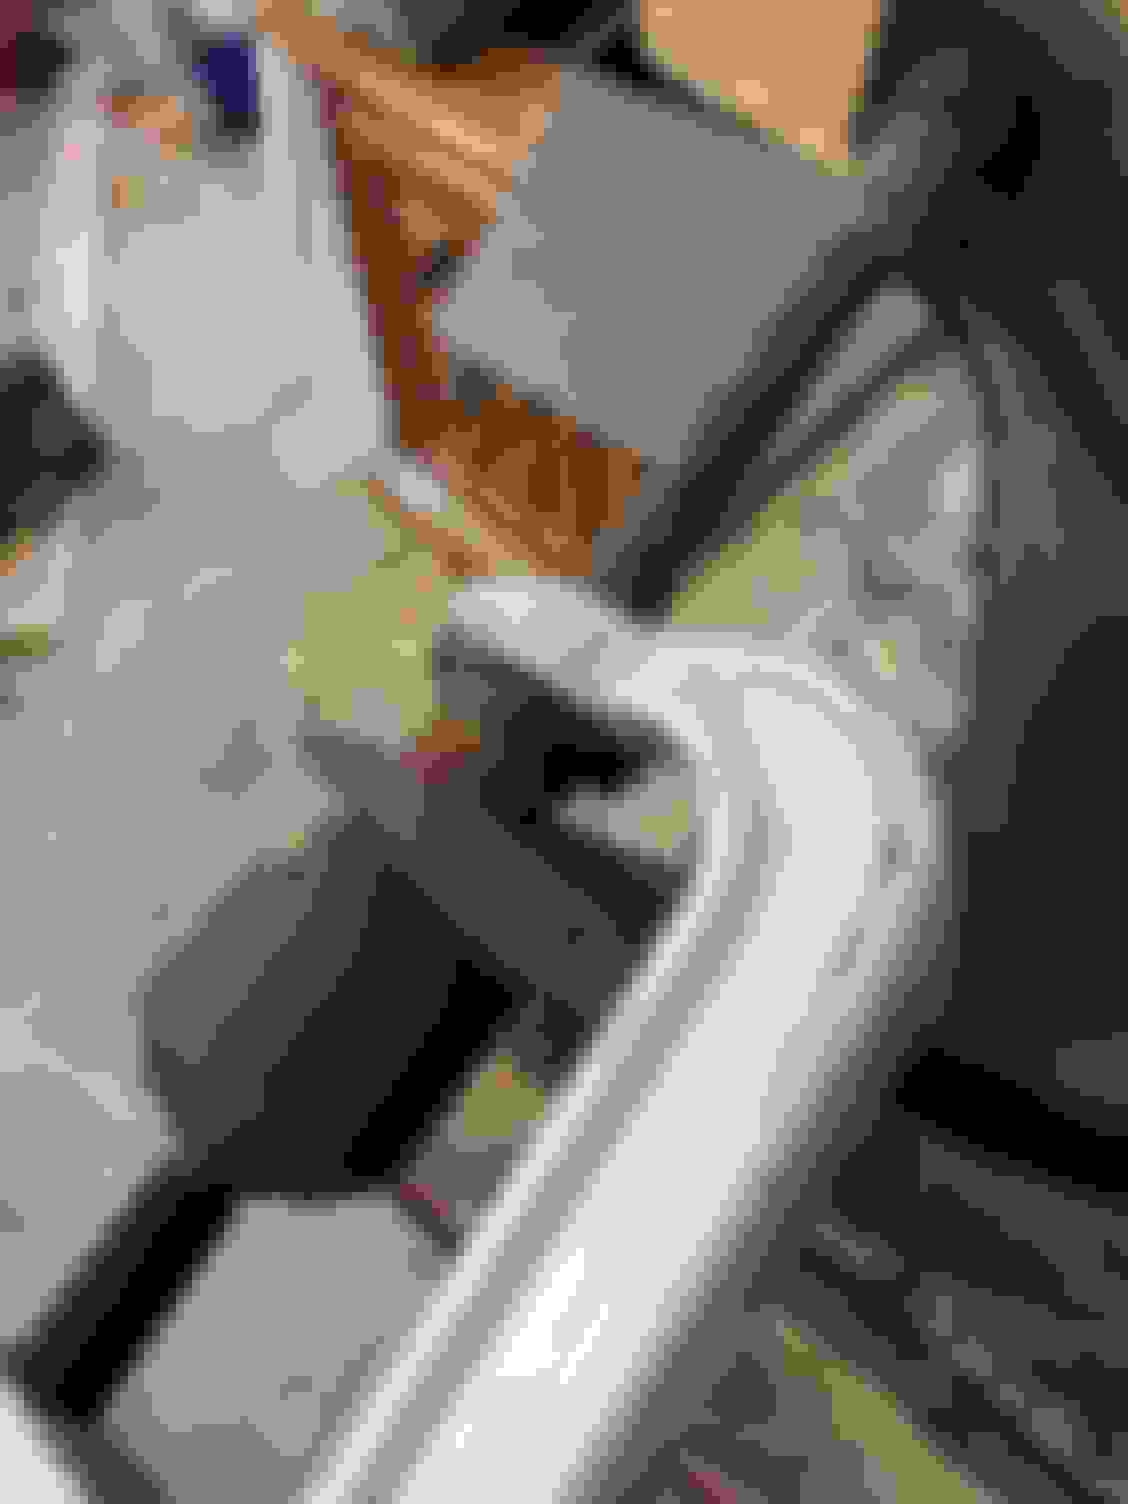
Got my baby in the garage finally. I was also able to get the top down with some advice from classic olds members. I have to admit, i got in and grabbed the wheel for a little dream time.
I am waiting on a replacement ball joint so I can get my suspension back together. I still think I can get it going before its too cold.
Finally got the control arm rubber all changed out and back on. I think they turned out great. Got the steering linkage off and in the parts washer.
Here it is all back together and mostly new. Both arms on Spring in! That was much easier than I thought. Lower arm on New parts that are going on today
Other side off. It is amazing how much faster the second side goes. It also helped that my bushing sleeves were rusted almost in half. Came out really easy.Hopefully I can get everything cleaned up and painted so it can all go back in this weekend.
Look good, if you don't know wait to tighten the control arm fasteners until the engine is in and the car is assembled. Otherwise the new parts get preloaded when the car is assenbled and can lead to bushing failure and rougher ride.
Look good, if you don't know wait to tighten the control arm fasteners until the engine is in and the car is assembled. Otherwise the new parts get preloaded when the car is assenbled and can lead to bushing failure and rougher ride.
I have seen posts that mentioned that so I am waiting to torque, but never knew exactly why. Your explanation makes perfect sense, thank you.
I believe I got everything on the front suspension cleaned up and painted. I probably missed a few bolts. If I do not hit too many snags I should reach my goal of driving it before its gets cold. Dropped the wheels off to be blasted, what too tedious in my cabinet. For 10 buck a corner its worth it.
Location: Edmonton, AB. And "I am Can 'eh' jun - eh"
Posts: 24,525
Ahhh, the dreaded front end rebuild. Been there done that in 2011. Soooo much fun but worth it. Looks like you have a handle on things. I took plenty of before and after pictures to validate the work. With the front springs - yes they go in easy, but I hope you indexed them to the lower CA stamping.
BTW, nice job making your own blast cabinet. When I had trouble with air pressure I just went and bought a new 5 HP compressor that gave me 18.5 CFM at 100 psi. You probably already found out that you need to dehumidify your air line or the nozzle will clog up after a short while.
I was on pace to get the front suspension completed today, but I managed to screw up a bolt that I have to order. Regardless I made some good progress.
for now because its what I have. I want to get it on the road and enjoy it while I work on odds and ends. I eventually want to repaint and go to torque thrust or cragers. One of the rims i grew up loving. I grew up dreaming of having a 1st gen camaro convertible. I also like unique and different. Luckily this 442 found me and she has all the lines I love in a car.
Location: Edmonton, AB. And "I am Can 'eh' jun - eh"
Posts: 24,525
Just to be clear, SSII and SSII are the same style of wheel. Only difference is that SSII is painted pewter, which is what you have done. SSIII is painted body color. Be sure to let us know when the new wheels go on. I also like the torq thrust - what size and color;or chrome, are you thinking of?
I liked the look of the pewter better than body color. Especially since I am not a fan of the current color anyway. As for the next ones, probably pewter also with the torque thrust, or chrome if I go classic cragers. I will probably wait until its all painted and the chrome is back on before I decide. Have to find that balance.
bob
Location: Edmonton, AB. And "I am Can 'eh' jun - eh"
Posts: 24,525
Good color combo. Just remember the wide stripes were just on the hood, not the deck lid. The deck lid had the pinstripe on the lower deck lid that framed the tail lights. When it's done you'll have a really cool looking car.

 July 19th, 2018, 05:12 PM