When you click on links to various merchants on this site and make a purchase, this can result in this site earning a commission. Affiliate programs and affiliations include, but are not limited to, the eBay Partner Network.
Also, what�s the factory finish on the taillight screws? All 16 of them had a dull finish compared to the reverse light lenses. Did they really fade that badly?
Twilight screws are a semi flat black oxidey type finish. Reverse lamps are bright Zinc.
Is there a different jack stowage decal for the back of the trunk lid for cars that have steel wheels vs. SS2's? I know the setup is different with the lug clips, but what about for the decal?
yes, soon (I hope) I'll have the SSI/SSII decals. the steel wheel decal will be started shortly
Not much to update as far as progress this week. Hoping to have the frame back next weekend. Still need to get the bushings and ball joints removed from the original control arms.
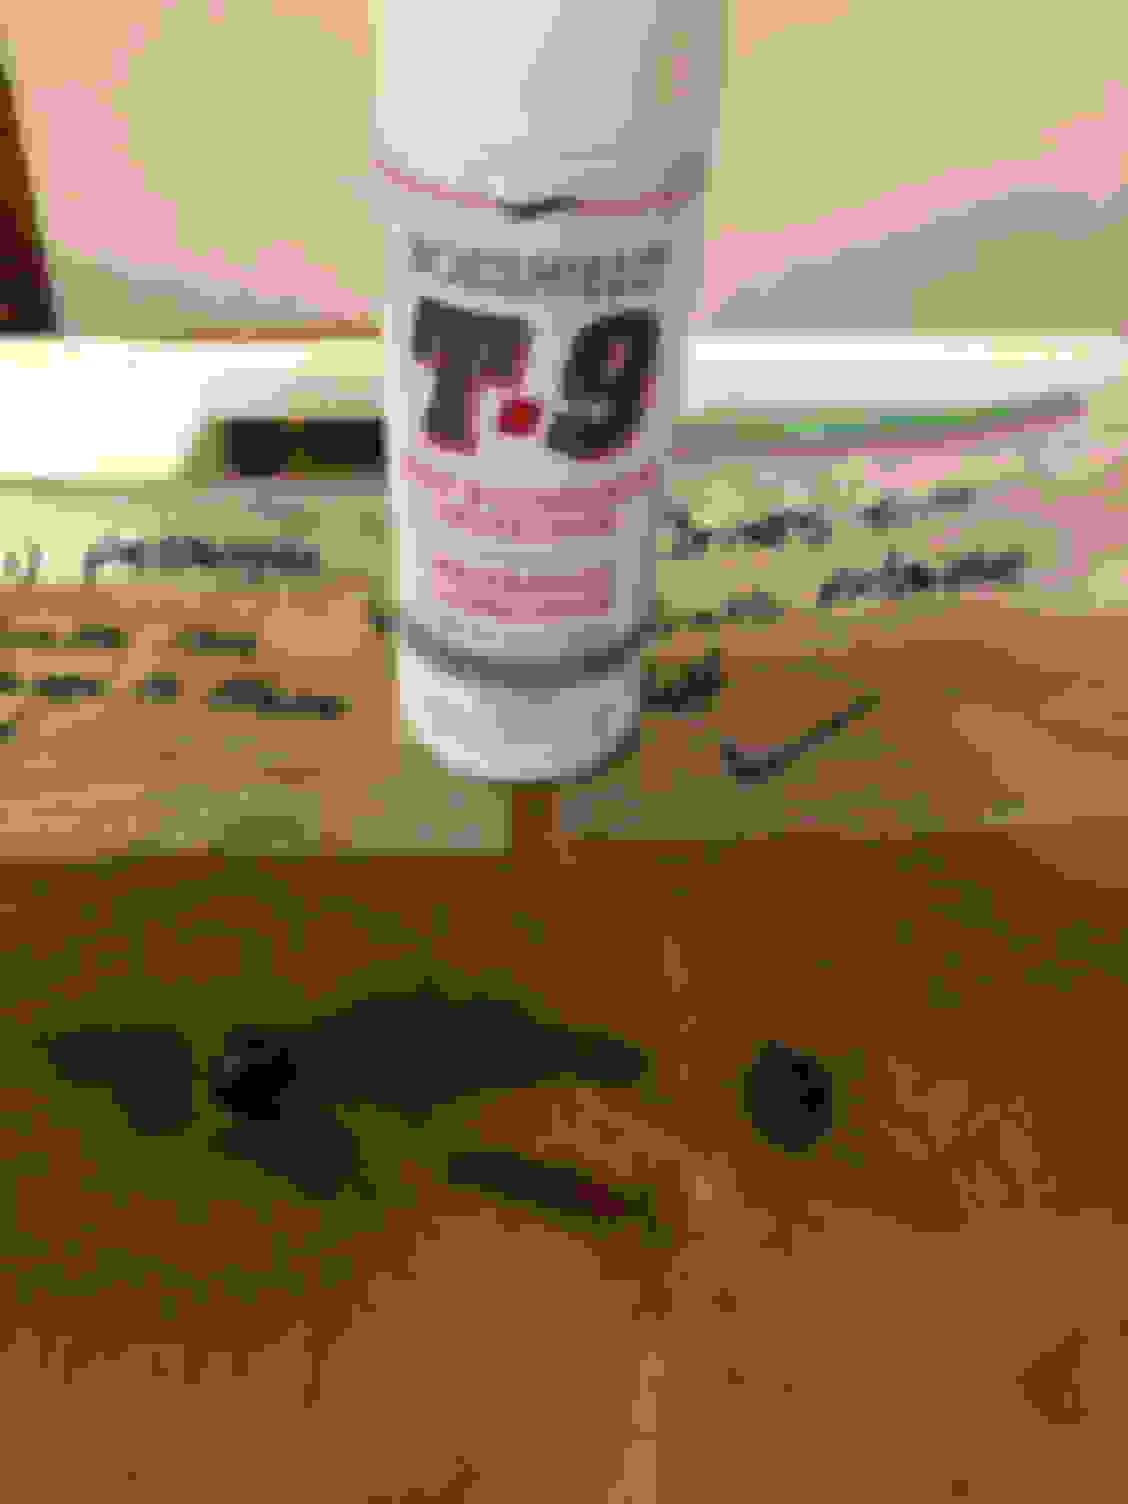
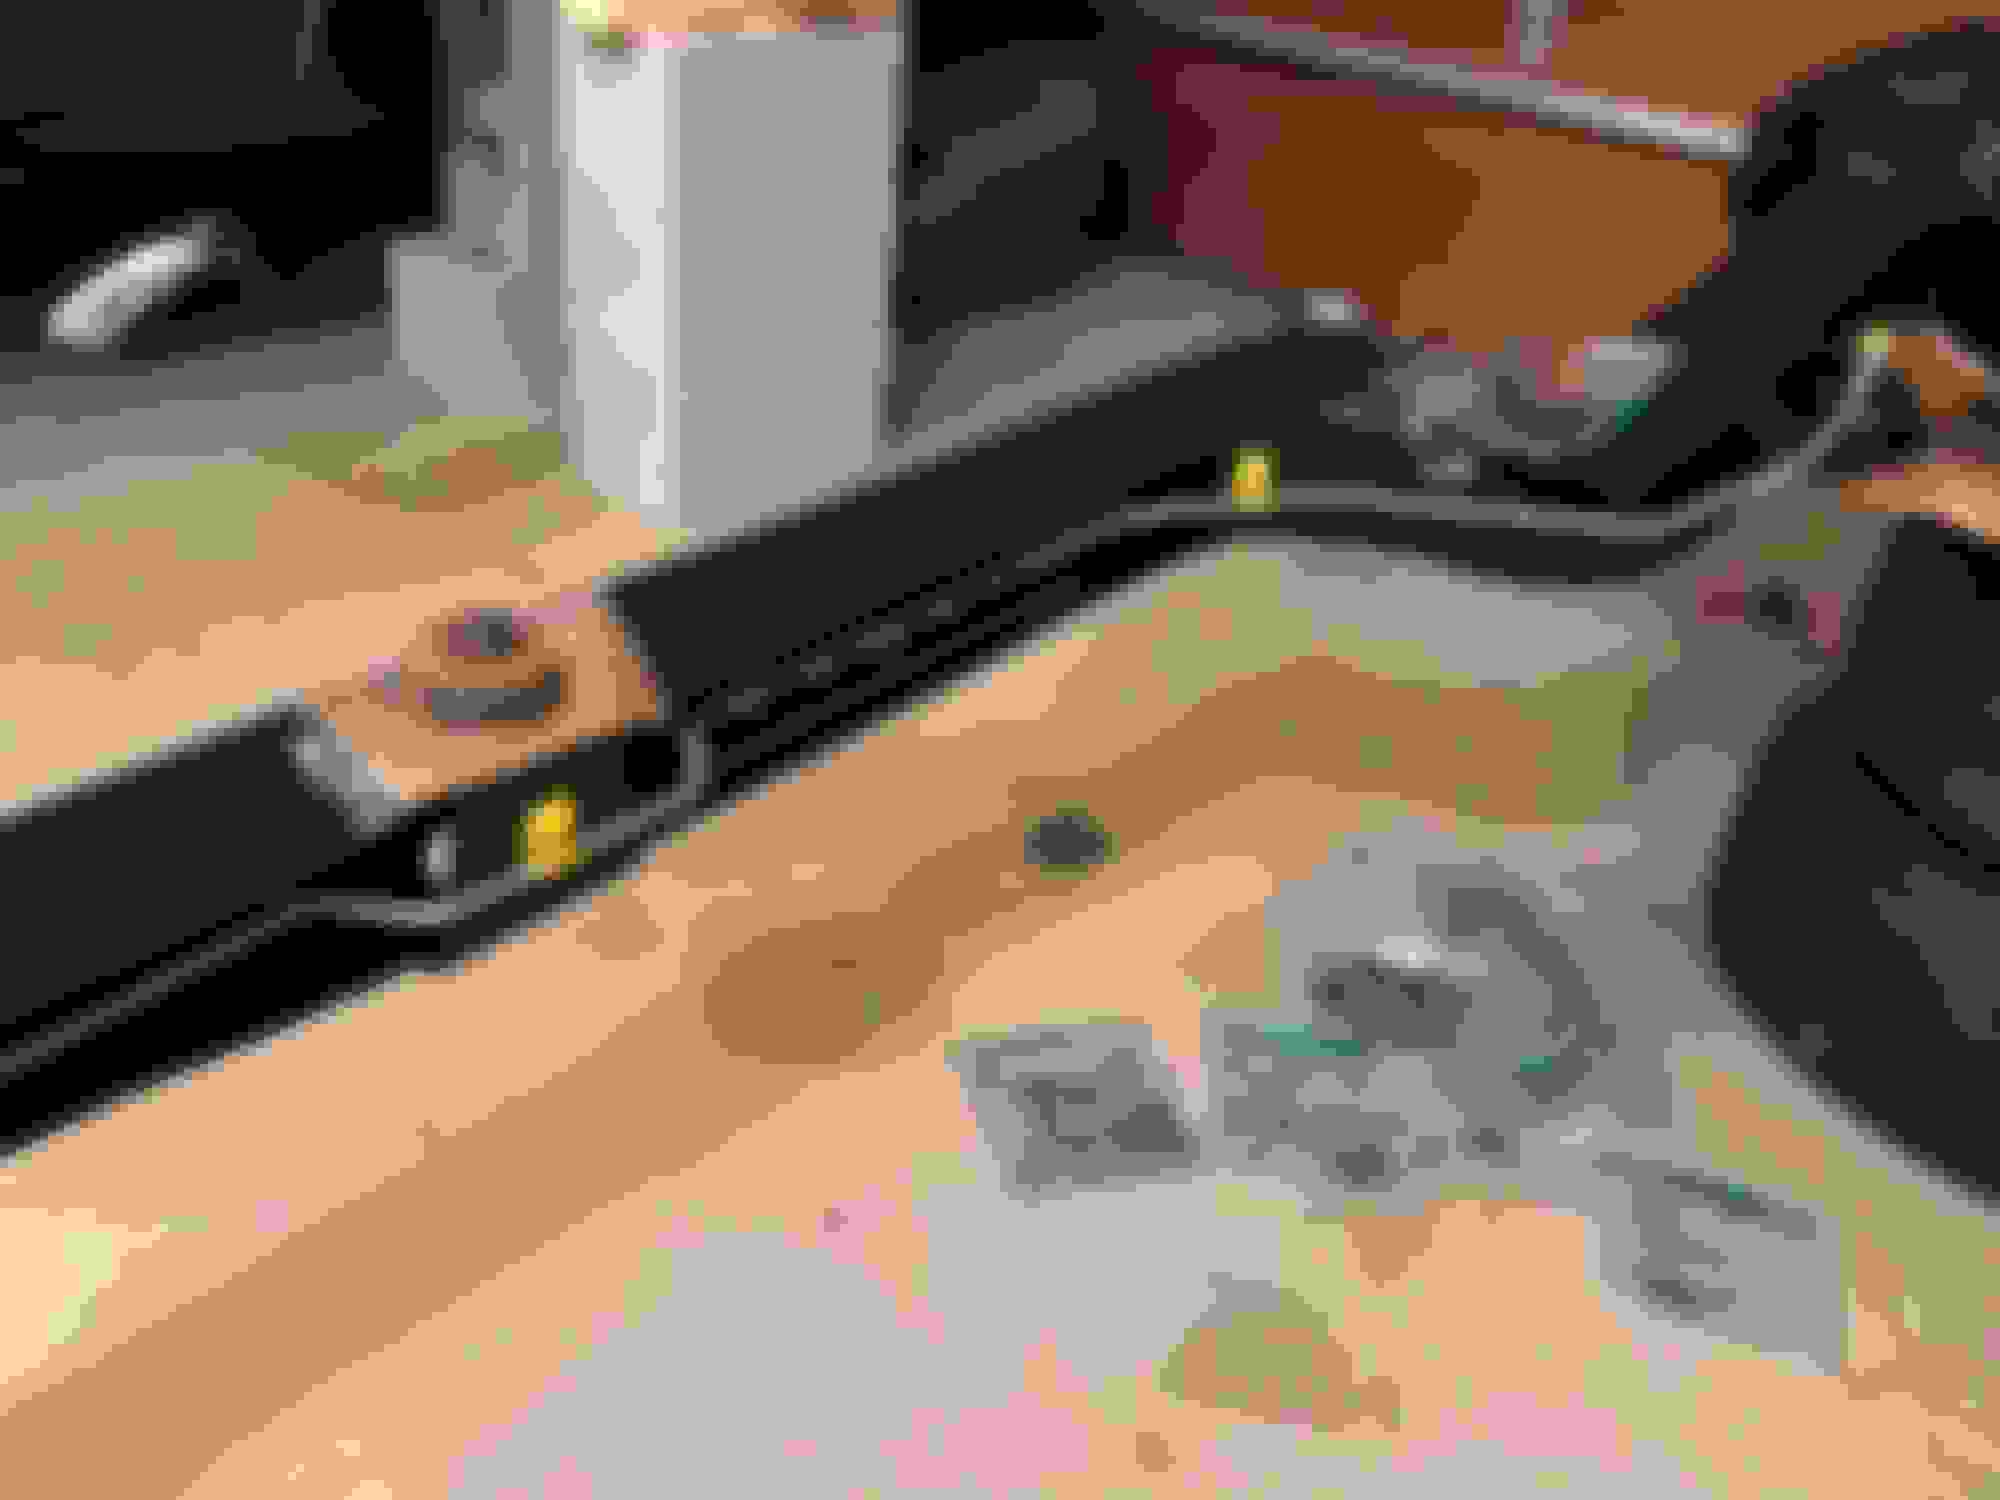
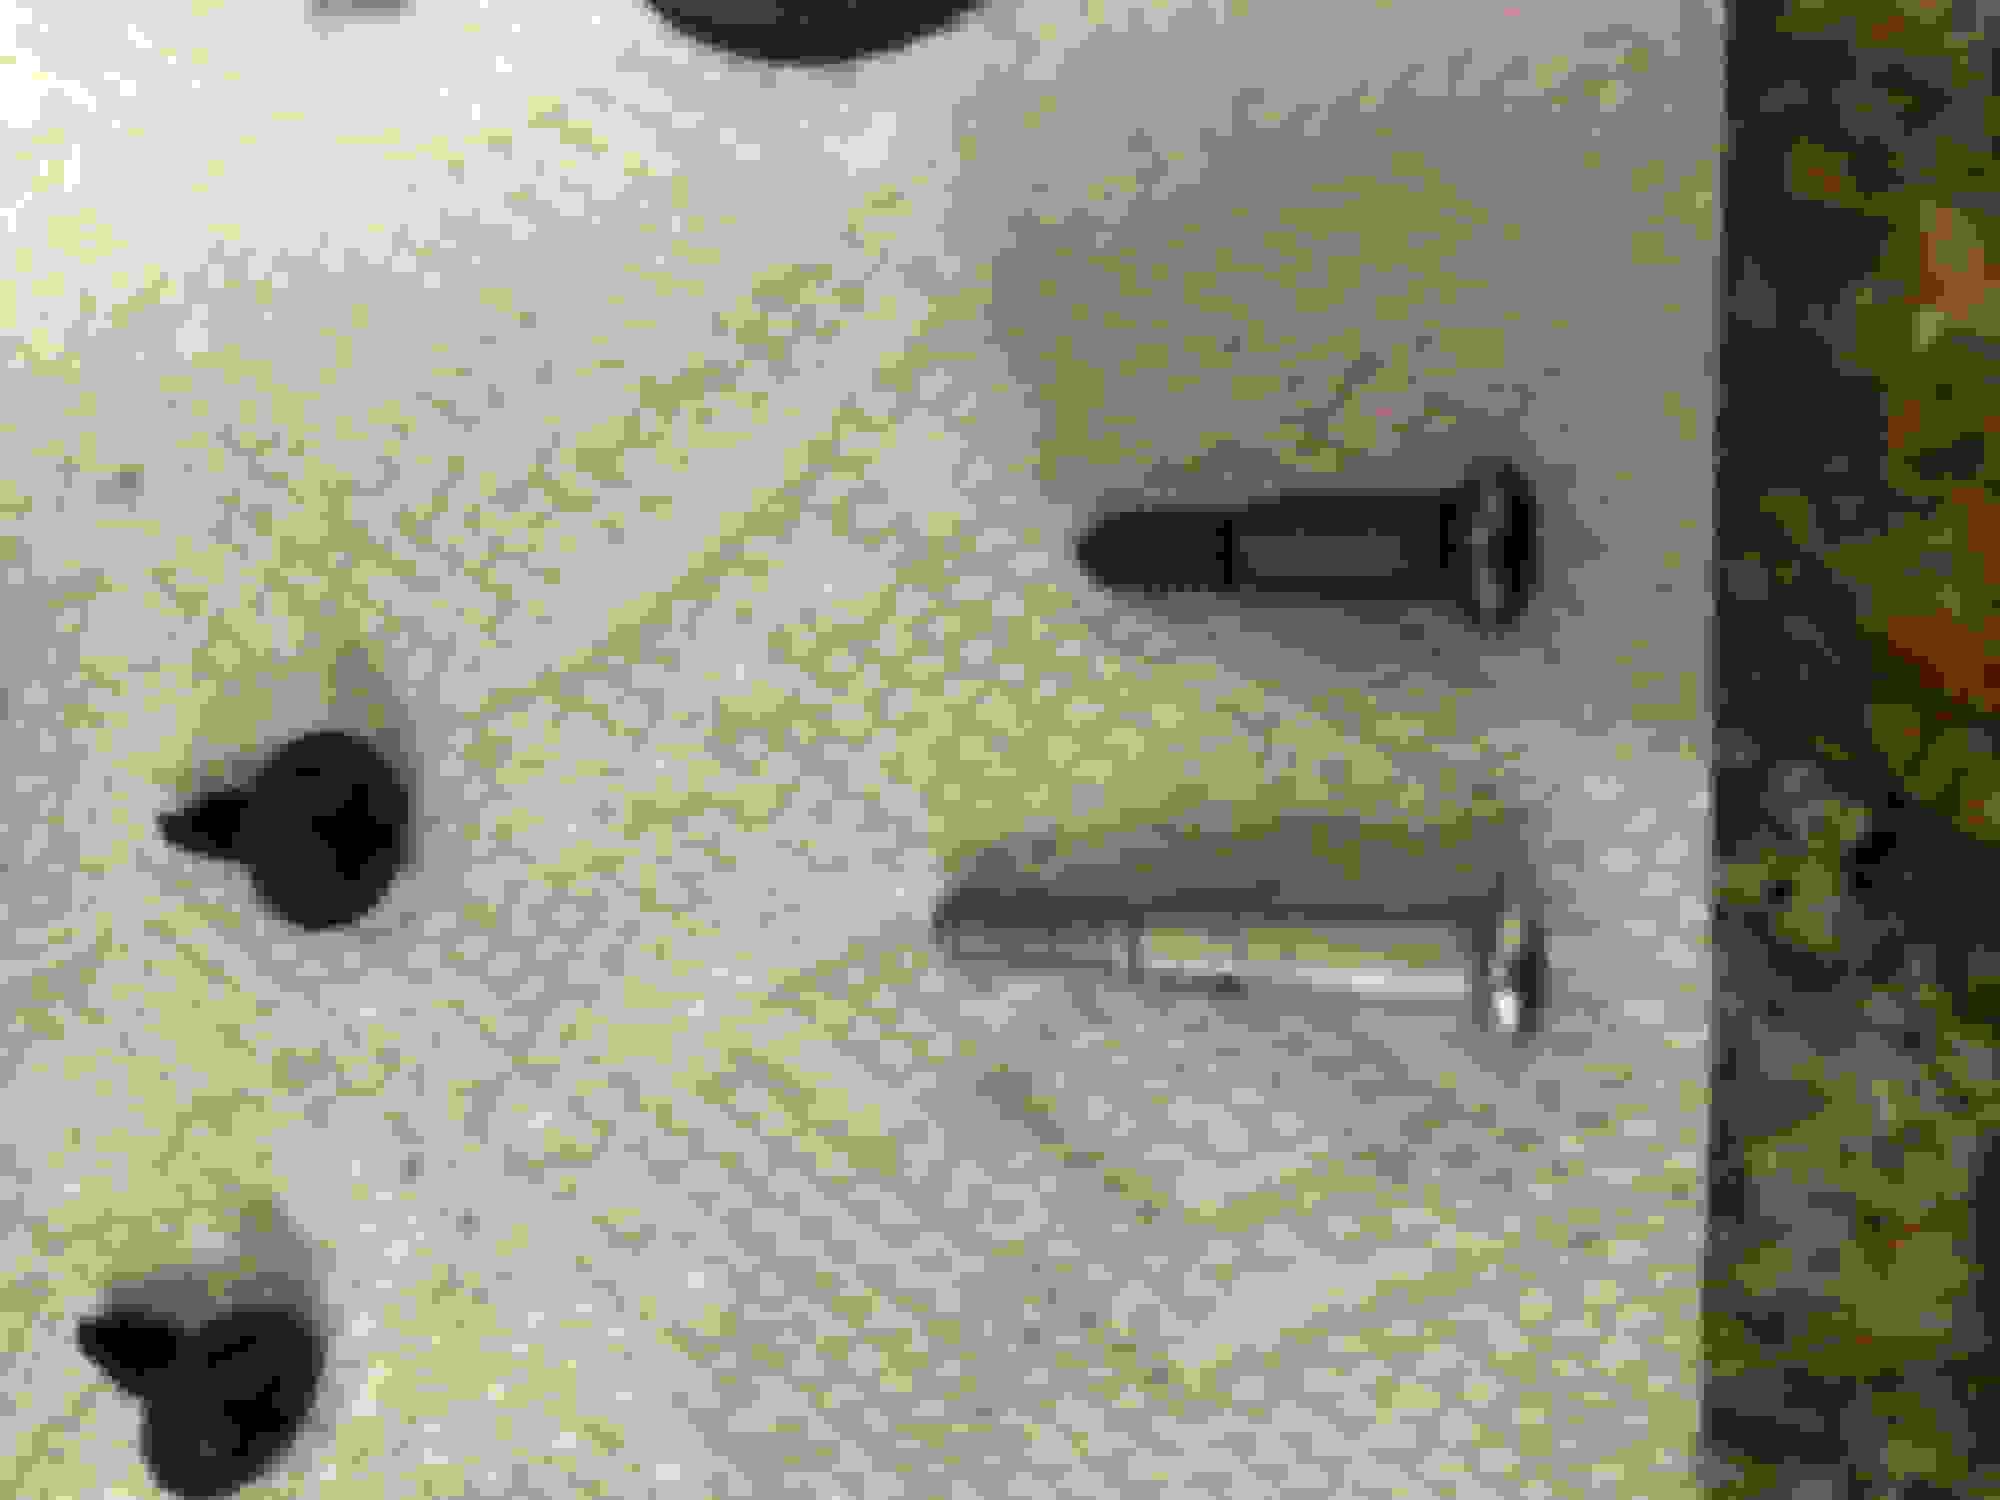
Spent an hour organizing and cleaning hardware for the frame. Someone took a spray can to the chassis at some point so a lot of the hardware needs to be soaked in paint thinner.
The rear sway bar bolts are by far the worst of any I’ve cleaned so far. Thinking it’s corrosion from the spacers. Gotta love the original fine threads!
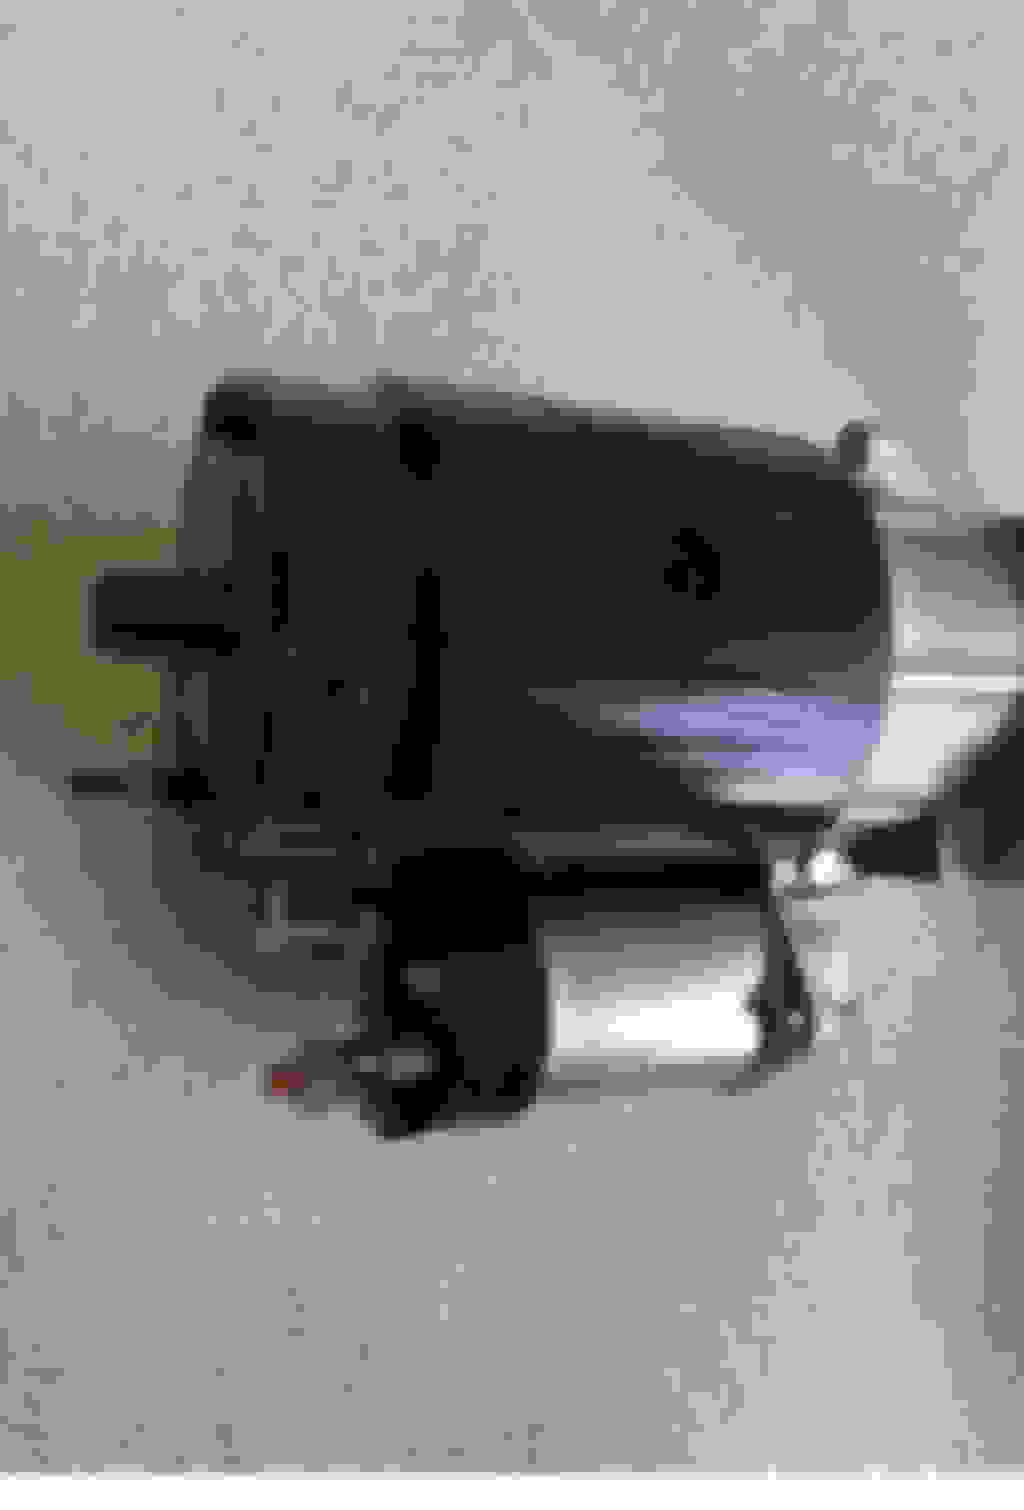
I was able to successfully locate an original 1108387 0 A 9 starter which will work since the car is 03/70. Some of the hardware for the solenoid is incorrect so I'll be addressing that.
Last edited by WTHIRTY1; June 17th, 2020 at 07:19 AM.
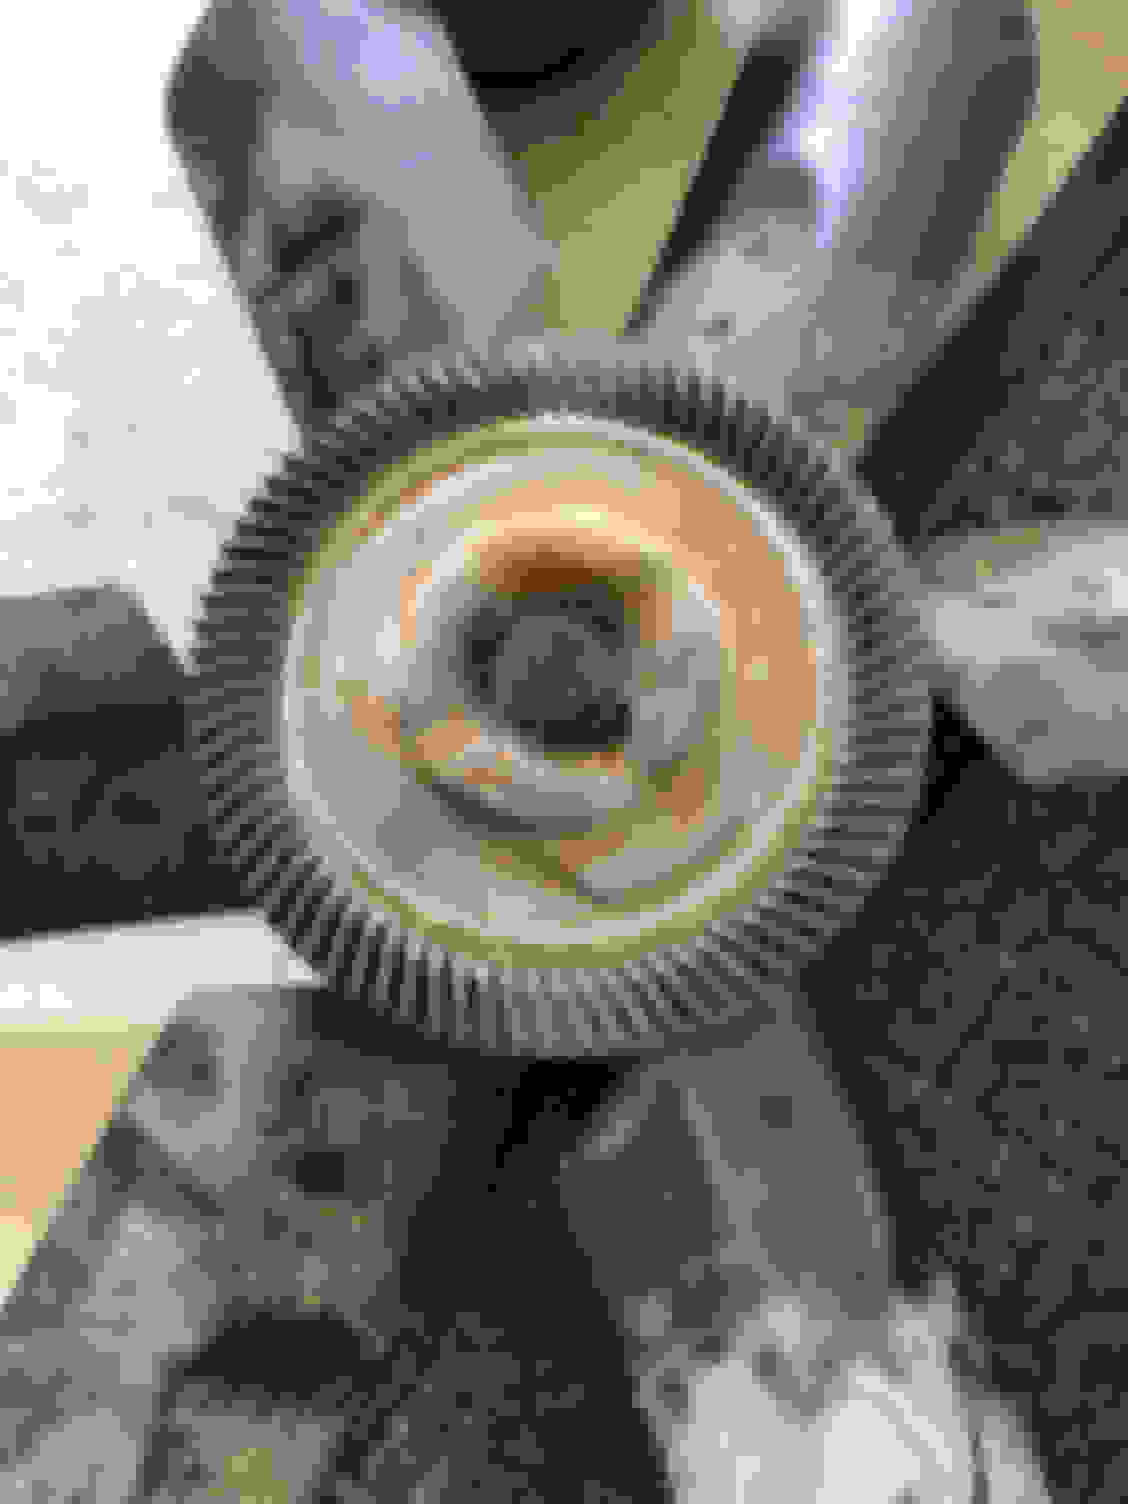
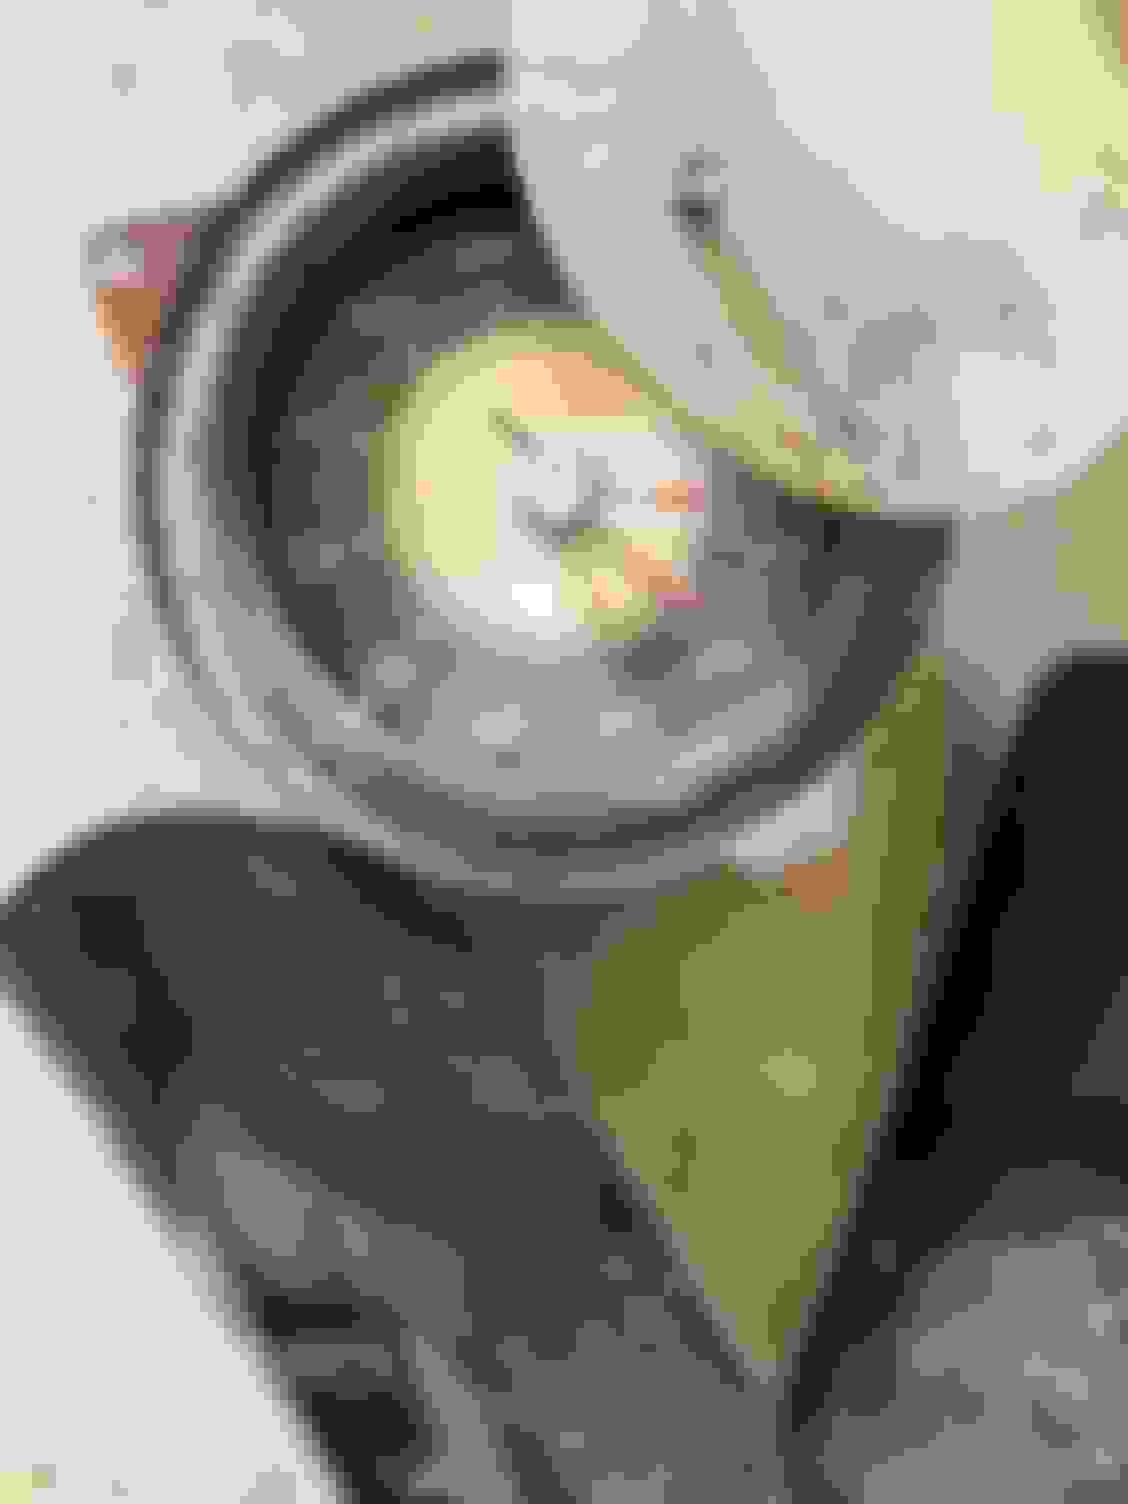
Not too much to share as far as progress this past week. Still waiting to get the frame back from the shop. Had a few cool items arrive this week. The first was a care package from the original owner of the car which included the factory fan and OU fan clutch. He also came across the original clock and packaged that up, too.
Drill out the old bushings from the metal shell. The use a punch/chisel to collapse the metal shell. Punch out the metal shell and ready to install new ones after cleaning up the control arms.
Ball joints removed on the upper and lower control arms. Has anyone tried the bolts Inline carries for the ball joints where the top looks like a rivet and the bottom has the nut? If so, how do you get them tight?
Drilled out the original rivets.
Last edited by WTHIRTY1; July 2nd, 2018 at 08:51 PM.
Great find! Along for the ride. Keep up the good work! My Twiligjt Blue 442 was just painted. It is an awesome color!
It's definitely a sweet color combo with the twilight blue paint and light blue interior. With that being said, I'm definitely not looking forward to the 50 shades of blue interior paints / dyes.
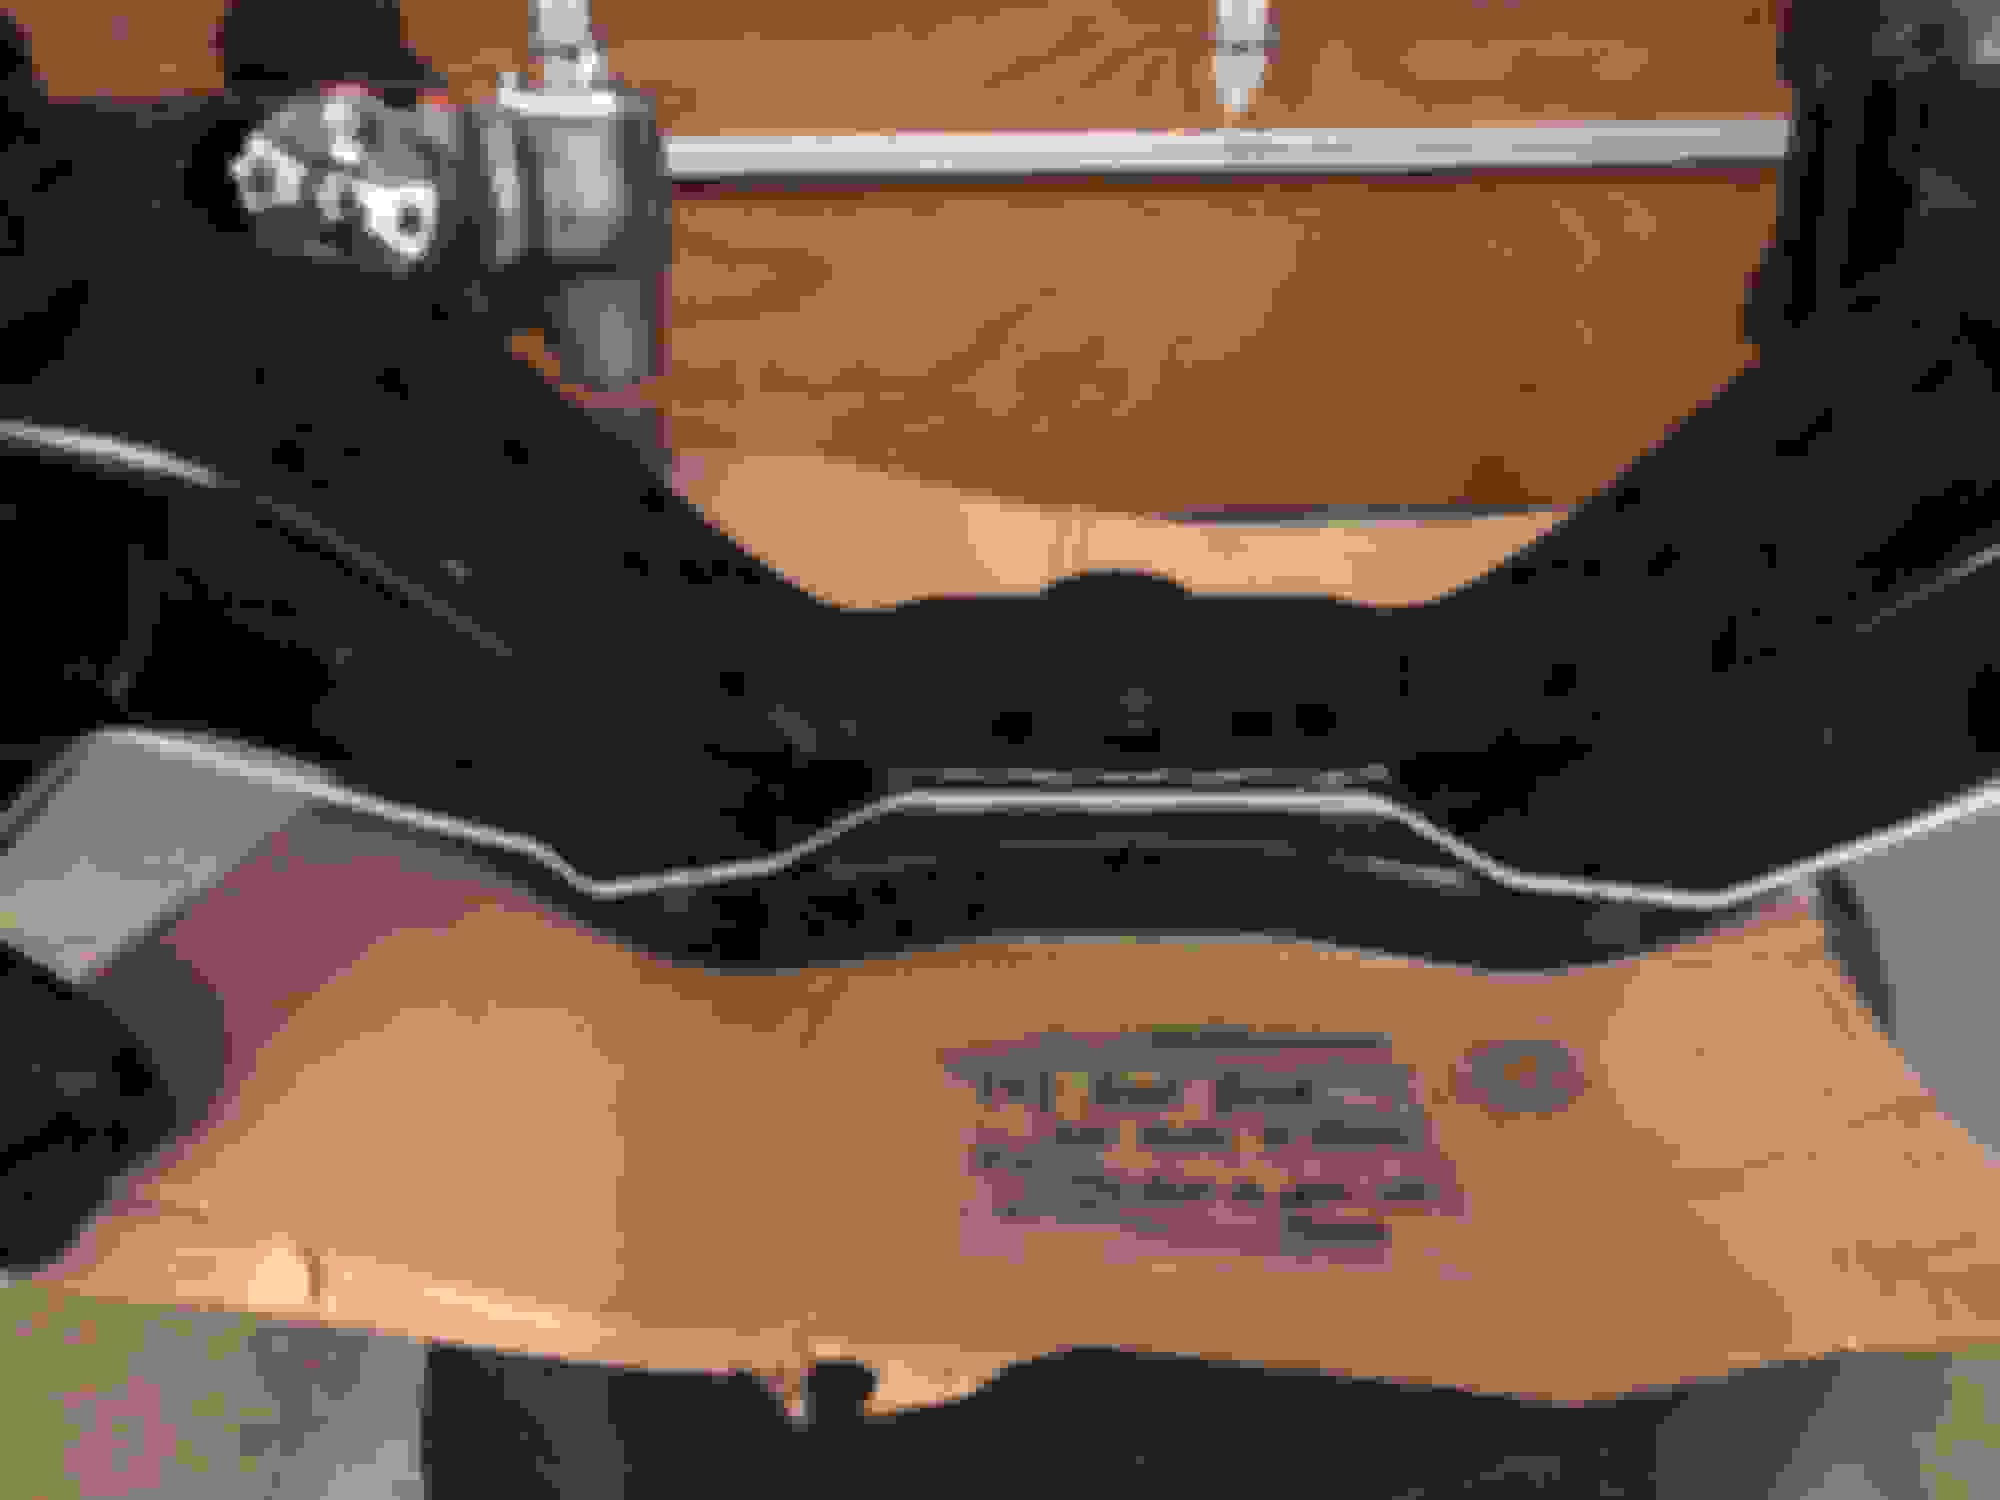
I cleaned up all four crossmember bolts, and three of the four have the same head markings and the fourth has the ‘TR’. Which is correct?
Answered my own question after combing through the AMK catalogs. The correct bolt head marking is 'TR' for the crossmember bolts. Also, interesting to note the PIM reflects the bolts and nuts as being installed with the nut above OR below. My 12/69 W-31 has the nuts on the bottom and this 03/70 W-31 had the nuts on top.
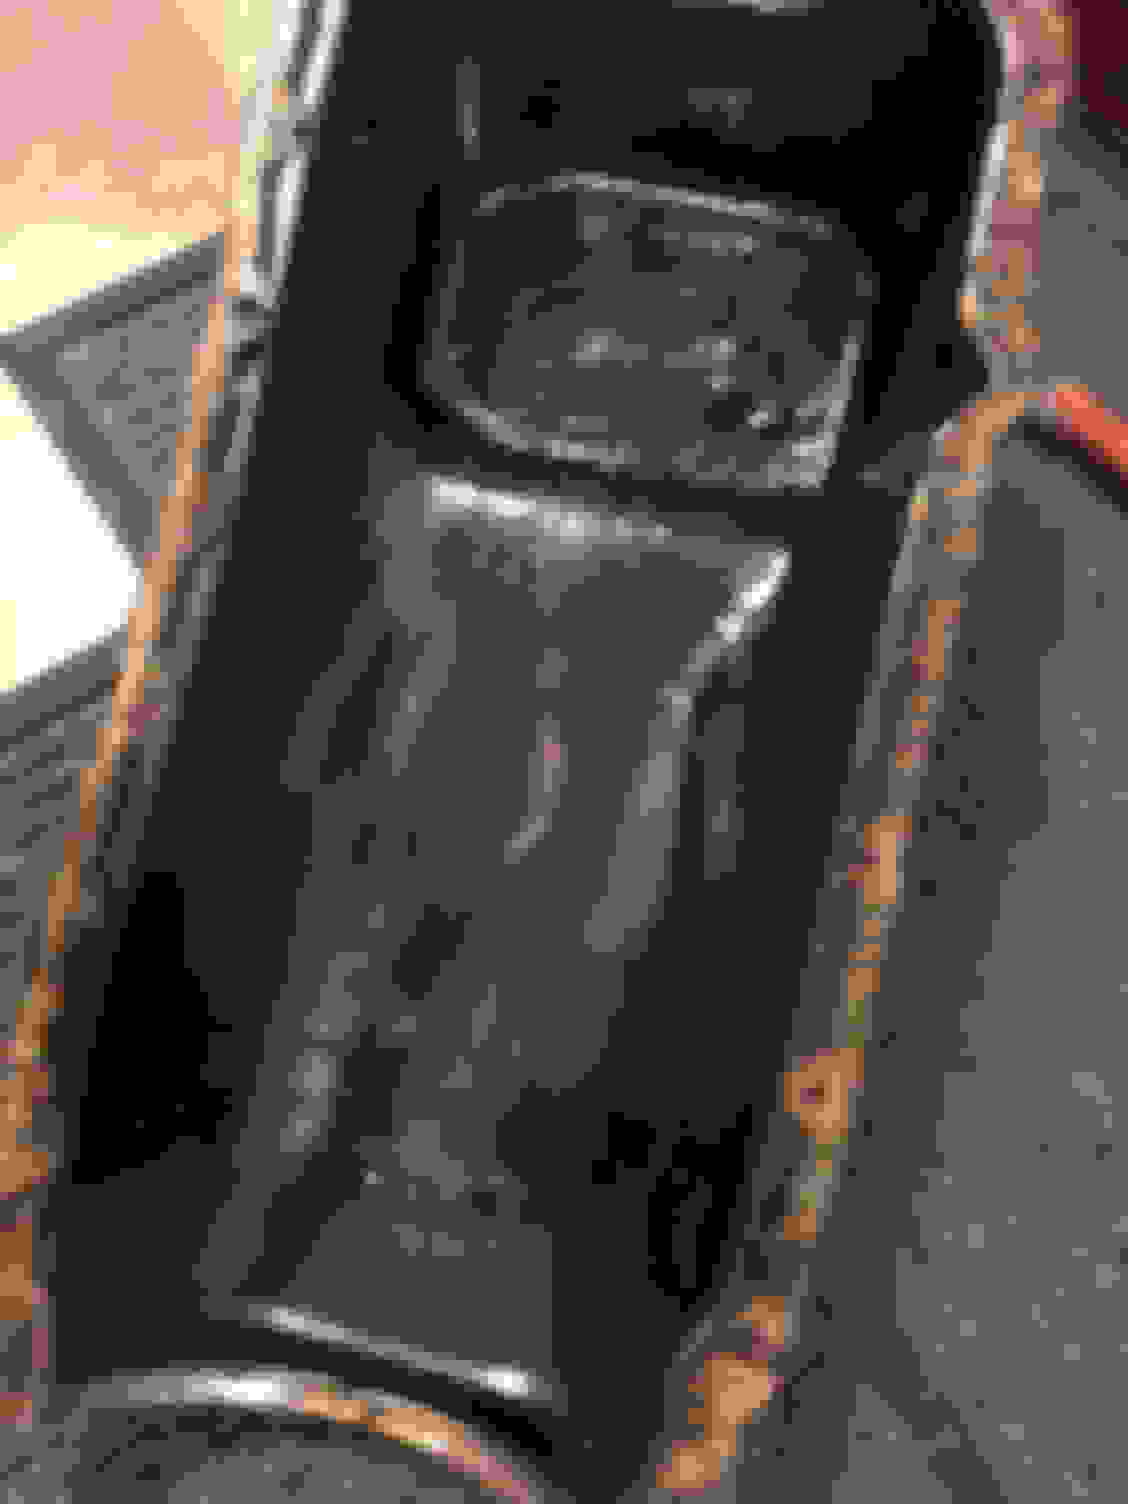
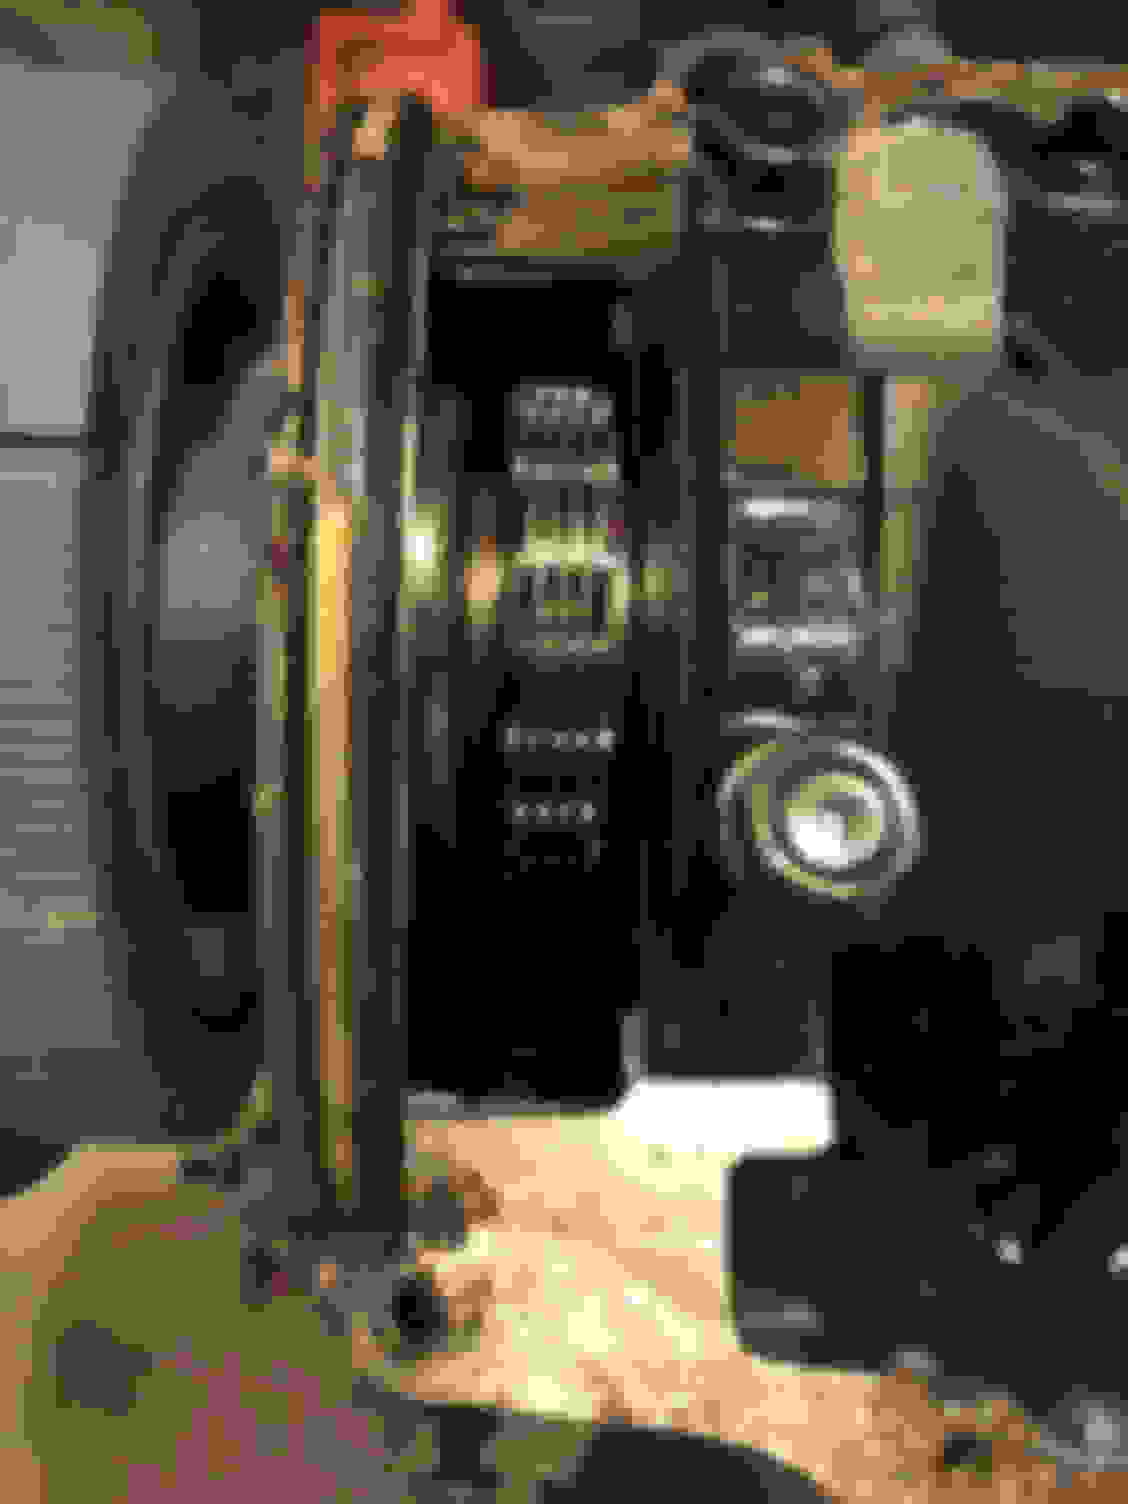
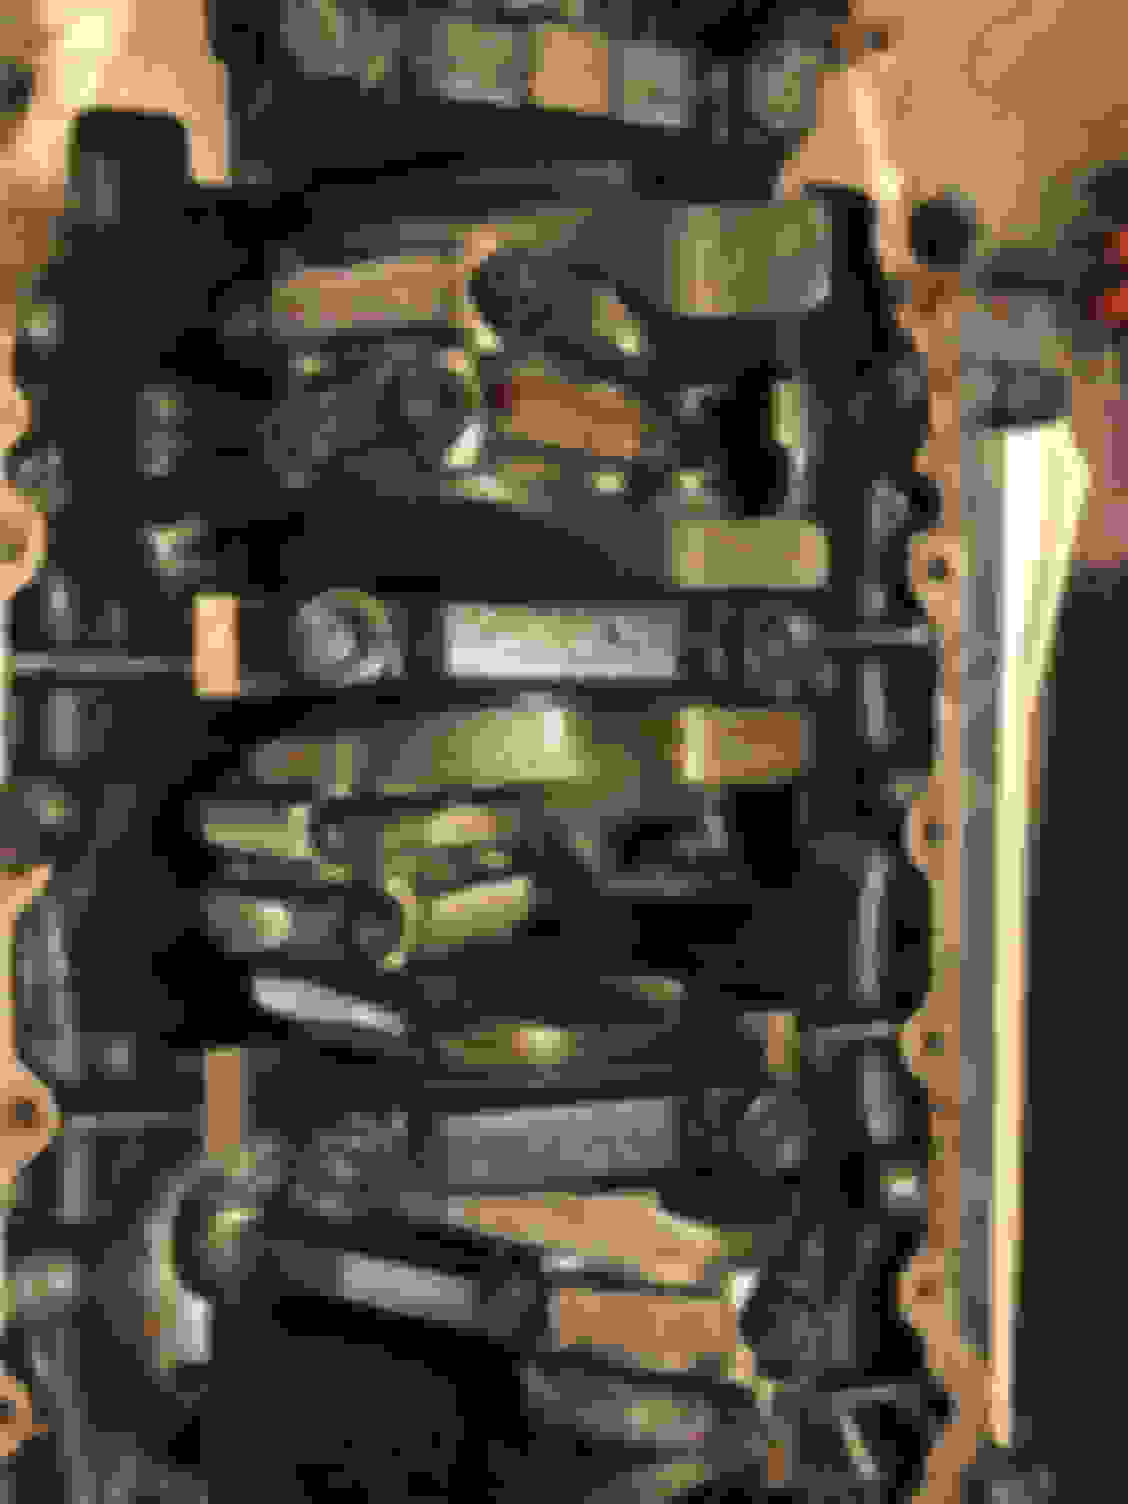
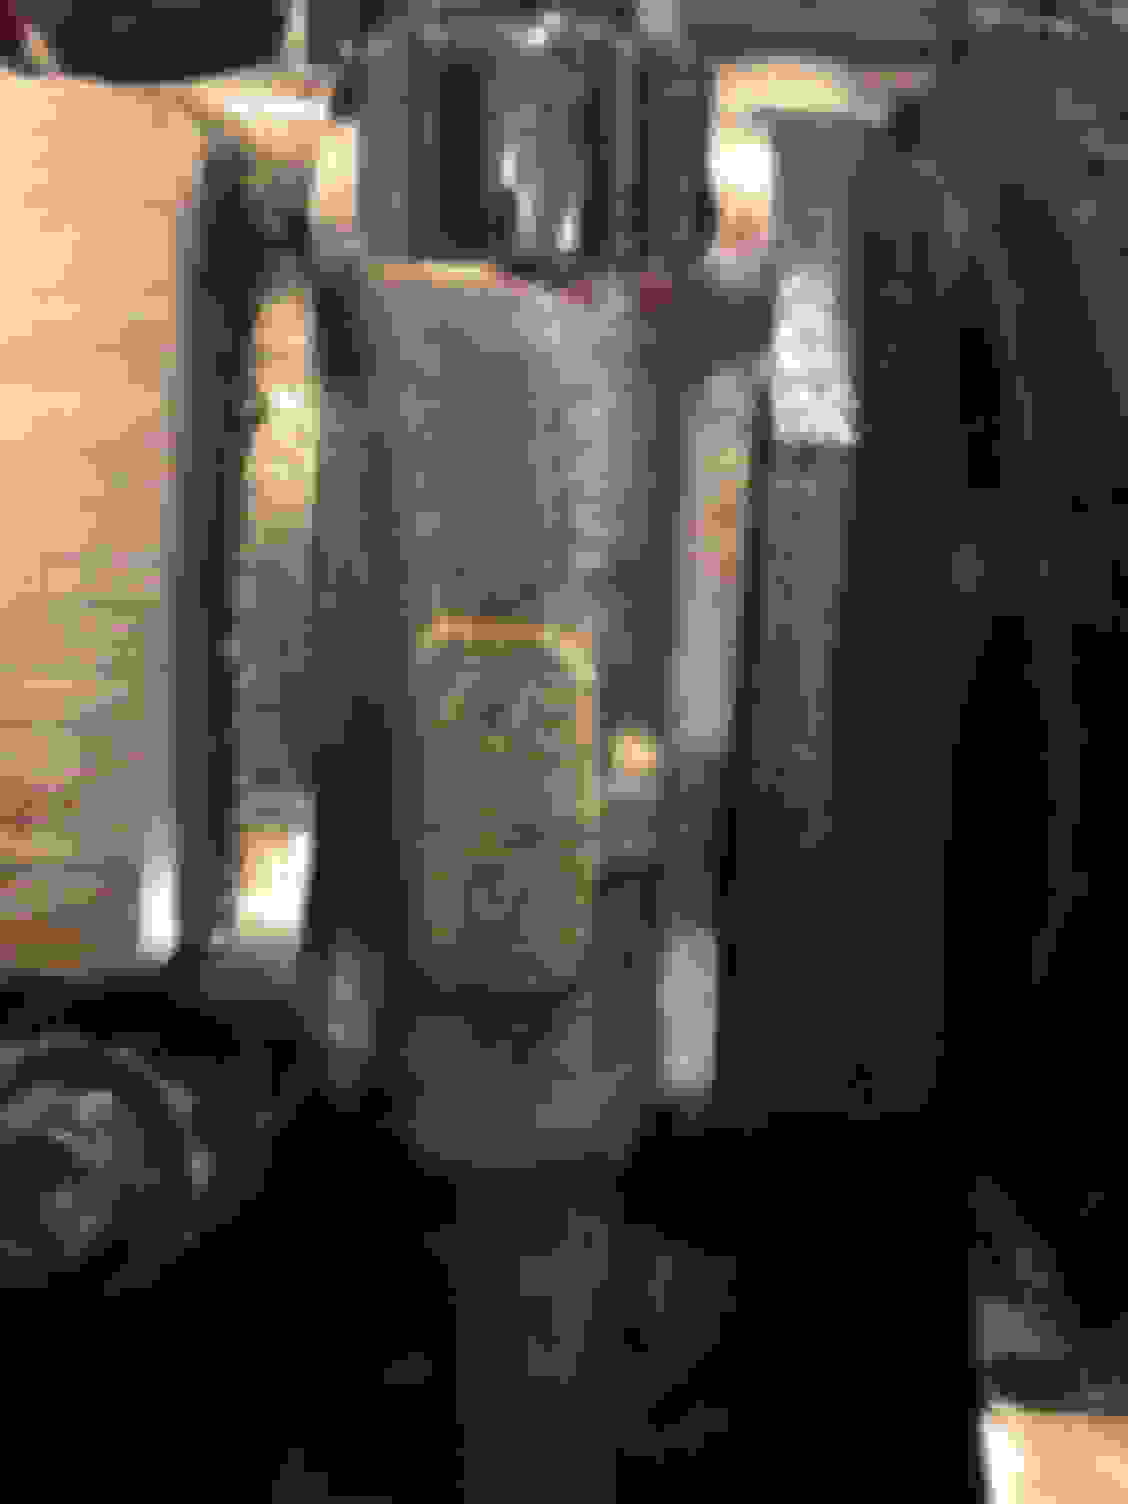
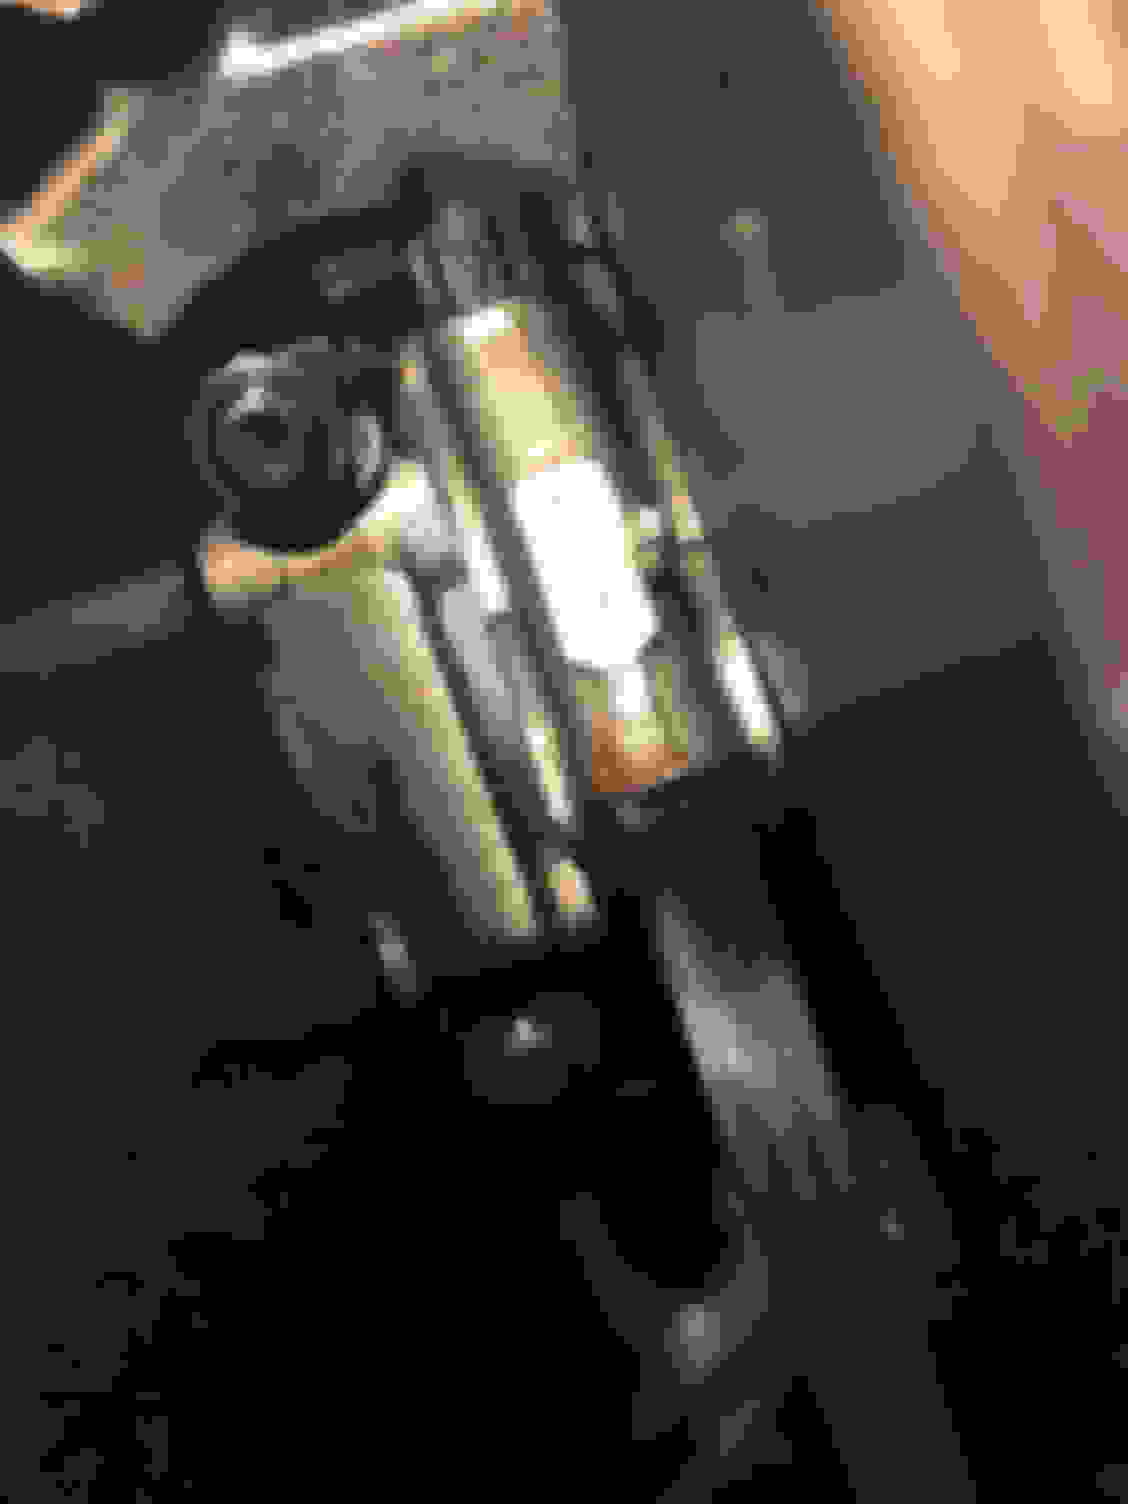
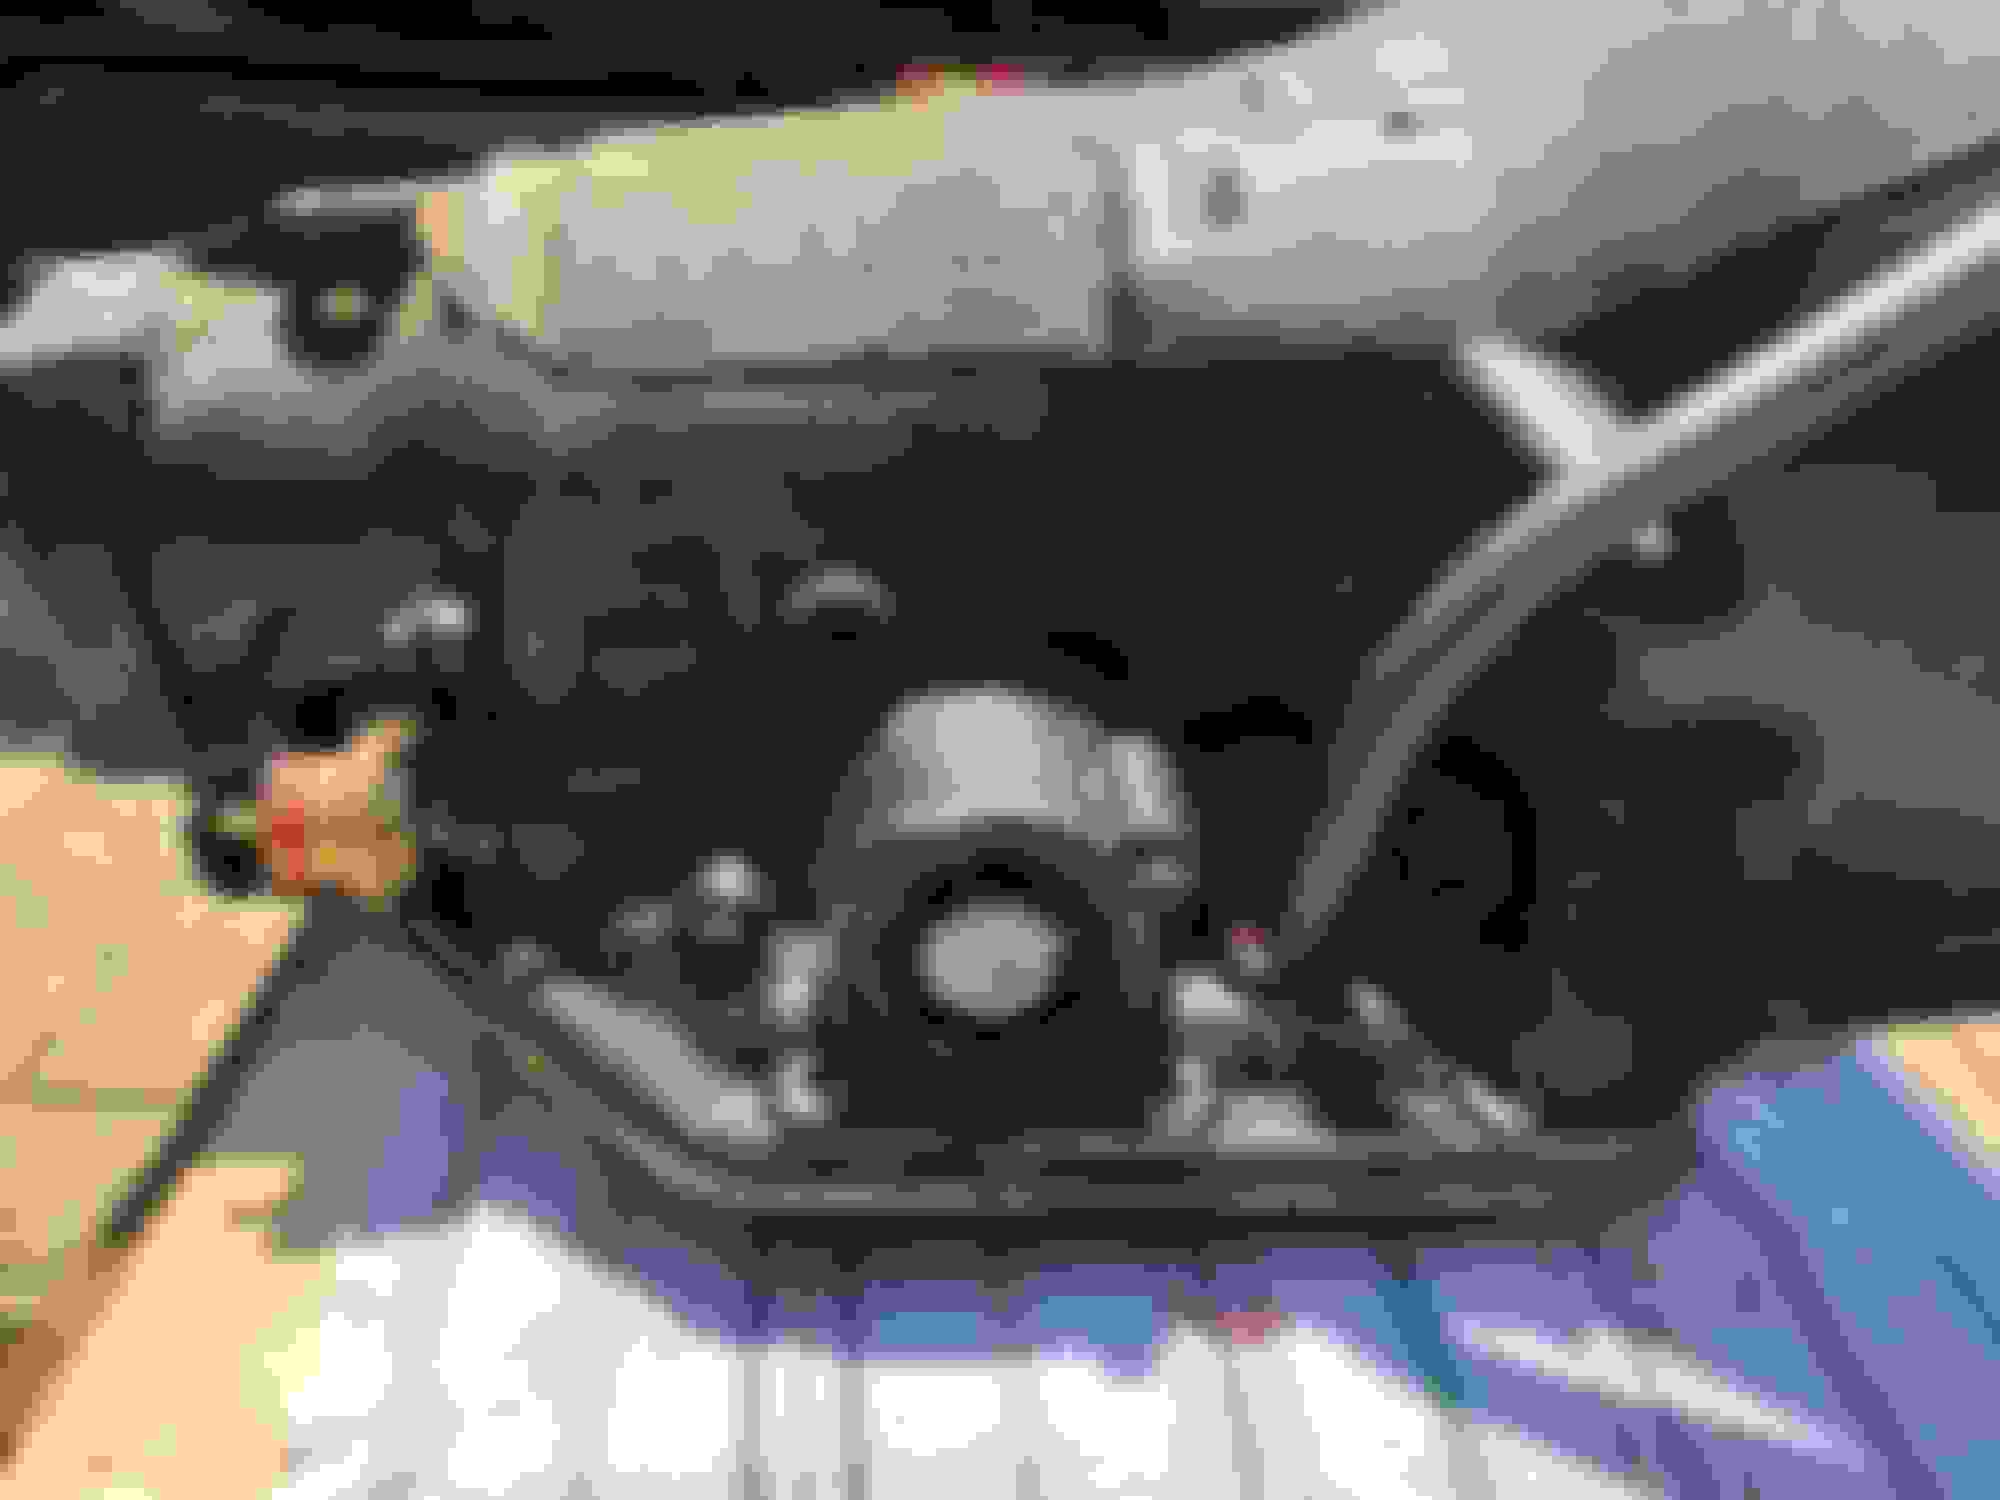
I had an opportunity to pull the oil pan last night. The engine was pulled in 1979 for a rebuild (and a coat of blue paint), and has just 4,000 miles over the last 39 years. From the original owner, the engine was blowing a bit of smoke so he opted for a rebuild. Despite the bottom of the pan looking a bit beat up, everything appears to be clean. I’m asking this group to take a look at the pictures and let me know if anything jumps out. I’m not sure what was included in the rebuild, outside of replacing the 194 cam with a Lunati cam, and I'm hopeful I won't need to tear this thing down. It looks like the crank has a ‘229’ Julian date stamped on it.
Last edited by WTHIRTY1; July 11th, 2018 at 10:55 AM.
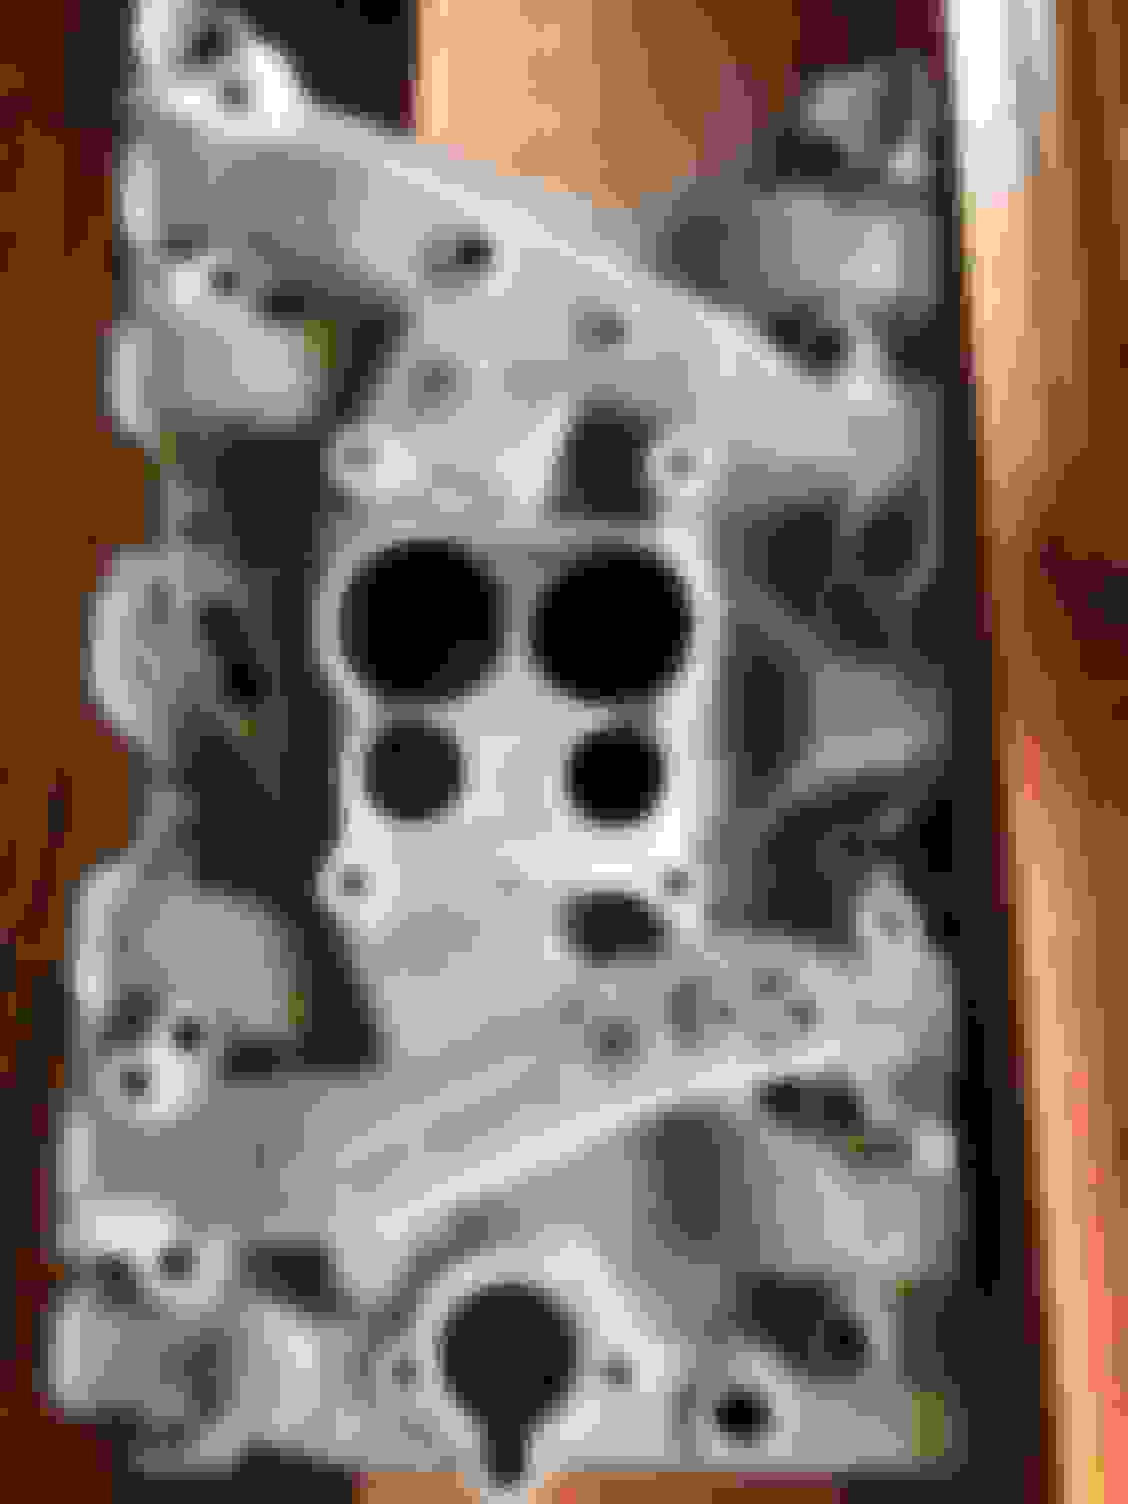
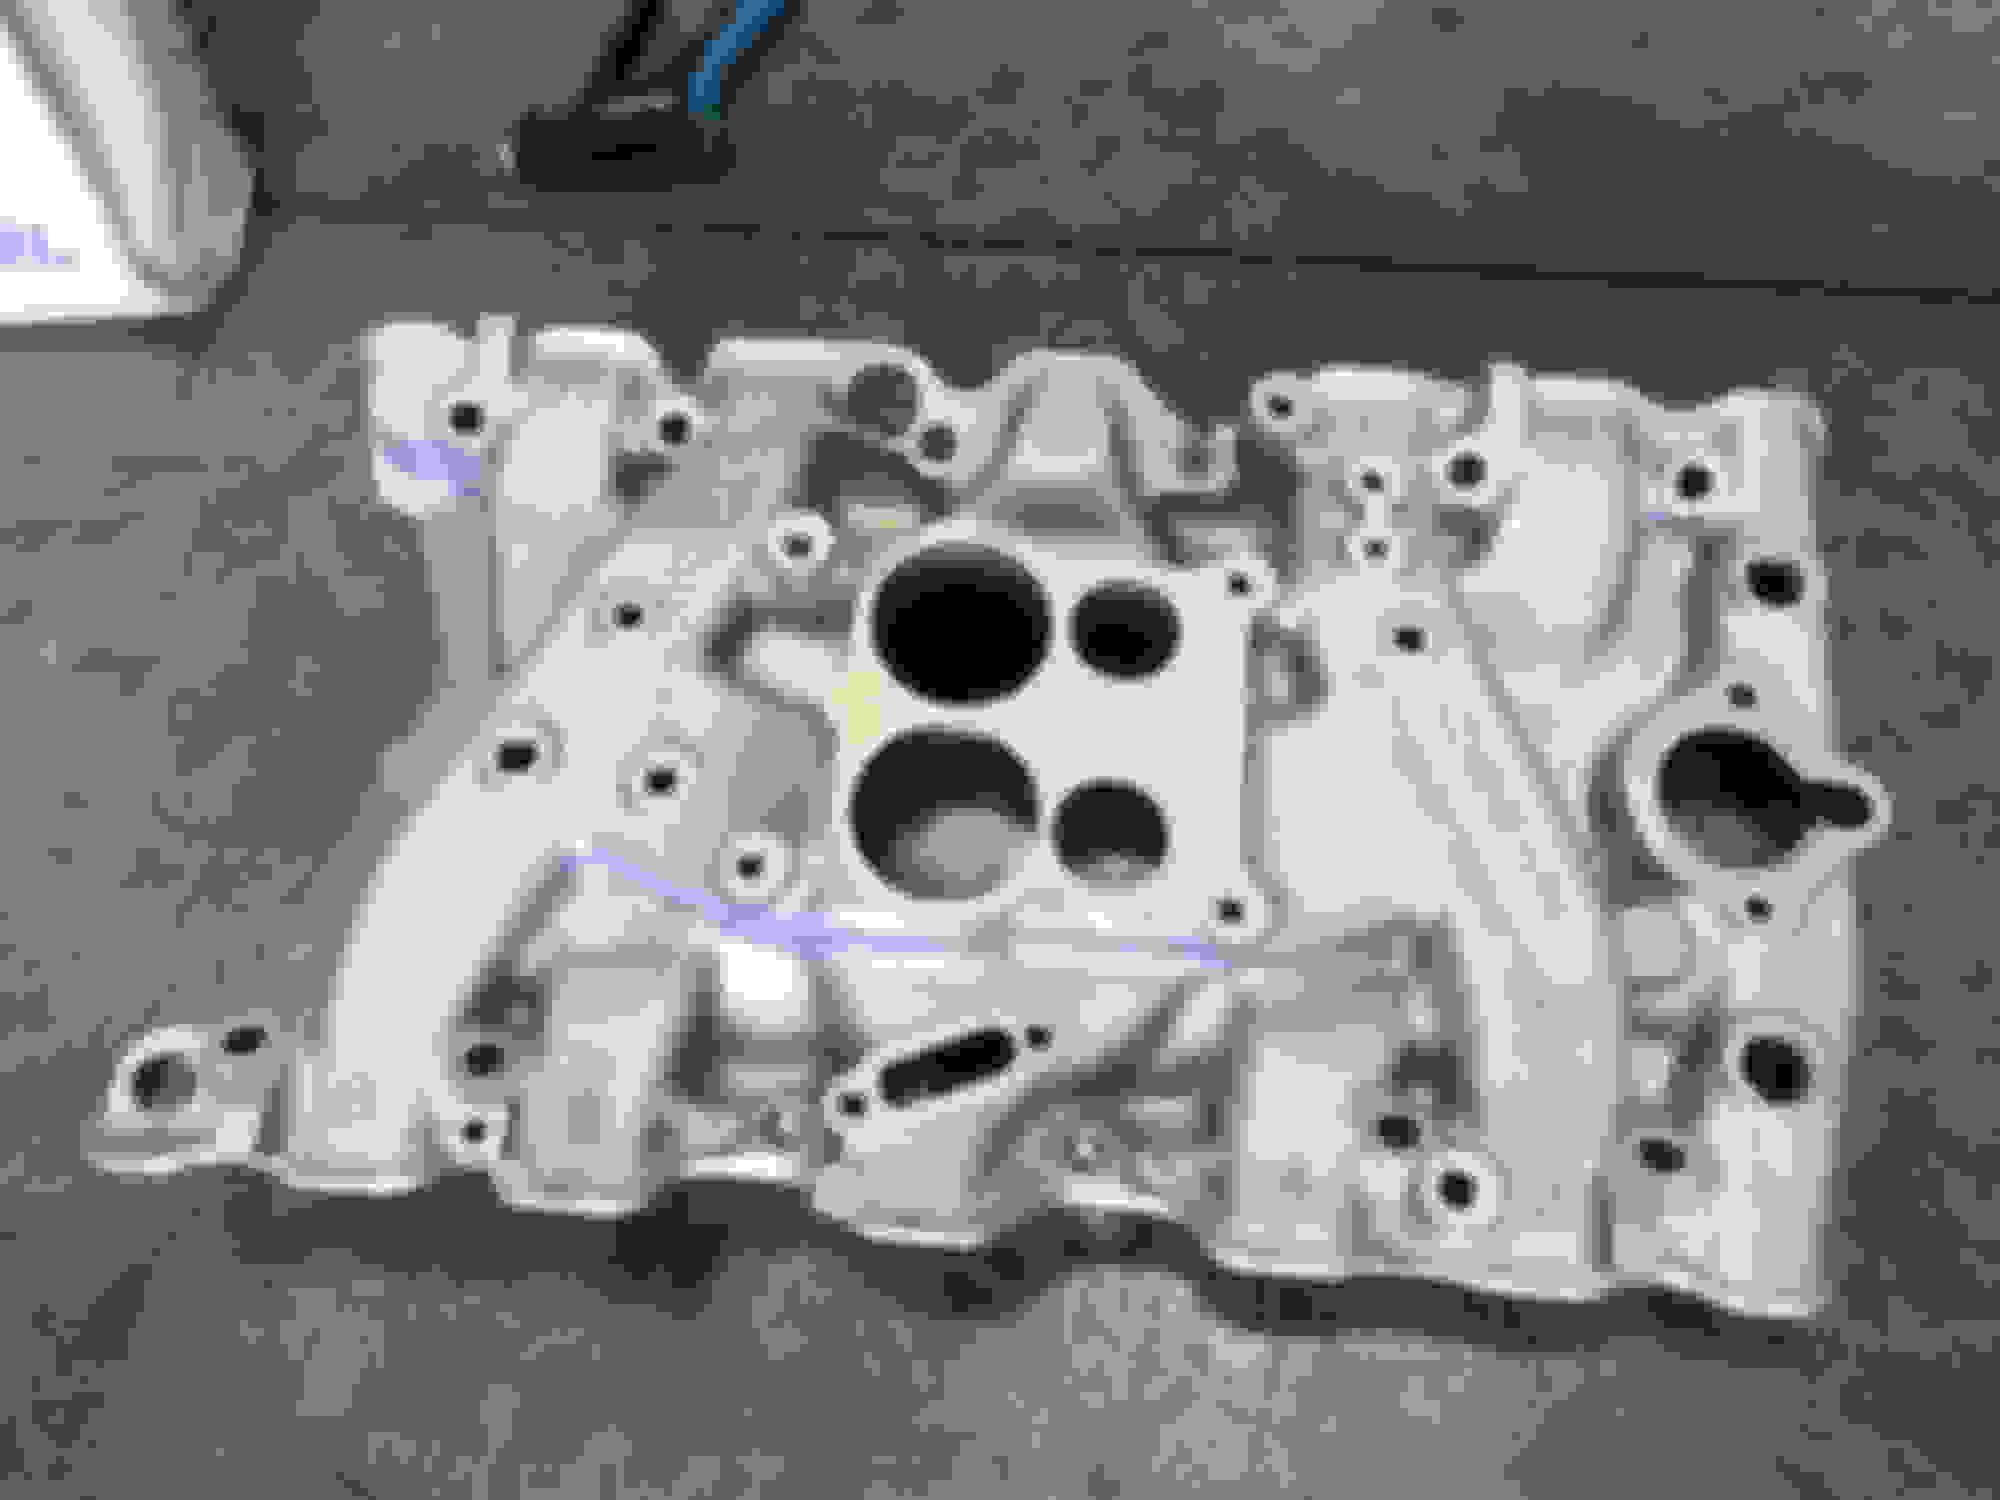
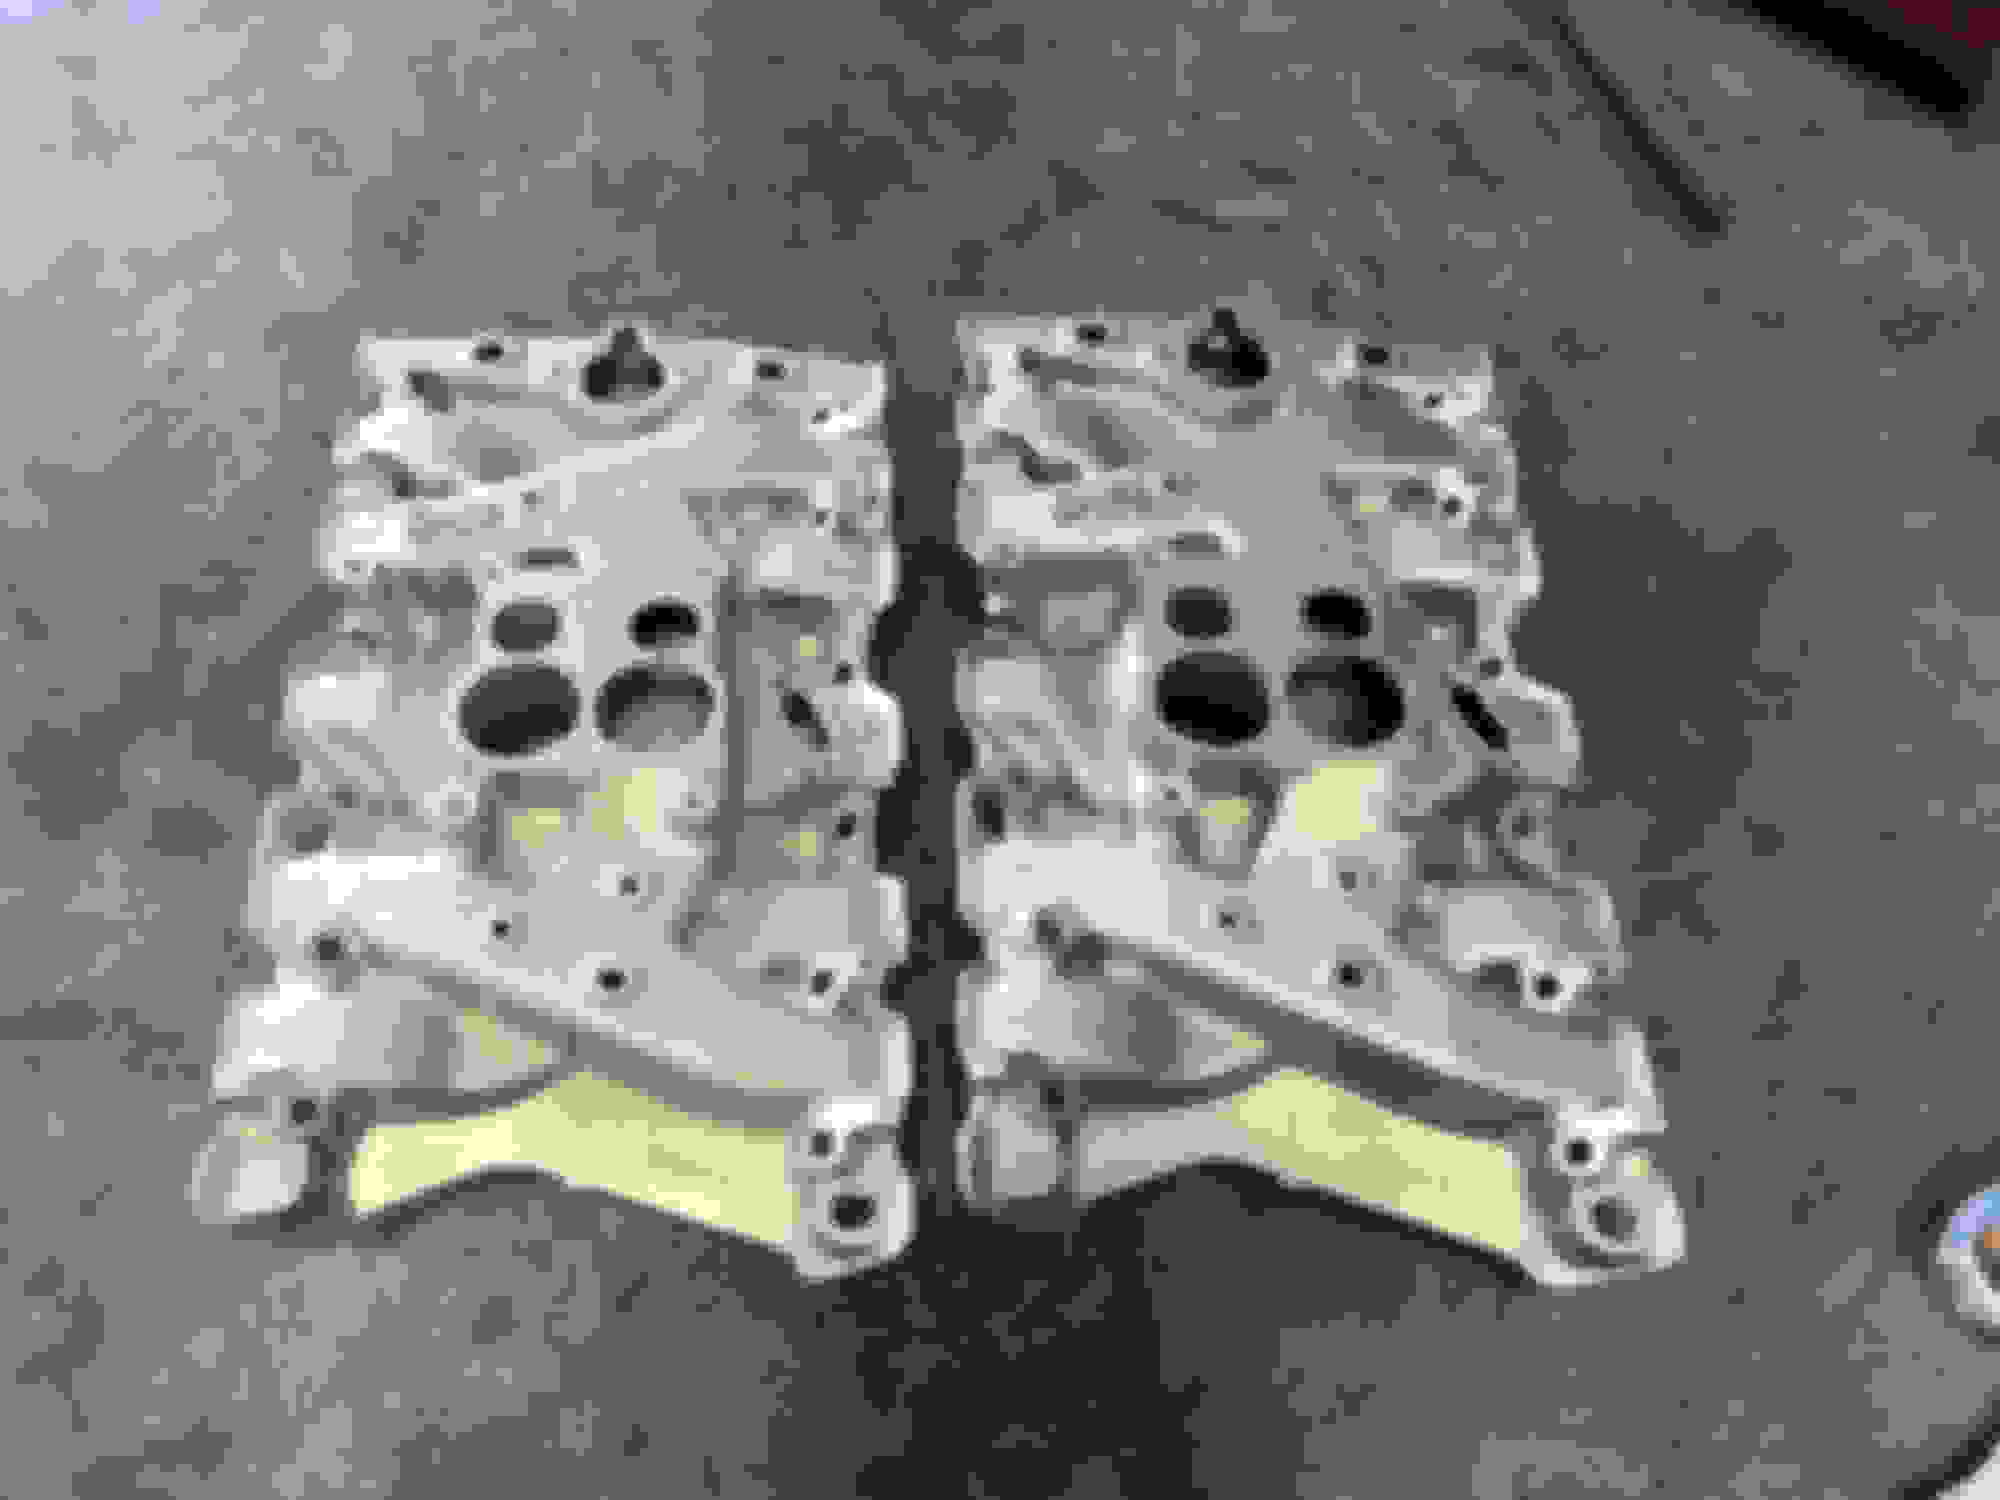
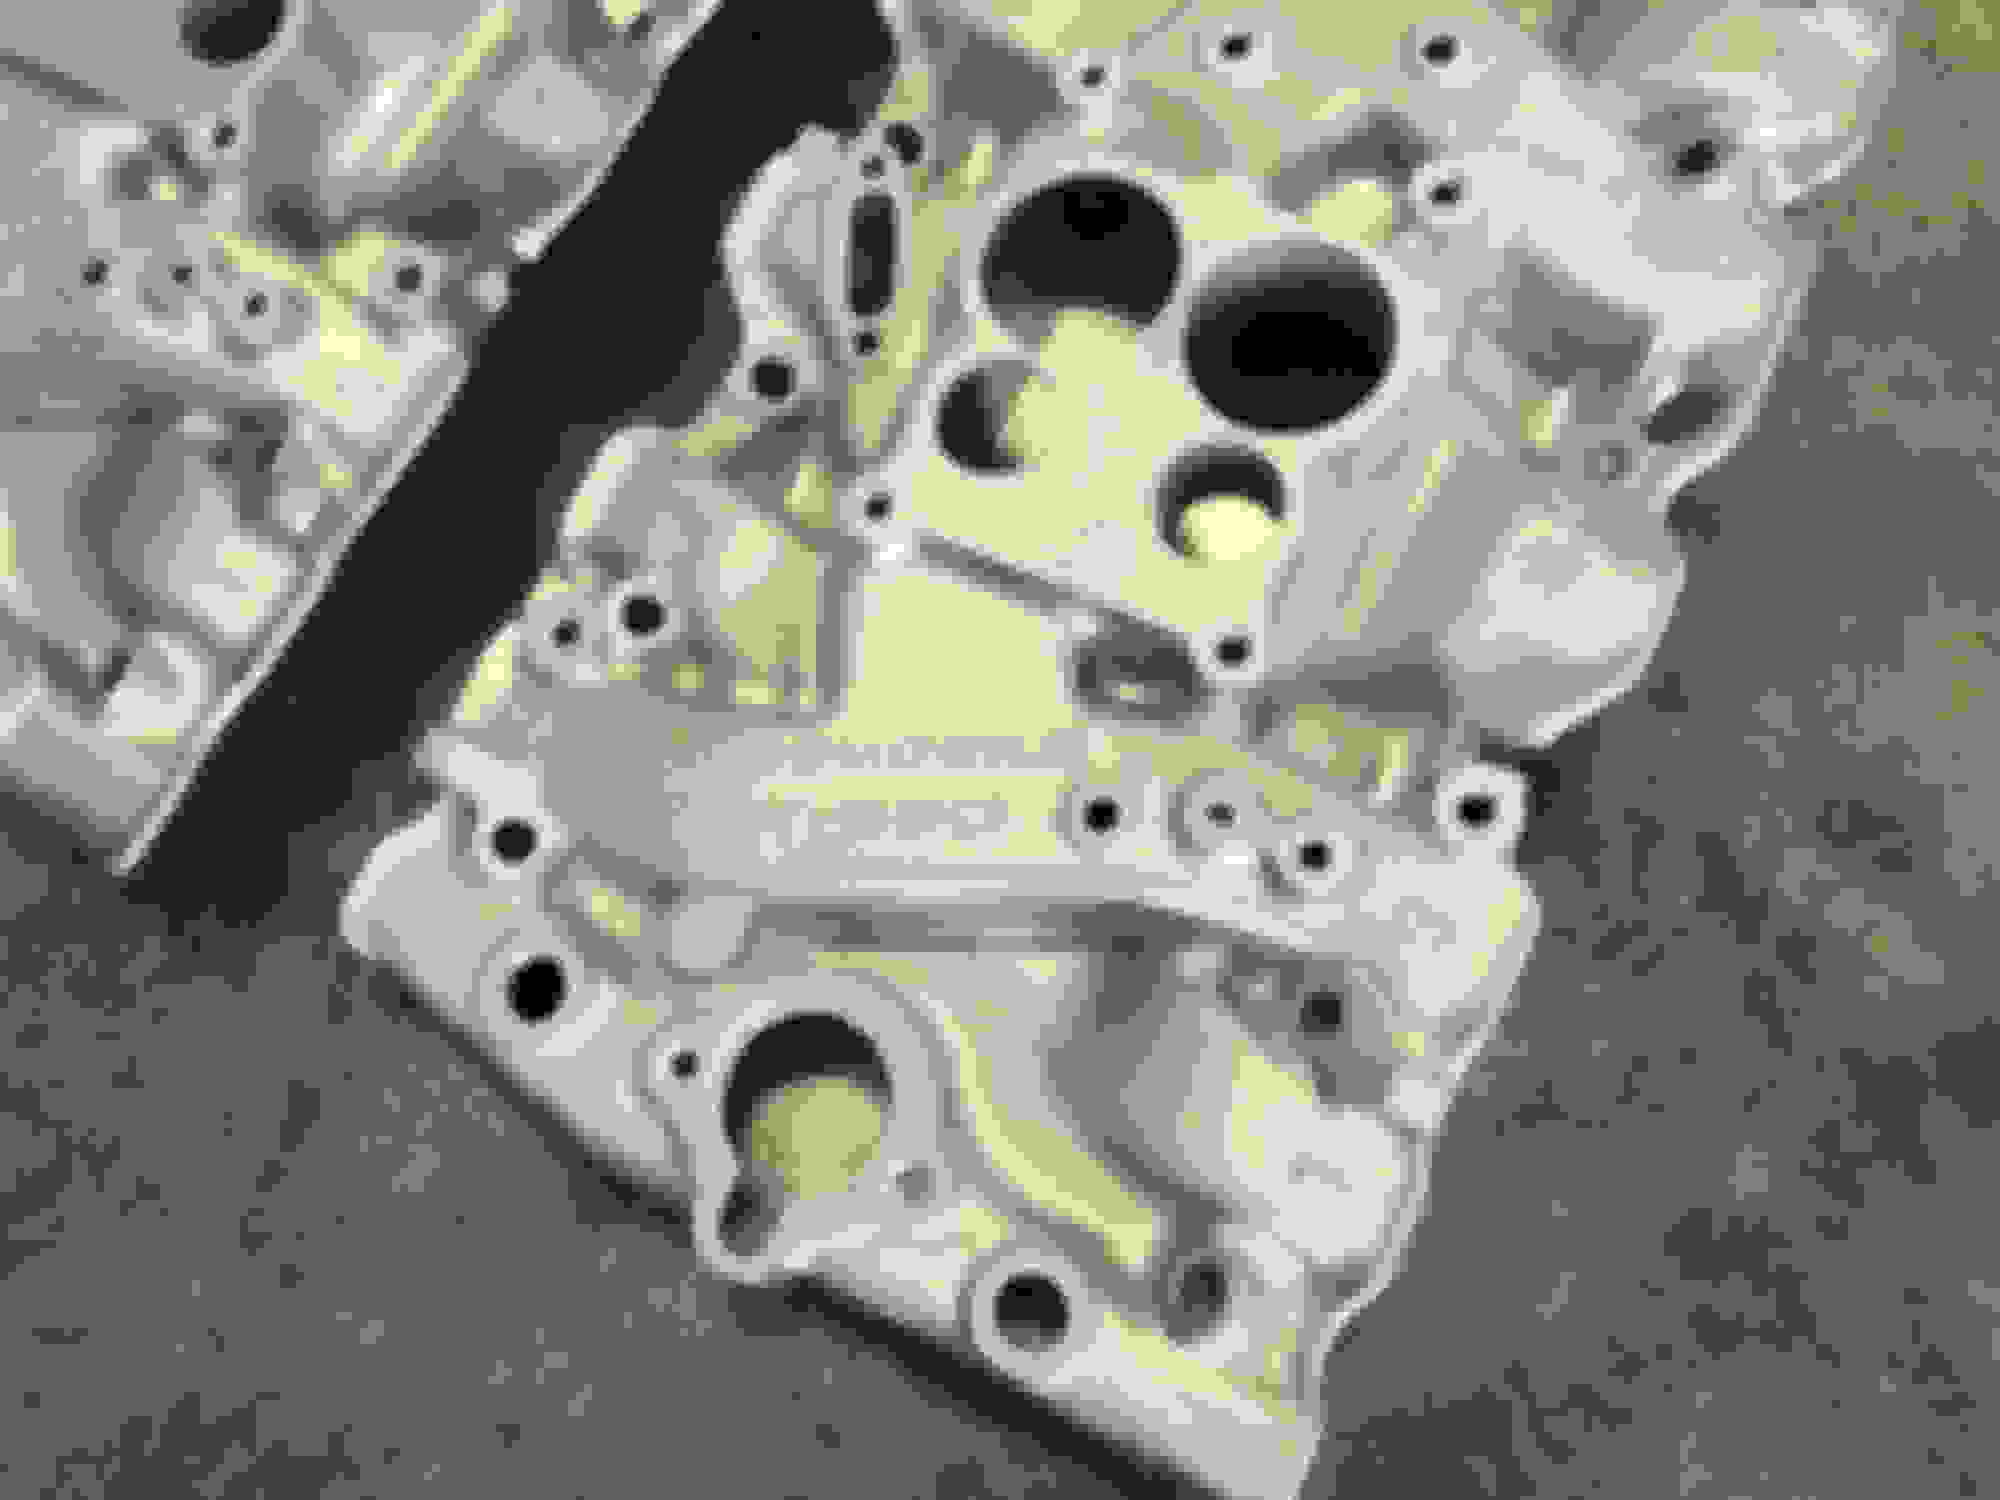
Dropped off the original W-350 intake manifold, along with a spare intake, to be vapor blasted. I wasn’t as familiar with this approach as say sand blasting or glass beading, but I have to say this turned out awesome! I used a shop called Vapor-Shine located in the Naperville Iron Gate Motor Condos and am very pleased with the results.
Last edited by WTHIRTY1; July 13th, 2018 at 05:54 AM.
Still waiting for the frame to be completed. In the interim, I took the matching numbers JO trans over to the same shop that cleaned up my intake. Looks like original owner slapped a few coats of paint on the trans over the years. The trans was rebuilt back in 1982 (shop still exists in Cleveland!), but I’ll be finding a local shop to go through it. When I called the number on the vintage receipt for the trans shop, they told me I was lucky to have the original trans still. They said back in the day that instead of rebuilding a Turbo 350, they’d just swap another unit in its place and keep the original as a core.
Last edited by WTHIRTY1; July 20th, 2018 at 09:26 AM.
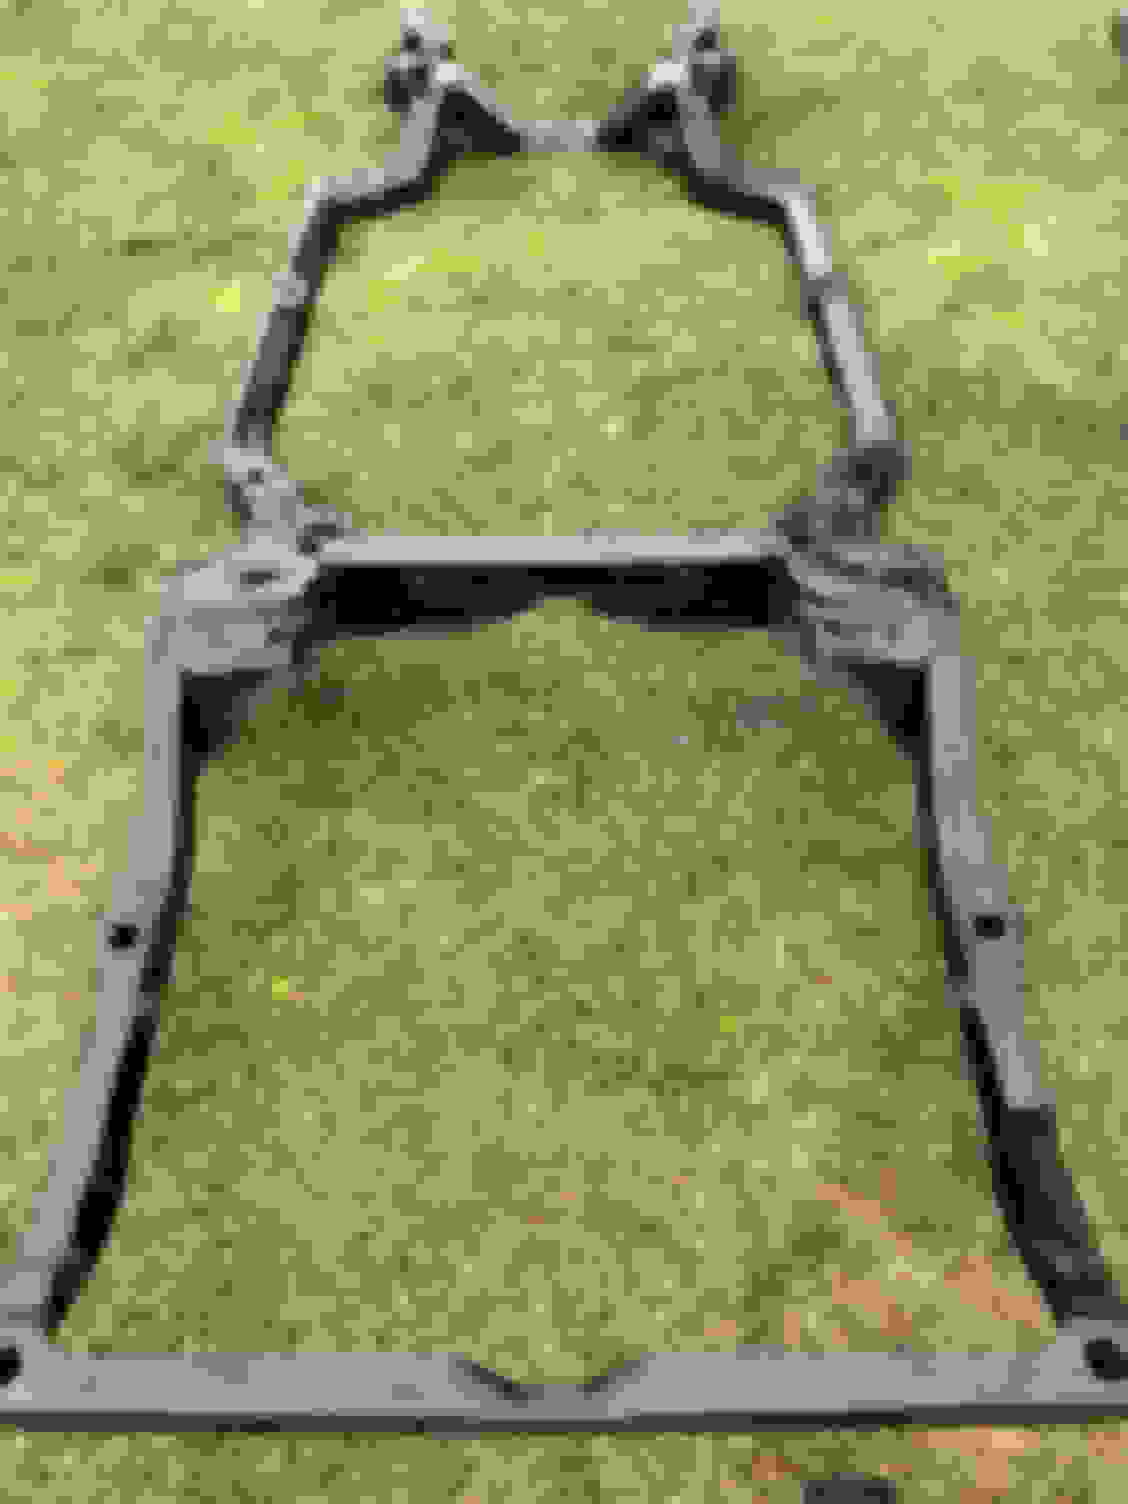
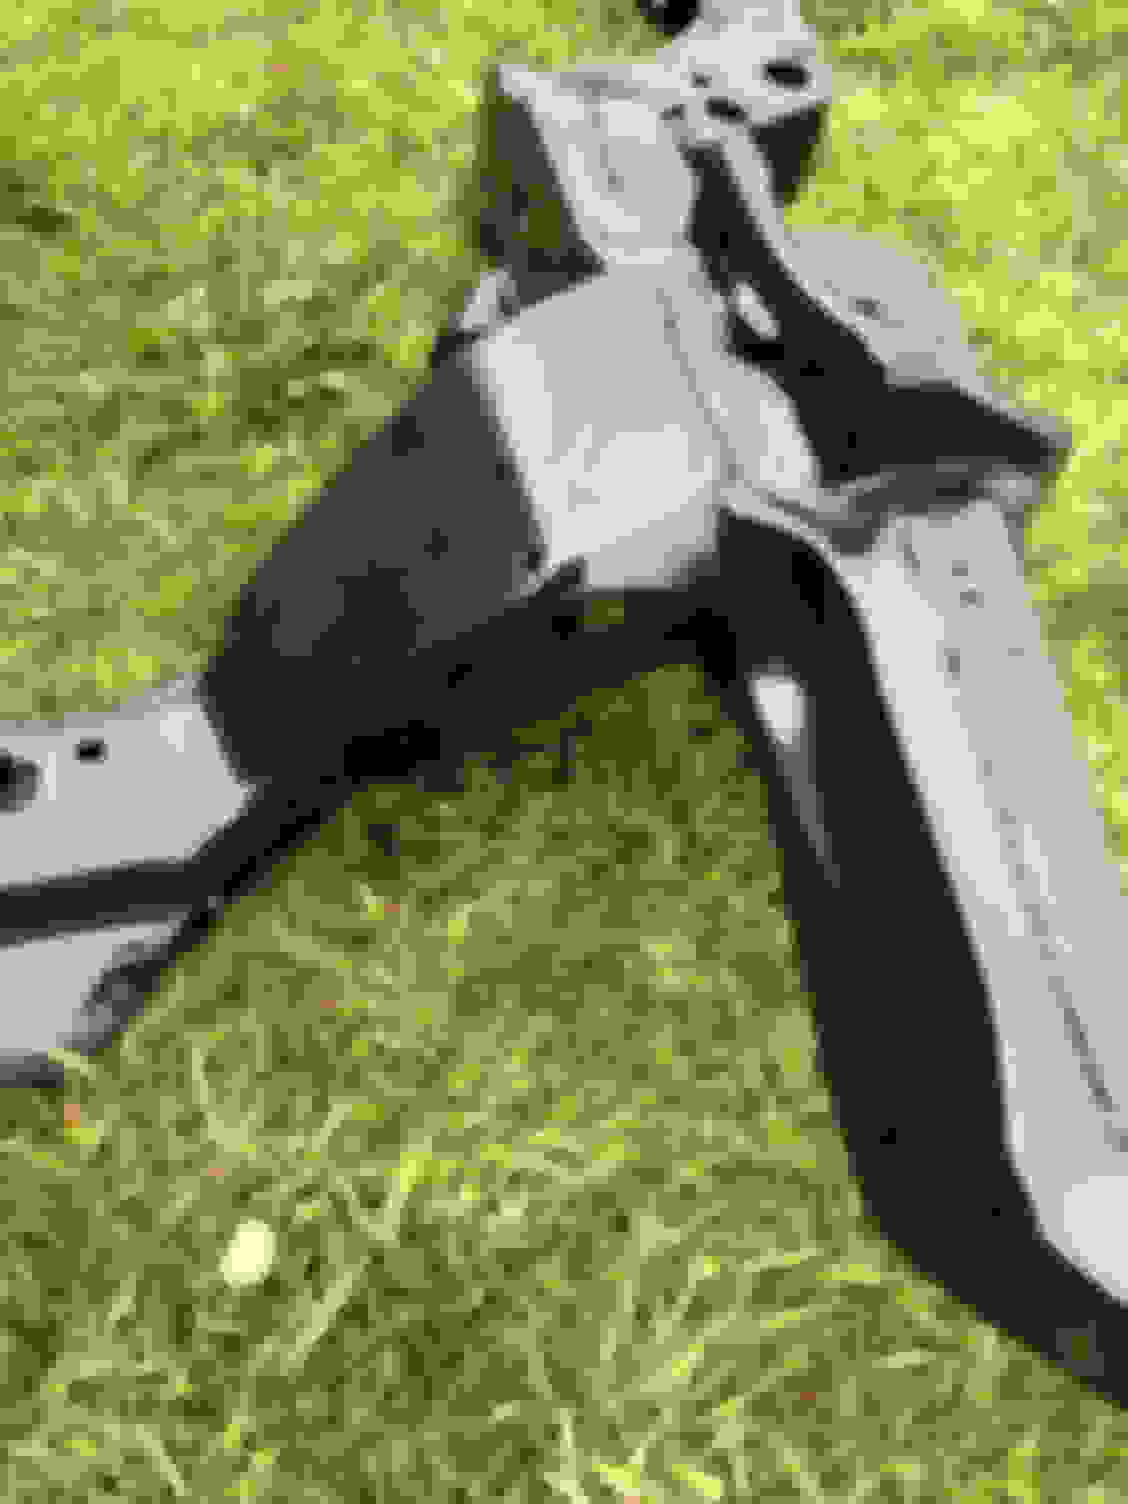
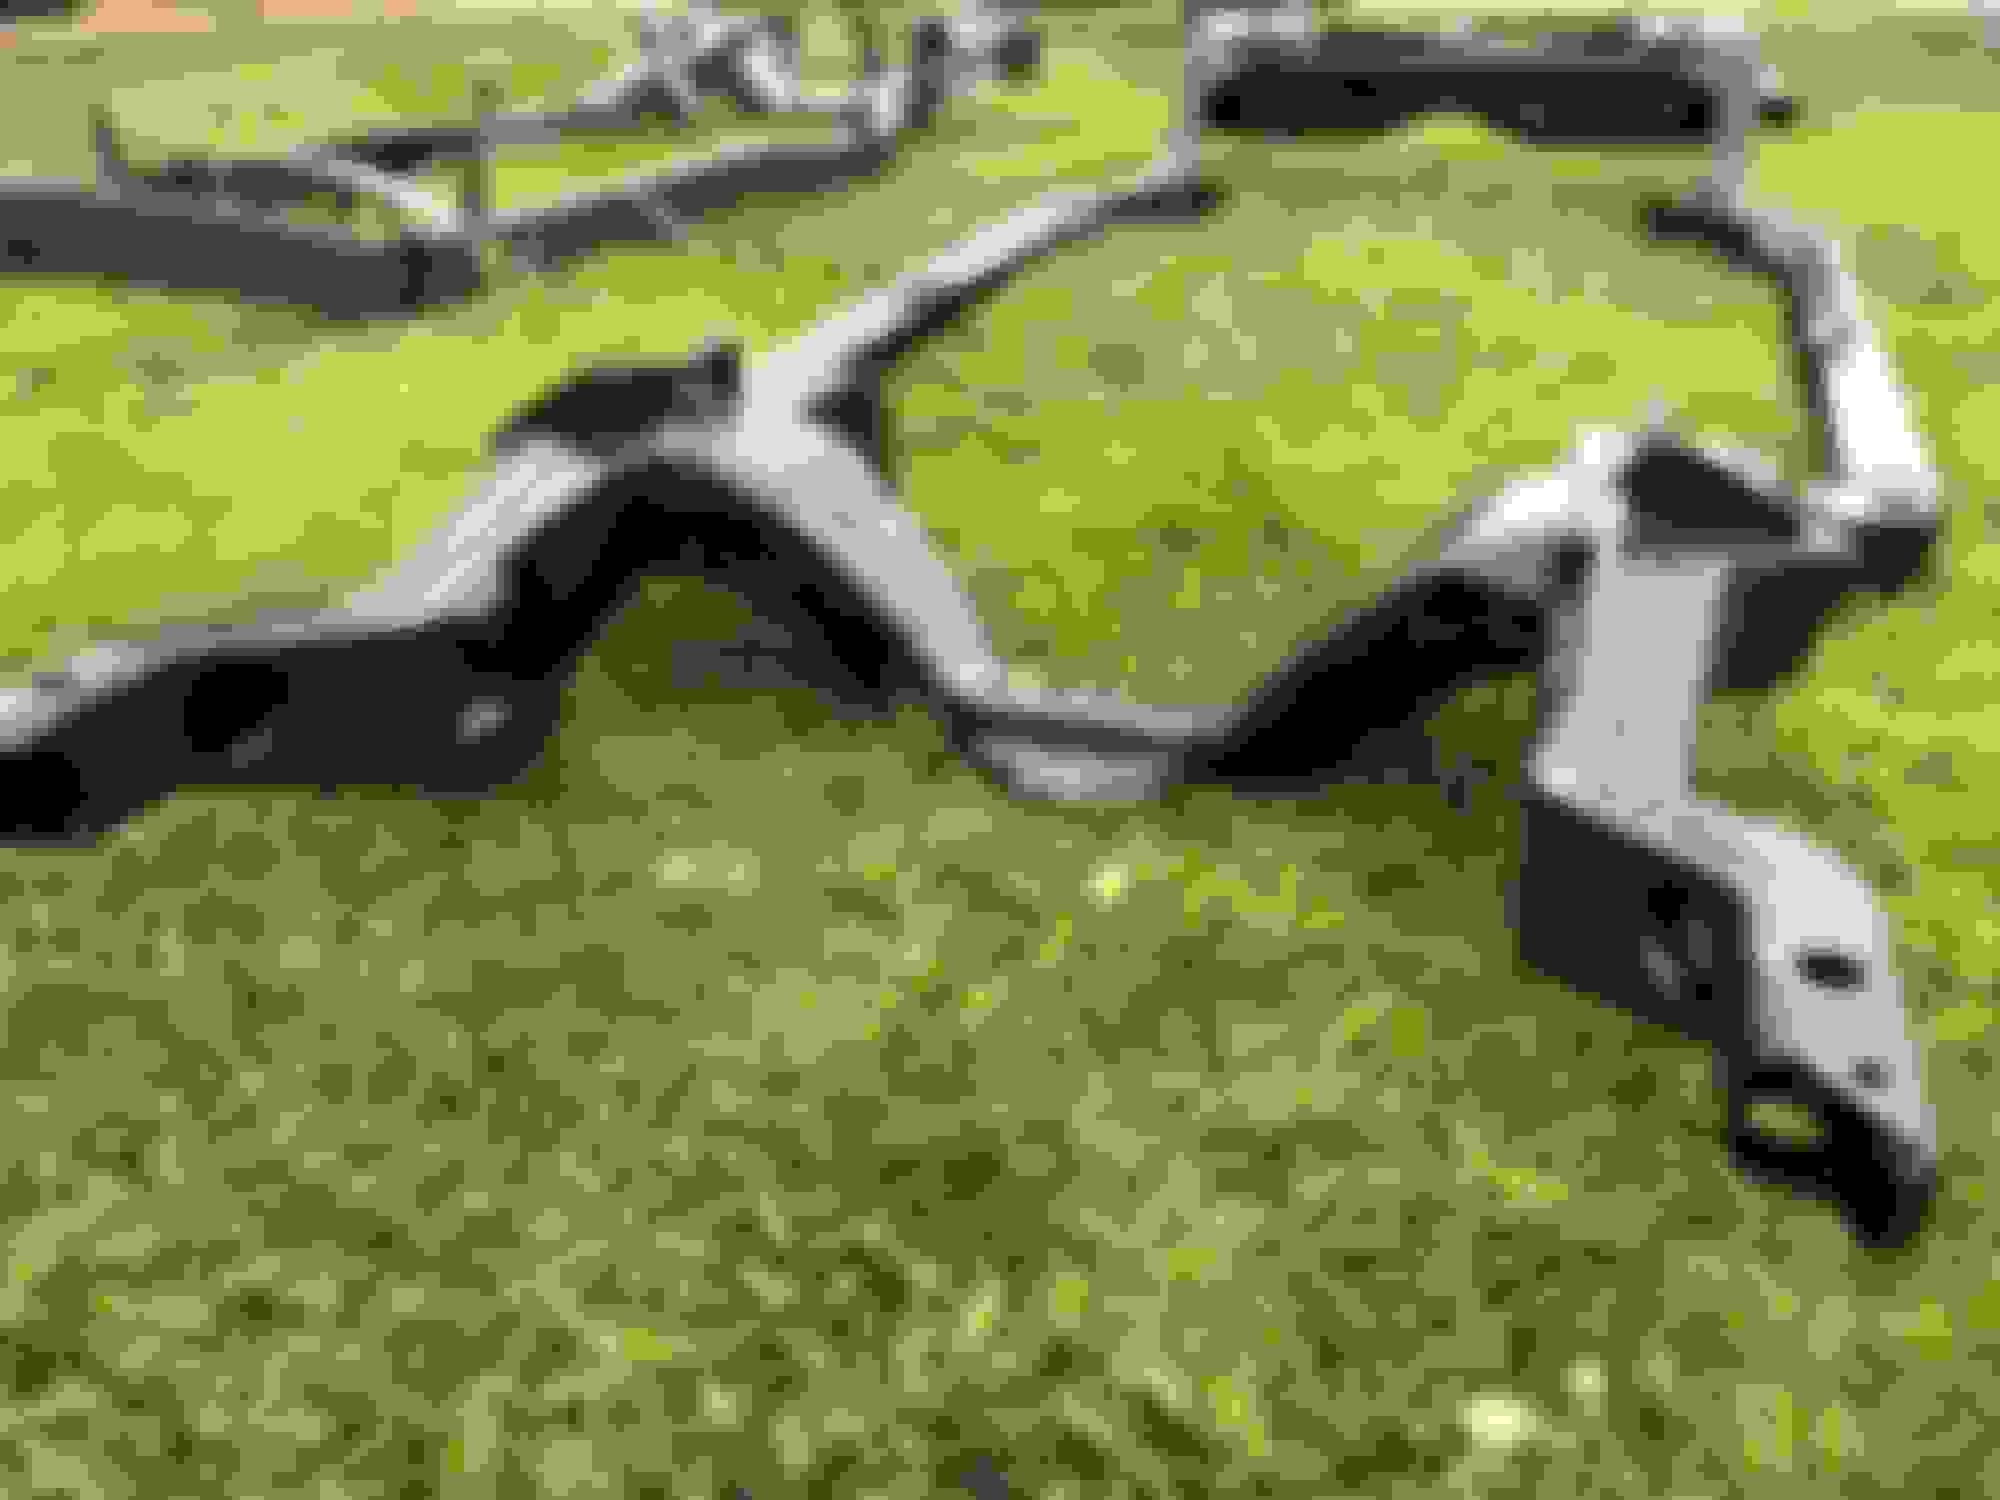
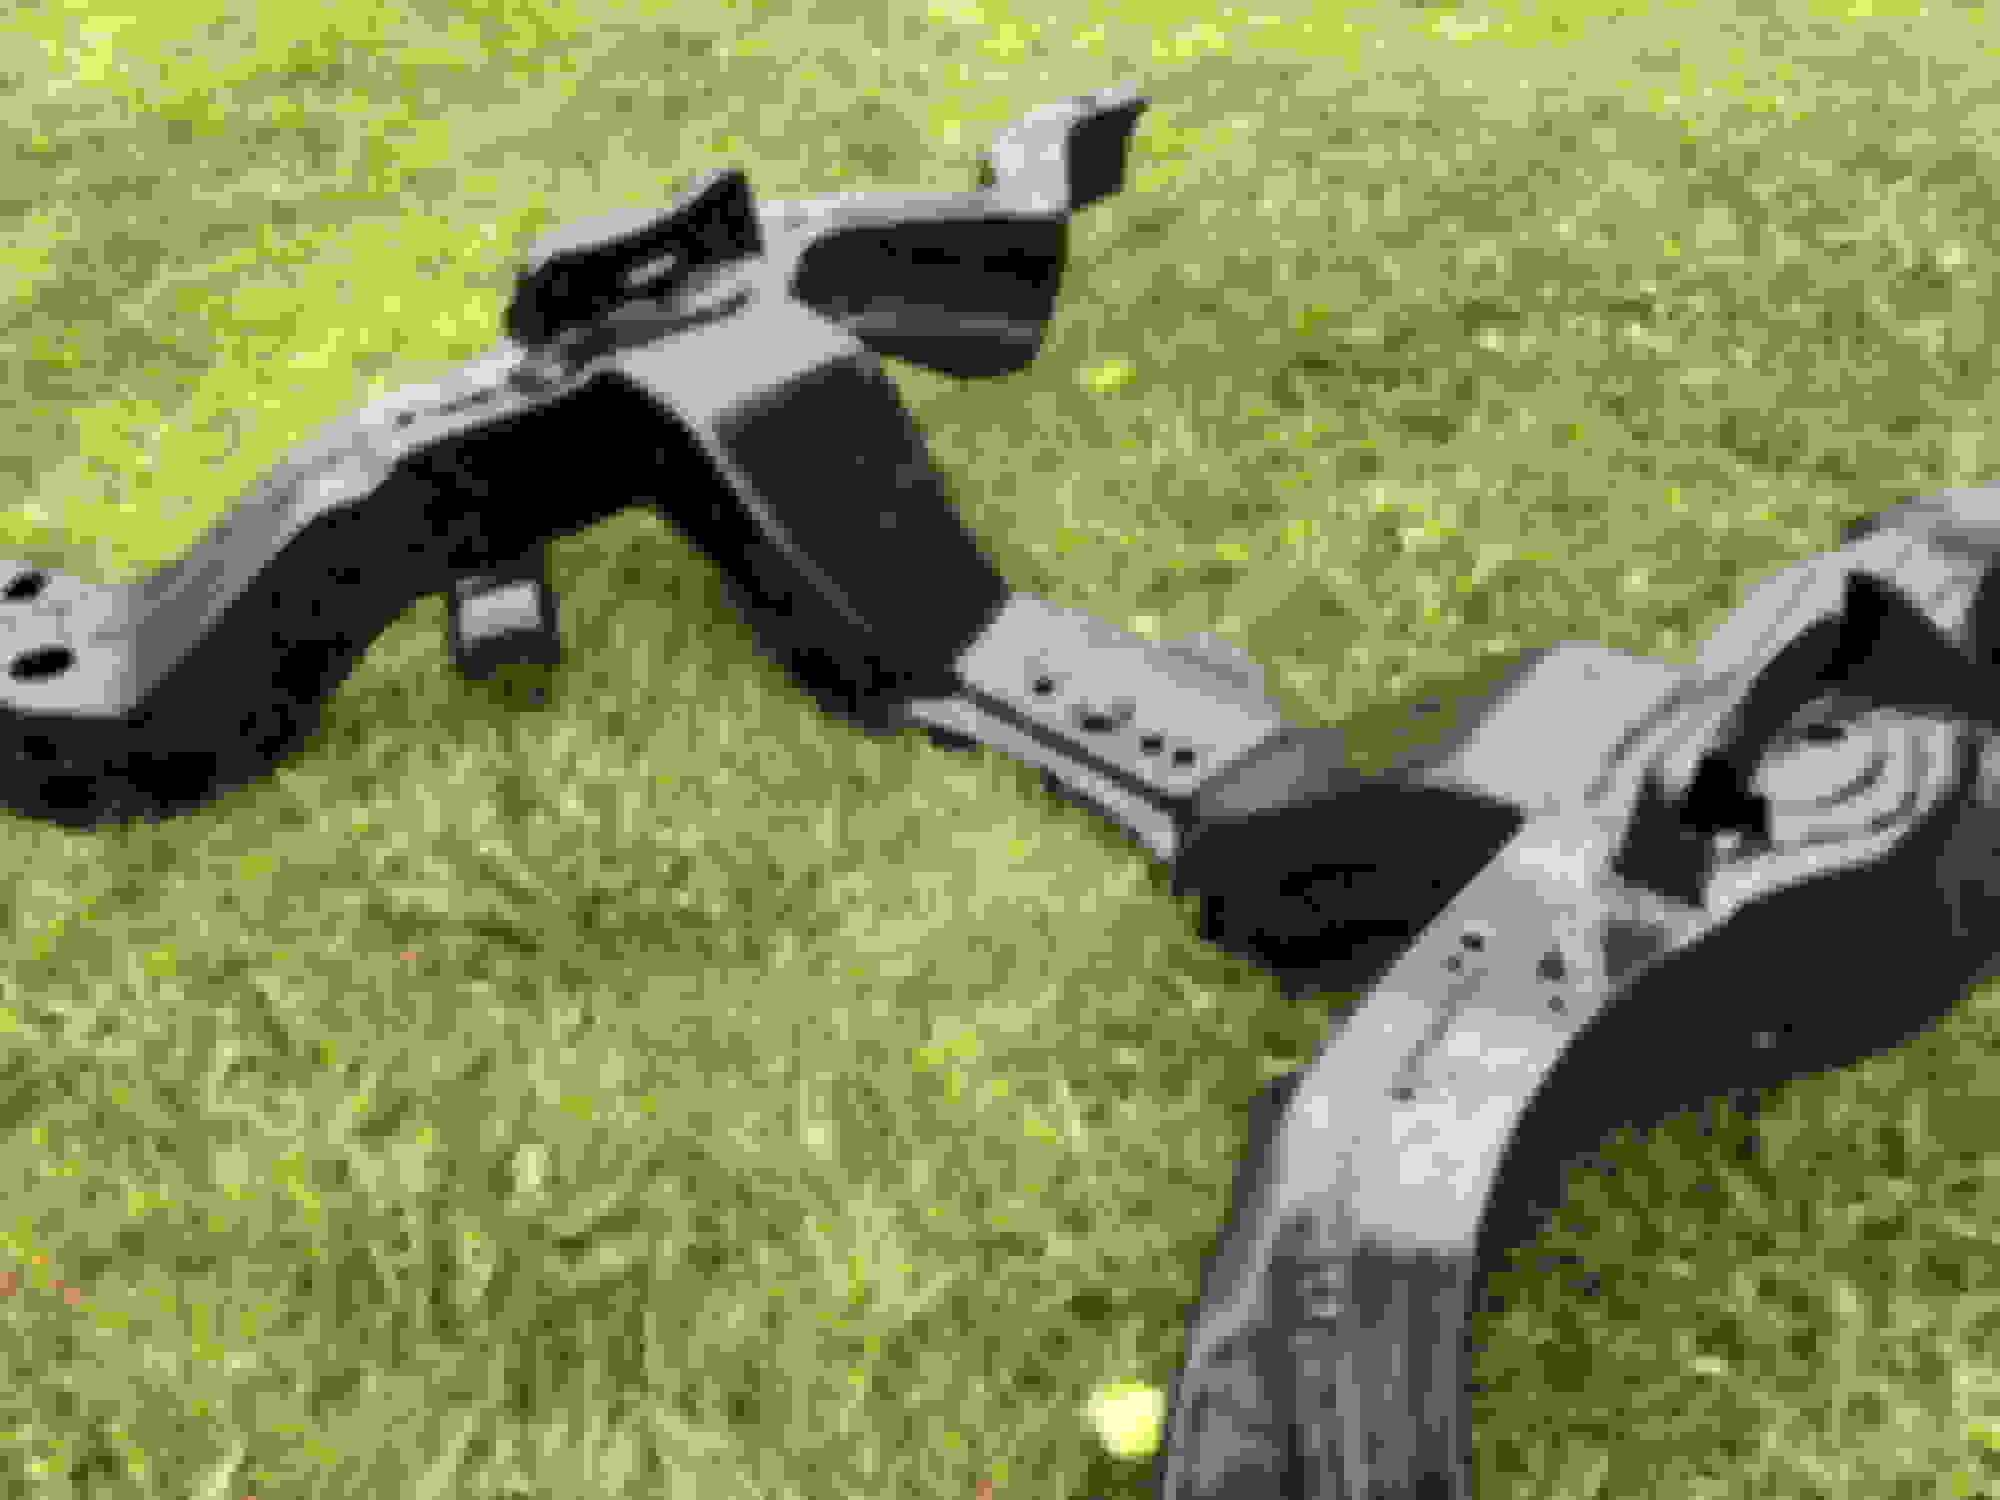
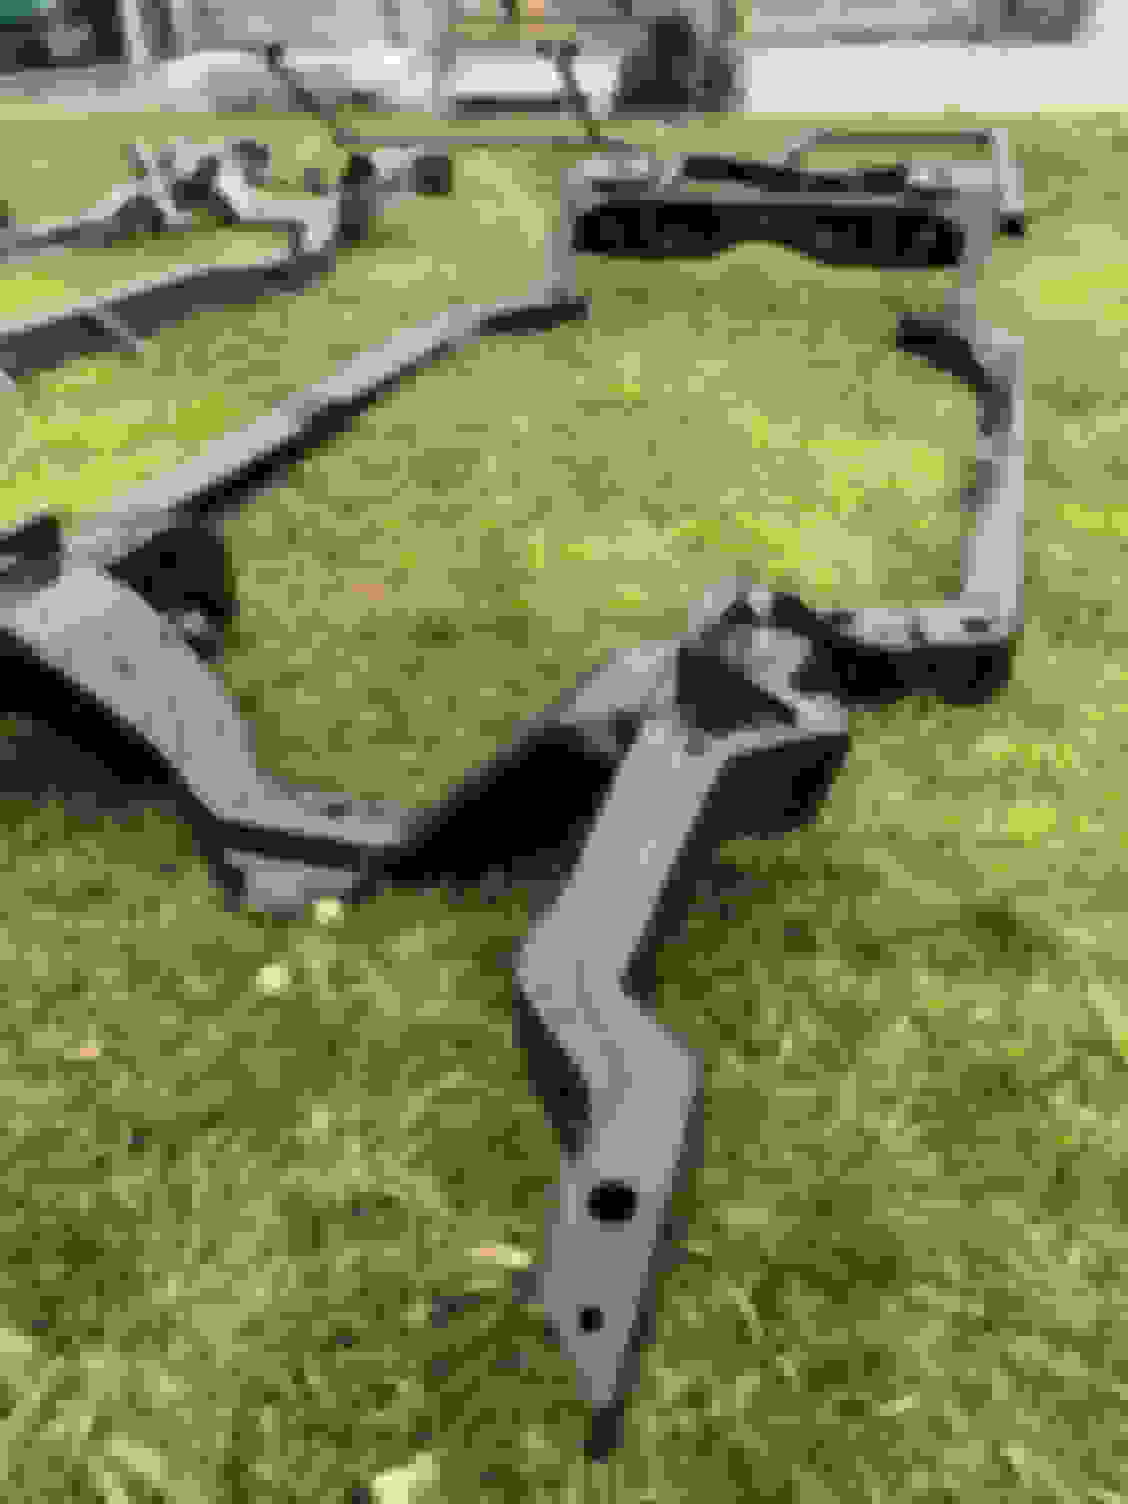
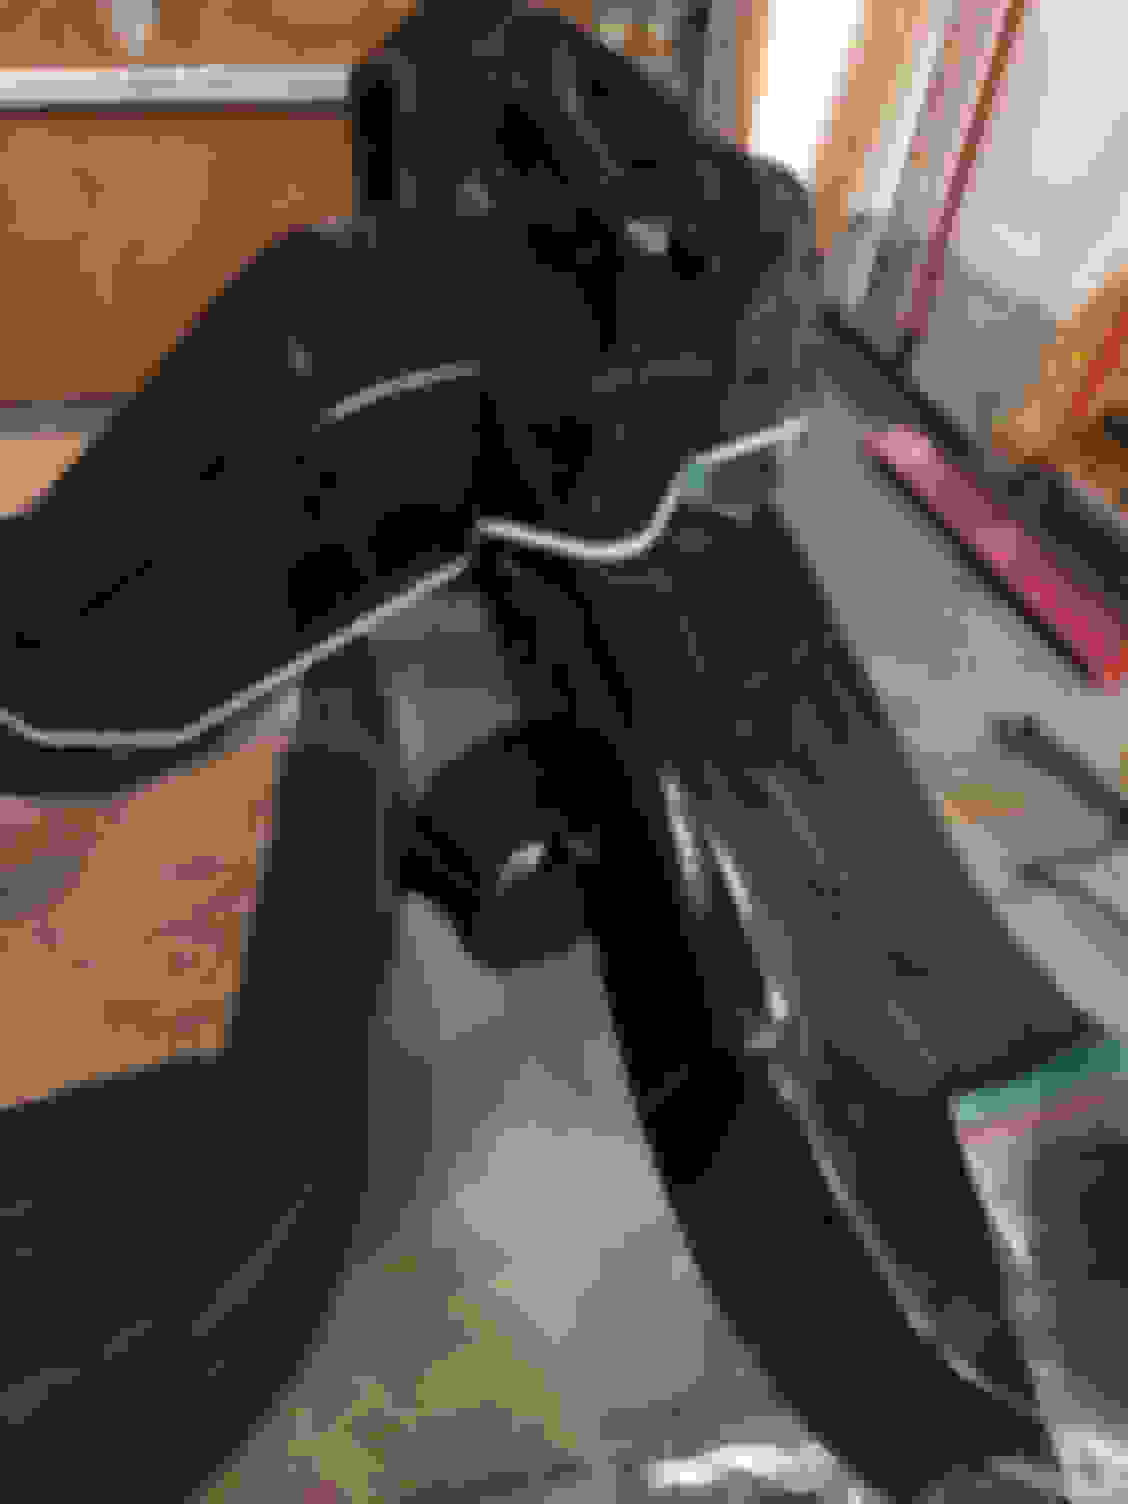
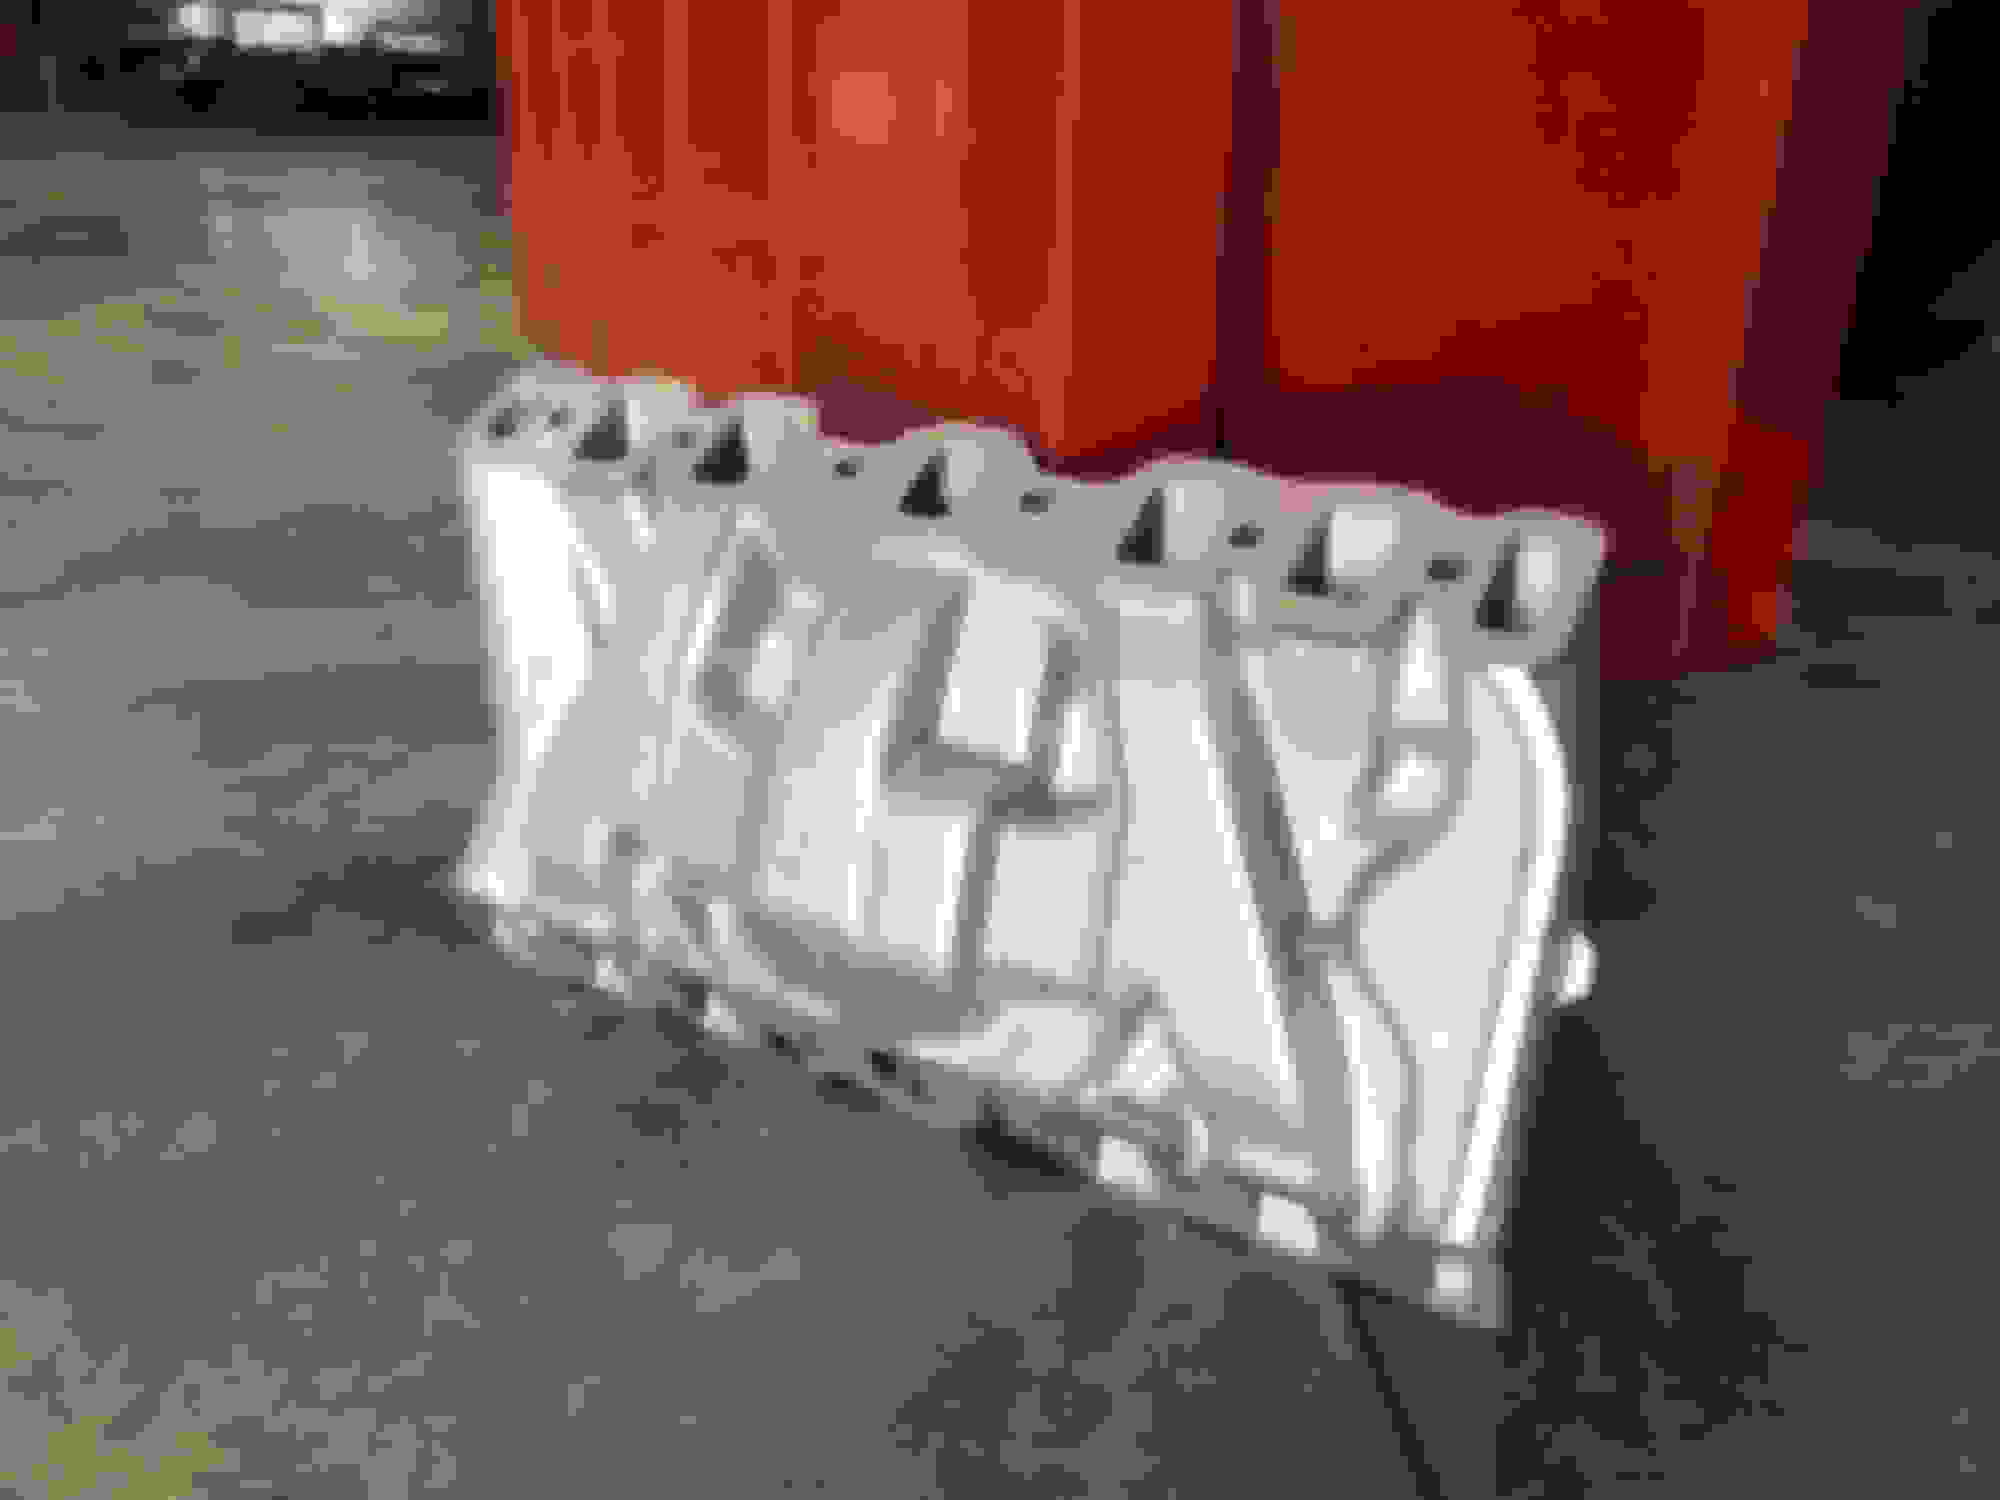
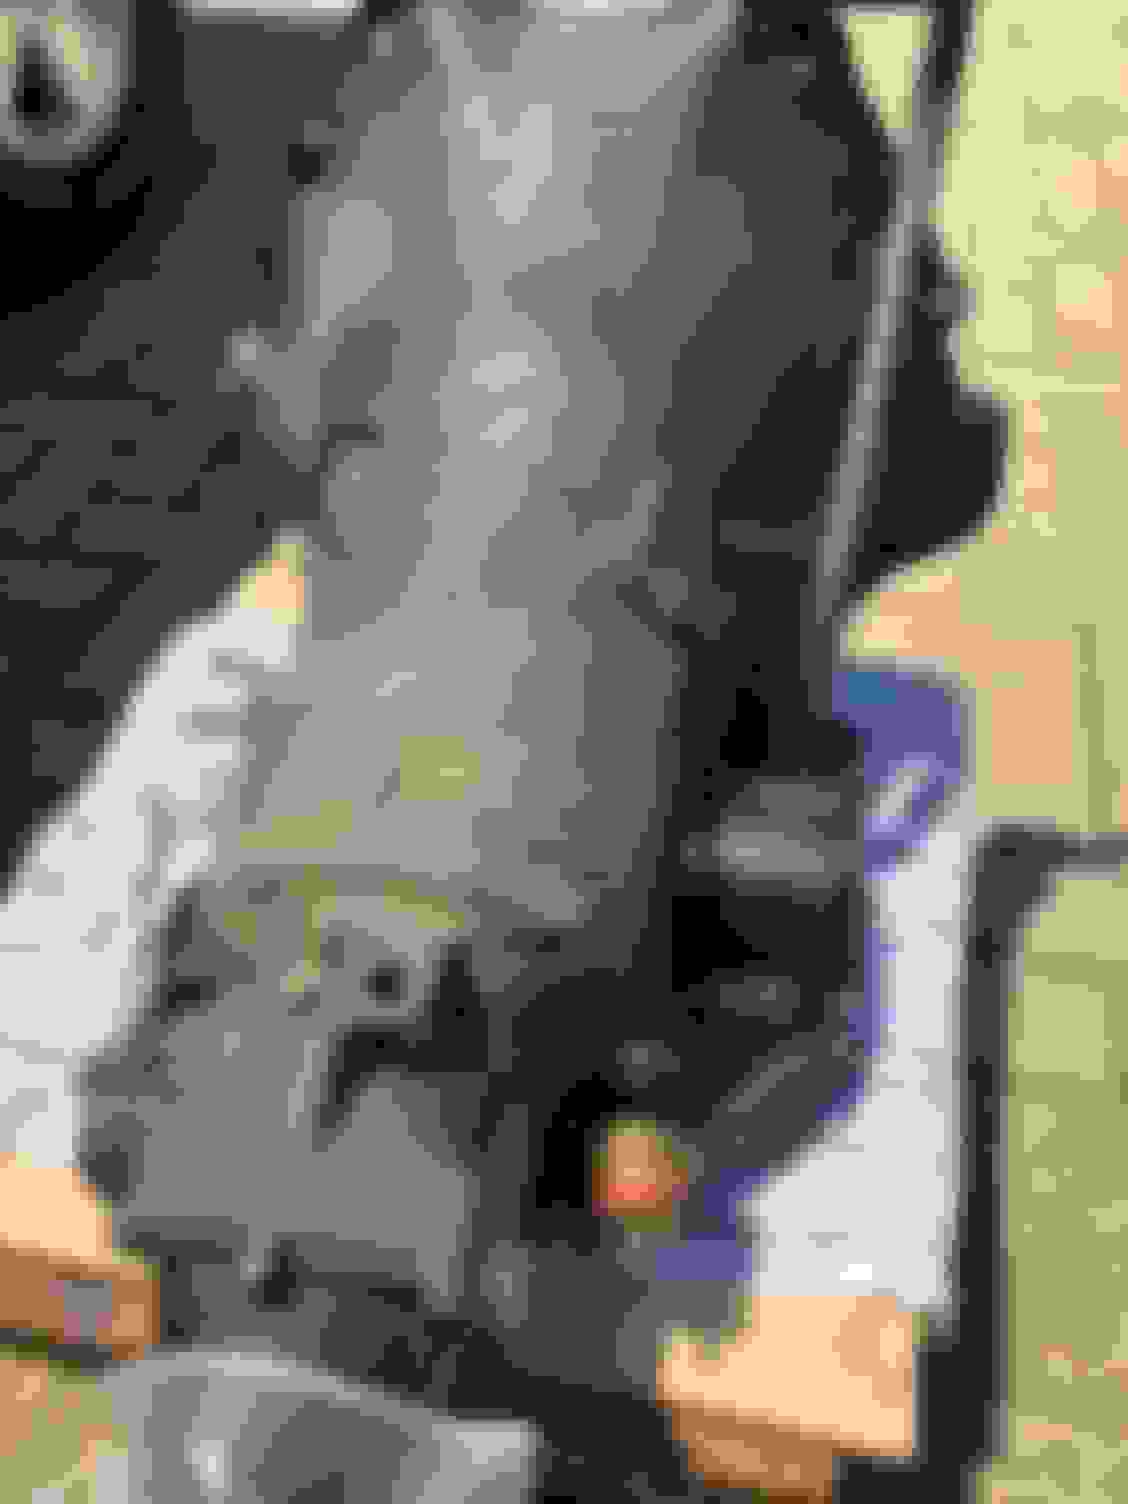
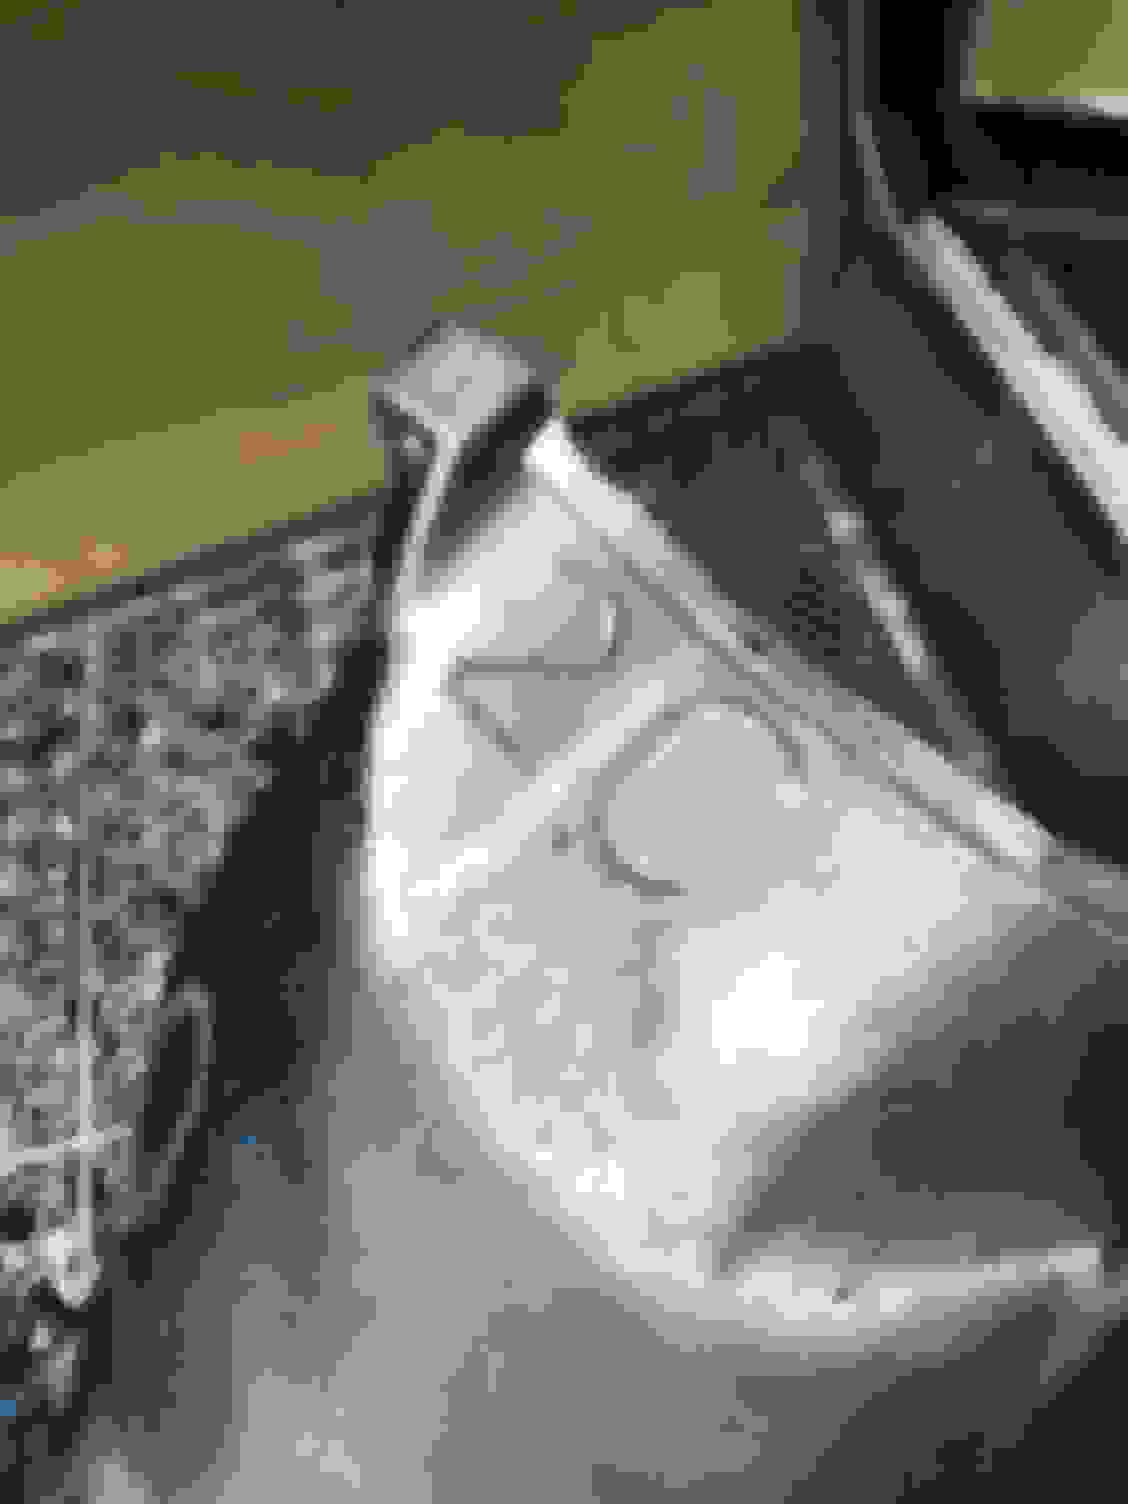
Had a bit of rain in Chicago this morning but managed to pick up the frame from the shop. The areas where the engine leaked oil seem to be in much better condition than the rest of the frame.
Last edited by WTHIRTY1; June 17th, 2020 at 07:23 AM.
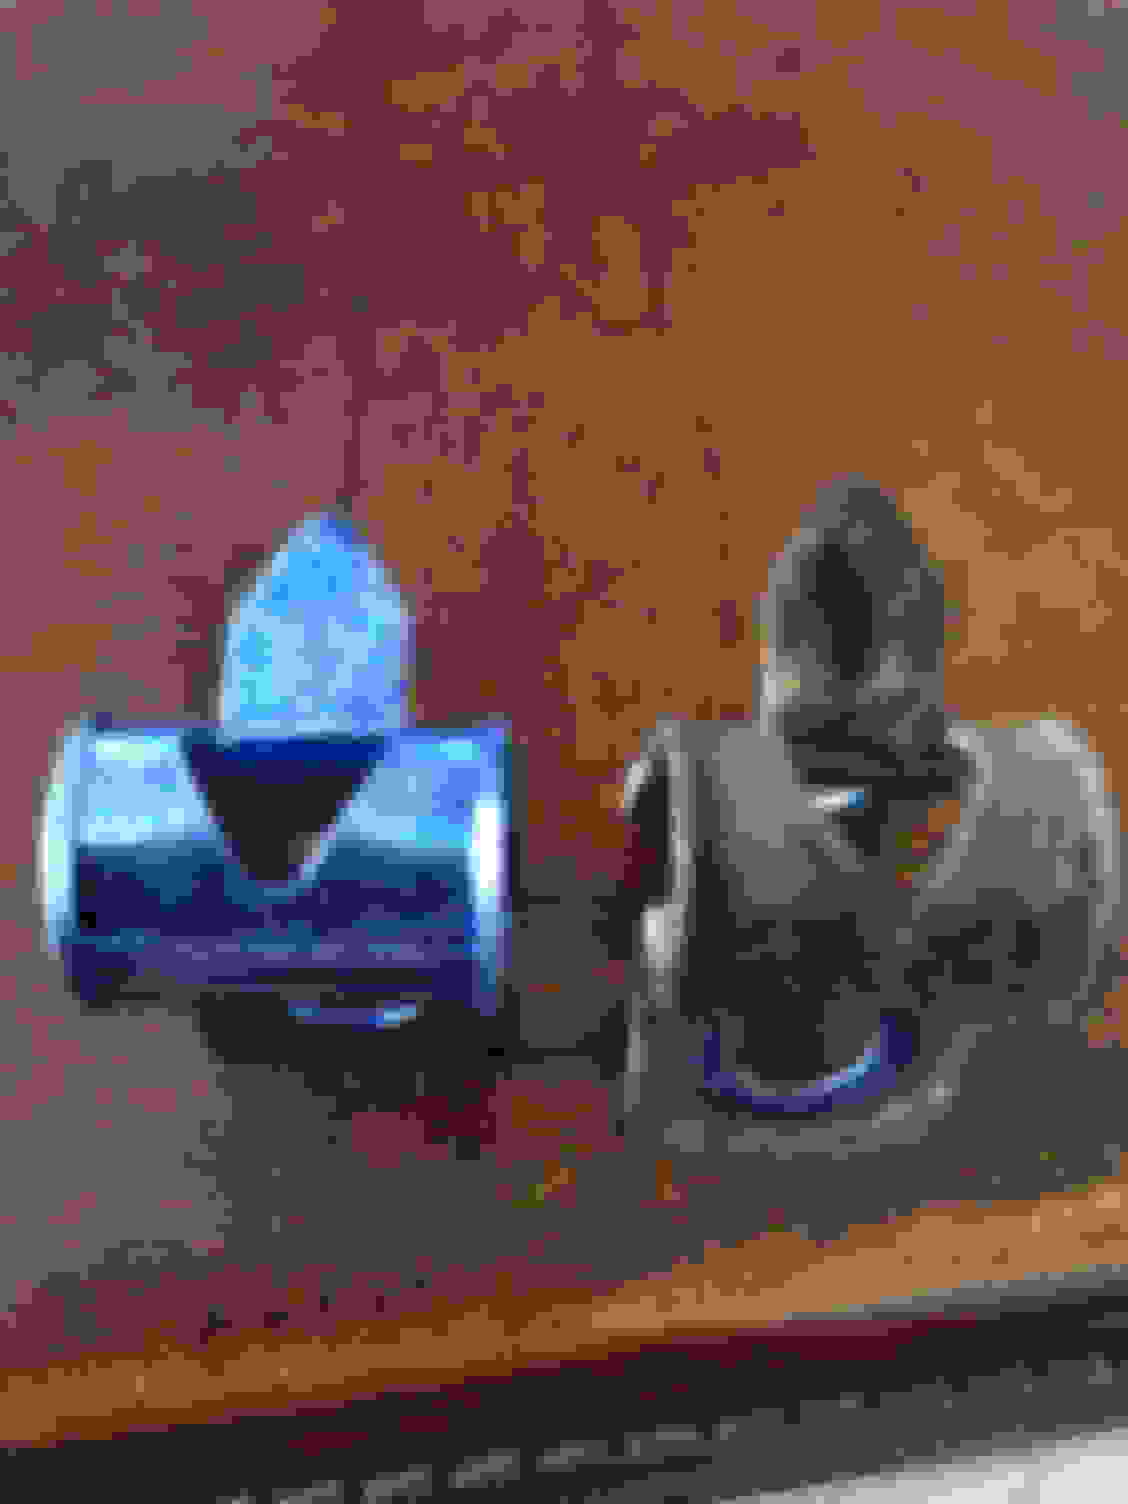
What don't you like on the MC cap? It looks like the typical yellow zinc finish which can be a varying "mixture" of "silvery" areas and "gold" (ie - yellow) areas. Seems to be a decent finish on the cap when looking at your second pic that shows the top of the cap.
The restored master cylinder and caliper look dynamite. Thanks for sharing pics.
White Post did a nice job. As for the MC lid the zinc finish seemed a bit dull, but it was just the finish through the clear plastic packaging. All good.
Last edited by WTHIRTY1; August 13th, 2018 at 06:01 AM.
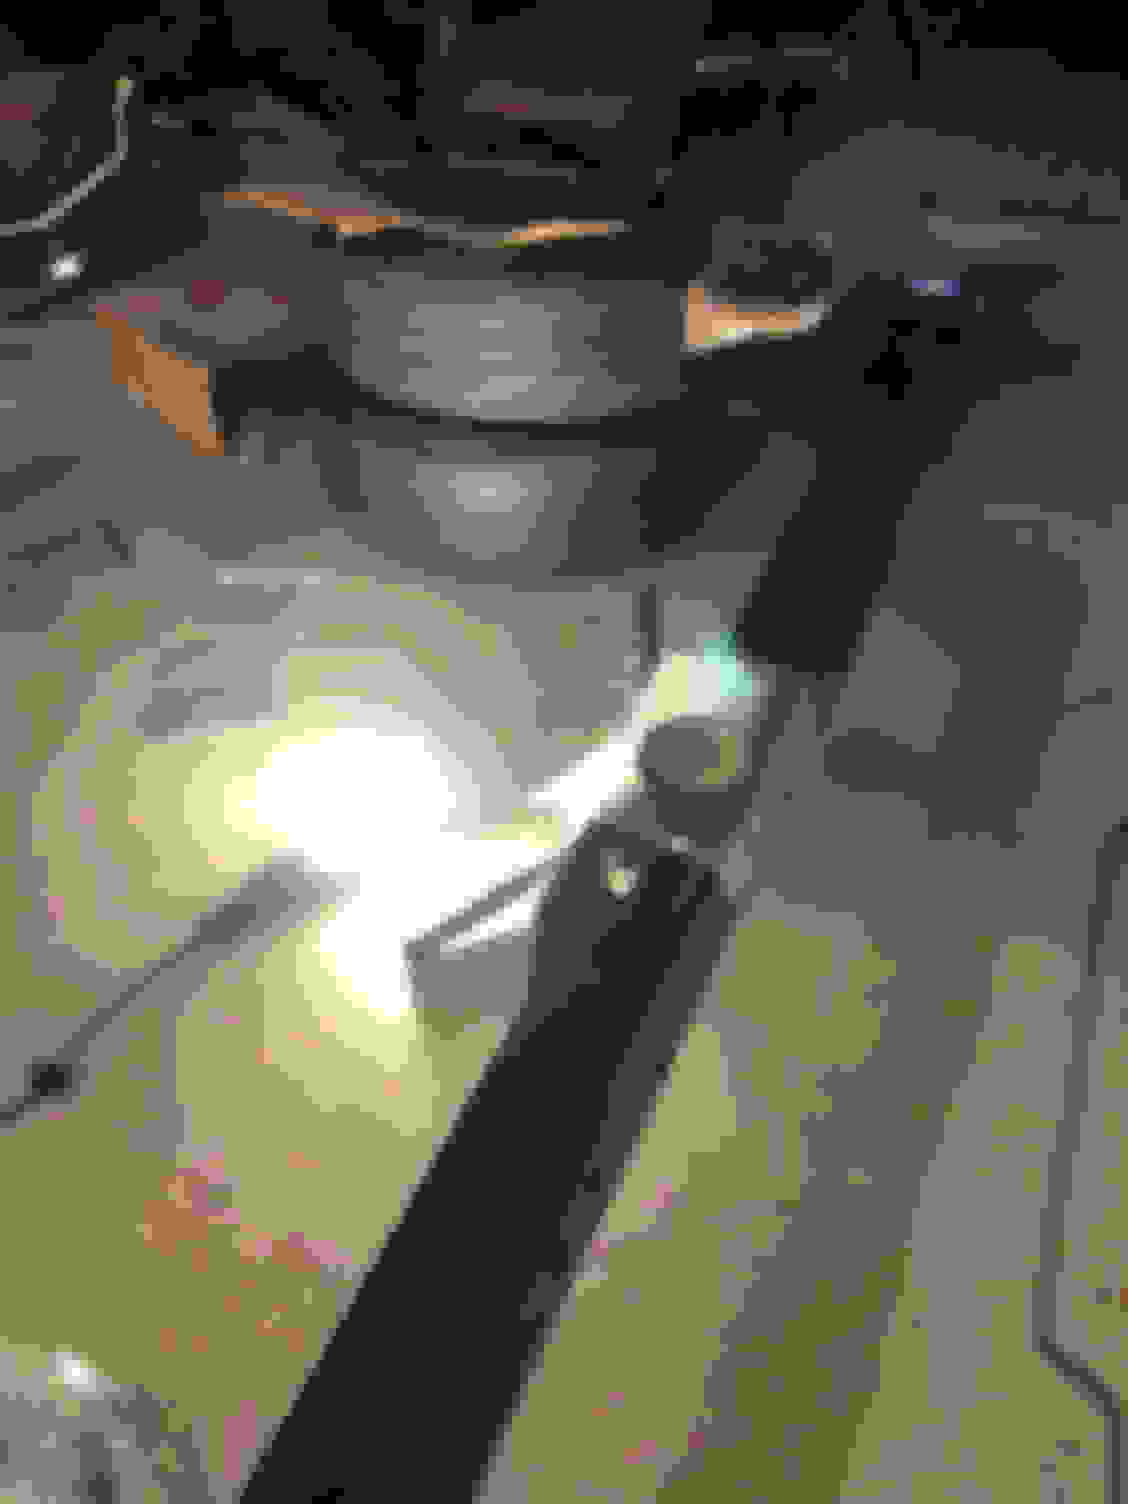
Had a few hours to get organized in the garage and start working towards a rolling chassis. I’m glad I took a page out of Costpenn’s book and started refurbishing the hardware right away. It has been nice having all the hardware ready to go.
I went with Inline’s brake line clip set. The colors are spot on as far as the anodized green “grasshopper” clips for the front as well as the blue clip near the rear. The only noticeable difference from the originals, outside of the green clips saying INL and the size etched in, is the indentation on the clip prong itself. I installed their OEM lines, and the fit was perfect.
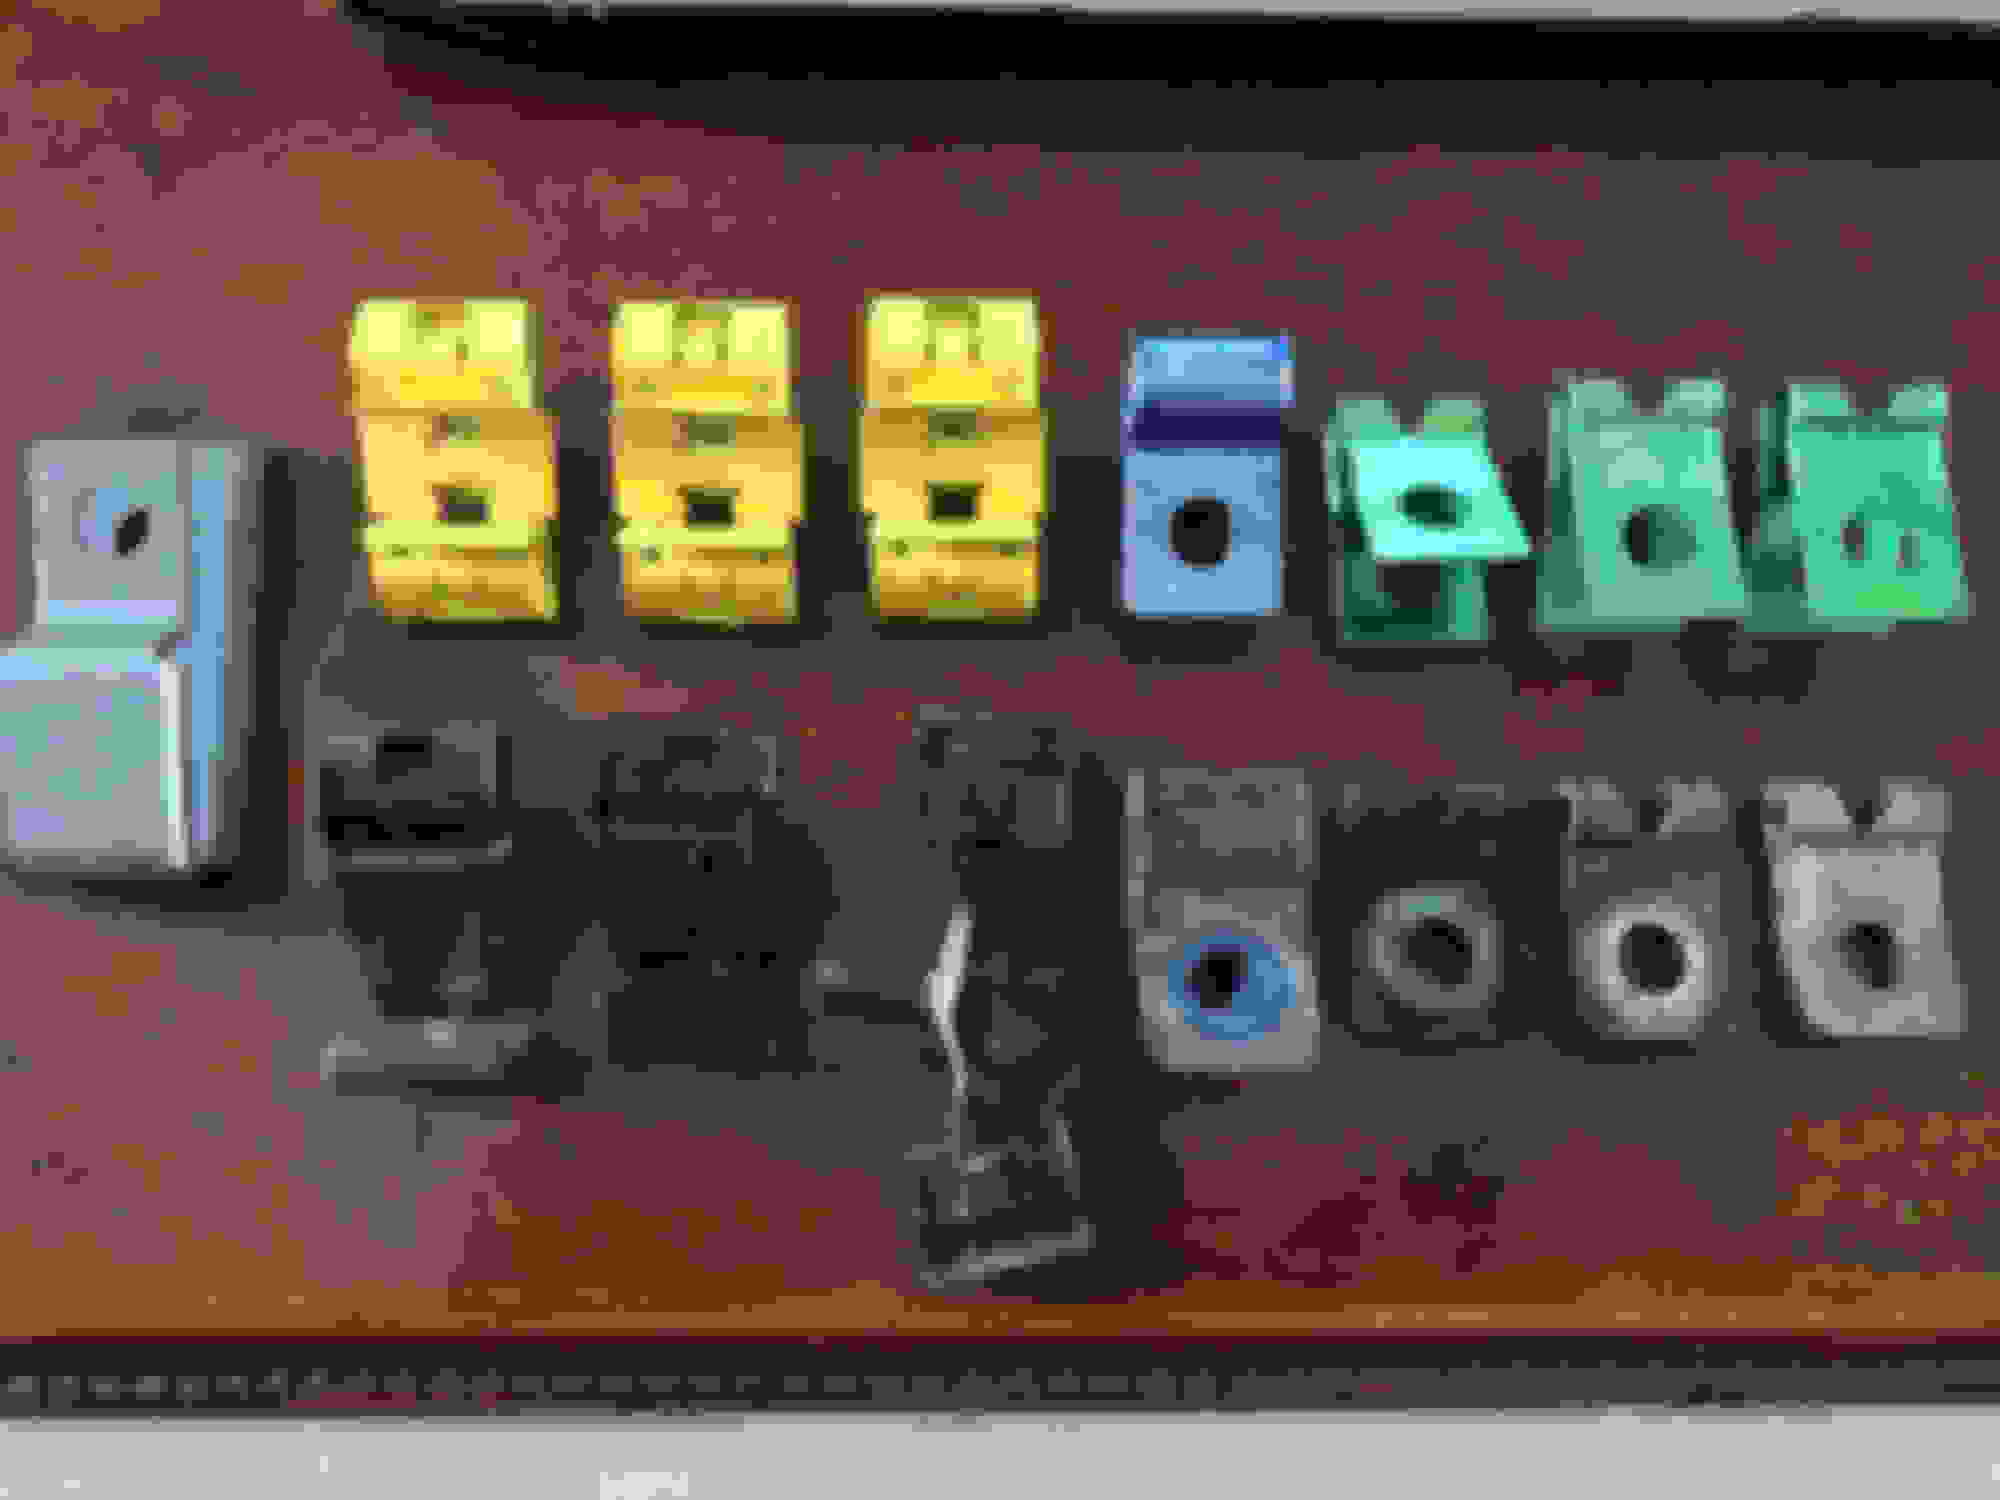
When I took the body mounts off the car I numbered and bagged them individually. I put them back out today to assess the colors, and I’m 100% positive one of my spacers is all white. I also don’t have multiple shades of green / aqua—it’s just a solid aqua for the other mounts.
Once my original fuel line clips are finished soaking in paint thinner tomorrow, I’ll clean them up and get the fuel lines in. The control arms, sway bars, and spring should be completed this week which should help move things along.
Last edited by WTHIRTY1; February 5th, 2021 at 06:43 AM.
The core support mounts were natural black - it's all I have ever seen. I included below a couple of pics - one of the original non- bolt mount from my car and the other of the rest of the mounts after I painted them. These colors were an exact match to the colors I could still find on my originals. One disclaimer - my car was built in Fremont so it's entirely possible that colors were different.
Connected with someone on the Facebook group that is hooking me up with a sample of a batch they had made up for the bushings. The color looks dead on.
Need help on this. I tried a couple different colors tonight for the mounts. Not sure I love either shade.
Inline�s kit for my W-31 (and I say it that way bc I�m not sure if other W-Machines had different bushing configurations) is short 4 spacers. I also have two really concave looking mounts in the kit, but I�m assuming those are 71/72 or convertible as they don�t match my originals.
Do I bother replicating the single all white spacer mount since that�s what was there originally? Or do I just go all aqua? I know the PIM calls out different shades of green, but I don�t see it with my originals.
Lastly, the color of the core support rubber mounts should be what? White?
concave washer body mount is for convertible
And their one size fits all kit is always short four spacers for holiday coupe vehicles
I say replicate the white mount since you can document it as originally on the car
core support bushings, at least for 69, have a white stripe.
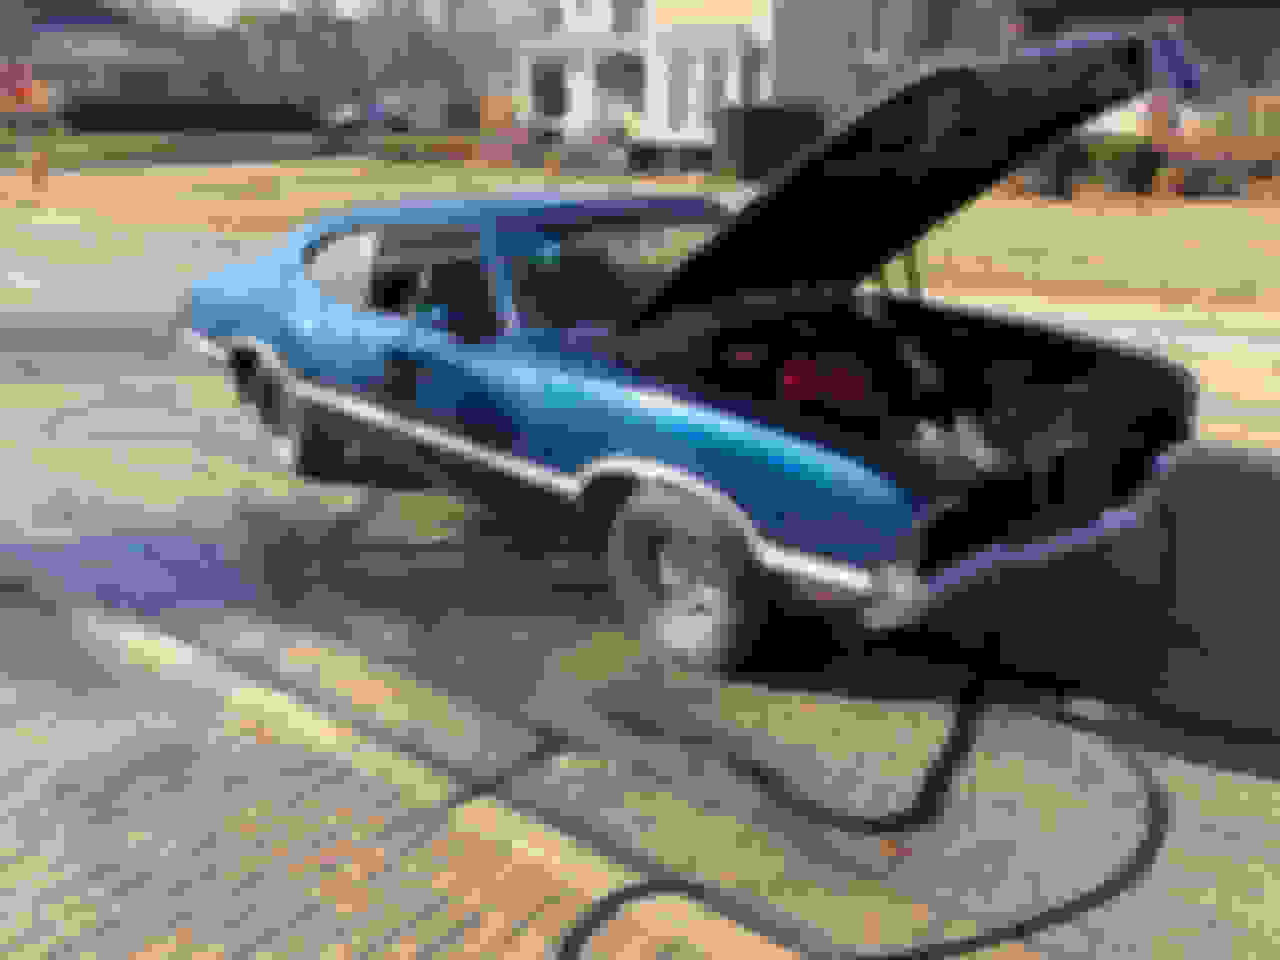
I picked the car up late Jan 2018. My initial plan was to pull the engine, detail it, and drop it back in. The domino effect kicked in big time for me, and now I'm in the process of pulling the body off the frame. I'm learning along the way, and I'm looking forward to leaning on the experiences of the forum to help get me through this.
The W-31 is numbers matching, factory twilight blue / white stripe, blue bucket interior. Per the previous owner, the car ran when put away. I didn't make an attempt at firing it and started in on the disassembly right away.
Since I took delivery of the car in January, I've removed the entire front end, pulled the engine and trans, removed the entire front end suspension, removed the gas tank, along with a ton of other pieces.
Quick timeline so far.
1/25/18: Took delivery of the car.
1/26/18: Hooked a battery to the car and tested the electricals. Surprisingly, the lights worked with the exception of those connected to the front harness.
1/27/18: Started removing the front end.
1/28/18: Flushed cooling system. The last time the car was out, it was tracked, and the owner ran water only. After years of sitting, the water created a rusty mess.
3/16/18: Pulled the engine and trans. Thanks Luke (83hurstguy) for letting me borrow the hoist a time or two!
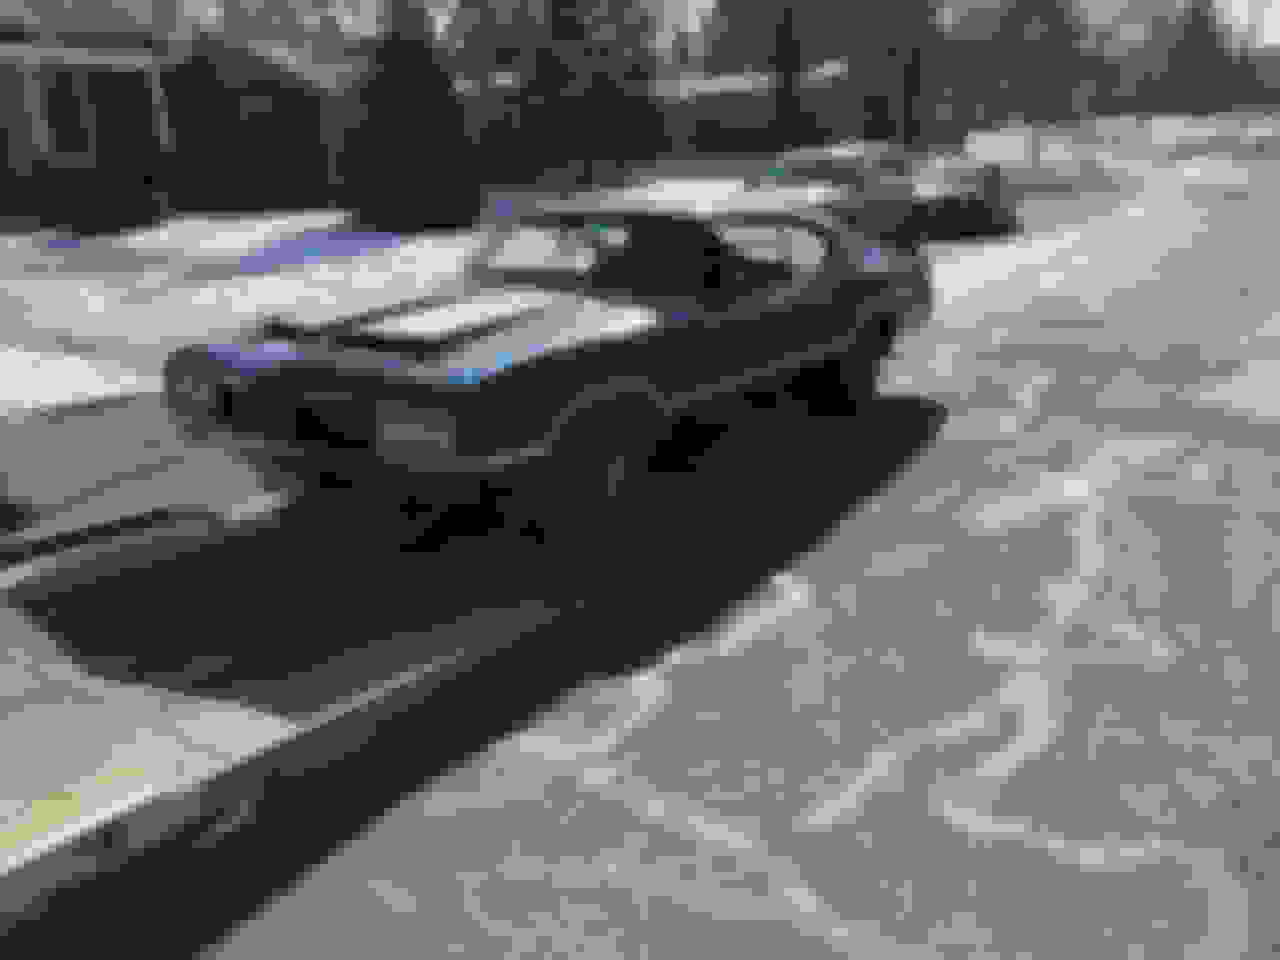
3/18/18: Pushed the car out for its first bath in years. Also attempted to de-grease the front end.
4/30/18: Removed the suspension.
As of 6/3, getting ready to lift the body off the frame.
Your grills look like they were black. I have a 70 Supreme I've had since the 80's and the grills were black just like in your pics. Everyone I've talked to say somebody must have painted them before I got the car. Do you know the history on yours?
 June 17th, 2018, 07:25 PM


 Just beautiful beautiful work