When you click on links to various merchants on this site and make a purchase, this can result in this site earning a commission. Affiliate programs and affiliations include, but are not limited to, the eBay Partner Network.
I picked the car up late Jan 2018. My initial plan was to pull the engine, detail it, and drop it back in. The domino effect kicked in big time for me, and now I'm in the process of pulling the body off the frame. I'm learning along the way, and I'm looking forward to leaning on the experiences of the forum to help get me through this.
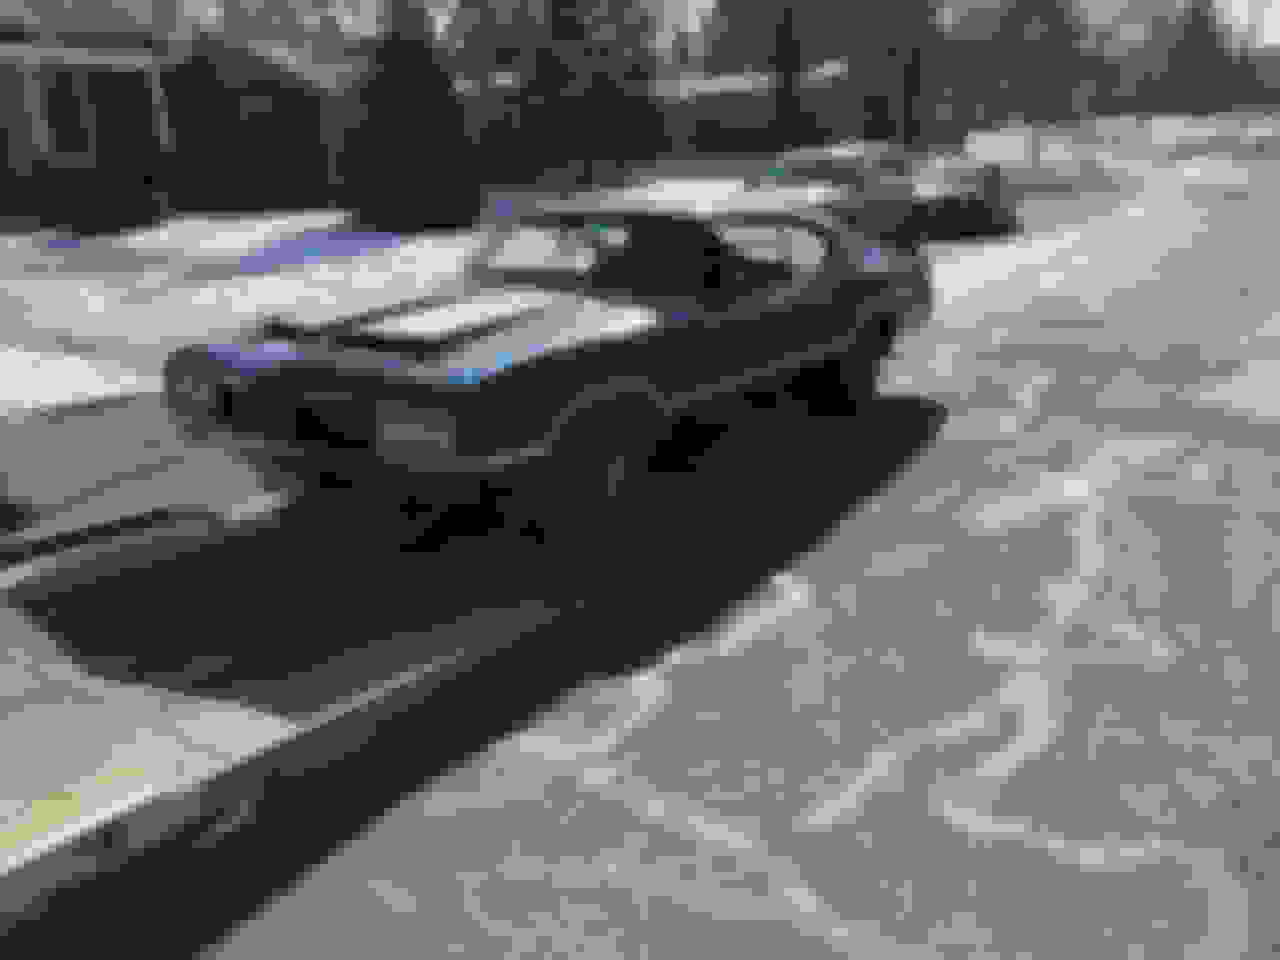
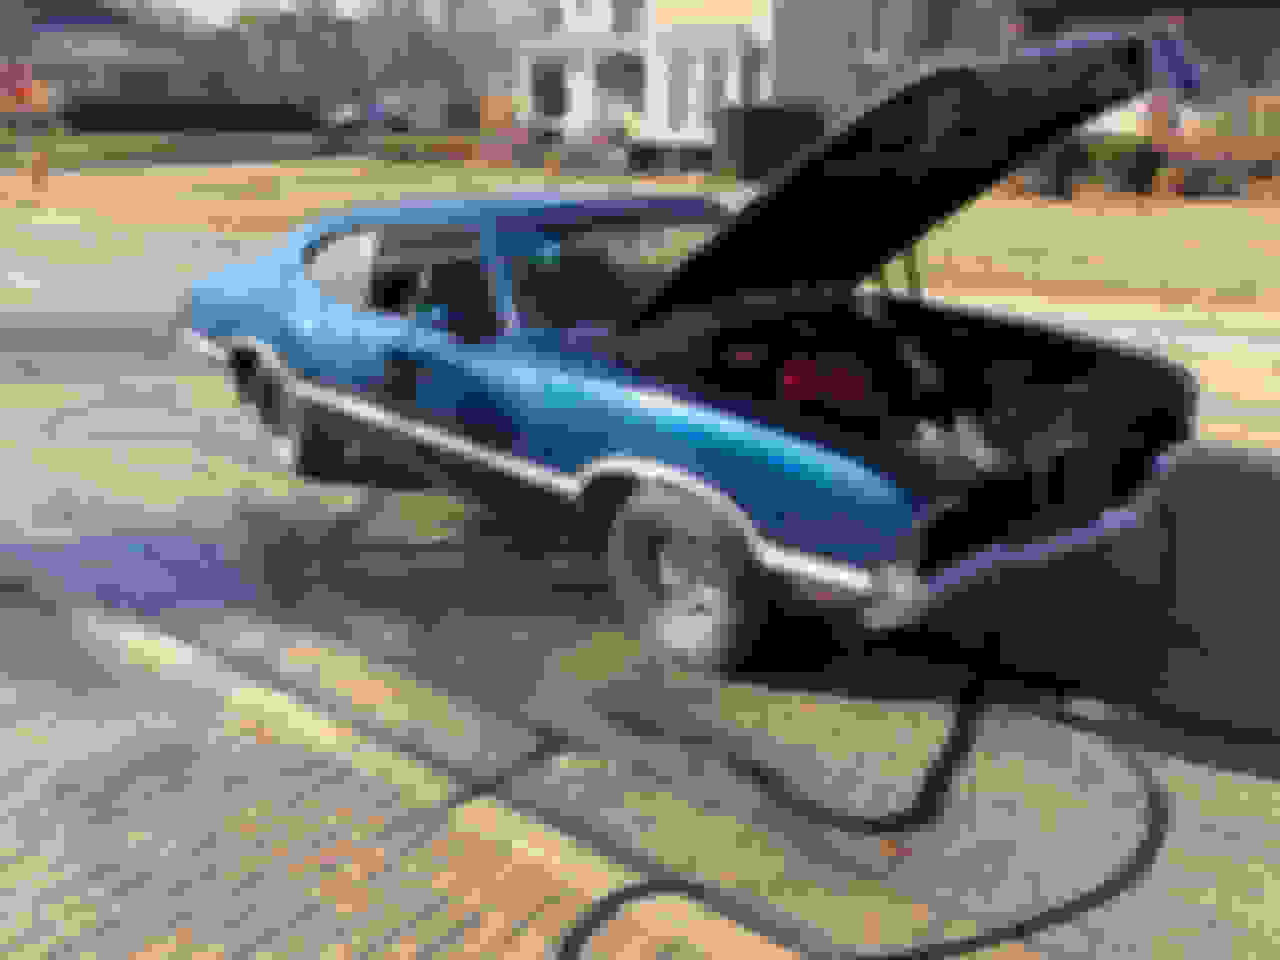
The W-31 is numbers matching, factory twilight blue / white stripe, blue bucket interior. Per the previous owner, the car ran when put away. I didn't make an attempt at firing it and started in on the disassembly right away.
Since I took delivery of the car in January, I've removed the entire front end, pulled the engine and trans, removed the entire front end suspension, removed the gas tank, along with a ton of other pieces.
Quick timeline so far.
1/25/18: Took delivery of the car.
1/26/18: Hooked a battery to the car and tested the electricals. Surprisingly, the lights worked with the exception of those connected to the front harness.
1/27/18: Started removing the front end.
1/28/18: Flushed cooling system. The last time the car was out, it was tracked, and the owner ran water only. After years of sitting, the water created a rusty mess.
3/16/18: Pulled the engine and trans. Thanks Luke (83hurstguy) for letting me borrow the hoist a time or two!
3/18/18: Pushed the car out for its first bath in years. Also attempted to de-grease the front end.
4/30/18: Removed the suspension.
As of 6/3, getting ready to lift the body off the frame.
Last edited by WTHIRTY1; June 4th, 2018 at 11:17 AM.
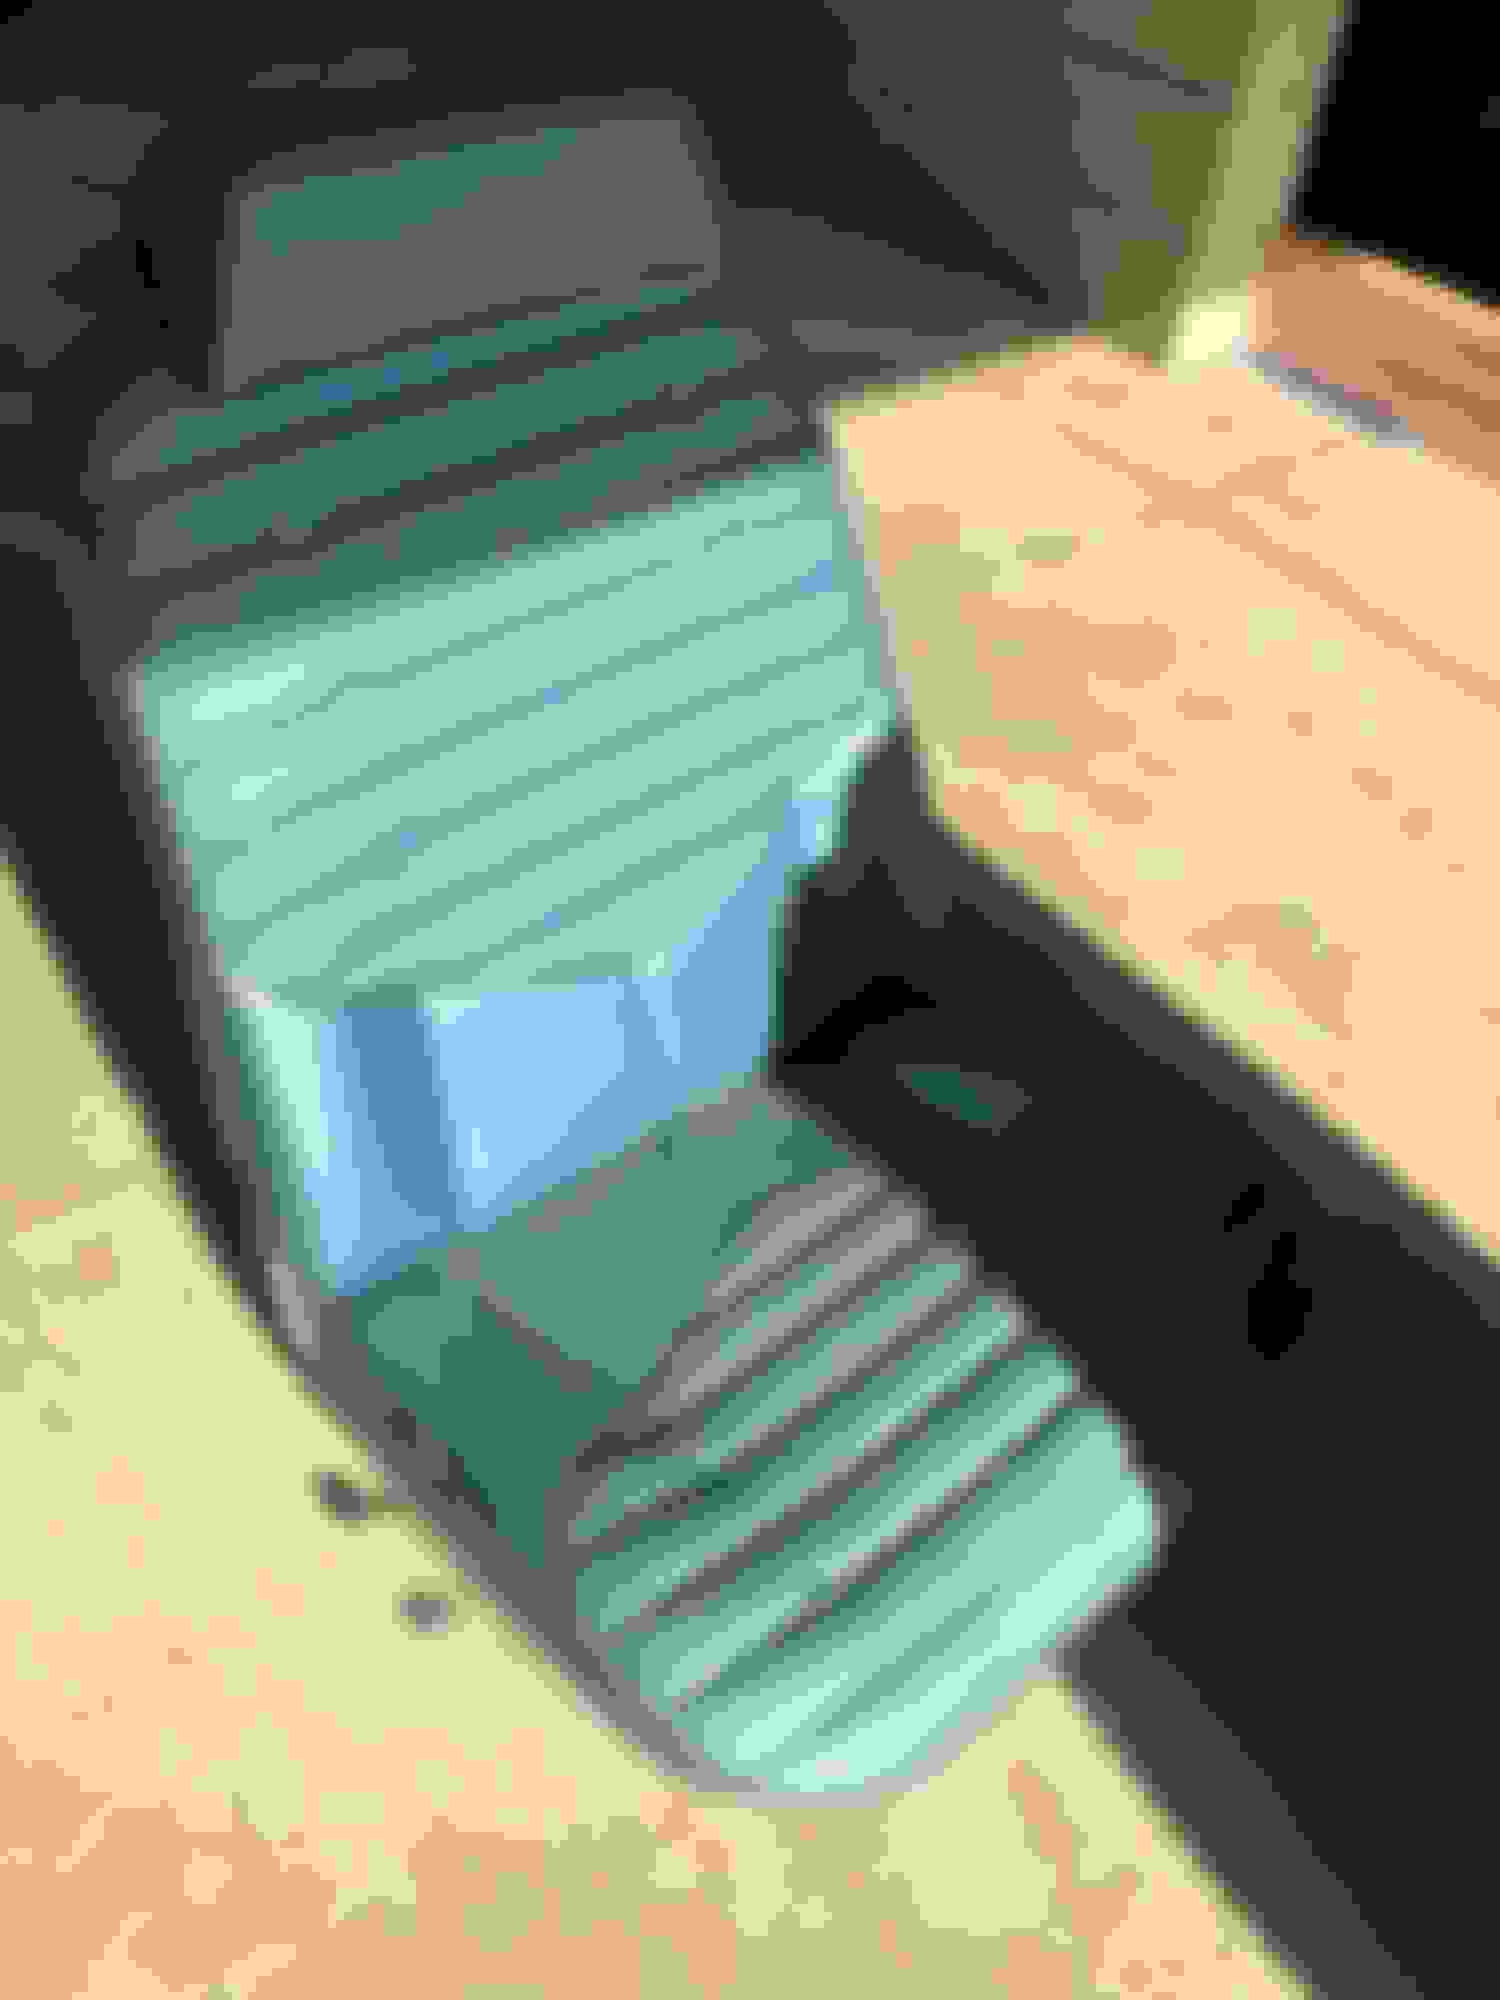
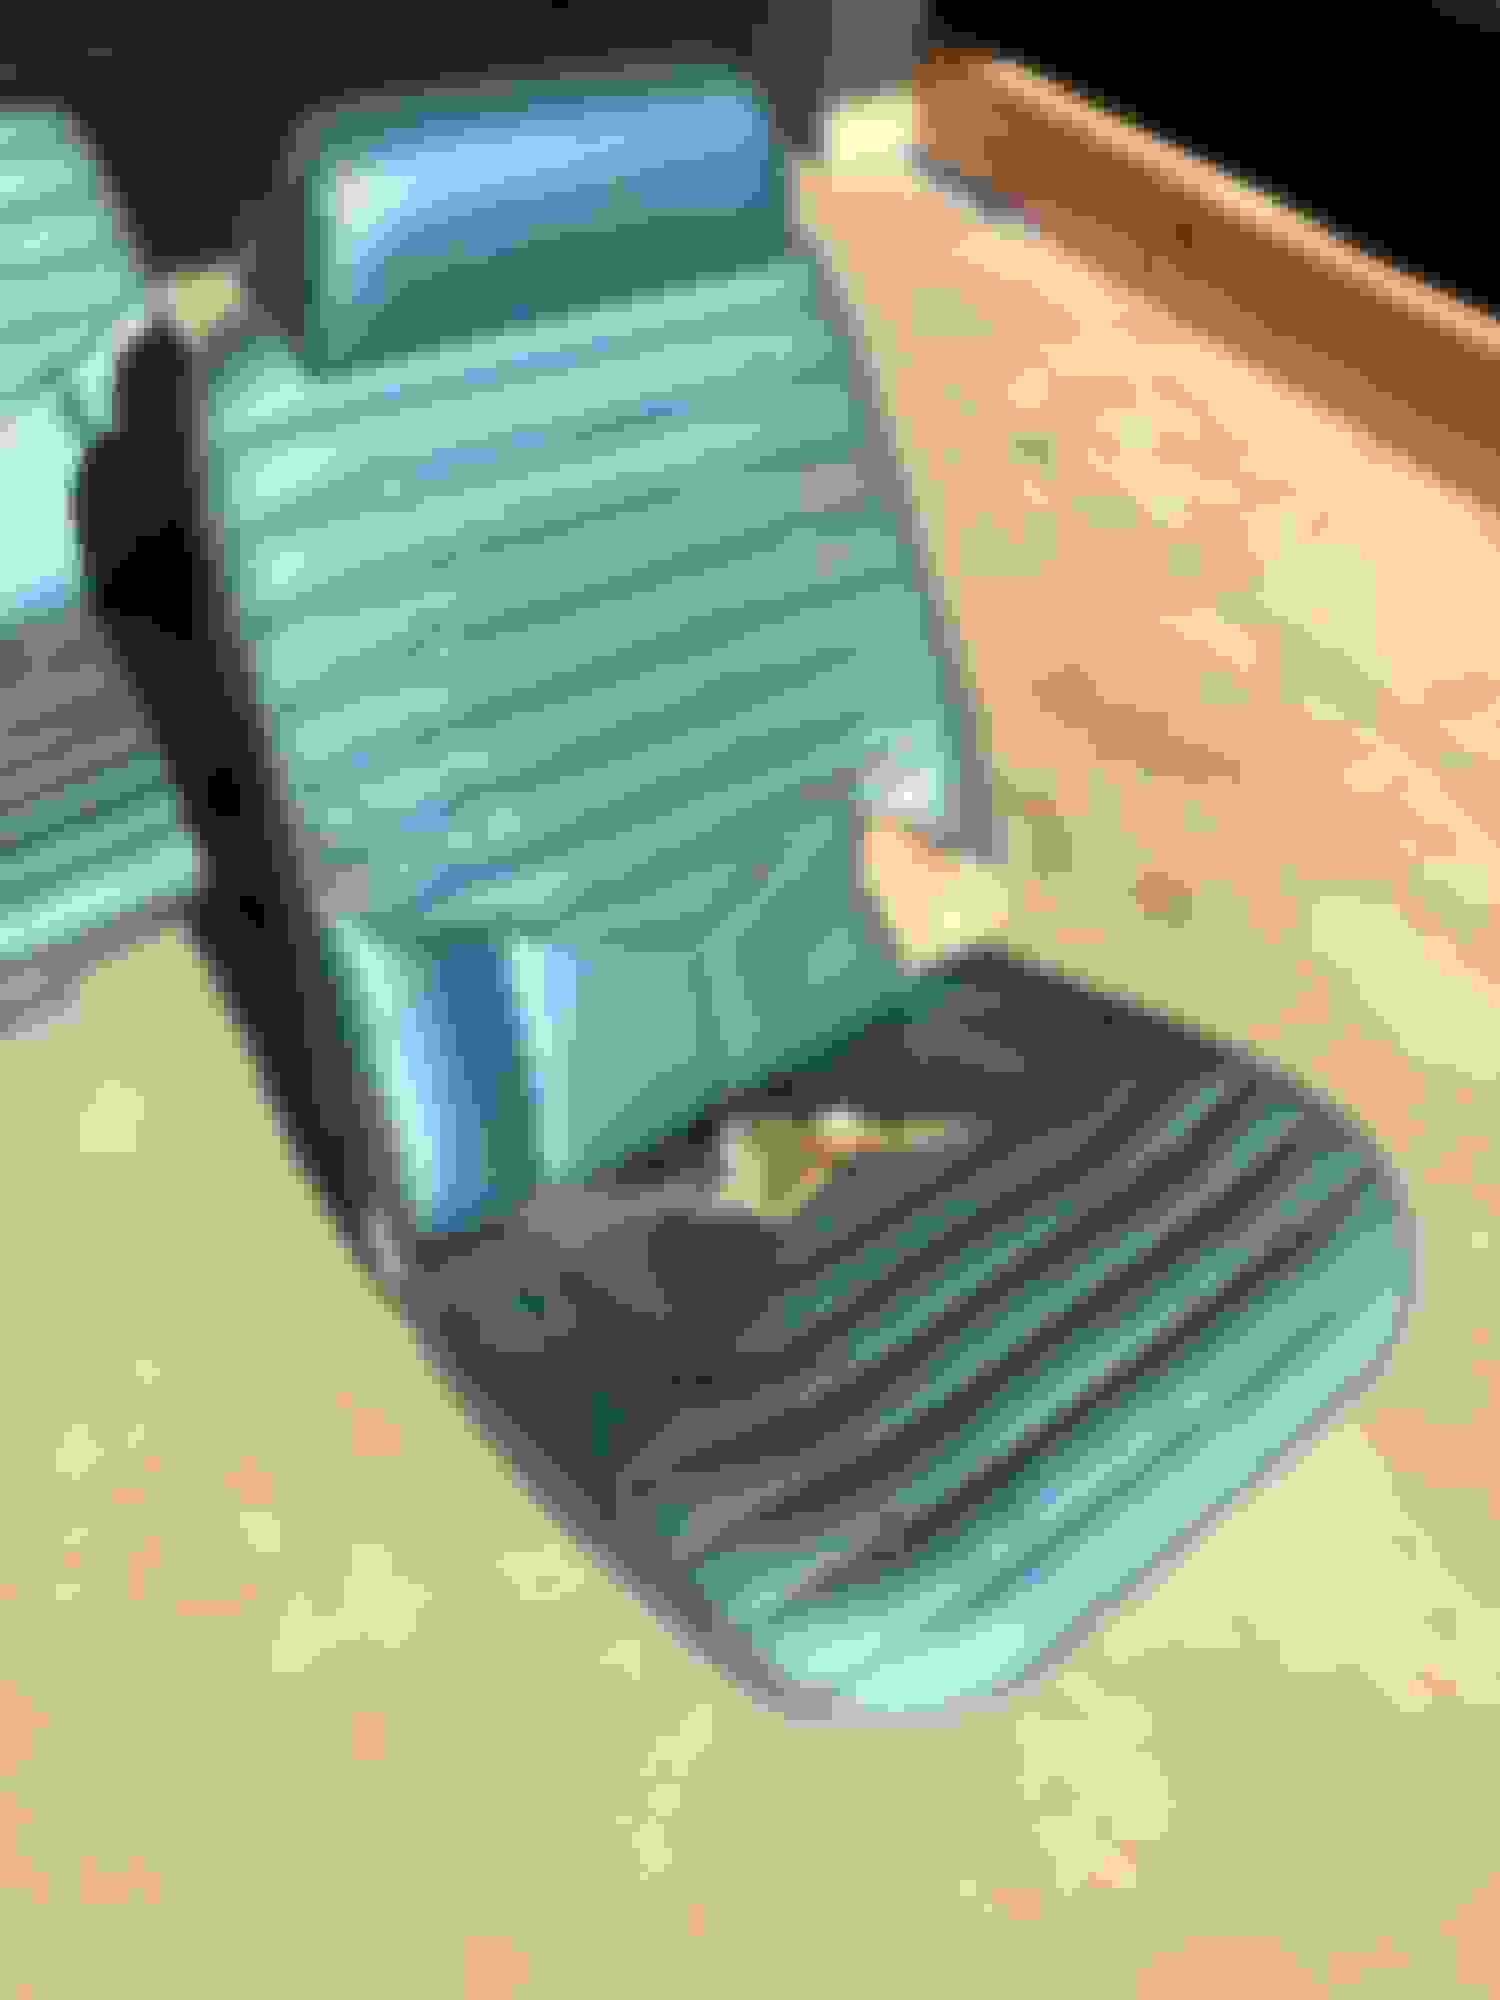
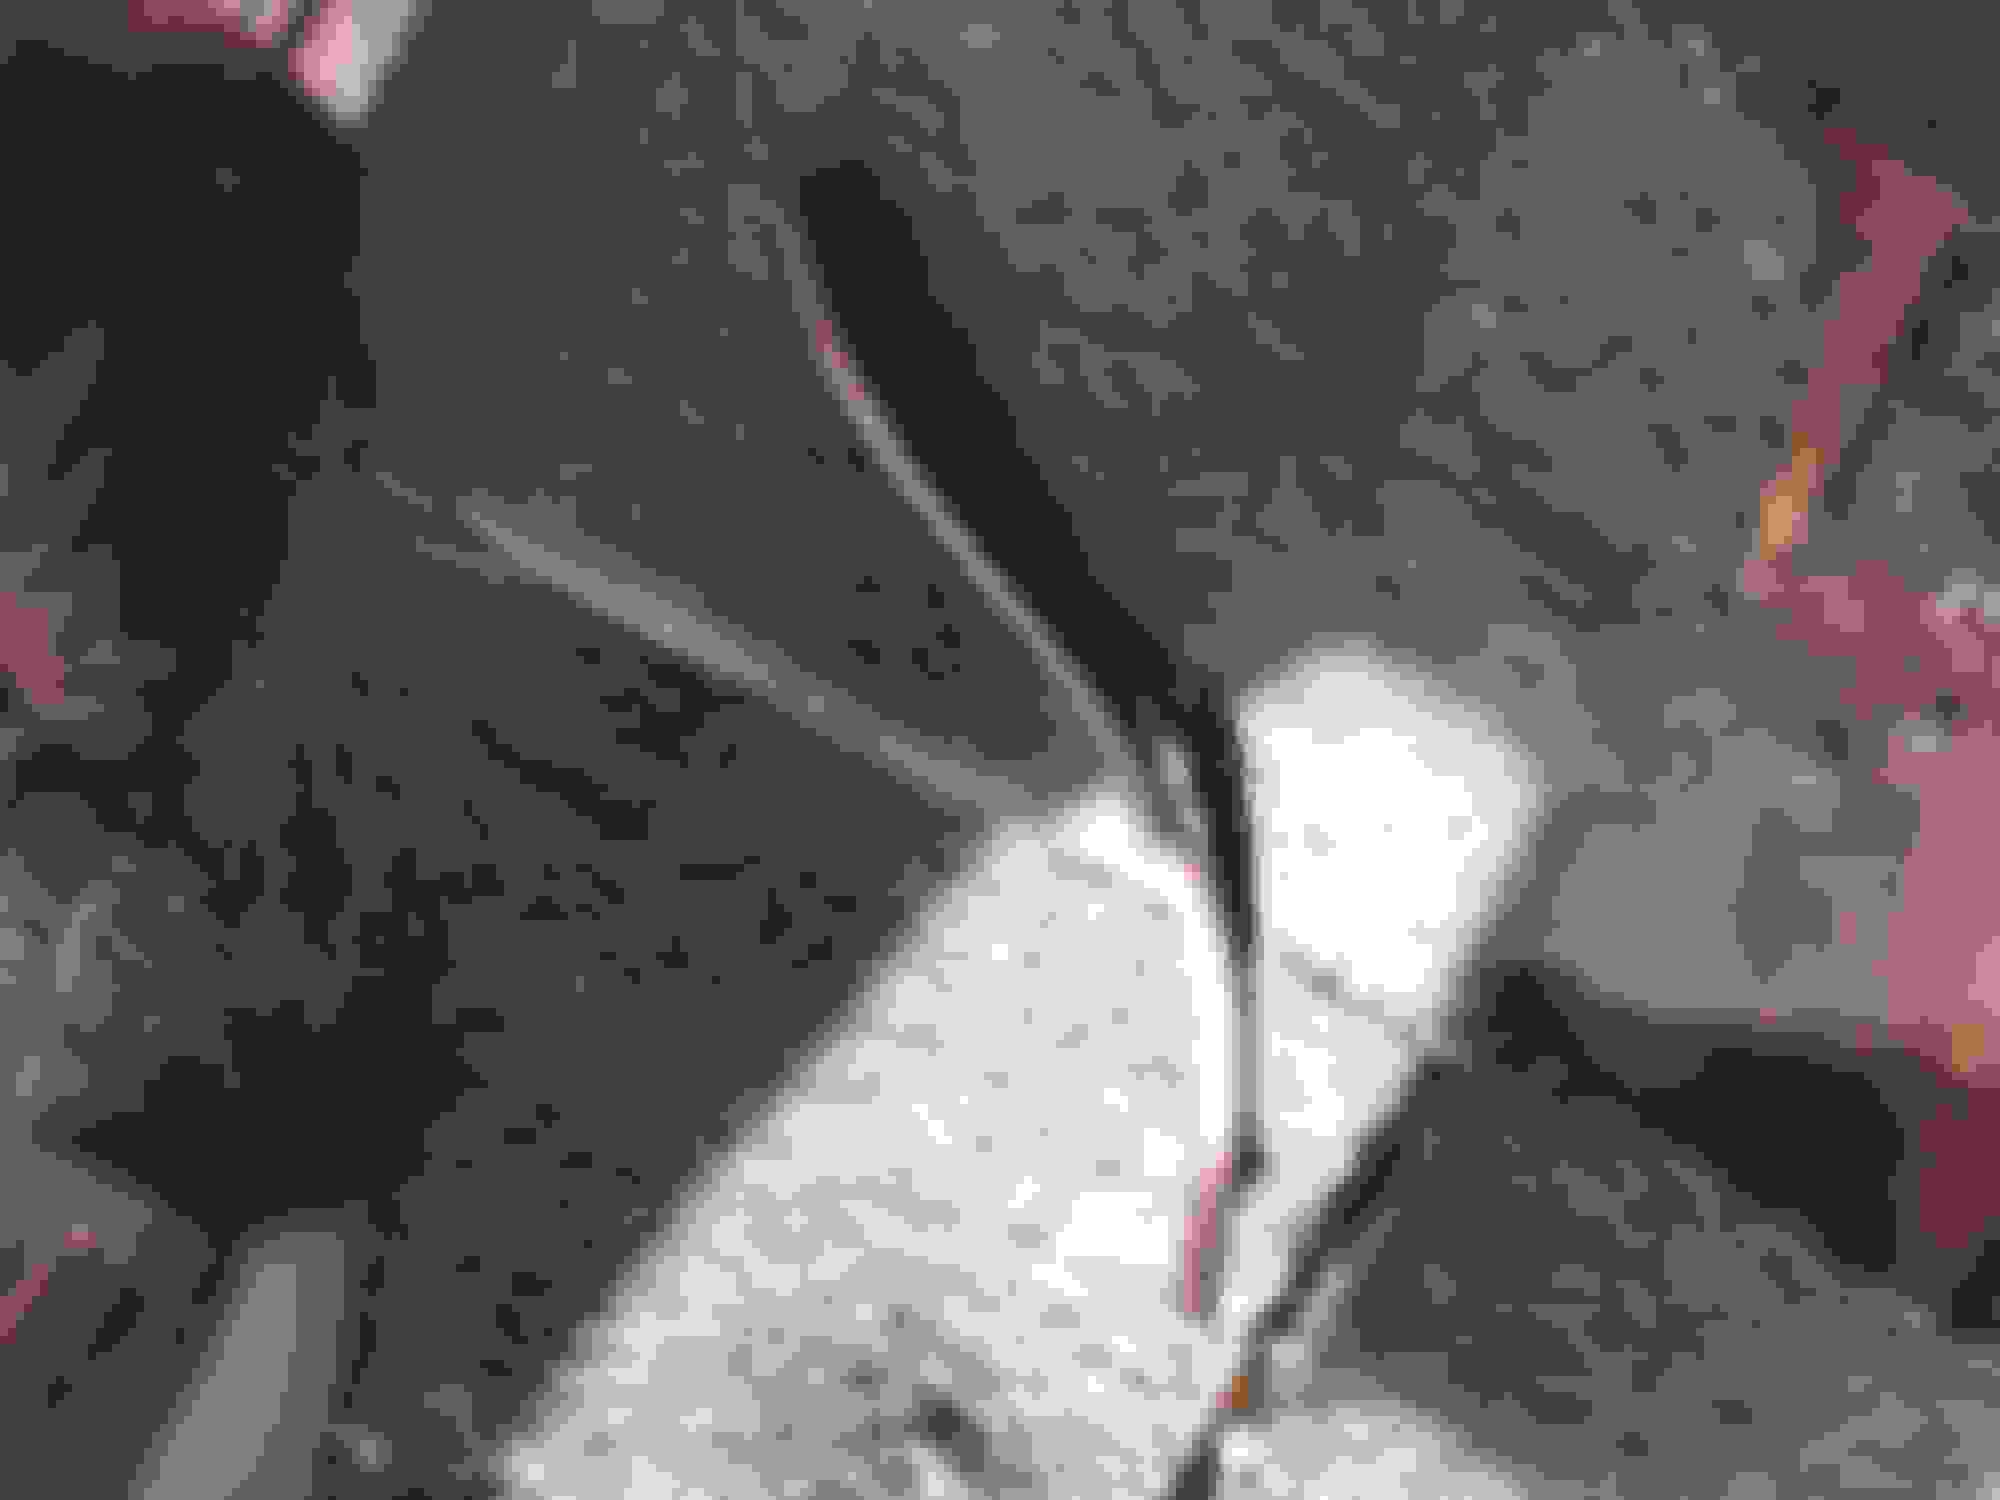
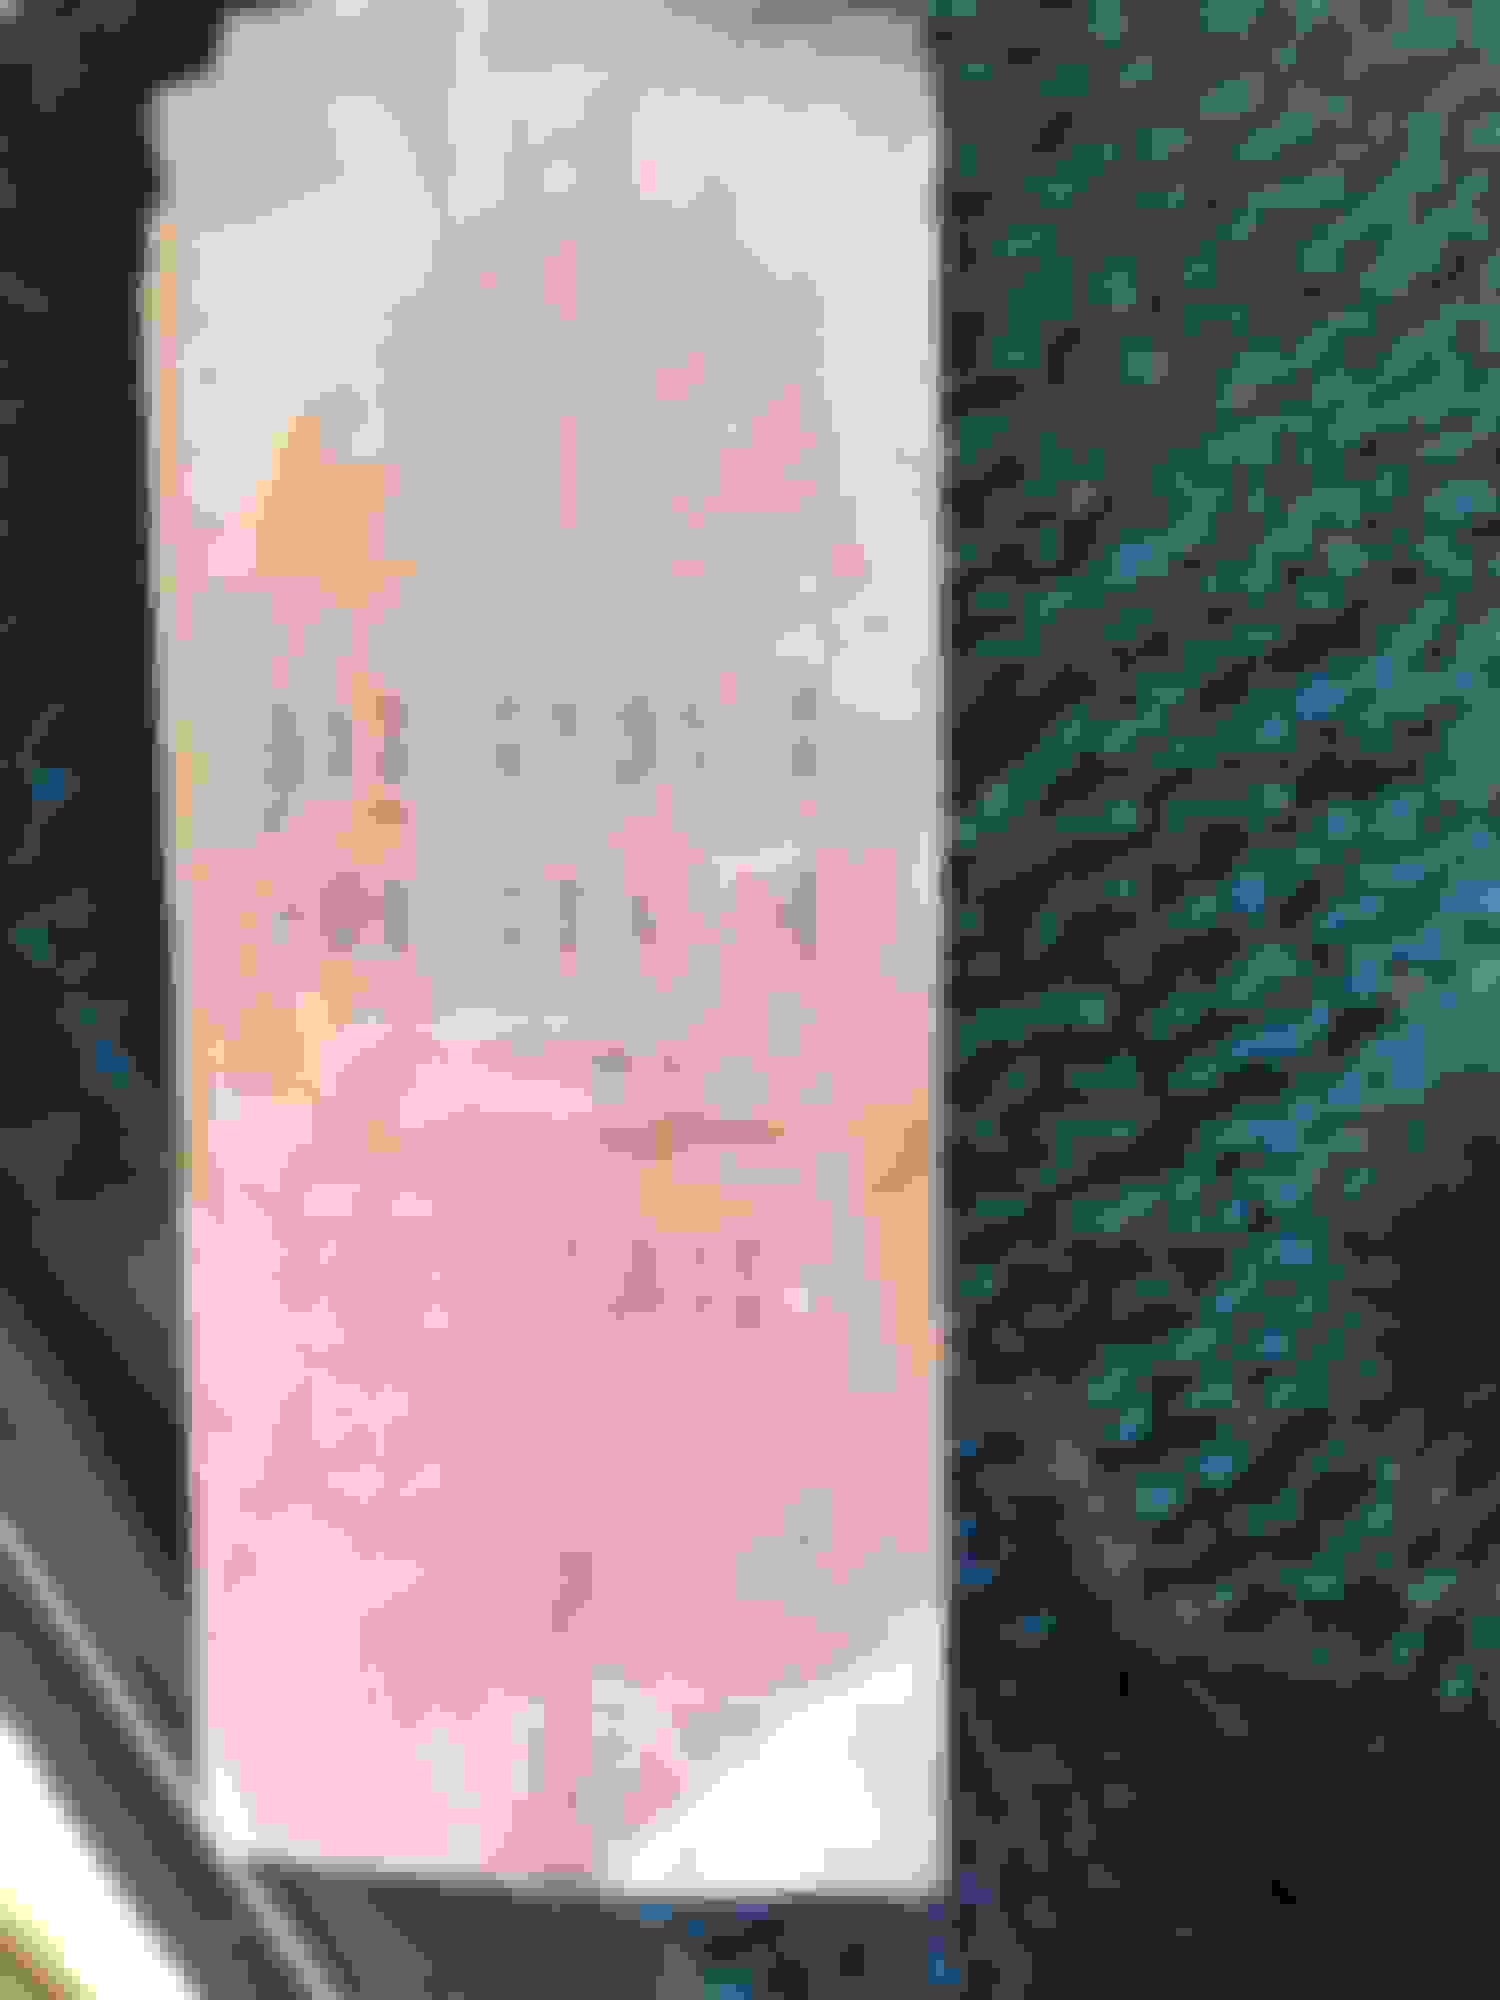
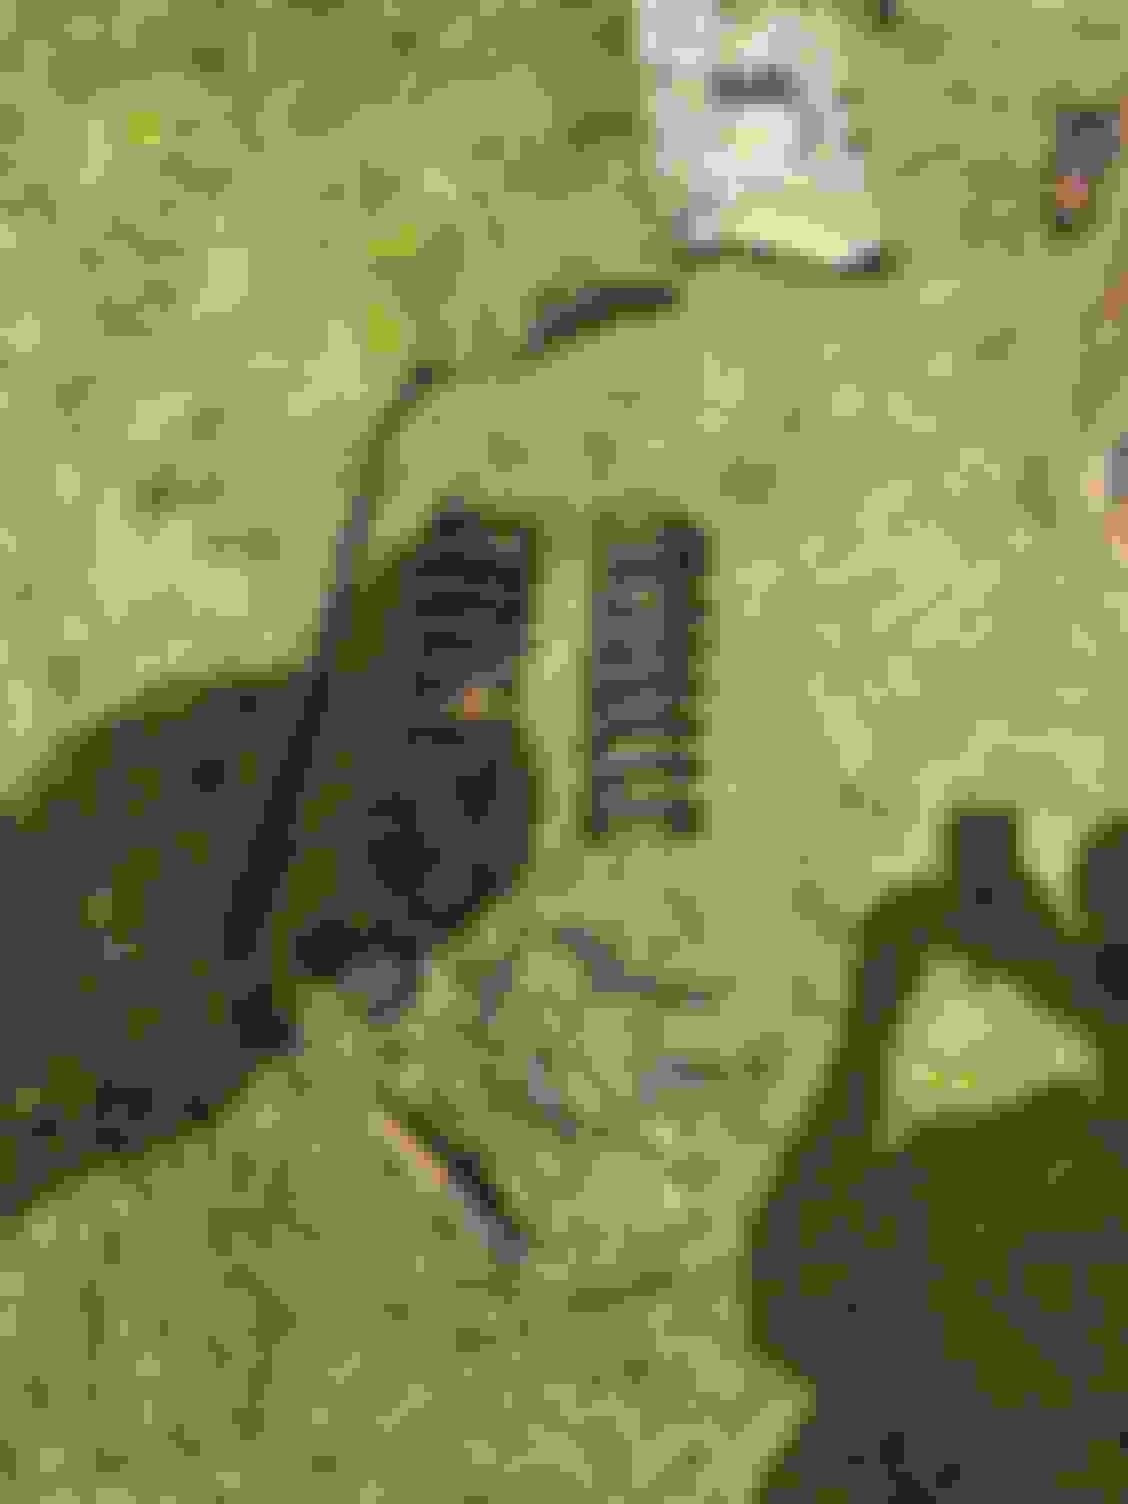
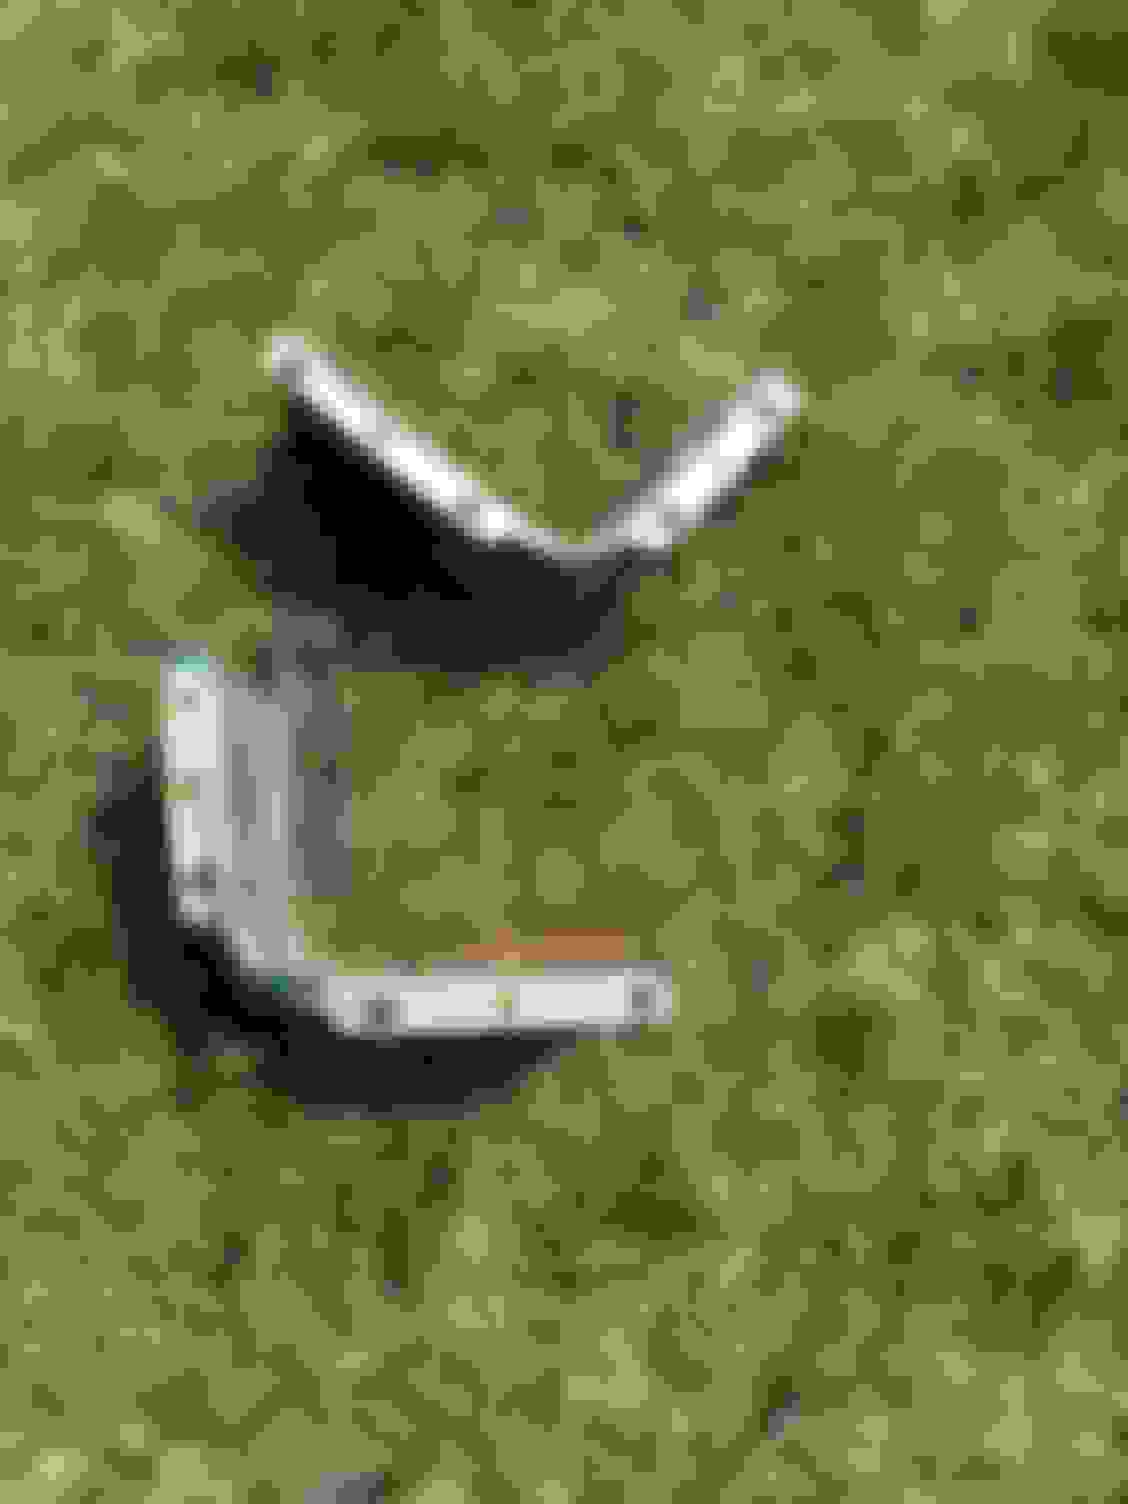
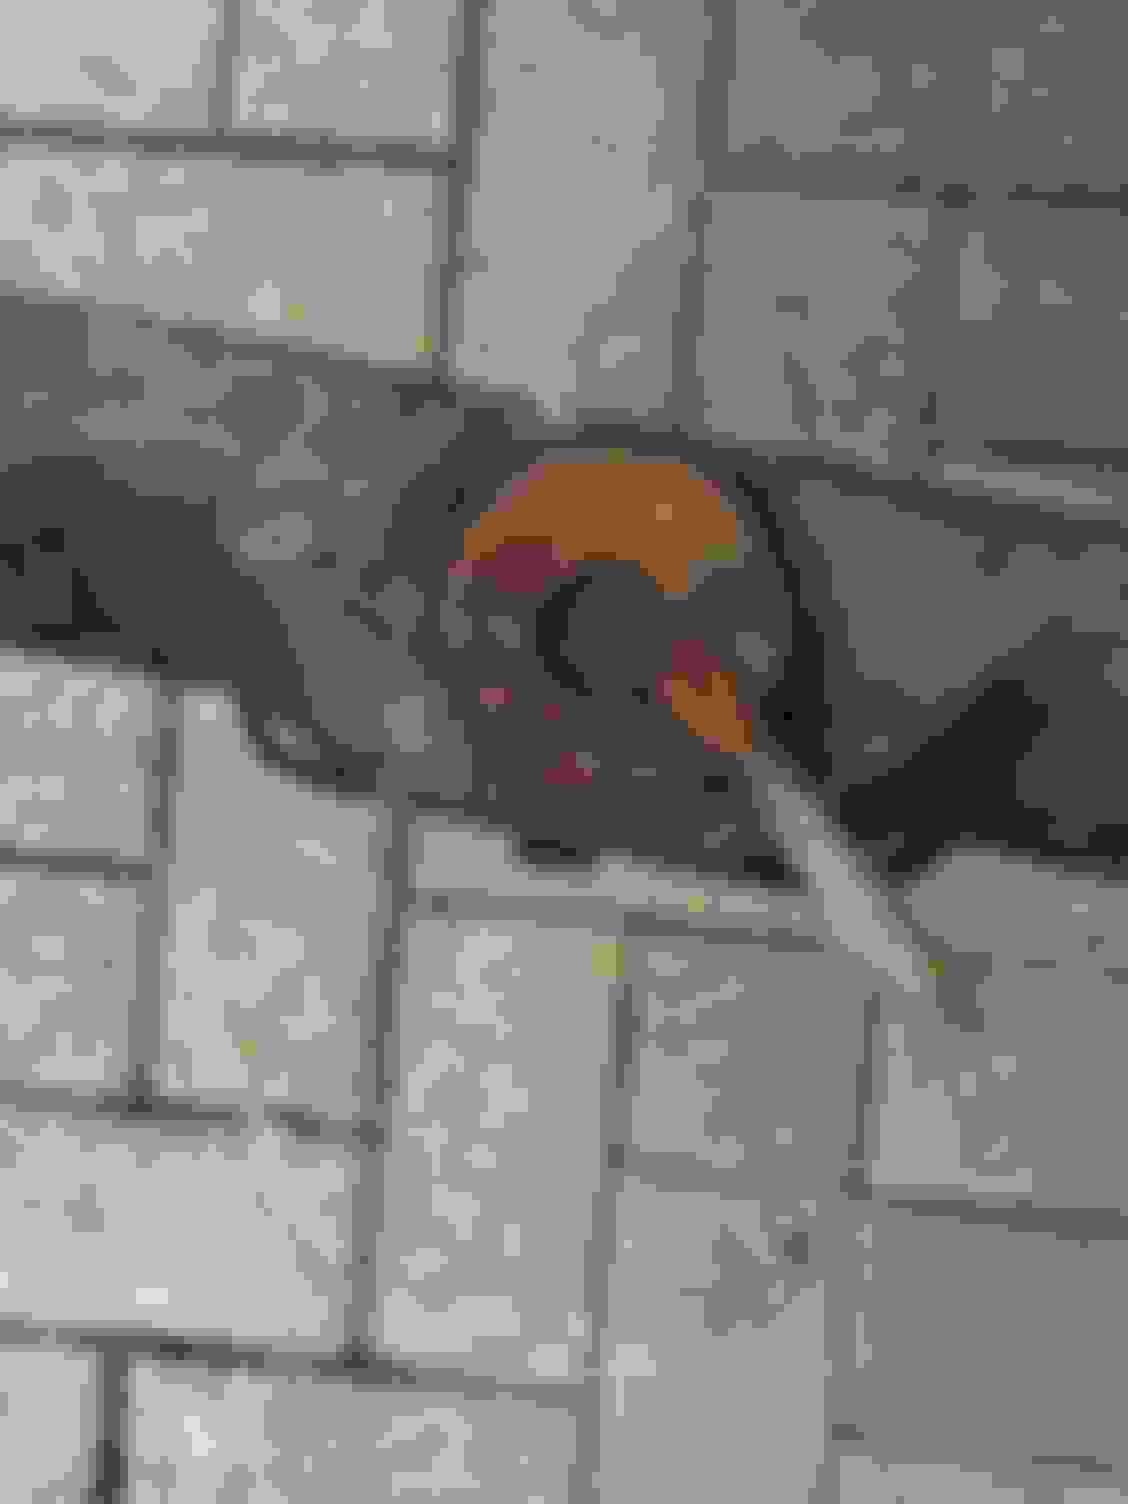
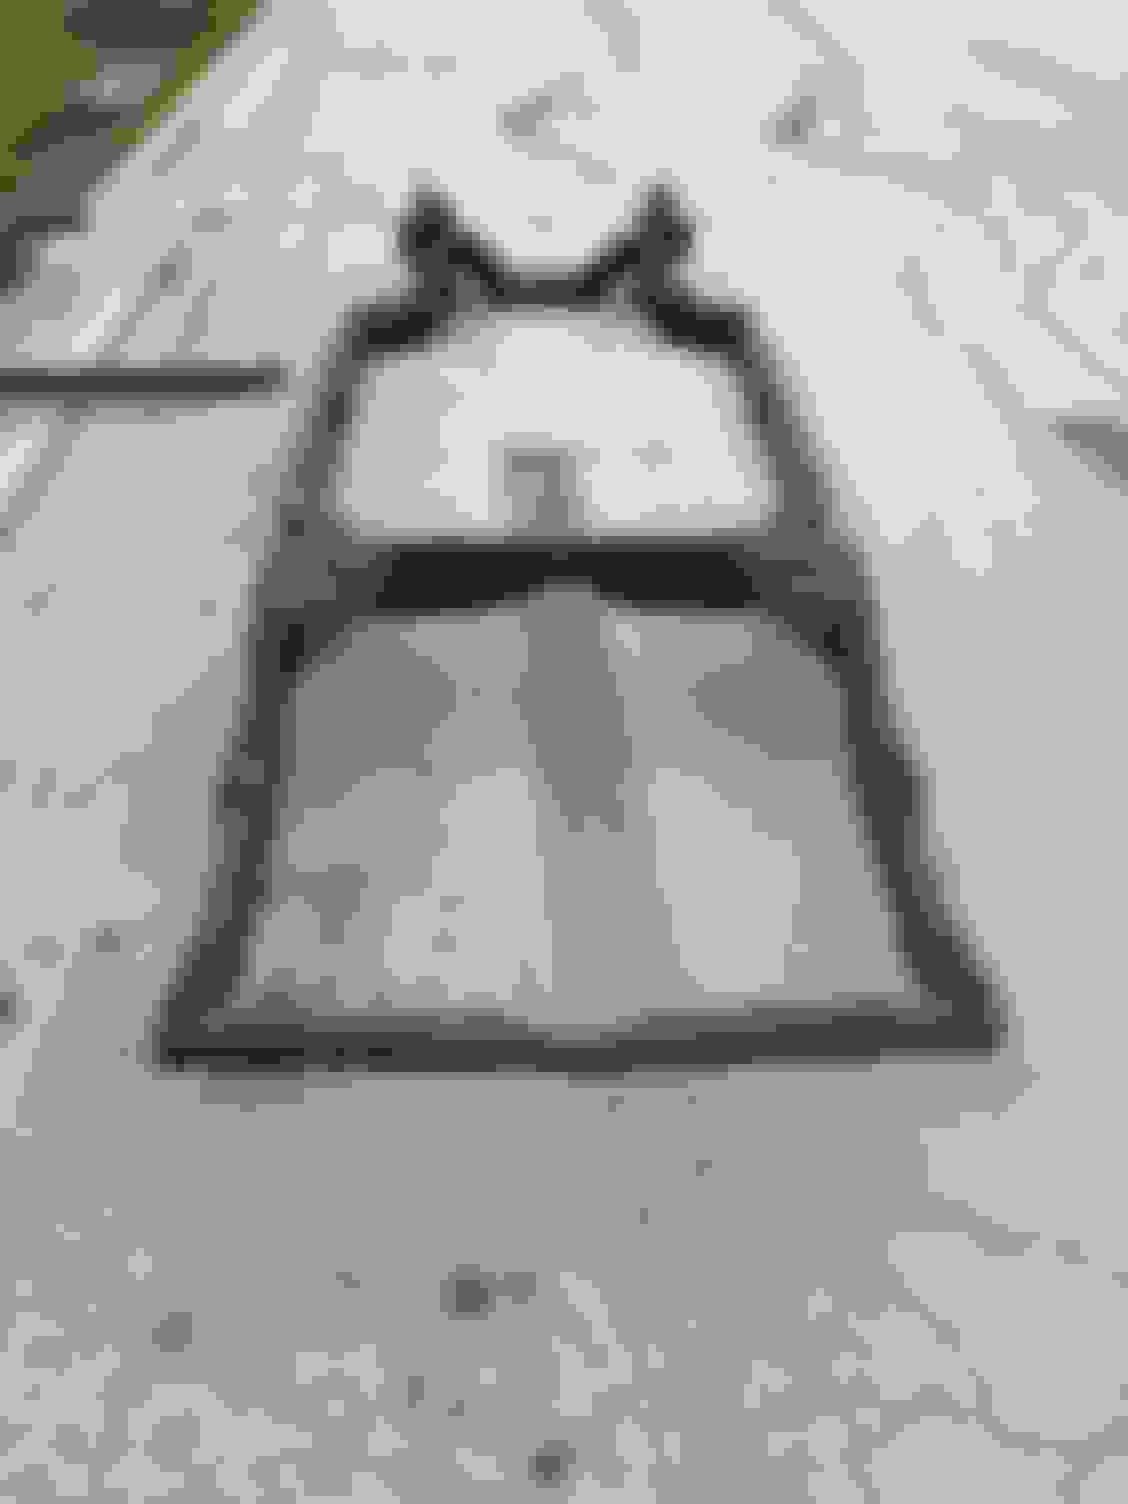
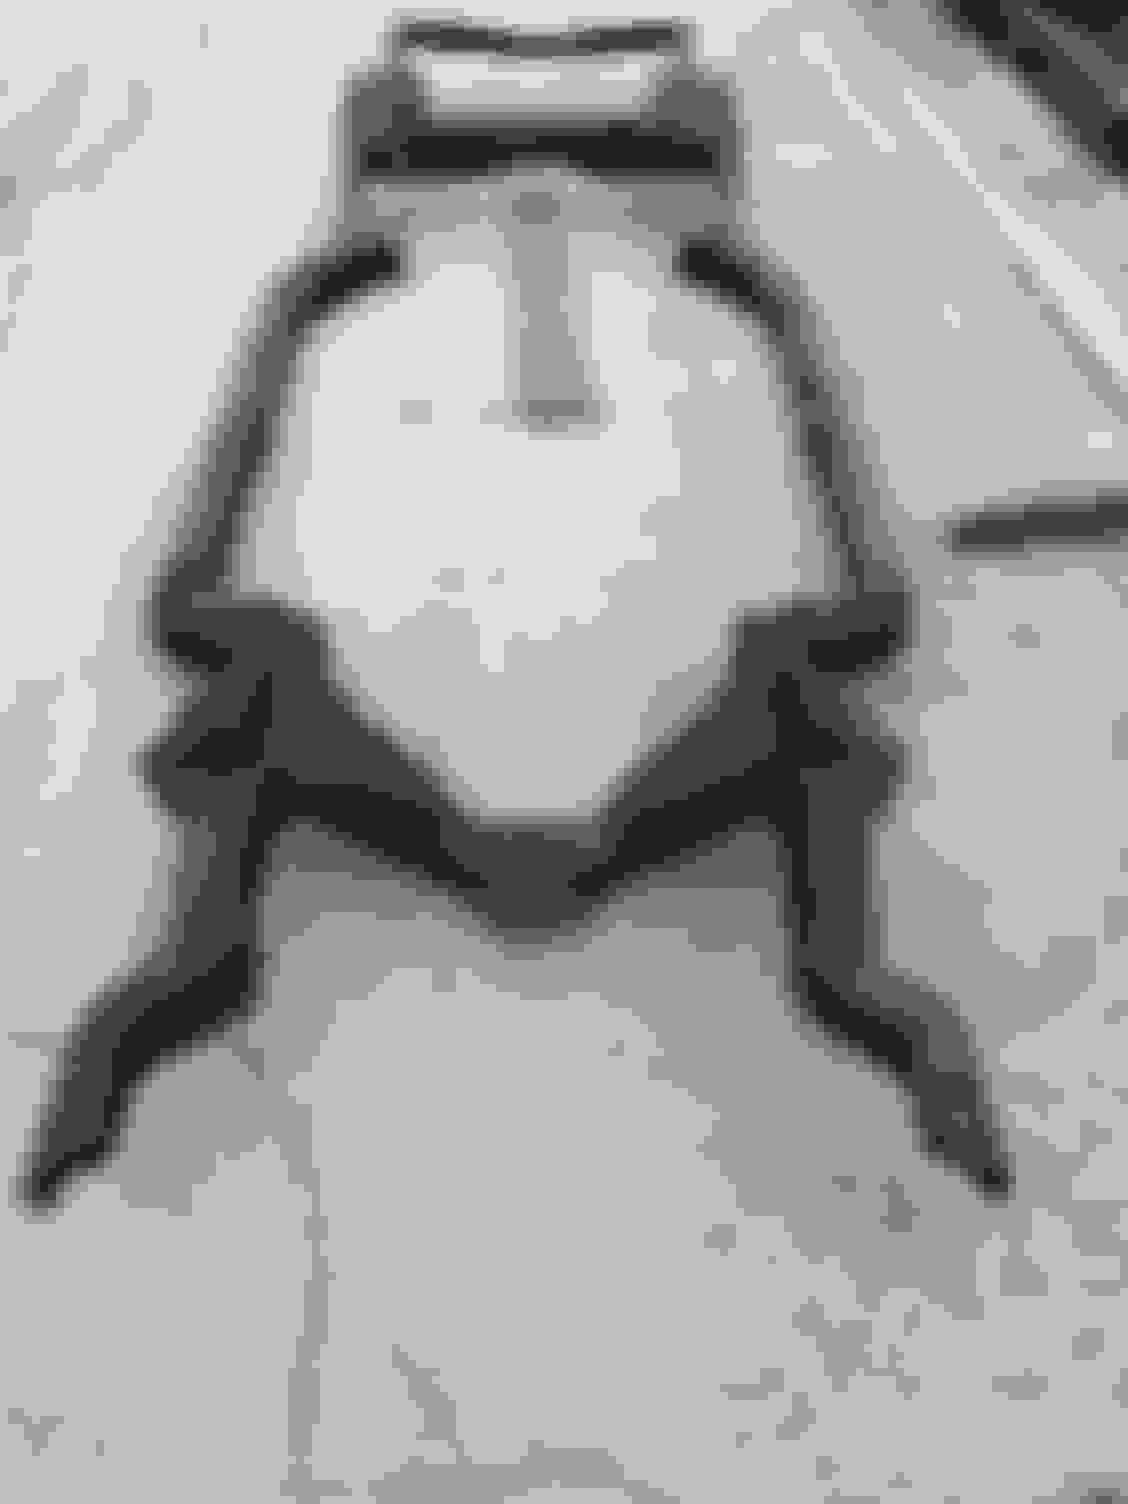
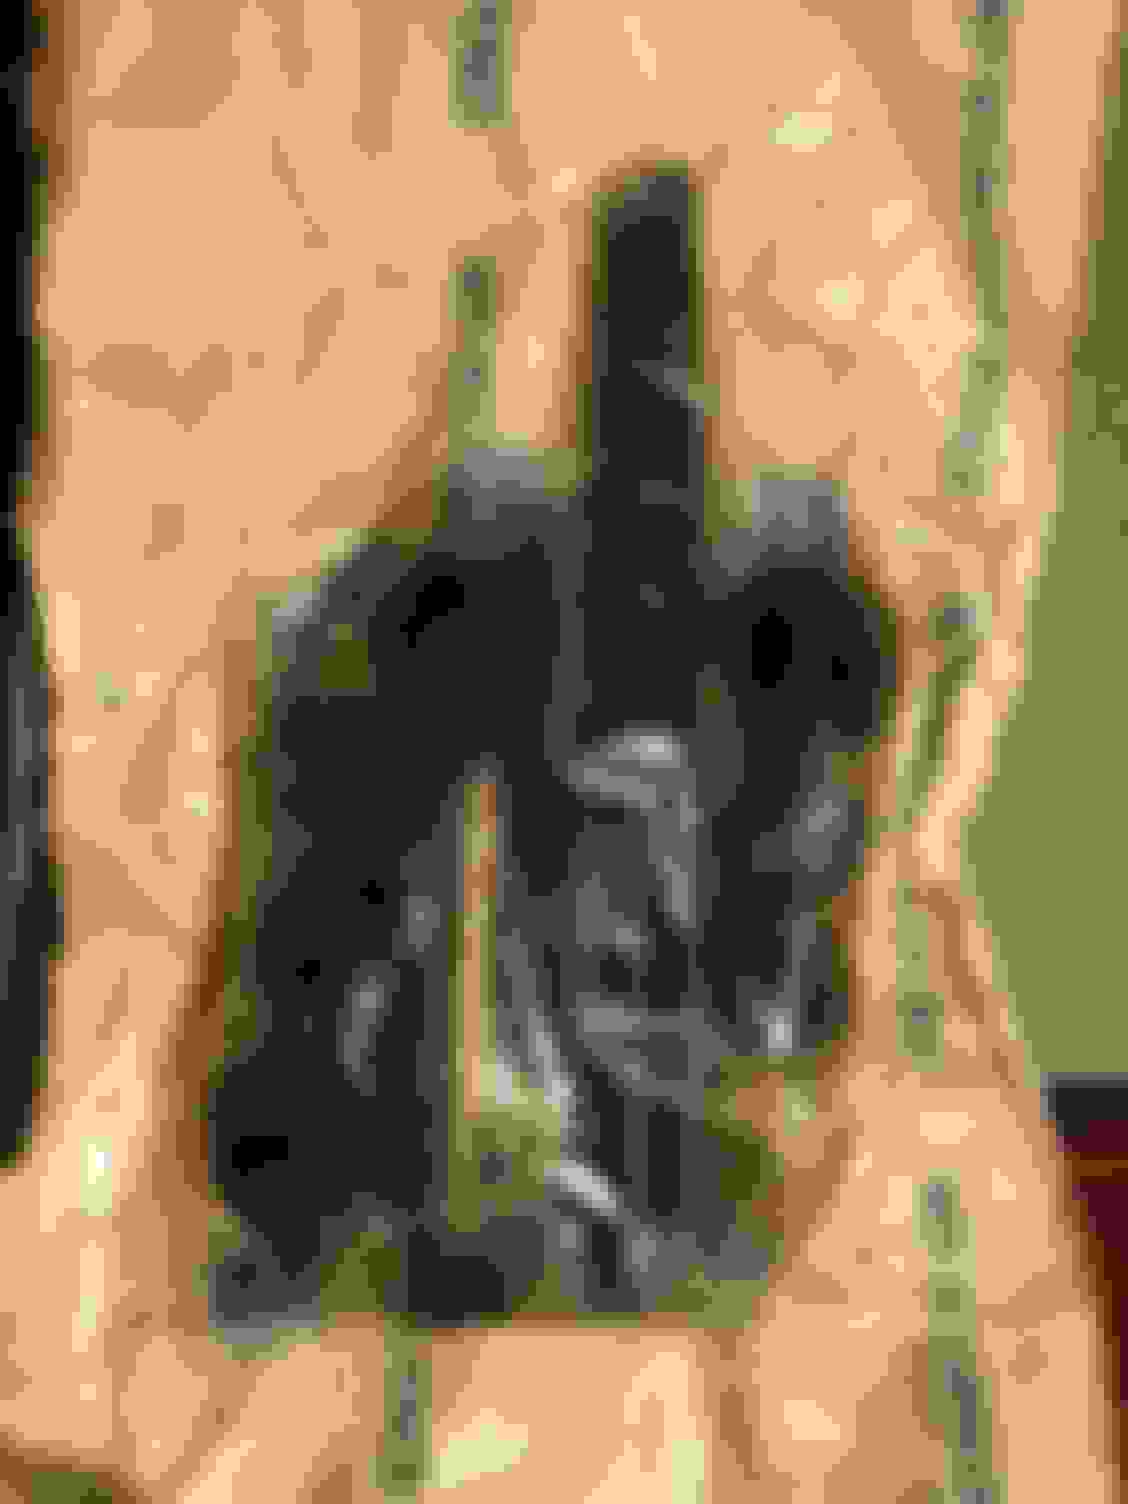
Had a few extra minutes this afternoon and pulled the seats to lessen the weight for when I lift the body. Found a few items under the seat from the original owner dating back to 1974 along with what looks like a random vacuum hose.
If anyone has an original blue bucket seat cover that isn't torn, please PM me as I'm in need of one.
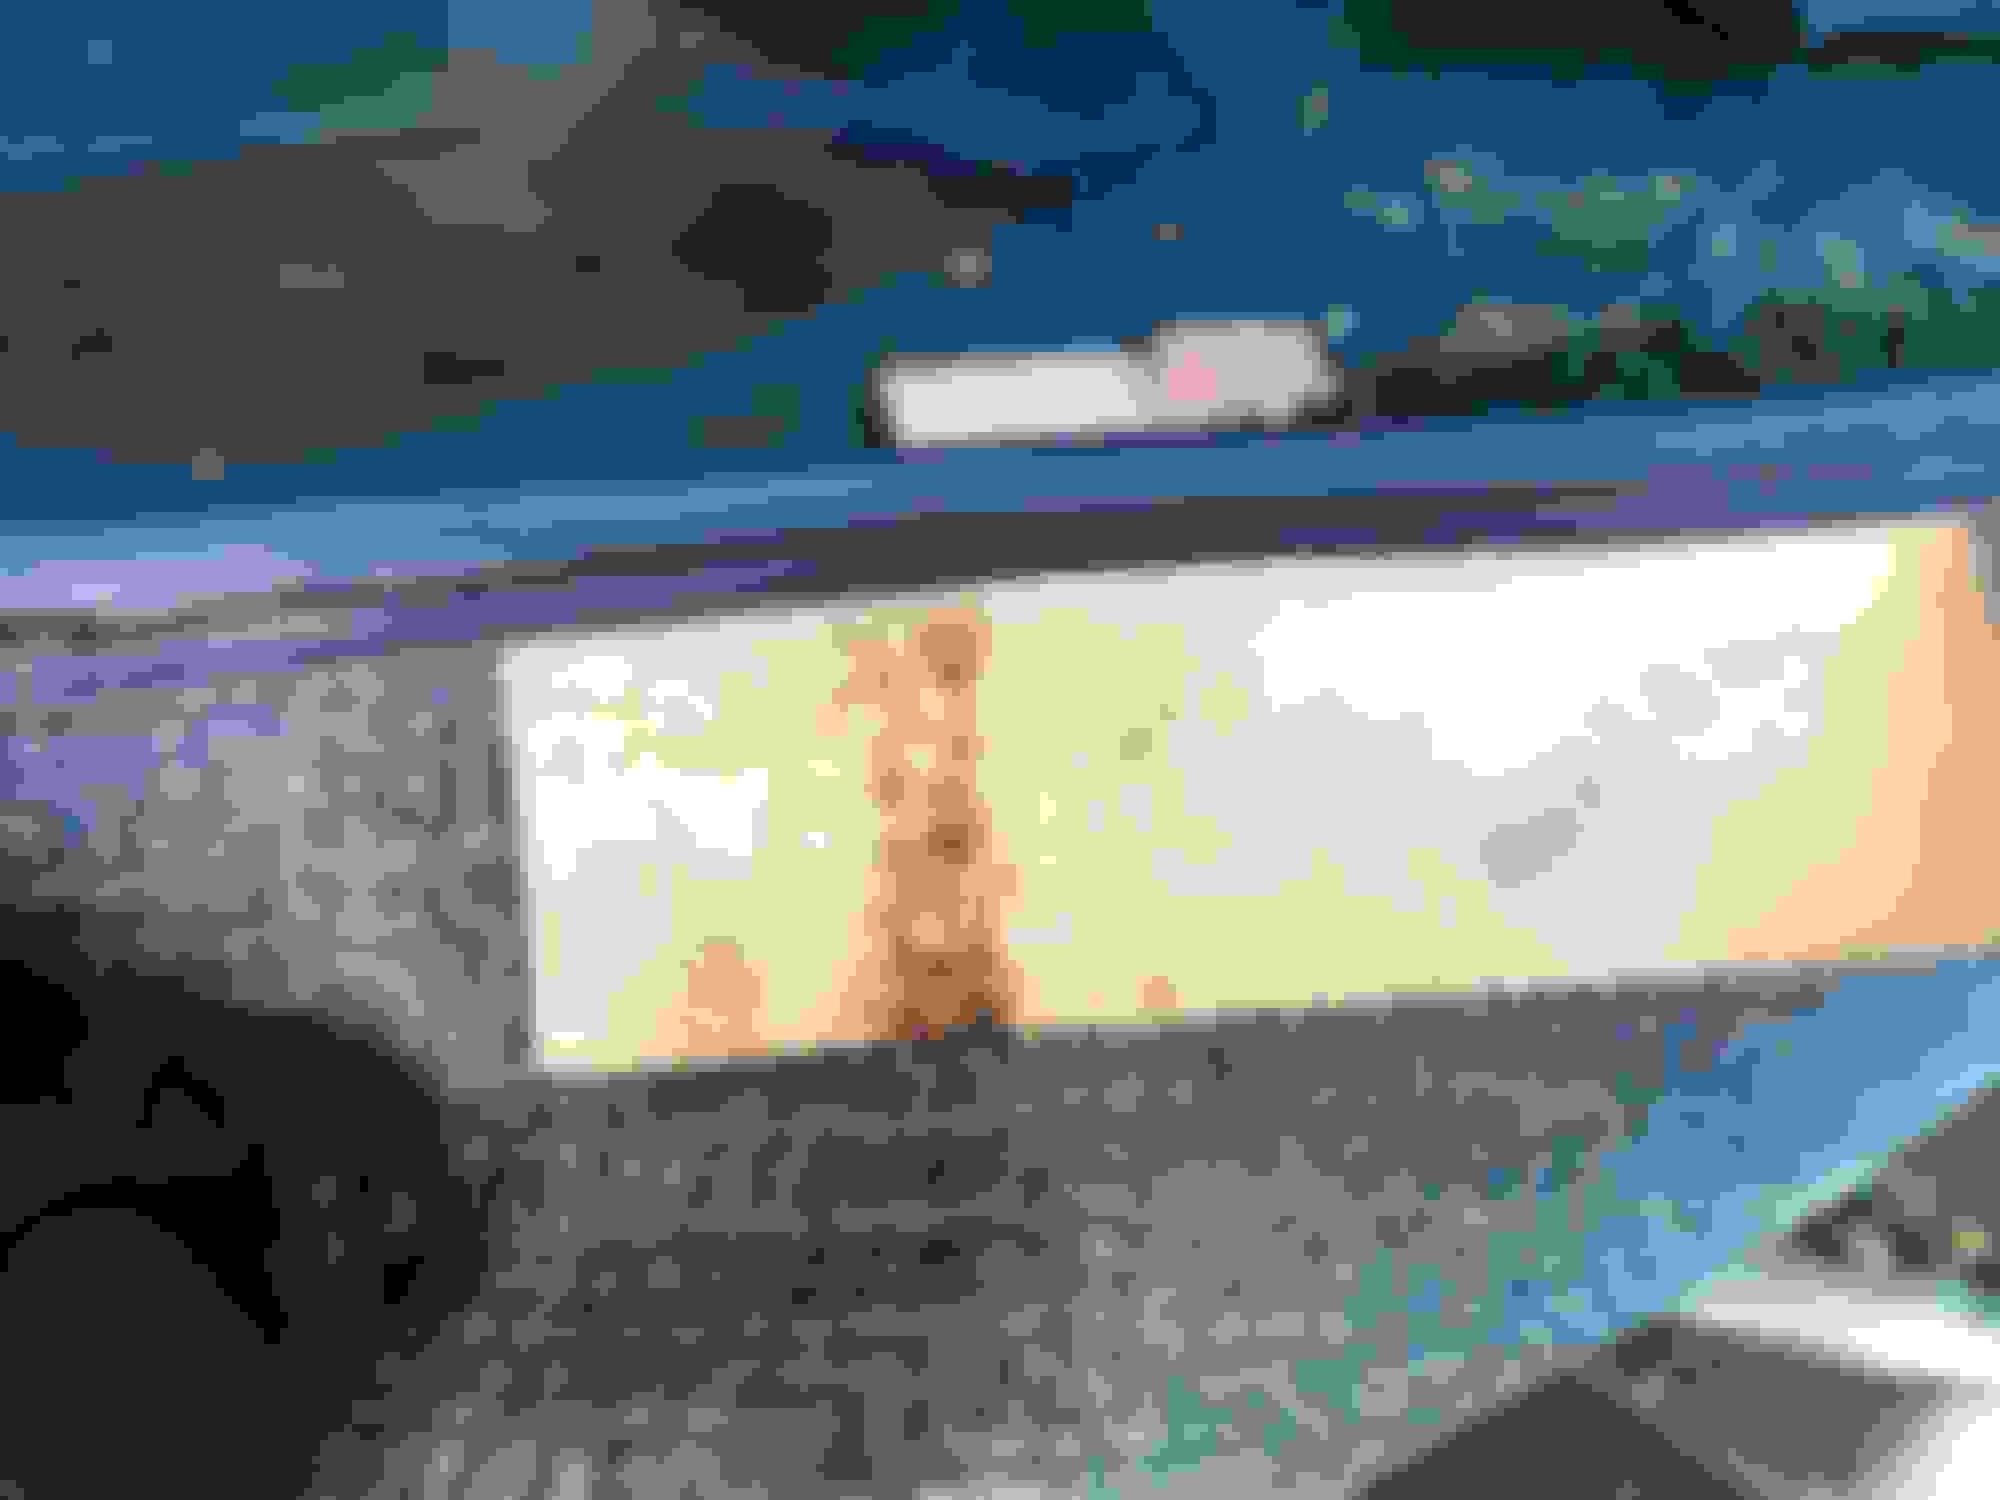
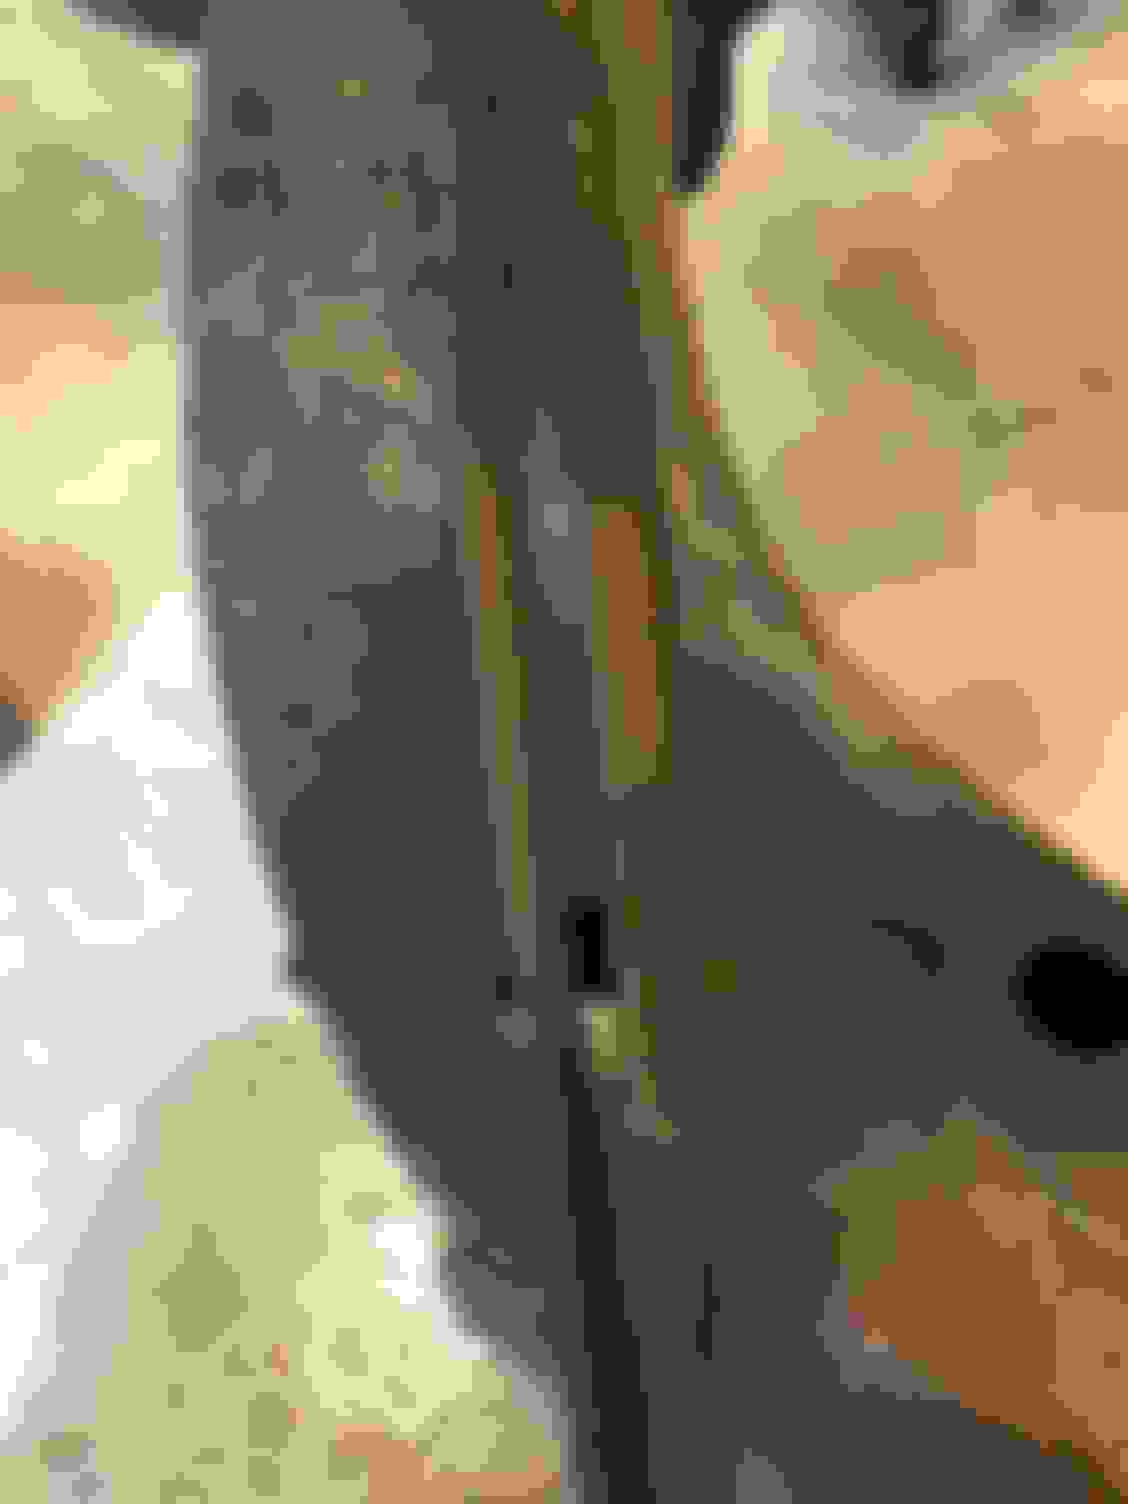
Does anyone know where I can get reproduction hoses that match the originals with the yellow and orangish / red coloring? The ones I’ve seen from the suppliers don’t look the same. If not, any recommendations for “restoring” the originals because the rubber actually appears to be in great shape! The power steering pump and steering box were shipped to Marty @ PowerSteering.com in Nixon, Missouri for a full rebuild. Be careful shipping the 31 pound steering box via USPS...
The receipt dated 28 December 1974 from "Rosenblums" was from a well known Cleveland, Ohio clothier with several stores. That receipt was from their Parmatown Mall store in Parma Ohio a suburb of Cleveland. What is the history of that car that you can discuss. I lived in Parma from 1950 until 1968.
Wayne
Medina, Ohio
Thanks for the context, Wayne. Very cool. Car was bought out of Cleveland brand new from Pelunis Oldsmobile and remained in the Ohio area until I picked it up.
Small world it is. I bought my original 66 Cutlass in April of that year from none other than A D Pelunis. Actually they were located in Lakewood a suburb of Cleveland.
I hope you keep this forum advised of your build and it goes well. Really love the pictures.
Thanks
Wayne
No, I wish I did. I wish I had some. I would like an original A D Pelunis frame for my current 66 but alas I haven't found one yet.
Judging from the latest two pictures it looks like you have scored an Oldsmobile "Valhalla". I am jealous. I bought my original 66 at A D because my father had purchased a number of his Oldsmobiles from a salesman at A D named Homer Sievers. By the way it was a 330/320 HP with a 4 speed and positraction.
My father died in 62 but I always remembered his fondness for Oldsmobiles starting back in 1941. Thats why I bought my first 66 from Homer. Oh well.
Keep us informed. This is fun.
Wayne
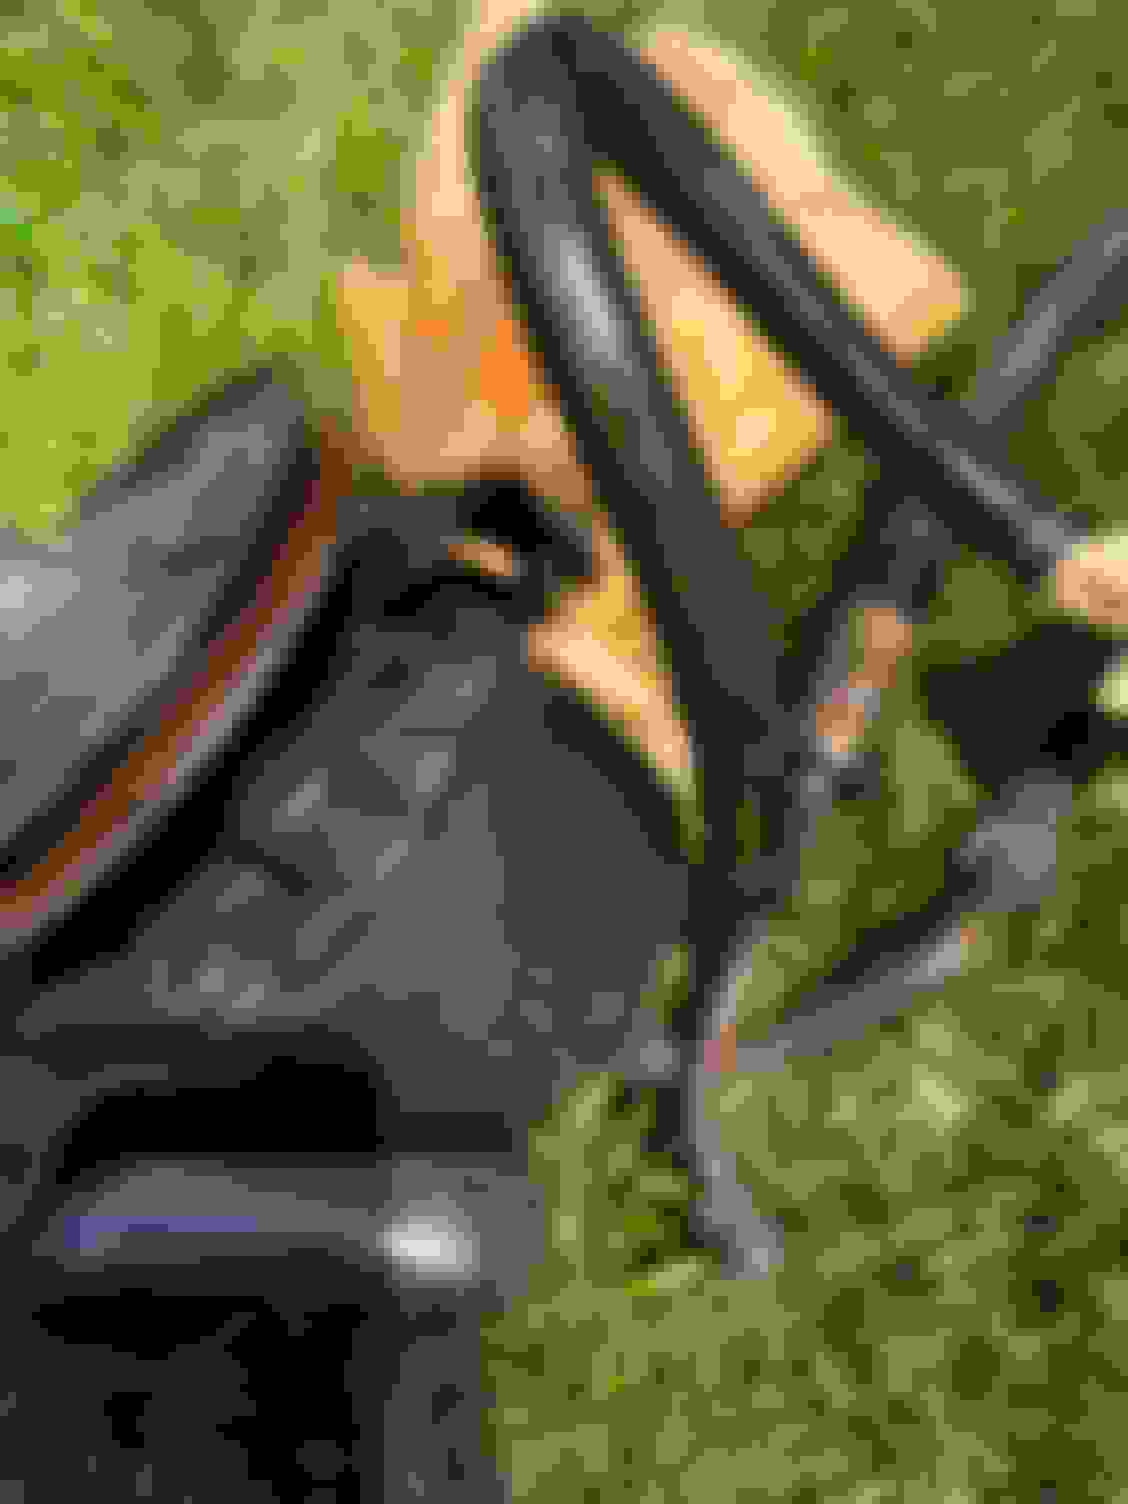
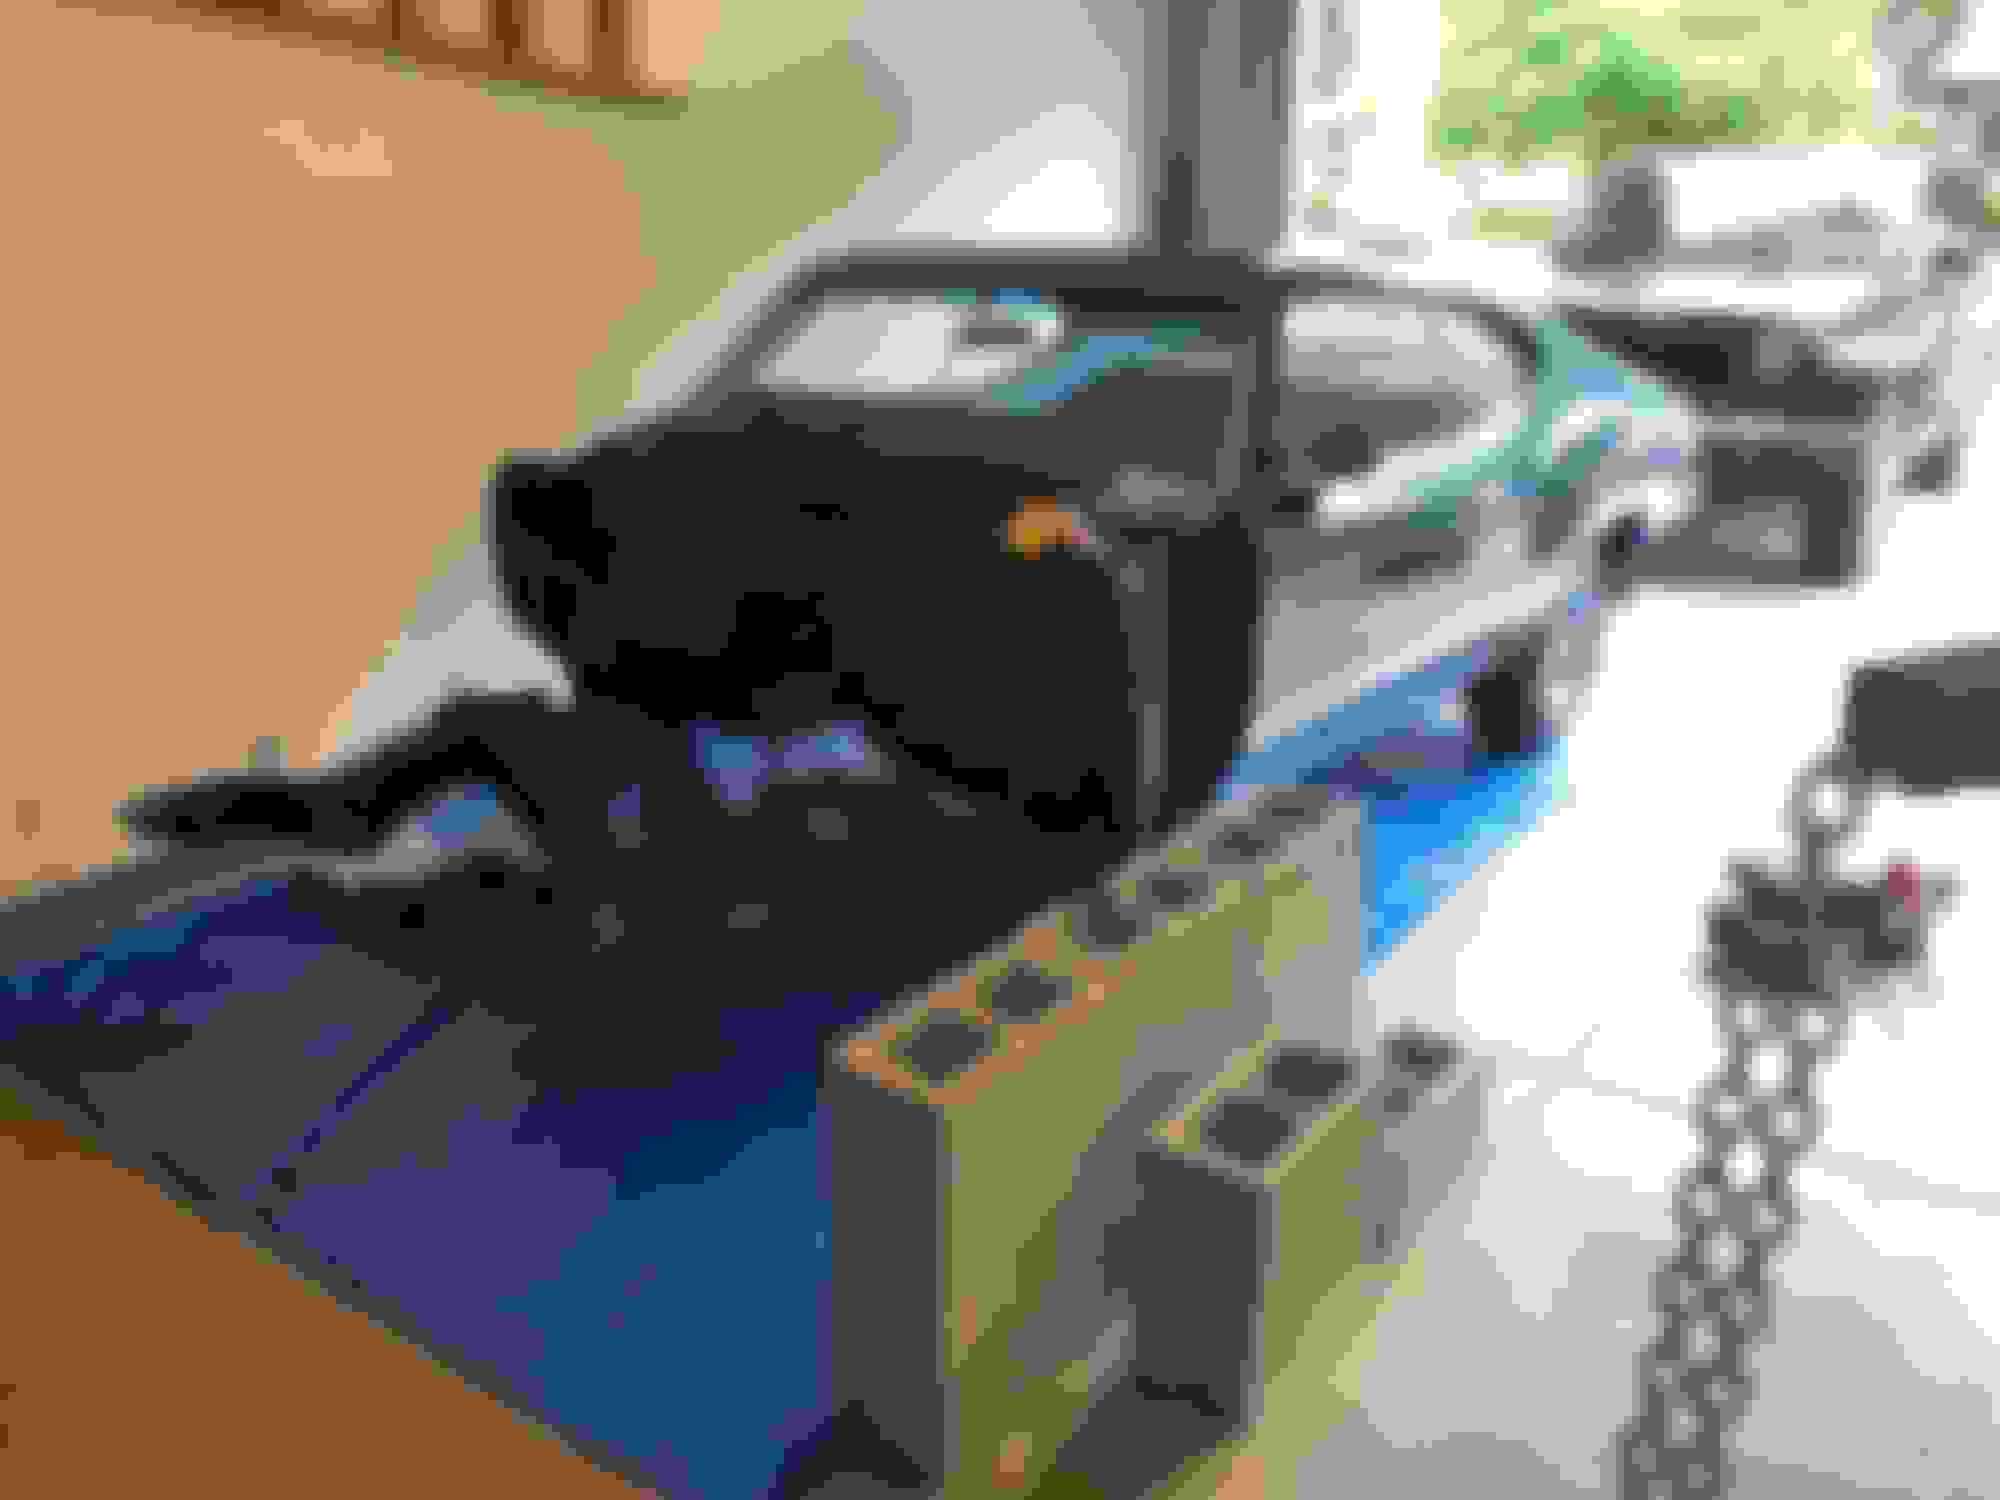
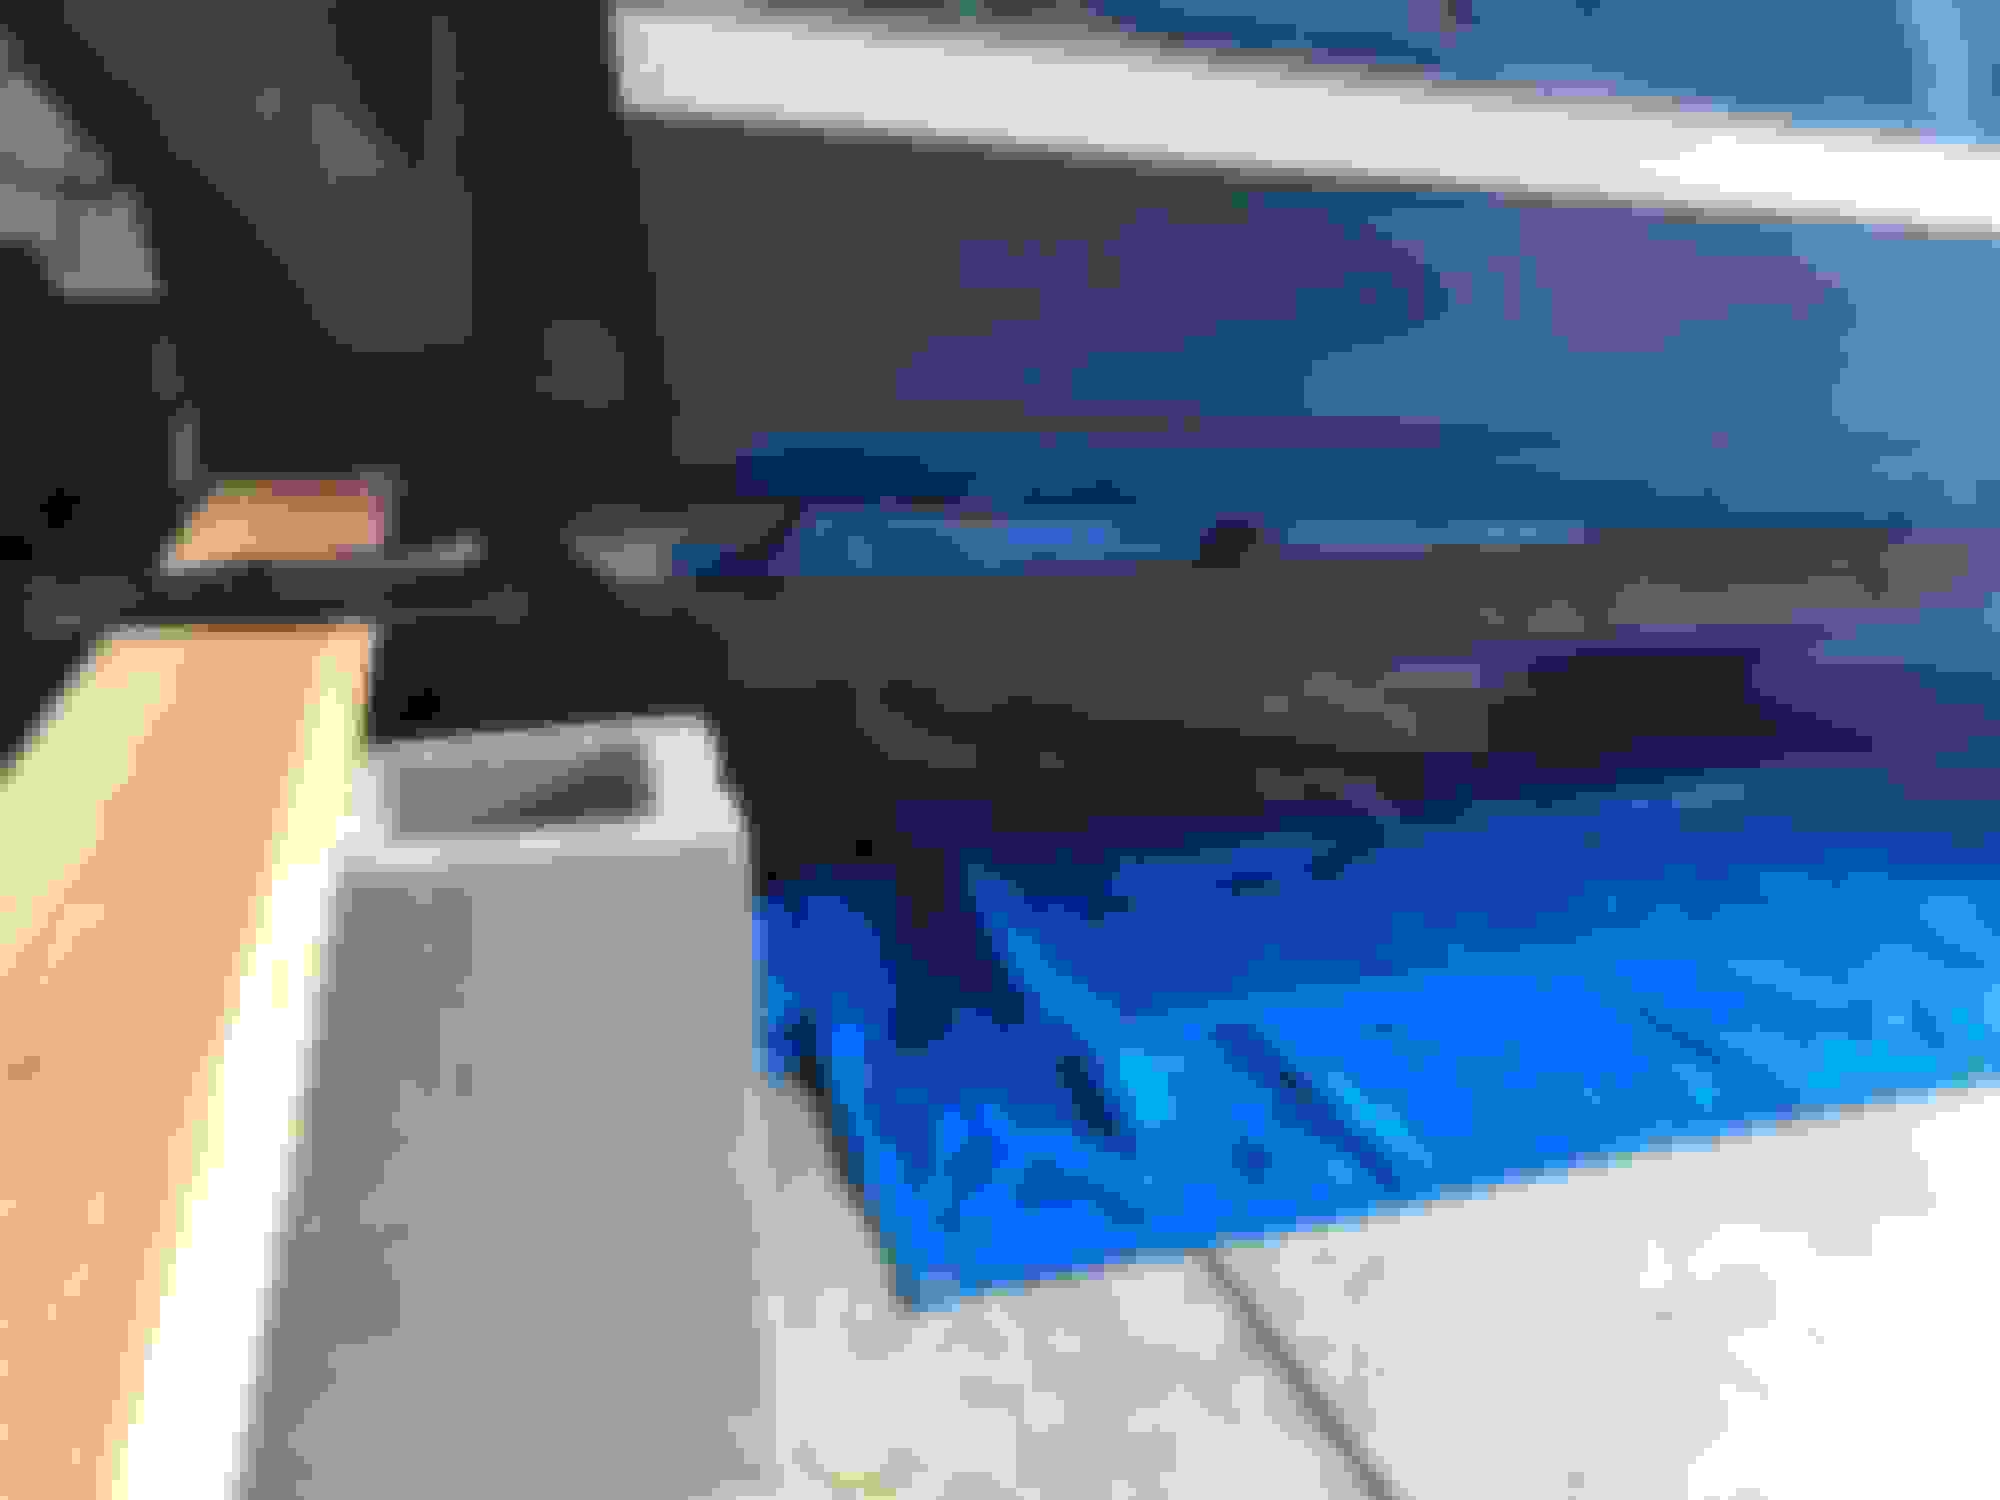
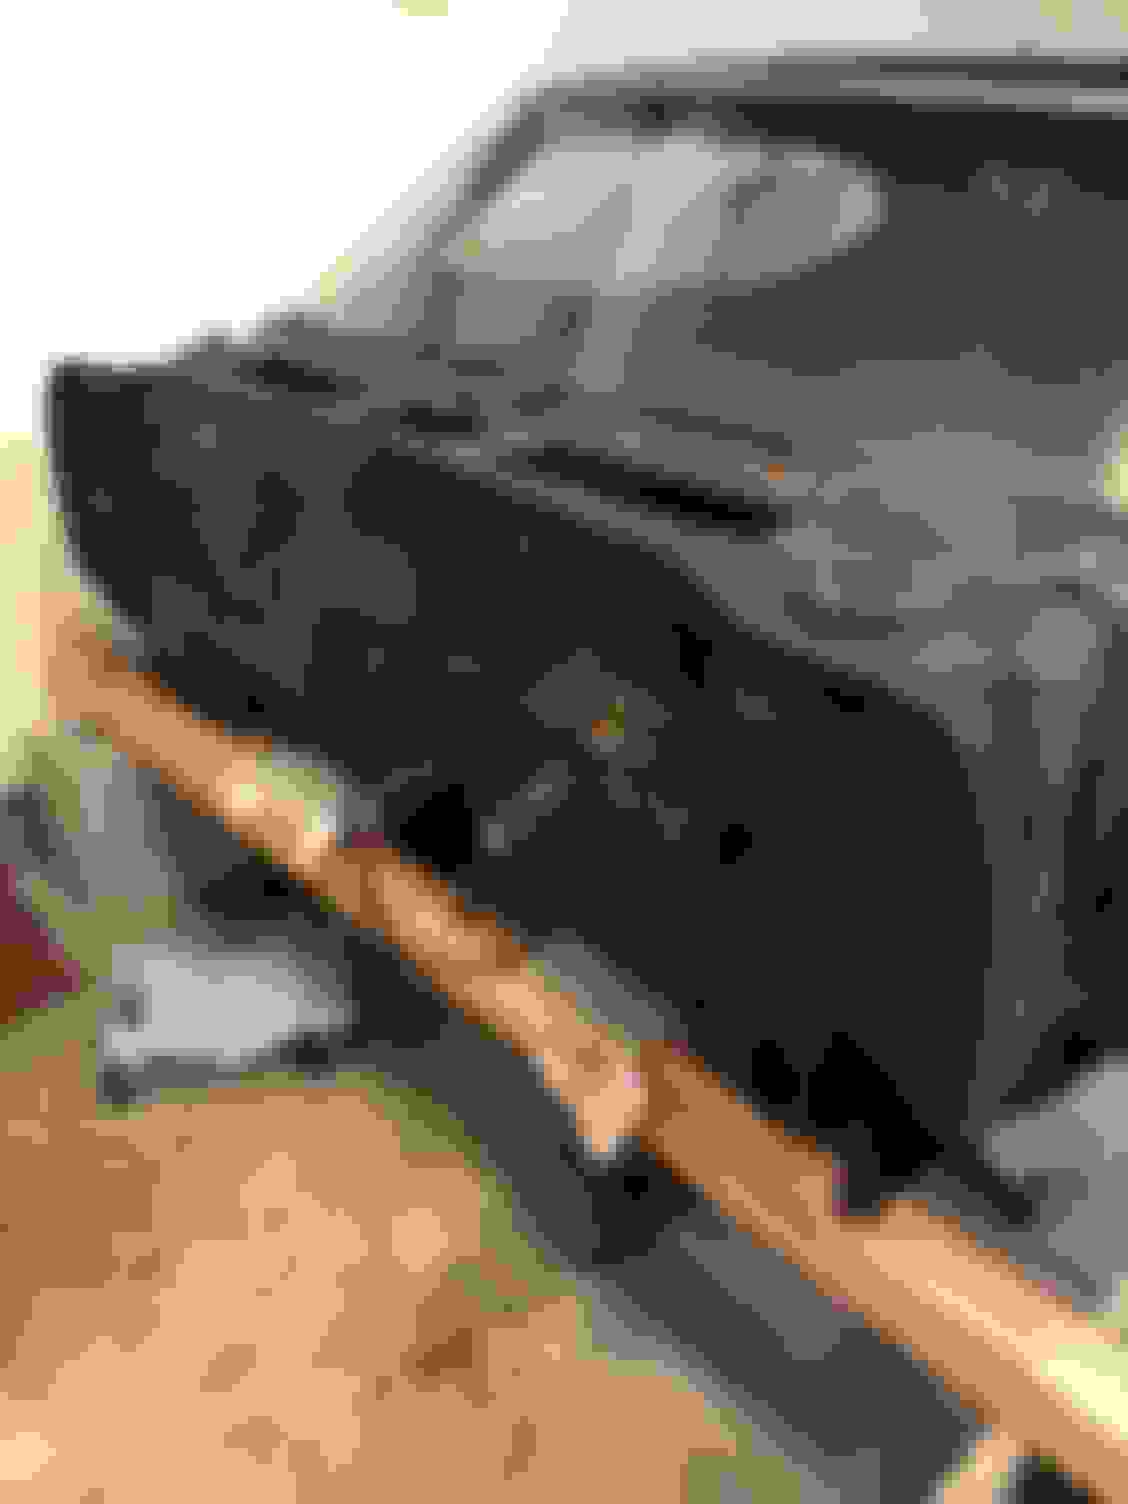
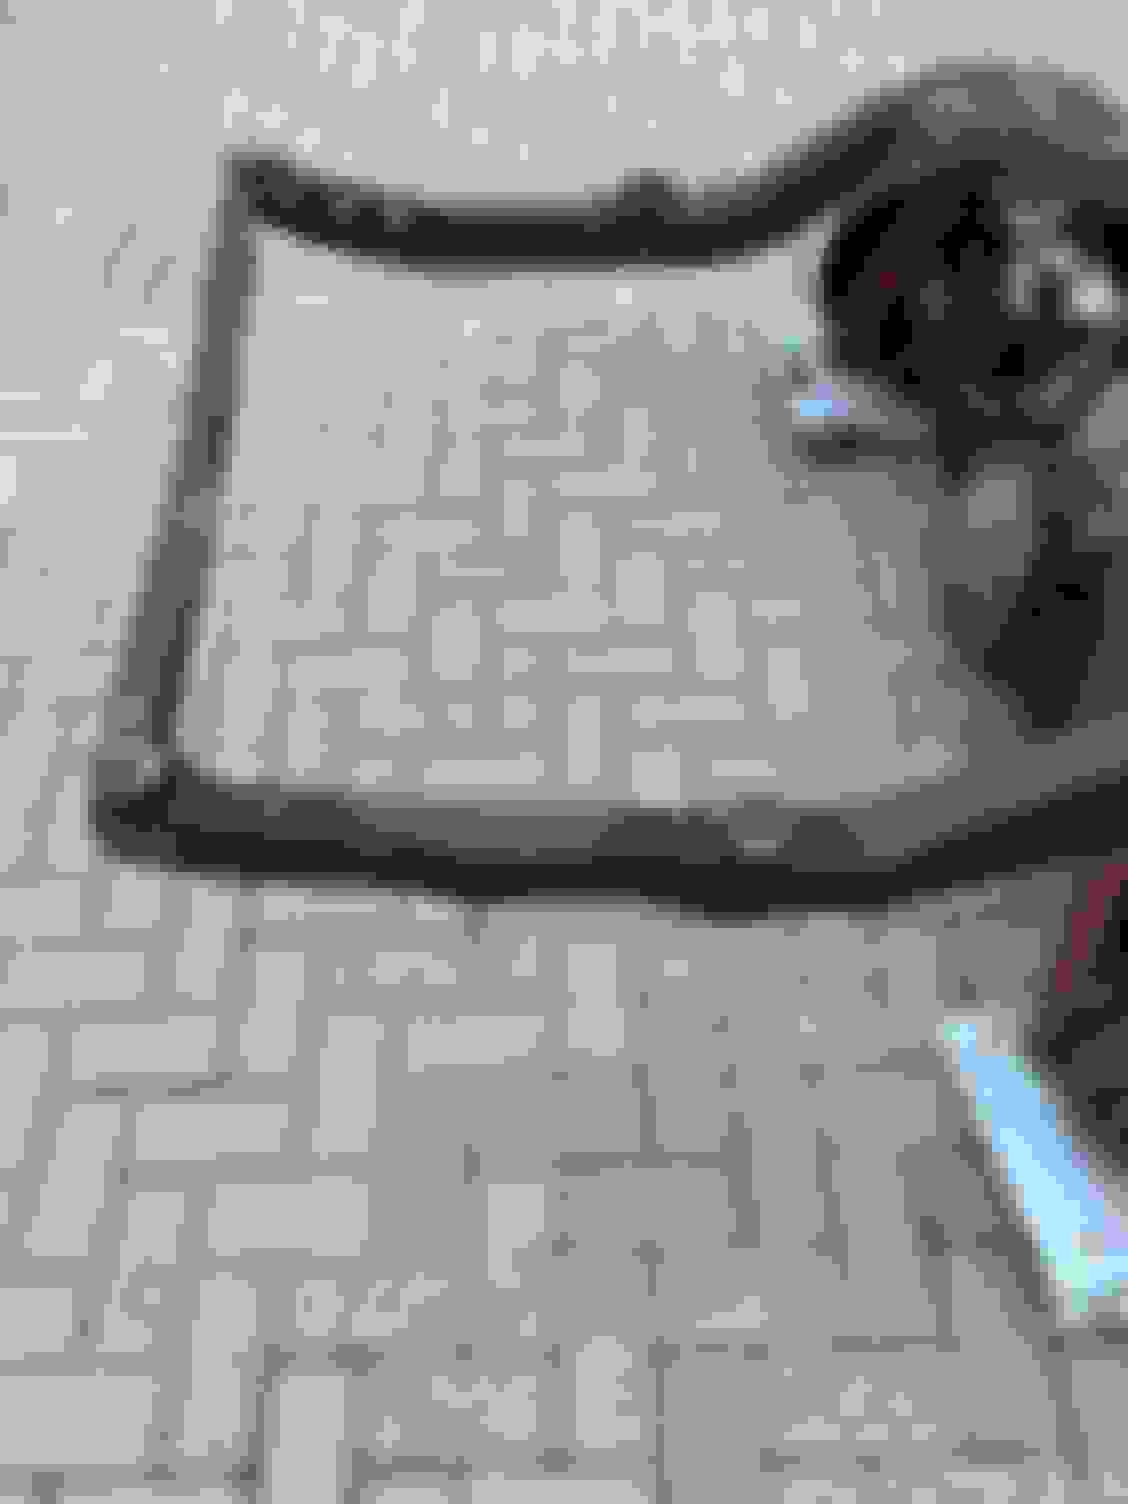
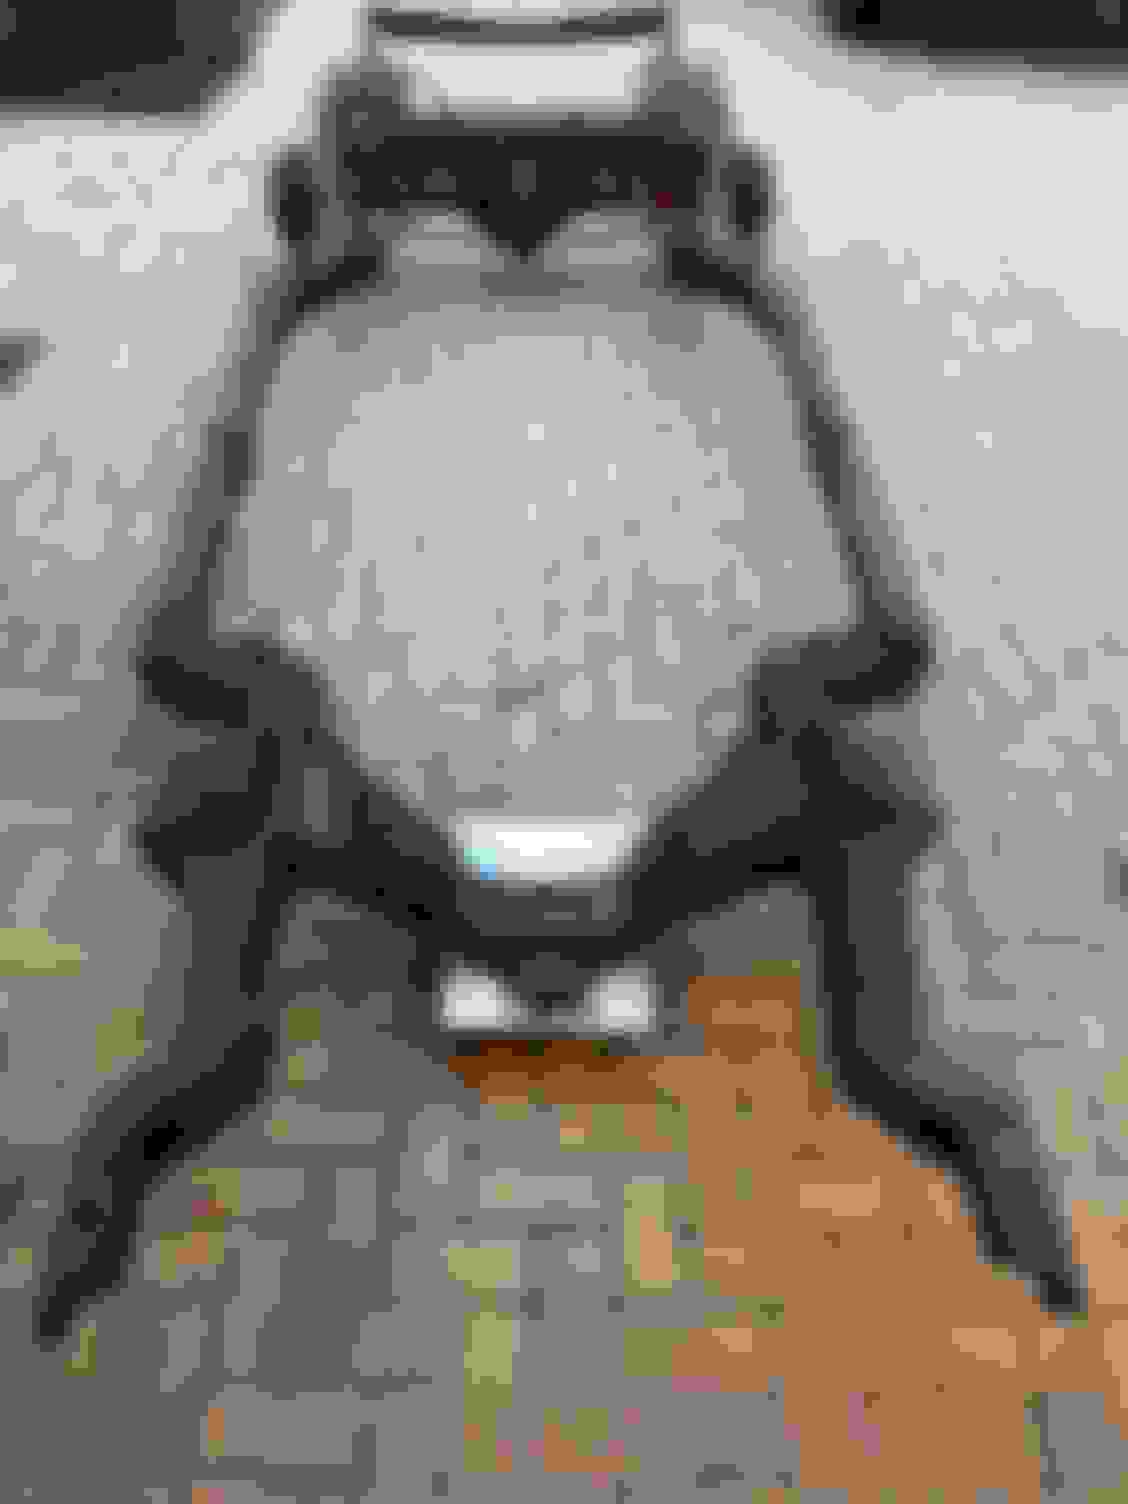
Successfully removed the body off the frame on the W-31 tonight. Started by mounting bolts through a chain and using the holes at the top of the torque box. I hooked the chain to the hoist and lifted it high enough to get the 4x4 post under the car. I also cut two 2x4�s to mount directly under the torque box.
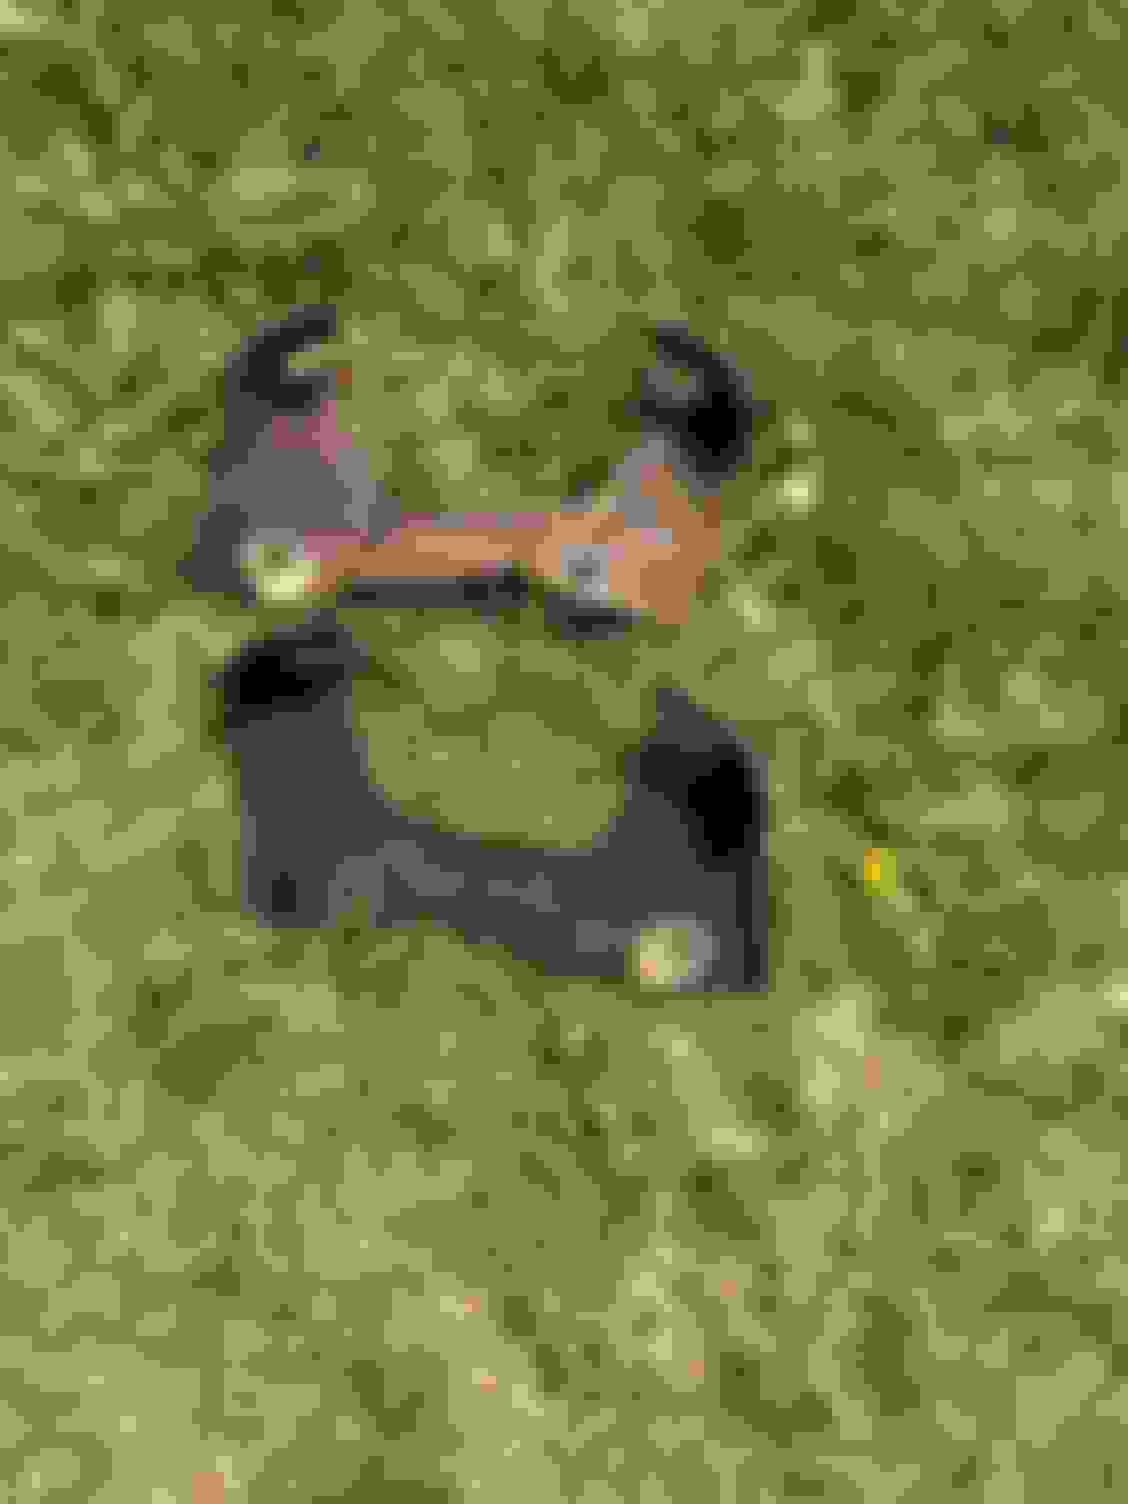
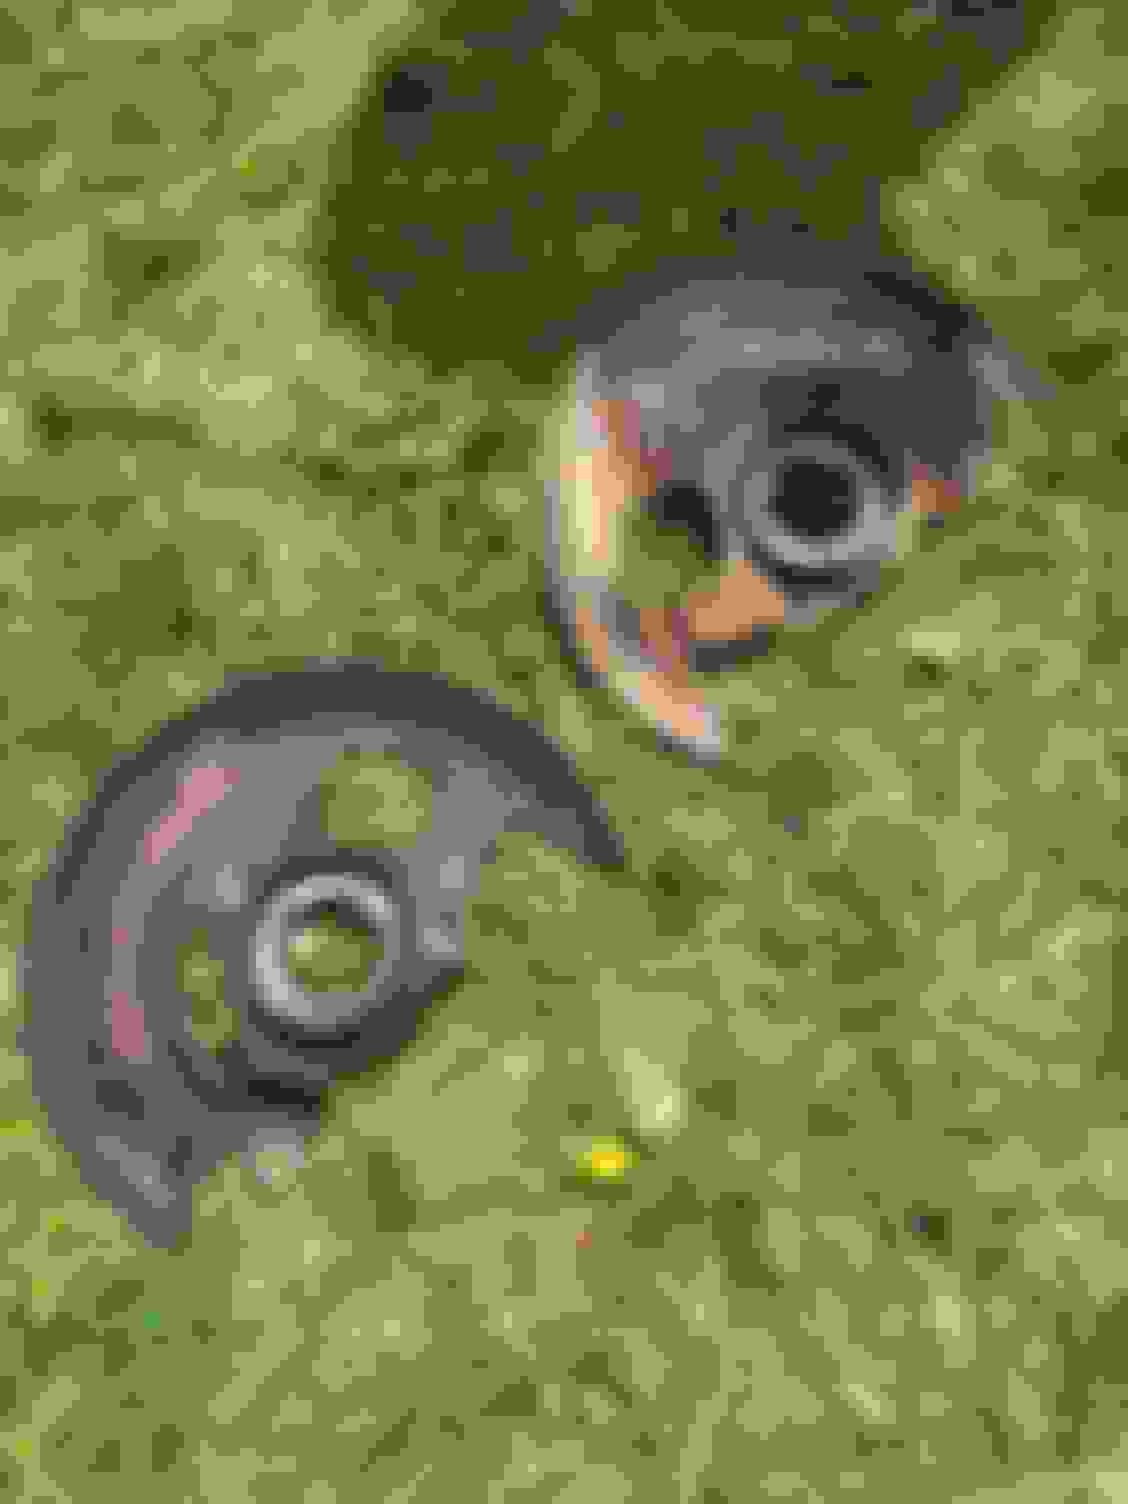
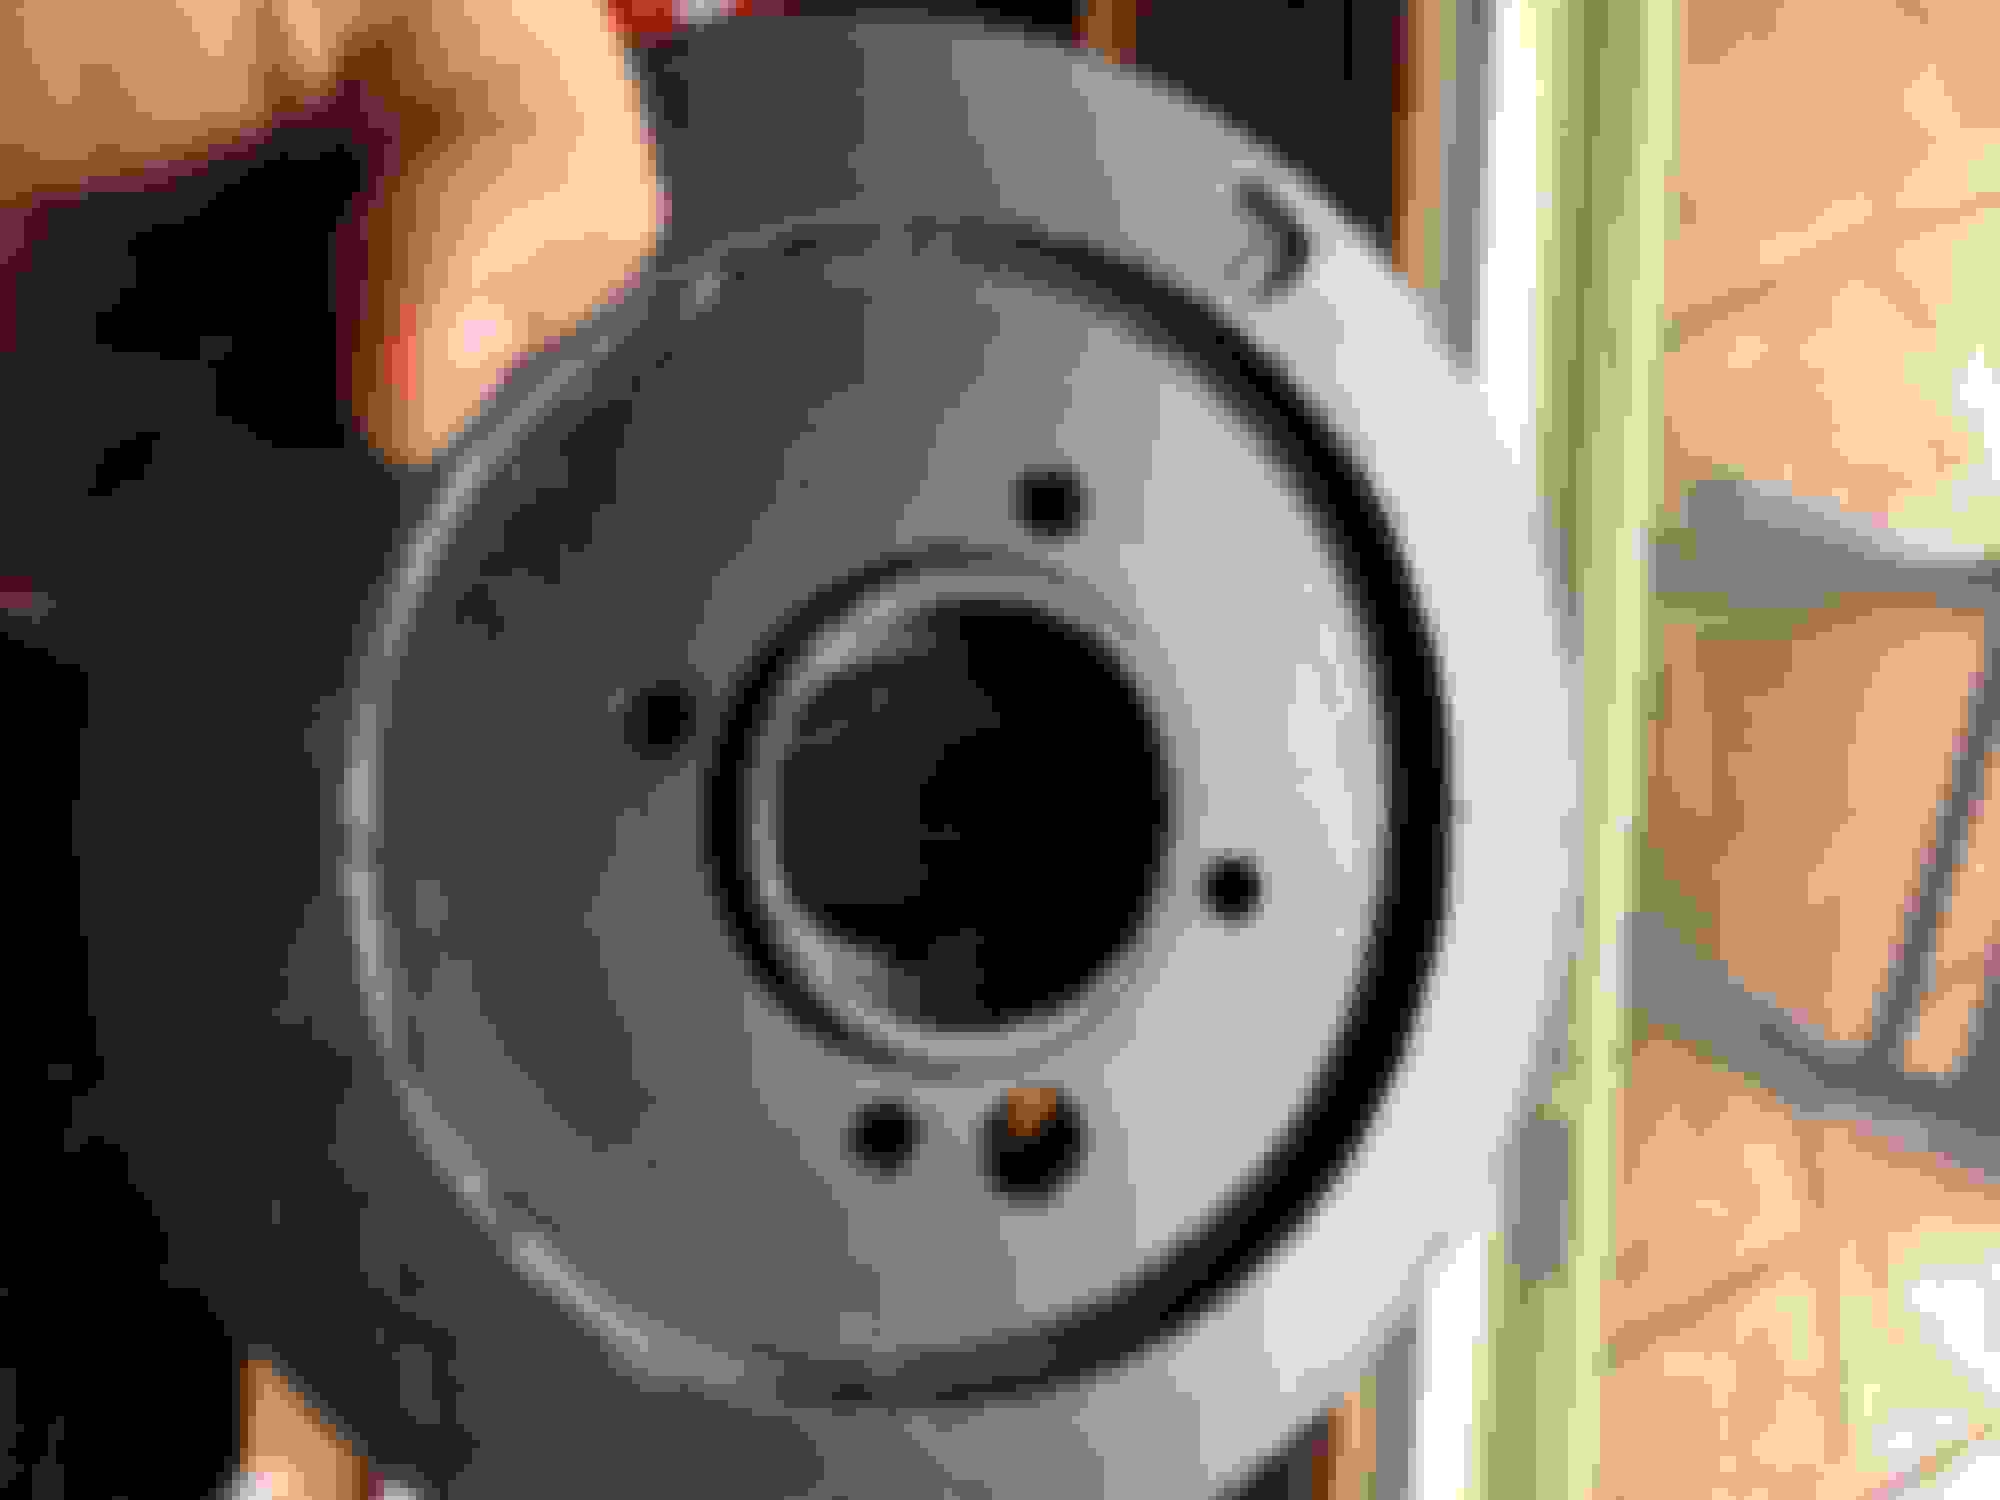
For the rear, I ran the chain through the holes in the trunk and carefully lifted with the hoist. The rear had to come up considerably higher to clear the rear shock mounts. For clearance, I pulled the tires / wheels and lowered the drums on to dolleys so I could wheel it out.
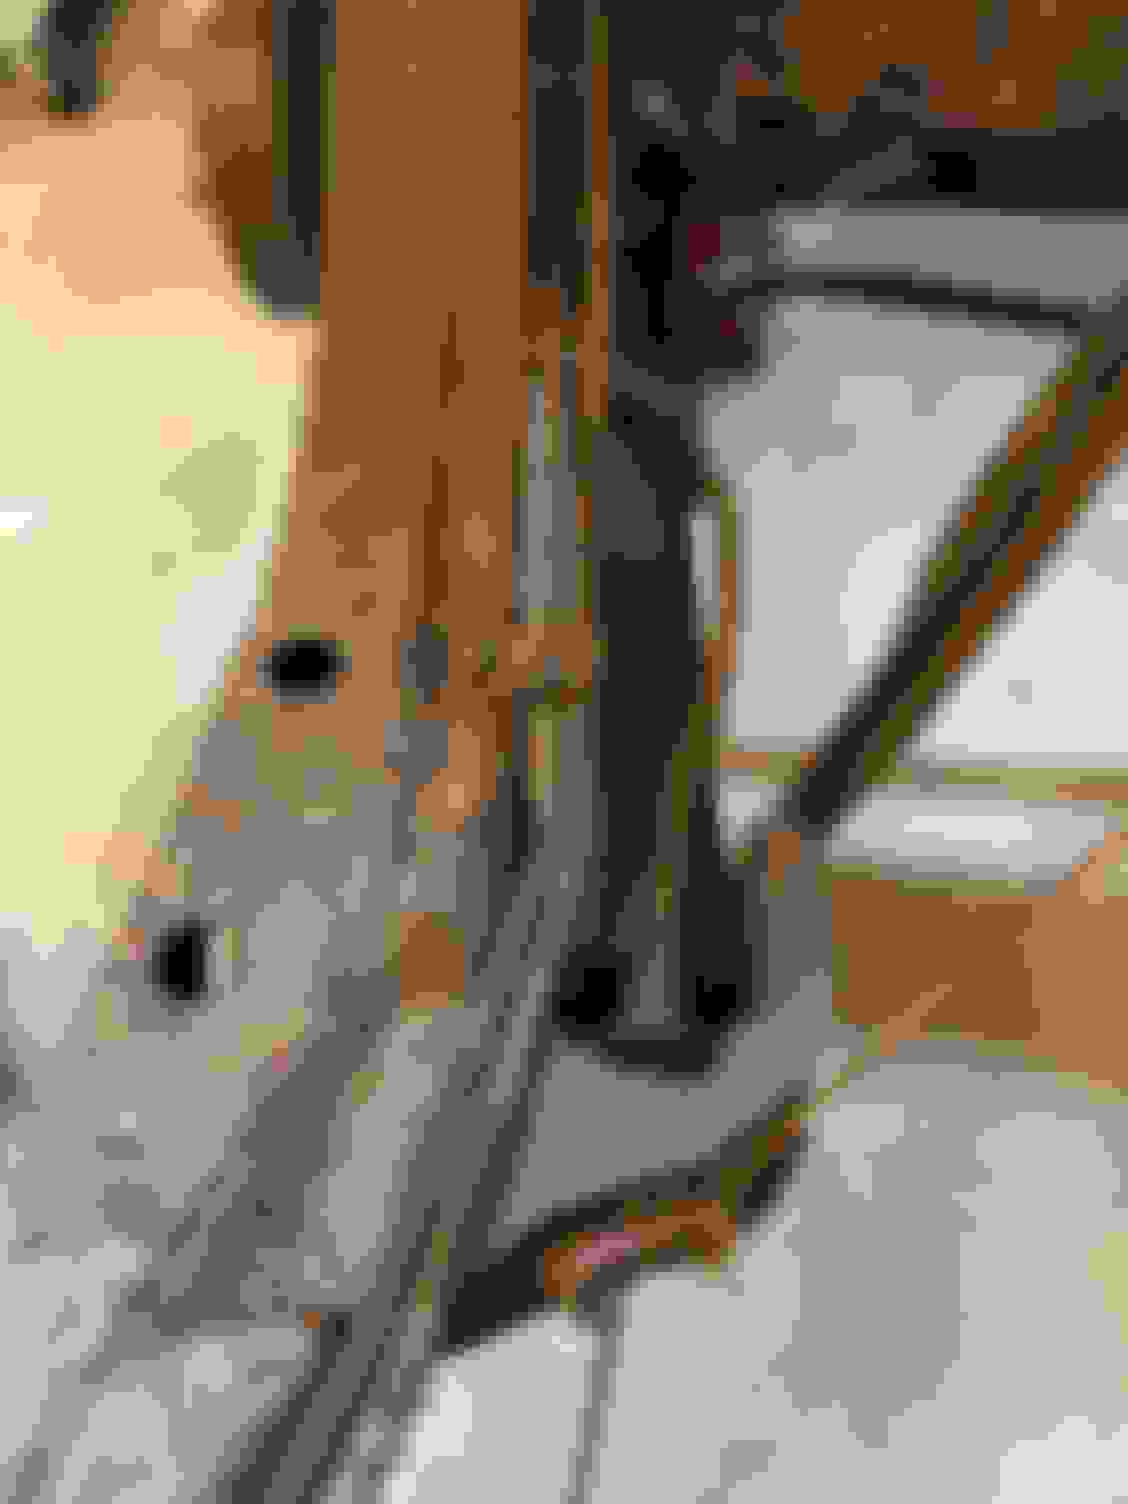
Interesting to note that I found a vintage clothesline pin of all things wedged between the body mount and the body. It sure looks like it has been wedged there for quite some time.
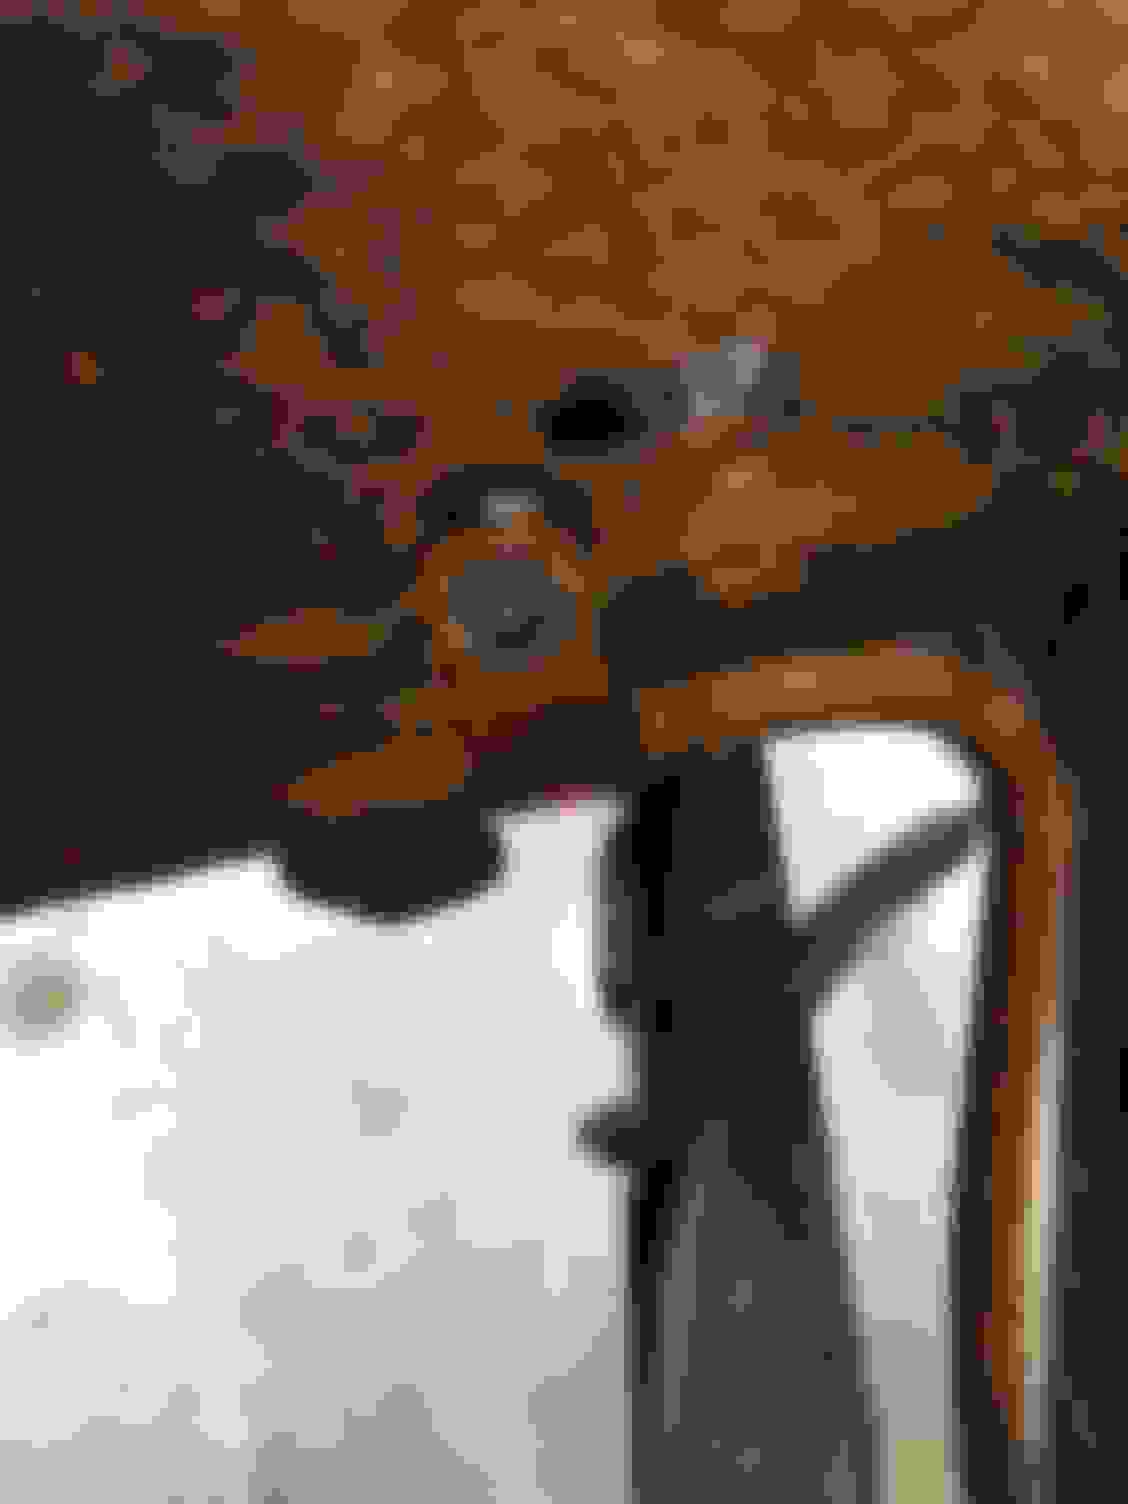
Spent an hour in the garage disassembling the remaining parts on the frame. I disconnected the fuel lines and cut the two rubber pieces at the frame to get them out. I�ll need to take a closer look at the rubber hoses, but the two hoses for the rear vent definitely had �SWAN GAS� stamped in white ink. The clamps were red, and I can�t quite tell the other color.
There appears to be a wrapping or coating on the fuel lines that run through the frame to the engine area. Do the reproduction lines have that?
The bolts for the rear suspension pieces were pretty stubborn so I decided to let them soak in penetrating oil for a few days.
I�m struggling with why the e-brake that runs between the frame near the cowl won�t pull through. I pulled one clip�is there another clip on the inside of the frame?
Finished stripping the rear suspension from the frame. The rear control arm bolts broke loose after a good soaking, but I did have to cut a bolt on the passenger side. The frame will be dropped off at the blaster Friday morning along with the rear suspension pieces. Not sure what I’ll do with the rear end.
Last edited by WTHIRTY1; June 11th, 2018 at 12:20 PM.
Does anyone know where I can get reproduction hoses that match the originals with the yellow and orangish / red coloring? The ones I�ve seen from the suppliers don�t look the same. If not, any recommendations for �restoring� the originals because the rubber actually appears to be in great shape!
El Malo is currently going through the same dilemma. Dan V had some made but they aren't correct so he's still looking. I changed my car to manual steering so don't need them .... yet. Stay tuned ....
I�m struggling with why the e-brake that runs between the frame near the cowl won�t pull through. I pulled one clip�is there another clip on the inside of the frame?
There is just the one clip at the frame. horseshoe clip like where brake hoses and brake lines meet. Inside the car the tangs need to be depressed to get the cable through the firewall. A socket (don't recall size off hand) or hose clamp (the small one) can do the trick.
Does anyone know where I can get reproduction hoses that match the originals with the yellow and orangish / red coloring? The ones I�ve seen from the suppliers don�t look the same. If not, any recommendations for �restoring� the originals because the rubber actually appears to be in great shape! The power steering pump and steering box were shipped to Marty @ PowerSteering.com in Nixon, Missouri for a full rebuild. Be careful shipping the 31 pound steering box via USPS...
Check with Ron Memmer he does have a few NOS hoses that I saw last month when I was at his shop.
I have had to resort to striping them myself without the group number on them
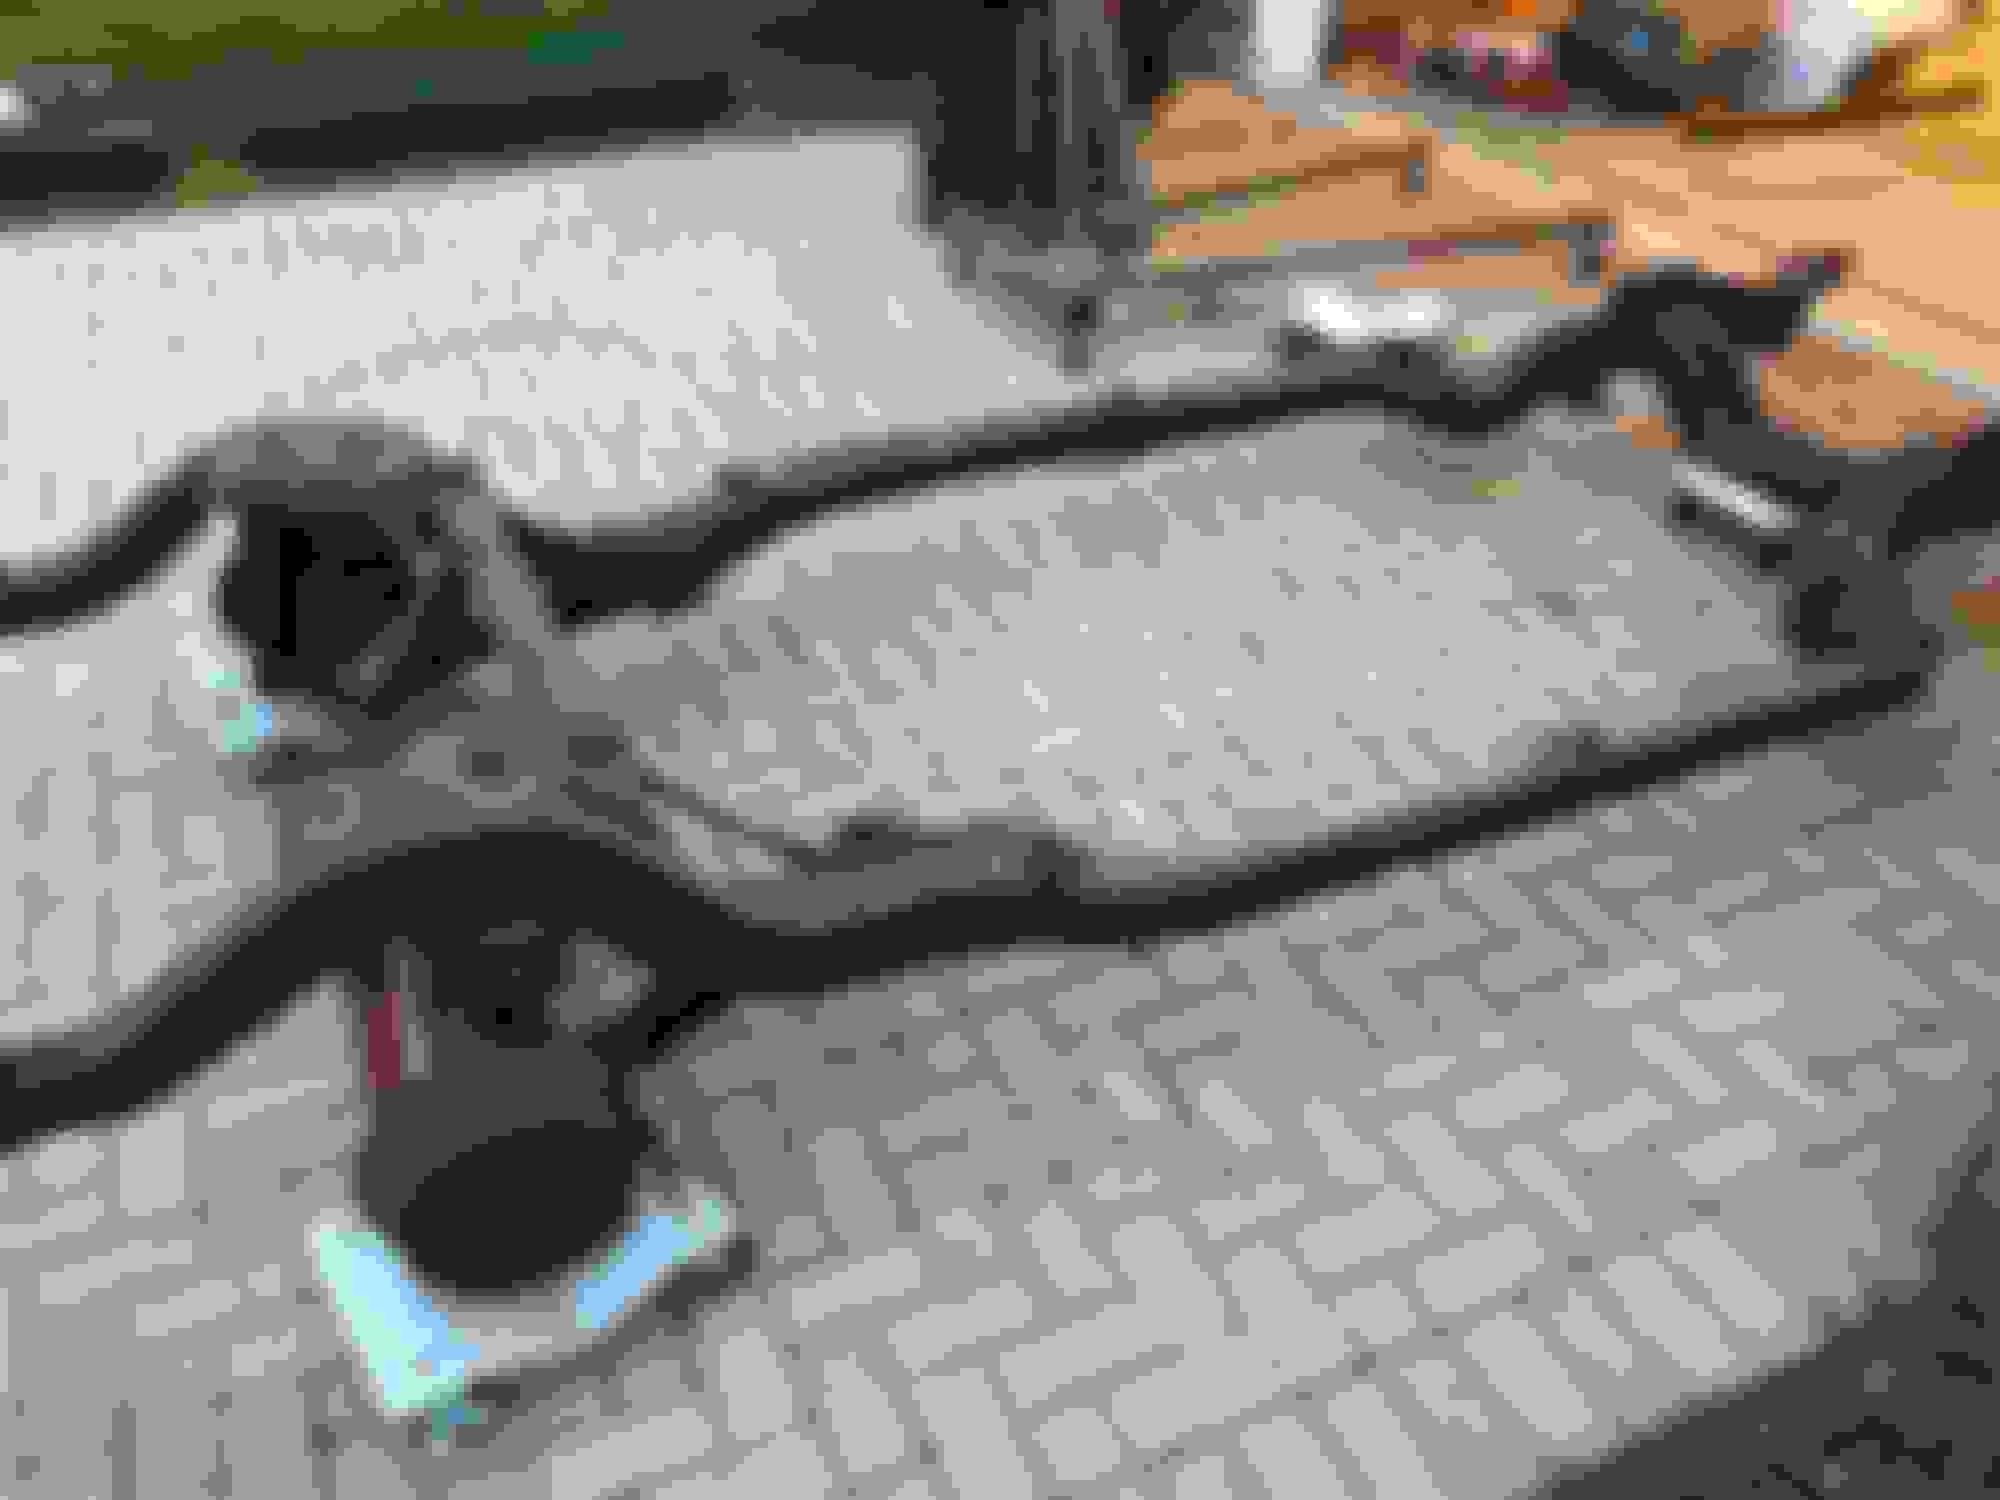
Loaded up the frame and dropped it off for blasting and coating. For those that haven’t lifted a bare frame, it isn’t overly heavy, however it’s definitely a two man job.
Last edited by WTHIRTY1; November 12th, 2019 at 08:06 AM.
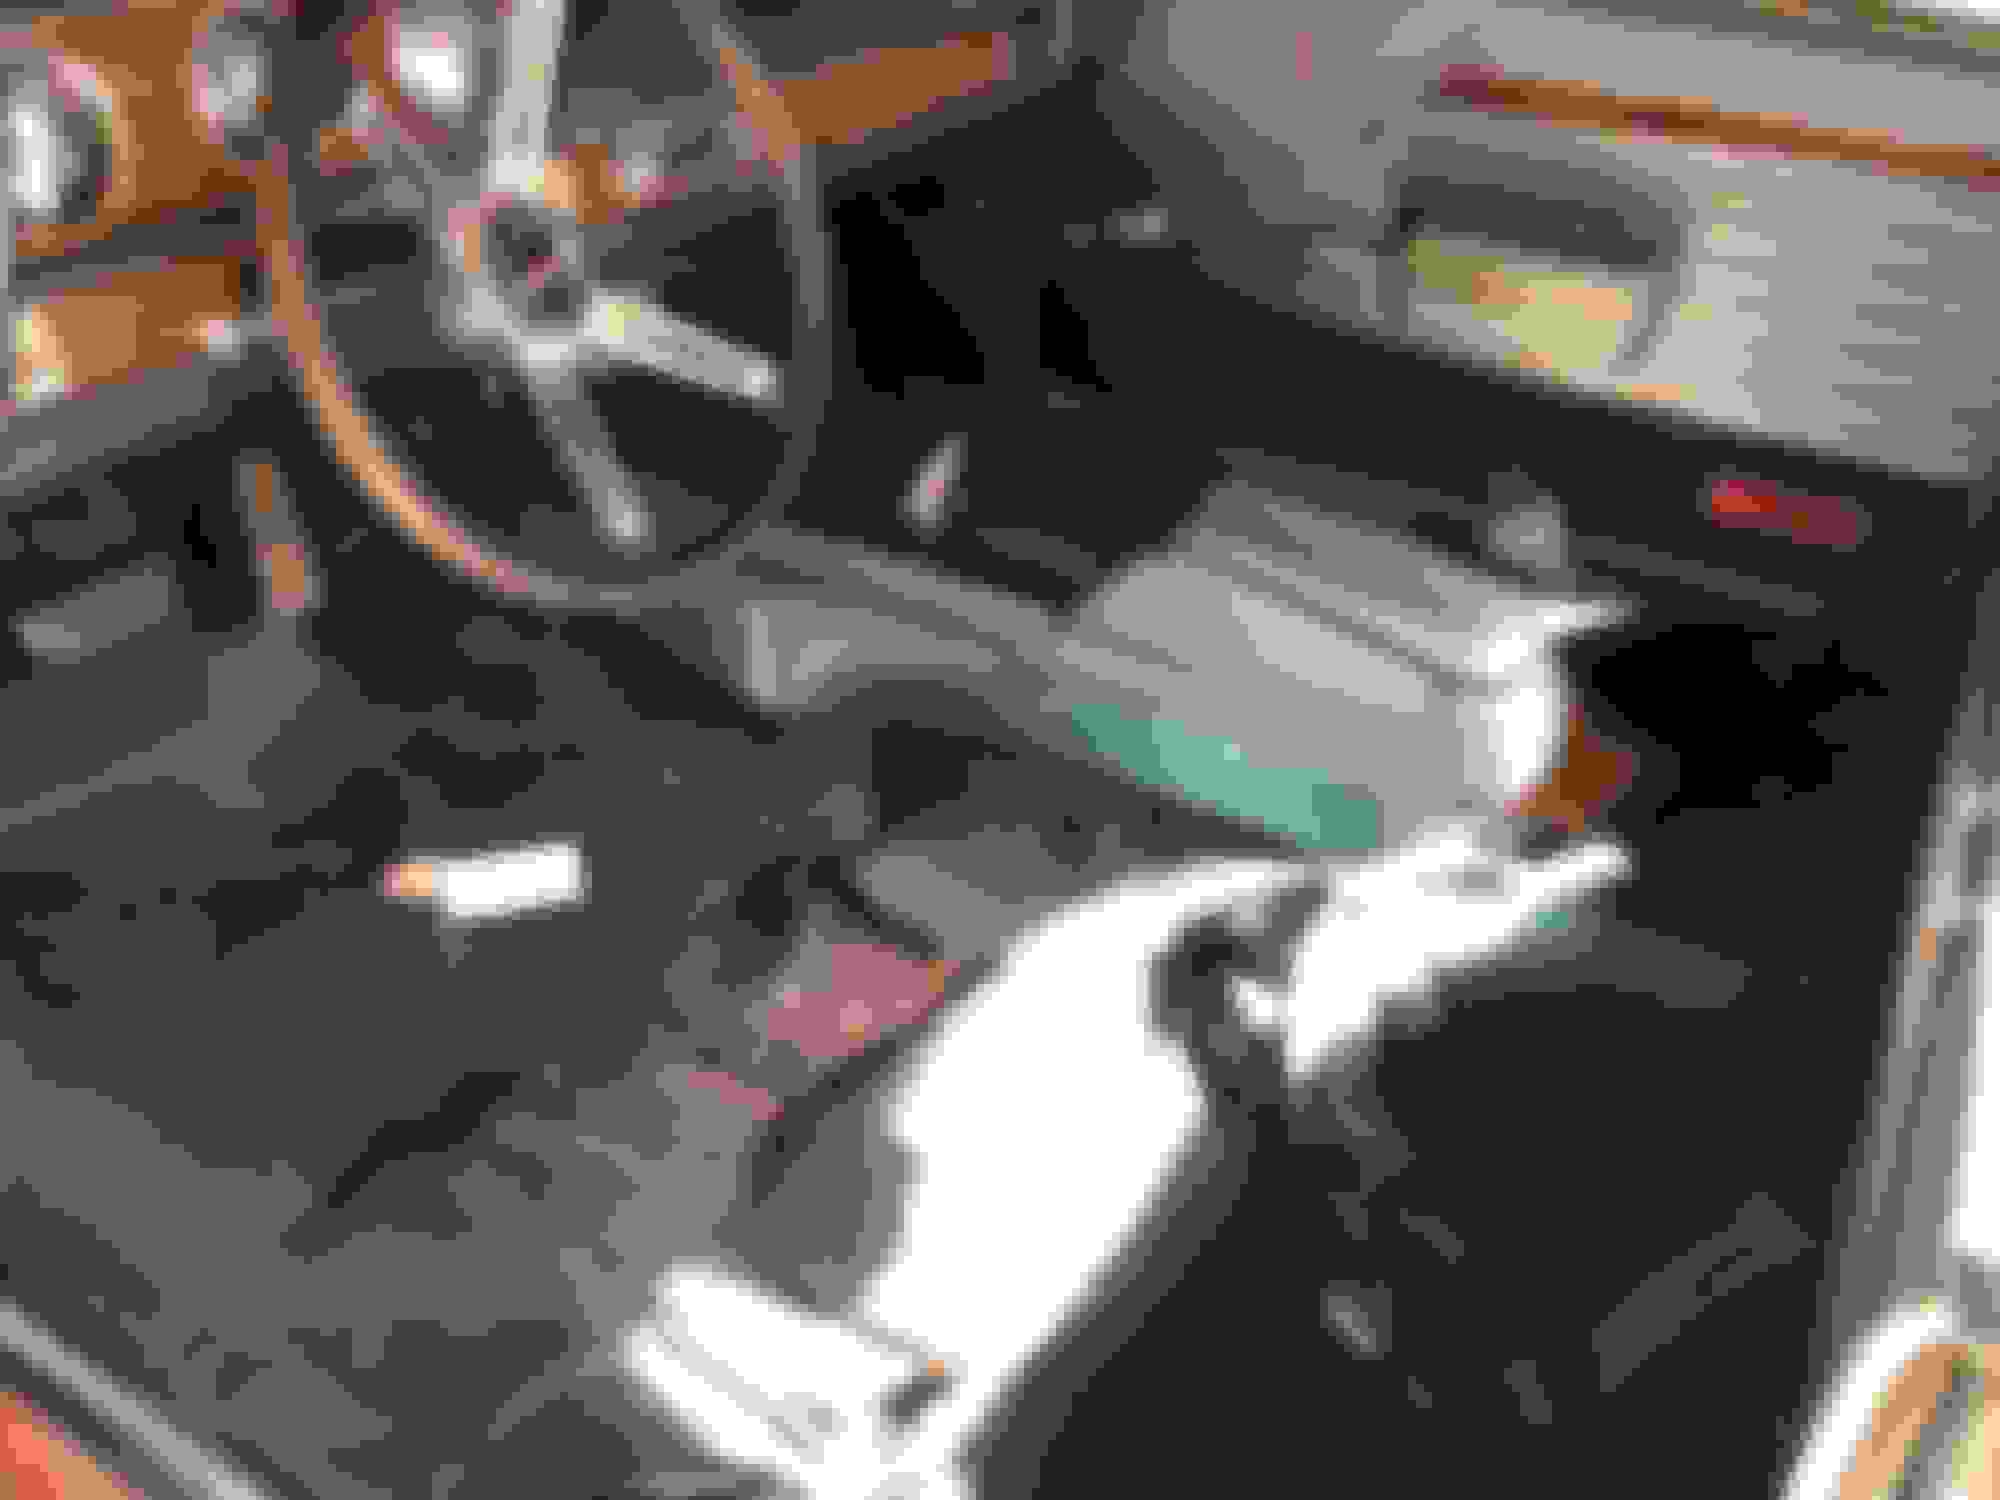
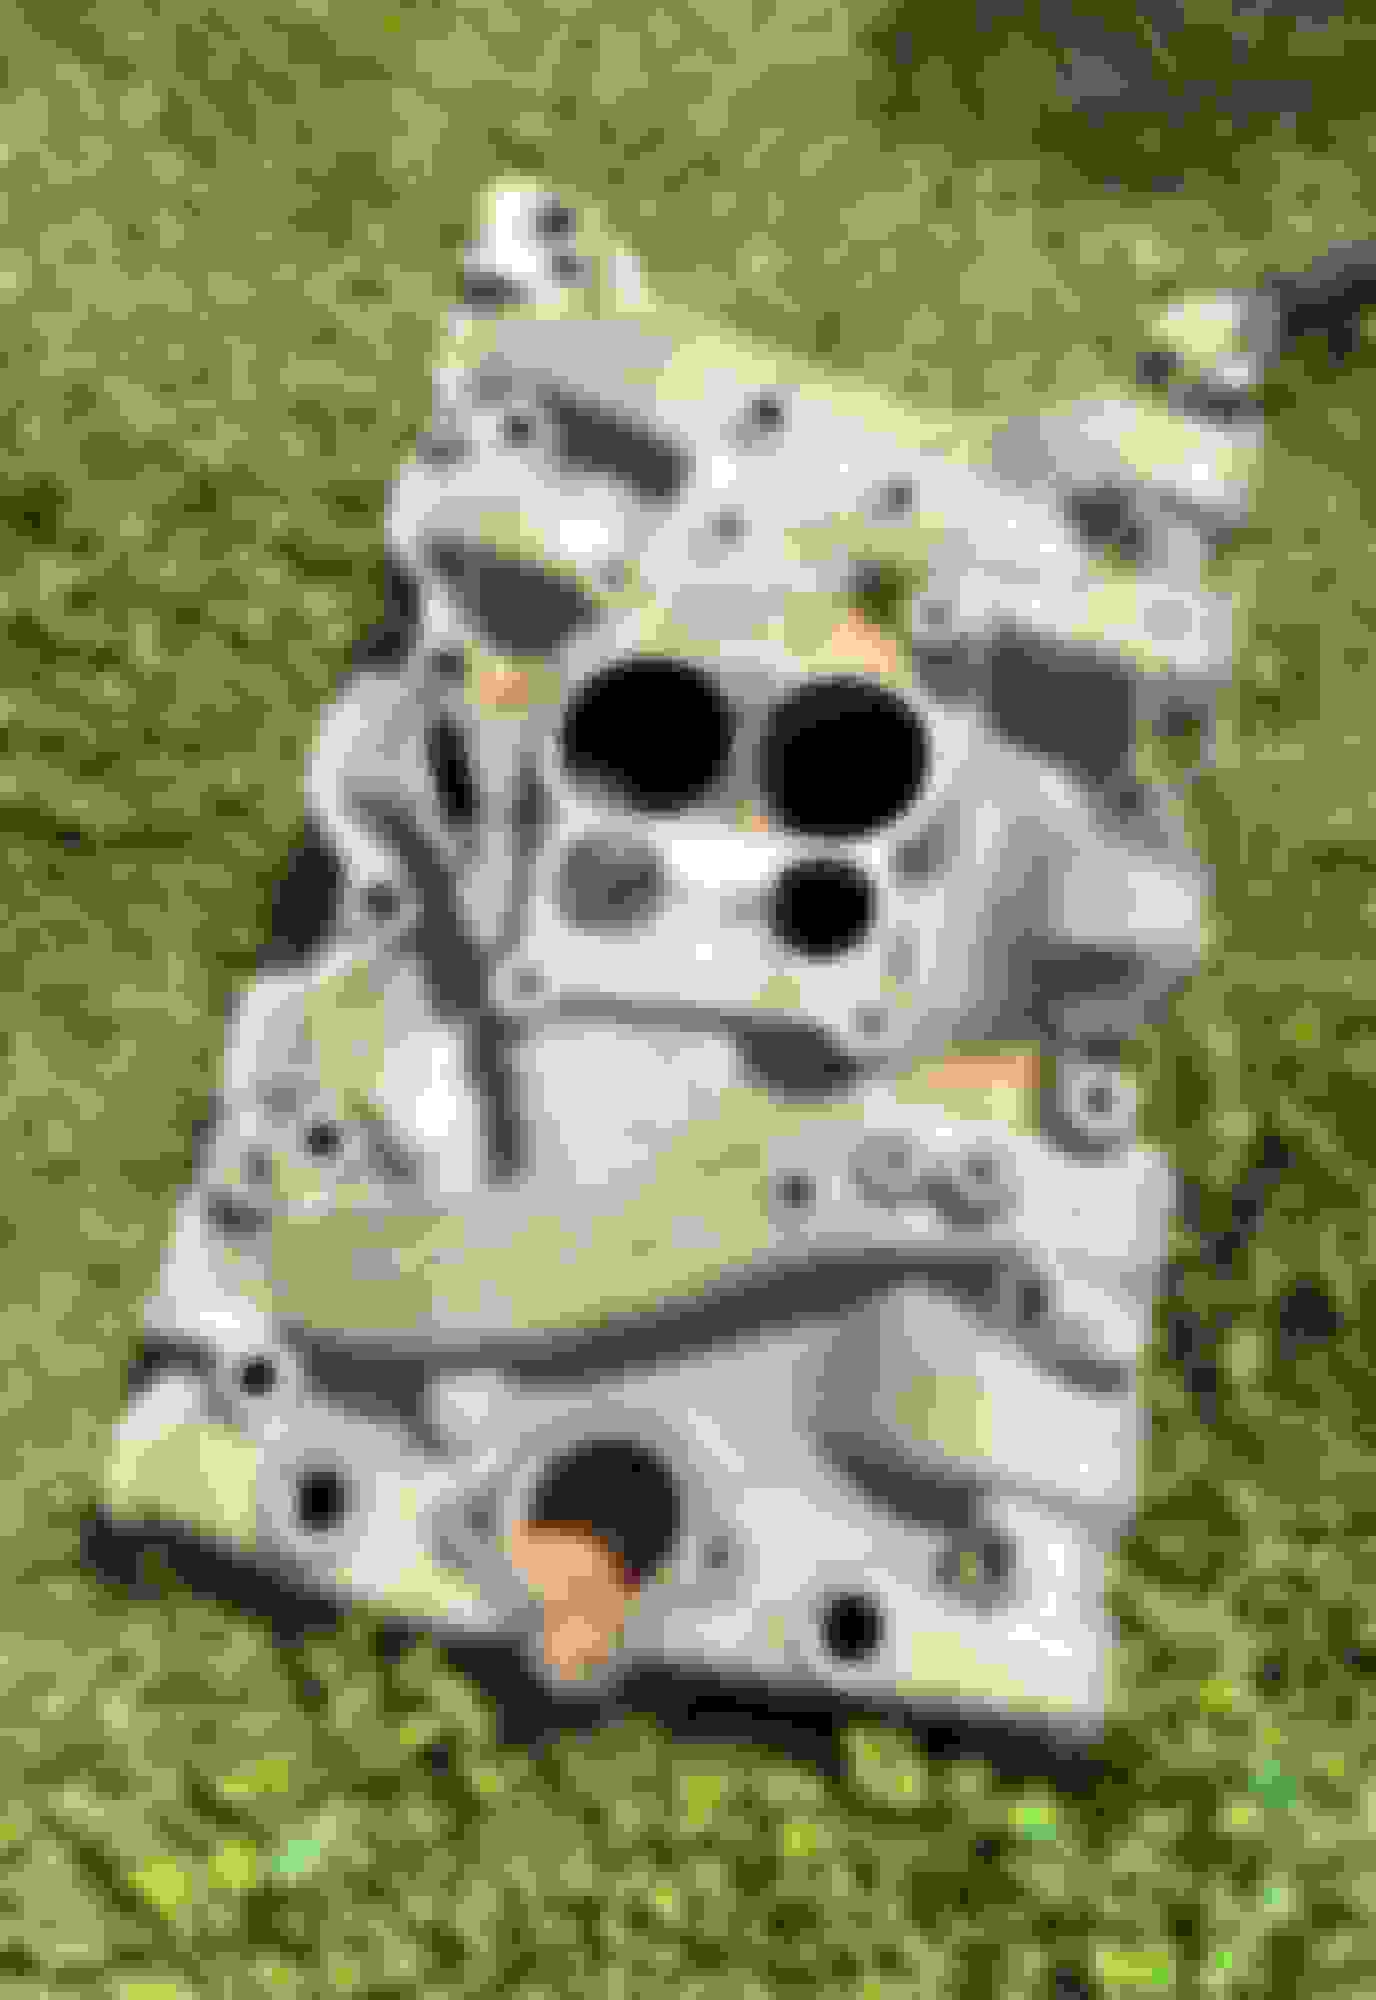
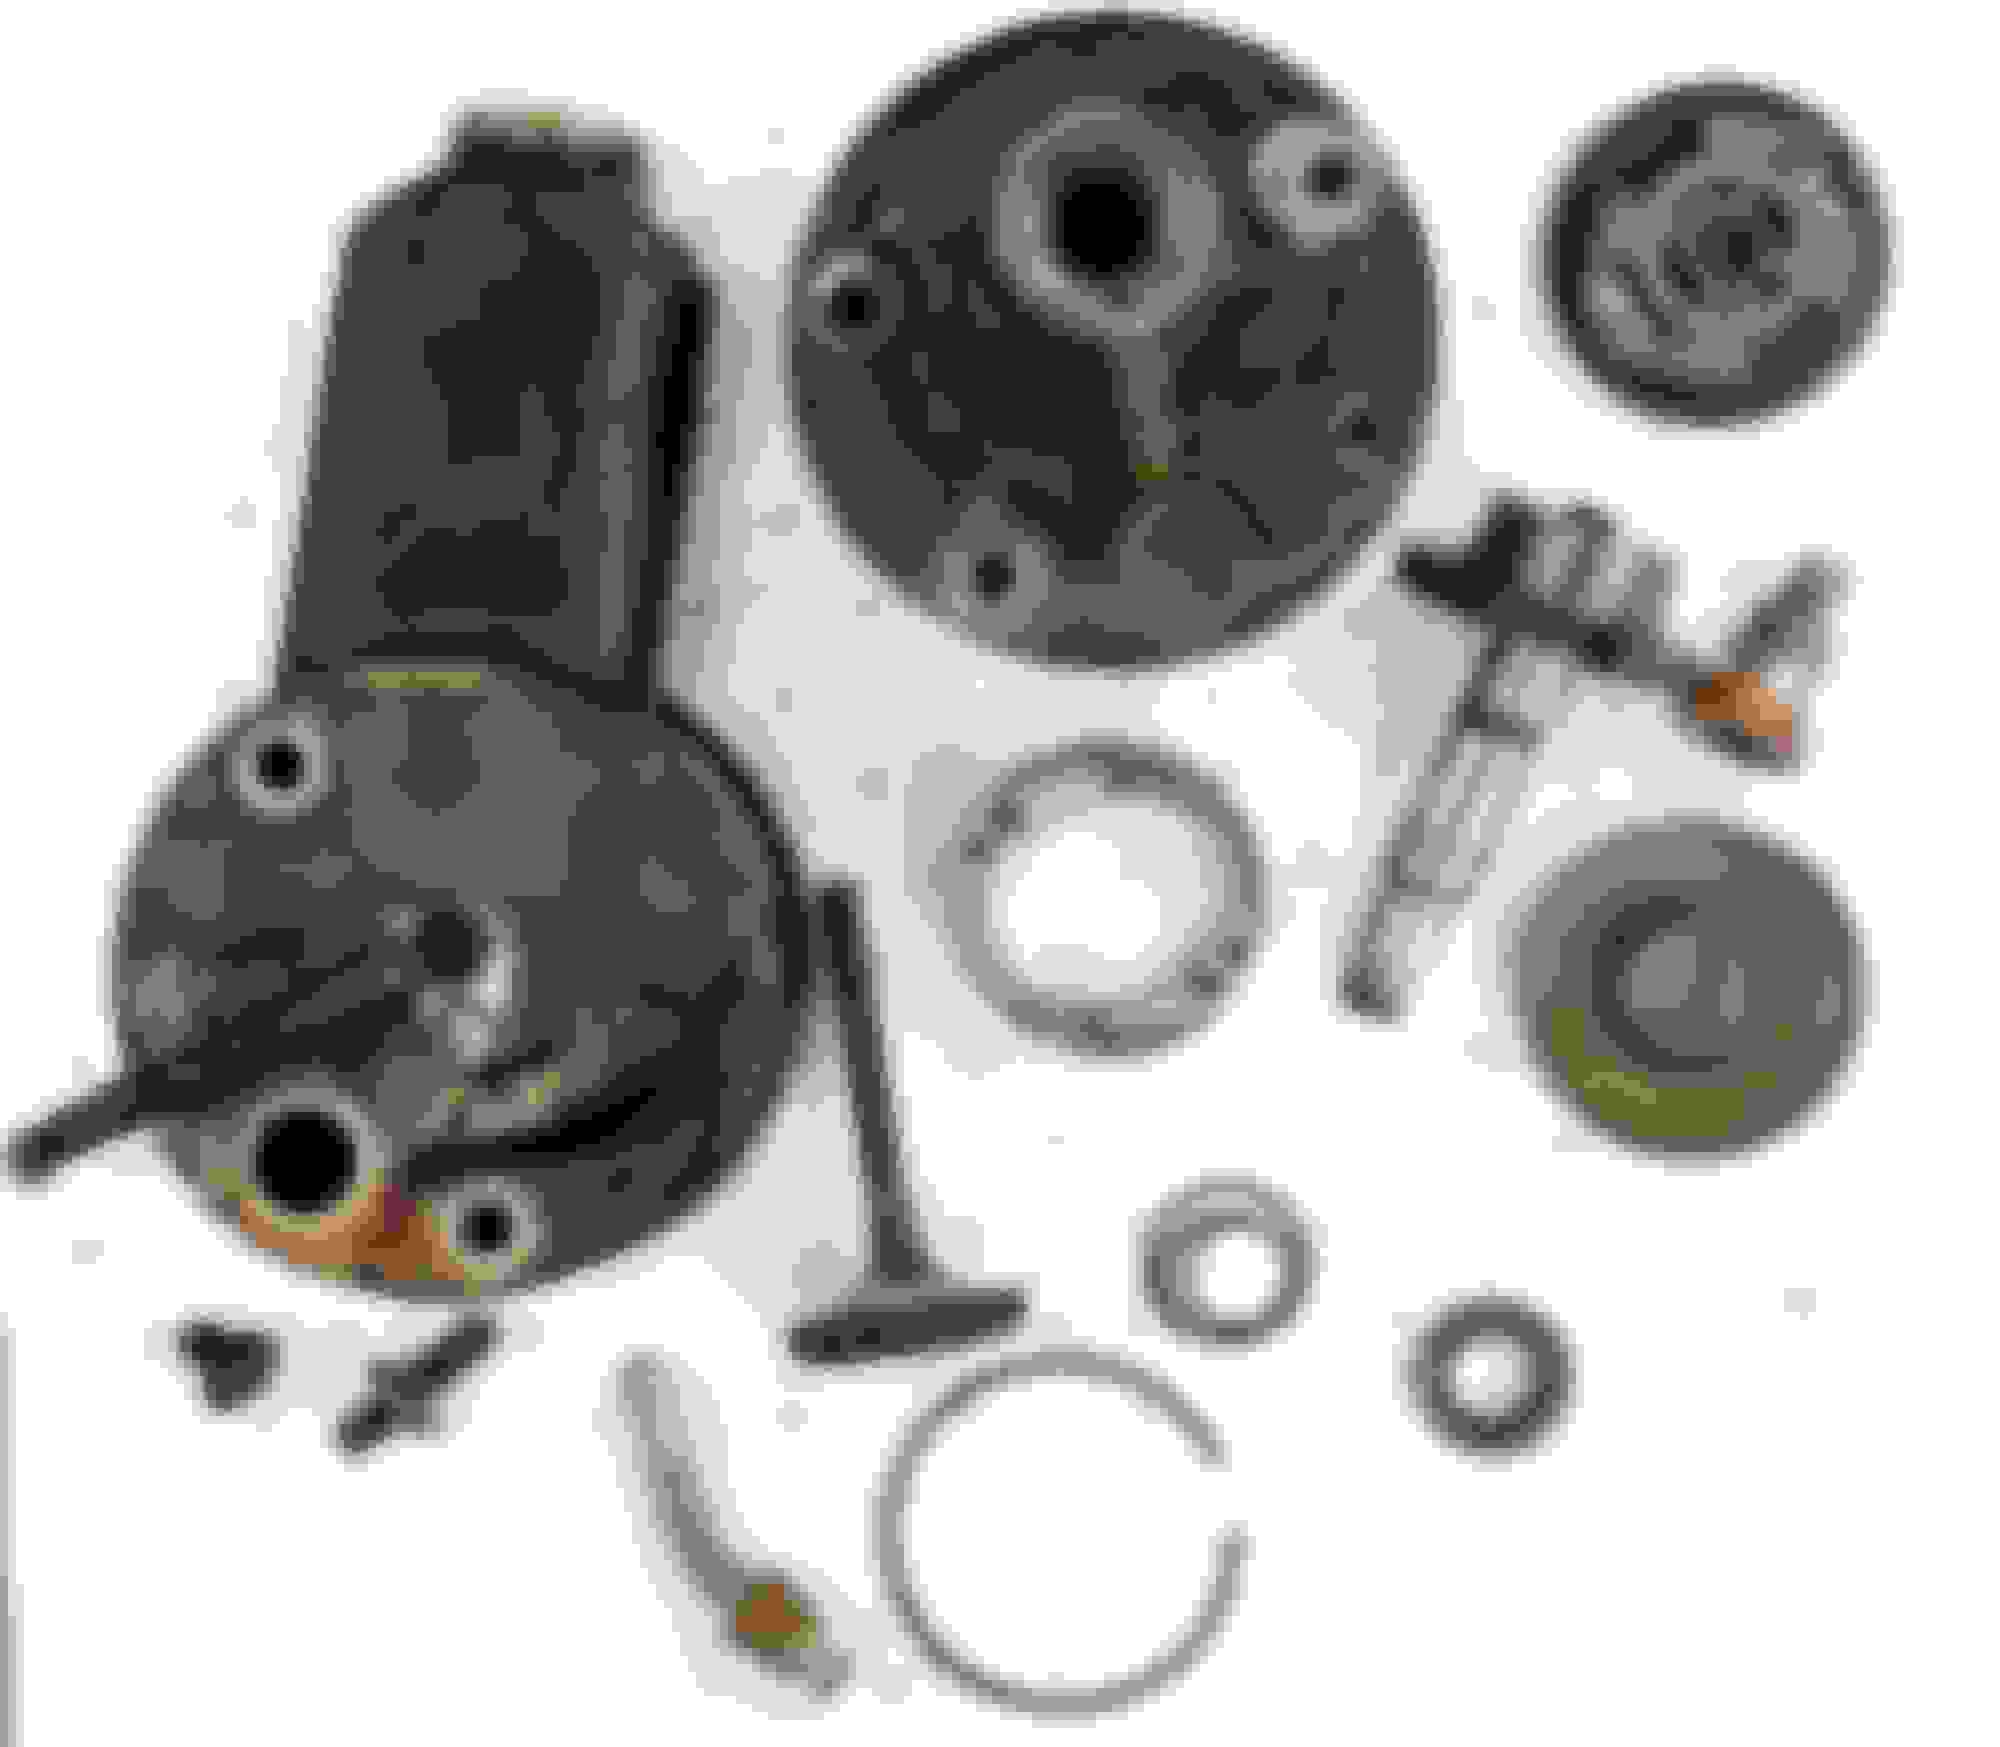
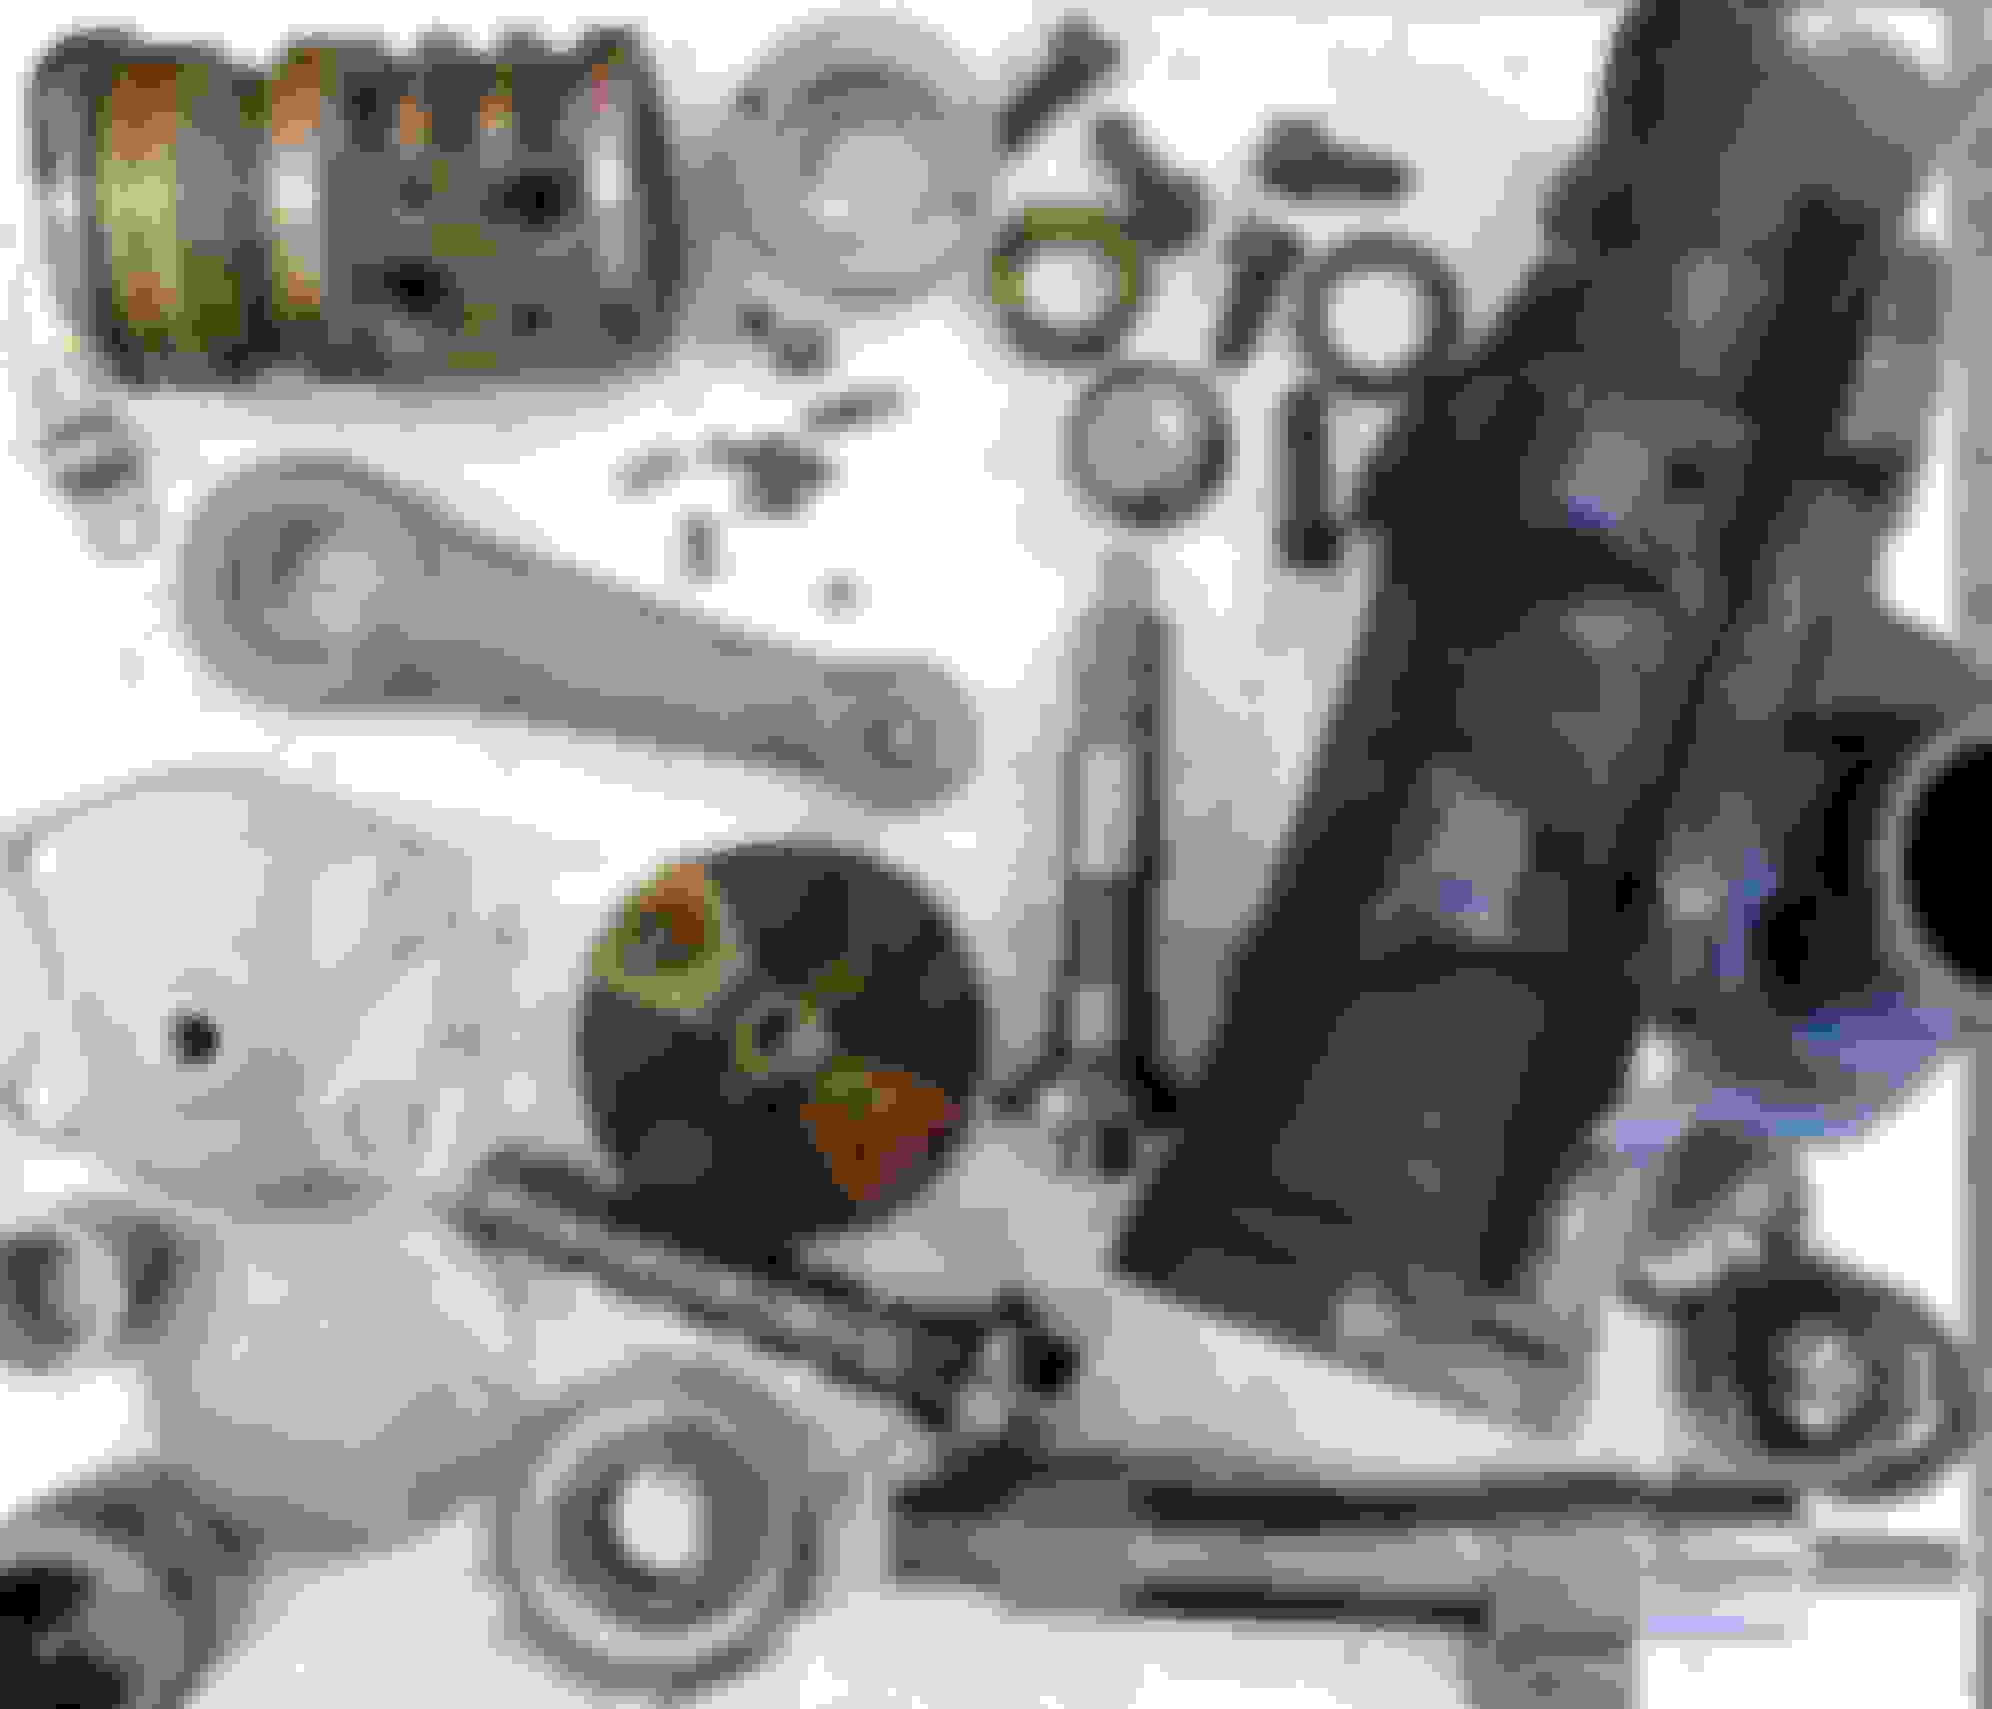
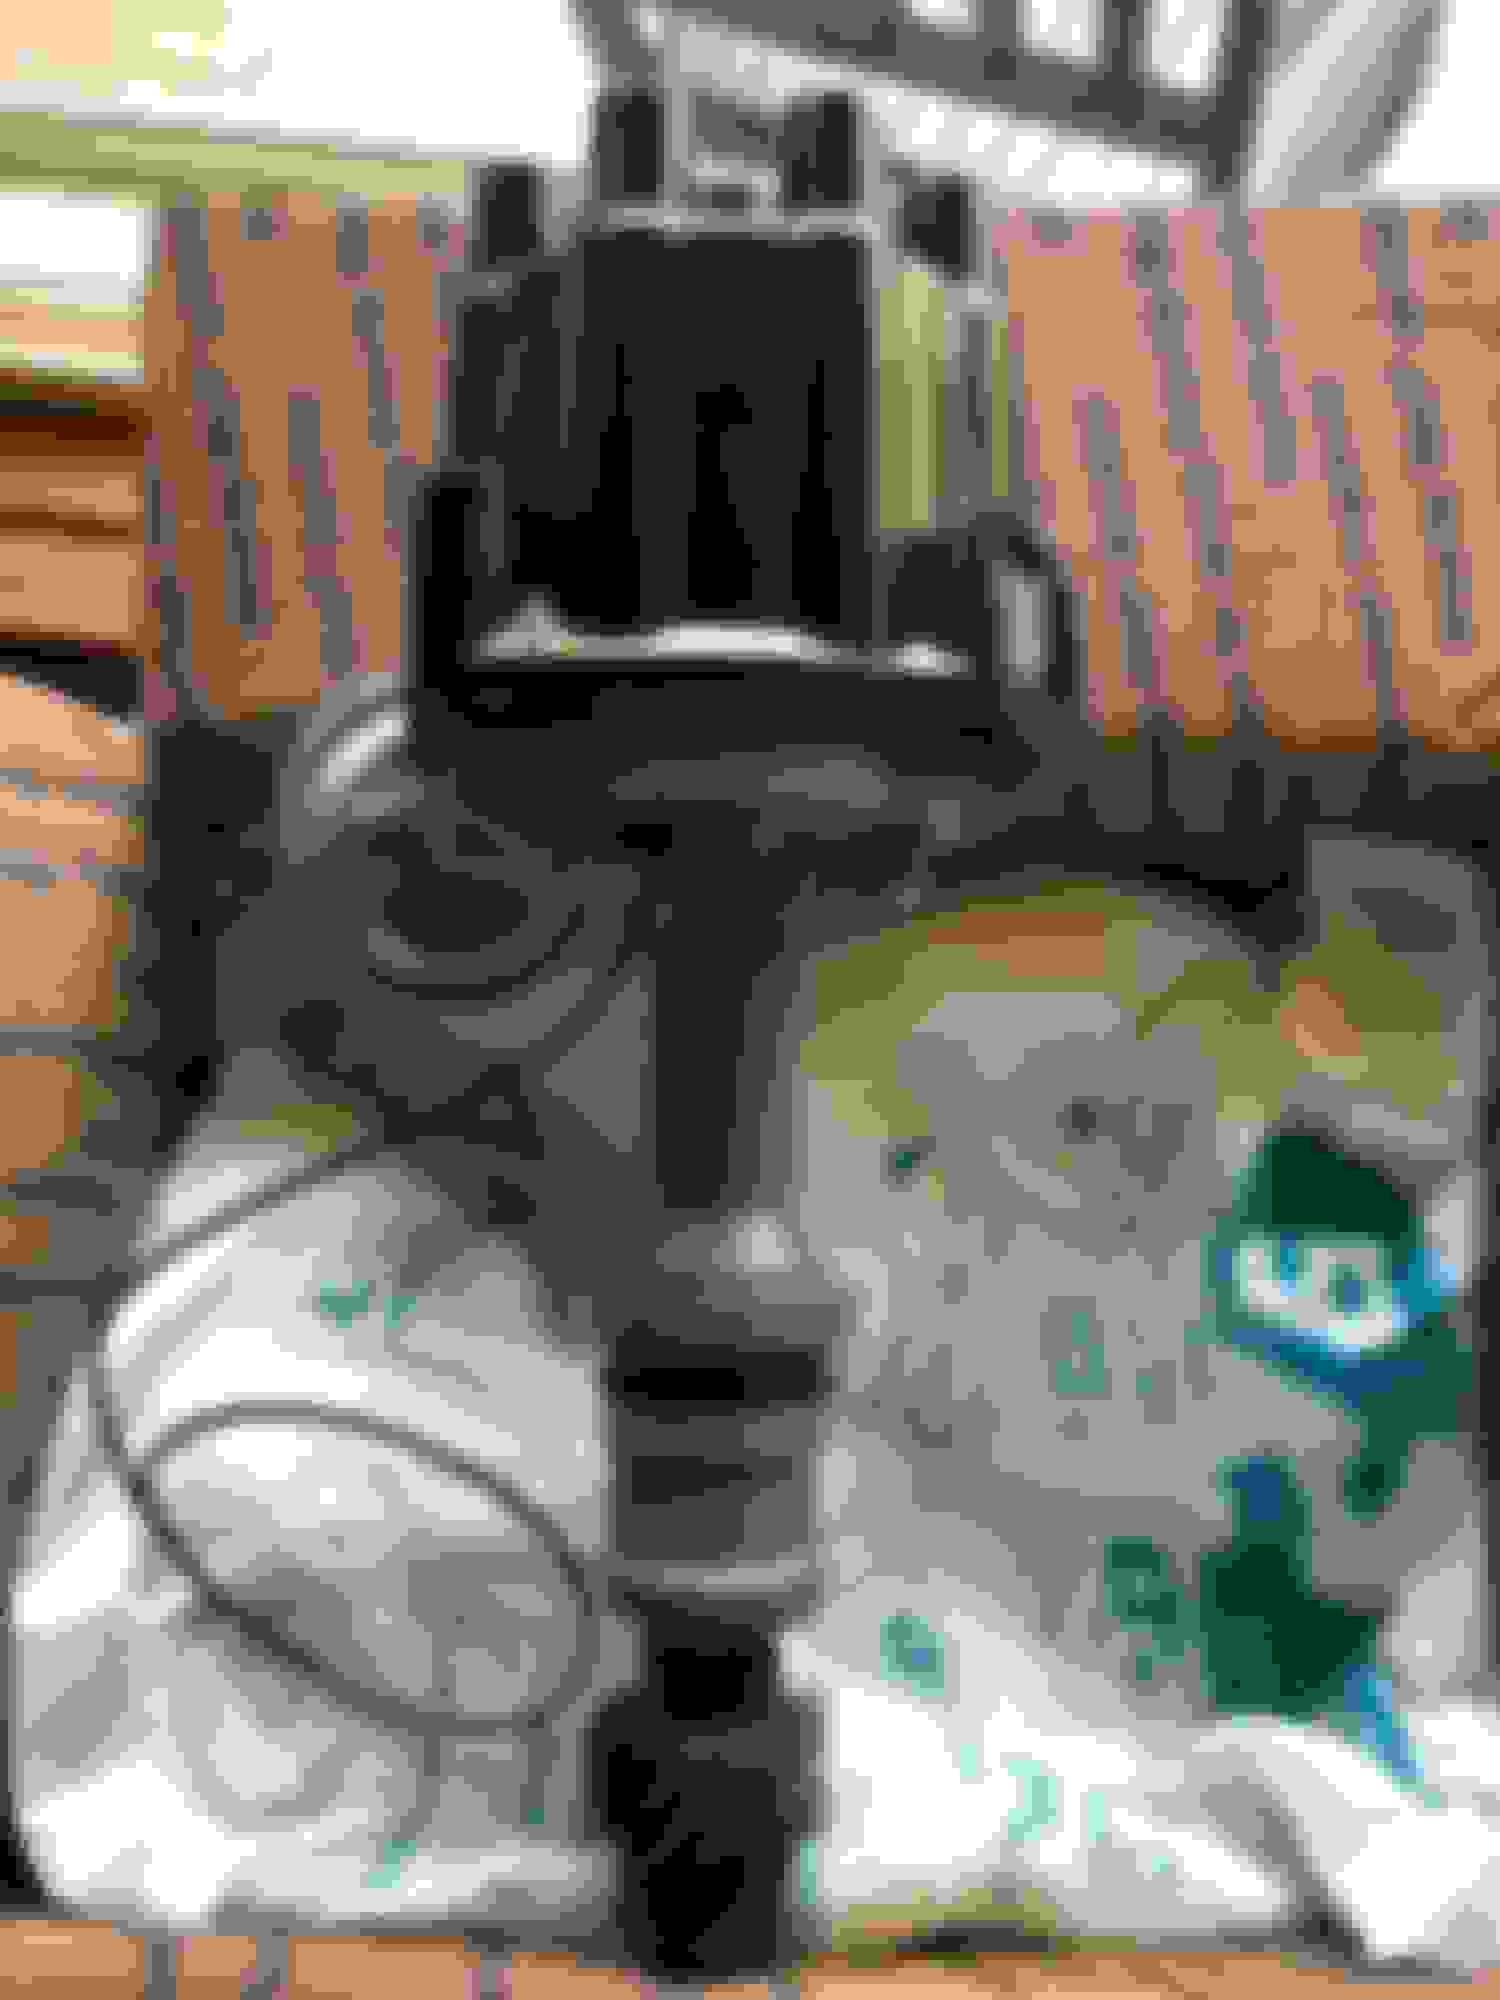
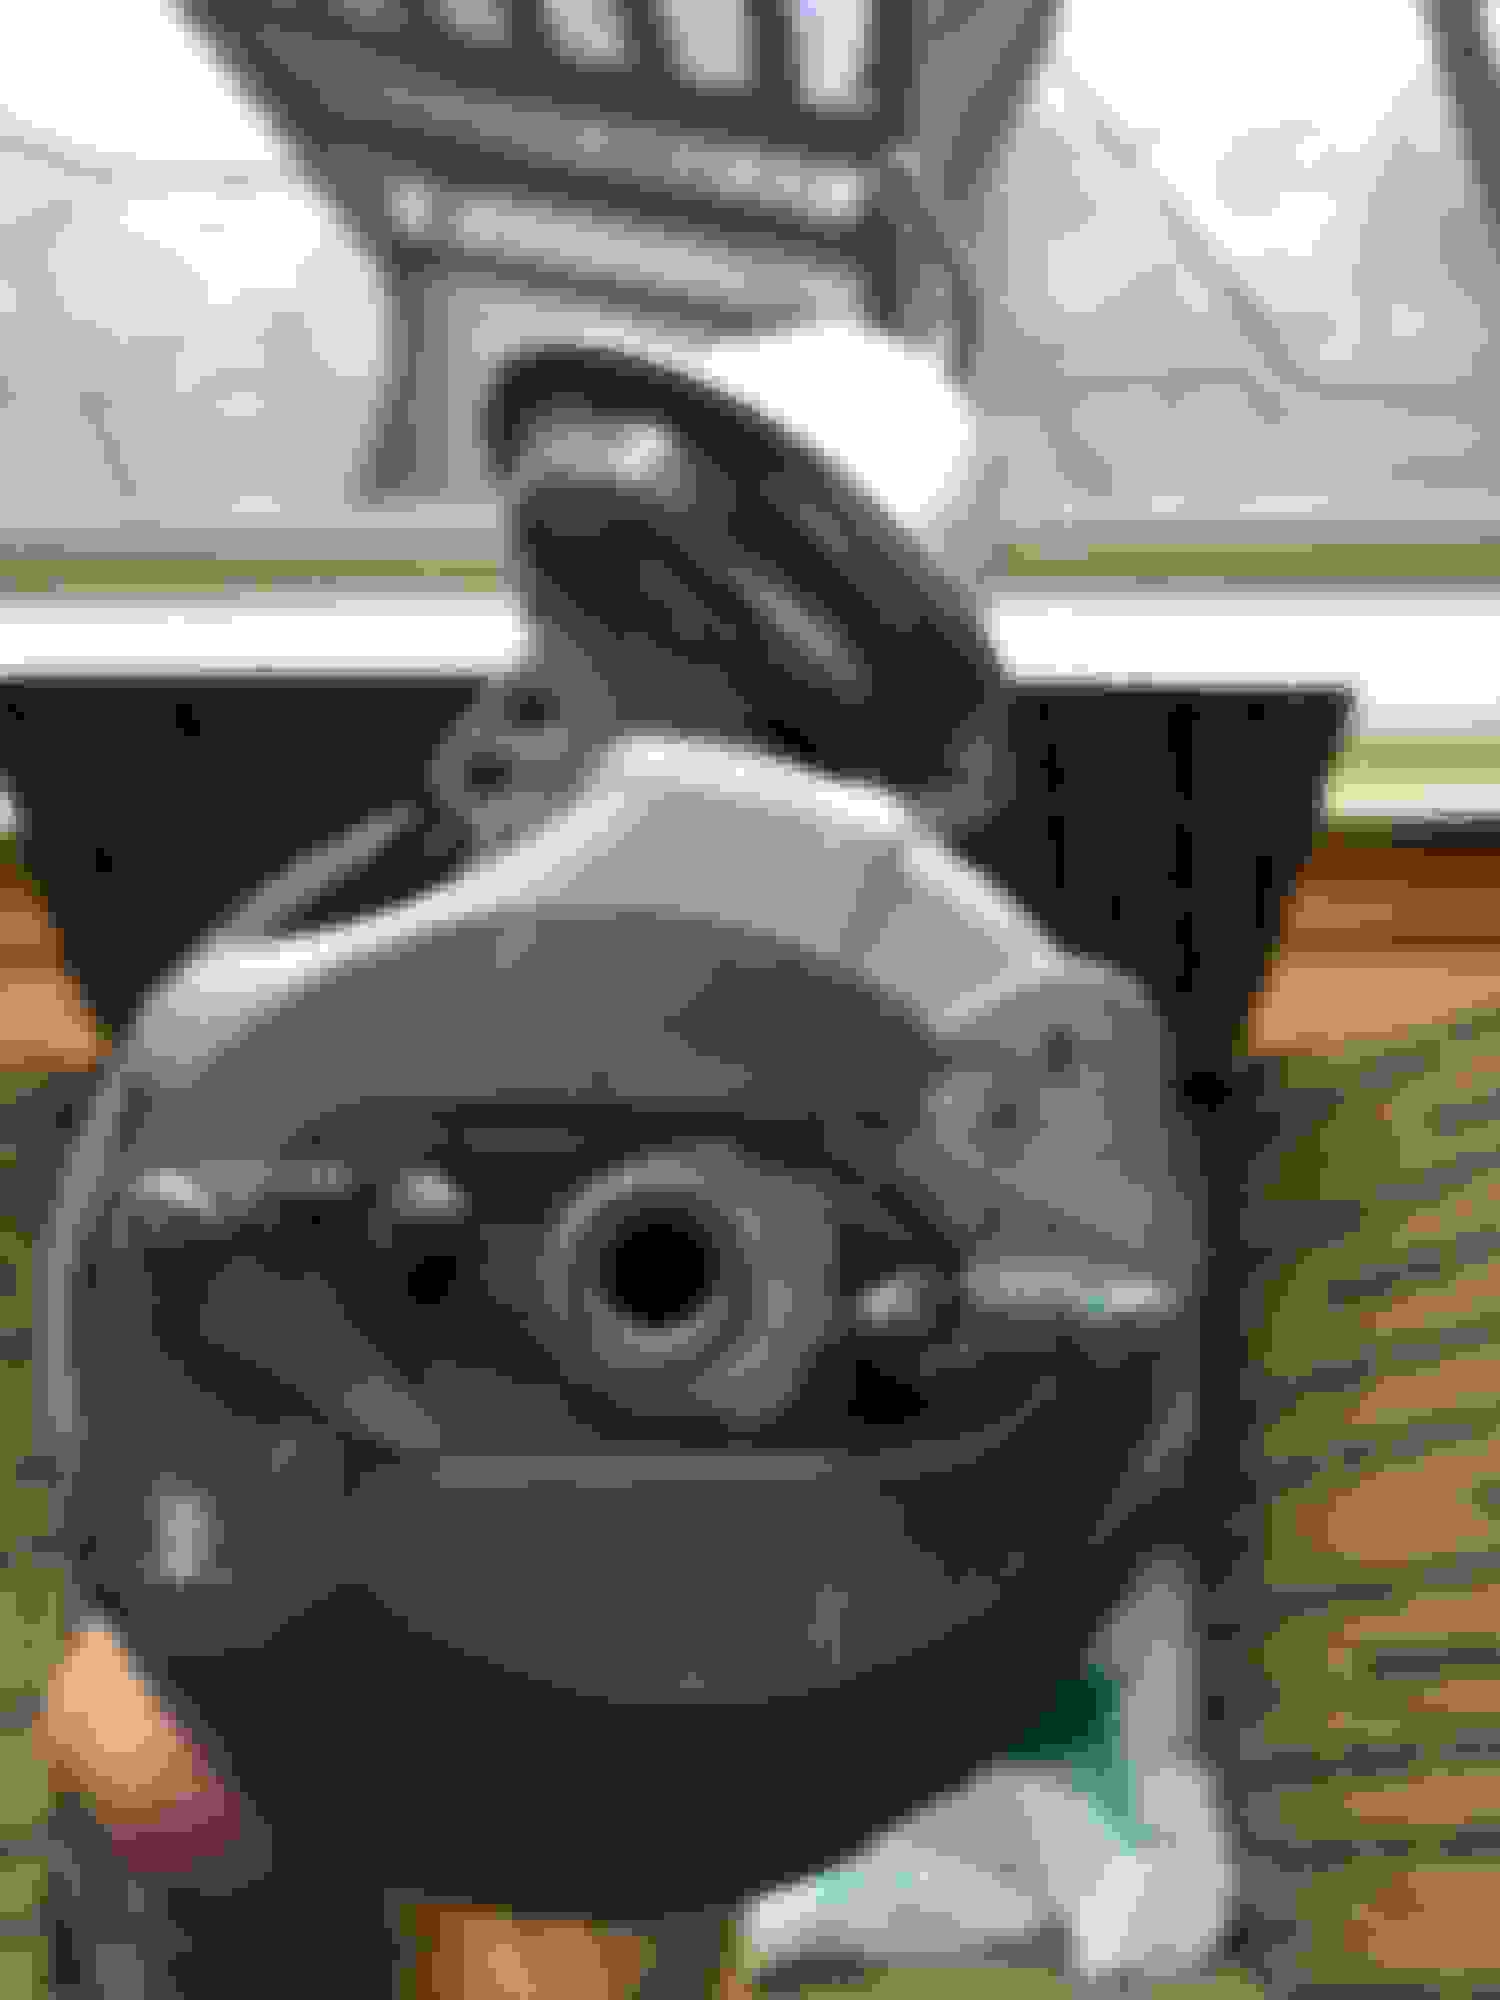
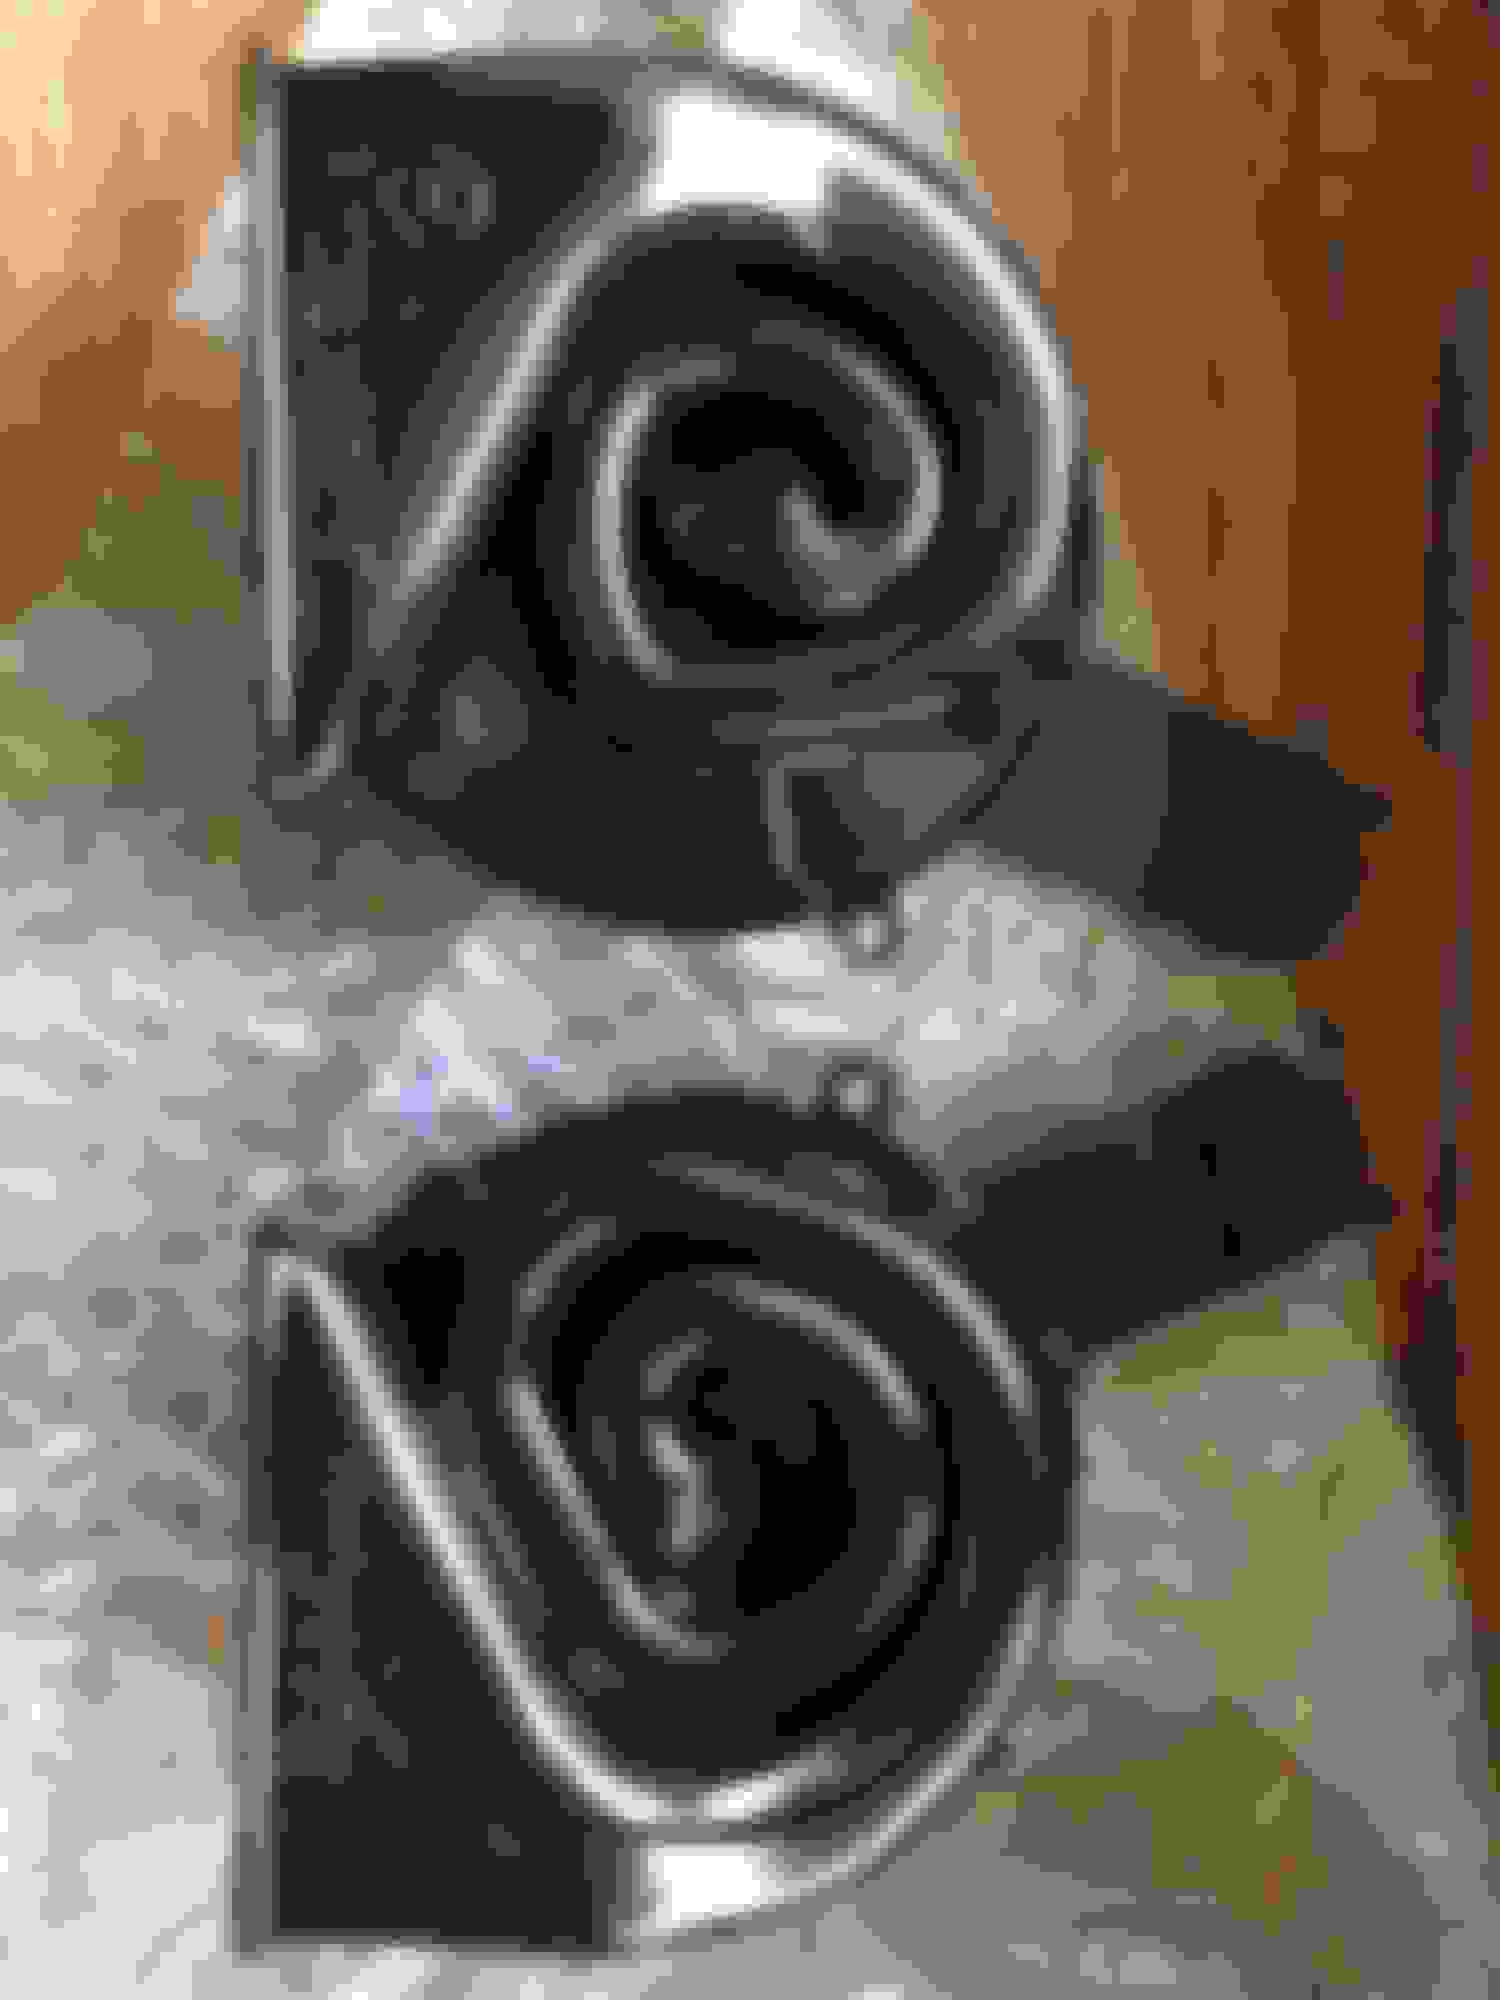
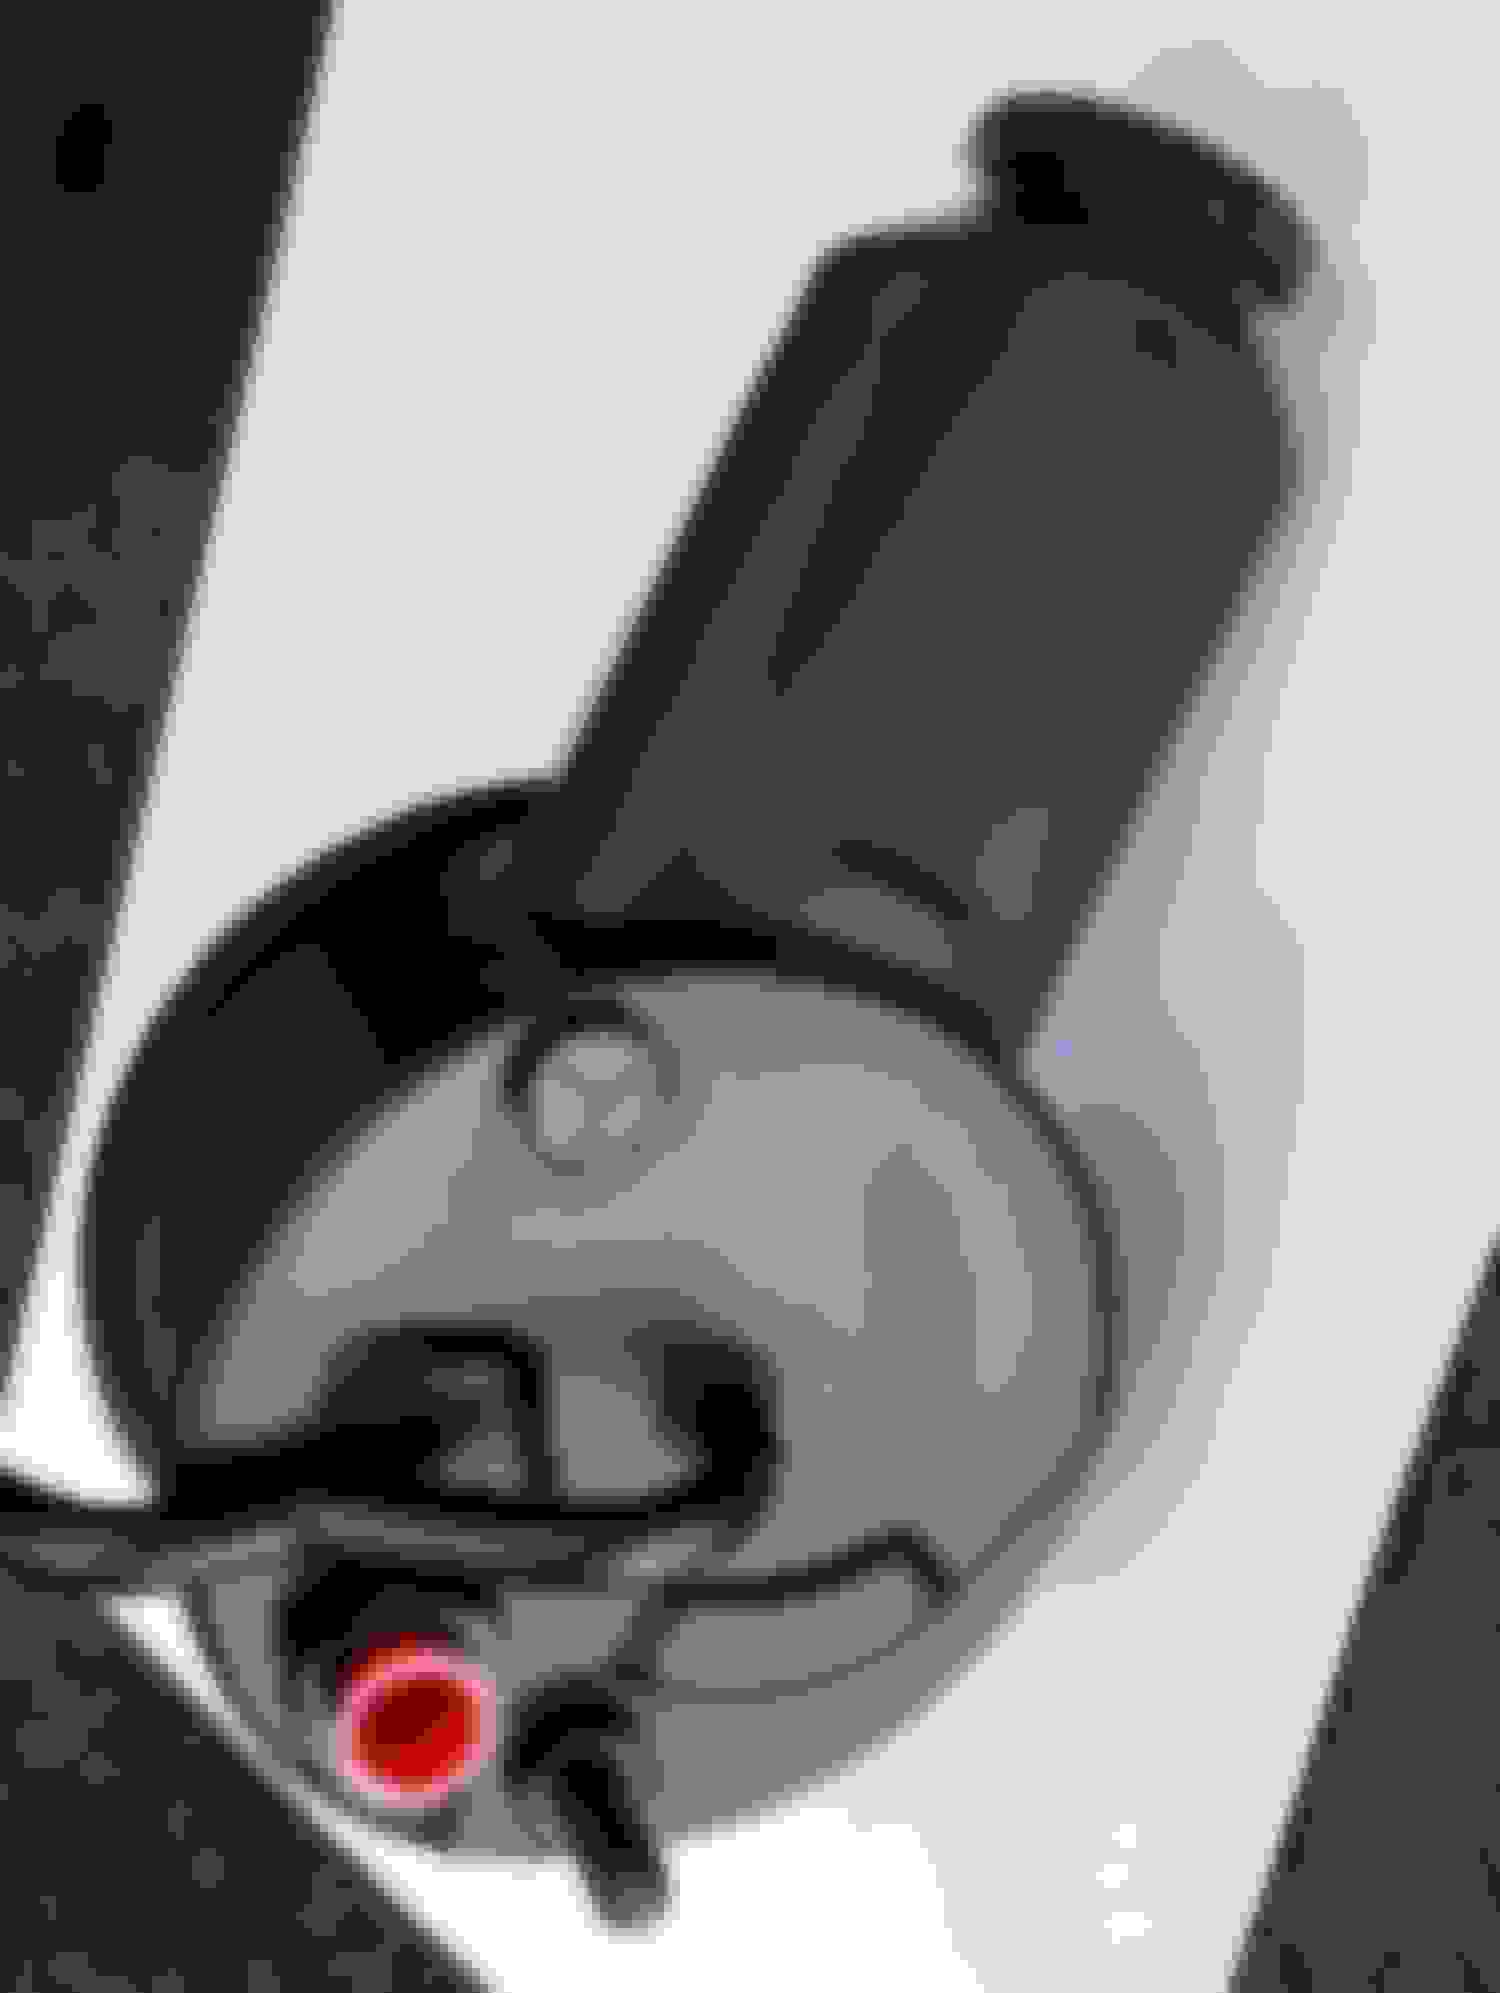
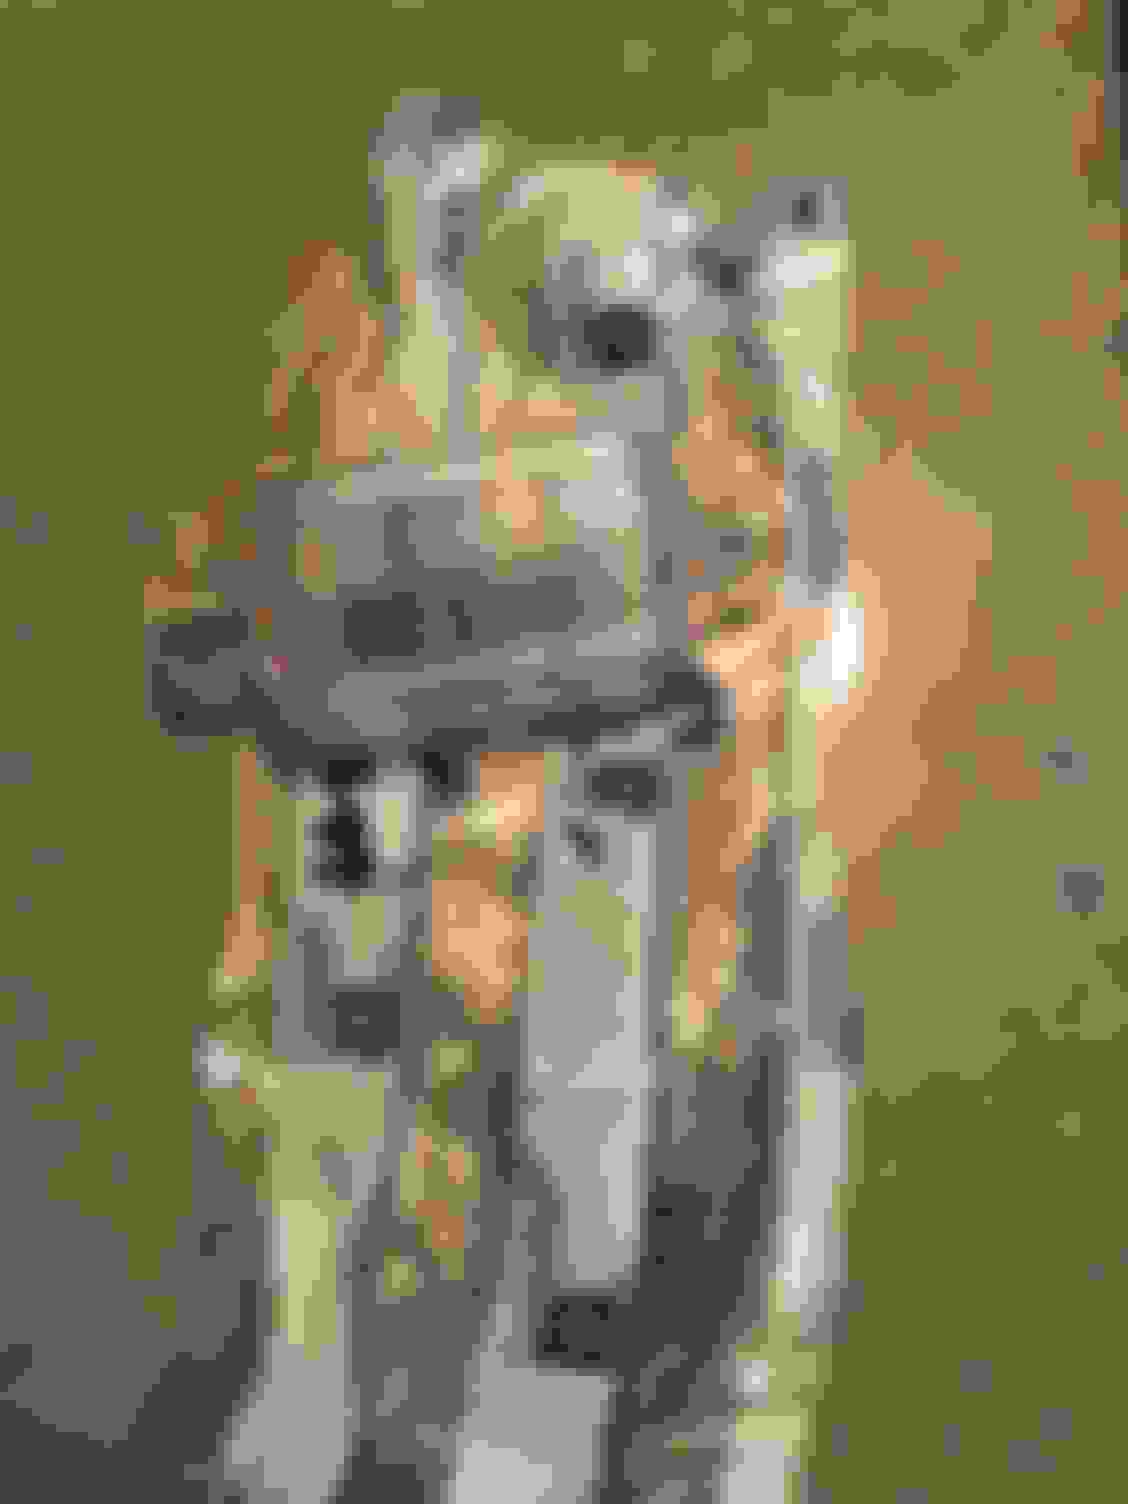
I sent my original power steering box and power steering pump down to Marty @ PowerSteering.com in Missouri for a rebuild and an upgrade to 12.7:1 fast gear ratio. I should have the completed parts back next week, but here�s a peak at the rebuild process.
I wanted to also include a few other items I had sent out for rebuild that I’ve received back over the last few weeks.
Damper Doctor in California rebuilt the harmonic balancer. Their turnaround time was about a week which was impressive.
Ken @ Everyday Performance rebuilt the car’s original distributor. I was fortunate enough to accumulate some NOS pieces for the rebuild including the vacuum control, cap, D112P points, static shields, and D204 condenser.
Gary @ The Horn Works out of Wisconsin stripped and rebuilt the horns using factory correct rivets. These turned out like brand new.
Last edited by WTHIRTY1; June 13th, 2018 at 07:11 PM.
Thank you for taking the time to photograph and show the work as it progresses. Identifying the vendors used, and your satisfaction level with that vendor, is helpful for others as well.
Would the original trans modulator have been a yellow zinc finish or a black finish on the JO W-31 trans?
Most likely black. Not sure on the JO W31 trans but a '70 OW T400 trans that's never been messed with (still in the car and never out) has a black modulator.
Most likely black. Not sure on the JO W31 trans but a '70 OW T400 trans that's never been messed with (still in the car and never out) has a black modulator.
Looks like a few of them are on eBay, but they're painted in Ford blue or grenade green. I'll be on the lookout for a black modulator.
Like Fred, I painted the stripes onto my P/S pressure and return lines. It came out better than I expected, but you can tell it is paint and not ink.
Also, I was knee deep myself in a rolling chassis teardown myself.
Good progress on the frame, Joe. Let's compare notes on the clips. Did you have the blue clip near the rear for the brake lines? Were all your fuel line clips running along the frame positioned the same, or did you have a clip that was 180* from the rest?
Here is the completed steering box, power steering pump, and rag joint. Turned out really nice, however, be ready to shell out $650 if you opt for the upgraded ratio. Still scratching my head on this one a bit.
Last edited by WTHIRTY1; June 15th, 2018 at 06:29 AM.
modulator is black as stated. I've see NOS ones green as I have one. They can be painted. The easily available replacements are much smaller and zinc chromate (gold) plated.
Here is the completed steering box, power steering pump, and rag joint. Turned out really nice, however, be ready to shell out $650 if you opt for the upgraded ratio. Still scratching my head on this one a bit.
Check you P/S cap and see if it was painted. When I got mine back from Chip it had been so I used a little carb clean to get the paint off and the buffed it ever so slightly.
Good progress on the frame, Joe. Let's compare notes on the clips. Did you have the blue clip near the rear for the brake lines? Were all your fuel line clips running along the frame positioned the same, or did you have a clip that was 180* from the rest?
I took pictures of all of the brake and fuel line clips in place before disassembly to note which goes where and what direction they are facing. Again, I can't swear to it, but I thought there are differences between assembly plants as to style and how many used. I will check and let you know.
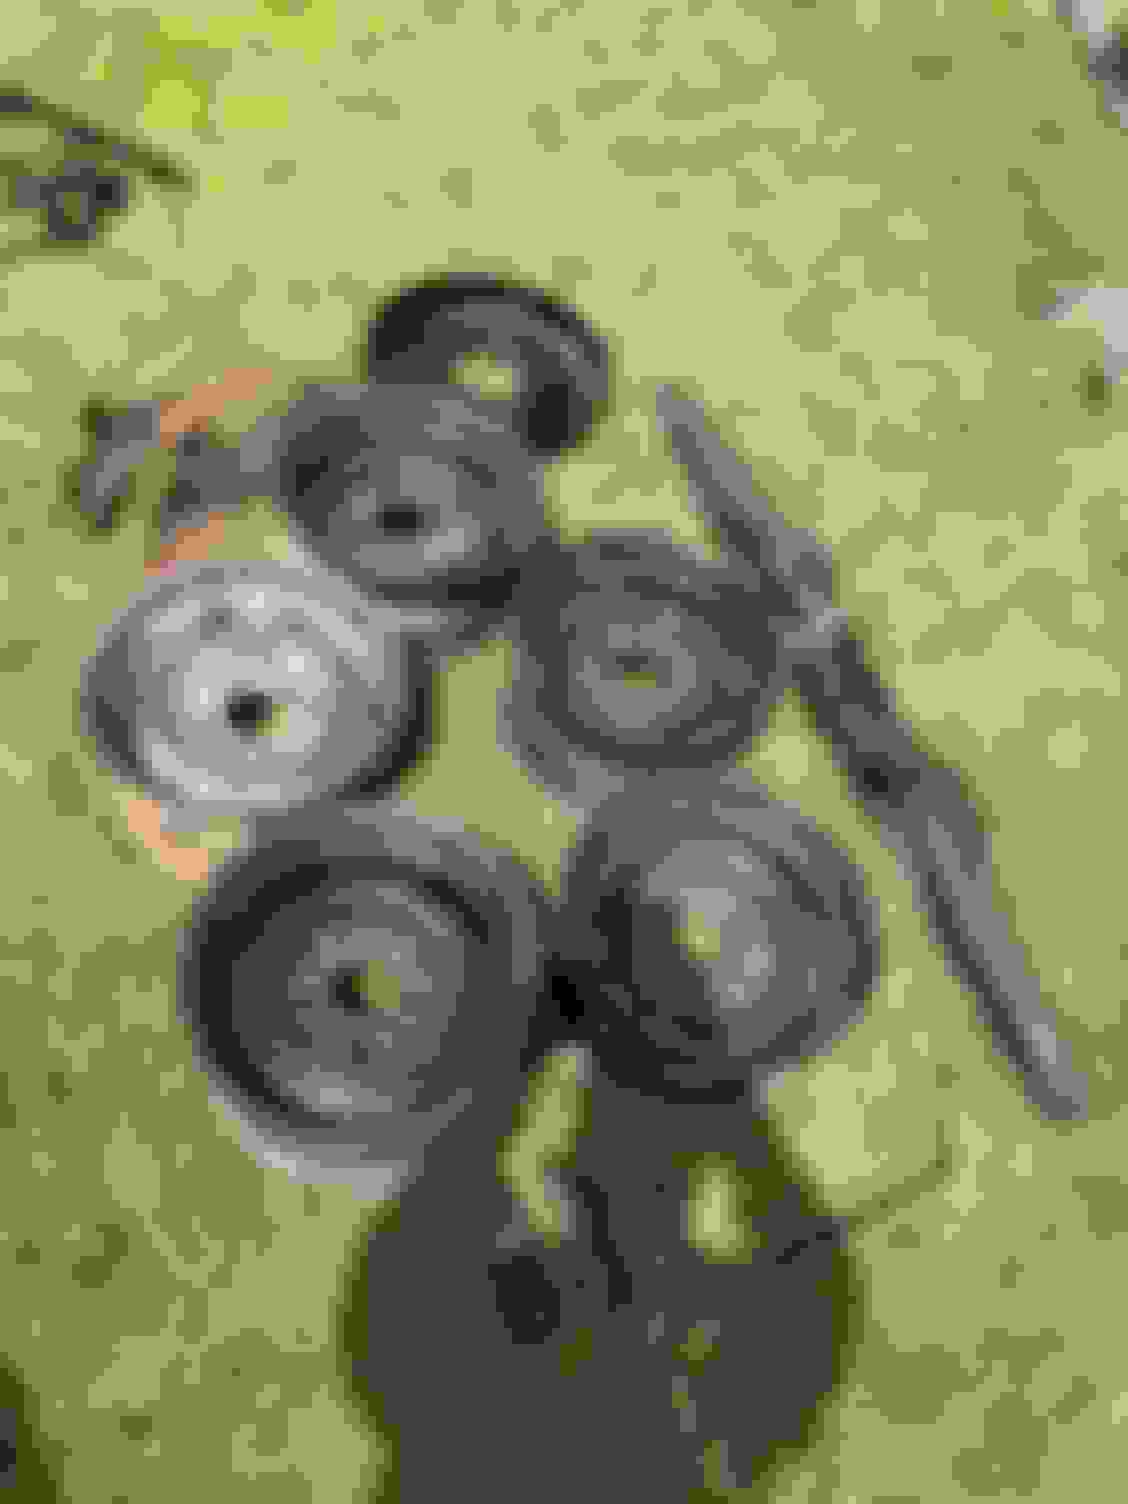
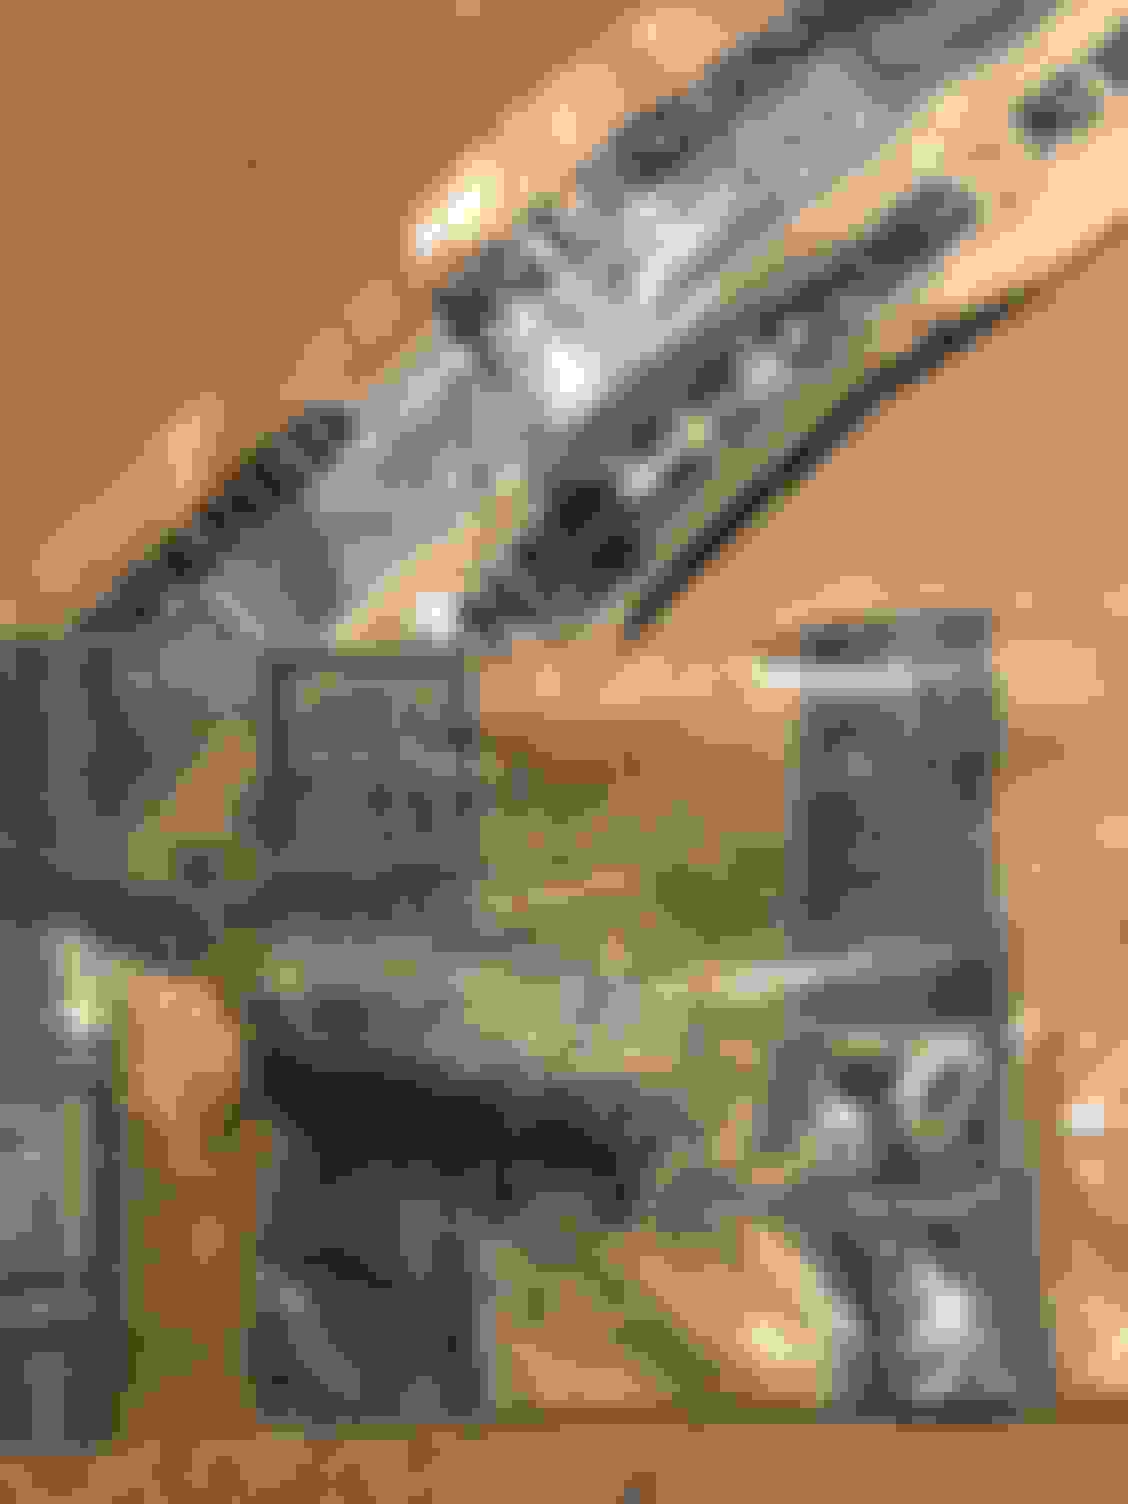
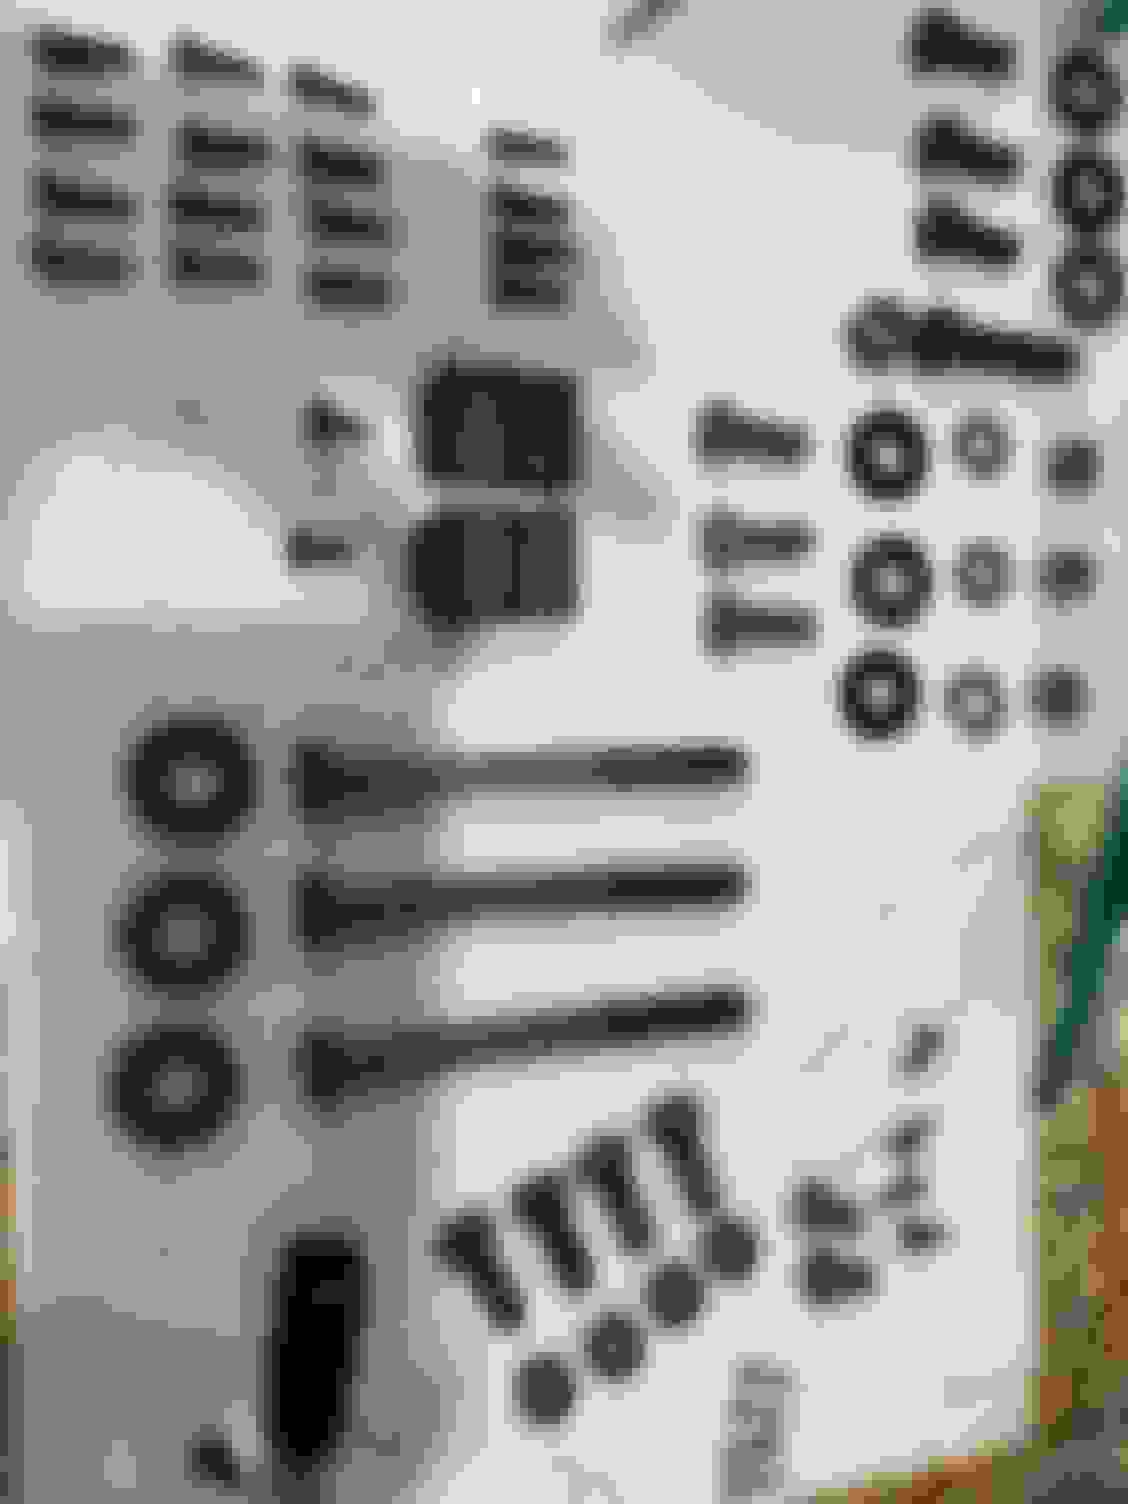
Scored some nice pieces that I needed over the weekend at the homecoming show in Lansing. Found NOS endlinks at a good price and picked up a pair of NOS OAI springs. Spent an hour this afternoon cleaning up hardware from the Evaporust buckets and threw a ton of other hardware in for the next few days.
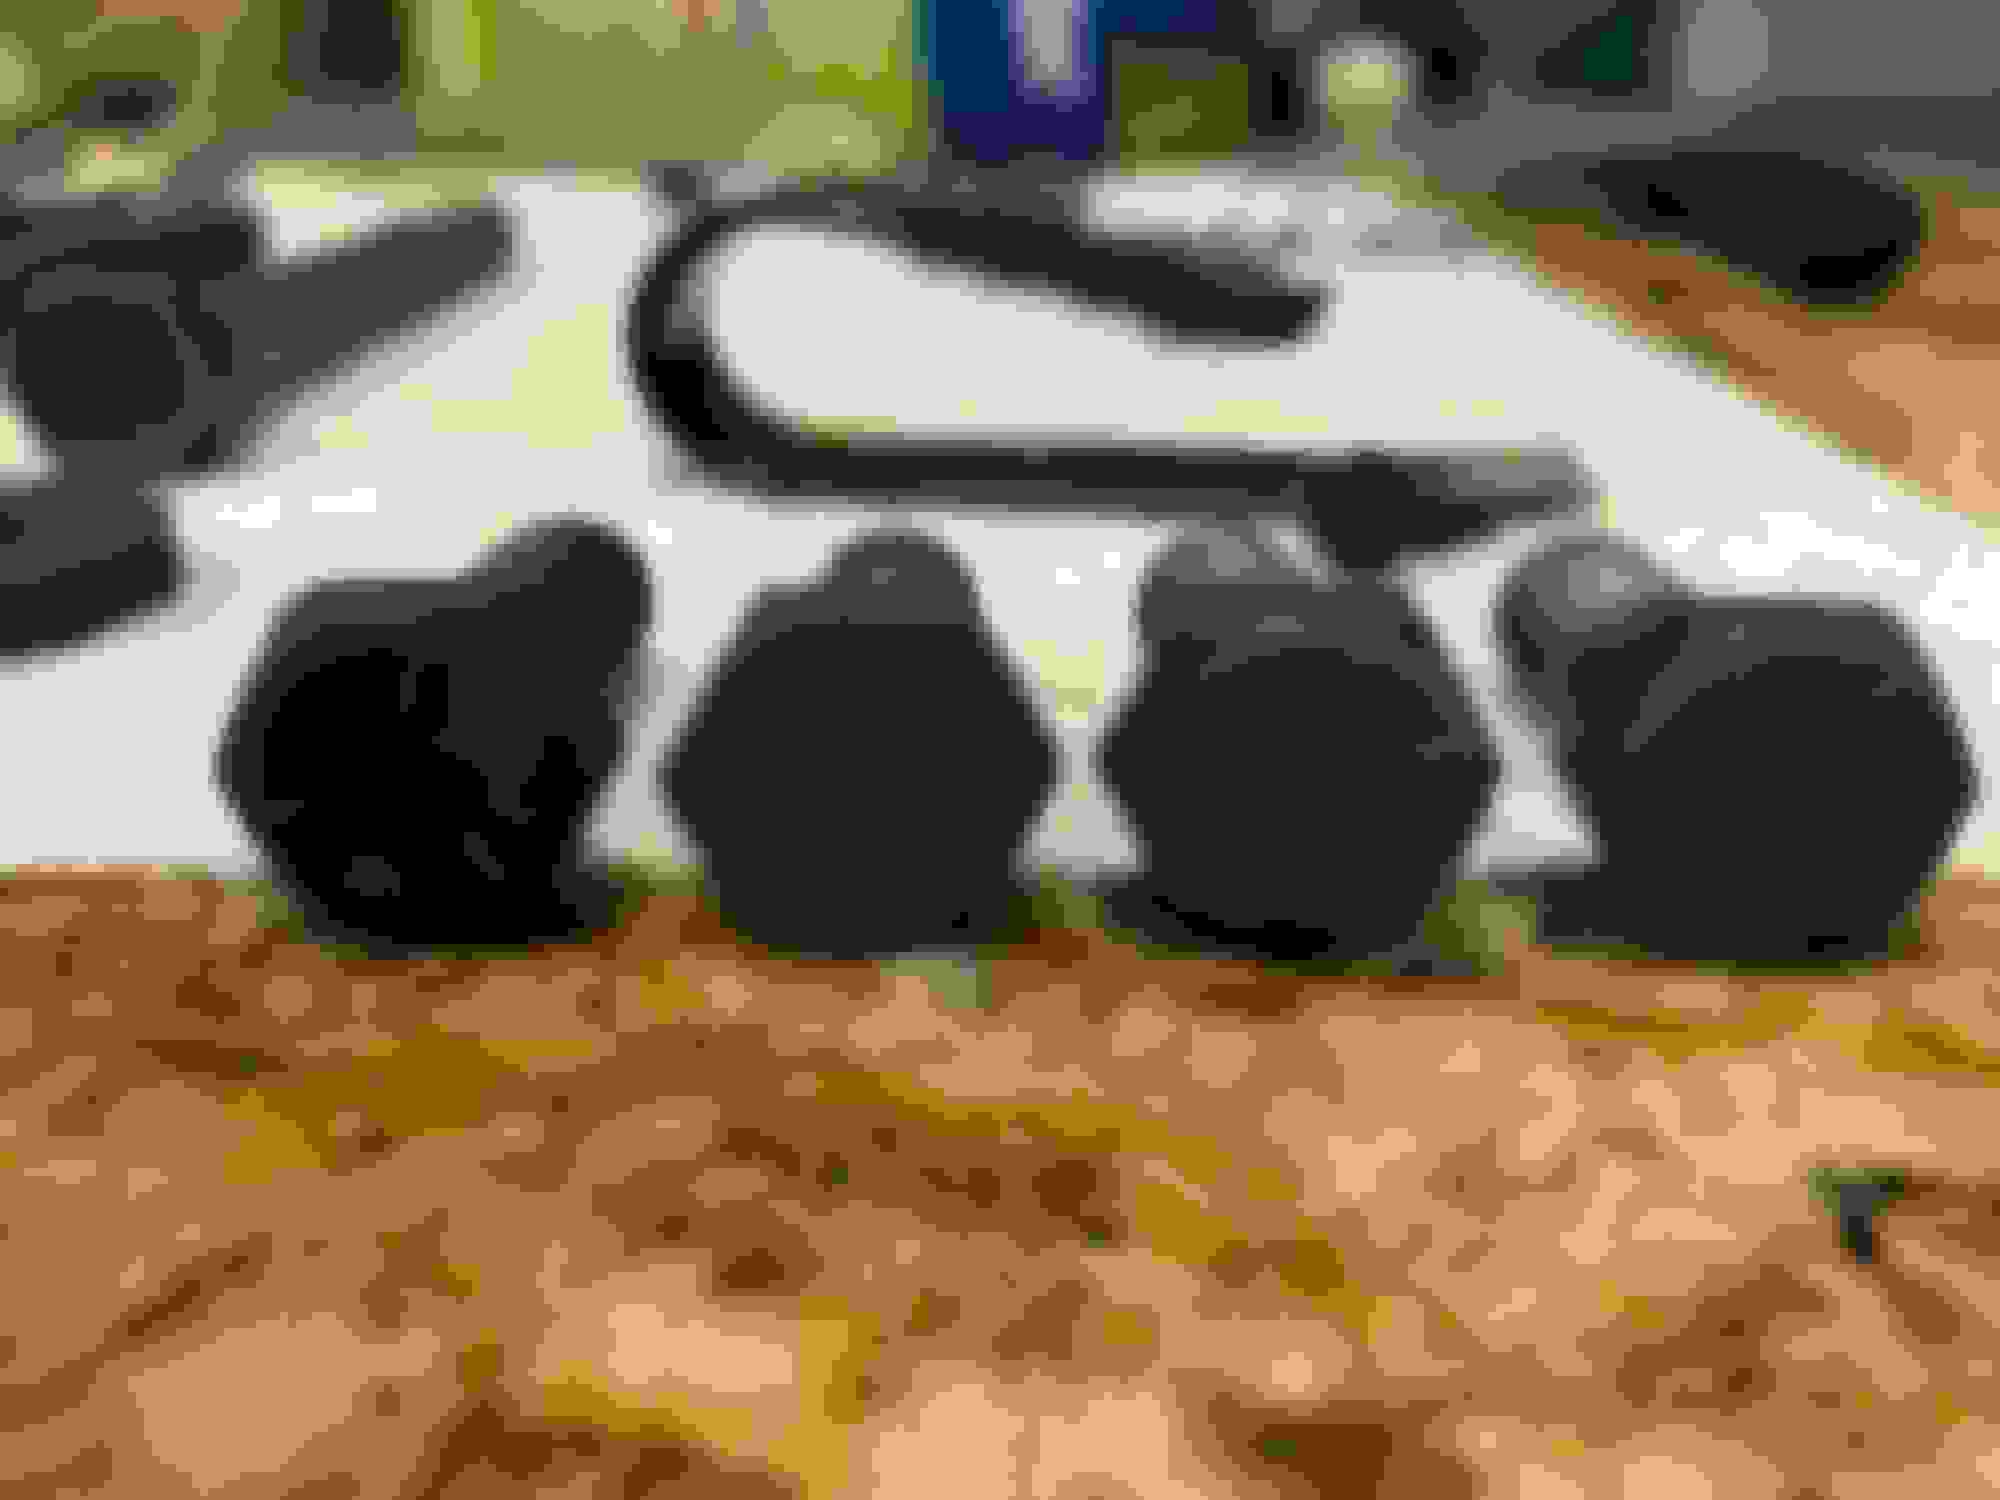
I cleaned up all four crossmember bolts, and three of the four have the same head markings and the fourth has the ‘TR’.
Last edited by WTHIRTY1; June 17th, 2020 at 07:16 AM.

 June 3rd, 2018, 07:08 PM