When you click on links to various merchants on this site and make a purchase, this can result in this site earning a commission. Affiliate programs and affiliations include, but are not limited to, the eBay Partner Network.
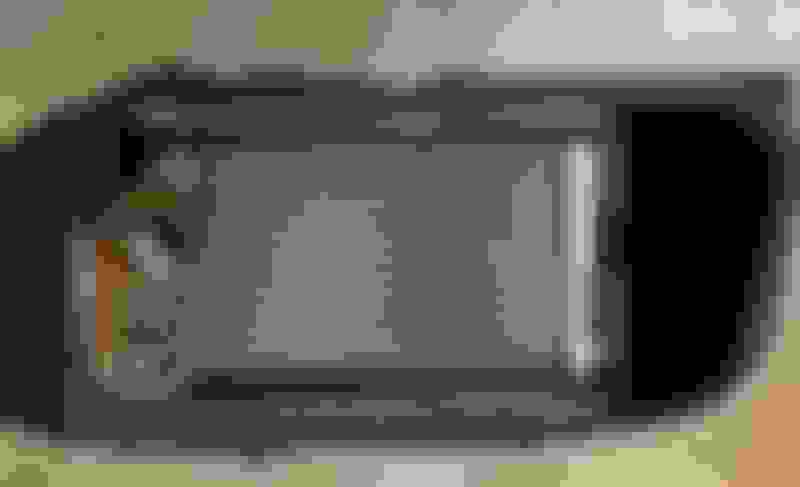
I decided to try color #53, Nassau Blue, with thin white stripes.
I know it's not going to match black the interior, however, I want look out my driveway and see a color that looks nice to me.
Attached is a picture with a similar color and stripe pattern.
Do any of you out there have any good example of Nassau Blue cars or the Thin stripe option?
This color is similar to the Nassau Blue I am considering.
I am also thinking about the thin white stripe.
Last edited by Miles71; January 27th, 2018 at 05:14 PM.
The 442 is a few weeks behind schedule.
The shop works on one panel at a time. The metal on the PS, Front fender is done and now it filler time. The hood has yet to be stripped of paint.
Next week the whole car will be primed and then sanded.
Then primed again.
I visited the body shop today, to pick up some chrome parts to take home and polish, while they are off the car.
To my surprise, I saw my car parked outside in a fenced section of the shop. It looked different, it was painted red-primer.
The last time I saw my car it was Grey primer.
As I got closer, it looked different some how.
It was a 1969 Cutlass convertible.
What a coincidence of having two 69 convertibles at the shop at the same time.
It looks like they worked on my 442 a bit this week. The hood has been sanded and primed.
The Front PS fender has more bondo and primer.
The imposter fooled me for a minute. The Cutlass dash badge gave it away.
I hope they do not loose all of the nuts and bolts when they put it back together. It looks like a scary mess.
Looks like the shop had a hard time getting the front bumper off.
Both of the front grills got melted.
I told the shop manager. Next week we will put the bumper on and see if the damage is still visible.
Right side melted and also warped the headlight bezel
Driver Side looks like it almost caught fire. Someone at the shop quickly painted the melted plastic with some silver paint.
Ready for paint. Looks like paint will take place this week. The shop mixed up a sample of #53 and it looked good while it was wet.
Hope it looks good after it dries.
The Painting has begun.
And the shop said they would cover the cost for new grill parts.
I ordered a new Grill Set from www.fusickautomotiveproducts.com on Saturday and they arrived on Tuesday.
The Shop did cover the cost for the replacement parts.
The car spent the night in the oven.
I am pleased with the color.
Last edited by Miles71; February 21st, 2018 at 04:59 AM.
Reason: updated
The car is now back home.
The shop installed a new front bumper and a new set of 6 parts of the front grill system. I ran out of money for a new Rear bumper so I had them put back on the old bumper.
The alignment is off for both bumpers, but I will take care of that later.
My biggest mistake in the whole process was that I did not take out the carpet before the repaint. I may pull out the carpet and hose it off later.
The front parking lights have never worked correctly. The turn-signal portion would like up the Dim-filament and the running lights would light-up the Bright-filament.
The rear tail lights were fine, brake, Running and Turn-signals.
I discovered that both Left and Right side front signals, had burnt wires. The High and Low wires were shorted together. Someone had attempted on more than one occasion to repair the burnt wires unsuccessfully. I am guessing the original damage may have been caused by wire vibration abrasion. If a bundle of wires rubs against a metal part, the metal part can sand away the insulation and cause a short.
I cut away the burnt wires until I got to shiny copper. Then sanded the wires a little to help make a good solder connection. The original wires were thin about 18-gauge. I used a slight thicker gauge for the replacement patch wires. All connections were solders and taped. Later, I will add on a flexible plastic cover to reduce wire abrasion.
Initial testing with both lights sitting on the fan-shroud worked perfectly. Parking lights lit-up the Low filament and turn signals now lit up the bright filament. Emergency flashers also worked. Now a I need to clean up the assembles and re-install the lights.
The Gas Gauge and lights on this cluster have been very intermittent. After reading the Server manual, I decided it is possible to remove the gauge. First you must remove the front seats or hire an orangutan.
I tested each of the 7 "twist-in" bulbs independently. All owed good, but some were quite dim.
Three bulbs are used to control the "Back lighting", 1 behind the word "Fuel" and the other two below the "Gen/Oil" lights. I could tell by the existing scratches is unit has been worked on before.
The intermitted issues acted like a missing ground, but the light failures were random and intermittent.
It turns out the problems were caused by Loose Connector pins.
Below are the 7 pins for the power/signal connector. The pins were not that rusty, they were just all loose, which caused the intermittent issues. I cleaned the board with a little chrome polish, to get the tarnish off the copper light pads. Then I re-soldered all 7 pins.
Now I just need to re-install and see if my surgery has solved the issues.
After assembly, I tested each pin individually for connectivity and shorts.
I also discovered the 3-circuit-board-screws act as ground connections.
The screws had some tarnish that prevented a good ground, so I added "Lock" washers under each of the hex-head screws.
It would be better to have used Stainless steel "Star-Washers", but I was all out.
Here is my best guess to the bulb types originally used.
The Dimmer "Lumen 25" bulbs were used for the "Night lights".
The Brighter Lumen 38 bulbs were used for Warning lights.
I replaced all of my "Night Lights" with the brighter Lumen 38, Type 168.
Numbers 1,4,5 Night Lights (Bulb type, T3.25 194, 3.5W, Lumen 25)
Oil = 5, Hot = 6, GEN = 4, Brake = 3 (Bulb type, T3.25 168, 5W, Lumen 38)
Note: Do not use LED bulbs for the Speedometer or Gas gage instruments.
LED cannot be Dimmed. I recommend you only use "Incandescent" bulbs for these applications.
Also, if you want to replace other bulbs with LED's, you must compare the "Lumens" of the original incandescent bulb to the Lumen rating of the LED bulb.
You cannot use the "wattage" value when comparing LED and Incandescent bulbs.
Most cheap LED bulbs will be "Much" dimmer than the original Incandescent bulbs.
Only the more expensive LED's will have comparable lumen ratings.
Most of the Night-lights were out. Most of the warning lights were intermittent.
After soldering all of the 7 Pins on the back of the circuit board, all lights work.
After fixing all of the light issues, I discovered my Oil Sender unit does not "Ground" when the engine is off. Looks like I will need to replace the sender unit. The wire for the Oil light works fine.
Night lights only.
The new bulbs, [T3.25 168, 5W, Lumen 38] are much brighter than the old 194 bulbs.
And my Gas Gauge works too.
Convertibles have a 2-piece section of chrome trim that goes around the base of the rear roof section.
Each section is about 4 feet long and shaped like an "L".
The two sections join-together near the center of the trunk.
The directs say, Tape off 2+ around body area to protect from scratching the body pain.
The edge of the trim is very sharp, and it WILL remove paint.
In theory is the same part for all 442/Cutlass Supremes 1968-72.
My trim was damaged and had to be replaced.
The 50-year-old Philips-screws were permanently rusted I into the trunk deck and had to be drilled out.
The Rear interior panels need to be removed to attach the "First" screw for each of the two joining sections of chrome trim.
Installing the trim is really a 2-man job.
The flexible L-shape chrome is very unwieldy, and it will be much easier with 2-people.
I quickly discovered the New trim is longer than the factory trim.
Each section seems to be about 8 millimeters longer.
This means, you cannot re-use any of the existing 8 holes (Darn).
I also had to bend about 2-inches of the edged trim near the rear windows, to correctly fit over the edge of the cars body panel. Easy to do with a pair of plyers.
I installed the passenger side first and drilled a new hole for the "First" screw near the rear window. Then firmly pushed the trim over the existing "Pinch" welded edges of the trunk deck.
Next, I used a Q-Tip dipped in White paint to mark the new screw hole locations under the deck.
A felt tip pen would not reach through the trim screw holed to the body.
You will need to then mark a similar location on the Paint side of the body to drill through and hopefully you drill will come out the paint spot.
I broke 2-drill bits and dulled-down two more drill bits.
After a few holes and managed to hit the white spot every time.
Then join the Passenger side trim to the diver side trim and note where the DS trim ends and start drilling.
It Took me 4 hours to get most of the screws installed.
Later, I will remove the trim and fill-in all of the extra mounting holes.
I may replace the Philips screws with short Hex-bolts.
I guess I have about another 4 hours until I am satisfied and reinstall the rear seats and stuff.
The trim is screwed to the body, behind the passage rear window. Most of the rear body panels need to be removed to access this mounting point. I call this the First screw. This section of trim was about 8 millimeters longer than the original. The marks on the blue tape show where additional screws will need to be installed.
New Trim temporally installed around base of roof.
The tape is used to protect against scratches during installation.
My Guard Dog "Ruby" goes to most of my car shows.
When she sees me packing up the car for a show, she will hop right into the car and wait.
When I take the 1971 CS with the vinyl roof, she will sit on top of the roof in her bed.
She prefers the 1969 442 Convertible, because she can walk over the car and trunk (When I had the old paint).
She attracts visitors and famous people too.
Here is Wayne Carini (Chasing Classic Cars) and Herb Chambers (Worth 2-Billion dollars), posing with Ruby.
She even Kissed Herb.
My brother-in-law made a comment about my 442 brakes during a short test run.
The vacuum booster was not up to snuff.
So, I put him to work. I just happened to have a spare booster/master cylinder in the basement.
I handed it to him and said, "If you don’t like my brakes, then fix them."
So, after Easter dinner, I warmed up the garage and I put him to work.
Its simple, but not easy. I had to lay on top of the engine, to get access to "two" of the mounting bolts.
The Booster works fine now.
I just need to finish bleeding the brakes. That's not me in the picture.
Bleeding the Rear brakes was easy.
The drain value is easy to access and accepts 5/16 socket or box wrench.
The Drivers side front was also easy to access.
The Passenger side front was terrible. The valve is too close to the brake body.
I was not able to get a socket or box wrench onto the valve.
The open wrench side did fit but had been worn out by previous mechanics.
I really needed a 5/16 open wrench with a 20-45-degree bend to get clearance.
Finally, by removing the inner fender, I had better access and bleed the breaks.
I did try to replace the value, but the aftermarket valve had even less clearance and would not go back into the cave.
The power brake pedal now comes right up to top, nice and high.
Peddle travel is minimal to engage the 4 Drums.
It does not stop as fast as Disk brakes!
Last edited by Miles71; April 18th, 2018 at 05:17 PM.
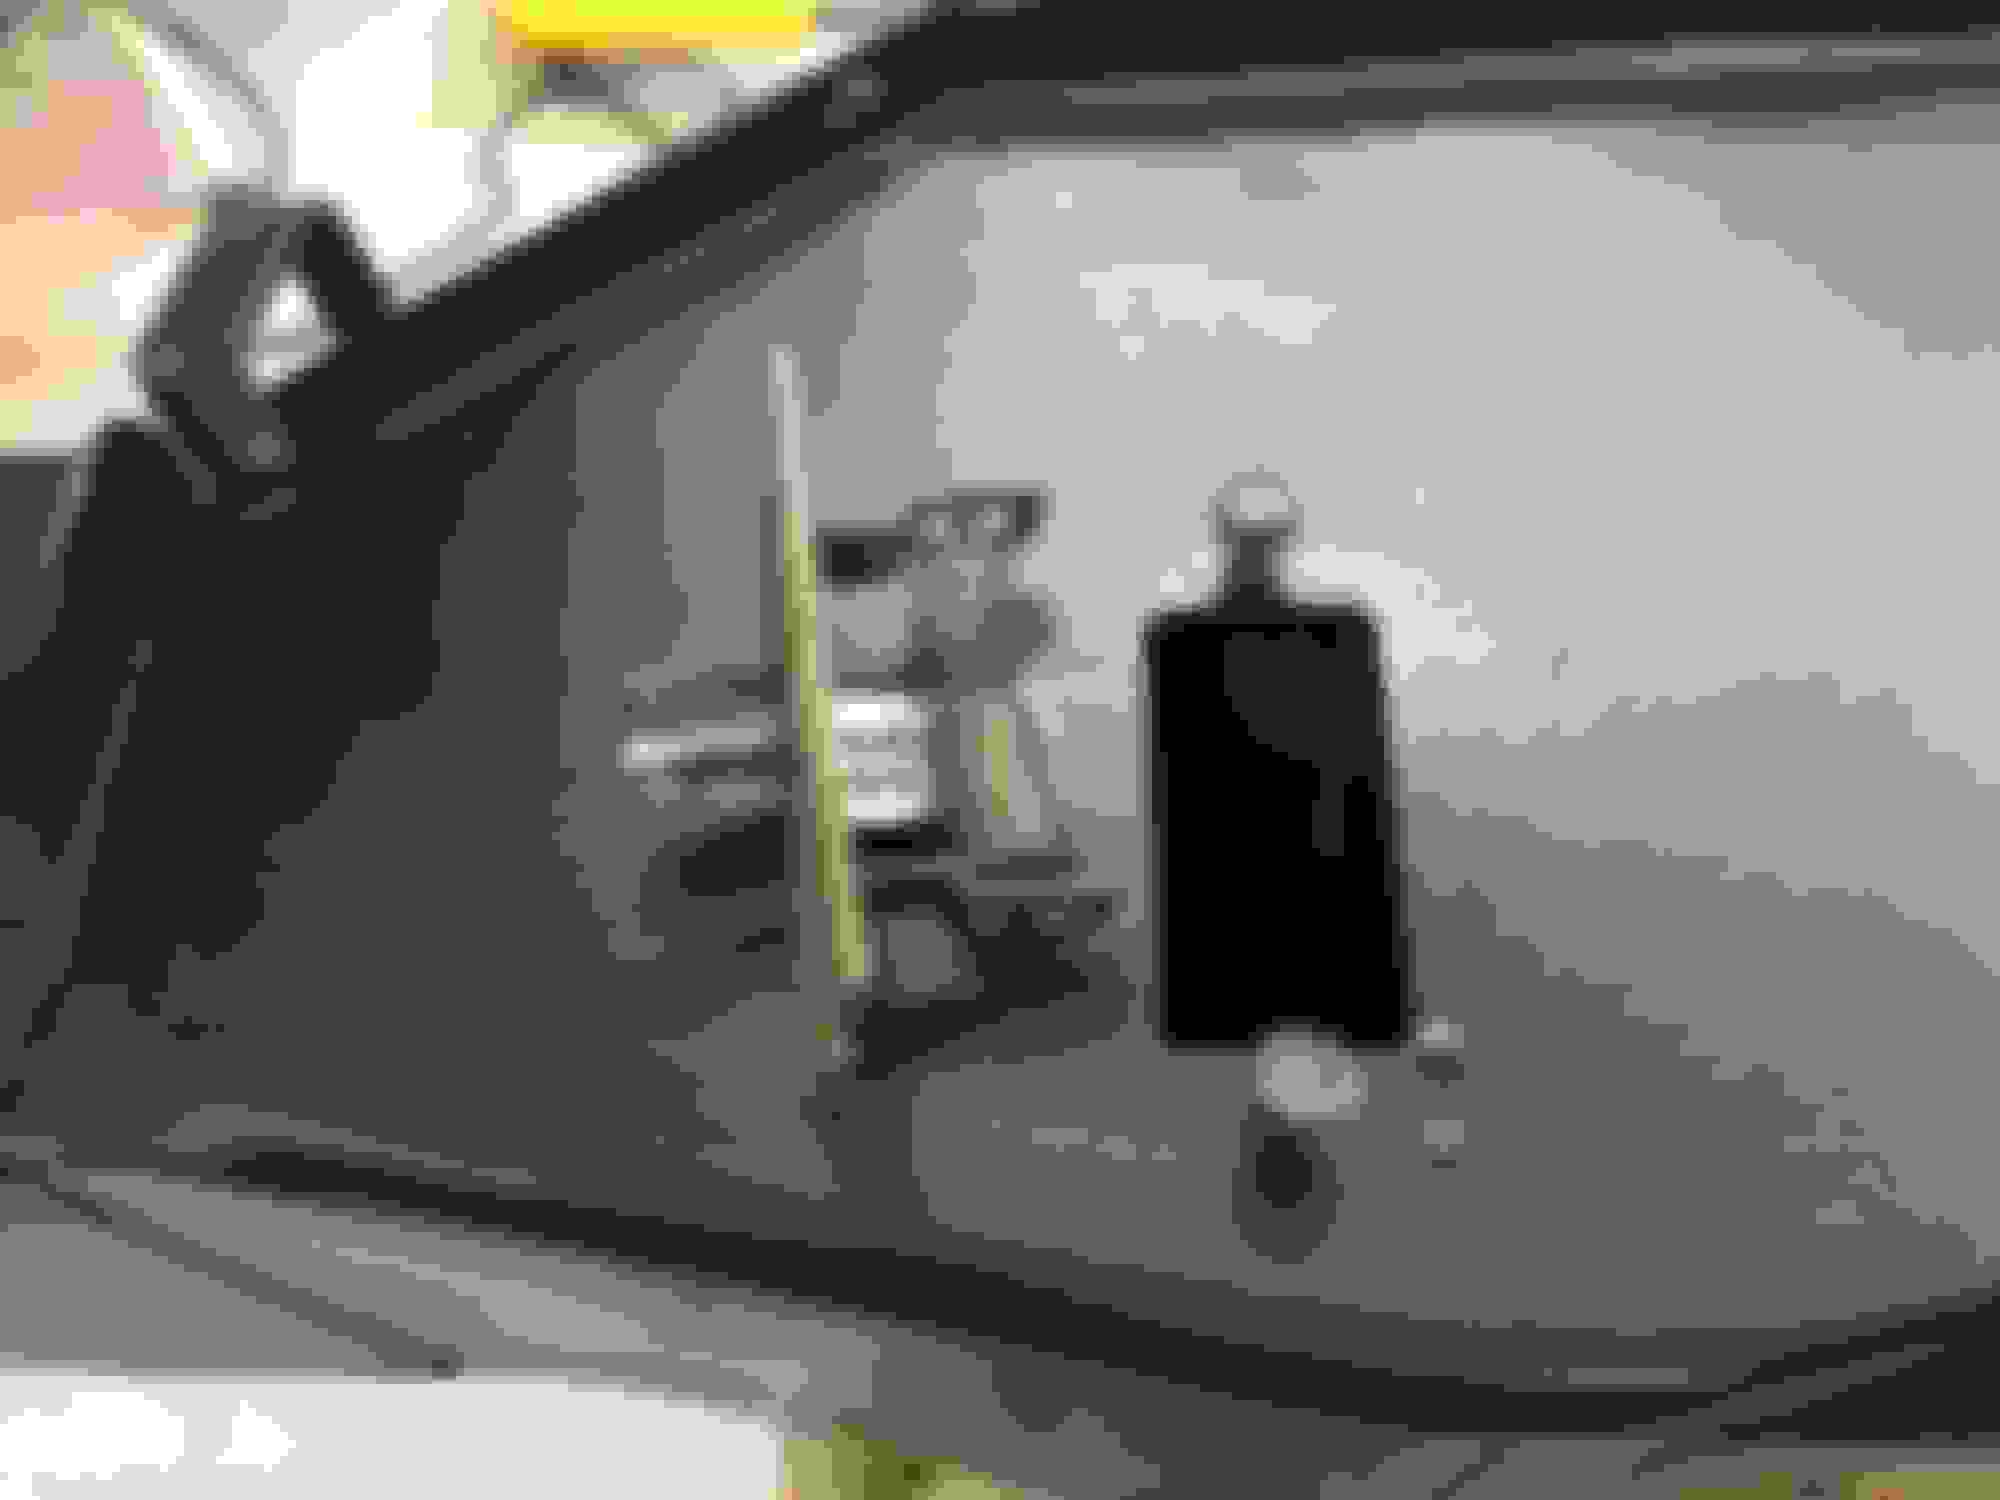
My Backup lights stopped working. I know they worked last fall after I replace the Neutral Safety switch.
It seems the body shop mangled my Backup lights when they took off the rear bumper.
One of the 1156 Bulb sockets was destroyed. The other was in good shape, but they had cut the write.
It is cost prohibitive to buy a new light housing with a good socket.
Instead, I just went to a local parts store "Advanced Automotive" and bought an off-the-shelf socket.
I bought a socket 1157 for a damaged front parking light and a socket 1156 for the rear Backup light.
The old sockets are prssed-fit in and needed to be completely removed. The new sockets just plugged right into the existing reflector.
The new sockets will be loose!
You will need Epoxy to hold the socket firmly to the reflector. I used JB-Weld.
Remove all paint and rust from the surface area when the Socket comes in contact with the metal reflector.
The Reflector provides a Ground for the light.
After the epoxy dries, check the resistance between the metal socket frame and the thread section of the Reflector. If the resistance is over 5 ohms, then solder a Ground wire to the Socket frame and later attach the other end of the wire to a secure portion of the reflector mount.
The cost for the two sockets was less than $6.00.
I also clean and repainted the parts before installing them back on the car.
The Reflector on the Right still has the original socket for the 1156 bulb.
The left reflector had the socket ripped out by the body shop.
The silver socket is the $3.00 replacement socket that was later epoxied onto the reflector.
Last edited by Miles71; April 18th, 2018 at 05:19 PM.
Some type of temperature-controlled damper attached to the exhaust manifold on the driver side.
The metal weight at the bottom just wiggles back and forth.
The Spring at the top may have been attached to something.
The starter was built on March 16, 2008.
I am now learning how to replace a Heater Core. This car does not have AC, so it’s a bit easier.
I read the service manual, removed inner wheel well, and a bunch of bolts on the outer cover.
You can see the "White" corrosion on the copper Heater Core.
Question: The air filter is painting an orange/red color.
Is this the correct color for 1969? I have seen some pictures of 442 with a similar color.
Does anyone know where I can get a spray can with the correct color?
Paint module number preferred, thanks.
Disconnected heater lever cables and fan power cable.
Removed the top defroster adapter and the bottom vent.
Its not the best design.
When you want cool air, you still get some heat from the 180-degree heater core.
Non-AC cars do not come with a Heater Core water shutoff.
I measured the temperate increase in my 71 CS with AC. When fans set to cold and AC is off.
If the Outside air temperature is 80F, the air coming out the vents will be about 20-25 degrees hotter than the outside air.
The plan is to clean and repaint the air box. Replace all gaskets and maybe add more insulation.
The old copper-core is on Top. The new aluminum core on the bottom.
It does fit into the old hole. There are fewer fins.
A few weeks ago, I was at a local car show with two of my toys (1970 CS Green/Rusty and 1971 CS Gold and 90% original).
A local resident came over to me and looked at my two cars and said, “My friend is too old to restore his 69, 4-4-2 Convertible.” Are you interested in buying it for $xxxx. I said, “If the condition is as good as you say, when can I pick it up.”
I bought my first 442. It’s going to take a lot of work.
After a 2-hour inspection, I bought it and dove it home. We made the 80-mile trip without any real issues.
First stop, the gas station and it took 19.99 Gallons of 93 octane (Fuel tank assumed to be 20 gallon).
About 70 miles later, one of the wheel center caps broke off while in a highway clover leaf.
A little later, while driving slowly and taking a sharp right turn the engine quit.
After about 5 minutes we got it going again. I will assume is was dirt in the carburetor.
The next day, I tried to start the car and the carburetor just overflowed with gas.
I gave the carburetor a quick temporary rebuild.
Changed the plugs, oil, adjusted timing, dwell and carburetor mixture. Then took it for a short road test.
I have been driving 70-72 CS with Rocket 350’s for 20 years and 200k miles.
When I stepped on the gas of the full boxed frame convertible with the original 400 ci engine, the TH-400 automatic transmission left rubber in First and “Second” gears.
“WOW” my Rocket 350’s never did that.
The body panels and trunk were in surprisingly good shape.
The secret to keeping the trunk lid from rotting, is to remove the chrome strip at the bottom edge of the trunk.
The chrome trim common on CS,
The chrome trim will hold water and cause the bottom edge to rot away. The 69 442 did not come with the chrome trim and thus the trunk is solid.
My current panels look great after lots and lots of sanding and paint.
It seems that all 4 panels were replaced in 2003 with Used parts from Arizona.
When I got this car, it was mostly original.
Many attached parts have exceeded their useful life and are being replaced as the money becomes available.
The car also came with a few boxes of miscellaneous spare parts.
Parts that are missing:
Windshield washer jet nozzles.
Long Term Wish list:
I am looking for a cheap rear bumper. Budget is very tight.
Last edited by Miles71; April 17th, 2018 at 10:10 AM.
I am rushing to get the car ready for an Oldsmobile only car show May 20, 2018.
Maybe I will see some of you there.
All Oldsmobile Spring Dust-Off – May 20, 2018
Kimball Farm – 1543 Lunenburg Rd – Lancaster, MA 01523
(Rain Date June 3)
Awards will be given to what are judged to be the top twenty-five Oldsmobile's on the show field
Best of Show ,George Berejik Award
Registration - $20 / Show car – Spectators Free
Information via the Internet:
Eastern Massachusetts GMO Chapter
114 West St
Medway, MA 02053-2226
Ted Loranz - 508-561-7613 (Cell) tloranz@comcast.net www.olds-gmo.com
Here is what the engine looked like when I first got the car.
And here it is after a bit if work.
That is a very nice transformation. It is amazing how much difference a little elbow grease and paint can make. Looks as nice as the rest of the car. Good work!
The Old leaking copper heater core has been removed and a new Aluminum core has been installed.
The overall design of the heating exchange system is designed to take outside air and warm it up.
It is not designed to bring in cool outside air at ambient temperature and deliver it to the interior at a similar outside cool ambient level.
In other words, even with the HEAT lever set to Cool, the air coming out the vents will be Hot!
To reduce the amount of heat conduction with the "Cool" setting, I added extra insulation inside the Heat-exchanger box.
In reality, I do not expect to see much of an improvement.
Example: On my 1971 CS, with a Factory AC system. Setting the AC = OFF, Vent = on Cool and a working vacuum heater water control value.
Fan blowers any speed. The air coming out from the Center Vent will be approximately 20F greater than the outside ambient air.
I have not measured the Temperature increase with a Non-AC system yet.
I assume it will be similar.
I replaced most of the existing gaskets with a new set.
Two of the three internal door gaskets required major surgery to replace the gaskets.
I skipped the surgery and only replaced the gasket on the door underneath the Heater core (Not visible).
Last edited by Miles71; April 30th, 2018 at 06:03 AM.
Resistors are used to control fan speeds.
Low speed-1 = 3.4 Ohms.
Medium speed-2 = 2.5 Ohms
Higher speed-3 = 1.3 Ohms.
If your car is equipped with AC, you will get an Extra setting I call Max Speed-4.
Max-Speed-4 will turn on a separate Fan Relay, that will feed voltage directly to the blower through its own 20-Amp fuse.
A thicker gauge wires is also used to support the higher Max-Speed-4 current loads.
Do not try to bypass the resistor circuity, because the stock 16-gauge wires will just melt.
Last edited by Miles71; April 30th, 2018 at 06:03 AM.
I cleaned up the connectors. Latter I will apply a little grease before making the final connection.
The Resistors are air-cooled by the fan motor.
Earlier GM cars just had the Resistors exposed near the firewall.
I think this is a much sounder design.
I recommend pointing the resistor towards the passenger side of the car for better cooling (either way its not critical).
In this image, the Air will be coming in from the Right Side of the image (Passenger side) and moving towards the left side (Drivers Side).
Some type of temperature-controlled damper attached to the exhaust manifold on the driver side.
The metal weight at the bottom just wiggles back and forth.
The Spring at the top may have been attached to something.
The starter was built on March 16, 2008.
If the heat riser arm is just flopping around it will cause the engine to overheat if it stays closed. You can wire it open or weld it in the open position.
I took the newly painted 442 to a local yearly Oldsmobile Dust-off show at Kimball's farms ice-cream in Lancaster MA.
The event is put on by the local Oldsmobile club.
This year, we had a light turn out of approximal 30 Oldsmobile's. The low turnout was because of poor weather.
The roads were wet from overnight rains and the forecast threatened more ran after lunch time.
My car was only about 95% assembled.
The previous week, I was on vacation and only had a few hours to prepare the car for the show (Family first).
It was great to see many old familiar cars and a few cars I have not seen before.
The bad weather held off until the ride home at 2:00 pm.
The awards did not have any titles. It was the club's way of saying, "We like your car".
I guess the club liked with I did what the car over the winter.
Several club members have been following my work on this car via this forum.
My guard dog "Ruby" did her part to greet all visitors.
I think she was also helped sway the judges vote my way.
The 1/16 model 1969 442, is a module I bought a few years ago.
I really liked this color, so I had the paint shop match the paint.

 January 27th, 2018, 04:34 PM