When you click on links to various merchants on this site and make a purchase, this can result in this site earning a commission. Affiliate programs and affiliations include, but are not limited to, the eBay Partner Network.
The Body Stays On This One Too, 1970 442 4 Speed Refresh, has morphed to a body off!
Hello to all you guys - miss me much????
So a very good friend calls me and says he wants to buy a Astro Blue 4 speed car, and me, well the wife is dying to get me back out in the garage, so I says to my friend buy the car, pay for the parts/supplies and I'll do the work on getting it back to show stock condition. He does, and I now have something to do besides yell at the TV and annoy my daughter.
The car:
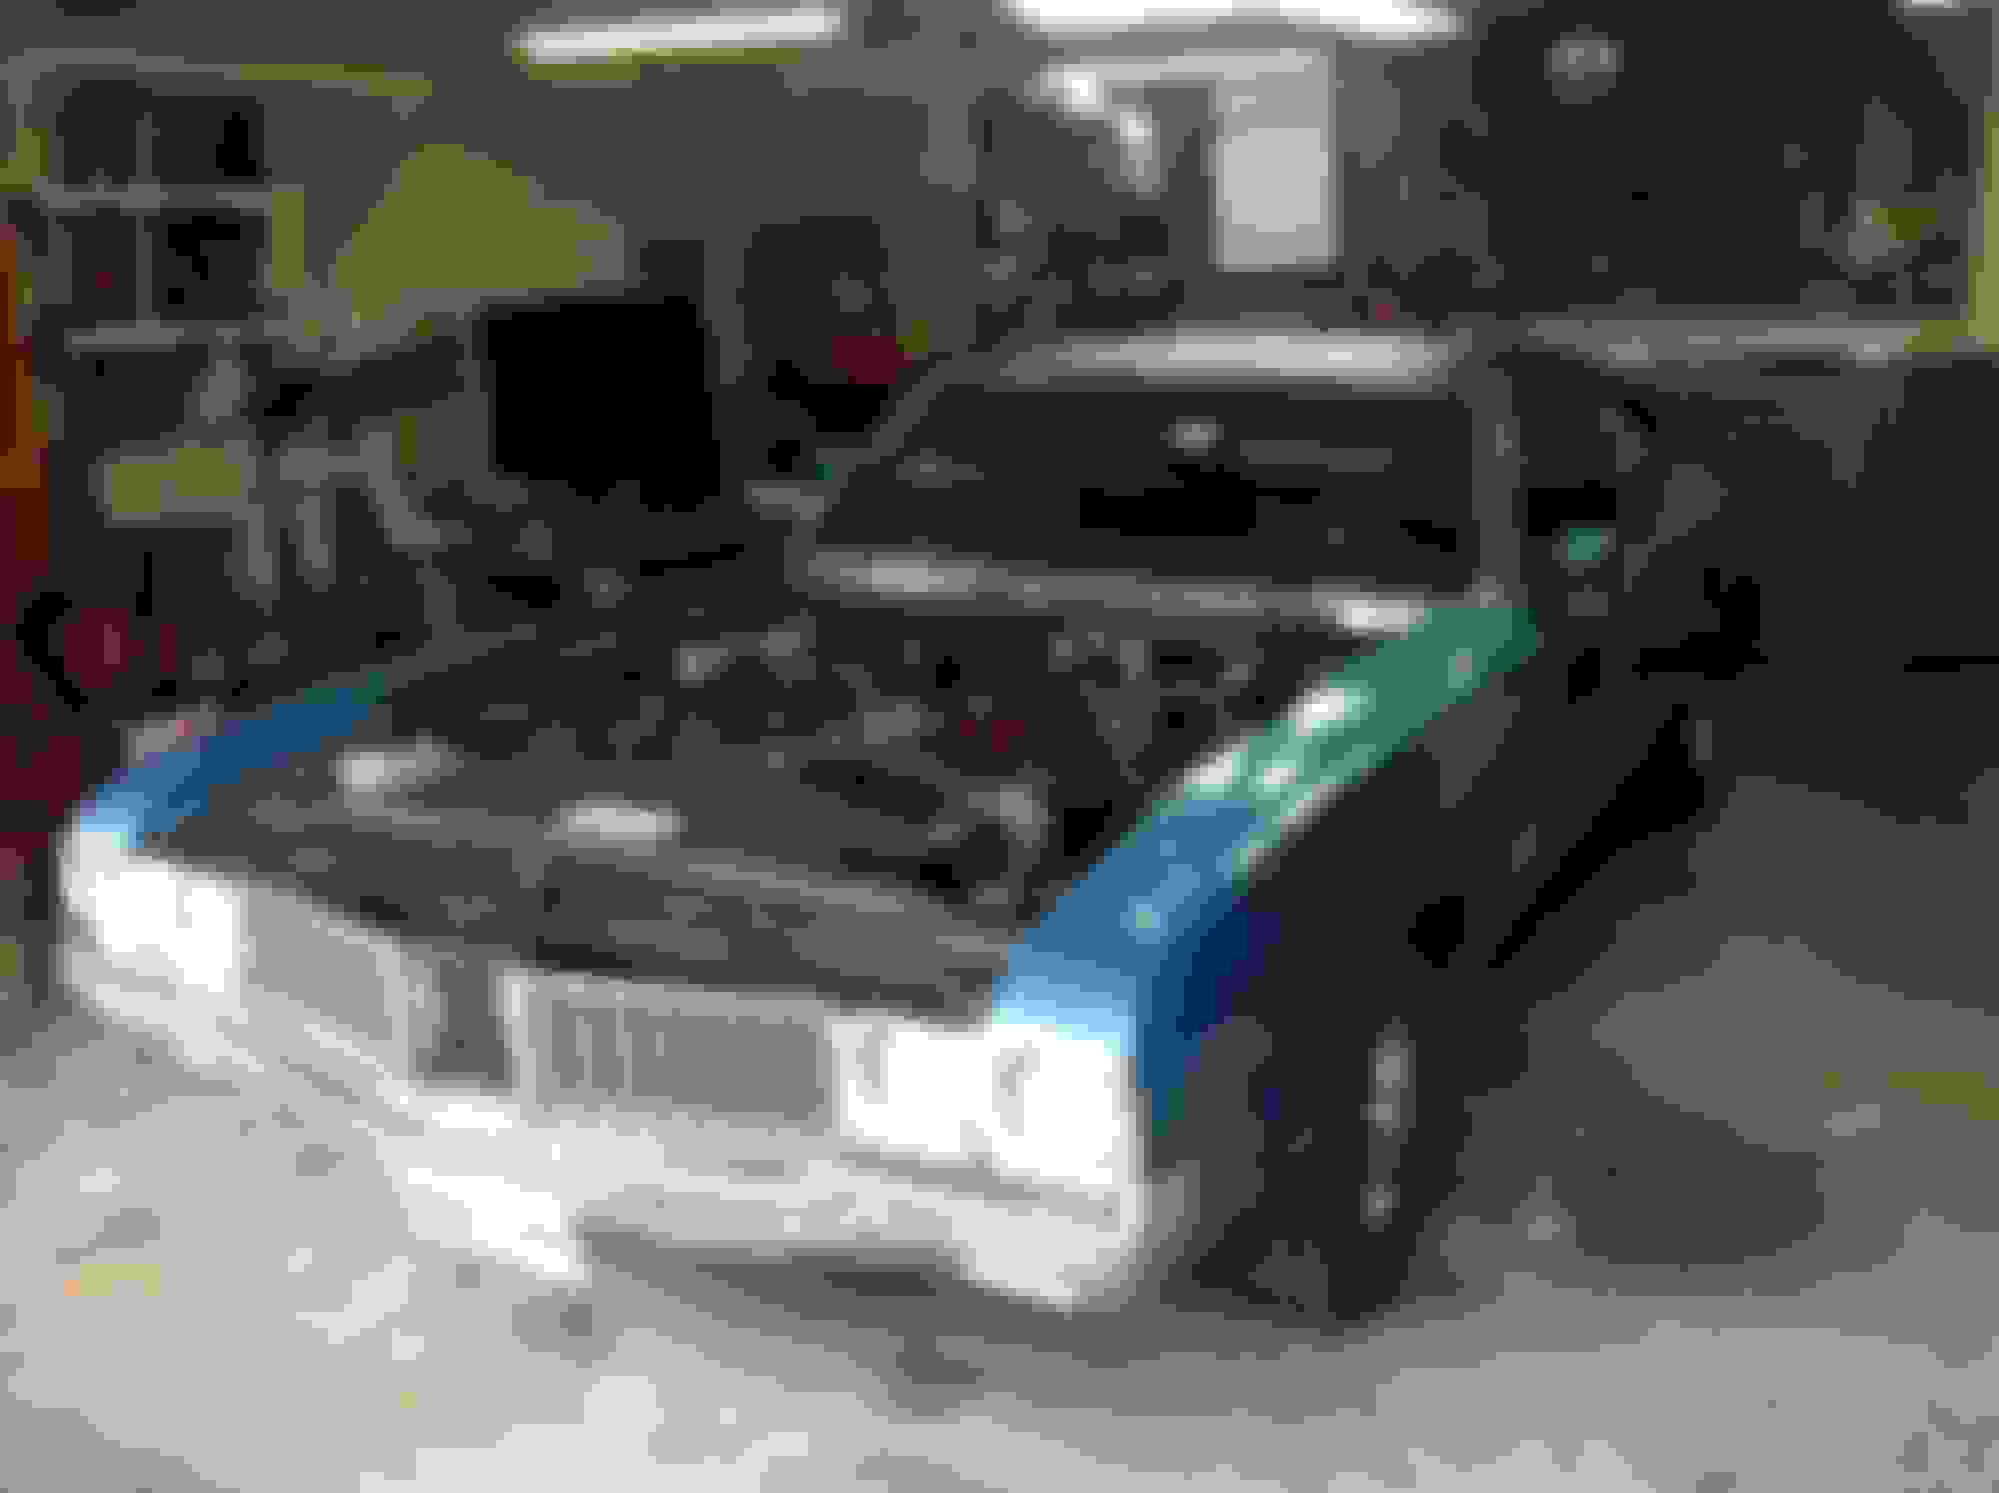
1970 442 (4487)
- Assembled at Linden, New Jersey (E) (first one I've done from that plant)
- 10D trim tag assembly date (4th week October 69)
- Astro Blue lower body color (code 25)
- Black vinyl top (code B)
- Black Buckets with console (930)
- Original M/T car with correct shifter, accelerator pedal bellcrank, and factory trans hump.
- 455 F black with E heads
- W/Z Manifolds
- Correct 4 spd. intake manifold
- Factory Air
- Power Steering & Brakes
- SS1 wheels
- Rally Pack gauges
- Convenience light group
- Car also has had a factory OAI hood and air cleaner adaptor added to it somewhere along the way
- Rear axle ratio is unknown - it has a Chevy 12 bolt in it. (Update - it is an Olds Type O)
History on this car is vague. My friend purchased it mid 2017 from a dealer here in Dallas who had done various things to get it running and presentable for sale. Some receipts in the car indicate it was owned by someone in 2006 in Northport Alabama who did a restoration on it - he spent 800.00 with Tachman getting the gauges redone, odometer zeroed, clock fixed and tach converted to work with electronic ignition (it has a GM HEI unit with Hipo coil & cap/wires)
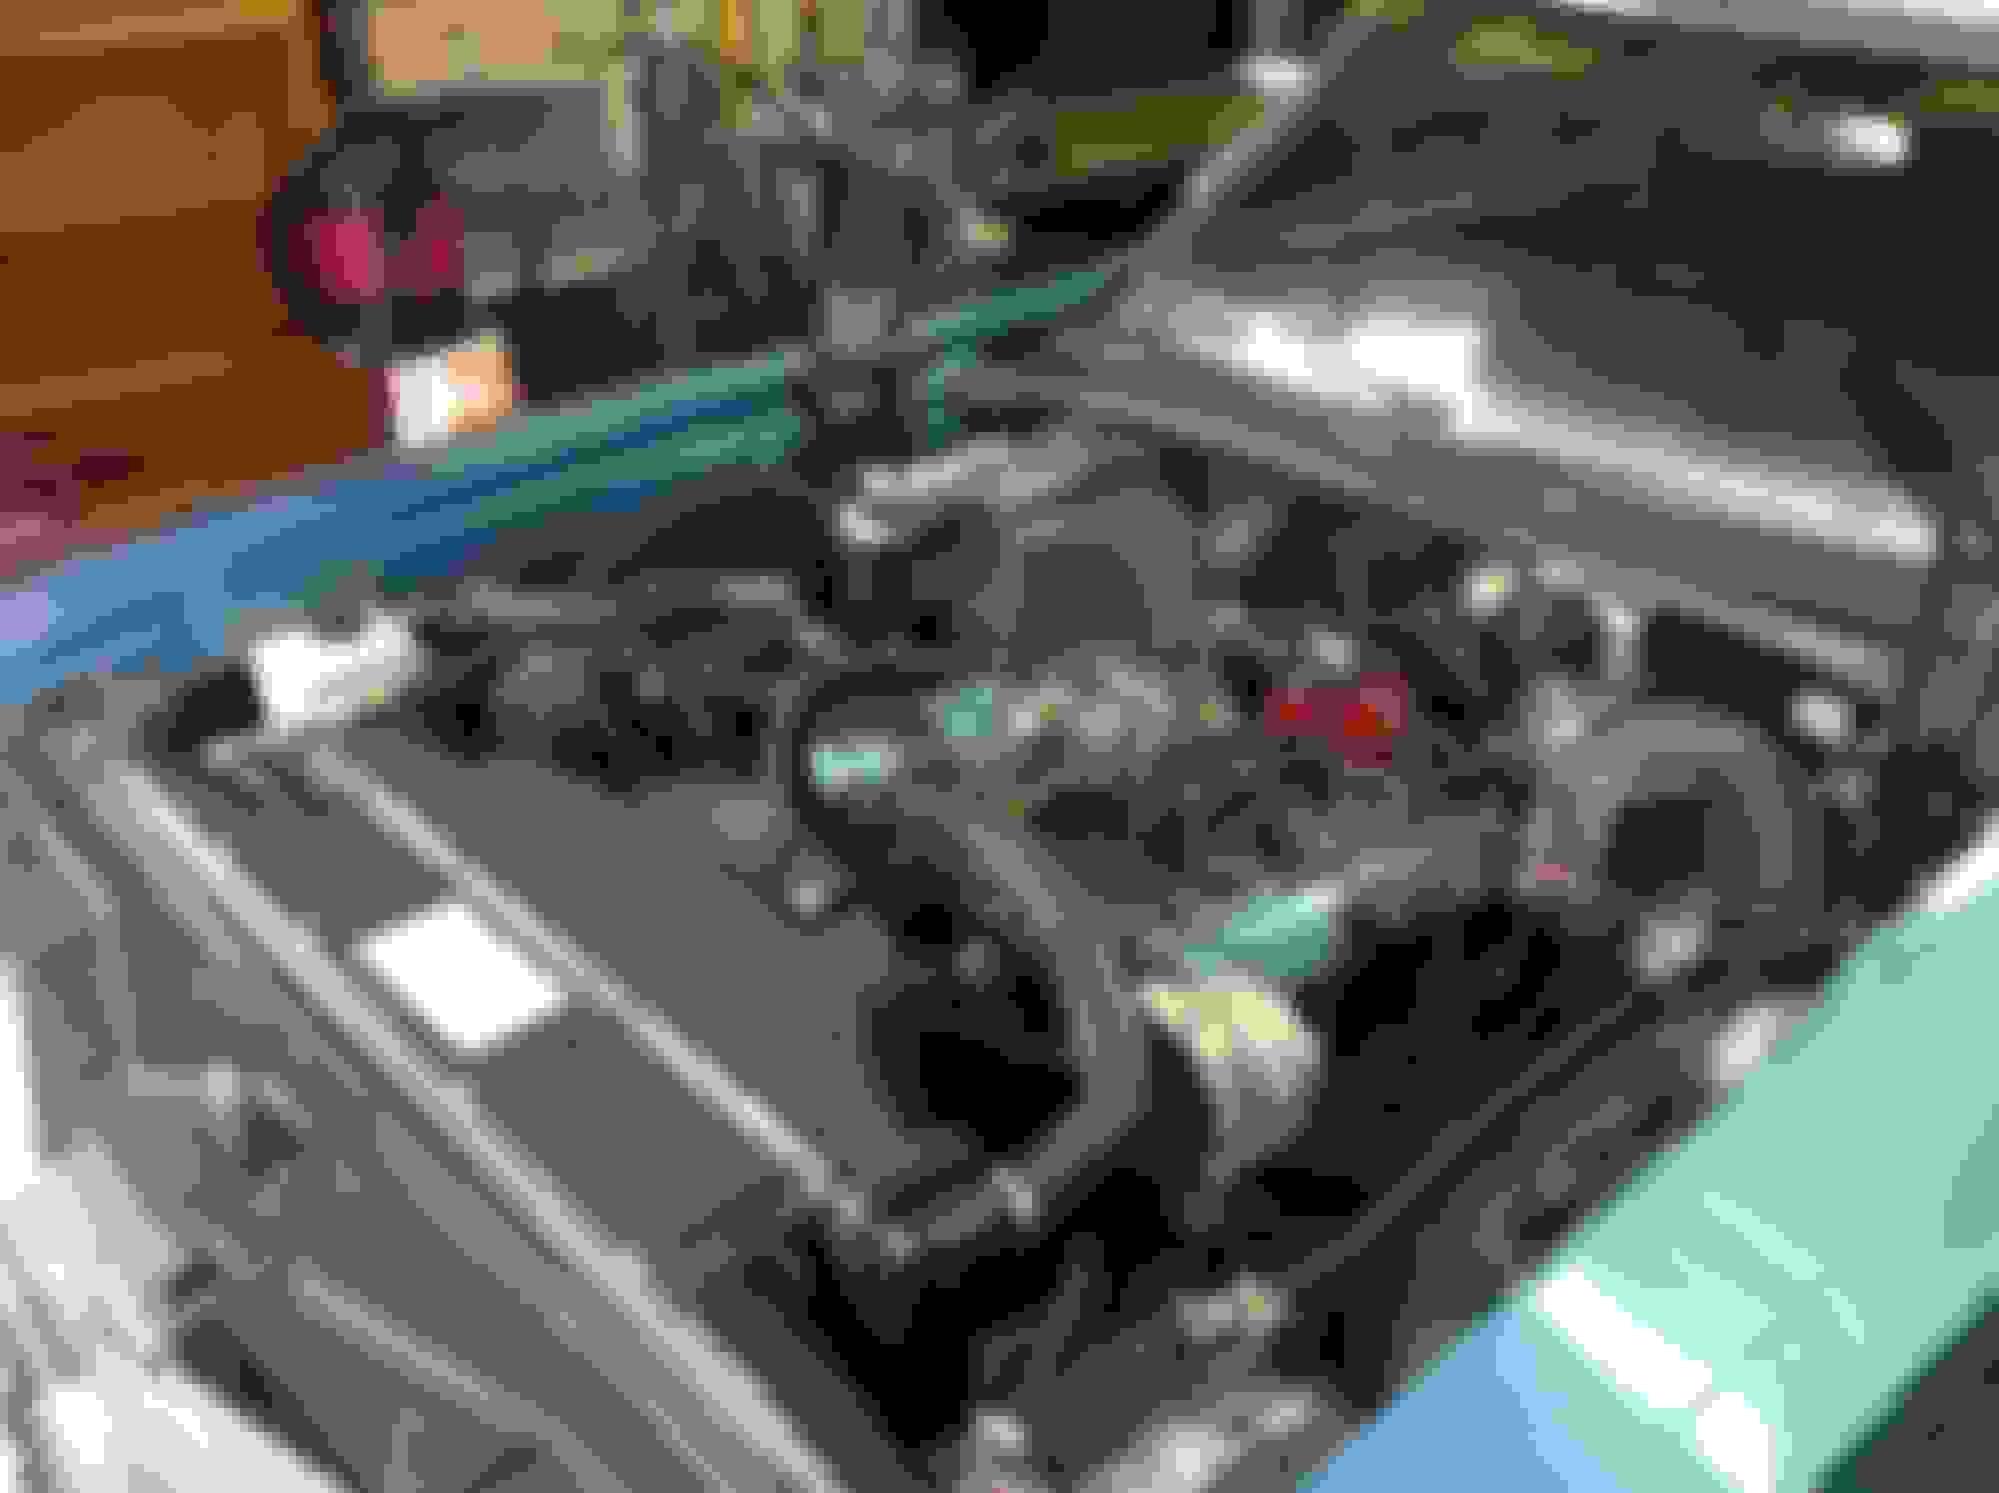
The car as delivered to me rides and handles pretty well. Motor runs OK, but it currently has an extremely loud chambered exhaust that makes it difficult to hear any other sounds. There is a way oversized looking Moroso oil pan on it, brakes are iffy - lots of pedal effort required, and the clutch starts to engage within the first 1/4 of letting it off the floor. Clutch issue might be due to some suspicious linkage parts - the Z bar is at a funny angle. Another interesting thing is the compressor bracketry - don't know what it is out of, but it's wrong for this car even though it works. It also has the thickest positive battery cable I have ever seen - looks like something that should be on a seabed conducting a zillion volts of power.
Perhaps the biggest repairs needed will be under the dash to the wiring harness and related electrical parts. Radio, blower motor, tach, horn, emergency flashers, are all inoperative, I took a quick peek under there - ugh, looks like it has had a bunch different aftermarket gauges hung, many dangling cut/spliced wires, clutch pedal neutral safety switch and reverse lamp switch missing and for some reason there are the remains of a electrical device that looks like a transformer bolted to the dash structure. The most curious thing is that the parking brake system was removed and never reinstalled on the car - kind of a necessity when you have a M/T!
The scope of the project will be like what I did on the last car - my 71 Cutlass Supreme. It will be a complete restoration of everything except for paint & body (I might do a little touch up here and there) Engine will be rebuilt, trans & rear axle assessed as to correctness and condition, interior & trunk gone through, engine bay returned to stock, trim polished, emblems/all lenses replaced, brakes/steering/suspension replaced, exhaust replaced, all the usual stuff I have done as in my past projects documented here on CO.
Also, as usual, I will be keeping my usual running log of work so the owner can see the progress. First entry:
Back in the game (5 hours)
Began by removing hood - had some help here. Next conducted a check of all systems for operation and an audit of commonly missing pieces before beginning disassembly. I won't make the mistake again of not knowing what was/wasn't working because I have now developed a check list of items to test or confirm this stuff! Then began removing miscellaneous easy to access engine bay stuff, drained radiator coolant, and then did a complete inventory of many miscellaneous pieces in the trunk - body trim, parking brake parts, and tons of fasteners. Found quite a few pieces I need in all the baggies thrown in there (correct valve cover bolts, firewall clips etc) and put all the other factory fasteners in the evaporust tank - I'm sure I'll need them.
Felt good to be doing something I enjoy again!
Last edited by costpenn; March 2nd, 2018 at 02:50 PM.
Nice car! Look like nice 70 fenders. What kind of paint is on there?
Ill be following along.
Thanks. One fender is a 70' the other has the crash bumps. Not sure about the paint however. It will need a paint job at some point, but right now the owner is holding off. Interstingly, with the exception of the cowl to hood weatherstrip, all the other weatherstripping is in excellent condition.
Welcome back Joe. I we be following along. A four speed, how cool is that?
Very cool to see a original unjacked with trans tunnel hump. The only two M/T cars I have worked on - my vert and the Supreme - I converted over to 4 speed.
Joe, what a great car. Look forward to hearing about it on Sunday.
Glen, Chris will be running the show - Sheri and I are going out of town Friday to NYC, then going to LA on a "bucket list" trip. Say hello to Ginny for us.
Proceeded with the usual routine. Mamy, many fasteners are incorrect, engine wire harness is toast - too crispy and cut up for the HEI swap - but front lamp harness is OK. More evidence of this car's hot rod past are some additional holes in the firewall, and having the heater core bypassed. Core support has some rust perforation under the tray, but is still useable. Brake booster is way wrong, and will go ahead and replace all lines running to the master cylinder (and the cylinder itself) due to significant pipe wastage around the master cylinder. Good news is radiator, although not a Harrison, is a brass unit that is in excellent shape and and has the RH tank without the trans cooler fittings, and the fan shroud is in great shape as well. The car still had a original GM fan clutch, but it is slinging oil everywhere. Bring on the aftermarket clutch fan roar!
Last edited by costpenn; January 8th, 2018 at 10:18 PM.
Very nice and rare. Do not see many 1970 4-speed 442's with factory A/C. According to the period brochures, A/C was not available from the factory with a 4-speed due to the M-21 requiring 3.42 gears. I have only seen one in person and read about two others. Did you find the build sheet for your 442? Two of the 442's have build sheets showing they were built with the M-21, A/C, and 3.23 gears. Prior to a build sheet being found, it was thought the factory had installed the M-20 with 3.23 gears and A/C.
Glen, Chris will be running the show - Sheri and I are going out of town Friday to NYC, then going to LA on a "bucket list" trip. Say hello to Ginny for us.
Thanks Joe. That sounds like quite a trip. I do not envy you and Sheri on that cross country flight. When you are in LA, be sure and see the Peterson Museum if you have the chance. It is on Wilshire Blvd. and is one of the best I have ever seen. One of the two Tuckers I have seen was there and the only Bugatti Royale I have ever seen (there are only 6 in existence) was there. Enjoy and tell Sheri we said Hi.
Very exciting, glad to hear that you are staying productive and enjoying your so-called-retirement. I'll gather that you've wrapped up the Ford truck project. Looking forward to seeing this car.. I happen to have a 253 carb if you don't already. My date is two weeks late though
Thanks Joe. That sounds like quite a trip. I do not envy you and Sheri on that cross country flight. When you are in LA, be sure and see the Peterson Museum if you have the chance. It is on Wilshire Blvd. and is one of the best I have ever seen. One of the two Tuckers I have seen was there and the only Bugatti Royale I have ever seen (there are only 6 in existence) was there. Enjoy and tell Sheri we said Hi.
Glen, we're actually going first class on some cheap tickets we scored on United. The trip involves seeing Springsteen on Broadway, travelling transcontinental during the day to see the Grand Canyon from the air (have always wanted to do this) and stay three days at Disneyland on some of the least crowded days of the year.
Astro Blue, one of my favorites. Seats appear to have PUI covers, slightly overstuffed. Are you going to drop the gas tank to check for a build sheet?
I am hoping that build sheet is there when I pull it, but it looks like the tank has been previously removed. (I can't see the edges of the mat) I found one on my Framingham built 71 Supreme - good to know Linden cars had bulild sheets on the tanks - Thanks!
Very nice and rare. Do not see many 1970 4-speed 442's with factory A/C. According to the period brochures, A/C was not available from the factory with a 4-speed due to the M-21 requiring 3.42 gears. I have only seen one in person and read about two others. Did you find the build sheet for your 442? Two of the 442's have build sheets showing they were built with the M-21, A/C, and 3.23 gears. Prior to a build sheet being found, it was thought the factory had installed the M-20 with 3.23 gears and A/C.
Will be looking for that sheet, (see above response) and looking for a rear end as well. I'm pretty sure it has a M20, so would like to find a 3.23 posi O type if possible.
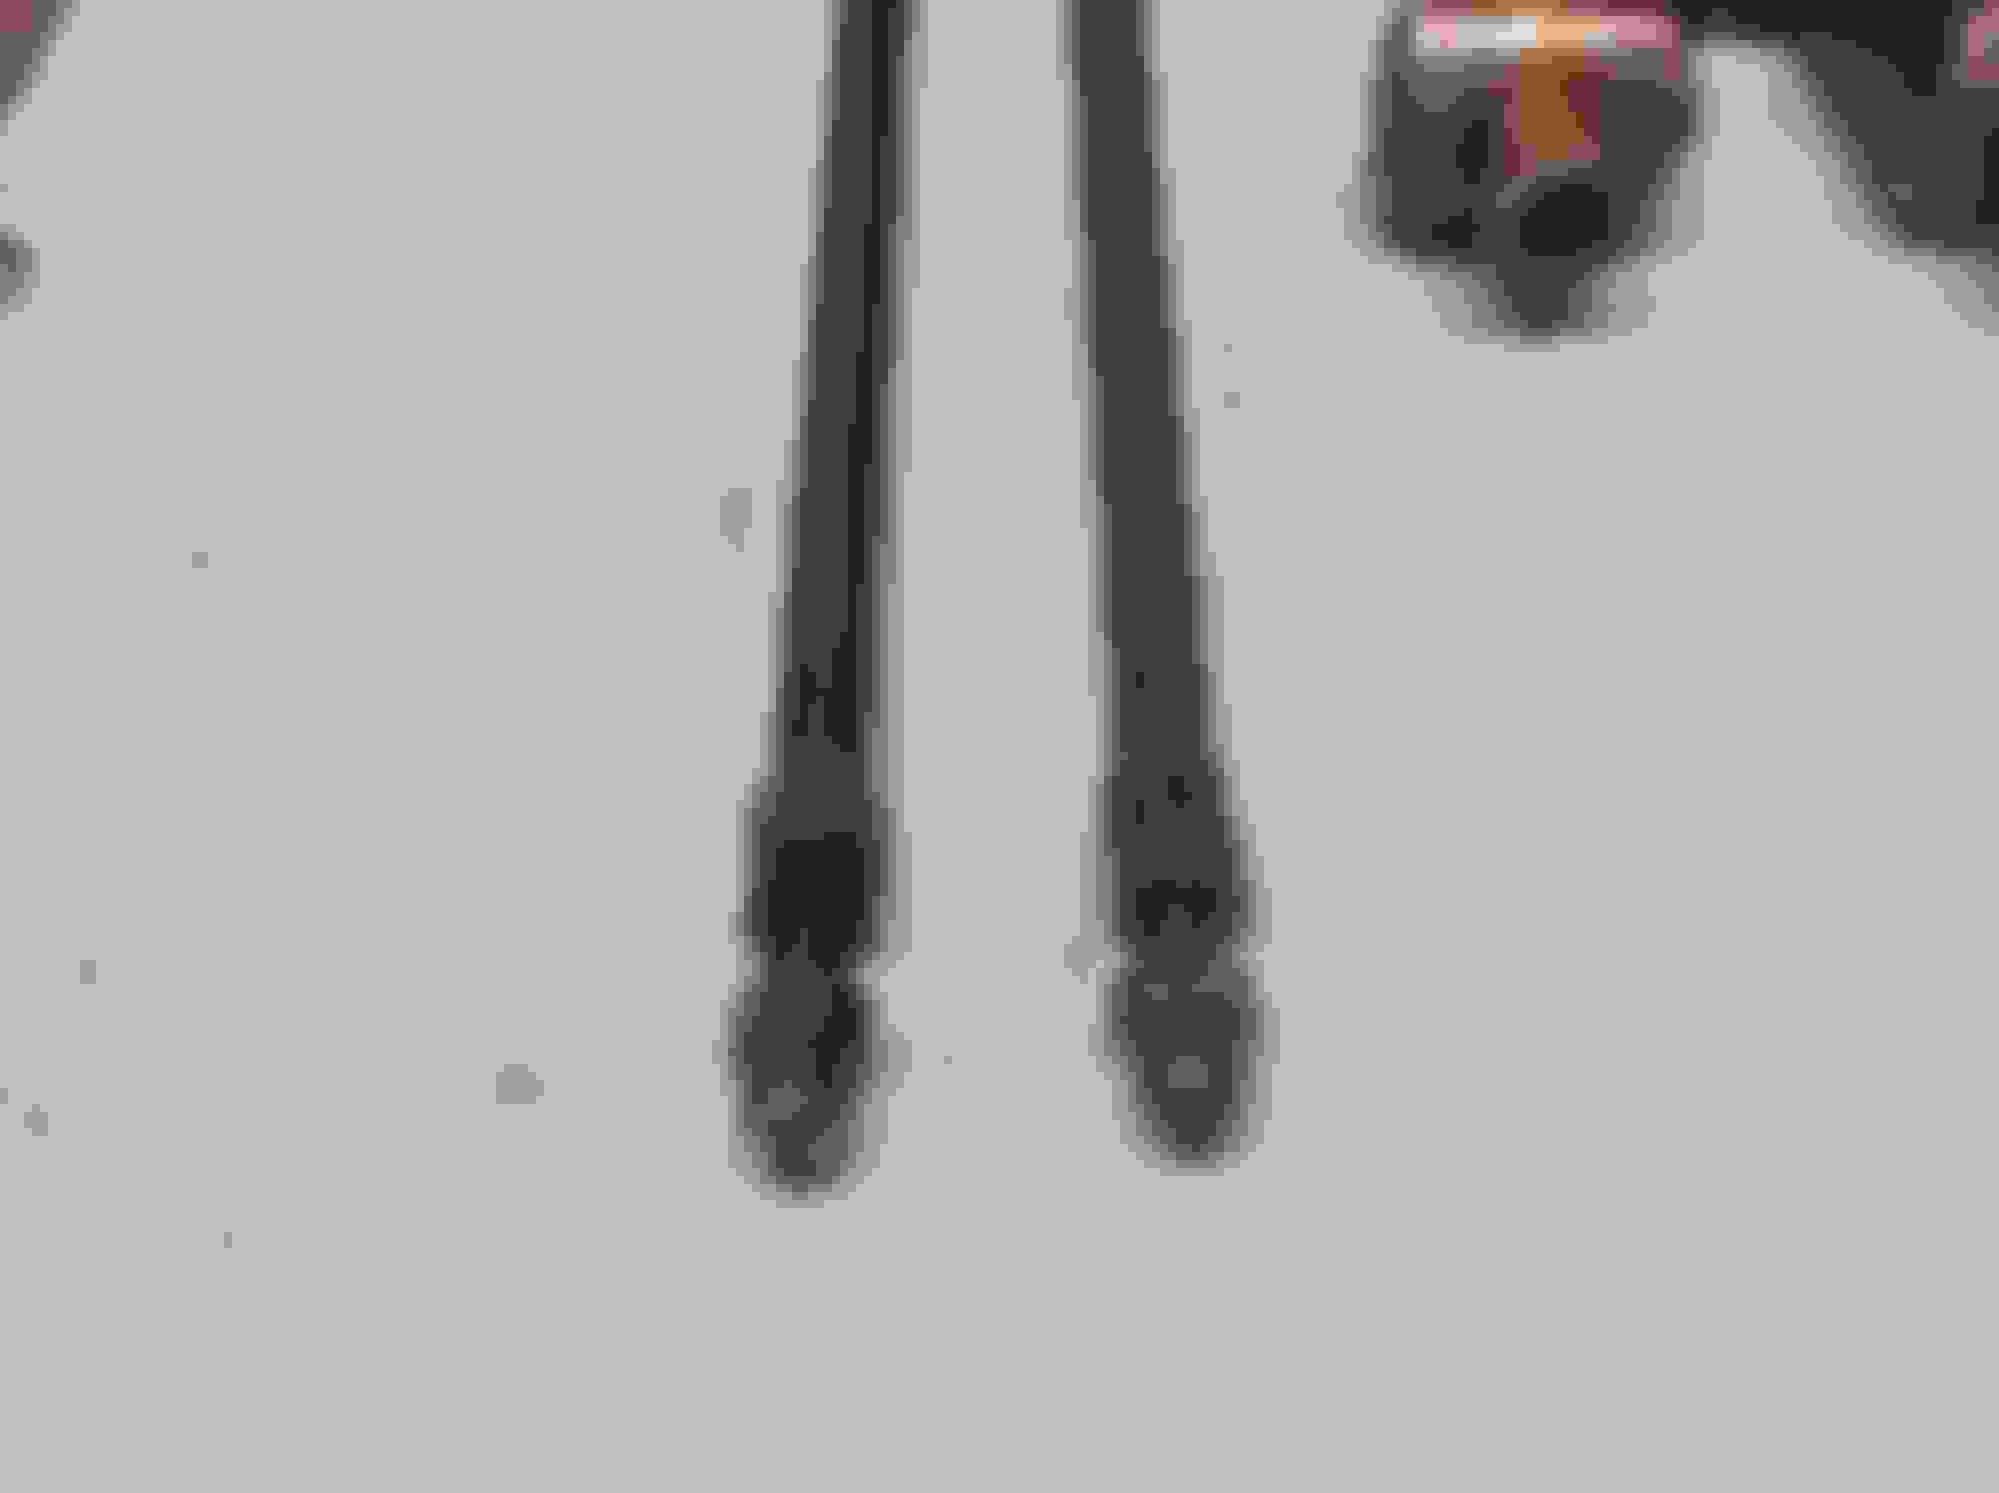
Did a little more engine compartment and cowl area disassembly - I just had to pull that ugly looking HEI distributor out. Also removed the wiper arms - LH is bent and RH is just wrong. The wiper tranny has some unusual corrosion, but it can be refinished. More importantly, pulled the wide lower cowl molding and thank God no rust holes here, but a POR15 coat would be wise. Also, the core support rust isn't as bad as I thought, and you can see the remains of the big battery tray spacer in the picture. Believe it or not, the windshield might be original, but it has a fair amount of scratches and the antenna lead is super crispy.
Next started some number checking. Good news - the block matches the VIN, and casting date is 288 - Wednesday October 15 which jives with a 4th week October vehicle assembly date. 403686 cylinder heads are both 288 as well, and intake is a 404521 with a 287 casting date. Will have to post a thread about the intake - something is not making sense here with the P/N being for automatics, but PCV nipple is present. It looks very original and not added, but will further investigate.
Last edited by costpenn; January 9th, 2018 at 10:13 PM.
Since I tried to take advantage of end of year sales (freight and discount) I wound up placing large orders with both ILT (44 line items) and TPP (125 line items). I wanted to check the condition and quality of the parts as well as insuring I did receive the items billed since I'm not paying for any of this stuff.
I set up a little station with my laptop opened to my master spreadsheet to check off receipt of items, and make notes.
I then set up a place to put everything in a logical, easy to find location since I usually wind up losing something and finding it way later - let alone how much time I waste hunting parts at reassembly
Notes on quality/condition of parts:
*Nothing damaged in transit
*Two small items billed but not shipped from ILT
*Two items backordered from ILT (prox 95% fill rate) and 9 from TPP - about 93%
*OAI hold down springs not painted white from TPP
*TCS wire to trans case bracket already rusted inside the packaging from TPP
*Bypass & radiator hose clamps from ILT have a funky dark gray finish
*Headlamp bezels from TPP will heed to have the paint reworked
*P/S return hose in the hose kit from TPP is not even close to correct - wrong hose material and fitting at gearbox is not crimped on
*A/C kick panels from TPP are junko - they are made of that material the early seat backs and aprons were made if back in the late 90's - they are going back
*I ordered the wrong (non A/C) firewall pad
*Washer pump from TPP claims to be correct, but they sent me the second design that has the intermittent wiper connector slot that is blocked off. It is also going back.
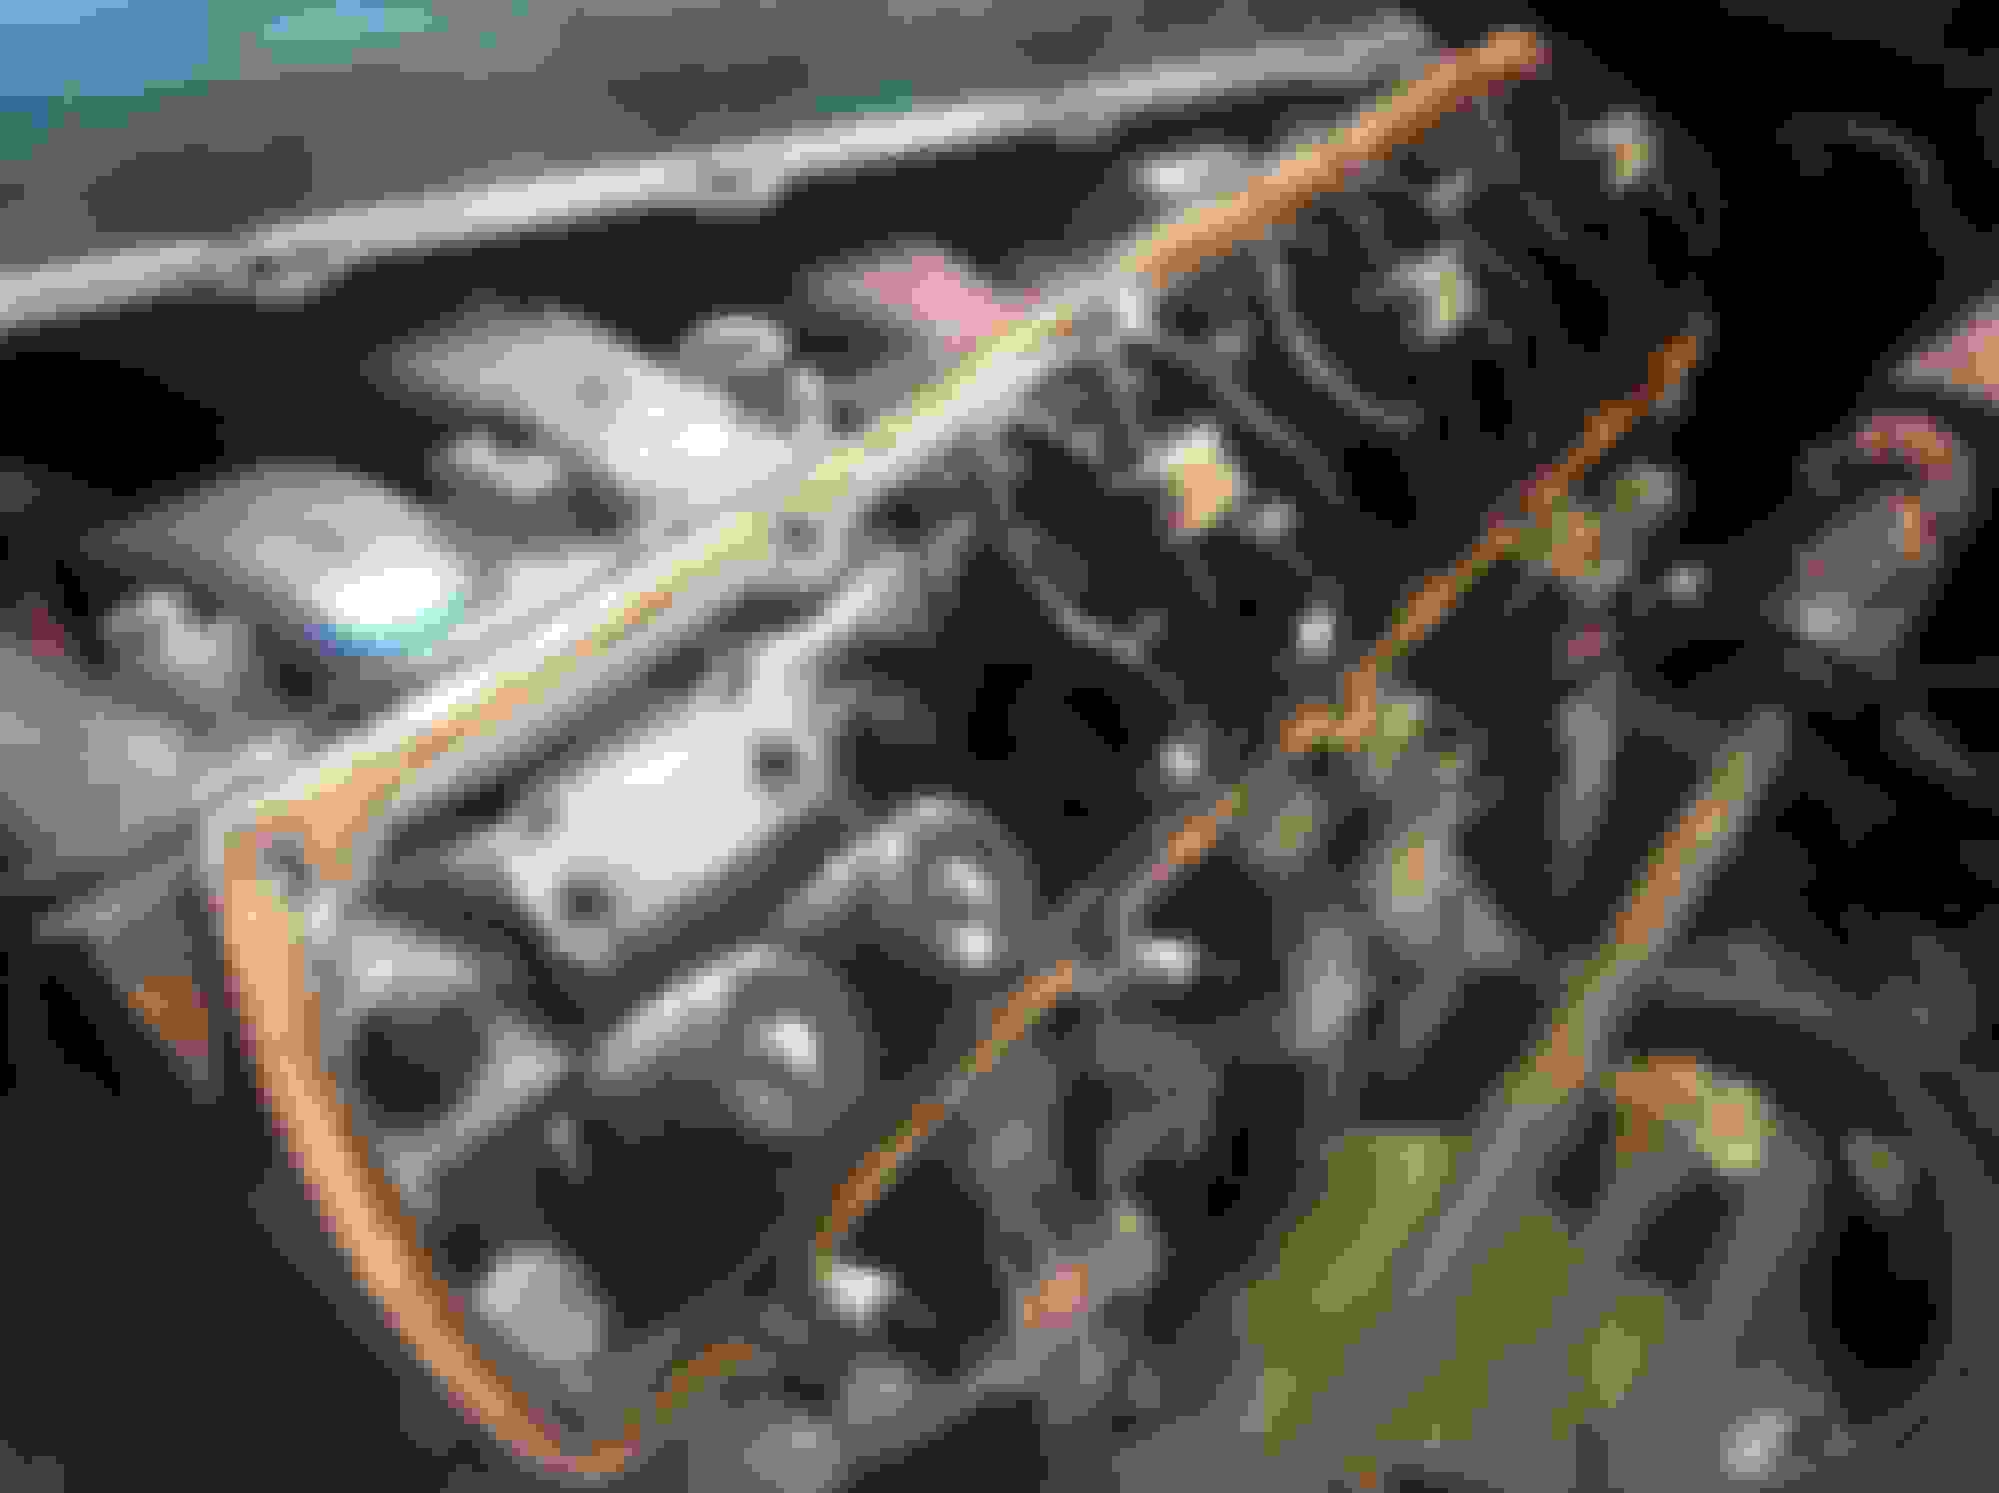
Also David Farmer, the owner, came by to talk through more decisions we need to make. We went ahead and pulled a valve cover off and the engine gets curiouser and curiouser. It obviously had a amateur back to stock appearance resto done at one time, but there are more and more signs of a quarter mile past - ARP cylinder head studs, the Moroso deep square sump oil pan, and now, adjustable push rods. I used the Mondello assembled valve height tool to check #1 intake & exhaust - both measured at about .006-.007 clearance, so since the rockers are stock, I'm wondering if there has been some serious head milling going on. Check out the blue valve springs!
Also, as suspected inside of valve covers looked too good to be true. I shot a little carb cleaner behind the baffle, and tons of bead blast media and gunk came running out. If you can, spend the loot and get new ones.
Lastly, we were in error about the rear end - it is a Olds O type most likely original to the car. Will check dates and codes when I jack up the car for other tasks.
Last edited by costpenn; January 21st, 2018 at 06:55 AM.
Glad to see you're back in the game. It always amazes me how these cars "tell" on themselves as they get torn down. Looking forward to following along.
Glad to see you're back in the game. It always amazes me how these cars "tell" on themselves as they get torn down. Looking forward to following along.
I wish I had your organizational skill set!
Rick, how's it going my Mississippi riverboat gambling friend? You are not just kidding how a car, despite everything done to hide it's past, slowly reveals itself as the parts come off. This one has literally been rode hard, harder, and hardest.
Hope to see you at Gettysburg if you make it.
Today got back to the actual diassembly work. Removed front bumper, grille work, headlamp capsules, condenser assembly, and more in front of the engine. Based on the fasteners, everything on the front clip with the exception of the horns and condenser assembly have been off the car one or more times.
I found a pretty cool marking that I haven't seen on any other car I have taken apart - a white inkstamped "A" on the RH condenser bracket - I wonder if this is a Linden NJ build car peculiarity
Also found some rather interesting re-engineering done during previous rebuilding efforts
Interesting use of a trim molding clip to hold the hood release handle to the bell crank
I was wondering how the hell was that anaconda sized positive battery cable not grounding out because of the insulation melting off - well apparently it had happened at some point
Found the LH exhaust manifold has been welded on before and has a new major crack, and, most concerning, some significant cracks in the frame crossmember that runs under the engine.
Will be getting with David tomorrow to reevaluate how to proceed. I have never seen a crack like this - wonder if this car at some time was pulling the front wheels off the ground and landing hard?
It was absolutely a beautiful day here in North Texas, so of course I thought I'd spend pretty much the whole day in the garage.
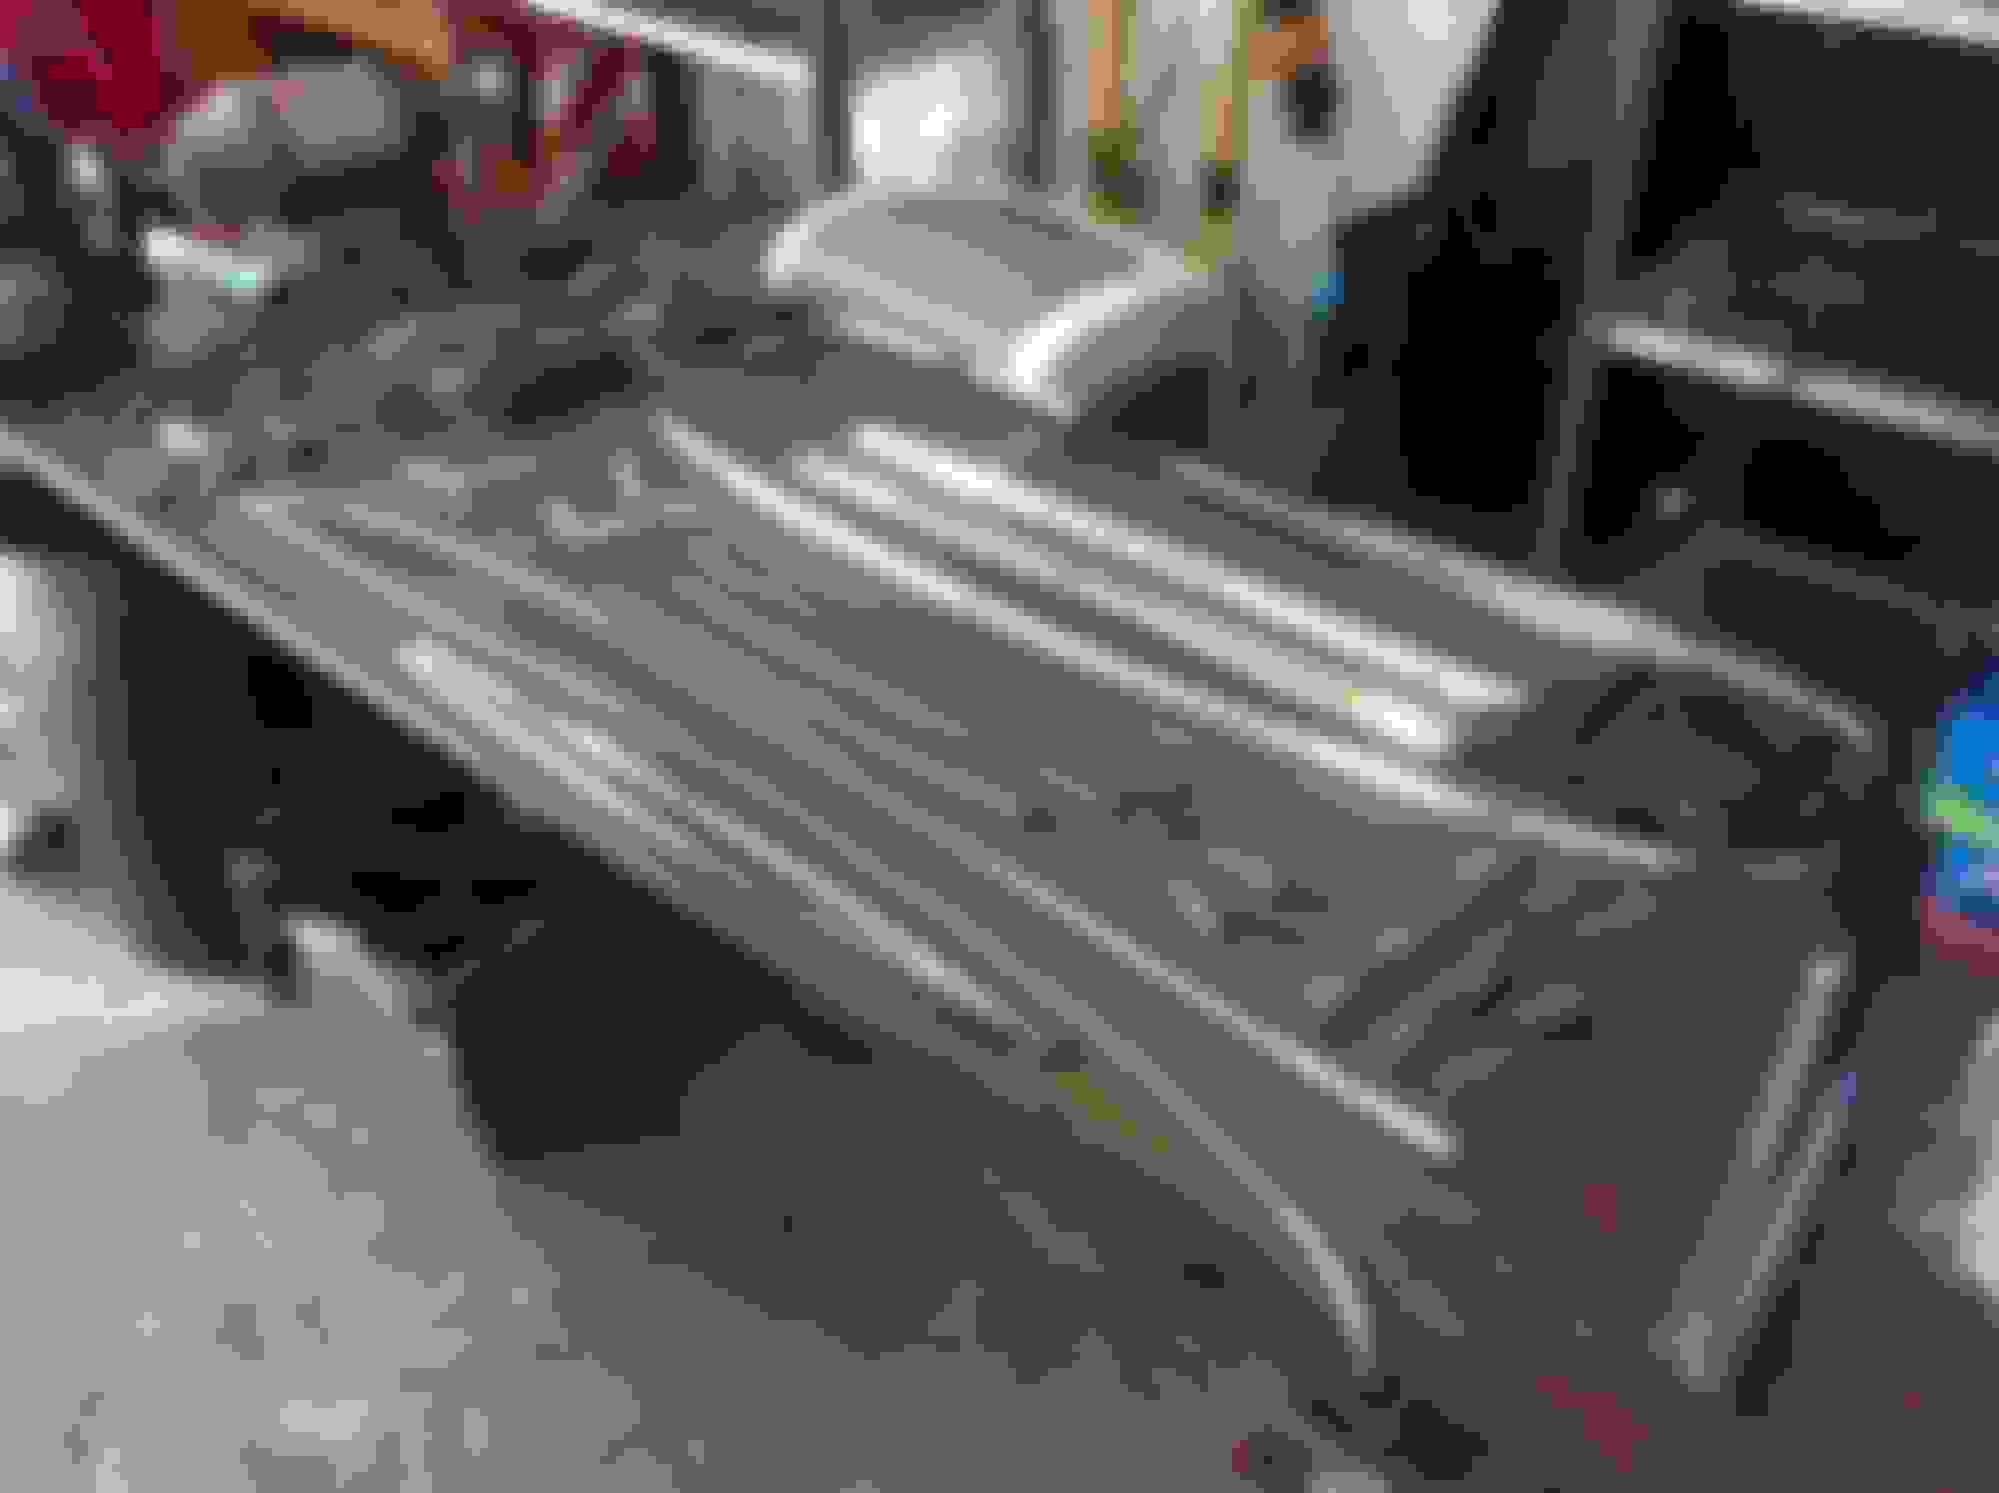
First priority was to strip all the exterior trim off the car to determine what can be fixed vs. replaced - noted on each piece in marker. Good news here - only the RH long piece and both short down legs of the roof rail molding and the hood rear trim have to be replaced since everything can be straightened/dents removed and polished. Interesting items were the front pot metal vinyl top moldings were glued in place along with the fender 442 numerals. Trim clips are in good shape. I am also missing a front RH wheel opening trim, so soon I'll have a list of items needed from Oldspackrat (Scott). Last thing will be to remove rear bumper, strip it of lamps and determine whether to rechrome or replace - too much pitting to reuse as is. Here's a pic of everything removed this morning - took all of two hours to do without damaging anything and bagging/tagging where needed:
After lunch jacked up front to remove front wells - 70Post is on "retainer" to do his magic on these and they are not "crispy"
Afterwards, took some pictures of the incorrect evaporator box on the firewall, and the worrying amount of shimming going on with the core support mount
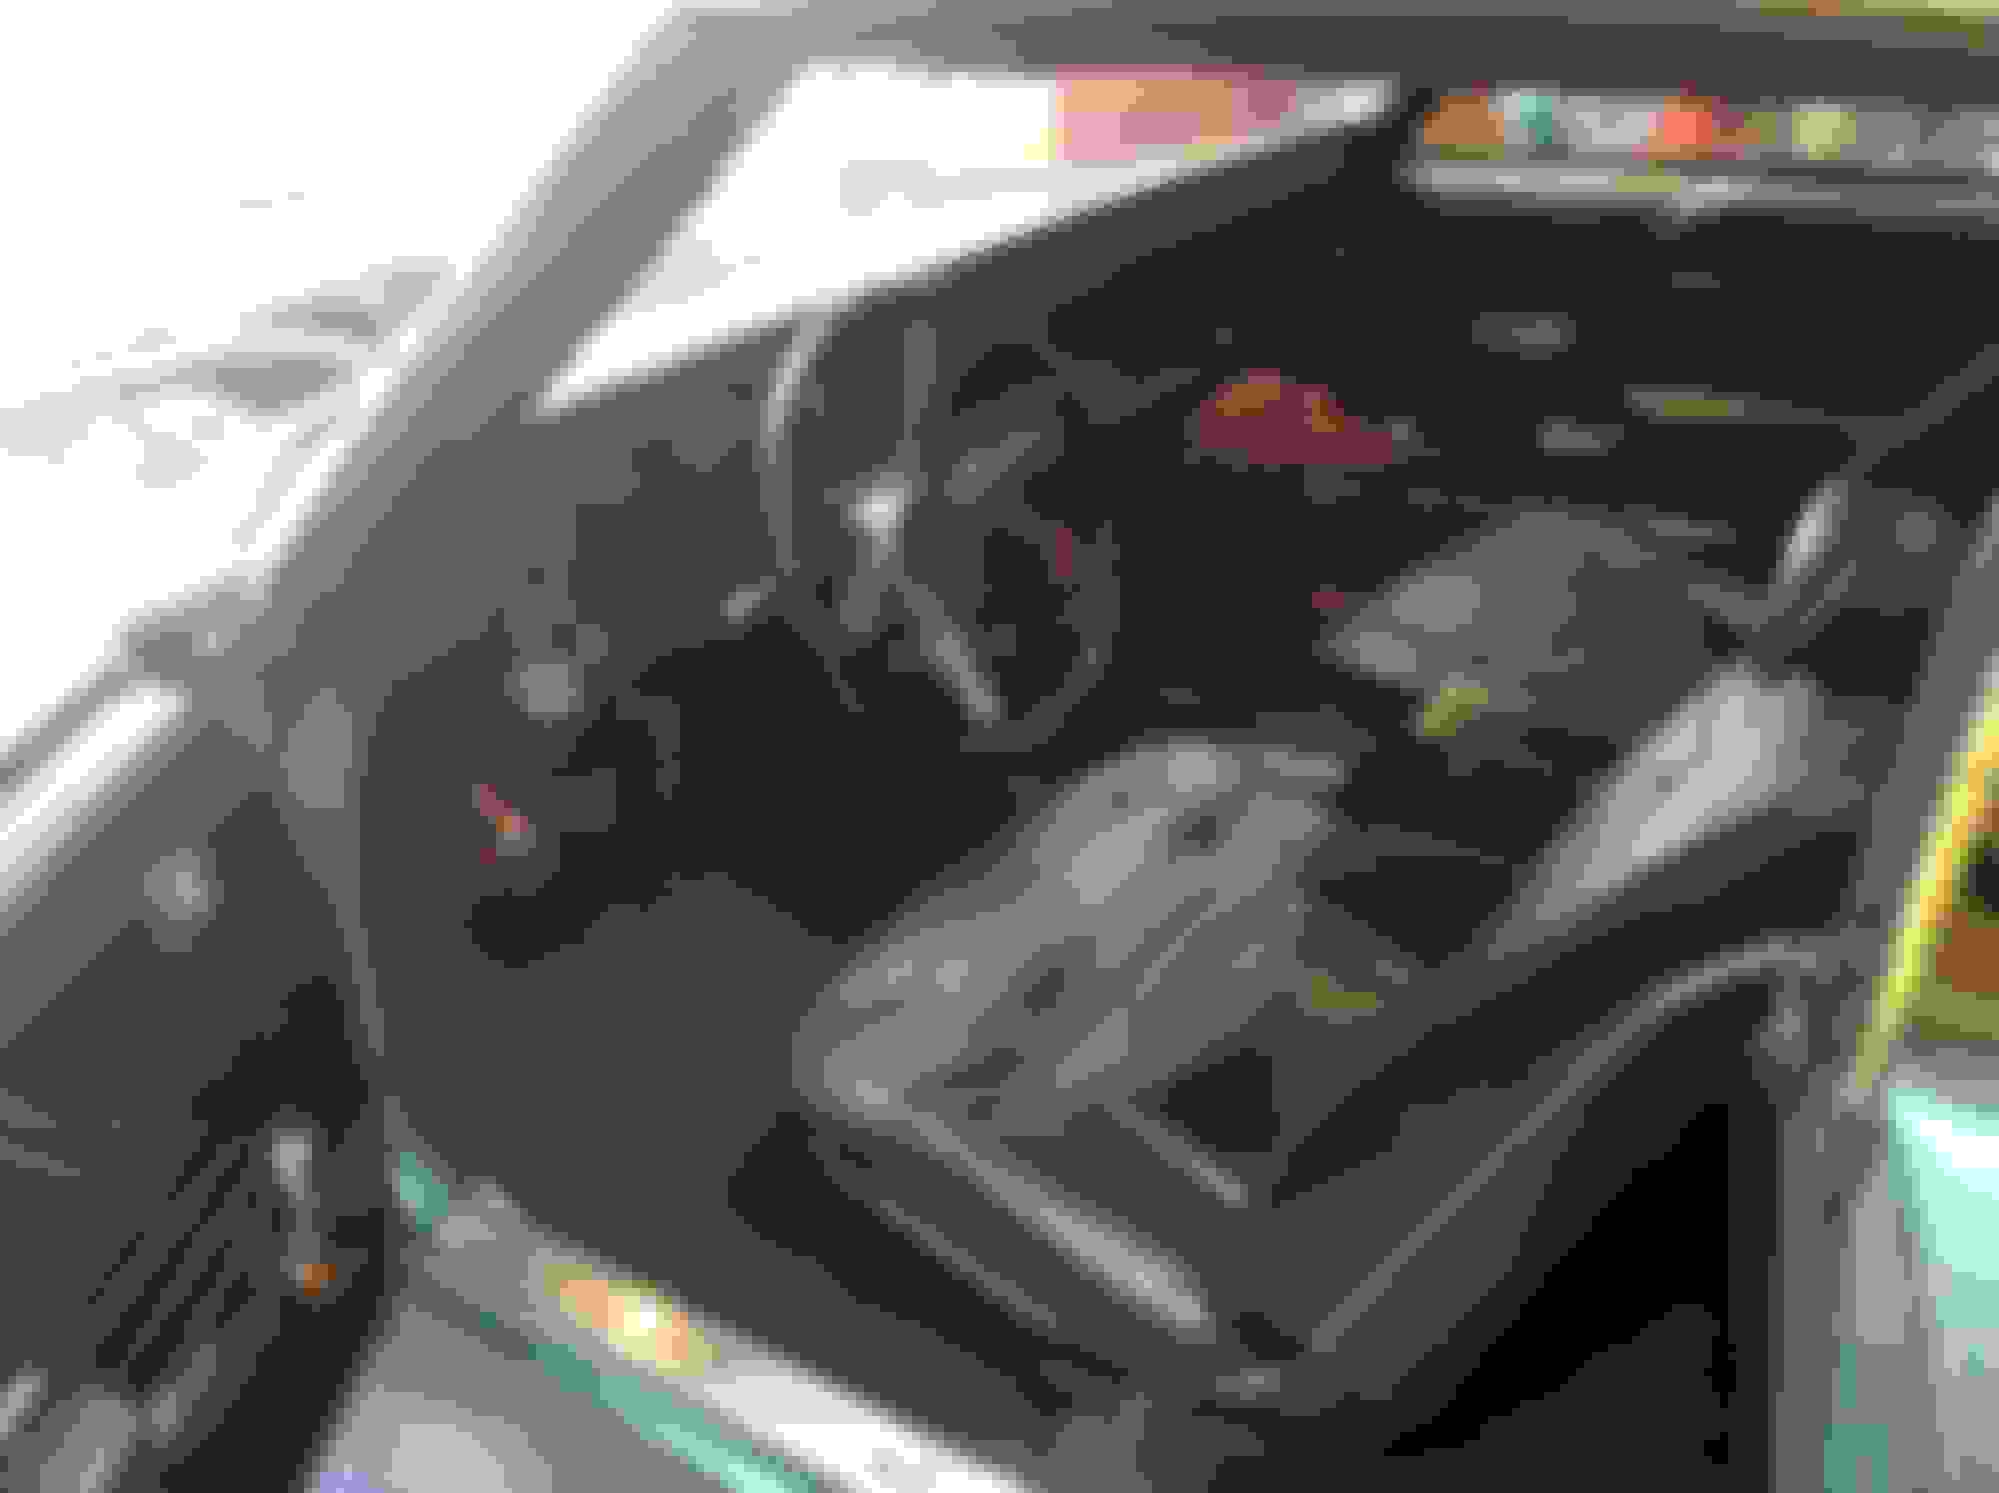
Started the interior removal and got everything out except the headliner and dash. There is a lot of dynomat going on here - covering some wonkiness on the floor pans
Picture of stuff removed this afternoon not including door/quarter interior panels and seats which were loaded in my truck to go to storage. The 60's vaccuum gauge mounting did not cause any damage to the console as far as I can tell
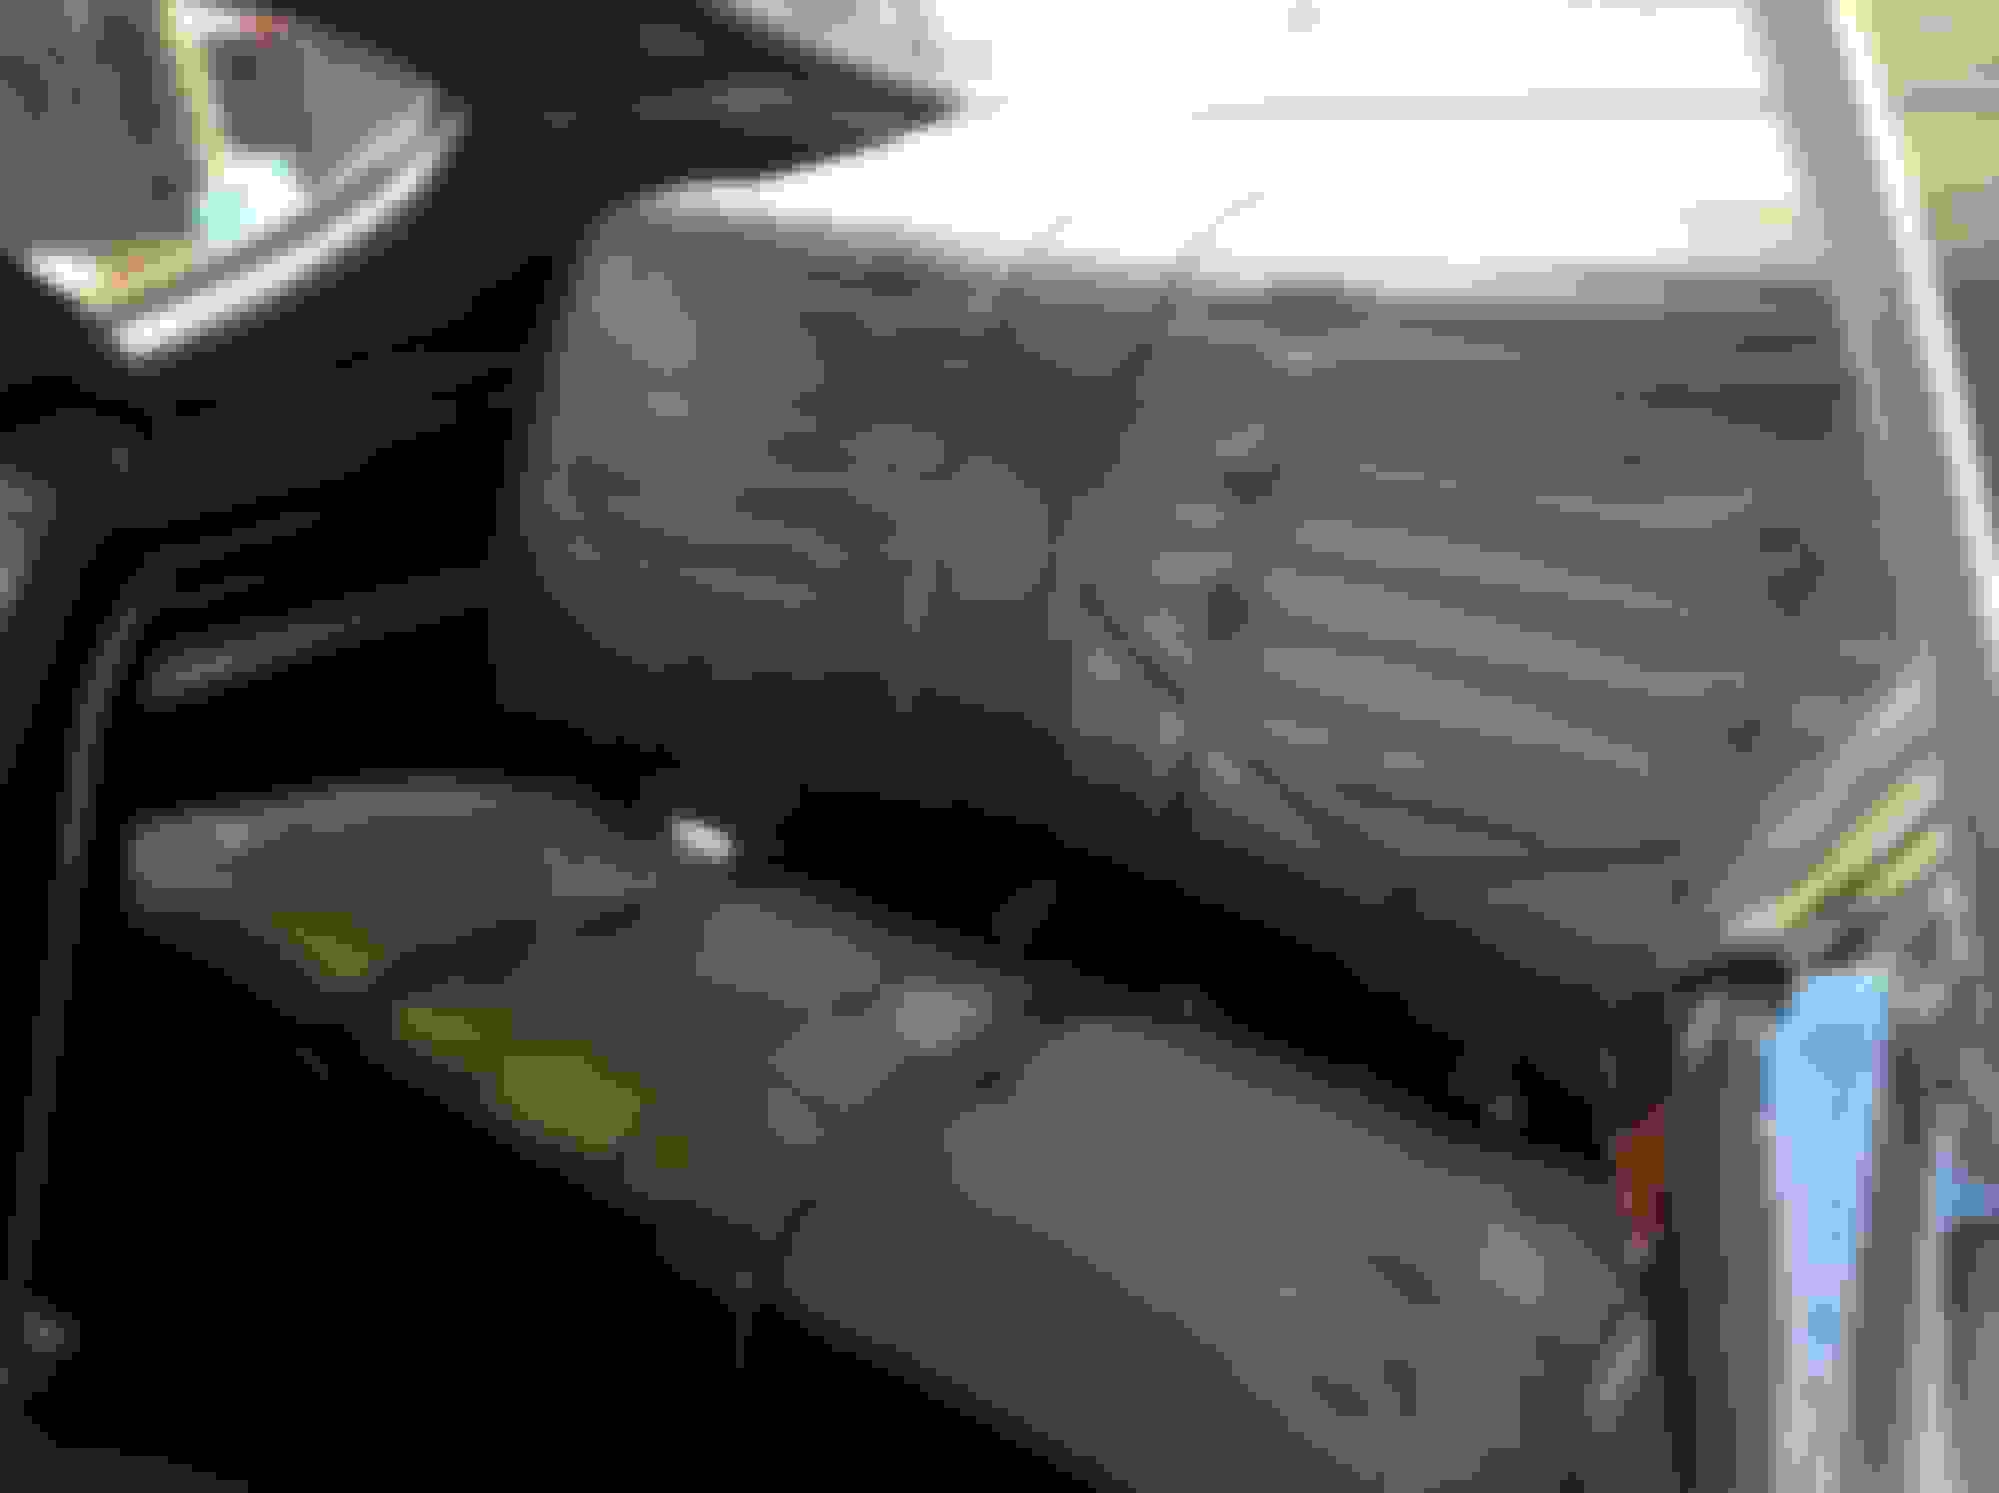
Did get this picture of the RH bucket with some weird sensor and harness coming out of it. I am wondering if this is for a later model car - these will get all new backs, aprons, seat release buttons, headrest escutcheons and adjuster *****.
Lastly a couple of exterior pics after the trim removal
Last edited by costpenn; January 24th, 2018 at 10:16 PM.
Bucket seat, with the "buzzer" sensor, likely from a '72 car.
While they may have been re-covered at some point it looks like original burlap, etc still in place judging from the pic of the underside. No reason someone would have added the "buzzer" sensors to a '70 bucket.
Last edited by 70Post; January 24th, 2018 at 11:32 PM.
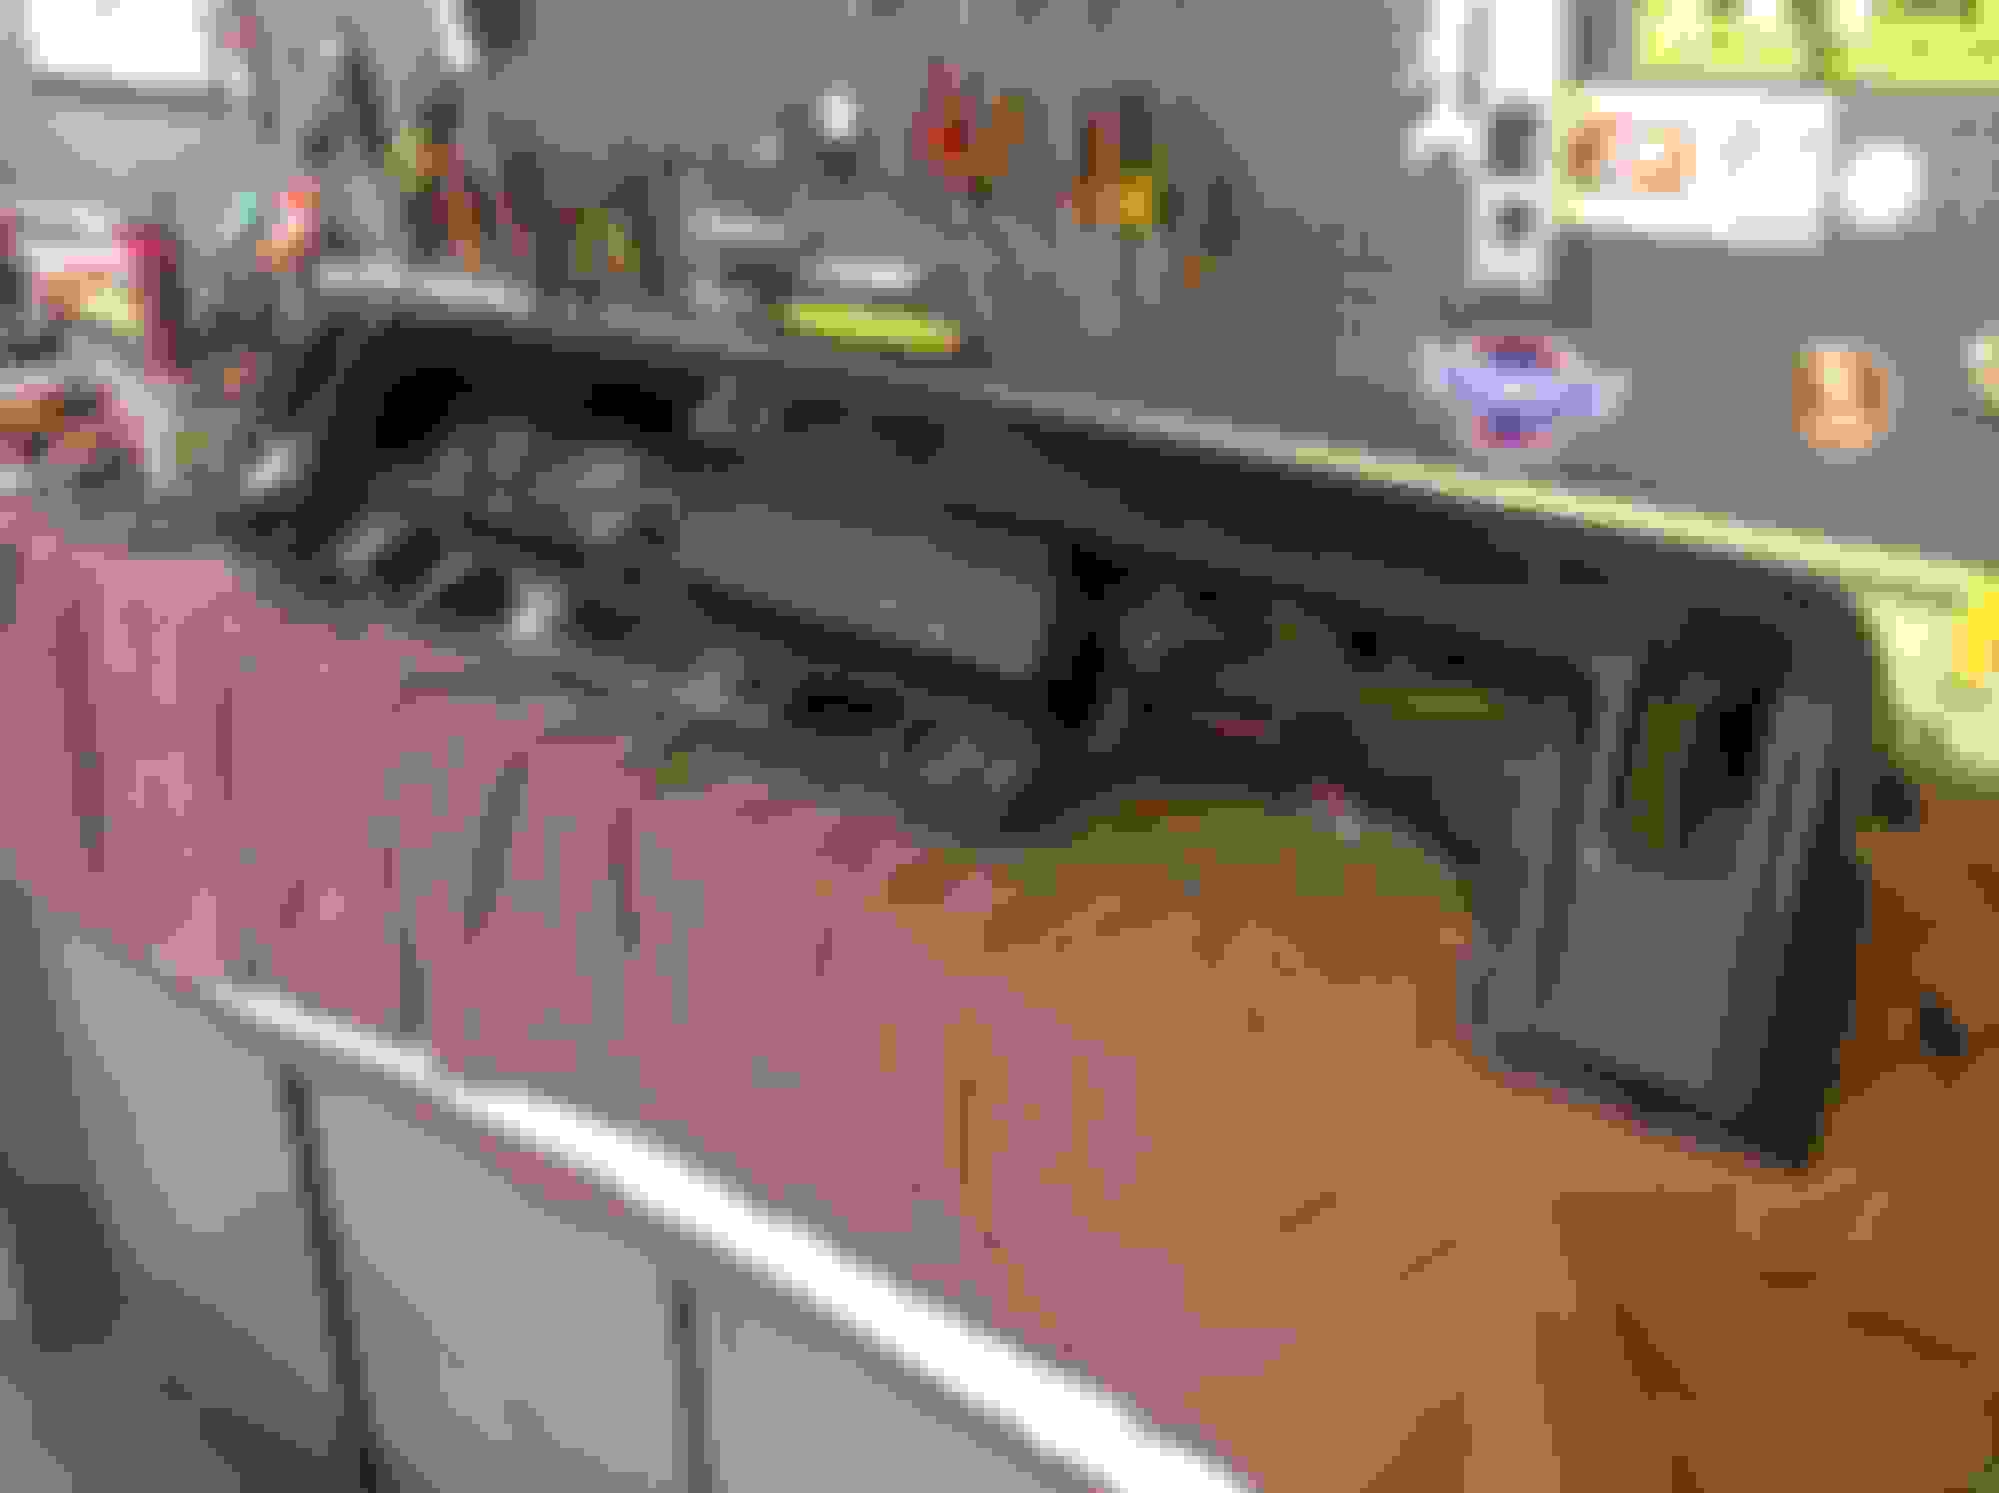
Today's session was devoted exclusively to removing the dashboard and related firewall items. There is a lot of surface rust with some of it going a bit deeper in places, but no perforations that I can see. As expected many wires have been cut and spliced in, most of which I have already removed - some showing obvious signs of shorting out in the past. Also, many connectors were simply disconnected - all wires to the blower switch and other micro switches on the HVAC control were just hanging. It makes it doubly hard when the car has the convinience light package, so cool, but so more tempting to hack on. The radio was - surprise - missing the rear support bracket.
Next removed all the A/C ducting - most of which is junk. The car had other pieces in the trunk that might be better than these. The heater box (unit that contains the flapper floors and heater core) also, like the evaporator box do not look original to me. I will review the photos from my W30 build to confirm
Also removed pedals, firewall pad, miscellaenous switches, original speaker, defroster ducts, etc, etc. Picture oif items that will need work, not counting the metal parts thrown in the "to be blasted" bin
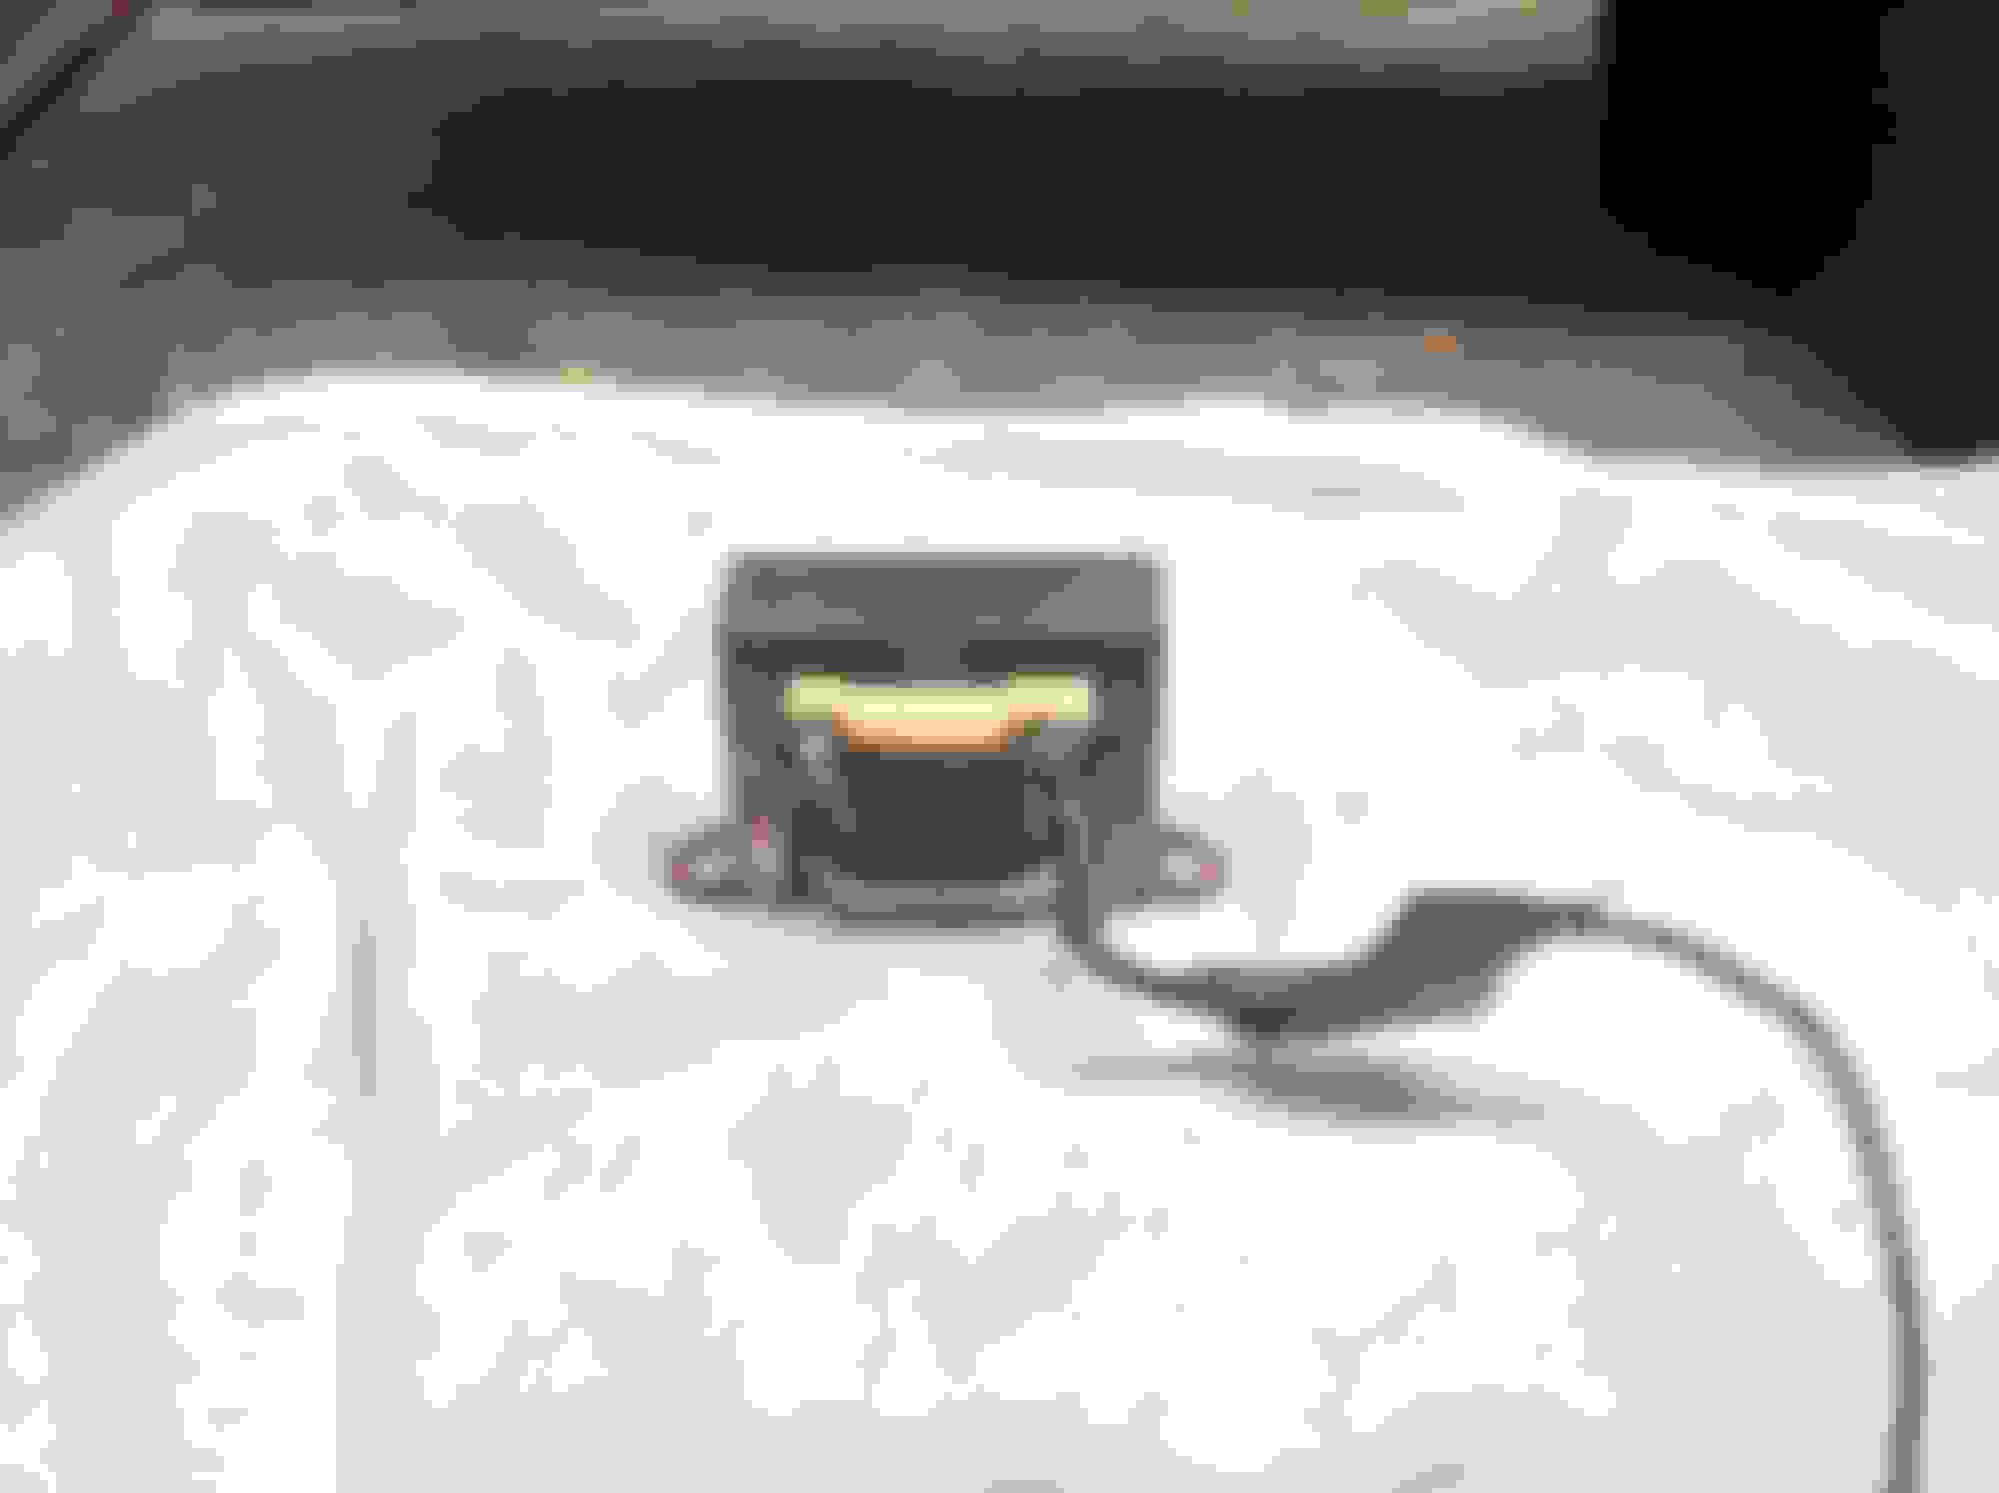
Lastly, found this little jewel screwed to the underside of the dash. Wonder what it was for. There are a lot of old non original screw holes in the bottom of the dash - who knows how many gauges, equalizers, amps, or whatelse have hung off the bottom of this thing over the last 48 years
Also, as Patton surmised based on the RH bucket buzzer, a 72 parts car was used by the owner in the early 2000's when this car was first restored. More proof emerged when I noticed the glovebix door had the 72 only slot to lay the maintenance guide checklist in. I have also spoken to two previous owners - the one in Northport Alabama, and the one in the San Antonio Texas area who owned it until David bought it last year. The engine has been given the Mondello treatment - details to come upon tear down, but he also says the tranny is original to this car, so we are keeping our fingers crossed.
This one is snowballing - looks like David is going to get the car painted as well. Will give me plenty of time and room to refurb all the parts. Last things to do are drop tank and driveshaft, de-trim the wheels, disconnect and remove exhaust, pull the engine and trans, remove 442 front fender braces, remove evap. case, remove roof rail weatherstrip and channels, door weatherstrips and outer window sweepers, and remove rear bumper.
Short session today - and the snowball is now officially out of control (3 hours)
Today I finished stripping down the dash. After removing the wiring harness, was relieved to find the butchering was not nearly as bad as I thought. Mostly the leads going to the tach have been hacked with, and a "creative" way of powering the trunk release was rigged. The harness can be reused with no problems.
Went ahead and removed the rear bumper. Actually all the lamps are in pretty good shape, but some non original fasteners used to secure the license plate frame to the bumper, and the top rail lamp to bumper fasteners use a big fine thread Phillips screw with a nut (?)
Removed the 442 fender braces and the evap. box. Definately not the original.
And, David the owner is all in. Looks like we're going Legendary on a new interior!

 January 8th, 2018 | 12:11 AM