When you click on links to various merchants on this site and make a purchase, this can result in this site earning a commission. Affiliate programs and affiliations include, but are not limited to, the eBay Partner Network.
"Full size" glove box light into Cutlass - quick how to
So all my other Olds have had the glove box light - I didn't know it was an option until I got the Rallye... I couldn't find a "true" Cutlass/442 glove box light, but I found a full size Olds glove box kit (#983205) on eBay. Spray painted the bottom side with several coats of flat black, and it looks like it should.
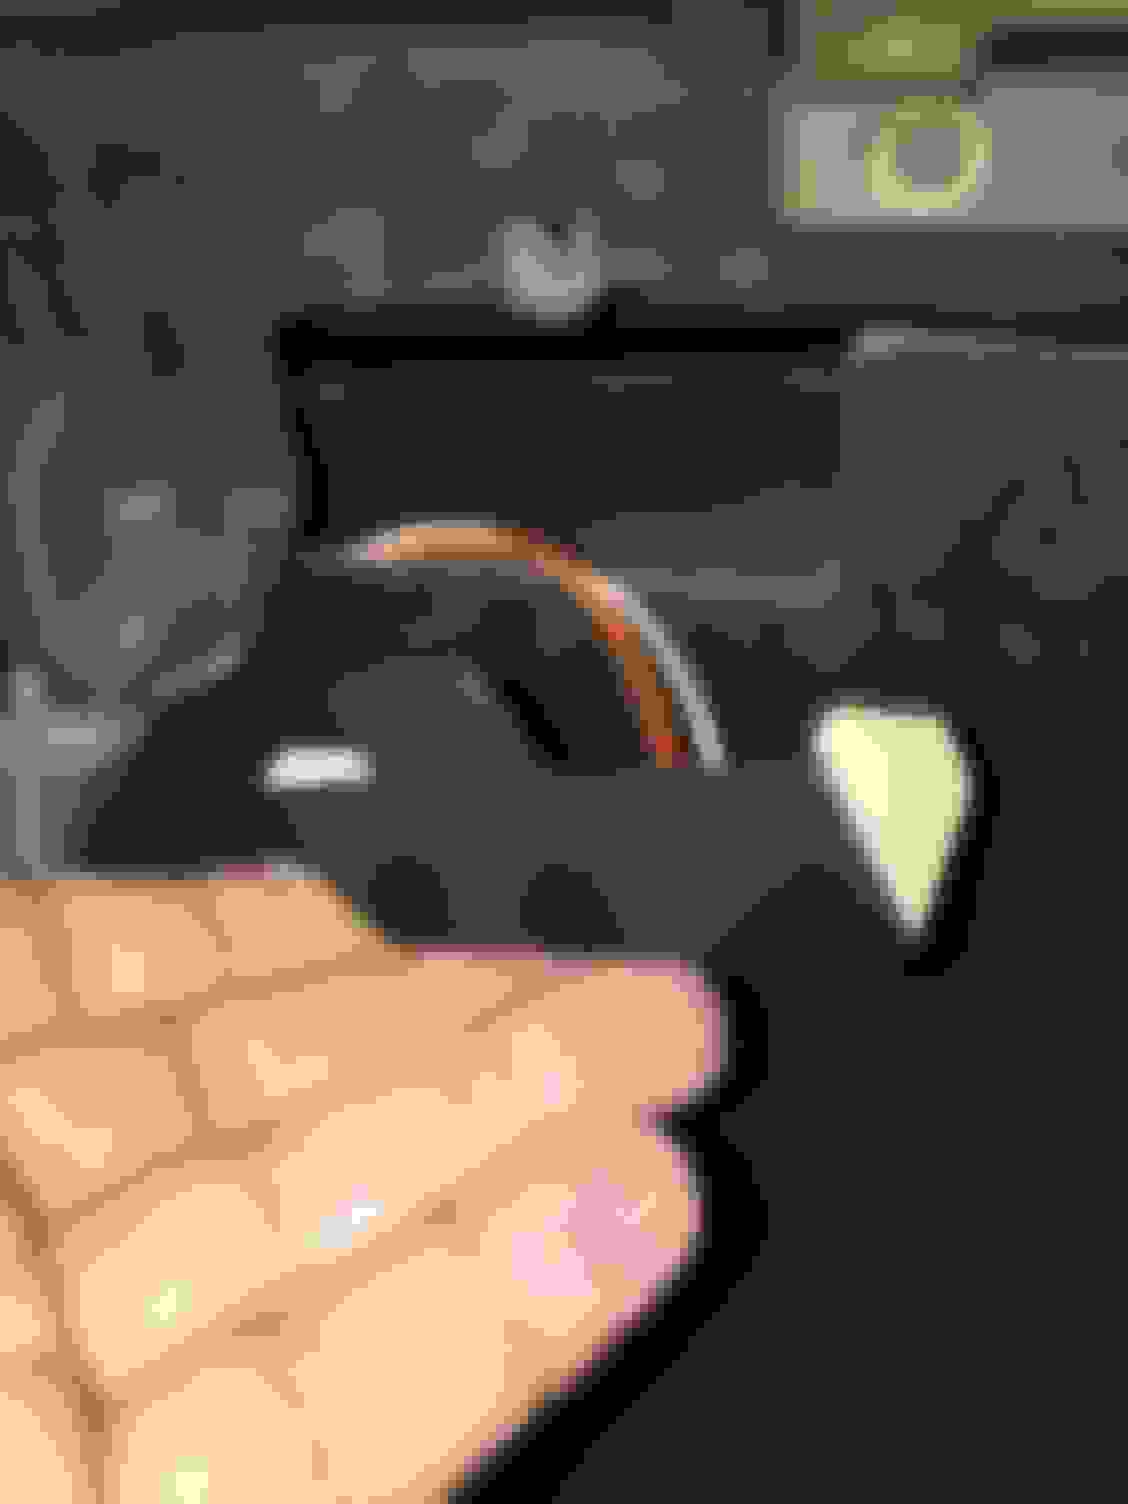
First I had to remove the glove box door to install the on/off switch, and while the hole for it was in the dash, it wasn't big enough and I had to hog it out a bit. Be very careful if you do the same - it's easy to oversize the hole. Just get it big enough that the button will squeeze tightly through, then the threaded part will tap its way in.
You can see the punch above the switch where the trunk release button hole would be drilled...
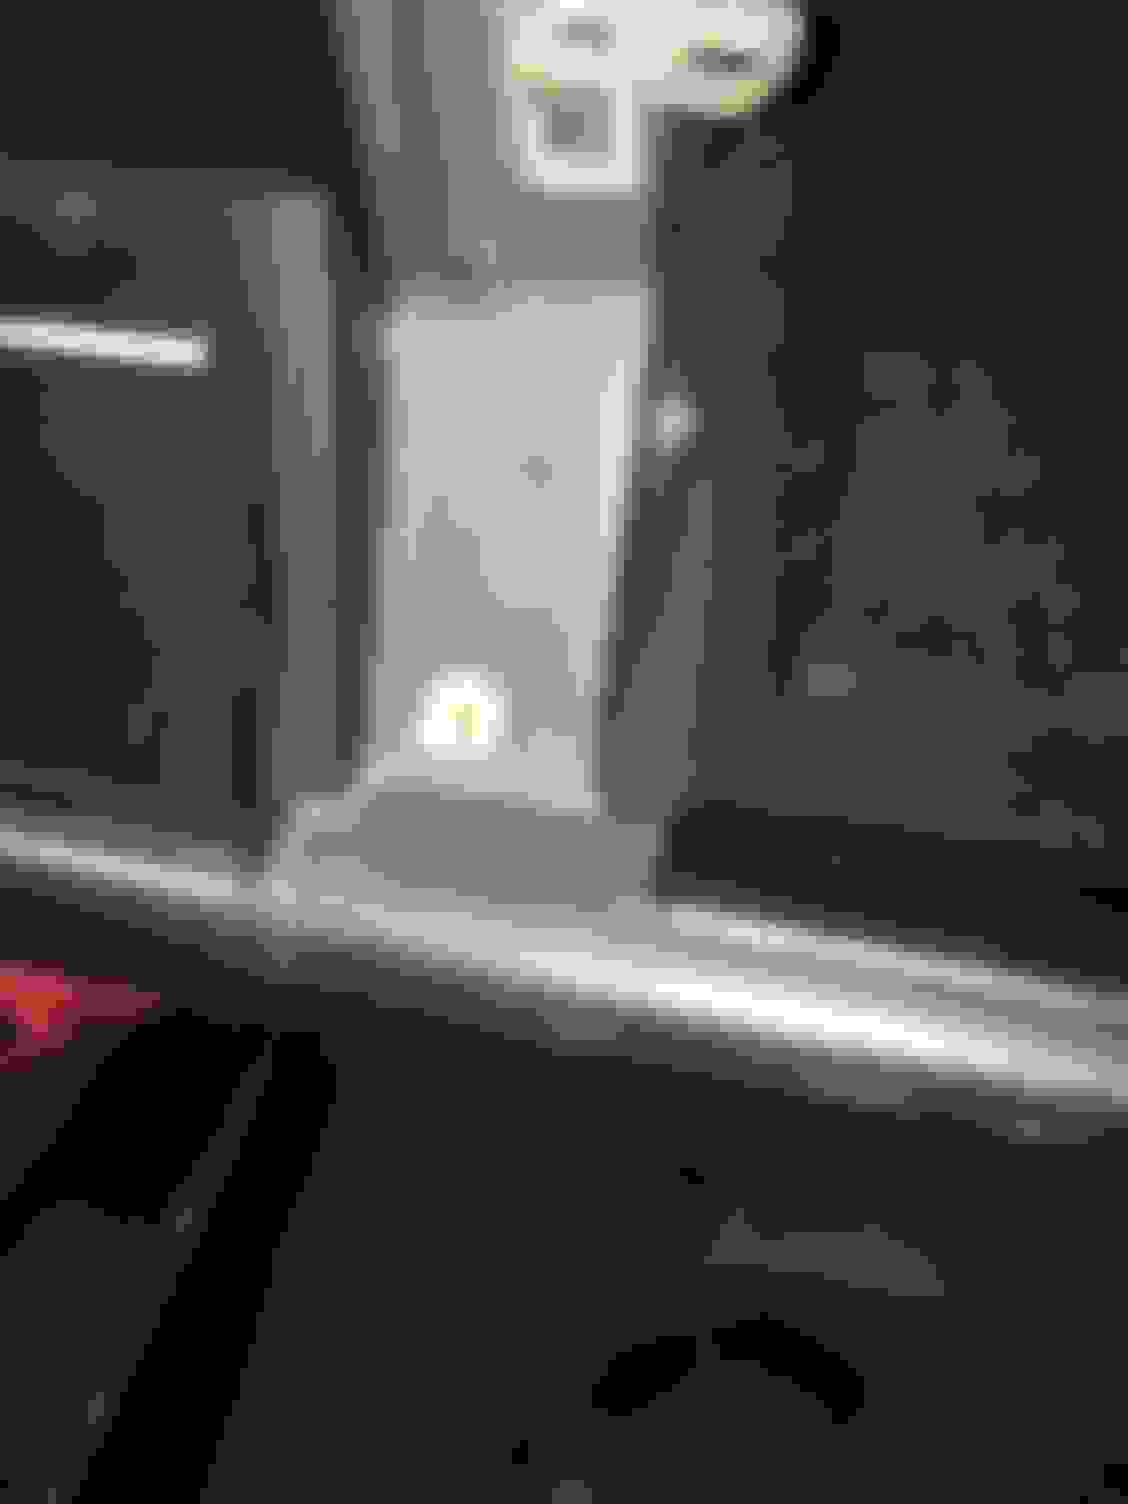
Looking up, the space where the light should go is already cut - I added the trim screw clip to the existing hole in the dash frame.
I inserted the wires and installed the light with a single screw. I soon found that removing the glove box was the best way to get the wire to the on/off switch attached - my hands aren't small enough to get back in there.
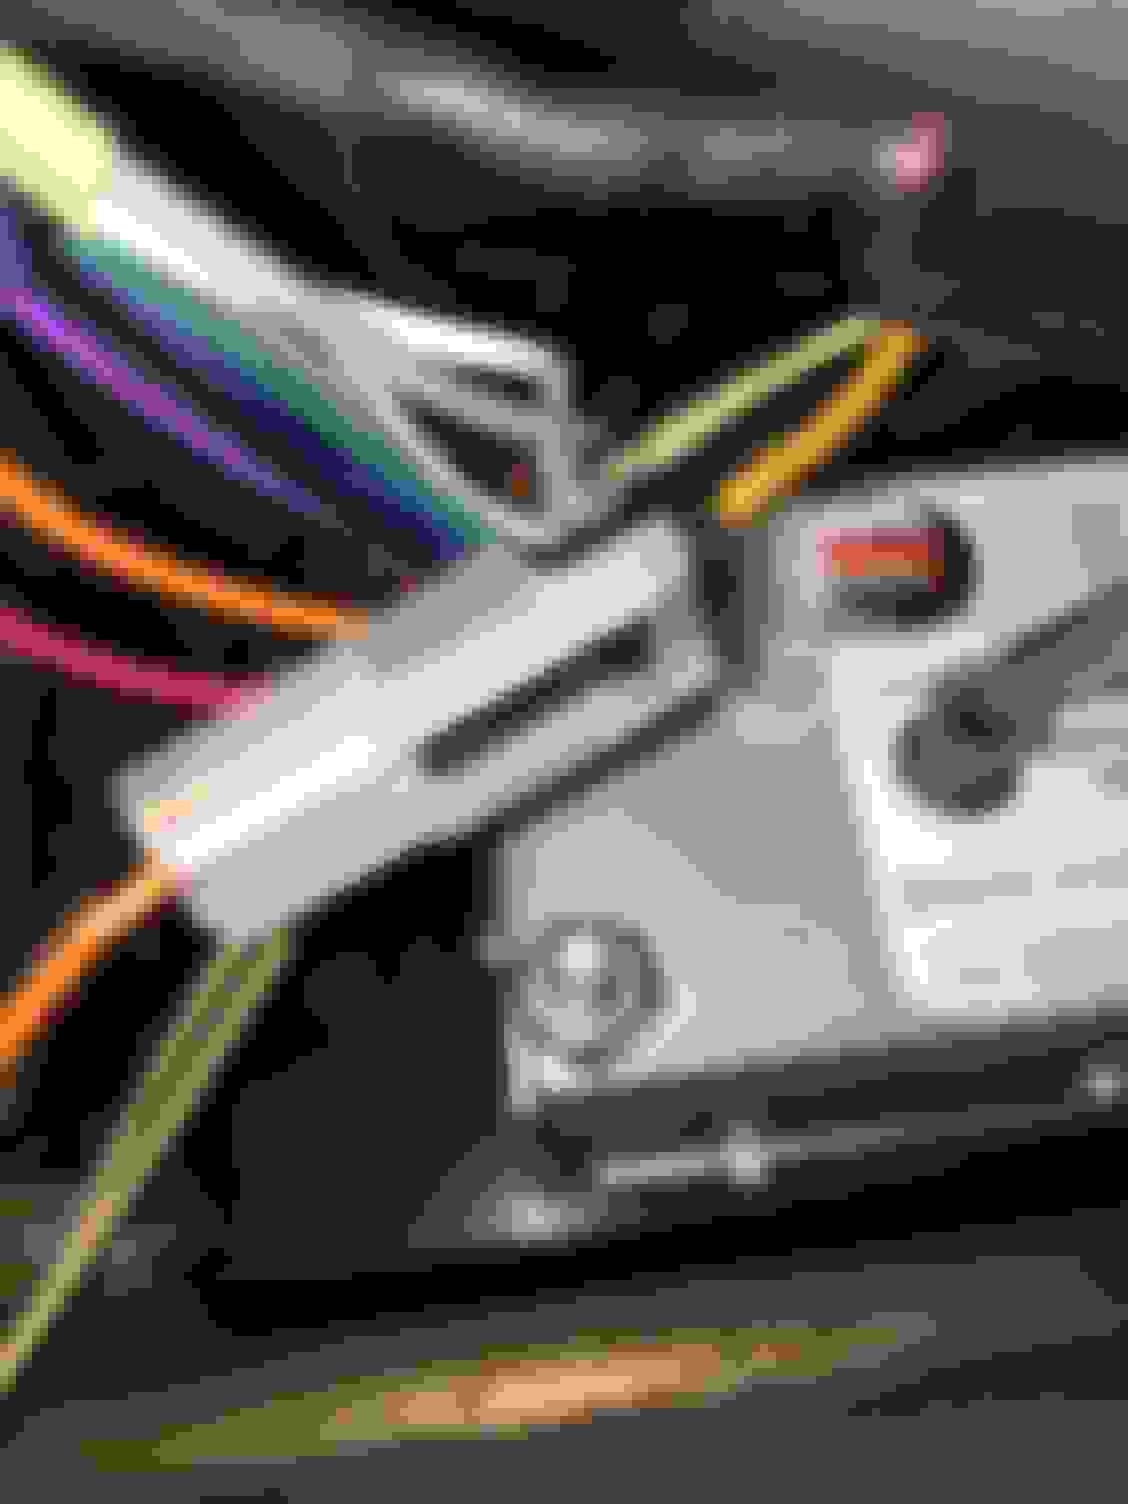
Behind the radio I had the unused orange wire connector which plugged right in and gave me power to the light.
Reinstalled the glove box, the glove box door, and everything works perfectly! It's easy to see why the bottom is painted black, or you would be blinded when you opened the glove box....
Total time from start to finish, not including 4 coats of black spray paint (light will bleed through if you don't give it multiple coats) was 40 minutes.
I noticed your radio is bluetooth. What model did u buy 'coz i plan to do same?
It's from Antique Auto Radio - model 851201BT It looks exactly like the original radio and is all electronic inside. I'm really impressed with how it works and how it sounds! I found mine on eBay but it seems dozens of vendors carry them. radiosforoldcars.com
That looks nice. Did you install it yourself? Have you any wiring diagram or how to installation? I need this for the 1971 cutlass
It is so small in comparison with the stock radio it's almost funny. Super easy to install with only two nuts on the front stems. Wiring the speakers is simple and they have easy to follow instructions with the radio. I used the factory yellow power wire to the old radio as my power source. I guarantee you could do it.
If they have instruction , that would be good. You upgraded your speakers or you using factory speakers?
You have to upgrade the speakers - this puts out 45 watts RMS per channel, so I used Kicker DSC 6930 6x9 speakers in the back and a single 4 x 10 in the dash.
 January 21st, 2018, 06:17 PM