When you click on links to various merchants on this site and make a purchase, this can result in this site earning a commission. Affiliate programs and affiliations include, but are not limited to, the eBay Partner Network.
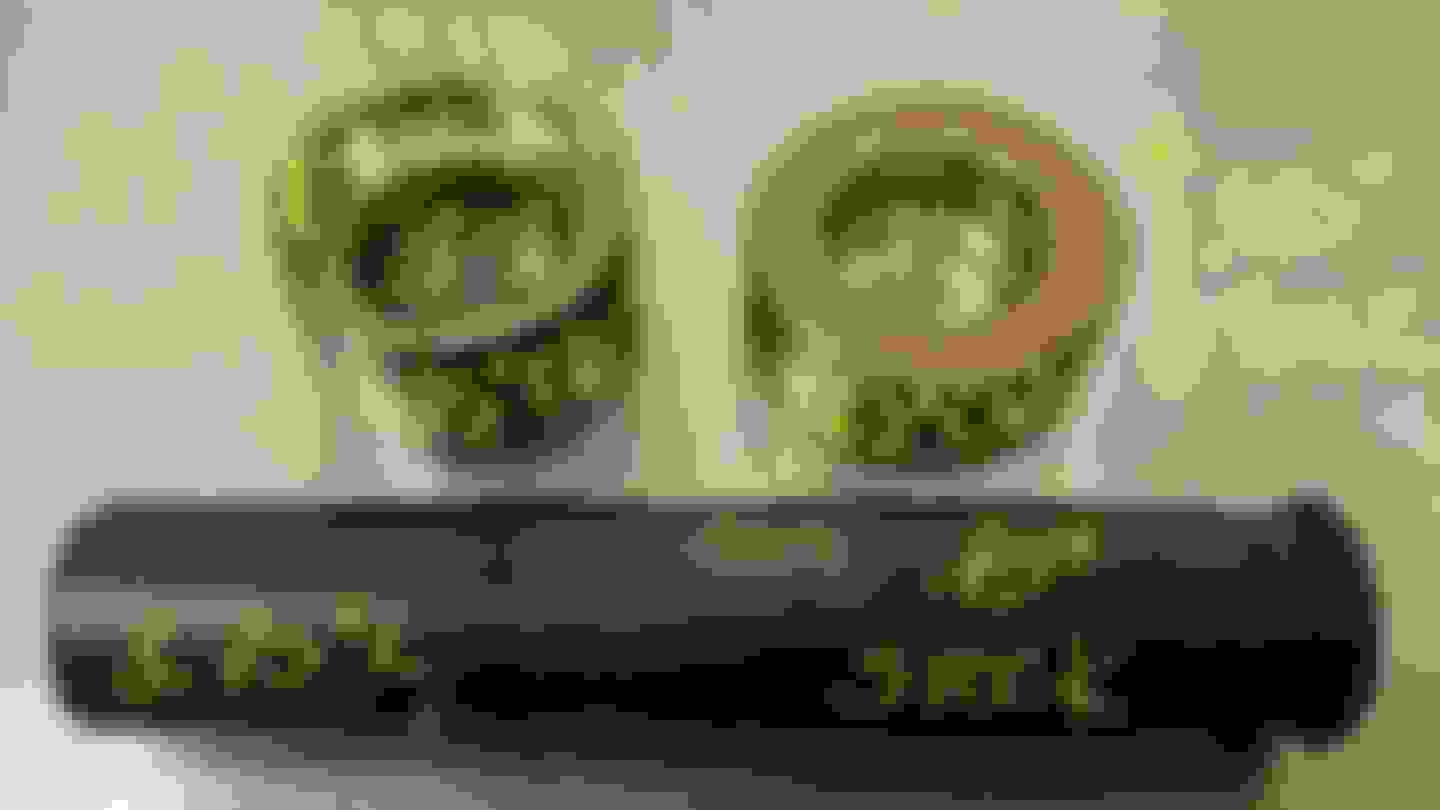
Thought I'd pass this along. I've made this lower bj removal tool because I got tired of beating on my car with a brass sledge to remove the lower bj. The scrap steel bar is made from 3/4 stock & measures 3.75" end to end (which should give you approx .125" of play when placed in between the upper & lower bj studs of a 65 Oldsmobile cutlass or 442) I used a 1/2 drill to put a slight chamfer on each end of the bar. I found some pieces of stainless & brass bushing material that have a .75" ID to slide over each end of the bar. These bushings prevent the bar from sliding off the bj studs when loosening the lower bj castle nut. The larger bushing goes over the lower bj castle nut & the brass bushing goes over the upper.
1) Place a hydraulic jack underneath the lower control arm & raise the jack to compressor your front coil slightly.
2) take cotter pins off both upper & lower bj castle nuts so the homemade bushings on the tool will slide over both castle nuts without smashing the cotter pins
3) REMOVE LOWER BJ CASTLE NUT COMPLETELY & TURN IT UPSIDE DOWN & RETHREAD IT ONTO LOWER BJ STUD AGAIN. YOU WANT THE FLAT SIDE OF THE CASTLE NUT FACING UP BECAUSE THIS IS THE SIDE THATS GOING TO BE PUSHING INTO THE TOOL (THE BAR!).
4) ASSEMBLE THE TOOL WITH THE BUSHINGS OVER THE BAR. (THE LARGER BUSHING OVER THE LOWER BJ CASTLE NUT & THE SMALLER BUSHING OVER THE UPPER CASTLENUT)
5) WITH THE TOOL PLACED INBETWEEN BOTH BJ STUDS USE AN OPEN END WRENCH TO UNTHREAD THE LOWER BJ CASTLE NUT (WHICH SHOULD BE UPSIDE DOWN WITH THE SMOOTH SIDE OF THE NUT PUSHING AGAINST THE TOOL) ***I BORED A .25 RECESS INTO THE LOWER STAINLESS BUSHING SO I COULD STILL TURN THE CASTLE NUT WHILE THE BUSHING WAS OVER THE TOP OF THE NUT***
6) LOWER YOUR HYDRAULIC JACK SO YOU HAVE APROX 1/2 OF SPACE BETWEEN THE TOP OF YOUR JACK & LCA
7) UNTHREAD THE LOWER CASTLE NUT UNTIL YOU HERE A POP! YOUR LOWER BJ SHOULD BE LOOSE. ***EVEN WITH THE BJ LOOSE THE LOWER BJ CASTLE NUT SHOULD STILL BE THREADED ON THE STUD! IF YOUR CASTLE NUT COMES OFF YOUR TOOL (THE BAR IS TOO SHORT!) I FIND APPROX .125" OF PLAY IN BETWEEN THE BAR & BOTH UPPER/LOWER BJ STUDS IS PERFECT!
If done correctly you should be able to reuse your existing castle nuts. I've always been able too. Hopefully this helps someone. I do this when I'm installing front drop springs on an older gm car. If your replacing with stock springs or installing taller springs I find its easier to remove both lca arm bolts to frame & do it that way instead of loosening lower bj (I have another homemade tool for doing it that way too. I'll post a thread soon on that one soon ). Btw I don't ever use a spring compressor when swapping coils. Actually I did once... but the damn spring kept popping out. Never again! GOOD LUCK!
It is a great idea, however, since I don't own a lathe, and am not an experienced machinist, I don't see one in my future. Now, if you decide to make a few to sell, please let me know. thanks
It is a great idea, however, since I don't own a lathe, and am not an experienced machinist, I don't see one in my future. Now, if you decide to make a few to sell, please let me know. thanks
Thanks. Will do. The most important thing is to get an accurate measurement between both upper & lower bj studs. They need to be relatively straight across from each other with no interference in between for this type of tool to work. I got lucky I found the bar & bushings in some scrap material. I put one end of the bar on belt grinder to get it the right size. I was really surprised it actually worked. Hopefully this helps someone
Clever, but this only works if the engine is in the car. If not, there isn't enough weight. A better solution is the Kent Moore J23742 factory tool that looks like this but is threaded. Insert it between the two ball joint studs, extend the screw, and you can remove either upper or lower ball joint.