Non-Olds Engines For discussion on non-Oldsmobile engines. All forum rules apply.

65 Cutlass Convertible to LS/4L60e + complete frame off

Thread Tools
 
Search this Thread
 
Old Sep 28, 2017 | 10:15 PM
  #1  
mauricer's Avatar
Thread Starter
Registered User
 
Joined: Feb 2015
Posts: 124
From: Chilliwack BC
65 Cutlass Convertible to LS/4L60e + complete frame off

I bought this car about 2 years ago but never got around to starting a build thread on it, unfortunately most of my early pics got deleted somehow so figured I better get started on the updates.

Couple pics of the car stripped to start but unfortunately none of the whole car I bought. Some of the pics show the rust but there is not very many areas that don't require major rust repairs


Frame was pretty much toast so acquired a new one and a ton of 65 parts for a great price.
Frame sand blasted and painted a hammered silver


Old Sep 29, 2017 | 09:31 AM
  #2  
mauricer's Avatar
Thread Starter
Registered User
 
Joined: Feb 2015
Posts: 124
From: Chilliwack BC
Next I rebuilt the rear diff (i had a posi) and changed the gearing to 3.73 for the 4l60e overdrive transmission, should have nice power off the line and cruise at around 2500 rpm on the hwy. Found a nice chrome diff cover for it for looks also.
Upgraded all the brakes and suspension at this time also, I went with 2" drop coil springs on the rear and 1" on the front as the new a-arms are supposed to drop it 1" also.
As for brakes I purchased an aftermarket set of C5 corvette for the front that used the stock drum brake spindles, these are 13" drilled and slotted with twin piston calipers.
For the rear I read about using 98-02 Camaro/Firebird 12" disc with a built in e-brake, found a used setup on e-bay for $175 that were like new so i cleaned them all up and painted them to match the front and ordered some new drilled and slotted rotors to match also.


forgot that I also purchased a rear control arm boxing kit and sway bar from Summit at this time also


this is the front brake kit that i purchased from e-bay for $330 at the time


here is a link to a video about the rear brake swap but there is tons of info on the net about it

Hope some of this is of interest to people, Over the next few days I will get up to date on my progress so far but here is 1 pic of the engine
Old Sep 29, 2017 | 09:55 AM
  #3  
oldcutlass's Avatar
Administrator
 
Joined: Oct 2009
Posts: 42,496
From: Poteau, Ok
Looks great.
Old Sep 29, 2017 | 04:09 PM
  #4  
RetroRanger's Avatar
72 Olds CS
 
Joined: Jun 2011
Posts: 6,657
Looks pretty awesome so far looking forward to more pics and updates
Old Sep 29, 2017 | 04:19 PM
  #5  
redoldsman's Avatar
Proud Viet Nam Veteran
 
Joined: Dec 2006
Posts: 10,817
From: Rowlett, TX
Awesome work. Those have to be some of the worst floorpans I have ever seen. I look forward to following this thread.
Old Sep 30, 2017 | 06:48 AM
  #6  
Ranzan's Avatar
Getting There
 
Joined: Jul 2006
Posts: 1,147
From: Regina S.K. Canada
good stuff
Old Sep 30, 2017 | 07:48 AM
  #7  
Tedd Thompson's Avatar
Registered User
 
Joined: Oct 2004
Posts: 7,743
From: Forest Ranch Ca.
With all the rust issues repairs and up grades you are doing it's going to be a new car from front to rear! Looking fantastic .... Tedd
Old Sep 30, 2017 | 06:01 PM
  #8  
mauricer's Avatar
Thread Starter
Registered User
 
Joined: Feb 2015
Posts: 124
From: Chilliwack BC
Originally Posted by redoldsman
Awesome work. Those have to be some of the worst floorpans I have ever seen. I look forward to following this thread.

Floor pans were pretty bad but that pic with all the carpet underlay glued to them makes them look even worse
Old Sep 30, 2017 | 06:05 PM
  #9  
mauricer's Avatar
Thread Starter
Registered User
 
Joined: Feb 2015
Posts: 124
From: Chilliwack BC
Originally Posted by Tedd Thompson
With all the rust issues repairs and up grades you are doing it's going to be a new car from front to rear! Looking fantastic .... Tedd

You are definitely right about that, complete drive train will be new from front to back,
Old Oct 2, 2017 | 08:30 PM
  #10  
mauricer's Avatar
Thread Starter
Registered User
 
Joined: Feb 2015
Posts: 124
From: Chilliwack BC
I finally got time to do some more updating to get to where the build is at now, some of this is not in the exact order i did things but it all ends at the same place so on with the show


i added a few inches on the transmission cross member support to accept the 4l60e

The engine I ended up using is a LM4 aluminum block from a 2002 Chev Trailblazer (Buick Rainier, SSR and possibly couple other models also are the same)


When it was time to fit the engine in the frame it was kind of read something on the net and then figure out if it would work, in the end I used regular GM clamshell mounts with a 1/2" aluminum spacer under them and the billet ls swap plates to mount them to the block, I actually got it mounted and in a good position pretty easy with lots of clearance for the firewall and used the Holley 302-2 oil pan for clearance as you can see in the pic it doesn't hang below the cross member at all.


When it came time to choose all the accessory drive components I went with all LS Corvette , I got some really good deals by searching the net and some from Rock Auto and Ebay, the Holley oil pan came from craigslist from a guy that bought it then read the instructions that it wouldn't work on a stroked block, my score at 1/2 price.
The intake manifold is a ls6 which I got from LS1Tech forums, came with rails and injectors and shipped for $300.


For the A/C compressor I stole an 08-13 Corvette one on ebay for $32 including mount and idler and shipping, very little tweaking on the frame (little bit of heat and a ball peen hammer in the corner for the condensor line) and it fit perfect


For the steering box I am using a 3 1/2 turn from a 85 trans am from rock auto
Here is a good link about swapping steering box's
https://www.hemmings.com/magazine/mu...s/1508711.html


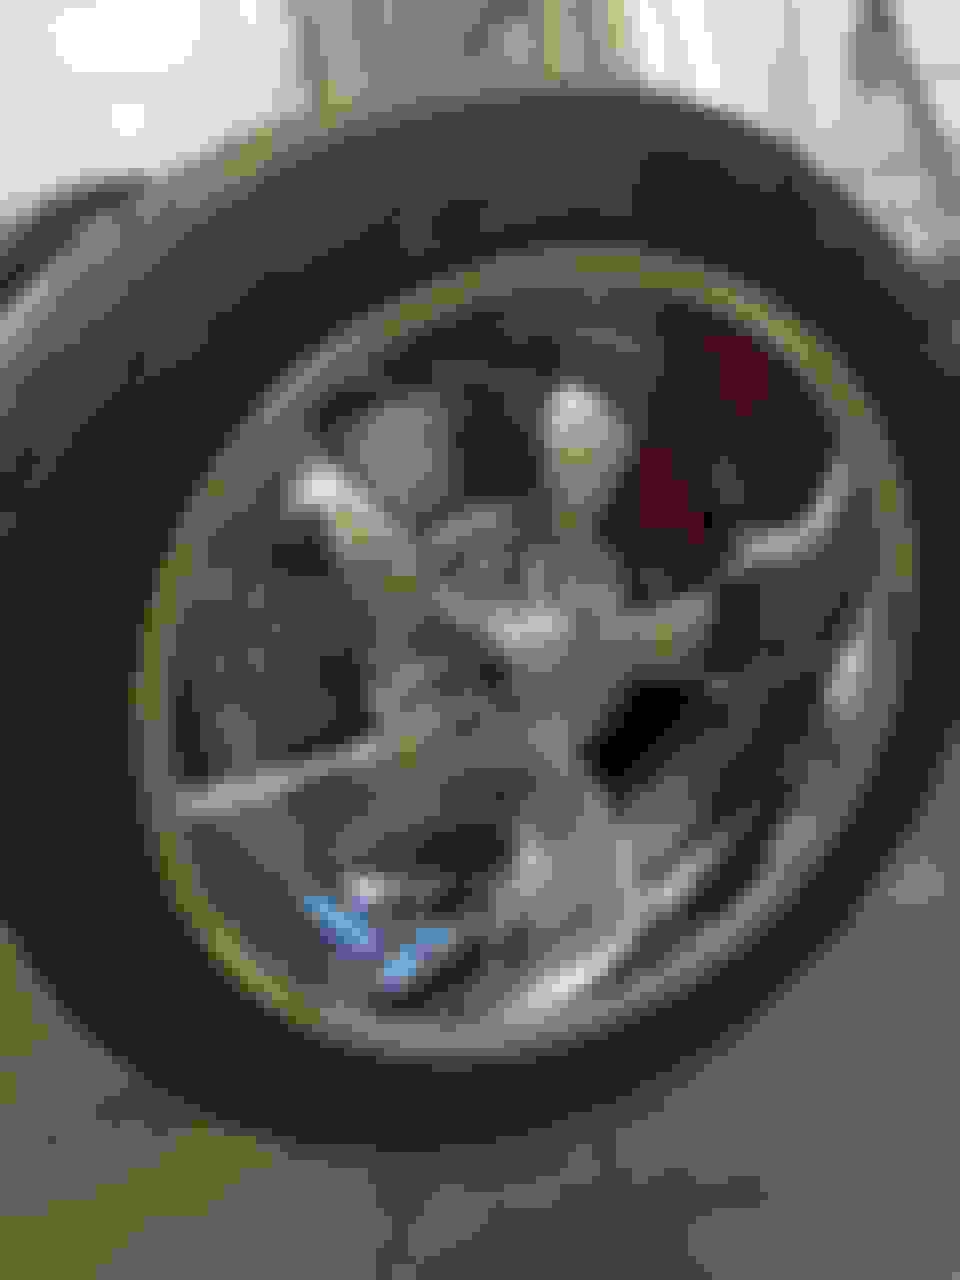
For wheels I am going with old school look B&G rodder's
17x8 front with 245x45x17 and 17x9 rear with 275x40x17

After all that was done it was time to clean and paint everything and re gasket the engine and trans.
The car will be Sunset orange on the sides and black on the top so the block and trans painted to match, old school aluminum valve covers with the oldsmobile decals really make the look in my opinion, I think I am going to paint the intake manifold orange still.


Old Oct 4, 2017 | 12:48 AM
  #11  
garys 68&72's Avatar
Registered User
 
Joined: Jan 2014
Posts: 350
From: Camdenton, MO
Were you able to squeeze the AC compressor in front of the crossmember?
Also, is the vette compressor variable displacement?
Old Oct 4, 2017 | 11:22 AM
  #12  
mauricer's Avatar
Thread Starter
Registered User
 
Joined: Feb 2015
Posts: 124
From: Chilliwack BC
Originally Posted by garys 68&72
Were you able to squeeze the AC compressor in front of the crossmember?
Also, is the vette compressor variable displacement?
Compressor fit fine but I tweaked the top corner of the cross member and frame rail joint with some heat and a ball peen hammer to give about 1/4" clearance for the lines, as far as I know the compressor is variable as i believe all newer ones are, I will be running a Southern air unit and they say their units have no problems with a variable compressor
Old Oct 4, 2017 | 11:47 AM
  #13  
therobski's Avatar
Registered User
 
Joined: Jul 2009
Posts: 3,191
From: Dallas-Fort Worth
Mauricer, where do get the frame pads and engine mounts? Probably the same mounts for the A-body Chevelles? Welcome to the world of rust!. My 64-F85 Pro-Touring was real bad-replaced the floor and trunk braces, floor and trunk pans, section between the tail lights, both doors and left front fender. All metal no bondo....Very nice job.
Old Oct 4, 2017 | 09:14 PM
  #14  
mauricer's Avatar
Thread Starter
Registered User
 
Joined: Feb 2015
Posts: 124
From: Chilliwack BC
Originally Posted by therobski
Mauricer, where do get the frame pads and engine mounts? Probably the same mounts for the A-body Chevelles? Welcome to the world of rust!. My 64-F85 Pro-Touring was real bad-replaced the floor and trunk braces, floor and trunk pans, section between the tail lights, both doors and left front fender. All metal no bondo....Very nice job.
The clamshell frame mounts were the stock Cutlass ones but I had a machinist friend modify them to fit some late 60's Camaro mounts I had, here is a closeup pic of them with the 1/2" spacer I made for under the clamshells
Old Dec 27, 2017 | 08:50 AM
  #15  
mauricer's Avatar
Thread Starter
Registered User
 
Joined: Feb 2015
Posts: 124
From: Chilliwack BC
few more pics of the engine with the ls6 manifold painted and the heartthrob exhaust and the new aluminum drive shaft


Old Dec 27, 2017 | 08:53 AM
  #16  
mauricer's Avatar
Thread Starter
Registered User
 
Joined: Feb 2015
Posts: 124
From: Chilliwack BC
Rad support and hood latch painted and new rad installed


Last edited by mauricer; Dec 27, 2017 at 09:15 AM. Reason: extra words
Old Dec 29, 2017 | 09:25 AM
  #17  
nonhog's Avatar
Registered car nut
 
Joined: Apr 2008
Posts: 1,146
From: Puyallup
Cool car, looks like maybe? you ended up with my old hood?


http://67-72chevytrucks.com/vboard/s...04&postcount=4


This thread makes me miss my old vert.
Old Dec 29, 2017 | 03:38 PM
  #18  
mauricer's Avatar
Thread Starter
Registered User
 
Joined: Feb 2015
Posts: 124
From: Chilliwack BC
Originally Posted by nonhog
Cool car, looks like maybe? you ended up with my old hood?


http://67-72chevytrucks.com/vboard/s...04&postcount=4


This thread makes me miss my old vert.
Probably was you as I purchased it from someone in Puyallup
Old Dec 29, 2017 | 03:50 PM
  #19  
oldcutlass's Avatar
Administrator
 
Joined: Oct 2009
Posts: 42,496
From: Poteau, Ok
You do some very nice work. Love the way its turning out.
Old Dec 29, 2017 | 03:56 PM
  #20  
nonhog's Avatar
Registered car nut
 
Joined: Apr 2008
Posts: 1,146
From: Puyallup
Originally Posted by mauricer
Probably was you as I purchased it from someone in Puyallup

I must have forgot you were from Canada? Glad to see it part of such a cool project.
Old Jan 6, 2018 | 03:08 PM
  #21  
prohandze's Avatar
Registered User
 
Joined: Feb 2016
Posts: 13
Nice work. What radiator did you use?
Old Jan 13, 2018 | 12:41 PM
  #22  
mauricer's Avatar
Thread Starter
Registered User
 
Joined: Feb 2015
Posts: 124
From: Chilliwack BC
Originally Posted by prohandze
Nice work. What radiator did you use?

I looked at lots but ended up just purchasing one from ebay, welded 2 bracets on to the rad support and rubber mounted the rad

https://www.ebay.com/itm/1959-1970-C...VWZwUQ&vxp=mtr
Old Jan 20, 2018 | 11:43 AM
  #23  
mauricer's Avatar
Thread Starter
Registered User
 
Joined: Feb 2015
Posts: 124
From: Chilliwack BC
Looks like my rust repairs just got a whole lot easier, just need to get it from Wisconsin to Washington, it came from California and has been sitting in storage for years, supposedly had a little bit of 1/4 panel repair and that's all


Old Apr 30, 2018 | 01:51 AM
  #24  
Alex72cutty's Avatar
Registered User
 
Joined: Jan 2012
Posts: 585
From: Dallas, Tx
Good Work
Old Jul 23, 2019 | 07:34 PM
  #25  
oldstata's Avatar
Justin
 
Joined: Mar 2012
Posts: 3,454
From: utah
Do you recall what headers you used ? Doesn’t look like there was any clearance issues,
also what did you have to do to mount the trans in place,

what shifter did you end up using for the trans and is it floor mounted ?
Old Jul 24, 2019 | 07:55 AM
  #26  
mauricer's Avatar
Thread Starter
Registered User
 
Joined: Feb 2015
Posts: 124
From: Chilliwack BC
Originally Posted by oldstata
Do you recall what headers you used ? Doesn’t look like there was any clearance issues,
also what did you have to do to mount the trans in place,

what shifter did you end up using for the trans and is it floor mounted ?
I just used the ls swap headers https://www.ebay.com/itm/Speed-Engin...8AAOSwWWpZ1sqR

as for the trans mount just lengthened the bracket on the frame about 6" and used the stock transmission crossmember

shifter is still a work in progress as the project has been on hold for a couple of years while we built a new house and other life events that get in the way but plan on using a 2002 corvette floor shift or if that doesn't work out possibly just upgrade my stock shifter with the Shiftworks kit https://shiftworks.com/collections/conversion-kits
Old Jan 1, 2021 | 06:21 PM
  #27  
TimMC's Avatar
Registered User
 
Joined: Mar 2013
Posts: 65
From: West Bend Wisconsin
updates? I have a 65 looking at similar direction.
Old Jan 2, 2021 | 09:18 AM
  #28  
mauricer's Avatar
Thread Starter
Registered User
 
Joined: Feb 2015
Posts: 124
From: Chilliwack BC
no updates sold off the complete drivetrain, got tired of fixing rust as the new convertible tub was just as bad as the original, now just selling off all my 65 parts
Related Topics
Thread
Thread Starter
Forum
Replies
Last Post
bdub217
Brakes/Hydraulic Systems
54
Aug 19, 2025 05:17 AM
oldstata
General Discussion
17
Nov 30, 2020 05:25 PM
oldzy
Major Builds & Projects
213
Nov 7, 2015 07:20 PM
rb25
Major Builds & Projects
12
Dec 6, 2012 05:15 PM
rptw32
Cutlass
1
Jun 23, 2011 09:07 AM


All times are GMT -7. The time now is 02:38 AM.