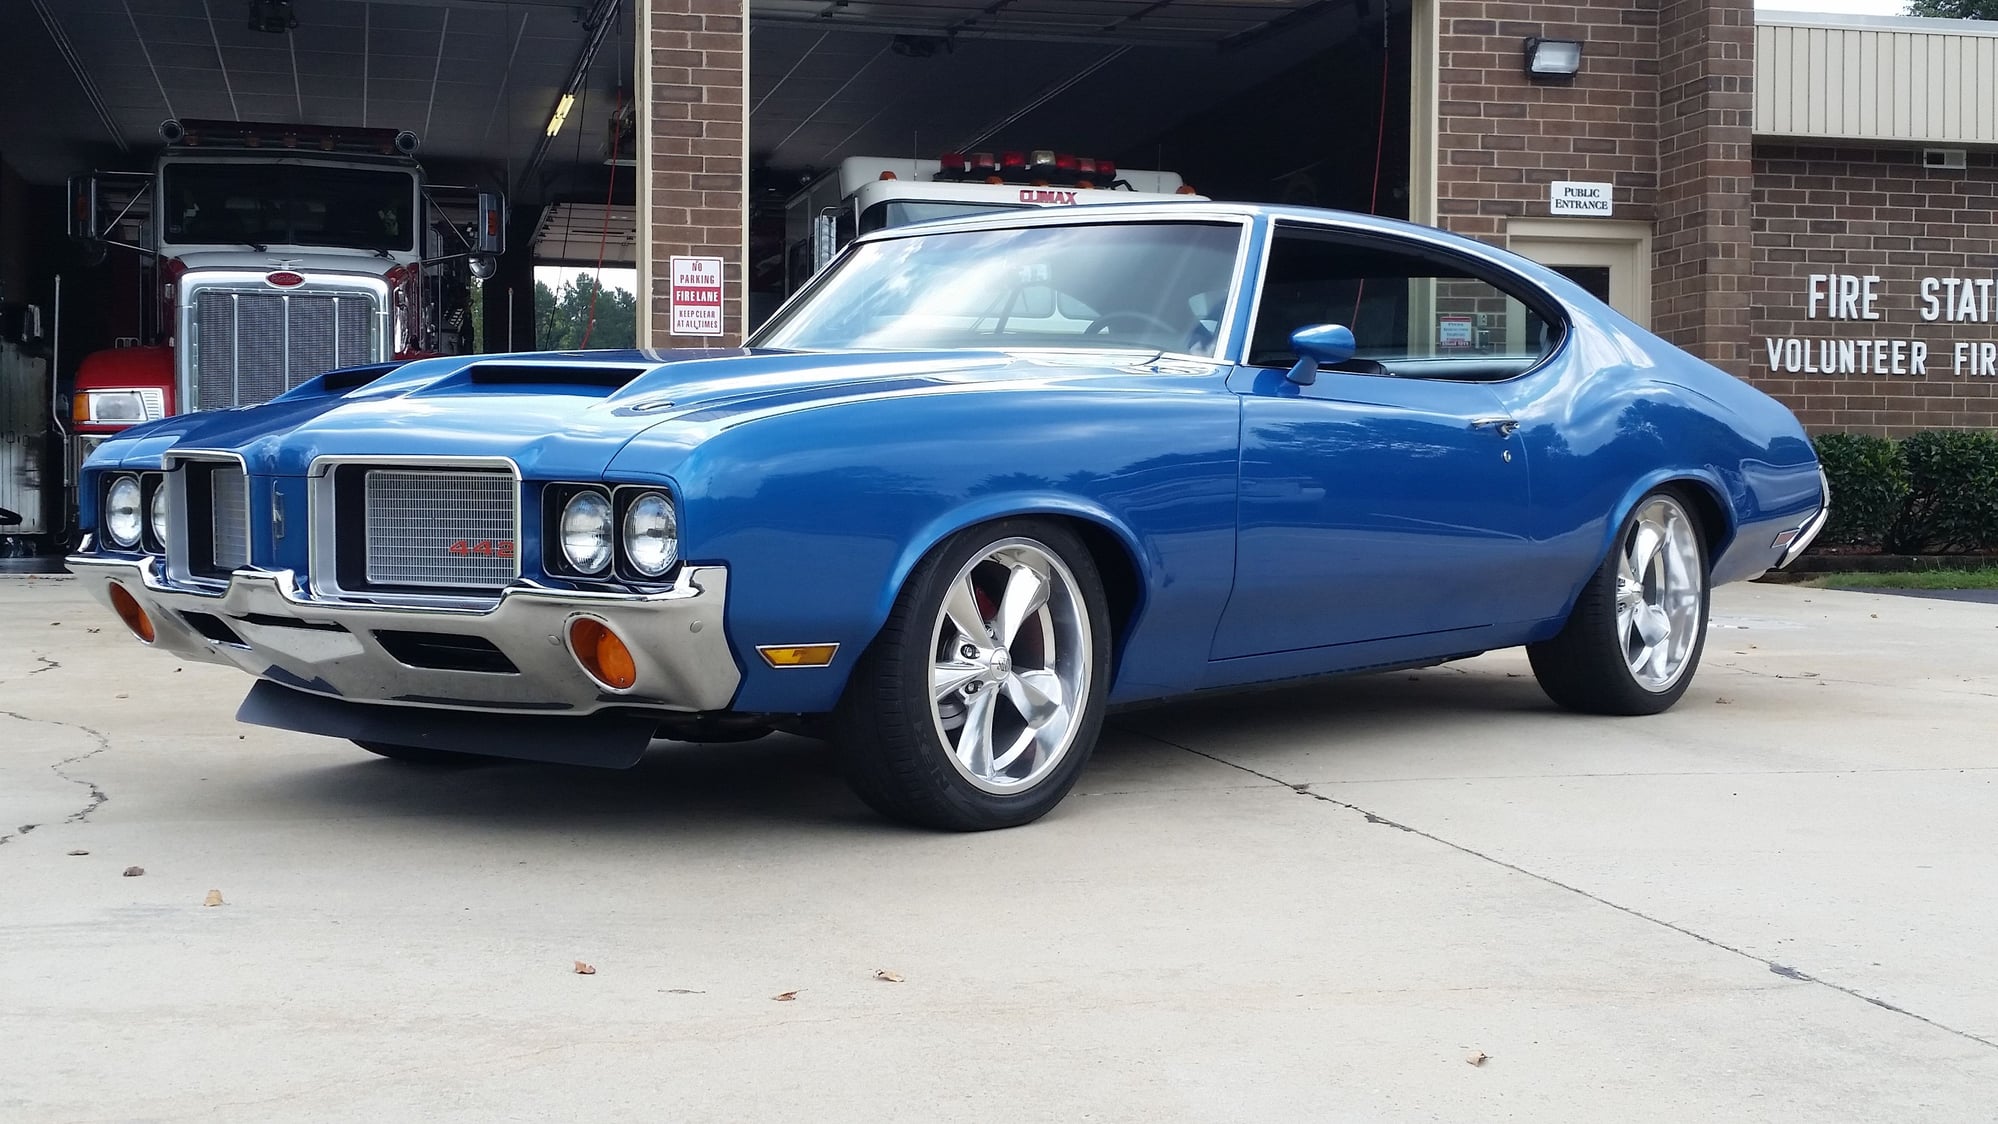
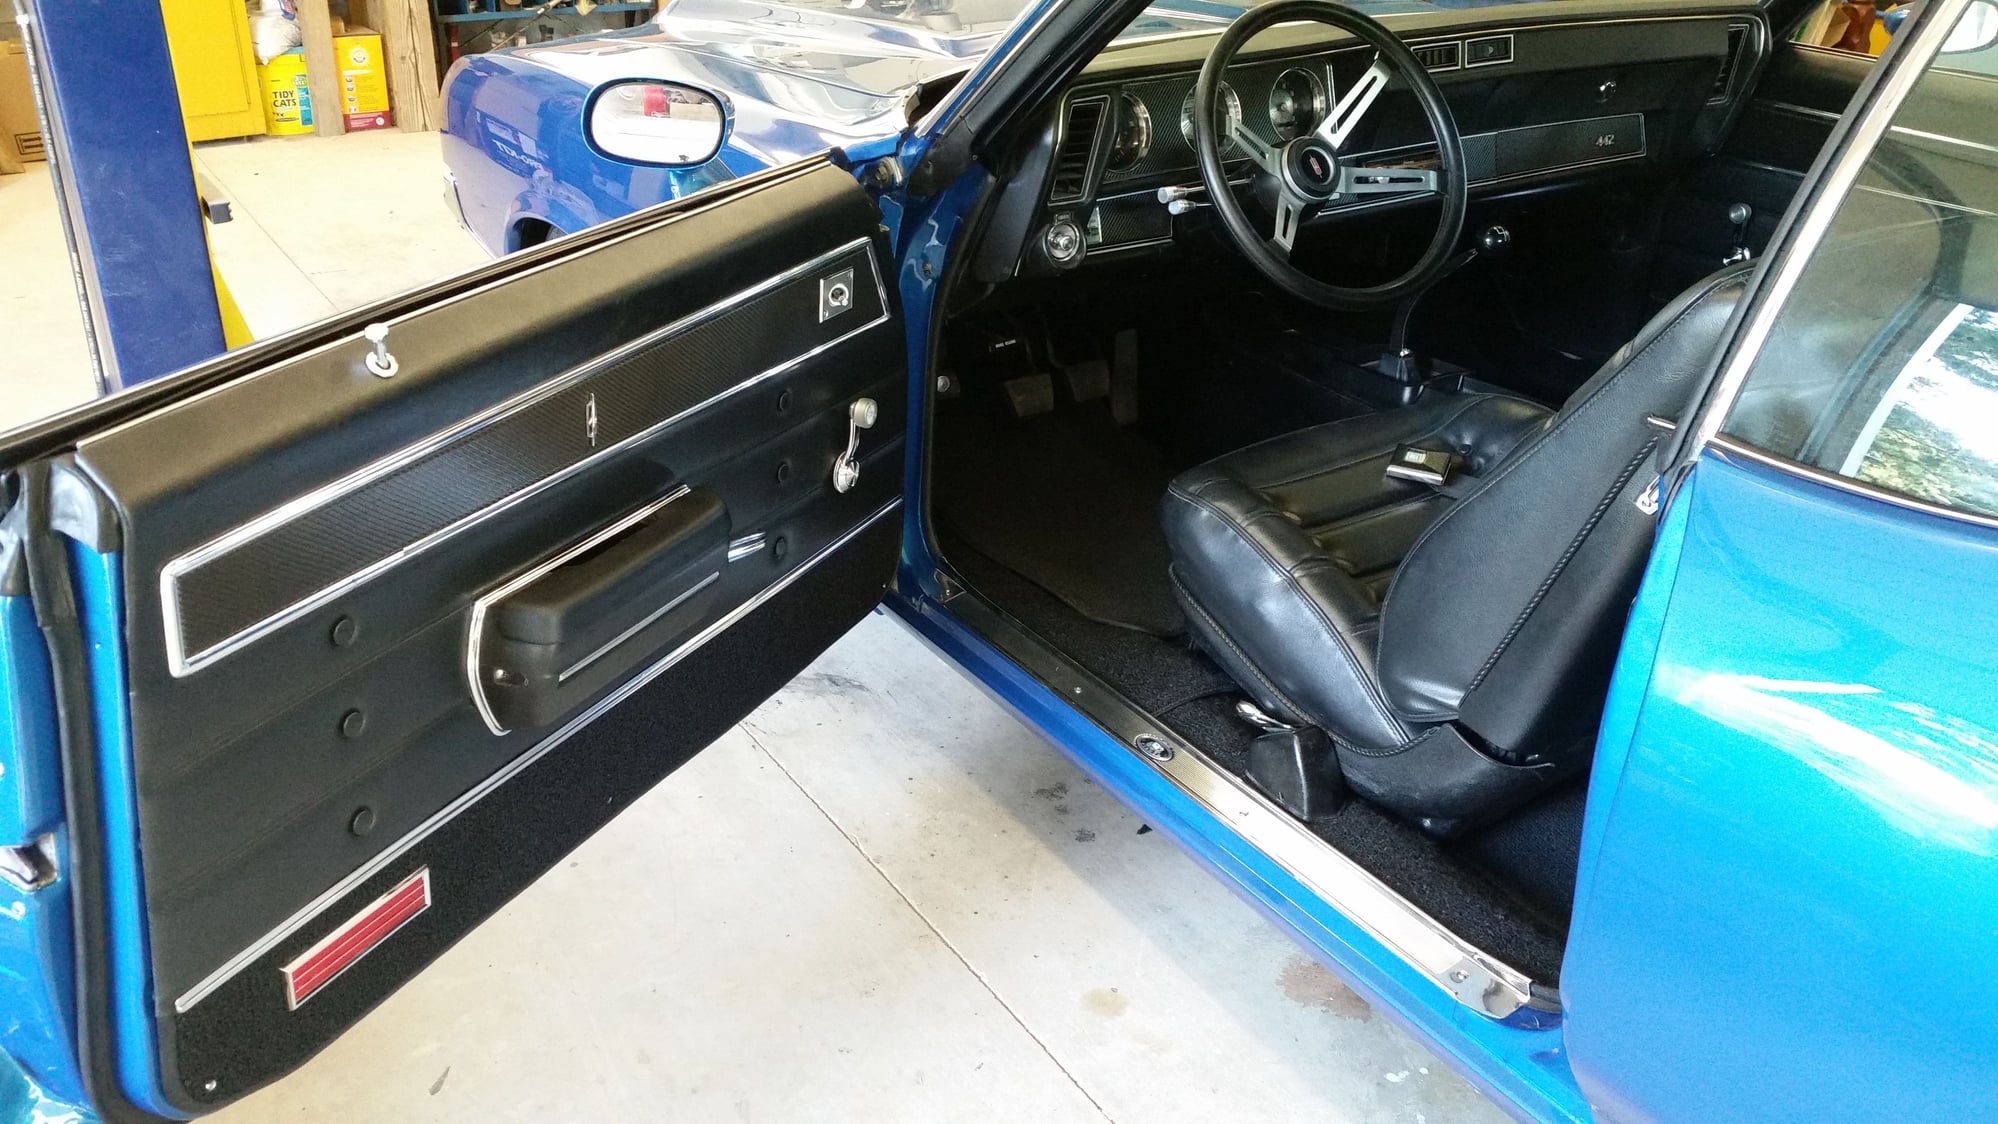
71" 442 rebuild
#1
71" 442 rebuild
Been working on my car for a couple of weeks and wanted to post some pics of the progress.... Still tons of work to be done. The goal is to get it completely stripped and in epoxy primer before it gets cold.
#4
Thanks Hawghead,,, I just finished building a house and shop last Nov. and installed my lift this summer. It's starting to come together.
Oldcutlass... I'm still unsure. I really like a somewhat lighter version of Viking blue with maybe a pearl white stipe or for some reason, I really like white. I have some friends who say white isn't a color, but my daily drivers are white and I've owned a few white cars in the past and just like it. I had a red 70' 442 before and know that color is the best for resale plus it get a lot of attention, but I want something different than red this time. Still haven't made up my mind...
Oldcutlass... I'm still unsure. I really like a somewhat lighter version of Viking blue with maybe a pearl white stipe or for some reason, I really like white. I have some friends who say white isn't a color, but my daily drivers are white and I've owned a few white cars in the past and just like it. I had a red 70' 442 before and know that color is the best for resale plus it get a lot of attention, but I want something different than red this time. Still haven't made up my mind...

#9
Been making a little progress... I pulled the tank to take a good look inside and I'm glad I did, a little rust and dirt inside. Looks like someone tried to coat the inside but didn't do a good job, so I have a new one on order. Pulled the rear out and control arms. I borrowed a friends press today and pushed the bushing out.. new ones on the way. The shocks were new, but I don't like them, so KYB's on order. New hard brake lines coming too. Ill most likely go with a W27 cover just for looks but haven't pulled the trigger yet. Went ahead and ordered 2 Thrush Welded chambered mufflers too. I know that's kinda ahead of myself, but the price was right and they only had 3, so I figured I better get them before its to late. Bought some black paint and supplies today too... Going tomorrow and bead blast the control arms and parts and get some new bolts and nuts.
Now for time/weather....
I'll post some pics when I get a new lap top.. this 9 year old Toshiba is so dang slow...
Now for time/weather....
I'll post some pics when I get a new lap top.. this 9 year old Toshiba is so dang slow...
Last edited by ioldsnut; March 27th, 2015 at 07:20 PM.
#10
A few pics of this weekends progress.... All new bushings, brake lines, fuel lines, shocks and fuel tank. I'll be ordering springs soon and also ordered parking brake cable kit.. Now it's time to move to the front but not this weekend,,, Off to Charlotte Motor Speedway to the Autofair for some parts hunting...
Last edited by ioldsnut; April 5th, 2015 at 10:01 AM.
#12
#16
A few pics of this weekends progress.... All new bushings, brake lines, fuel lines, shocks and fuel tank. I'll be ordering springs soon and also ordered parking brake cable kit.. Now it's time to move to the front but not this weekend,,, Off to Charlotte Motor Speedway to the Autofair for some parts hunting...
Your '71 442 is really coming along. I see from the rear axle cover you have an Olds rear, not the Buick rear that was installed at certain assembly plants. Someday I will have our '71 442 back on the road. It is also Viking blue with white stripes from the factory. The lighter Nordic blue is nice, but I prefer the deeper Viking blue, especially with white stripes.
#17
Your '71 442 is really coming along. I see from the rear axle cover you have an Olds rear, not the Buick rear that was installed at certain assembly plants. Someday I will have our '71 442 back on the road. It is also Viking blue with white stripes from the factory. The lighter Nordic blue is nice, but I prefer the deeper Viking blue, especially with white stripes.
Yeah,,, I really thought about white,,, but I think I'm going to go with a "more powerful" version of Viking Blue... But man that's along way away...
Took the" supposed to be rebuilt engine" to Classic Olds yesterday and we looked at a few things that were not going to work well... Cam..is a slug, new lifters,, 2 are bad, ect... oh well,,,, Glad we are looking in to it now before I installed it....
#21
A little progress on the Vintage Air install. I thought I would share a few pics...
First I removed all of the old heat system under the dash,, heater core, controls cables, ect. Then removed the blower motor and parts.
Broke the kit open and installed a plate for the hoses to pass thru the firewall where the old blower motor went. (Old trick, when pulling rubber hose thru a grommet, spray Windex on the hose and it will go thru the grommet easily, then will dry off.)
#22
Here are few pics of the kick panel mod. and with the hoses pushed thru. (again,, Windex is your friend here). Supplied are 2 plugs for the old vent cables for the kick panel. They were supposed to pop right in but the hole size was incorrect so I had to drill them 1/2" dia.
#23
They supplied 2 vent caps to be installed under the dash to block off the vents that used to connect to the side vents on the dash. They were supposed to snap in with supplied clips, but I found the clips were somewhat loose so I used silicone and the clips.
Also, I installed the defrost vents. They didn't supply or suggest any way to seal the vents to the upper dash, but I used some 3M dum dum and made a seal, then secured as per instructions.
Also, I installed the defrost vents. They didn't supply or suggest any way to seal the vents to the upper dash, but I used some 3M dum dum and made a seal, then secured as per instructions.
Last edited by ioldsnut; June 10th, 2015 at 01:26 PM.
#24
The dash vents were fun too... They supplied an adaptor to use on your factory vent housings with clips. Again, the adaptors didn't fit at all where the clips could be used so a little 200mph tape was used instead. They did send a center vent to replace the blank plate that was on my car. (Not popped in all the way in the pic). It's not exactly like the factory one, but I'm ok with that.
So far that is all I've done. Next is to install the evaporator, duct work and hoses. The compressor and other stuff will have to wait for it's turn. I'm not planning on installing the engine until the car is painted so that might be a while.
So far that is all I've done. Next is to install the evaporator, duct work and hoses. The compressor and other stuff will have to wait for it's turn. I'm not planning on installing the engine until the car is painted so that might be a while.
#25
Well... That could have gone better.... on the 3rd pull, still adjusting the carb., bam!.. Number 6 piston exploded!... Messed up the walls, rod, push rod, and valves.. That's just the stuff we can see. The engine builder is going to take a look and see what can be done. I may just buy another engine that's been rebuilt with the same cam as the one I was using and already been on the dyno. 391hp..May make a trade with Jim Michael for it...
Oh well... better on the dyno than in the car...
#27
Well... That could have gone better.... on the 3rd pull, still adjusting the carb., bam!.. Number 6 piston exploded!... Messed up the walls, rod, push rod, and valves.. That's just the stuff we can see. The engine builder is going to take a look and see what can be done. I may just buy another engine that's been rebuilt with the same cam as the one I was using and already been on the dyno. 391hp..May make a trade with Jim Michael for it...
Oh well... better on the dyno than in the car...
Oh well... better on the dyno than in the car...
Car turned out great I like the blue. Can you comment on the fr spoiler below the bumper I've heard over something like that but never seen one!
#28
Thanks much,, The spoiler I made myself from alum. then covered it in semi-gloss vinyl. I figured the vinyl would survive bugs better than paint. lol
I have about 1000 pics of the build but it takes so long to upload from my phone...
Thread
Thread Starter
Forum
Replies
Last Post
MDchanic
Wheels and Tires
22
August 4th, 2011 10:23 AM
81 regency
Parts For Sale
0
April 21st, 2011 06:18 PM


