


'67 Cutlass Tube Chassis


Thread Starter
Registered User
Joined: Apr 2010
Posts: 988
'67 Cutlass Tube Chassis
Hello my name is Dave, I'm new to this website. J-(Chicago) turned me on to you folks, he's a good guy. Met him at Byron last year & killed some brain cells together.
My project started over twenty five years ago. My engine has gone through various upgrades & improvements. It has .030 over 10.25:1 compression heavy TRW pistons, Cast crank, reworked steel rods, studs, straps, JM 25-28 cam, heavily ported C casting heads with heat risers filled, crossovers welded and Harland Sharp rockers with girdle. I have three intakes I will be testing - Offenhauser Portosonic, dual quad tunnel ram and an edelbrock Victor. This engine was originally put together as a beefy hot street/ strip combination that most likely will come in between 500-550 HP. That's really not that impressive. My goal is to set the record for fastest naturally aspirated Olds running cast iron heads. That puts me in the 9.50 1/4 mile time range. This engine isn't going to get that done. I will need closer to 700HP. More compression & lighter weight reciprocating assembly.
67convwjules.jpg
67comeshome011.jpg
67comeshome010.jpg
67ENGINE001.jpg
67ENGINEGEARDRIVE.jpg
380905-R1-050-23A_024.jpg
380905-R1-032-14A_015.jpg
380905-R1-024-10A_011.jpg
OldsAlston1-6-09006.jpg
OldsAlston1-6-09005.jpg
OldsAlston1-6-09004.jpg
OldsAlston1-6-09003.jpg
OldsAlston1-6-09001.jpg
OldsAlston2-6-09003.jpg
OldsAlston2-6-09002.jpg
OldsAlston2-6-09001.jpg
OldsAlston2-16-09004.jpg
OldsAlston2-16-09002.jpg
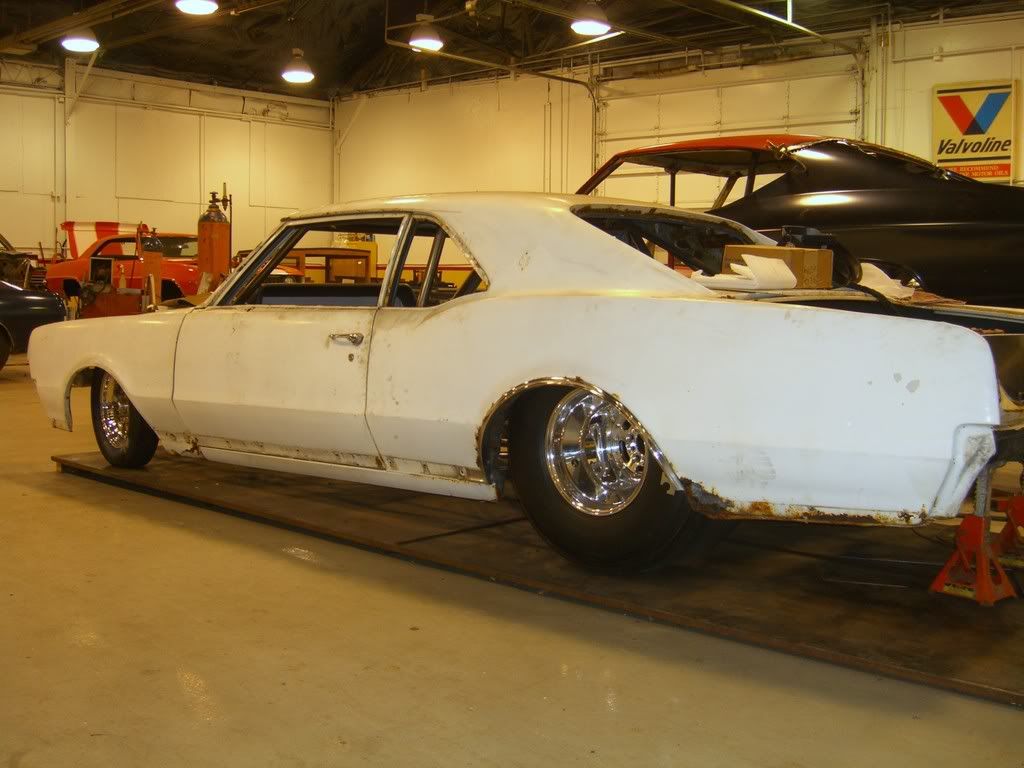
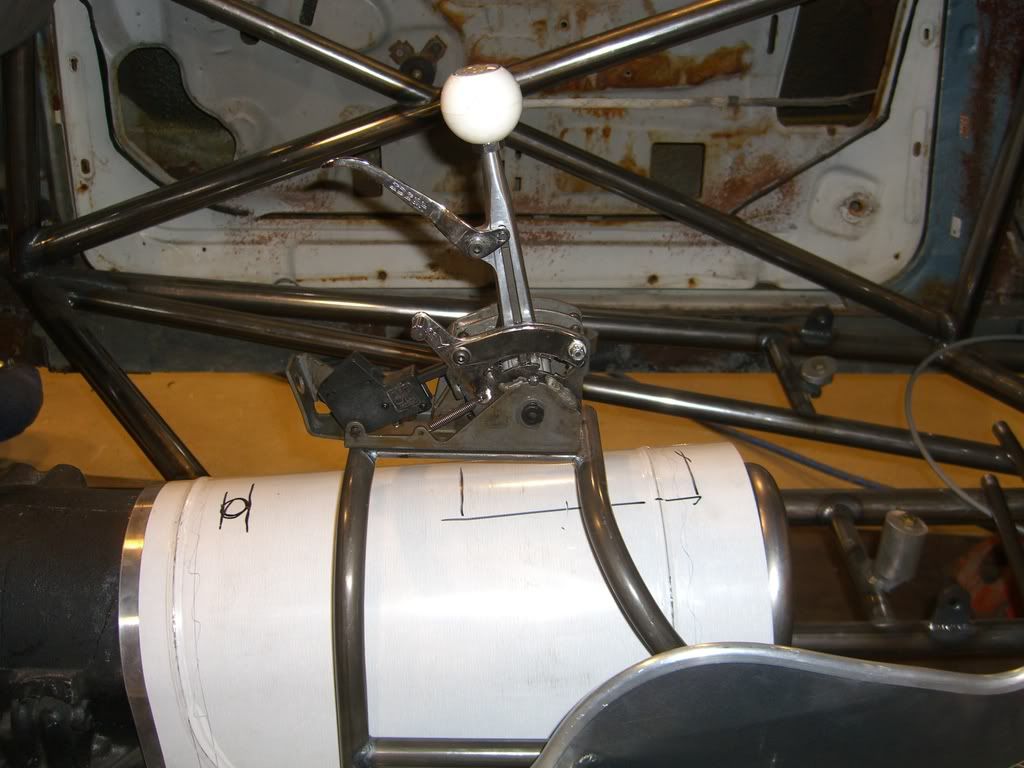
My car on the otherhand has been built to handle some major power. The chassis will certify @ 8.50. If I wanted to go 7.50 some head funny car type head restraints would be required. Alstons Racing from Antioch IL built the chassis. It took a little over a year. The car is at my friends shop in Wadsworth having body panels welded on. He is just about done then it will come home for assembly. Here are some photos of the build to date. I just heard the engine run for the first time on a running engine stand. You can imagine my pride. Hope I don't crash it or blow it up fist time out.
My project started over twenty five years ago. My engine has gone through various upgrades & improvements. It has .030 over 10.25:1 compression heavy TRW pistons, Cast crank, reworked steel rods, studs, straps, JM 25-28 cam, heavily ported C casting heads with heat risers filled, crossovers welded and Harland Sharp rockers with girdle. I have three intakes I will be testing - Offenhauser Portosonic, dual quad tunnel ram and an edelbrock Victor. This engine was originally put together as a beefy hot street/ strip combination that most likely will come in between 500-550 HP. That's really not that impressive. My goal is to set the record for fastest naturally aspirated Olds running cast iron heads. That puts me in the 9.50 1/4 mile time range. This engine isn't going to get that done. I will need closer to 700HP. More compression & lighter weight reciprocating assembly.
67convwjules.jpg
67comeshome011.jpg
67comeshome010.jpg
67ENGINE001.jpg
67ENGINEGEARDRIVE.jpg
380905-R1-050-23A_024.jpg
380905-R1-032-14A_015.jpg
380905-R1-024-10A_011.jpg
OldsAlston1-6-09006.jpg
OldsAlston1-6-09005.jpg
OldsAlston1-6-09004.jpg
OldsAlston1-6-09003.jpg
OldsAlston1-6-09001.jpg
OldsAlston2-6-09003.jpg
OldsAlston2-6-09002.jpg
OldsAlston2-6-09001.jpg
OldsAlston2-16-09004.jpg

OldsAlston2-16-09002.jpg

My car on the otherhand has been built to handle some major power. The chassis will certify @ 8.50. If I wanted to go 7.50 some head funny car type head restraints would be required. Alstons Racing from Antioch IL built the chassis. It took a little over a year. The car is at my friends shop in Wadsworth having body panels welded on. He is just about done then it will come home for assembly. Here are some photos of the build to date. I just heard the engine run for the first time on a running engine stand. You can imagine my pride. Hope I don't crash it or blow it up fist time out.
Last edited by 67 Cutlass Freak; Oct 19, 2013 at 09:07 PM. Reason: fixed photos


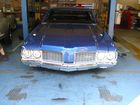
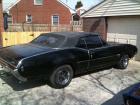
 I have watched the progress of it over on ROP welcome to the forum

Thread Starter
Registered User
Joined: Apr 2010
Posts: 988
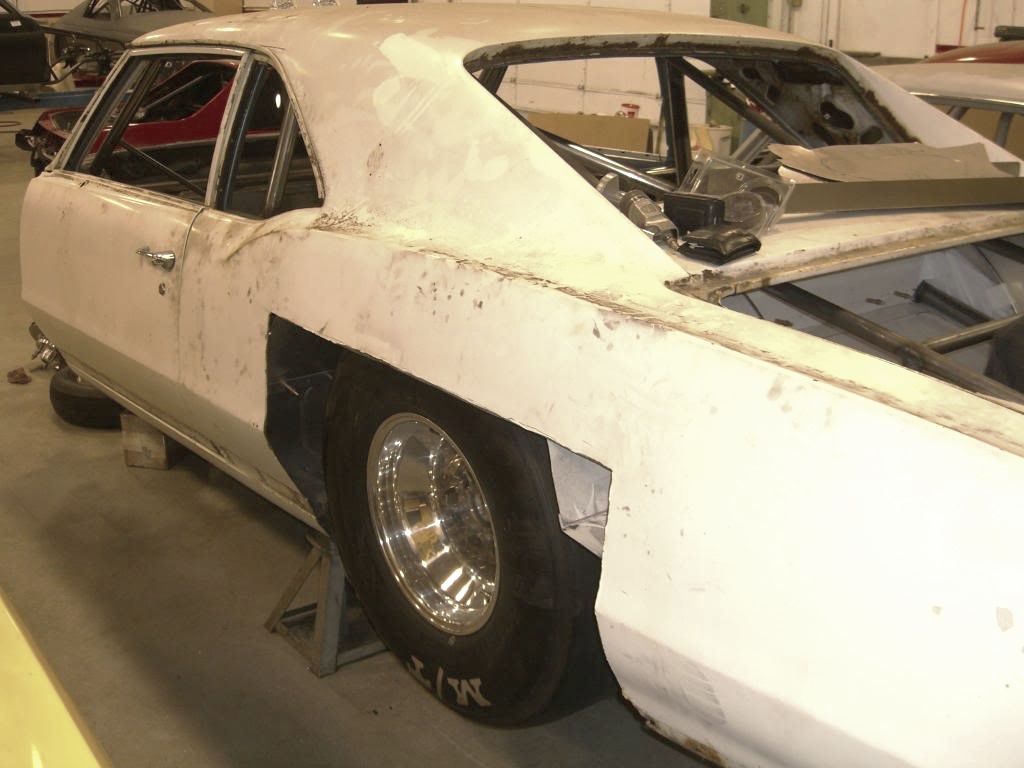
Hey thanks for all the kind words. I don't know what color I'm gonna go with. I was thinking a deep blue but suggestions are welcome. The roll cage is going to be purple & tins silver. For now it's going to be raced in primer to give it the rat-rod look. Here's some more shots.
rearendtin013.jpg
Easter09003.jpg
Headerconstruction006.jpg
Headerconstruction005.jpg
Oldstinwork012.jpg
Oldstinwork011.jpg
rearendtin013.jpg
Easter09003.jpg
Headerconstruction006.jpg
Headerconstruction005.jpg
Oldstinwork012.jpg
Oldstinwork011.jpg

Last edited by 67 Cutlass Freak; Oct 19, 2013 at 10:12 PM. Reason: photo


Thread Starter
Registered User
Joined: Apr 2010
Posts: 988
Update
I spent about six hours today porting the top of my recently acquired Victor manifold. Tomorrow I'm gonna light a fire under my friends a$$ to get my car home. I already told him that I wanted to take delivery by the end of this month, but he had other vehicles in his shop that took priority over mine. My friend Kieth is super meticulous. I swear he's probably speant twenty hours smoothing the doors. From the start of when my car was delivered to his shop we had a clear agenda of what he was to accomplish on the car. He was instructed to dissasemble then media blast the chassis. Then I primered everything. Next was to weld in rear quarter patch panels & reassemble. The quarters have been done for two months now so now he's sanding, smoothing, filling and racking up hours. I'm really not concerned with all the body work & trim right now. I just want to get this thing out to the track. I don't care how it looks really. I thought about pearl white but I think it would be a bitch to keep clean or match if I ever have to. The rear diff is a spactacular purple powder coat. I really love that color but Joe Mondello's VO twister is purple. I have to be different. That's why I built an Olds. No cookie cutter Chebby here. My local track is Great Lakes Dragaway Union Grove Wi. It's ten minutes away for me. I will let everyone know when I'm gonna head out to pop this beaters cherry. I'll snap off some shots of the car tomorrow. Here's some other shots.
Oldstinwork006-1.jpg
Oldstinwork005-1.jpg
069.jpg
068.jpg
067.jpg
R1-15A.jpg
R1-16A.jpg
R1-12A.jpg
R1-11A.jpg
R1-10A.jpg
R1-9A.jpg
R1-1A.jpg
R1-2A.jpg
R1-3A.jpg
R1-5A.jpg
R1-6A.jpg
CIMG3326.jpg
Oldstinwork006-1.jpg
Oldstinwork005-1.jpg
069.jpg
068.jpg
067.jpg
R1-15A.jpg
R1-16A.jpg
R1-12A.jpg
R1-11A.jpg
R1-10A.jpg
R1-9A.jpg
R1-1A.jpg
R1-2A.jpg
R1-3A.jpg
R1-5A.jpg
R1-6A.jpg
CIMG3326.jpg
Last edited by 67 Cutlass Freak; Oct 20, 2013 at 09:33 AM. Reason: photo

Thread Starter
Registered User
Joined: Apr 2010
Posts: 988
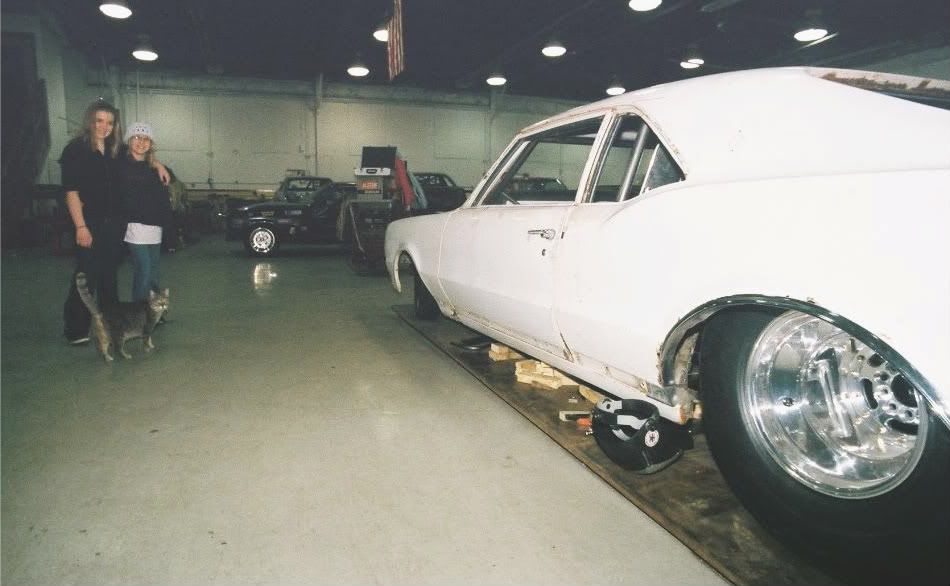
I agree, the dark grey metal flake would be sharp. Very subtle, not flashy. I like that idea. Tried to lite a fire today but I don't think that it's coming home as soon as I wanted
105-0587_IMG.jpg
CIMG3487.jpg
Oldstinwork009-1.jpg
67Cutlasscomeshome027.jpg

105-0587_IMG.jpg
CIMG3487.jpg
Oldstinwork009-1.jpg
67Cutlasscomeshome027.jpg
Last edited by 67 Cutlass Freak; Oct 20, 2013 at 09:36 AM.
Thread Starter
Registered User
Joined: Apr 2010
Posts: 988
I'm guessing first time out this car will break into the elevens. I know it's gonna take some dialing in & experience but I think after one season of racing 10.50 is what I expect. I went here to plug in some numbers -
http://www.richmondgear.com/dragcalculators.html
Drag Performance Calculator
Please fill in items in the left column and click "Calculate Performance".
Vehicle Weight (in pounds): Vehicle Horsepower: RPM through lights (finish line): Tire Diameter (Height) in Inches: 1/4 Mile ET:1/4 Mile Top End Speed:Ideal 1/4 Mile Gear Ratio:1/8 Mile ET:
http://www.richmondgear.com/dragcalculators.html
Drag Performance Calculator
Please fill in items in the left column and click "Calculate Performance".
Vehicle Weight (in pounds): Vehicle Horsepower: RPM through lights (finish line): Tire Diameter (Height) in Inches: 1/4 Mile ET:1/4 Mile Top End Speed:Ideal 1/4 Mile Gear Ratio:1/8 Mile ET:
Thread Starter
Registered User
Joined: Apr 2010
Posts: 988
It’s been a long time since I’ve posted any progress on my project, mostly because there was none. If you are unfamiliar with my car you can go here to see the build from it’s earliest stages- http://72.22.90.30/phpBB2/viewtopic....ght=long+story
I am sharing my story on a few different boards so don’t get upset with me. I’m not a ***** for attention. Just thought some might like to see this car coming together. The car sat at my buddies shop all summer without any work being done. I finally decided to grab the bull by the horns and dive in myself. I loaded the car a week ago Thursday and brought it home. I started working on it immediately. It was very overwhelming to me what needed to be done. I really didn’t know where to start. I welded in some patch pieces then started filling & smoothing. I’m not a body man so it was slow going. I switched gears and removed the rear diff & all front suspension components. I sanded the entire chassis that was in primer. There was a ton of red overspray on everything from a Jeep my friend squirted. He should have covered my ride. What a mess. Hours of cleaning with lacquer thinner. I pulled an all nighter Monday after squirting the chassis. I tried to go to sleep at about 2:30 but couldn’t. I think the fumes had my heart pumping. It was hard making it through the day at work on Tuesday. I’m no spring chicken. When I took a close look at everything it was obvious I missed some areas. I gave it a second coat on Wednesday night. I have Thursdays off, so I put the front end back together and primered most of the tins. What a jig saw puzzle. Wish I took it apart so I knew where they all go. My girls helped me mask off the chassis so hopefully I can paint the floor and all the other interior pieces on Sunday. I really want to start bolting stuff together and hear this bad boy run.
R1-03921-011A.jpg
67Cutlasscomeshome001.jpg
67Cutlasscomeshome002.jpg
67Cutlasscomeshome005.jpg
67Cutlasscomeshome003.jpg
67Cutlasscomeshome008.jpg
67Cutlasscomeshome015.jpg
67Cutlasscomeshome014.jpg
67Cutlasscomeshome013.jpg
67Cutlasscomeshome011.jpg
67Cutlasscomeshome016.jpg
67Cutlasscomeshome017.jpg
67Cutlasscomeshome018.jpg
67Cutlasscomeshome019.jpg
67Cutlasscomeshome023.jpg
67Cutlasscomeshome022.jpg
67Cutlasscomeshome020.jpg
67Cutlasscomeshome024.jpg
67Cutlasscomeshome026.jpg
67Cutlasscomeshome027.jpg
Let the fun begin. If anyone local wants to stop by and BS or start wrenchin PM me. I'll supply the beer, tunes & some heat- LOL
I am sharing my story on a few different boards so don’t get upset with me. I’m not a ***** for attention. Just thought some might like to see this car coming together. The car sat at my buddies shop all summer without any work being done. I finally decided to grab the bull by the horns and dive in myself. I loaded the car a week ago Thursday and brought it home. I started working on it immediately. It was very overwhelming to me what needed to be done. I really didn’t know where to start. I welded in some patch pieces then started filling & smoothing. I’m not a body man so it was slow going. I switched gears and removed the rear diff & all front suspension components. I sanded the entire chassis that was in primer. There was a ton of red overspray on everything from a Jeep my friend squirted. He should have covered my ride. What a mess. Hours of cleaning with lacquer thinner. I pulled an all nighter Monday after squirting the chassis. I tried to go to sleep at about 2:30 but couldn’t. I think the fumes had my heart pumping. It was hard making it through the day at work on Tuesday. I’m no spring chicken. When I took a close look at everything it was obvious I missed some areas. I gave it a second coat on Wednesday night. I have Thursdays off, so I put the front end back together and primered most of the tins. What a jig saw puzzle. Wish I took it apart so I knew where they all go. My girls helped me mask off the chassis so hopefully I can paint the floor and all the other interior pieces on Sunday. I really want to start bolting stuff together and hear this bad boy run.
R1-03921-011A.jpg
67Cutlasscomeshome001.jpg
67Cutlasscomeshome002.jpg
67Cutlasscomeshome005.jpg
67Cutlasscomeshome003.jpg
67Cutlasscomeshome008.jpg
67Cutlasscomeshome015.jpg
67Cutlasscomeshome014.jpg
67Cutlasscomeshome013.jpg
67Cutlasscomeshome011.jpg
67Cutlasscomeshome016.jpg
67Cutlasscomeshome017.jpg
67Cutlasscomeshome018.jpg
67Cutlasscomeshome019.jpg
67Cutlasscomeshome023.jpg
67Cutlasscomeshome022.jpg
67Cutlasscomeshome020.jpg
67Cutlasscomeshome024.jpg
67Cutlasscomeshome026.jpg
67Cutlasscomeshome027.jpg
Let the fun begin. If anyone local wants to stop by and BS or start wrenchin PM me. I'll supply the beer, tunes & some heat- LOL
Registered User
Joined: Sep 2010
Posts: 89
From: West Long Branch, NJ 07764
I love this build!!! Gotta see her run in person!!!
67Racecar017.jpg
67Racecar010.jpg
67Racecar004.jpg
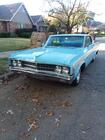
Here is a couple of pictures I had to share w/ you! Big projects sometimes need a motivation picture! Helps me to focus on what I wanna accomplish!
PS- Notice the wholes for the OAI Ducts and the RED Fender Wells!!!
67Racecar017.jpg
67Racecar010.jpg
67Racecar004.jpg
Here is a couple of pictures I had to share w/ you! Big projects sometimes need a motivation picture! Helps me to focus on what I wanna accomplish!
PS- Notice the wholes for the OAI Ducts and the RED Fender Wells!!!

Thread Starter
Registered User
Joined: Apr 2010
Posts: 988
67442nutFantastic job!
Craftsmanship looks top notch!
Love the purple and the "predator" stance!
Wish you had cut up something instead of a '67 factory air post coupe, though.
Craftsmanship looks top notch!
Love the purple and the "predator" stance!
Wish you had cut up something instead of a '67 factory air post coupe, though.
Last edited by 67 Cutlass Freak; Nov 5, 2010 at 10:08 PM.
Texas Jim
Joined: Aug 2009
Posts: 437
From: Killeen, Texas
Amazing how ALL the old stuff, from EVERY American mfg. was made of good hard metal, and didn't wear or come apart. My Ford 223ci 6cyl. still has the standard bore and bearings, didn't need boring or the crank turned when I rebuilt it in '90 summer. Also has the original cam and lifters w/ not even a pattern in them from all the years of wear. When I pushed the pistons out of the bores f/ the rebuilding, the biggest piece of ring was about an inch long, came out sounding like; ding, ping, ling, etc. on the deck and onto the table the block was on. LOL! Four of the pistons had little holes in them, in the ring lands, and the engine smoked, but started right up on the coldest day of the winter and never left me on the side of the road. I still have 2 of the original six pistons in it and it still runs great. Swapped it out f/ the 455 Olds, but will never get rid of that 223 just because it's one of the hard-rock American pieces of engineering. I like the hi-tech engineering of today, but wish it was incorporated w/ the hard-rock never-wear-out materials of the past. That tube frame and the way the car sits is too cool. I love the big old American stuff set up to go like hell. And the "door-slammers" IMO are what's happening. Maybe I'm old-fashioned, but that's just me.
Last edited by Texas Jim; Nov 4, 2010 at 10:15 AM.
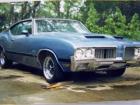
Thread Starter
Registered User
Joined: Apr 2010
Posts: 988
It’s official. I hate body work. I don’t know how those guys do it, day in and out, breathing all that crap. The only good part about sanding is that it leaves one hand free to hold your beer. I sprayed all the tins silver, and it didn’t go too well. The paint was somewhat translucent and didn’t cover too well. I had to go back and re-primer everything else that had purple overspray on it because the silver would not cover it. My good Devilbiss gun wouldn’t work worth a sh*t to pass the primer, so I bought a junk $39.95 siphon feed gun & it worked great. I guess the nozzle on my $225 gun was too tight to pass the primer through. I sprayed the rest tonight, the ceiling, floor& firewall. I can’t wait ‘til this BS body work is done. I really want to put this junk together. Tomorrow I’m gonna fabricate some rear fender end pieces & weld them in. I’ve got to buy more primer. That last gallon went too fast. So far I’ve spent close to $1000 in paint materials and I haven’t even bought anything for the exterior. Next week I want to bolt in the engine and trans. Then I have to start plumbing, and wiring everything. I also have to rivet the tins back in. I know this sounds stupid, but I wish I knew where they all went. I didn’t take it apart so it’s like a big puzzle to me. I’ve been reading up on NHRA rules pertaining to fuel lines & electrical but it’s still a little unclear to me on the best routing for everything. I really wish my engine was worthy of this chassis. When I first started putting it together I had in mind a strong street -strip combo with 500 or so HP. I’m still gonna have fun with it but I know in the long run I’m going to want something a little more potent. I really think people are going to laugh at me for doing eleven or twelve second quarter mile times with a car that’s been built to this degree. Frankly, I don’t care. Screw them. I’m going have fun no matter what. As long as I own this car it will never have anything but an Olds motor in it. These photos are kind of boring but I thought I would show my progress anyhow. Maybe I should have let the haze settle before snapping them off. Jeromy you have got to swing up and have a beer with me. You need some R&R out of the city. We should throw a sick *** paint job on your beater.
108-0807_IMG.jpg
108-0809_IMG.jpg
108-0810_IMG.jpg
108-0811_IMG.jpg
108-0812_IMG.jpg
108-0813_IMG.jpg
108-0814_IMG.jpg
bw2.jpg
BW.jpg
108-0807_IMG.jpg
108-0809_IMG.jpg
108-0810_IMG.jpg
108-0811_IMG.jpg
108-0812_IMG.jpg
108-0813_IMG.jpg
108-0814_IMG.jpg
bw2.jpg
BW.jpg
Thread Starter
Registered User
Joined: Apr 2010
Posts: 988
I know this isn't very Hardcore but I didn't feel like starting another post in the body work section. I'm gonna keep showing my progress here until this thing hits the track. Soon the body work is done for me. Then comes the cool stuff. My wife says I've been spending an "ungodly" amount of time on my car. What does that mean? I'm sure God wants to see this car done too. Here' some shots of the front cap part of the rear wheel opening I fabbed tonight.
120.jpg
121.jpg
122.jpg
123.jpg
124.jpg
125.jpg
128.jpg
129-1.jpg
133.jpg
134.jpg
120.jpg
121.jpg
122.jpg
123.jpg
124.jpg
125.jpg
128.jpg
129-1.jpg
133.jpg
134.jpg
Thread Starter
Registered User
Joined: Apr 2010
Posts: 988
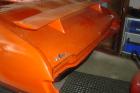
Well it took even longer to remove all the tape than to put it on. What a PITA. I bolted the rear end back in to make sure that I wasn’t going to have any rubbing issues with the wheel opening end pieces I fabricated. The silver looked pretty good after the second coat. My daughter Donelle helped me with the tape. She enjoys picking at things with her nails. I need to touch up some of the purple that pealed off with the tape. No big deal. I took some time last night just to organize and locate all the parts that I have to bolt on. I got out the converter, trans , engine, flywheel, midplate and transmission shield. It looks like I’m going to have to trim a portion off the bell housing to make the shield fit. The shield also came with twelve point hardened bolts but I don’t think I’m going to use them. Does anyone here use blue lock-tite on their bell housing bolts? I’m planning on bolting in the engine and trans on Thursday. Then I’m probably going to work on some of the tins.
108-0822_IMG.jpg
108-0824_IMG.jpg
108-0826_IMG.jpg
108-0825_IMG.jpg
108-0828_IMG.jpg
108-0829_IMG.jpg
108-0831_IMG.jpg
108-0817_IMG.jpg
108-0818_IMG.jpg
108-0819_IMG.jpg
108-0820_IMG.jpg
108-0821_IMG.jpg
108-0830_IMG.jpg
108-0822_IMG.jpg
108-0824_IMG.jpg
108-0826_IMG.jpg
108-0825_IMG.jpg
108-0828_IMG.jpg
108-0829_IMG.jpg
108-0831_IMG.jpg
108-0817_IMG.jpg
108-0818_IMG.jpg
108-0819_IMG.jpg
108-0820_IMG.jpg
108-0821_IMG.jpg
108-0830_IMG.jpg
Kjr442
Joined: Dec 2009
Posts: 1,817
From: Texas
primer
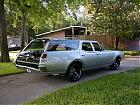
Thank you, that will help, but can you paint some fake rust spots on it too? You know, you're yearly pic's prove the saying that wheels make a car.
You know, you're yearly pic's prove the saying that wheels make a car.
Thread Starter
Registered User
Joined: Apr 2010
Posts: 988
Progress seemed slow today. I started by touching up some of the tubes that the paint peeled off of. I finished the rear wheel opening back fender reinforcements. I mounted the tachometer & shift light. I wanted to set the dash in place so I could lay out the cluster’s gauges. I had to make sure they were all going to fit & not be hidden by the steering wheel. I had to trim both sides of the bell housing for the shield to fit. I got the engine and trans bolted together, then set in place. I squared everything up and then started to drill the holes in the front engine plate to bolt it down. That’s when the battery went dead in my cordless drill & I found a new beer coaster. I didn’t get to any of the tins, and I’m done for the day. Now I have to go take care of my sick family. They’re all puking.
108-0832_IMG.jpg
108-0833_IMG.jpg
108-0835_IMG.jpg
108-0834_IMG.jpg
108-0837_IMG.jpg
108-0836_IMG.jpg
108-0838_IMG.jpg
108-0832_IMG.jpg
108-0833_IMG.jpg
108-0835_IMG.jpg
108-0834_IMG.jpg
108-0837_IMG.jpg
108-0836_IMG.jpg
108-0838_IMG.jpg
Thread Starter
Registered User
Joined: Apr 2010
Posts: 988
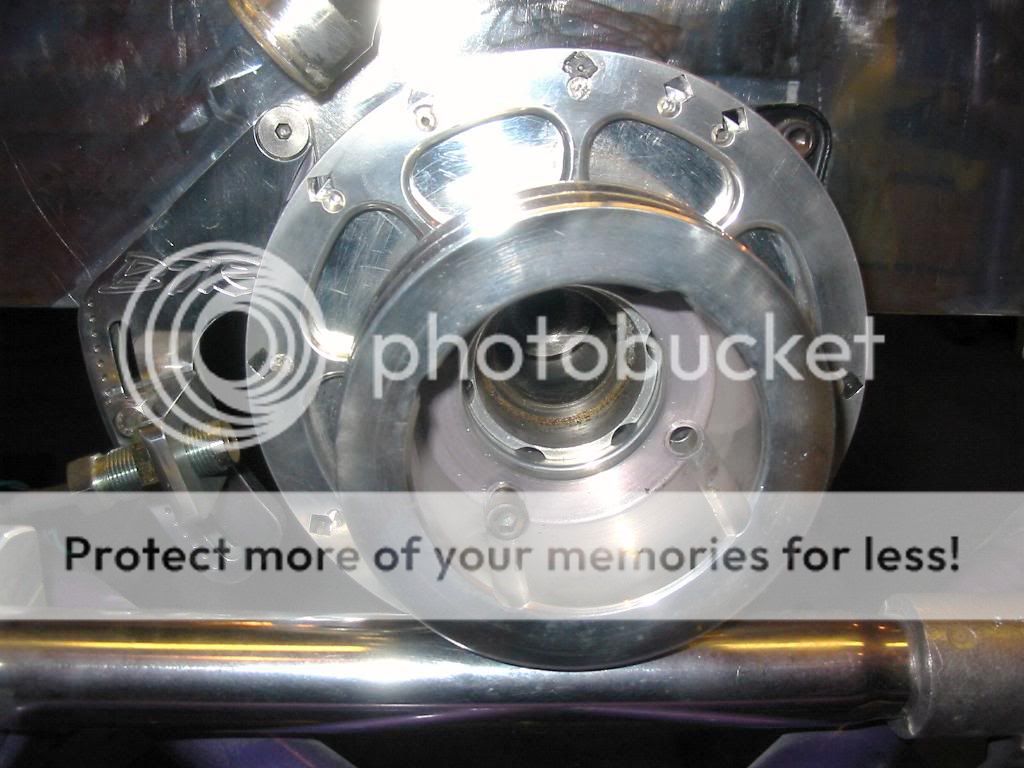
I worked on installing the crank sensor tonight. This balancer is a bitch to remove even with the right tools. Bill does real nice work. I just set the damper back on for a couple photos. I’m going to get a different pointer before I pull it back on. I need to come up with a bracket for my mini alternator. I finished drilling the front and midplate tonight also. Lastly I started mocking up the gauges. They are a tight fit with that tube right behind. Nothing is wired yet. My dash pad had some cracks in it after it was at the chassis shop. I tried to fill them with RTV and rough it back up. Now it really looks like do do.
108-0840_IMG.jpg
108-0841_IMG.jpg
108-0840_IMG.jpg
108-0841_IMG.jpg


