When you click on links to various merchants on this site and make a purchase, this can result in this site earning a commission. Affiliate programs and affiliations include, but are not limited to, the eBay Partner Network.
Just about everything has been sand-blasted now, and the frame has already been powder coated.
Currently the goal is getting any black parts blasted and ready so I can drop a huge load off at the powder coaters to be done all at once. Once I have the components back I will begin on getting the chasis rolling.
I snapped a few photos of the frame - absolutely amazing job. It almost looks like it was body worked with filler and blocked then painted!
This area was pretty rough before with some divets and spotting. Now its completely smooth and flawless. It's really impressive the work that the powder coaters did.
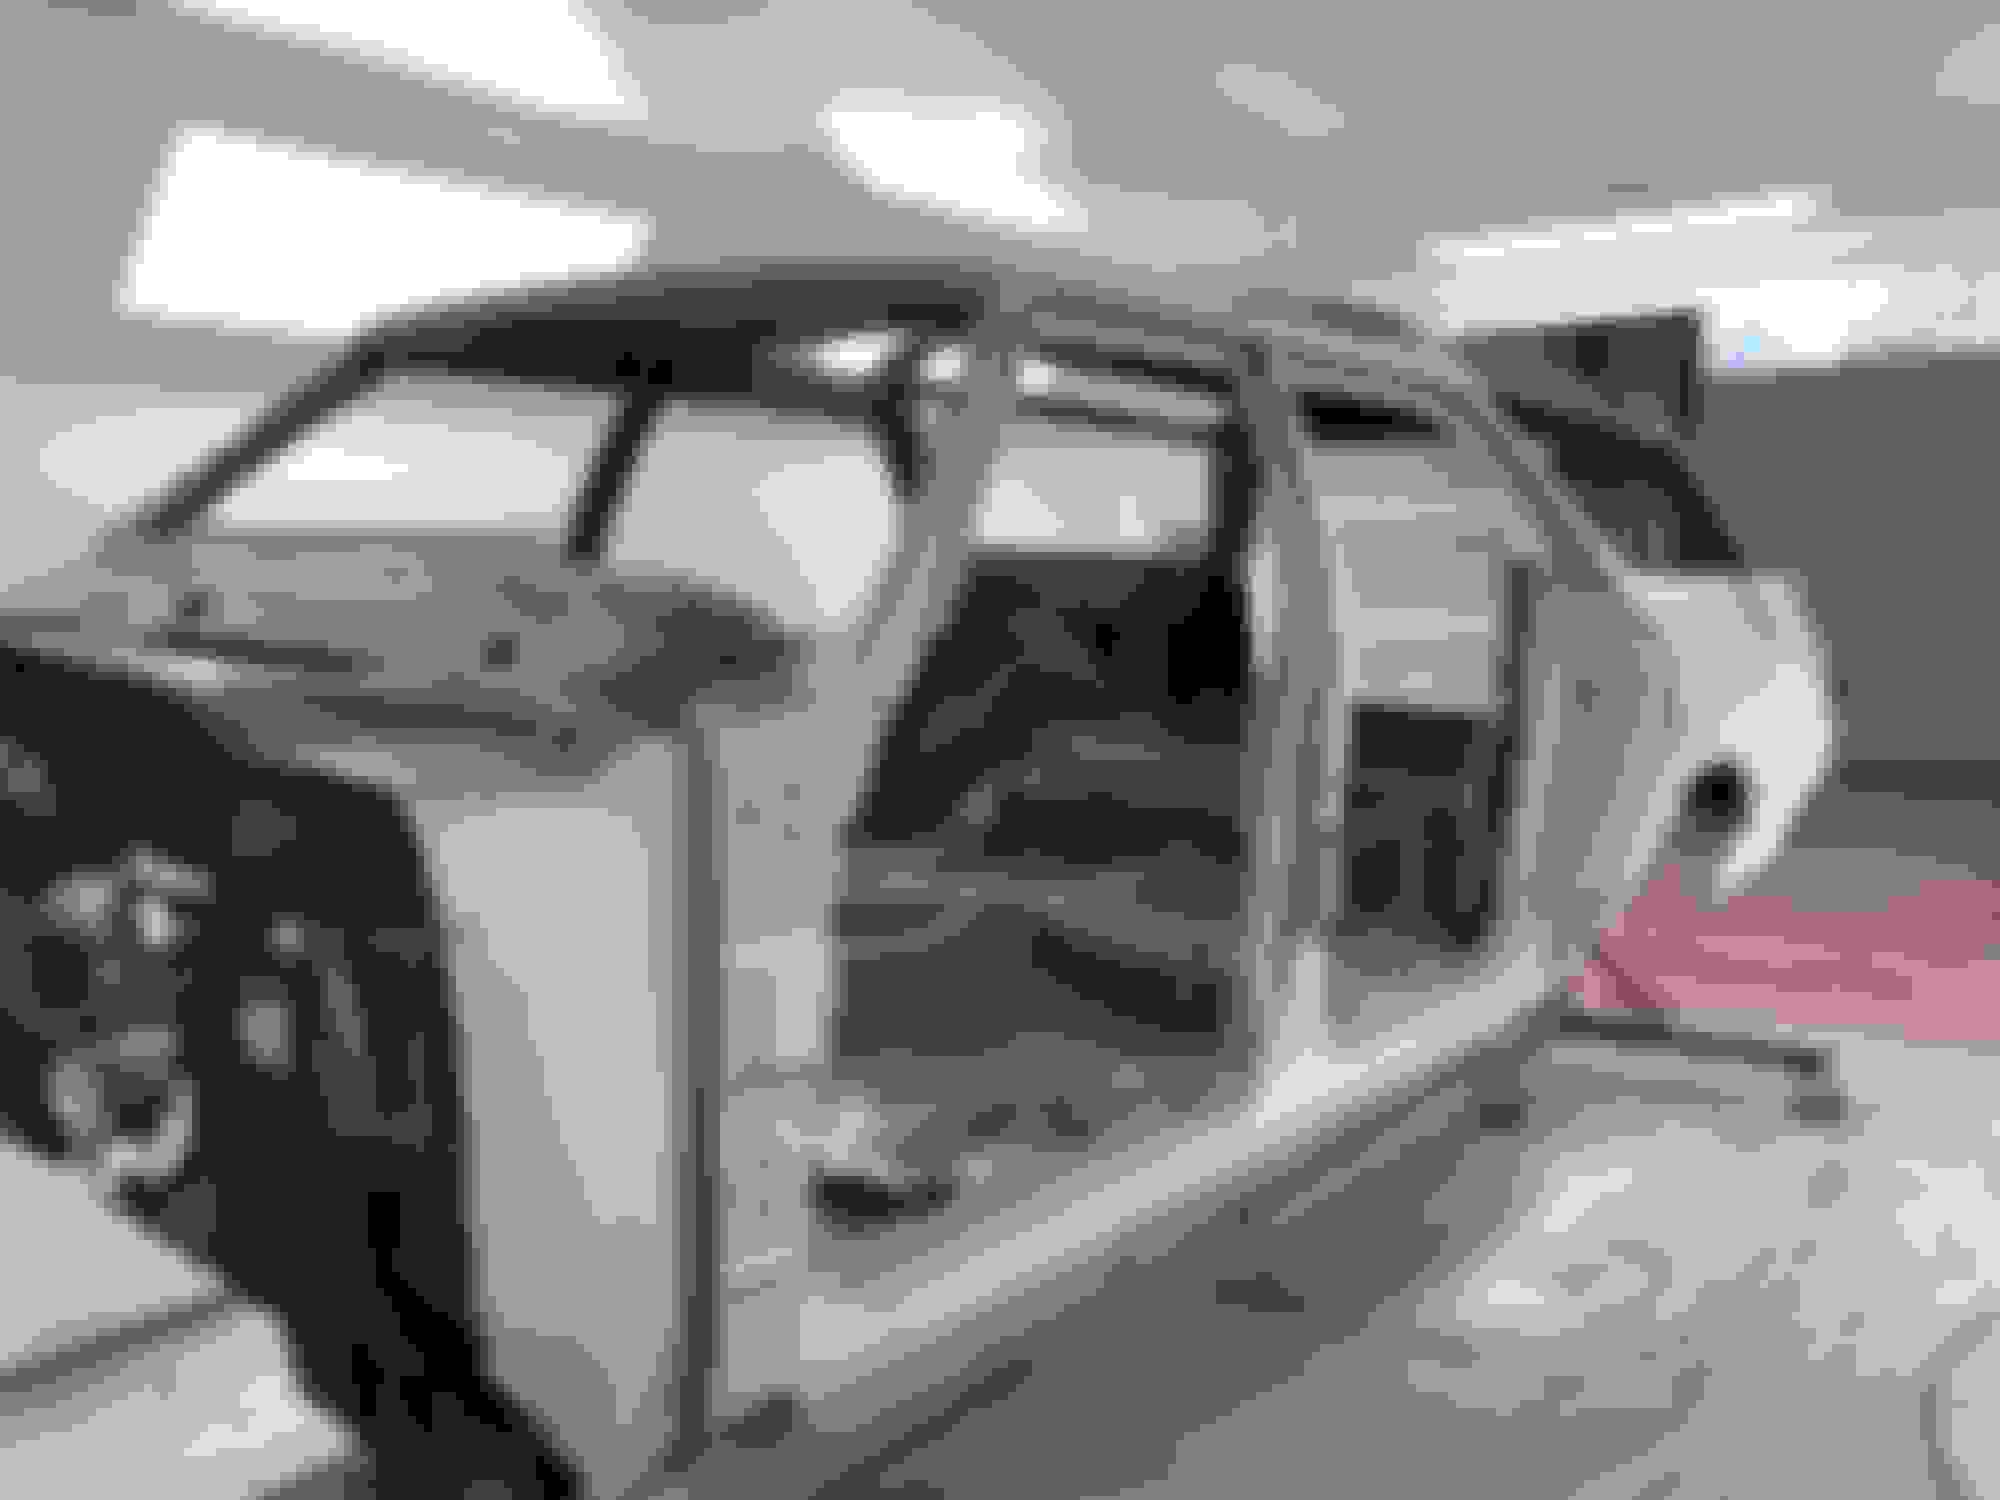
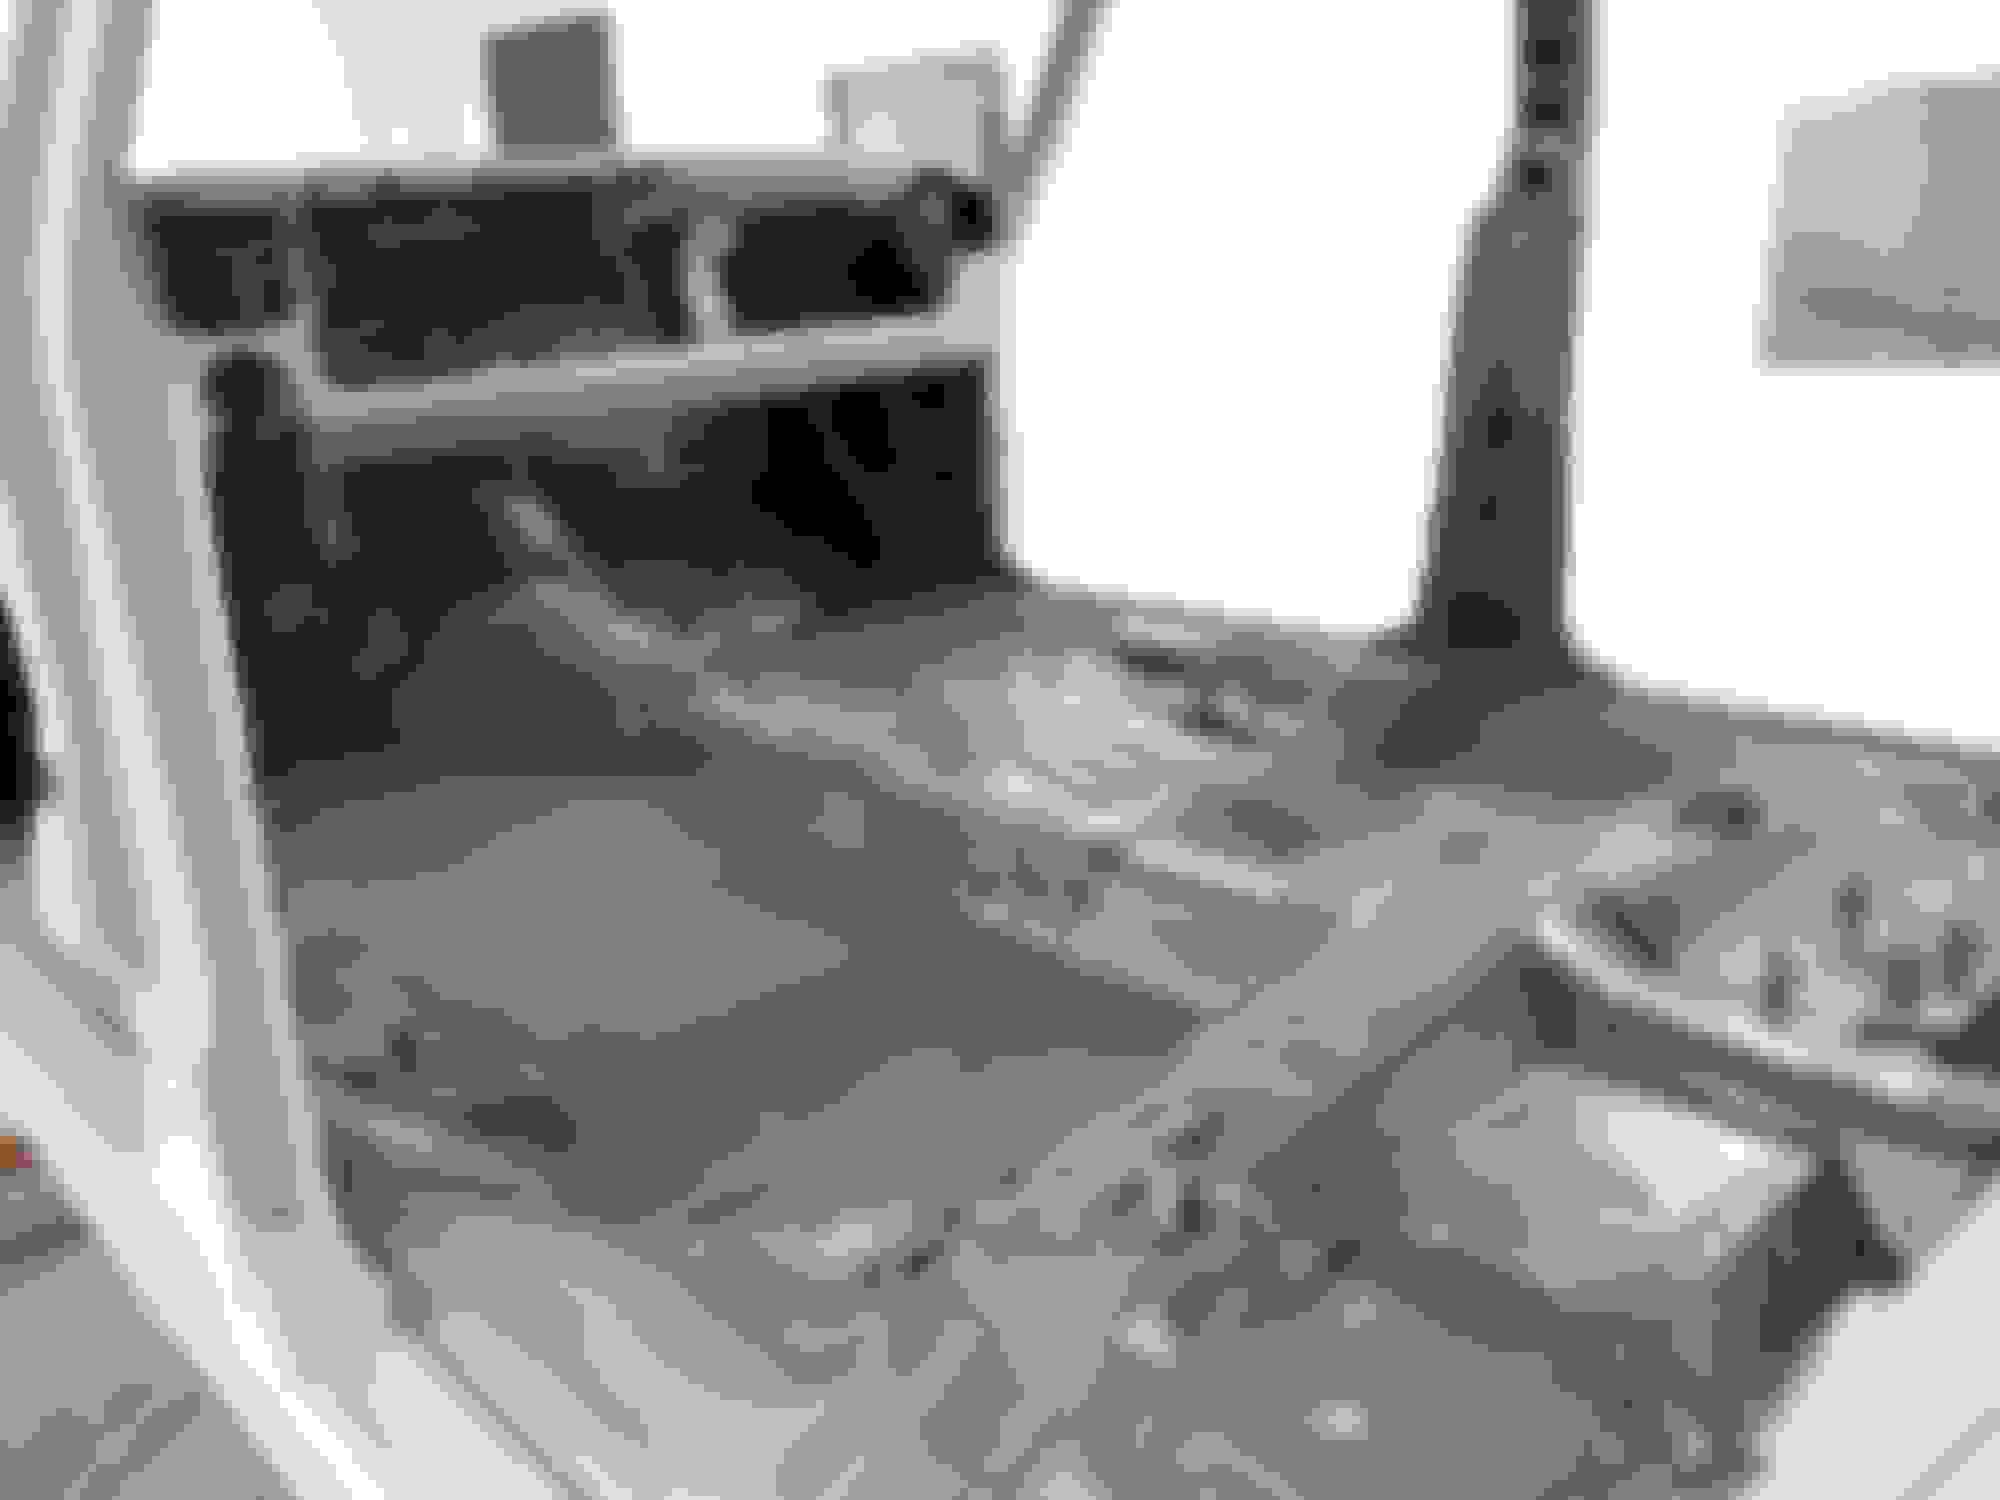
With the body blasted the true extent of the rust can be seen. A few weird spots were revealed. It seems like there was a bad window replacement at one point as the top of the dash was rotten!?
I also noticed that the previous owner had punched drain holes in spots all along the floor - which really wasn't necessary. Luckily this must have been recently as these holes didn't rust at all.
Rust repair along the rear windows has already begun. I should note that I am not responsible for any of the rust repair. Hell, if you put a gun to my head and told me to weld two pieces of metal together, I'd tell you to pull the trigger. The body man doing all the work is very talented and detail oriented, he's also been around long enough to know how the car was welded together from the factory and can replicate original style work. For the rear window area he has been busy fixing the rust as well as massaging the body in that area to fit the trim pieces perfectly.
The fenders had the typical Olds rust, which was dealt with quickly.
There was also a serious gash on the floor behind the passenger side of the front seat. I have no idea what cause it but it is an actual wound. Someone must have run over something sharp. Some person patched it from the inside of the car (good welding on the patch, but a patch job non-the less). It will have to get cleaned up and fixed properly.
I'll have to grab some more photos of the body, another intersting area is right above the exhaust, on the rear driver's side wheel well is very swiss cheesed. Not terribly difficult of a fix, but it's not consistent with the other rust on the car. Who knows how that happened!
I just found this thread. Congratulations on a very cool car and a great project. Two tone paint was pretty uncommon by 1970 so the color combo is very unique. Once upon a time I had one with the same bottom color but with a white painted top. Same interior. That green must have been just about the single most popular VC color in those years. I can't even count how many I have seen over the years.
You may have already thought of this but I would lay all my parts out that I am taking to the powder coater and take some good clear pictures and when you get everything back compare it to your picture to make sure everything is accounted for. I have heard many stories of stuff going missing.
Great work! I think I have put my Vista back on the back burner again as mine is pretty bad. About your windshield/dash rust thru, I know mine is really bad. We got caught in a heavy rain and large bubbles were actually blowing out into the car! I think that metal is pretty thin, isn't it? I think they make repair panels. Can you talk your bodyman to come over to Michigan to help me??
I think that metal is pretty thin, isn't it? I think they make repair panels. Can you talk your bodyman to come over to Michigan to help me??
The metal is pretty thin in those areas, and I suspect a poor windshield replacement job was to blame too! As far as bodymen go, I'm not sharing! He's too busy with my car!
Rust repairs are going steady, current estimate is 2 weeks until ready for primer.
I've been keeping busy with little jobs: removing the sound deadener from the roof pannels, blasting parts, hunting for parts (religiously checking the for sale section of this site, and shipping parts away for refurbishment.
Hopefully should get all the odds and ends powder coated soon, I'm itching to get the chasis to a "rolling chasis" state. One of the thing's I'm really struggling with is how to paint my SS rims! I think I might go gloss black...
A few small spots were fixed underneath the rear bumper.
The gash under the passenger floor is still in progress but should be invisible once done, thankfully! It looked absurd before.
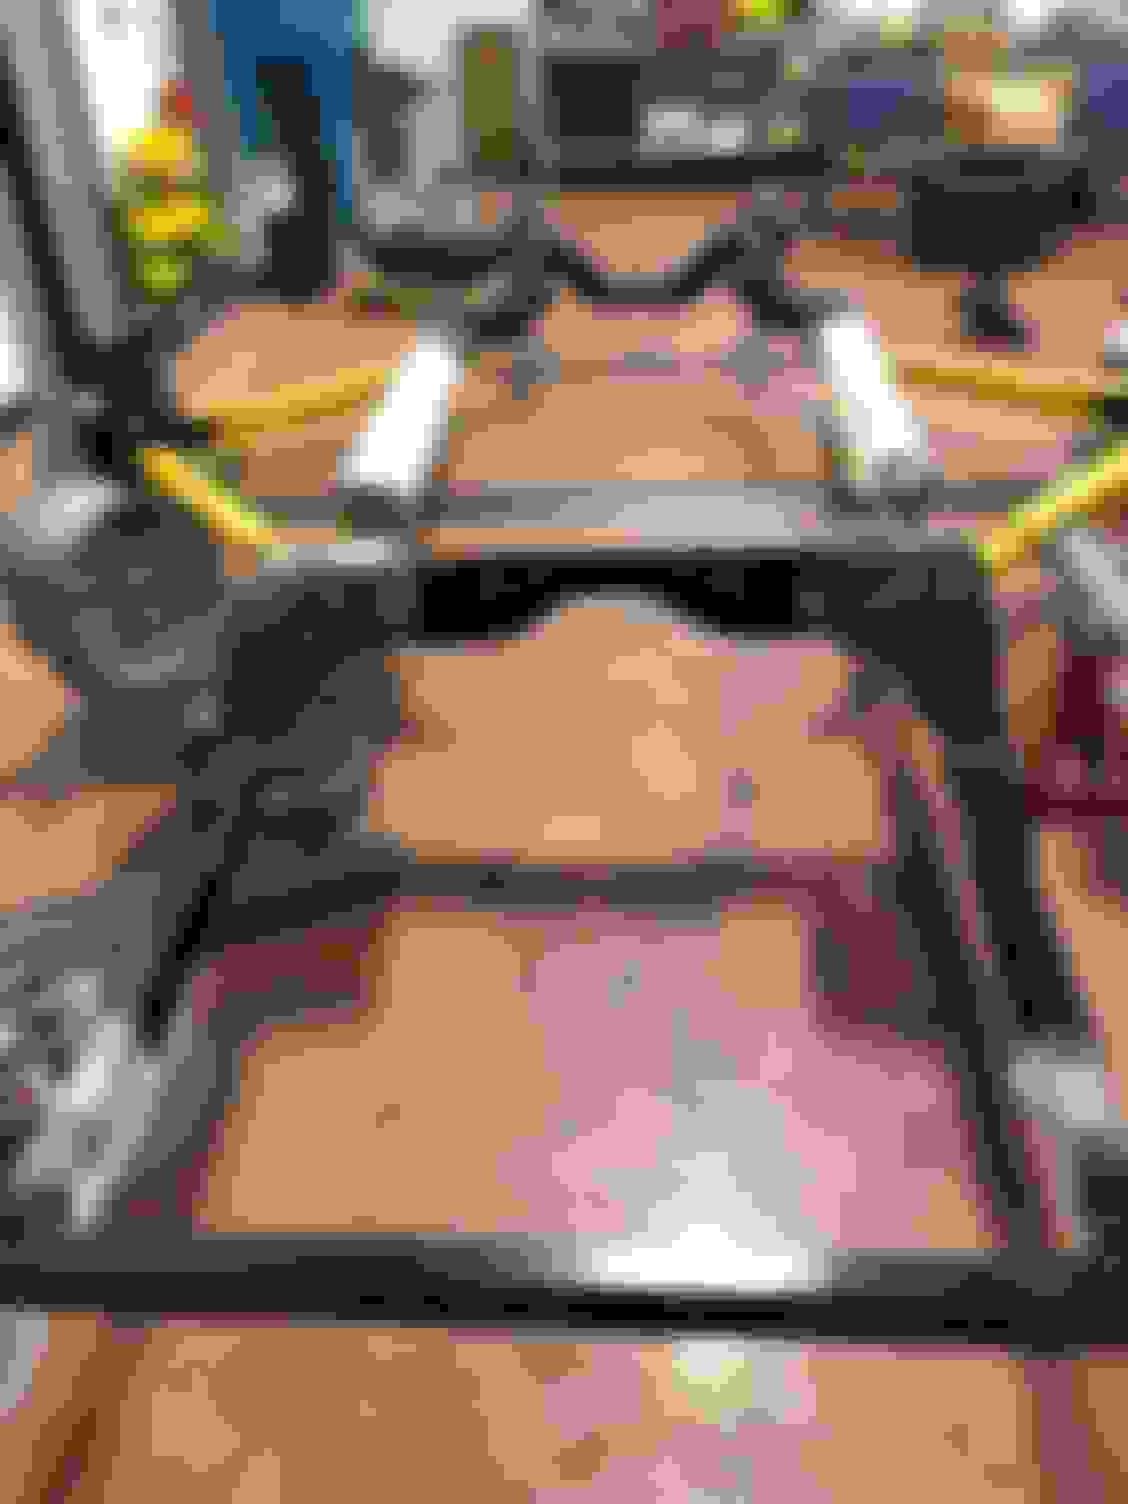
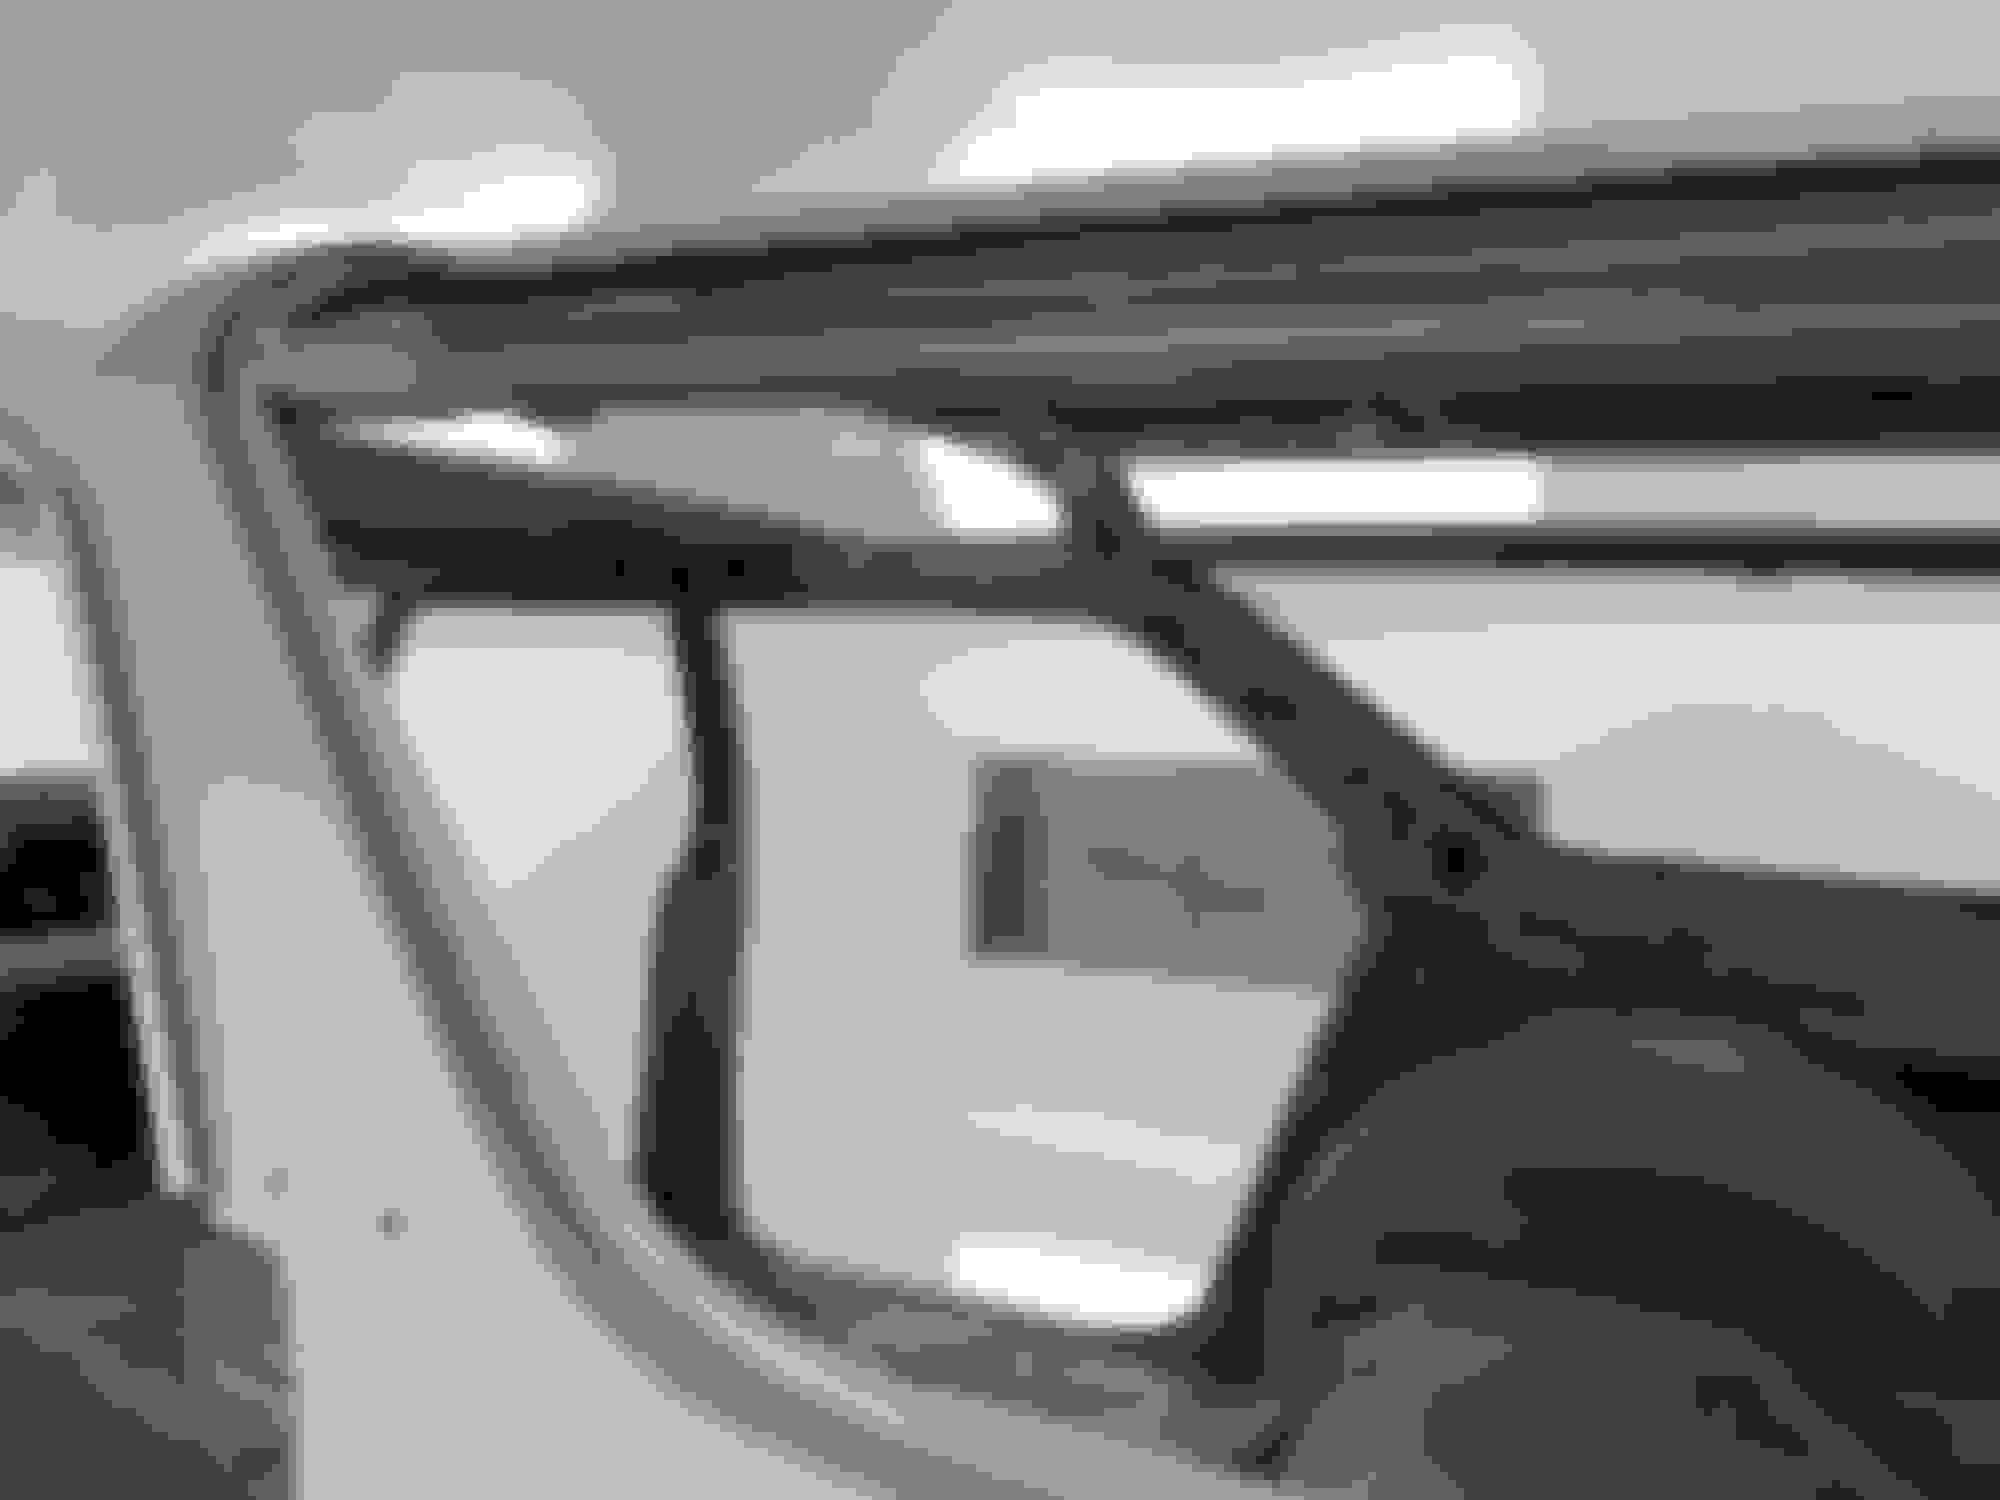
Window area repairs are nearly complete too ( the car is upside down in these photos).
All of the window repairs were done with the window trim close in hand. The car has essentially been fitted to the trim to the clearences are really tight.
I stopped by the glass shop the other day and the replacement windows are coming along. Sadly they made a mistake and ordered the wrong colour tint, so these windows will have to be used for test fitting and a new set in the proper color made.
Was going through some parts from Fusicks today and noticed some differences in the battery tray. Notice the extra holes and lack of tabs on the short edges. This is for 68-72 if I recall correctly so maybe different years use the other holes. Or maybe they're drains?
I've blasted the part with the intention of filling the holes and if possible welding on some tabs to replicate the original piece.
Sad and puzzling that vendors don't seem to understand that reproduction parts should match the originals. In most cases it would take no extra cost or effort to do so.
My experience with Corvette reproduction parts is much better. That indicates that if we return the parts or stop buying due to poor reviews, more accurate ones eventually emerge.
I recently returned a steering wheel adapter and horn button because of incorrect sizing and alignment. I got original parts from a member on this site and substituted them.
Does anyone have a photo of a good or restored DeLuxe steering wheel? I am sending some emails to a fellow, hoping to have mine recast but we aren't sure on what the correct colour for the insert is. To my knowledge it should be a silery colour, but to what extent? Was it grey-ish or more like it was trying to look shiney like chrome?
Does anyone have a photo of a good or restored DeLuxe steering wheel? I am sending some emails to a fellow, hoping to have mine recast but we aren't sure on what the correct colour for the insert is. To my knowledge it should be a silery colour, but to what extent? Was it grey-ish or more like it was trying to look shiney like chrome?
This is the deluxe wheel in OldsAl's 1970 Cutlass W-31.
I've also managed to finally secure about every accessory/factory option for a 1970 car that I wanted. With all of these options installed the car will be very "modern" which will make it very comfortable for a cruiser/road-trip car.
I also now have the finished roof glass. The tint is probably 98% perfect match, which is plenty. One of the things I was looking out for when trying to match the tint is that there's almost this subtle green tinge in the windows when you look out from inside the car, the new windows manage to capture this decently.
For now I've shoved them on the shelf, wrapped in foam and bubble wrap - I'm a little nervous to play around with them in fear of any damage. But when I have time I will fit test them and post up some photos.
I still need to investigate if I can etch them, the hopes is to get a stencil made with the original lettering from the factory windows and use that to make these new ones a perfect reproduction. But I am also comfortable with just installing as is, I'm just pleased not to have to install de-laminating windows on such a thorough restoration.
That really neat about the windows, are more available? I'd love to see pics of them when you put them in.
Garrett, the repairs were beautifully done. It now has beautiful bones, and contours much better than those from Fisher Body.
VC455 can you please explain your signature. It reads Type O axle with Chevy 8.875" 4.10 gear. How is that possible? Are you sure that is not an old Richmond 4.10 gear set for the 3.08/3.23 type O?
I wonder how much more time is required to do a wagon to these specs over a coupe - it has to be at least 25% - let alone the increased difficulty in finding wagon specific parts. Excellent work - thank you for sharing.
If you could, would you list all those accessories/options you have acquired? Are any wagon only?
That really neat about the windows, are more available?
Hi Greg,
I'm looking into having some sets made so offer on the site, they are hand-made. I had a glass shop in my area make them using the originals as guides. I'll have to verify that the fit is correct first, then I need to investigate the logistics of shipping glass across the continent. But, it's on my radar.
I wonder how much more time is required to do a wagon to these specs over a coupe - it has to be at least 25% - let alone the increased difficulty in finding wagon specific parts. Excellent work - thank you for sharing.
If you could, would you list all those accessories/options you have acquired? Are any wagon only?
Finding parts isn't that bad - to my surprise. A LOT of Vista's got parted out over the years .
Accessories/options are:
Power windows
Power locks
Power Bench
Tilt Column
70 only AM/FM
8 Track tape deck
Cruise control
None of these are wagon specific. I guess technically the windows/locks are, but they also might be identical to the 4-door set-up.
For Wagon specific, other than what has already been listed in VC555's reply, all I can think of is auxilary rear speaker. But, it's only wagon specific due to it's location, there's a similar option for cars. The drop/swing tailgate became standard in the later Vista's.
I wonder if it's worth making the Vista glass pieces a 1/4" bigger all around. They are notorious for leaking at the sealant which leads to rust. I noticed on my Vista that the overlap between the glass and the sealing lip easily could be a bit more....
I know it's probably not something that you need for your particular wagon, but I know that's what I would do if I had the glass reproduced.
That's an interesting thought, it wouldn't cause any clearance issues with the trim and trim clips?
Has anyone ever pulled apart a cruise control turn signal? Below is a photo from google showing the black button missing from a '70 turn stalk. I need to disassemble mine for repairs and rechroming but I am unsure of how to remove the button properly.
I can't help with the cruise control, but concerning the Vista glass, it has as much as 1/2" clearance all around. If the idea makes sense one can easily look into it further, but since I'm not too far from installing my decent used glass (that's what I have for now), I have currently only been looking at how I'm going to control the height of the glass when I install it and the fit of the trim moldings to my rebuilt roof. The height of the glass is controlled by how much sealant is between the roof and the glass and how much I compress it. The added difficulty is that the gap / fit doesn't seem to be quite uniform around the opening.
Last edited by tcolt; February 11th, 2018 at 01:27 PM.
Interesting, I'll investigate this when I test fit the windows.
In other news I diassembled the cruise stalk. The button just pulls off, but, I think it originally was glued and that the glue was weak/failed. I got mine apart with no issues.
The Fluted end of mine was loose, so I was able to push the harness in at the bottom of the stalk which shoved the button out of the end. Then I was able to gently pull the button off and de-solder the wires to the switch.
You can see that the end is in rough shape. I plan on ordering a non-cruise stalk from Fusick's to see if I can splice some of it onto my cruise stalk and have it rechromed.
Does anyone have experience with the Fusick turn signals? If theirs isn't a two piece with the plastic end like the originals then obviously my plan won't work.
Took the bellows apart. I read on here that the 70 bellows is the same as one from an '81 XJ6, so I ordered the part. They're very similar, but I am not certain if the new one will work.
Perhaps the new one can stretch out and is just compressed because it's so fresh?
Does anyone have any ideas where to source the rivets for the Front Fender braces? Fusick's sells reproductions, but I'd like to powder coat the originals.
Slowly making progress. Everything is back from powder coating so reassembly of the chasis should be taking place soon. Here's a quick pic of the Fusick's reproduction battery tray corrected to match the original after coating:
The body has been sanded down to 320, next step is to double check the lines and door fitment before paint.
Progress has been slow. I wasn't in the shop much at all this winter as I was up on the ski hills. Things are moving better now, most of the bushing have been installed and the frame is coming along. The current plan is to get it assembled so the body can be mated to check door gaps and fitment. This is also a good time for me to check the fit of my reproduction glass.
THEN finally paint.
The engine is apart too, just waiting on some more parts to trickle in courtesy of Mark Remmel
 December 14th, 2017, 09:32 PM


 .
.