When you click on links to various merchants on this site and make a purchase, this can result in this site earning a commission. Affiliate programs and affiliations include, but are not limited to, the eBay Partner Network.
I decided to document my process incase anyone else wants to try it.
So after spending a lot of time under my F-85 I noticed some things I really didn't like.
Someone had done some really shoddy work repairing sections of the trunk before...so instead of dicking around with it I bought this.
It's for a 64-67 Skylark. Obviously the last 5" is incorrect, so I'll be using everything forward of that.
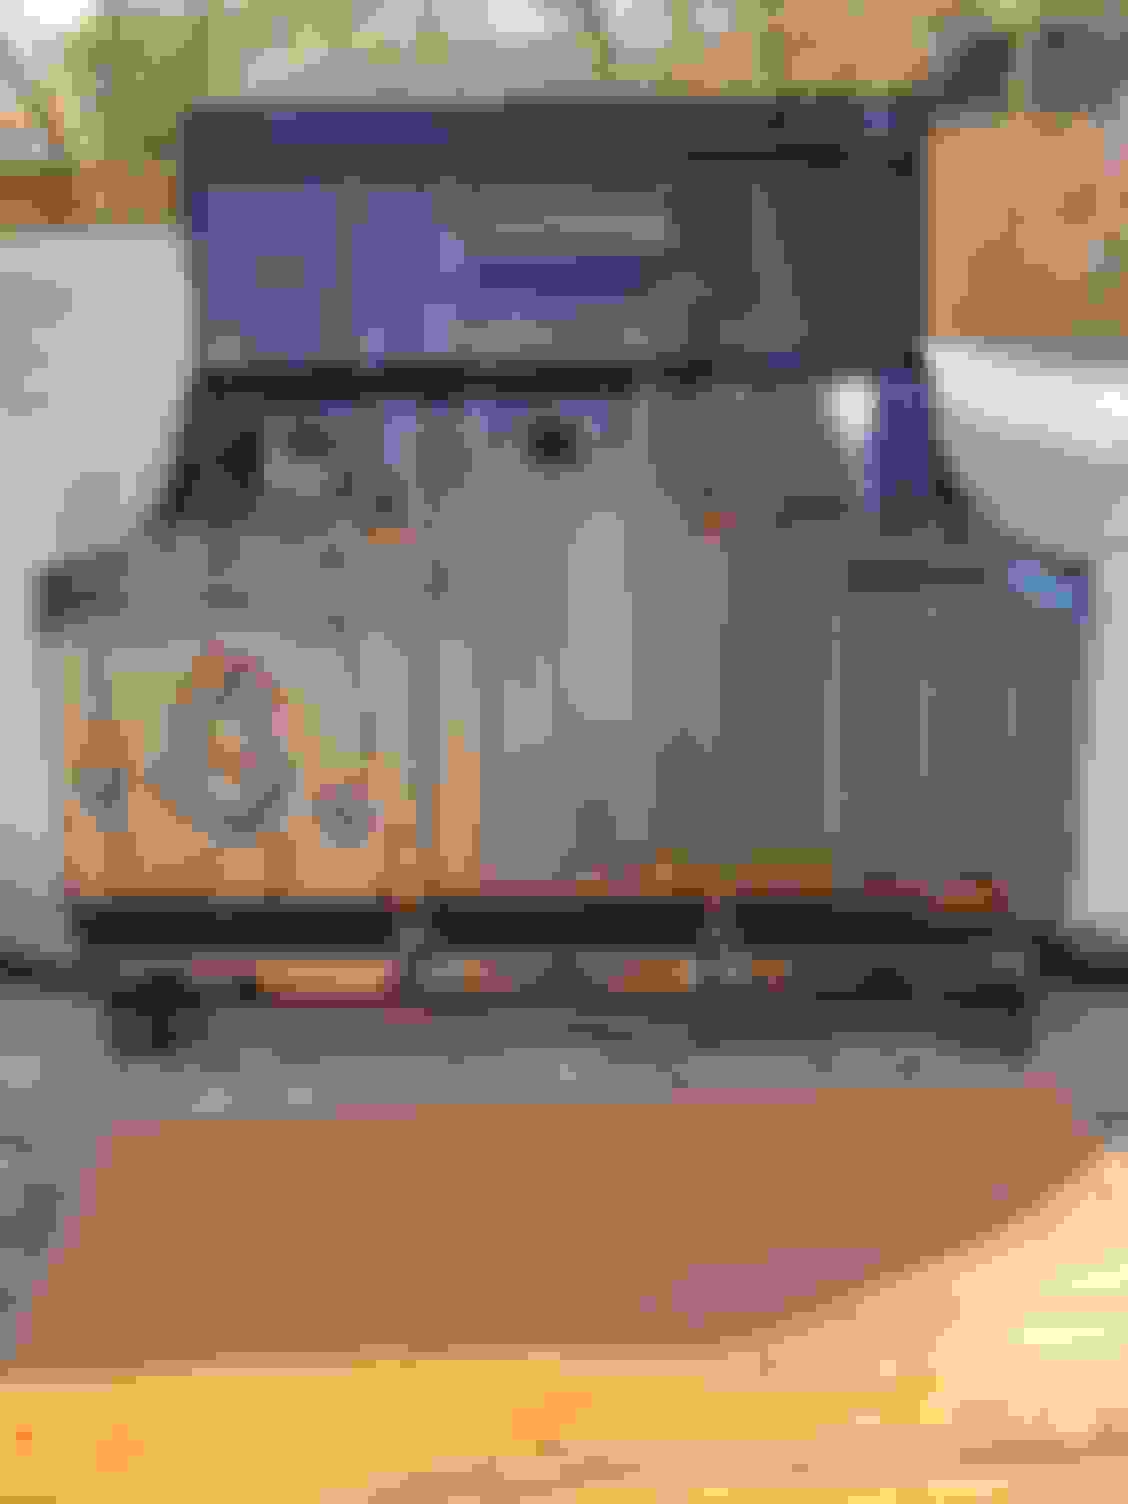
The trunk didn't look too bad, but there were a lot of tiny holes, and a ton of seem sealer and welds around the wheel wells.
Also the braces underneath were a mess. So out she went!
Now ya see it...
Now ya don't!
I left 1-2" around the edges so I can deal with removing the spot welds a section at a time.
Here's where I started removing the spot welds around right inner wheelhouse.
Before...
And after.
When I removed the pan at the back of the wheel house, I could see that they were also in bad shape.
So I ordered a new set. ONLY to patch these. NOT replace the whole thing.
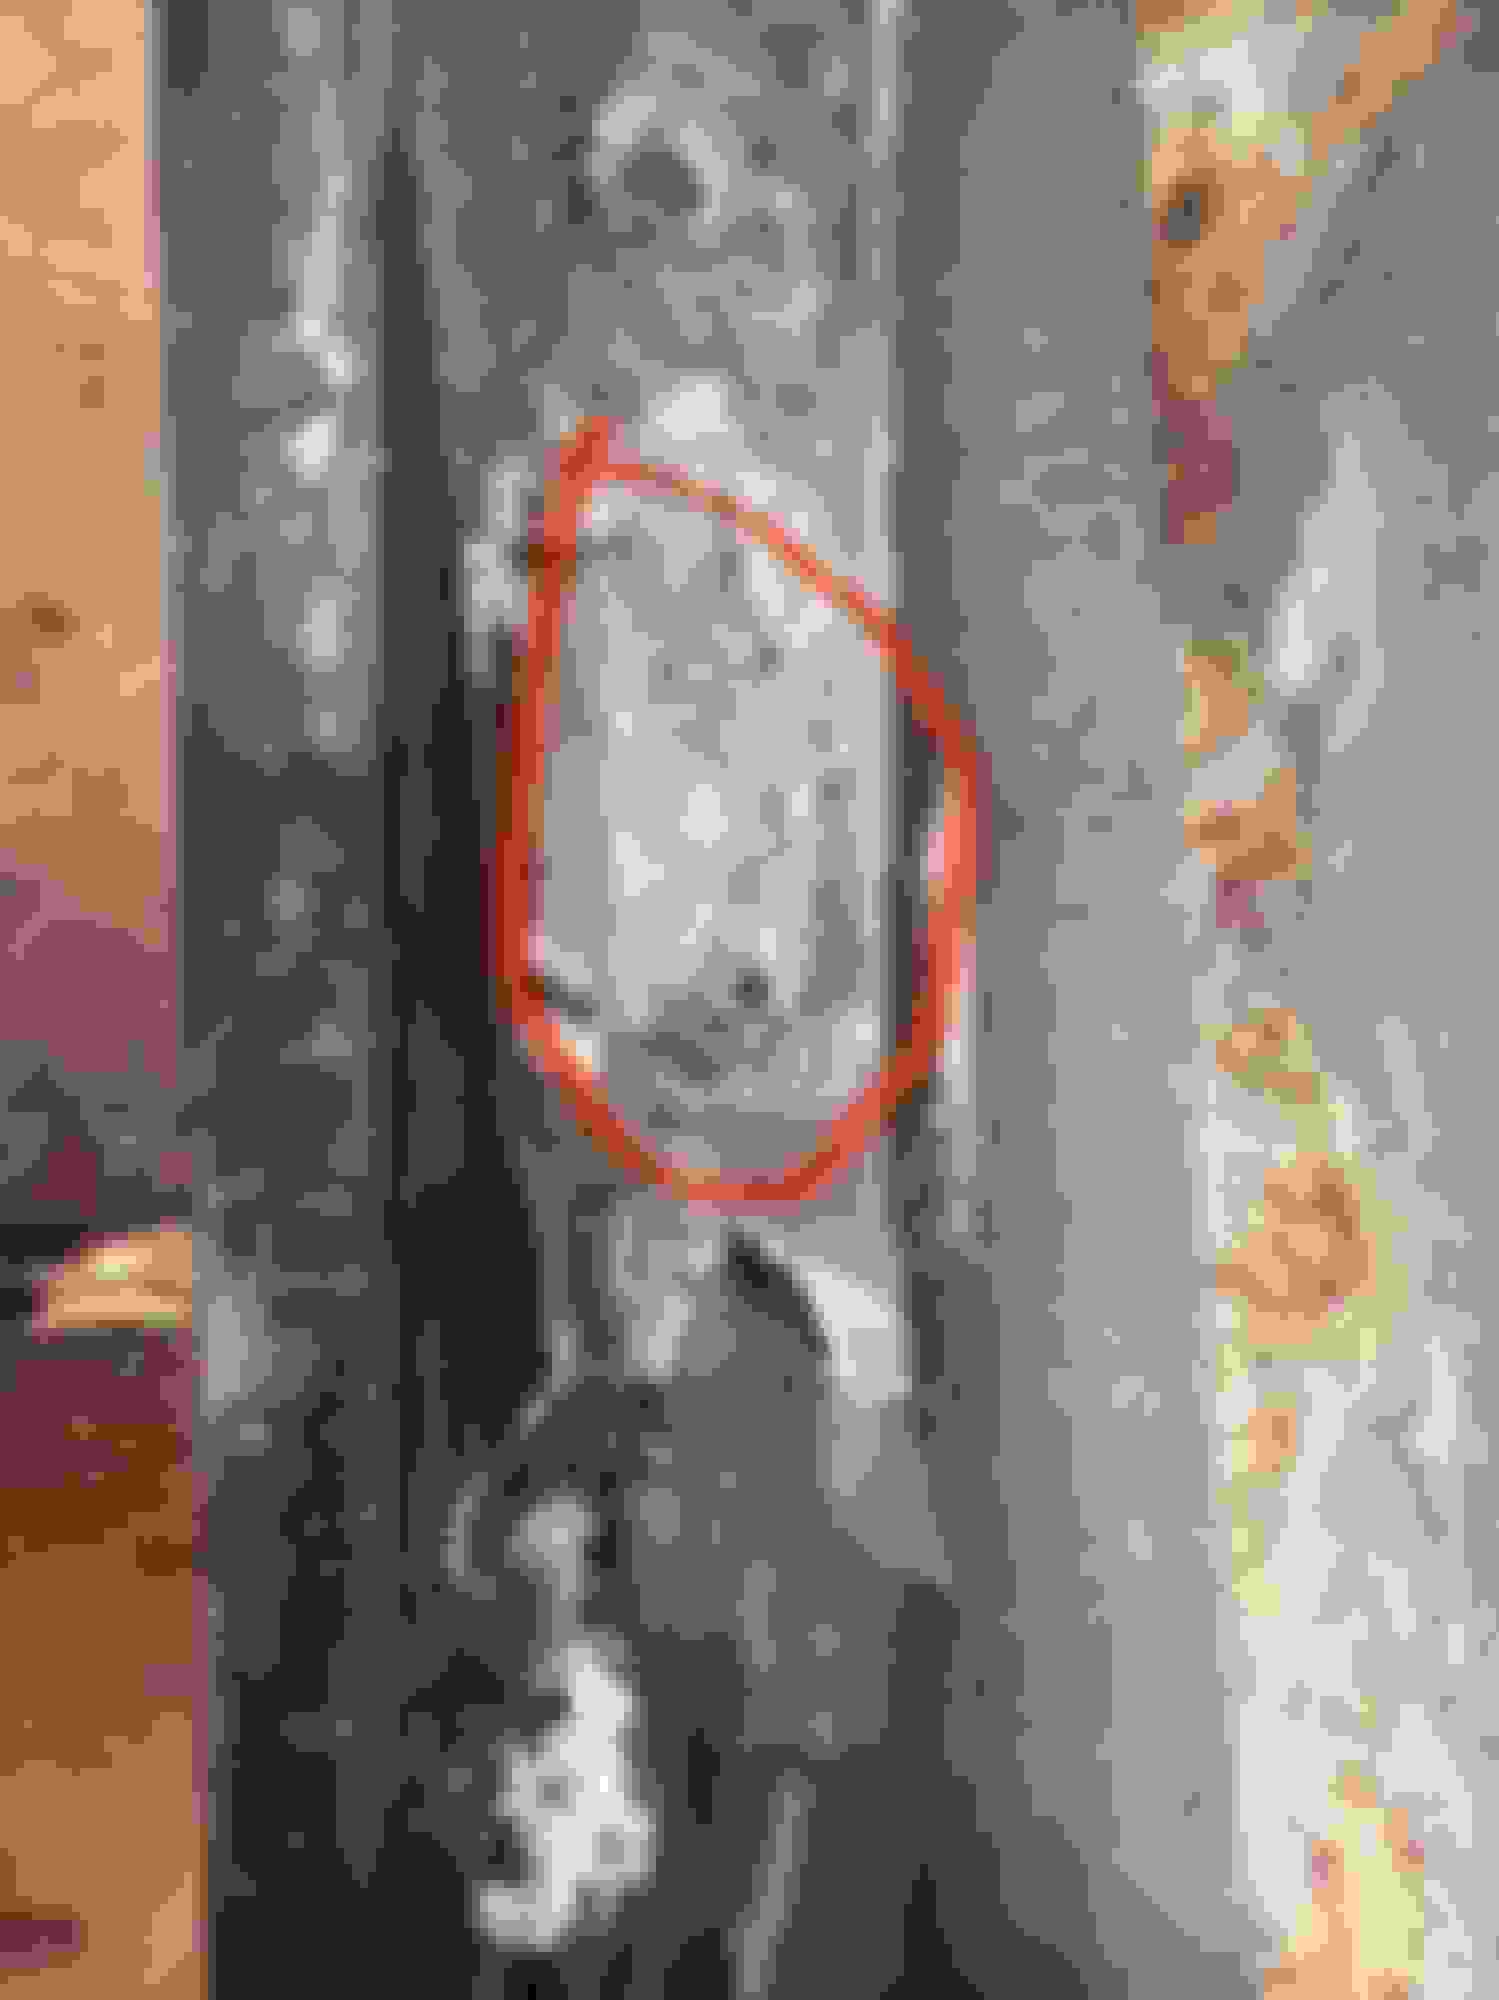
This Air belt sander is one of the tools I'm using to grind away some of the 200 spot welds that hold a trunk floor in.
It REALLY came in handy on the lower ledges behind the wheel houses.
As you can see the spot welds are about 1.25" long. Not sure how you'd cut these out with a drill bit without making a real mess.
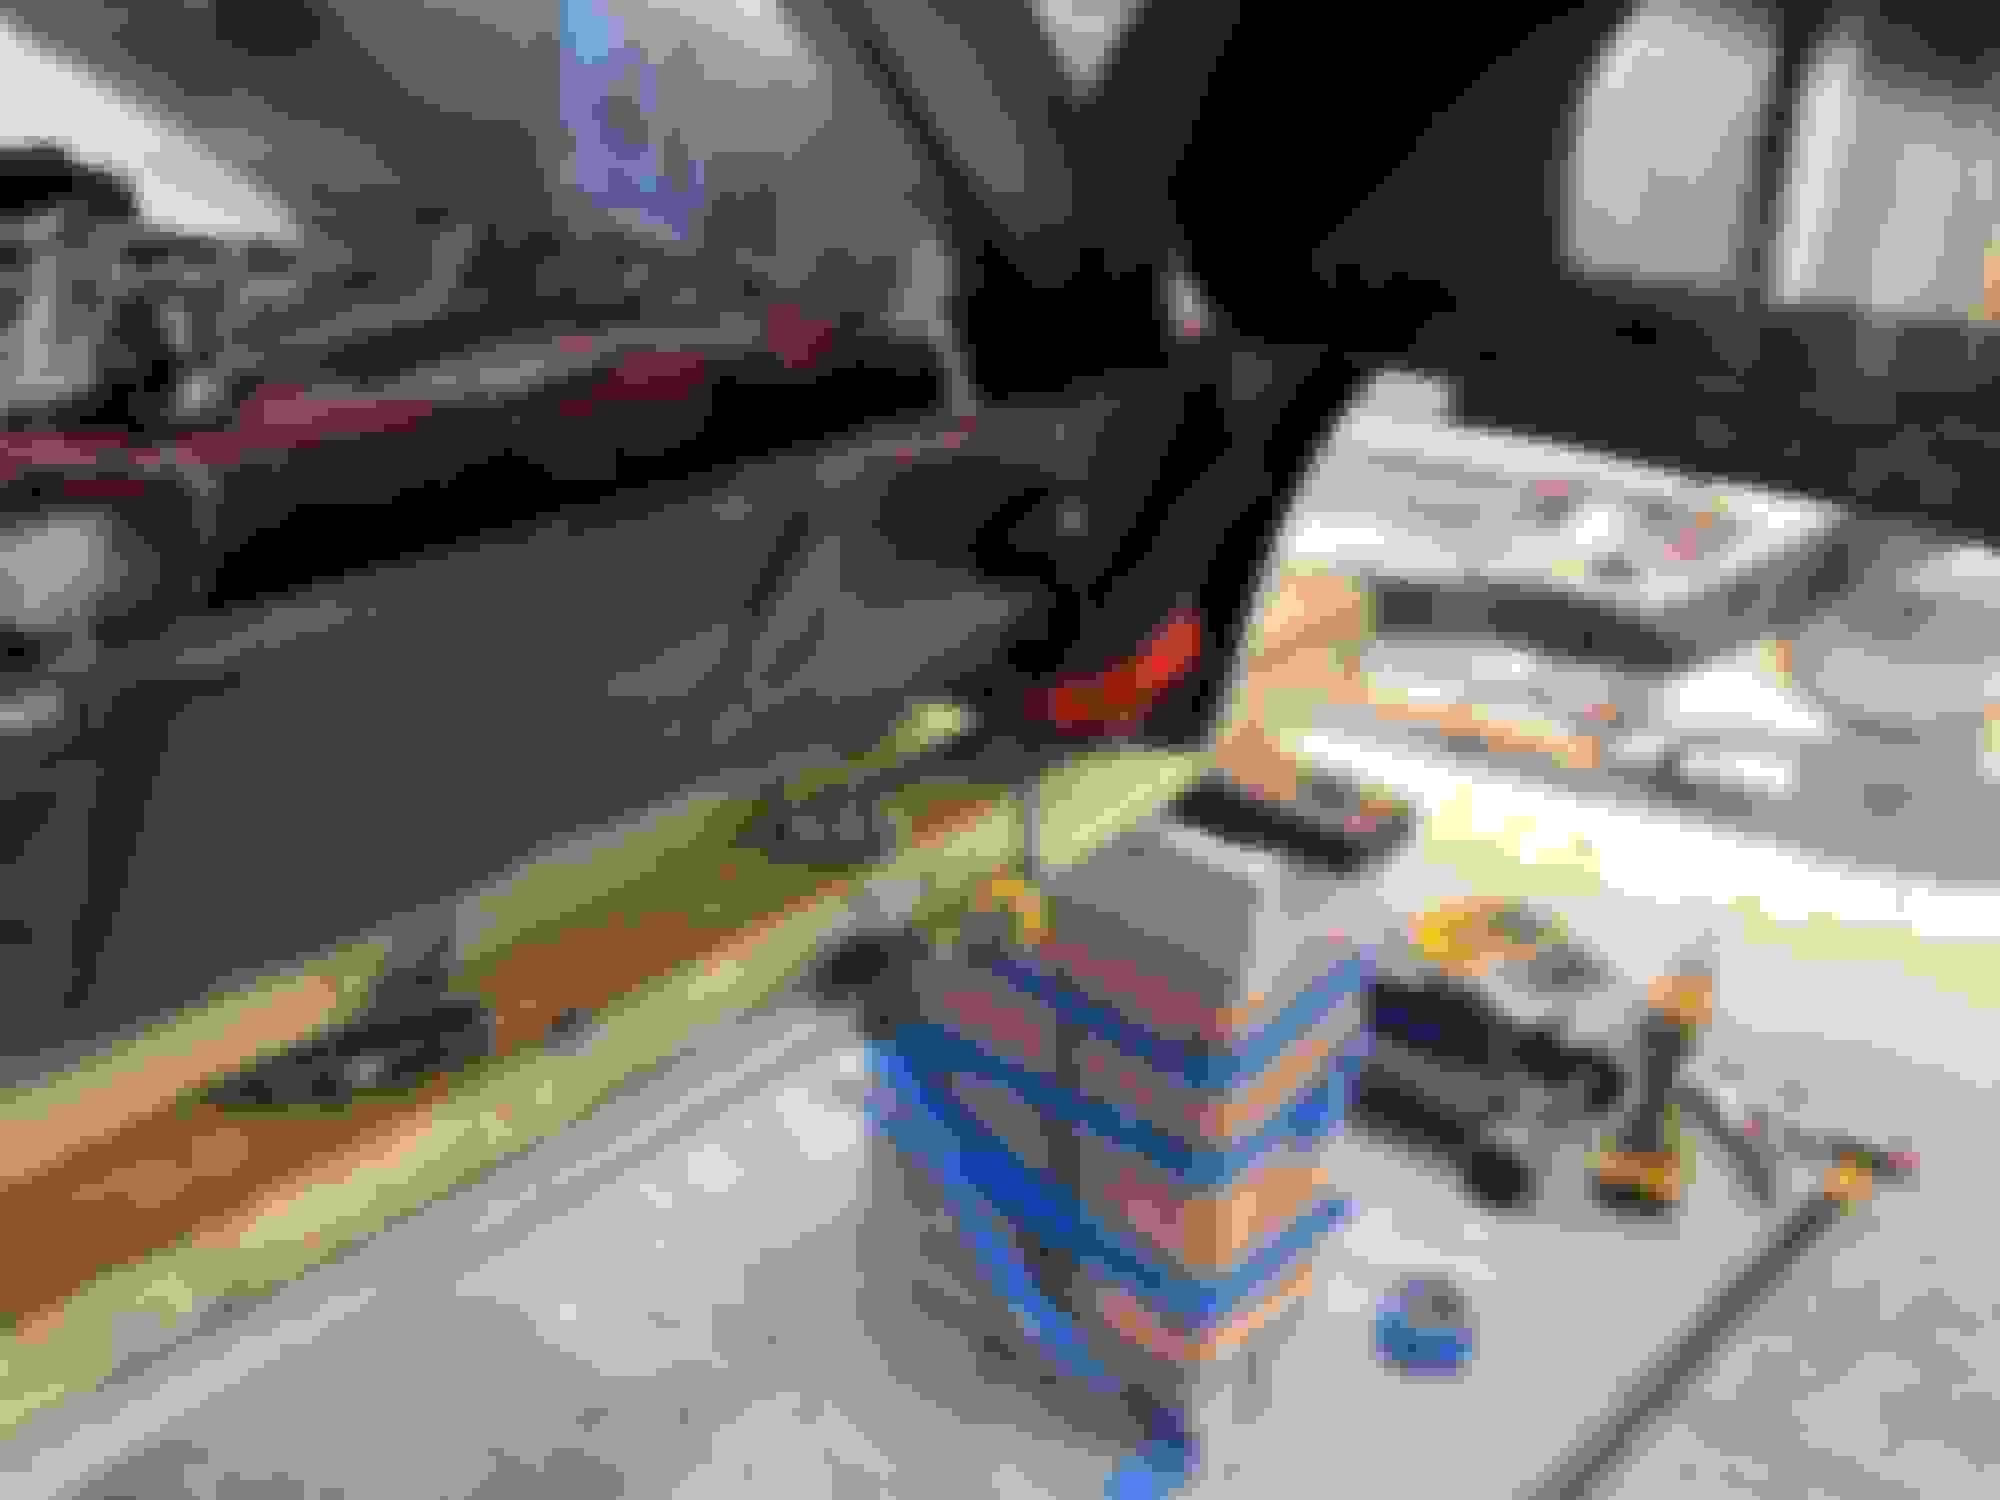
This is all the process I made on Saturday.
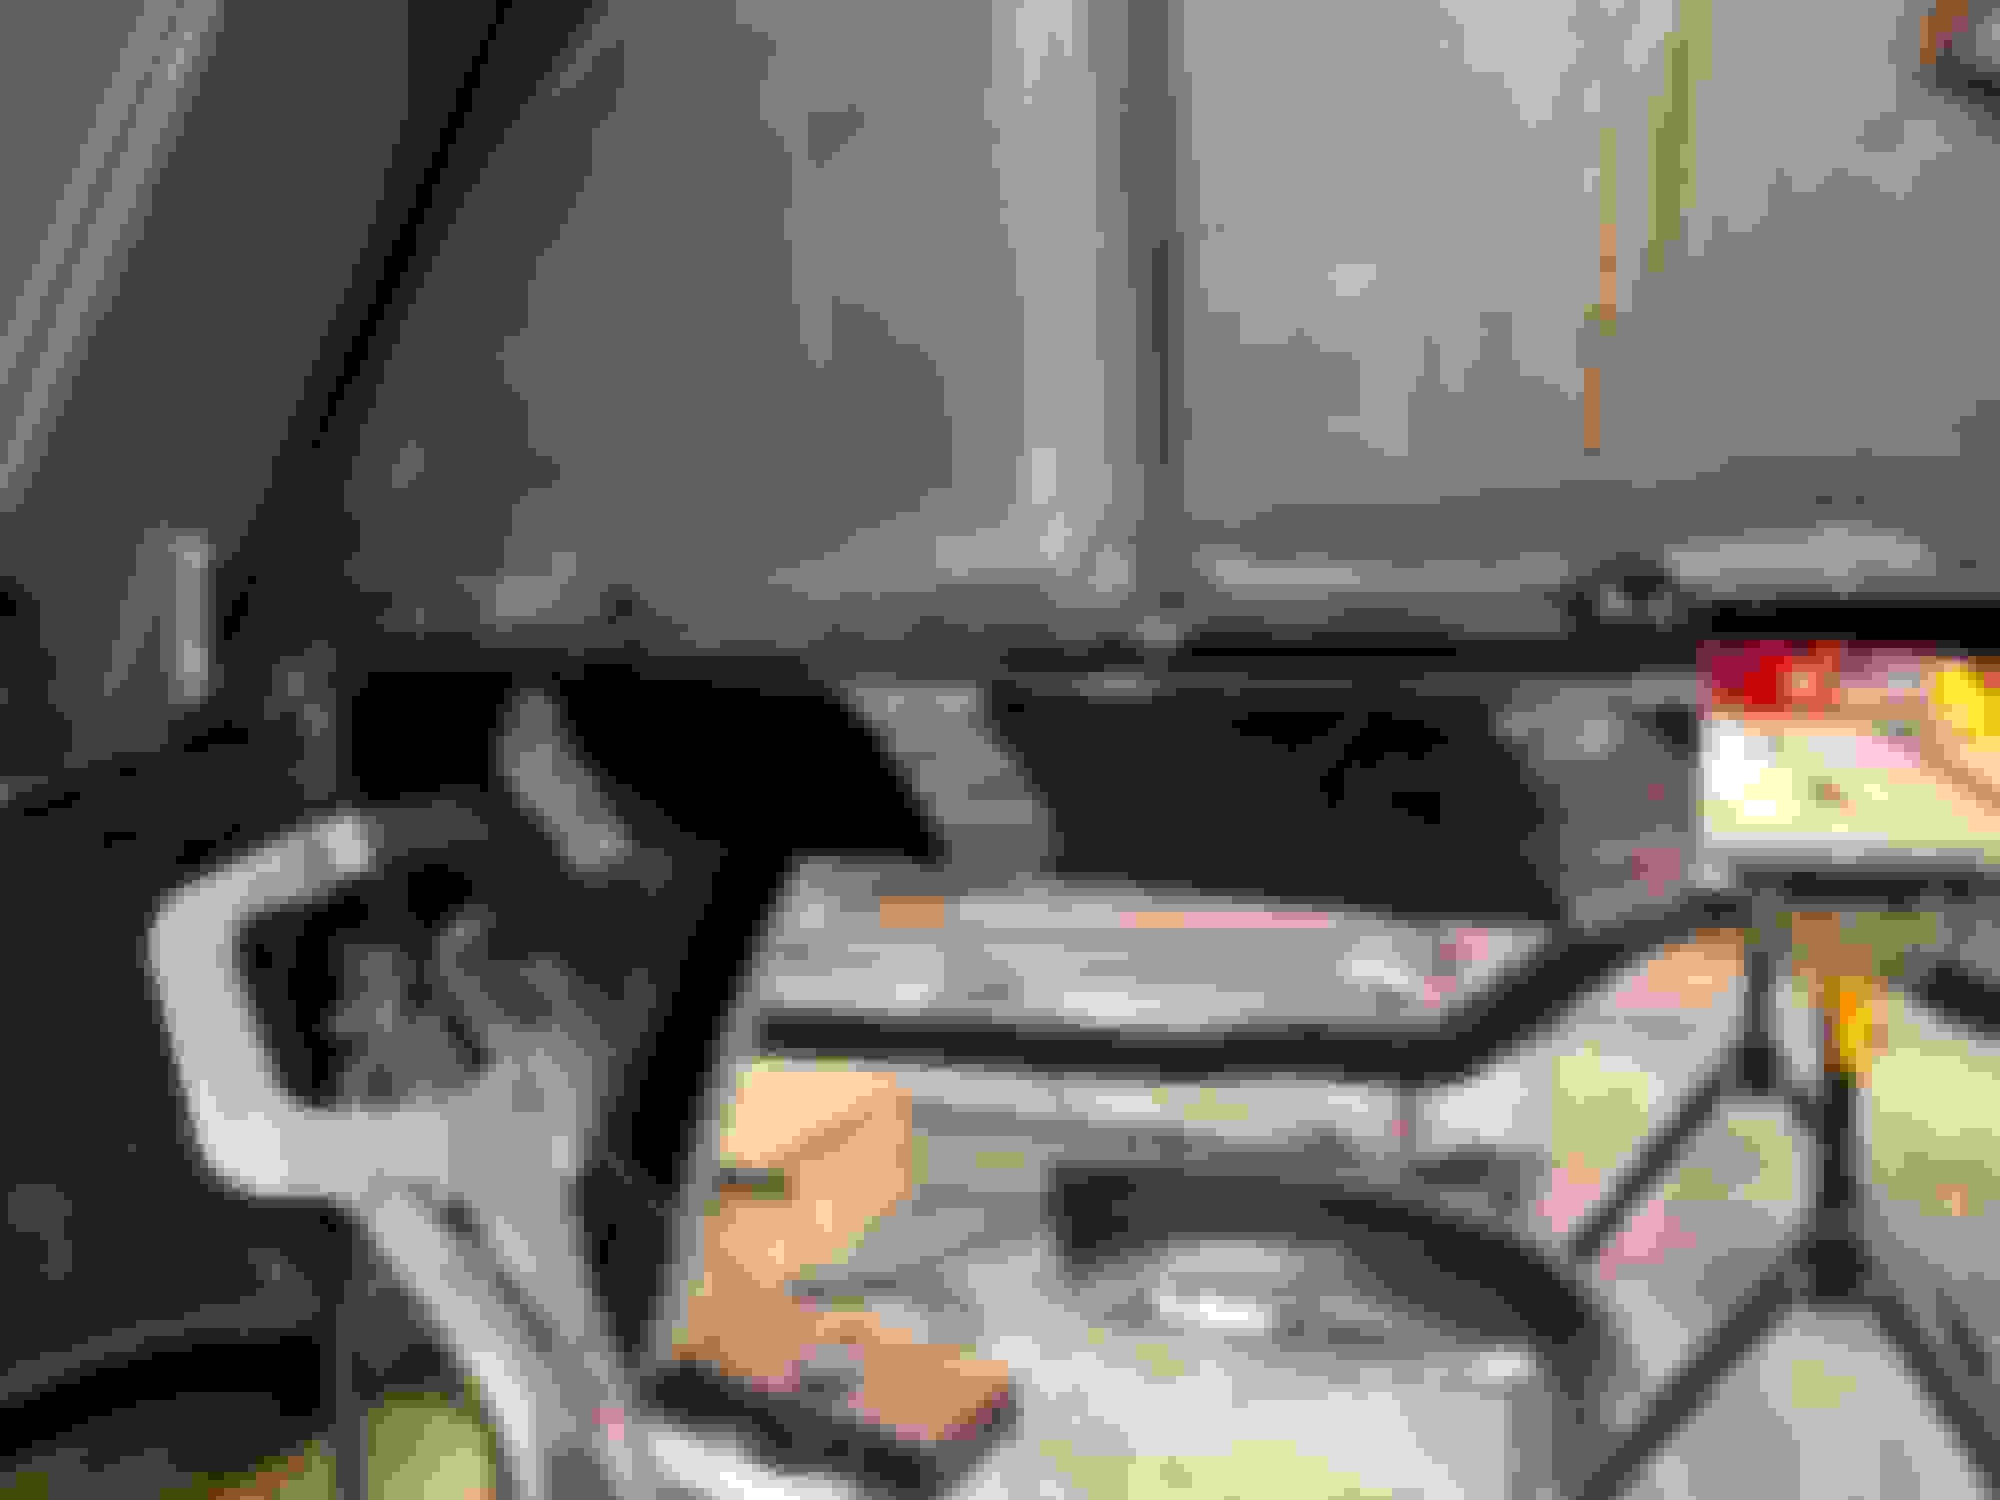
One thing to remember...
Although the entire floor/trunk pan was installed from the bottom at the factory...
the quarters weren't on yet. So where the trunk pan meets the drop offs...it's the pan that is on top.
Where as every where else it mounts from the bottom if that makes sense.
Thanks for posting and I�ll keep watching! Need to do the same thing in my �64 eventually. I�m glad to know the Skylark floor is the one to use or I would have just assumed a Chevelle would work and been in trouble.
Last edited by Anderson; March 9th, 2022 at 05:08 PM.
The next step for me was removing the leading edge of the old pan with the integral brace.
Dont be fooled by the spot welds on top. Theyre to connect the brace to the pan.
The welds you want out are found underneath.
This piece was nasty to get out. The sides of the brace are spot welded in from the side through the wheel house.
Took longer than expected AND made me happy that I bought new inner wheel wells.
I tried just cutting the spot welds with a bit designed for it, but in the end drilled all the way through.
There's 30 welds here and they were bigger than my bit.
But in the end I saved the leading ledge and will have something to weld the new pan to.
this is awesome!! thanks for documenting this. where did you get the inner wheel wells?
As stated earlier, After removing trunk pan I realized the bottom of the inner wheel housings were toast.
So I�m forced to patch them.
Going well so far, but cutting them precisely to get clean but welds is very, very time consuming.
The inner wheel house is sandwiched between the outer wheel house and the flange for the truck drop off.
It�s really interesting to see how these things were built.
so, did you overlap the new panel and cut both at the same time, therefore leaving the same line? just curious because i got into mine today and cleaned all the nooks and crannies, gonna need lower quarters repaired as well as the inner wheel well where it meets the trunk pan
also looks like it's going to need the floor replaced up front as well.
Thanks for posting and I�ll keep watching! Need to do the same thing in my �64 eventually. I�m glad to know the Skylark floor is the one to use or I would have just assumed a Chevelle would work and been in trouble.
so, will a chevelle pan not work? if that's the case, i'm in trouble...lol i just order one from a chevelle site because it was only 500 bucks but if it won't work, i need to cancel the order before it's shipped. it looks identical in the picture to the one in my 65.
The Chevell pan will not work. It is too short. Replaced the trunk and floor pans in my sons 67. He had bought the Chevy stuff and had to re-buy everything.
well dagnabit...lol they look 100% identical too. i got the order canceled in time though. big price difference between the two pans, just doesn't make much sense.
well, found my full pan. ouch!! big difference in the price for the chevelle pan. i had to order it from jegs, estimated to ship from the manufacturer next week, fingers crossed. it's not like i don't have plenty of other things to do while i wait for the part to get here. i will get the old floor out of the way and get it ready for install.
Yeah Ron�noticeable price difference for sure.
Did you go with the Skylark pan?
So I finally got out to the garage and clear out enough stuff to get back to work.
Even though the inner fender was close to fitting�A LOT of slow grinding and sanding had to be done for a great fit.
Due to the intricate curves I could NOT overlap and cut. So it was just a slow process.
You only get one shot.
In the end I decided to cut the rear and weld in as a separate piece�it made the job of fitting a LOT easier.
Next was the trailing edge with all the curves.
I clamped it from the back where the trunk side rails, the inner wheelhouse & outer wheelhouse all got pinched together from the factory.
I even noticed some brass filler back there�factory braising?
After tacking it in there�I slowly rolled the new piece in making sure all the metal lined up smoothly.
This allowed me to make some last minute adjustments and file down the high pieces to ensure a tight gap.
A little hammer and dolly work between tacks also helped.
Interestingly�when I put the rear piece on, it didn�t make it all the way to the rear edge of the first piece.
So I just fabbed up a little 5/16� piece with the correct curve and tacked it in to connect the two.
After that�it was just stitching all the tacks welds together and a LOT of grinding.
It�s reasonably smooth, but I may want to add a little filler so it�s perfect.
I�d like to have the trunk the factory body color instead of using splatter paint.
I have to say finishing this side made m very happy and proud of my meager welding skills!
I sure appreciate the detailed description. I ordered the pan jegs has listed for Buick olds and Pontiac, with shipping it’s was 300 more but oh well, it will be right. it’s supposed to ship this week. I am going to order new wheel well metal as well. I have found a rear clip from a 64 that I’m going to pick up Friday that has one perfect quarter, and one with no holes, but has had bondo from what looks like a dent, I can’t pass it up for the price. Entire rear clip for 150 bucks, the drive is just part of the adventure.
p.s, my name is Duane. for some reason, my info that shows up on the bottom of every post, isn't on this one, but it is on the ones above, weird. 😉
Last edited by 65droptop; April 18th, 2022 at 09:38 AM.
well, some how paypal screwed up my order with jegs, so my trunk pan wasn't processed, but, i have noticed one on their site that's 100 bucks cheaper, but the rear is flat. here are the links for the two pans. one is restoparts, one is sherman. my floor pan was a sherman, it fit pretty good, but didn't match the braces perfectly in the hump, so, not sure their pan is worth the extra 100 bucks. the sherman pan has the curves on the rear like your pan Peter, but the restoparts pan is flat along the rear, i assume that is for trimming to fit the different models between BOP.
Interesting...are you sure the one with the flat rear section isn't another Chevelle one?
I have no idea.
I do know that the flatter one would give you more options on how much of your trunk you could replace...
The bumps on the skylark one kinda dictates how far back you can go.
peter, how high do you have your car off the ground right now? do you like that height? would you go lower or higher if you had to change? i'm about to take this car back off the rotisserie and put it on blocks to do the trunk. do you have anything supporting the rear tail panel, or is it just sitting on the the rockers?
It�s 2 cynder blocks and a 4x4� board high!
I don�t have anything holding up the back. I figured between the full quarters and excellent side trunk rails I�d be fine.
Not sure about making that bet with a convertible Duane.
The height is ok�it�s just enough where I can roll my frame which is on caster under the car and tuck it away.
For sanding down the belly�it was about 6� too high. But for working on the trunk it feels just right.
I can put a stool down in the center and everything is at a great working height.
It was a good day! I got the LH side wheel well all patched up!
I need to patch a small part of the outer wheel housing as well that was easy breezy!
just a small 1 1/8 x 3.5� piece that I cut from the new wheel wells.
Next was where the brace runs across the body and rots out the inner wheel well.
im trying to save as a much of the original metal as possible.
so cutting and matching is key here.
And last was the rear portion which take a LONG time to cut and match correctly.
I attached it at the rear and then slowly formed it, grinned and hammered it in to fit well.
starting at the back I roll it around and make sure each tack weld is between 2 pieces that are even.
next it the actual trunk pan, finally!
Now would be a good time to check under thee package tray.
Mine was a little crusty so I wire wheeled it and gave it a dose of POR-15 -can�t hurt. I also sprayed some Eastwood frame/interior rust encapsulator in all the holes and cavities.
I figure out where I�m grafting the rear section together.
Because it�s from a skylark you�re going to have to do it somewhere.
I think there�s 2 options:
a. Right behind the rear brace, but it doesn�t line up perfectly as the pan is notched differently in the center. It would certainly help hide the fix being further back but requires removing more of the cars structure and having to brace everything up.
b. At the top of the rise of the pan where it meets the shelf under the lock mechanism(or just shy of that). This area is in the middle of the brace right before where it�s trailing edge connects.
Because my rear brace was in great shape, I decided to go with the latter.
1. Grind off the lower spot welds and cut away what you don�t want.
2. Cut the excess off the new pan�close enough for a test fit. (I know I�ll be cutting more off later)
I plan on using a pneumatic crimp to give me a nice ledge to rest the rear of the pan on.
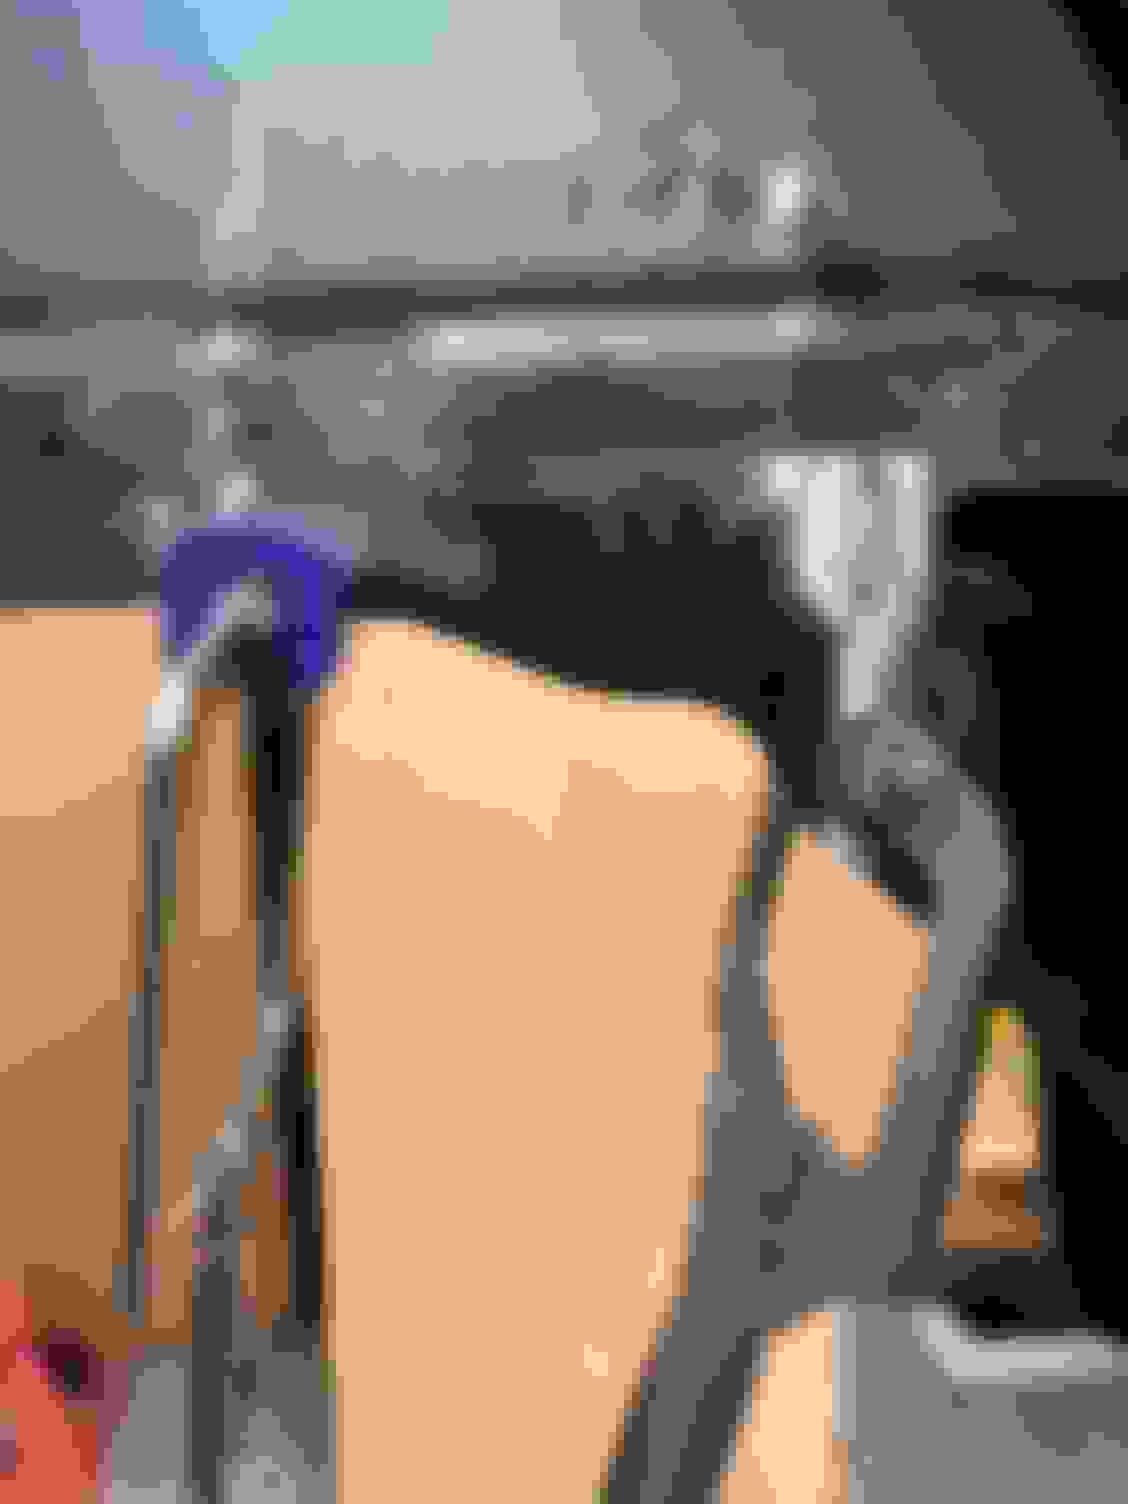
In a feeble attempt to get the pan in today(I don�t have any helpers!!!) I fabbed up this rig to support the pan.
Unfortunately the wooden dowel vice grip option failed so I�ll be heading to the hardware store for a pice of pipe or thick tubing.
Well it�s in!
Full disclosure�there is no way in hell to fit the entire pan in.
The width is too great to angle and sneak both sides in.
So I cut 7� off the RH side. Figured any weld would be hid by the spare.
Trimming the trailing edge perfectly was an in and out, up and down, over and over kind of procedure.
I�ve only started stitch welding the tail in. Lots and lots of spot welds and grinding to do�but it�s getting there.
felt really good to see it in place.
one hint�make tabs on the underside of the rear brace so the pan doesn�t fall through.
so, what you're saying is, if i'm doing quarter panel replacement as well, cut the quarters out of the way, and then do the trunk. thanks bye the way, looking good i can't wait to see mine that way. my air compressor will be here friday, i'm not taking the car off the rotisserie without getting the passenger compartment under neath painted and done. that way, when i do the trunk, i won't have to put it back on the rotisserie.
I wouldn�t claim to be anything more than amateur welder!
project is just about wrapped up.
A little more grinding on the rear edge, and the panel I had to cut off when fitting.
Then making sure I get all my spot welds right and I�ll be done.
Looking back, I really wished I had scuffed all the Ecoat while it was out.
I didn�t actually know it couldn�t take paint without roughing it up!

 March 9th, 2022, 02:01 PM