
my project '67 Oldsmobile Delmont 88


Thread Starter
Registered User
Joined: Mar 2009
Posts: 540
From: italy
my project '67 Oldsmobile Delmont 88
hello guys
I would have lots of photos to show, now I've done a summary of work done in almost 2 years, although many are not in the photo video.
I will try to put them in this thread a bit at a time.
I hope you enjoy the video.
http://www.youtube.com/watch?v=RsEaxY-nXao
I would have lots of photos to show, now I've done a summary of work done in almost 2 years, although many are not in the photo video.
I will try to put them in this thread a bit at a time.
I hope you enjoy the video.
http://www.youtube.com/watch?v=RsEaxY-nXao
 It takes a lot of talent to put it all together

Thread Starter
Registered User
Joined: Mar 2009
Posts: 540
From: italy
Thank you all for the compliments, I will try to put the latest pictures I have done, is far ahead Delmont rispesto video.
Later I put them.
@Kennybil,thanks Somewhere he'm still looking.
I can already ask?
Thread Starter
Registered User
Joined: Mar 2009
Posts: 540
From: italy
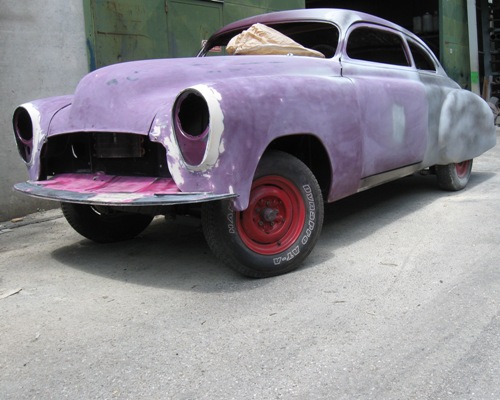
beginning I did not like the color very much, but then seeing some parts, I'm loving it.
I think when this is over I will be very jealous if someone is approaching.
Thread Starter
Registered User
Joined: Mar 2009
Posts: 540
From: italy
when the project is finished you will be the first to know
Registered Abuser
Joined: Jul 2009
Posts: 443
From: Ontariario
Thread Starter
Registered User
Joined: Mar 2009
Posts: 540
From: italy
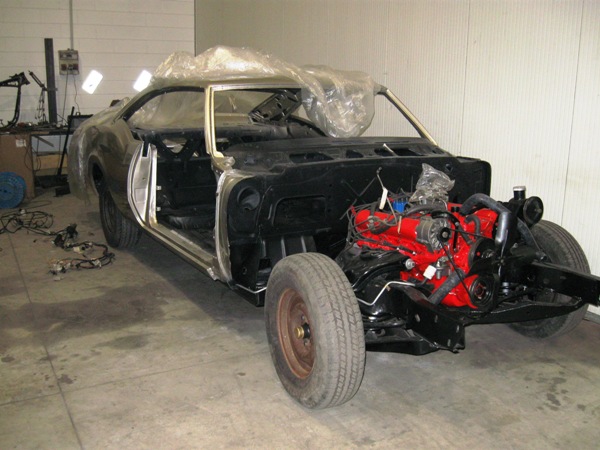
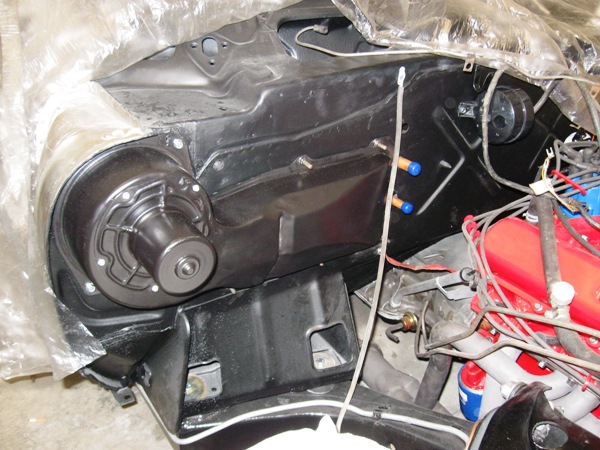
was very difficult to put the headers on this Delmont, the space was too low and the driver side was impossible, I had to invent new steps, completely redo the headers.
Thread Starter
Registered User
Joined: Mar 2009
Posts: 540
From: italy
IMG_0236.jpg
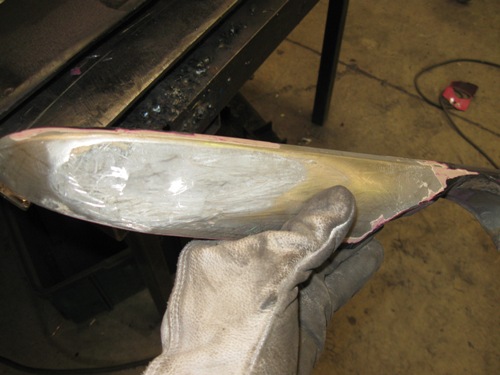
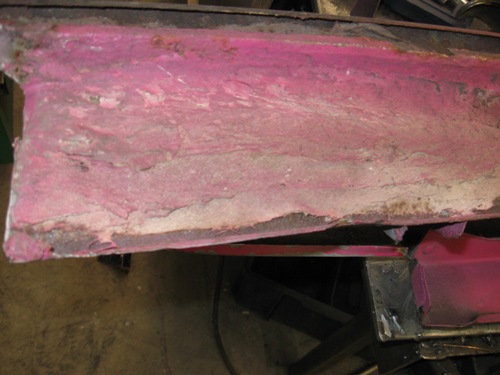
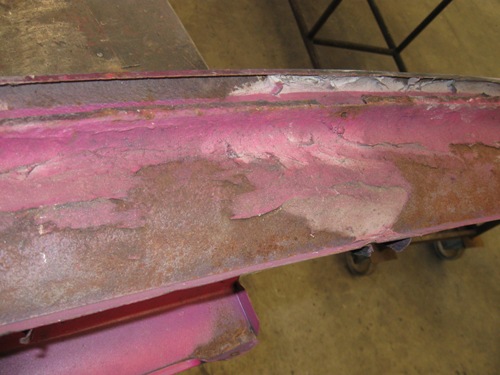
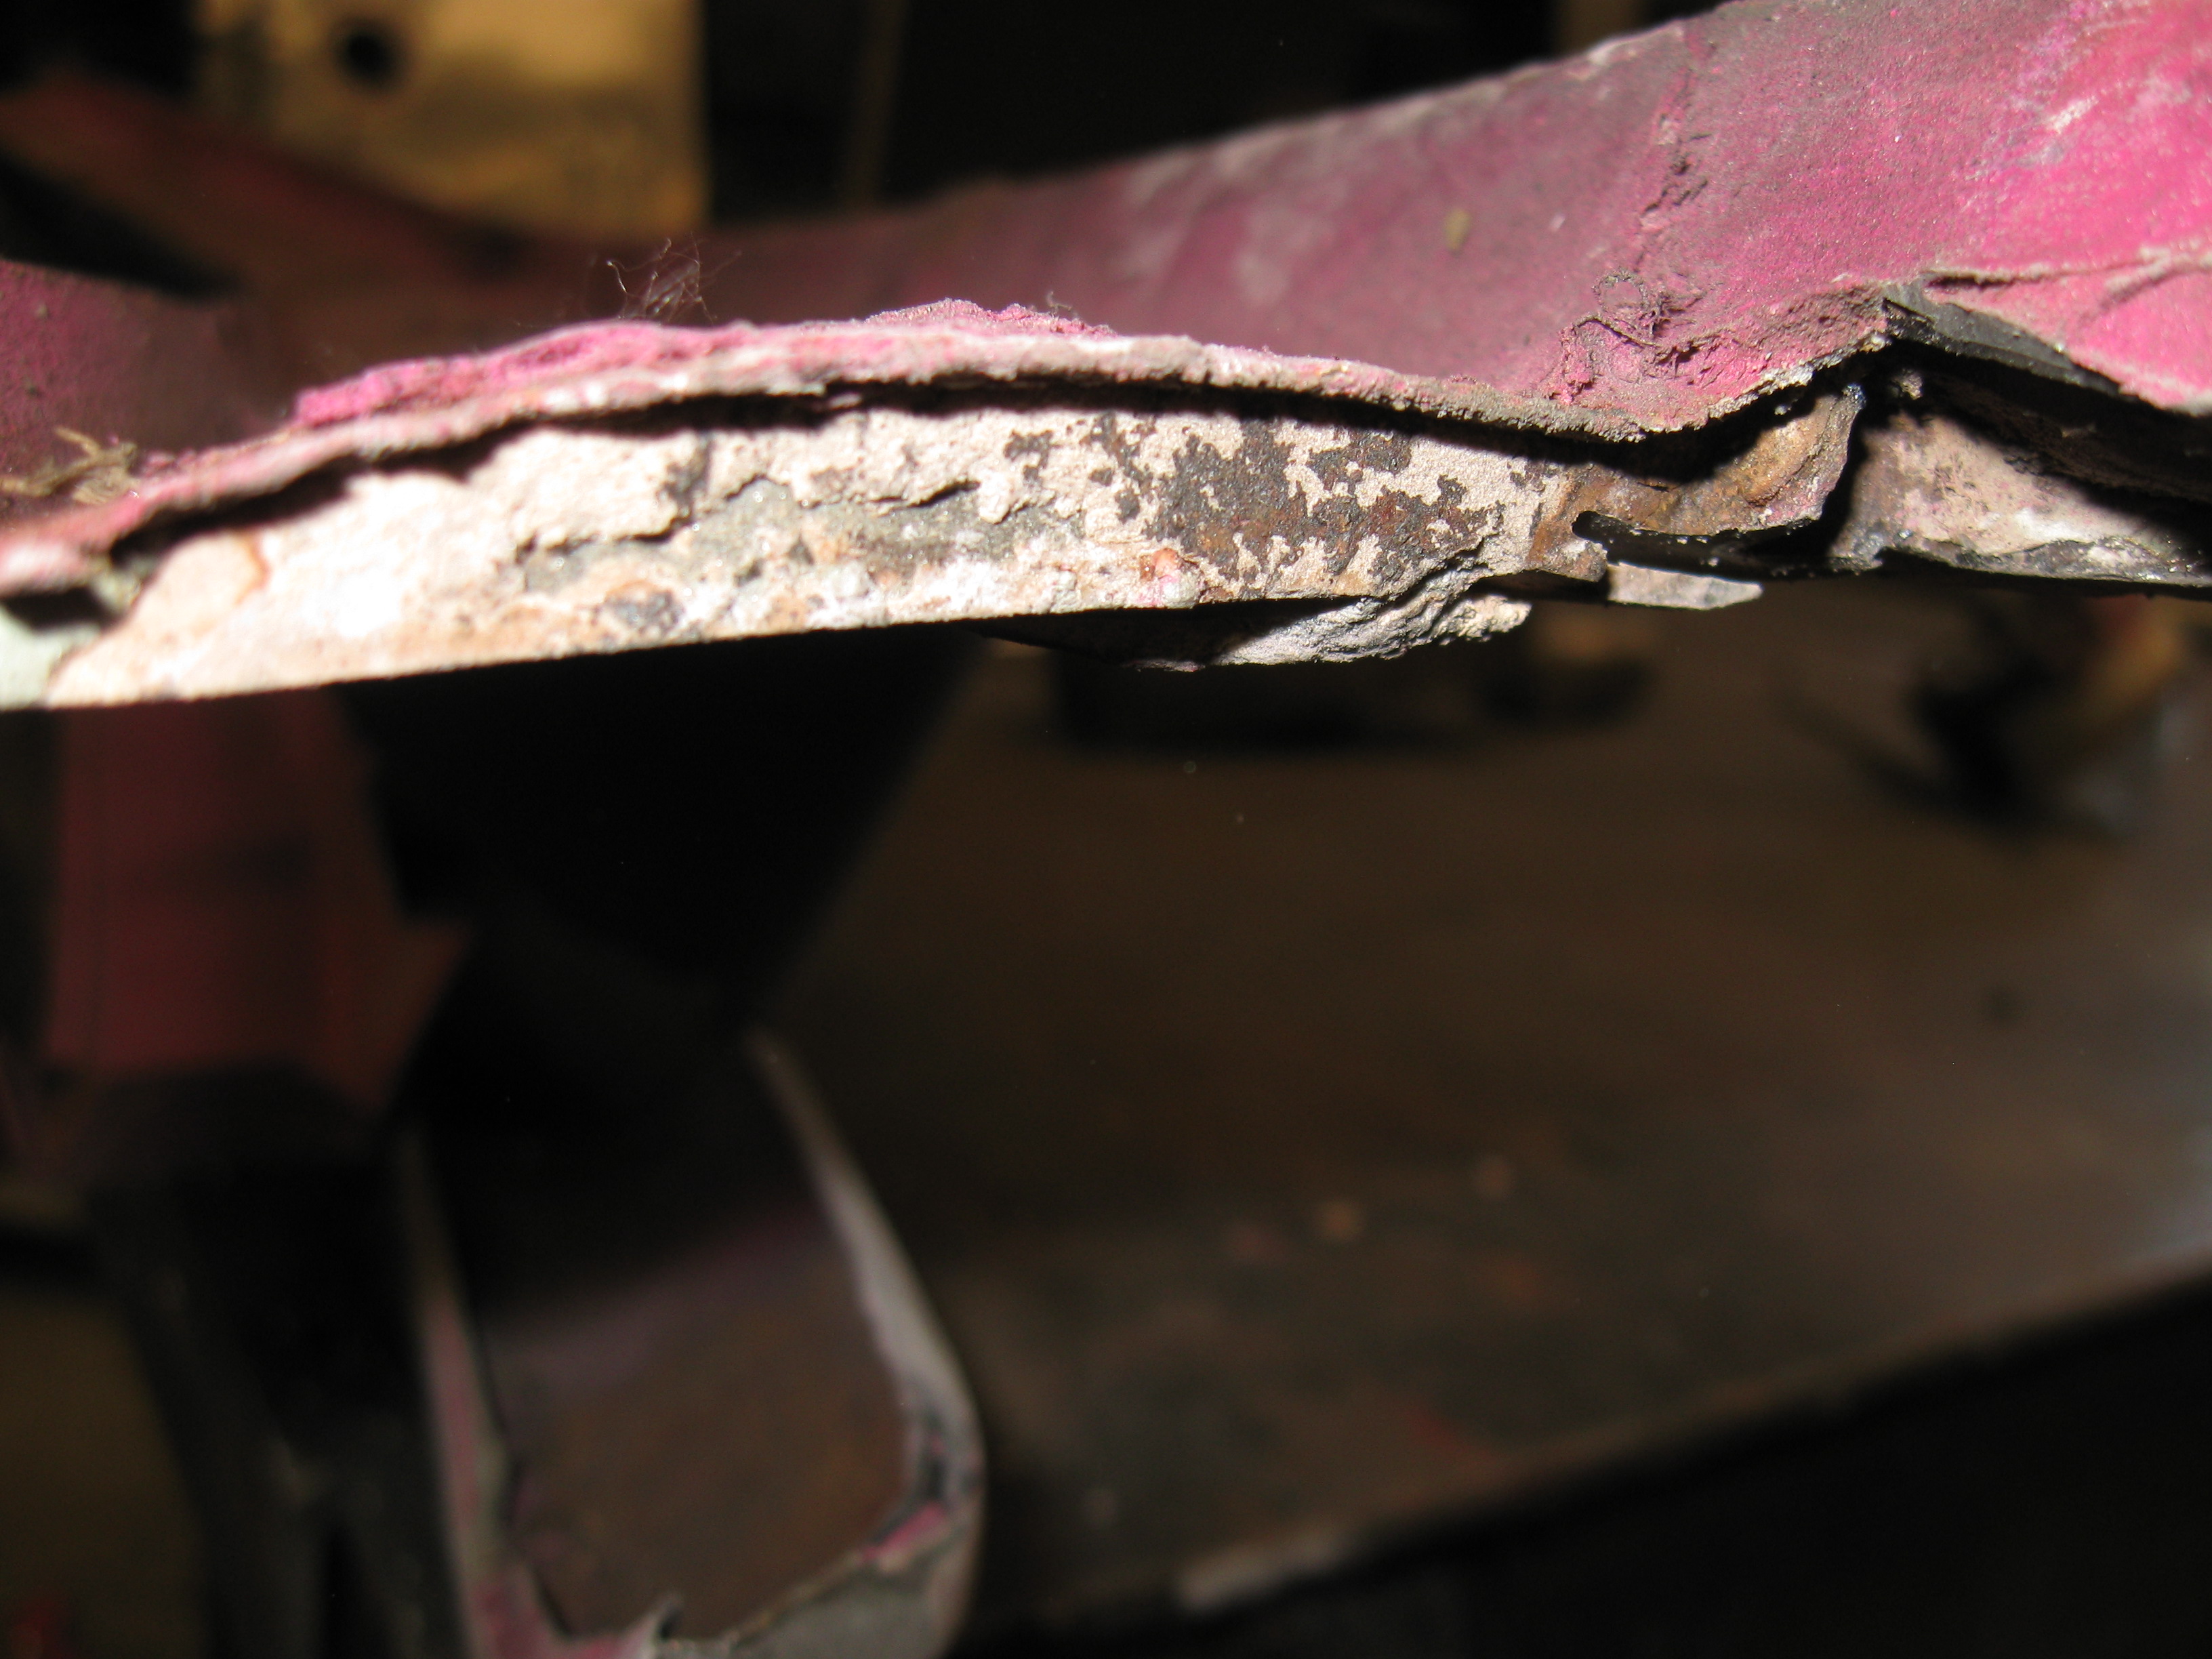
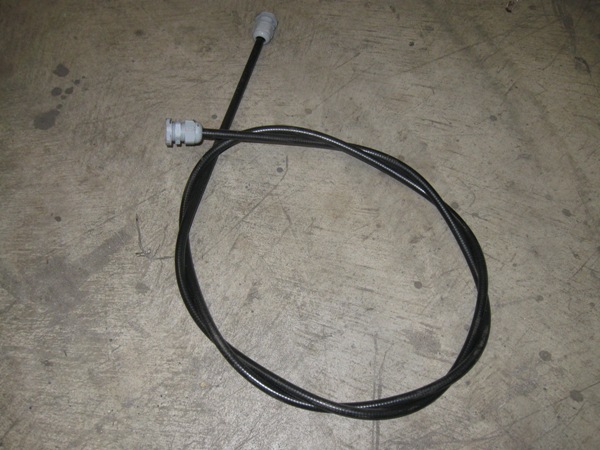
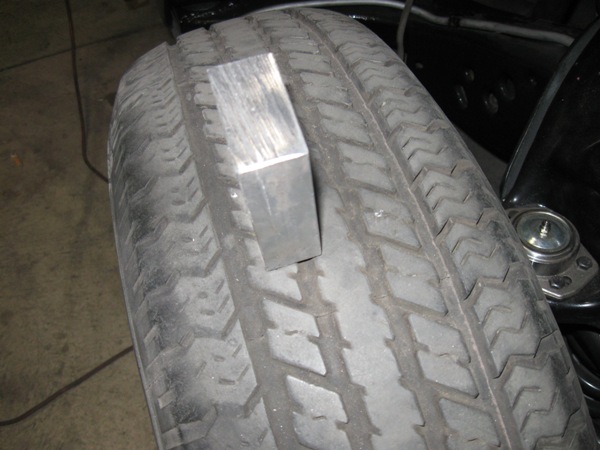
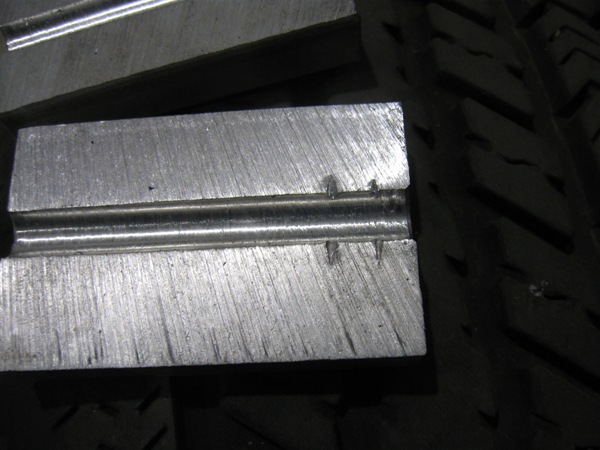
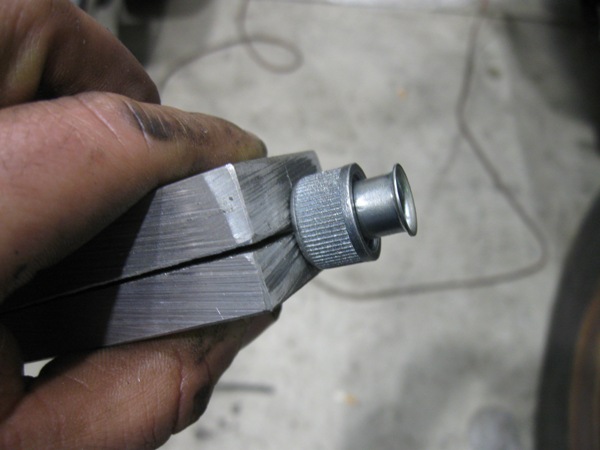
This molding not find it, I searched for 2 years, then I decided to play it, starting with a piece that I had ruined the olds
IMG_0241.jpg
IMG_0242.jpg
IMG_0243.jpg
IMG_0246.jpg
This molding not find it, I searched for 2 years, then I decided to play it, starting with a piece that I had ruined the olds
IMG_0241.jpg
IMG_0242.jpg
IMG_0243.jpg
IMG_0246.jpg
Thread Starter
Registered User
Joined: Mar 2009
Posts: 540
From: italy
Thread Starter
Registered User
Joined: Mar 2009
Posts: 540
From: italy
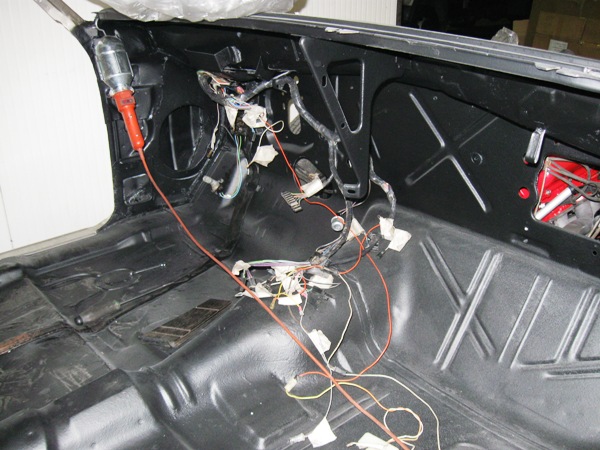
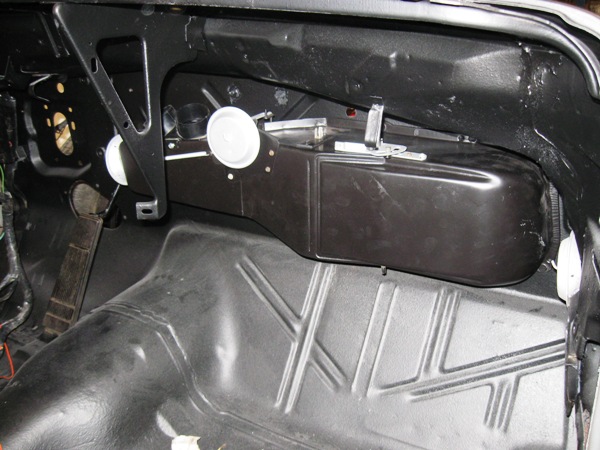
was very complicated and not really that nervous because he passed the pipe, I eventually had to cut everything and redo the steps to remove the starter for maintenance and connect the two tubes that you see in photos in a single tube.
If I think the work that I did not do it again more
DSC00084.jpg
DSC00085.jpg
Registered User
Joined: Feb 2010
Posts: 906
From: Windsor, Ontario
Olds67: You are doing a great job! The header on the left side looks like it took a lot of work to make it right. I think that I will keep my factory manifolds.
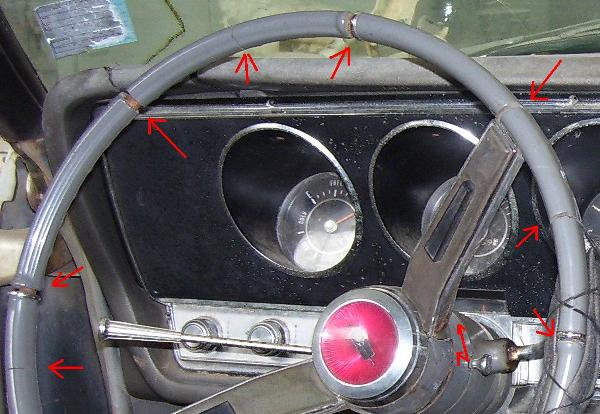
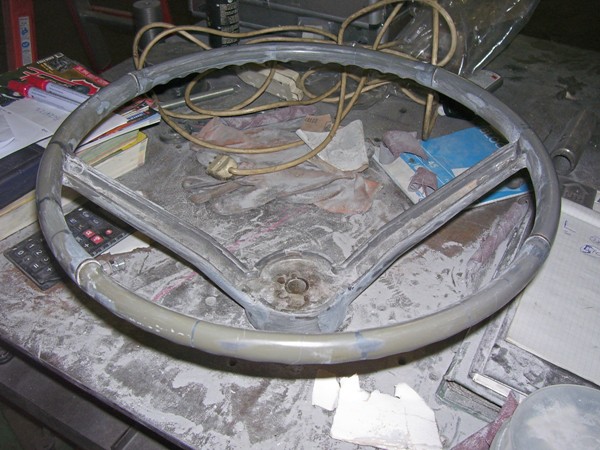
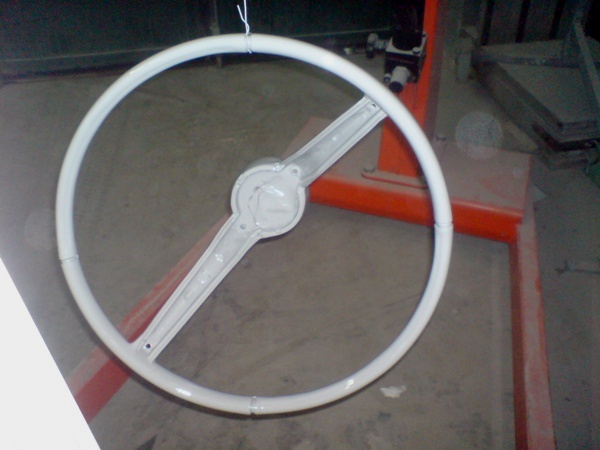
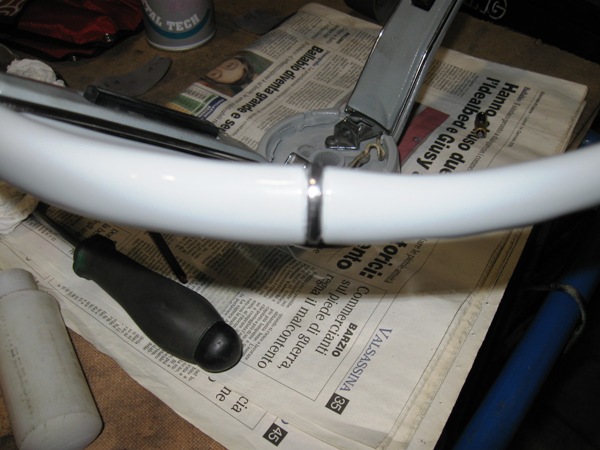
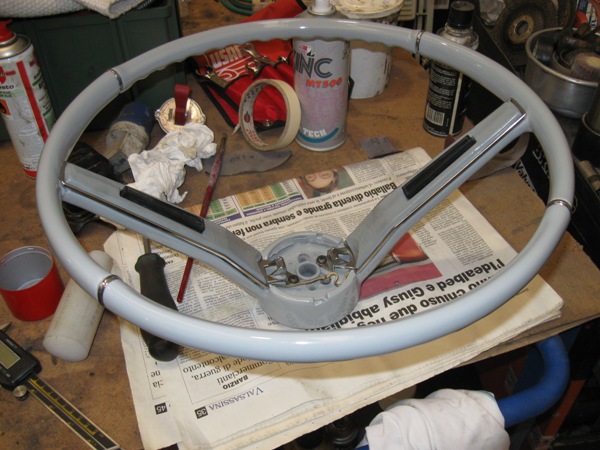
Nice restoration on the steering wheel. Mine is cracked as well. Por15 has a steering wheel repair kit. I might just attempt this repair myself.
Nice restoration on the steering wheel. Mine is cracked as well. Por15 has a steering wheel repair kit. I might just attempt this repair myself.
Thread Starter
Registered User
Joined: Mar 2009
Posts: 540
From: italy
Olds67: You are doing a great job! The header on the left side looks like it took a lot of work to make it right. I think that I will keep my factory manifolds.
Nice restoration on the steering wheel. Mine is cracked as well. Por15 has a steering wheel repair kit. I might just attempt this repair myself.
Nice restoration on the steering wheel. Mine is cracked as well. Por15 has a steering wheel repair kit. I might just attempt this repair myself.

Thread Starter
Registered User
Joined: Mar 2009
Posts: 540
From: italy


