When you click on links to various merchants on this site and make a purchase, this can result in this site earning a commission. Affiliate programs and affiliations include, but are not limited to, the eBay Partner Network.
I believe this is the granddaddy of all MAW's. Rob might have held the record but you passed him by way back. You are going to have a very nice car. I love the 57's. Did you brace between the top of the rear quarter and the firewall. If you didn't you really need to do that to keep the body from bending since the body is off the frame
Thanks for the words of advice. I will pass that along to the guys at the shop. The amount of sheet metal work that it needs is way beyond my level. But I hope to be there for every step to learn how it's done.
What's a MAW?
MAW=Might As Well. Generally it starts small like... I'm going to rechrome some of my dash pieces. And then while I'm here I "Might as Well" do this, oh and that, and then you wind up where you are. With most of the car bagged and tagged and your doing a frame off.
Eric pretty well defined the MAW. You have the granddaddy of them all. As long as I am pulling these few pieces off the dash to be rechromed, I might as well completely disassemble the entire car and restore it. I look forward to following this one.
Nomadoc, That's what happened to me on the 64 F-85 project-MAW!. I removed and marked every possible piece,nut and bolt. Then decided to go Pro-Touring on the rebuild over stock. Your car being restored back to original will become a rare and expensive piece of automotive history. Good luck I will be watching!
Might As Well....
That sums it up perfectly. It's been fun so far. My last project, a 55 Nomad, was a series of steps like engine then suspension etc... I didn't really consider doing everything all at the same time. I also never thought that all this stuff would take up so much space! I had to rent a storage unit.
Anyway, I got the frame back Friday and started taking it apart this weekend. Pics later on.
Thanks for the encouragement
Bill
That's what happened to me over a year ago...a MAW scenario! first started with the engine then went to this part and that part all the way to an engine bay restoration. I'm very happy I have done it which I suspect when you are done you will feel the same. Great pictures! I look forward to more.
That's what happened to me over a year ago...a MAW scenario! first started with the engine then went to this part and that part all the way to an engine bay restoration. I'm very happy I have done it which I suspect when you are done you will feel the same. Great pictures! I look forward to more.
Thanks!
Actually, your thread was my inspiration to go ahead full speed...so this is basically your fault
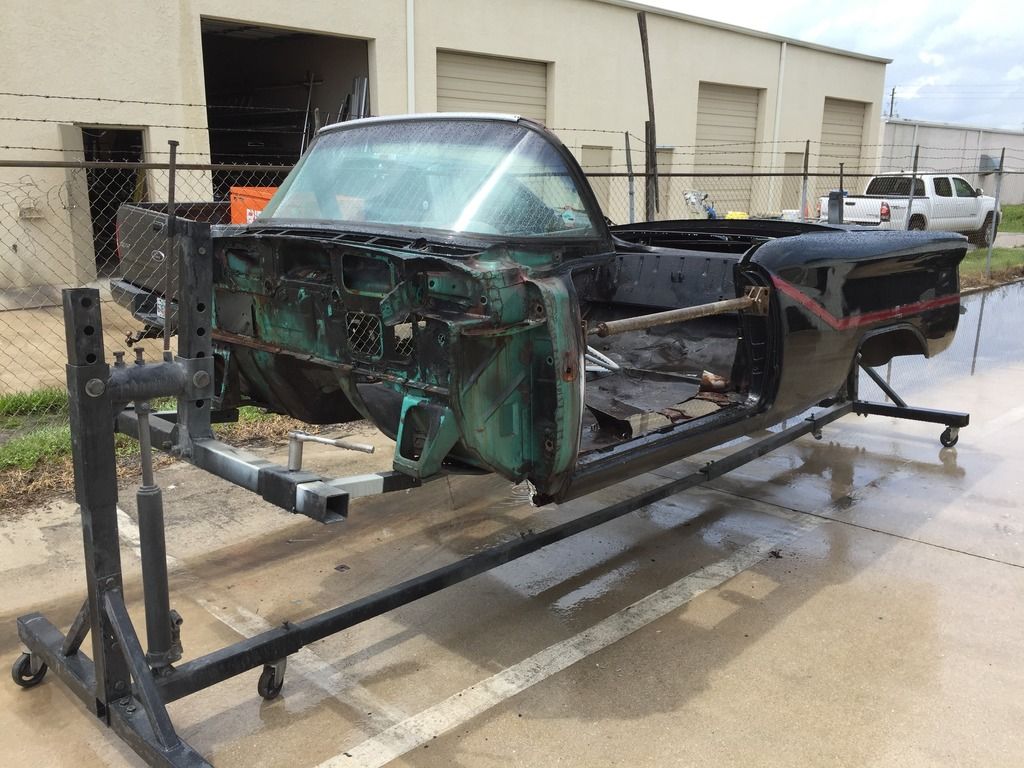
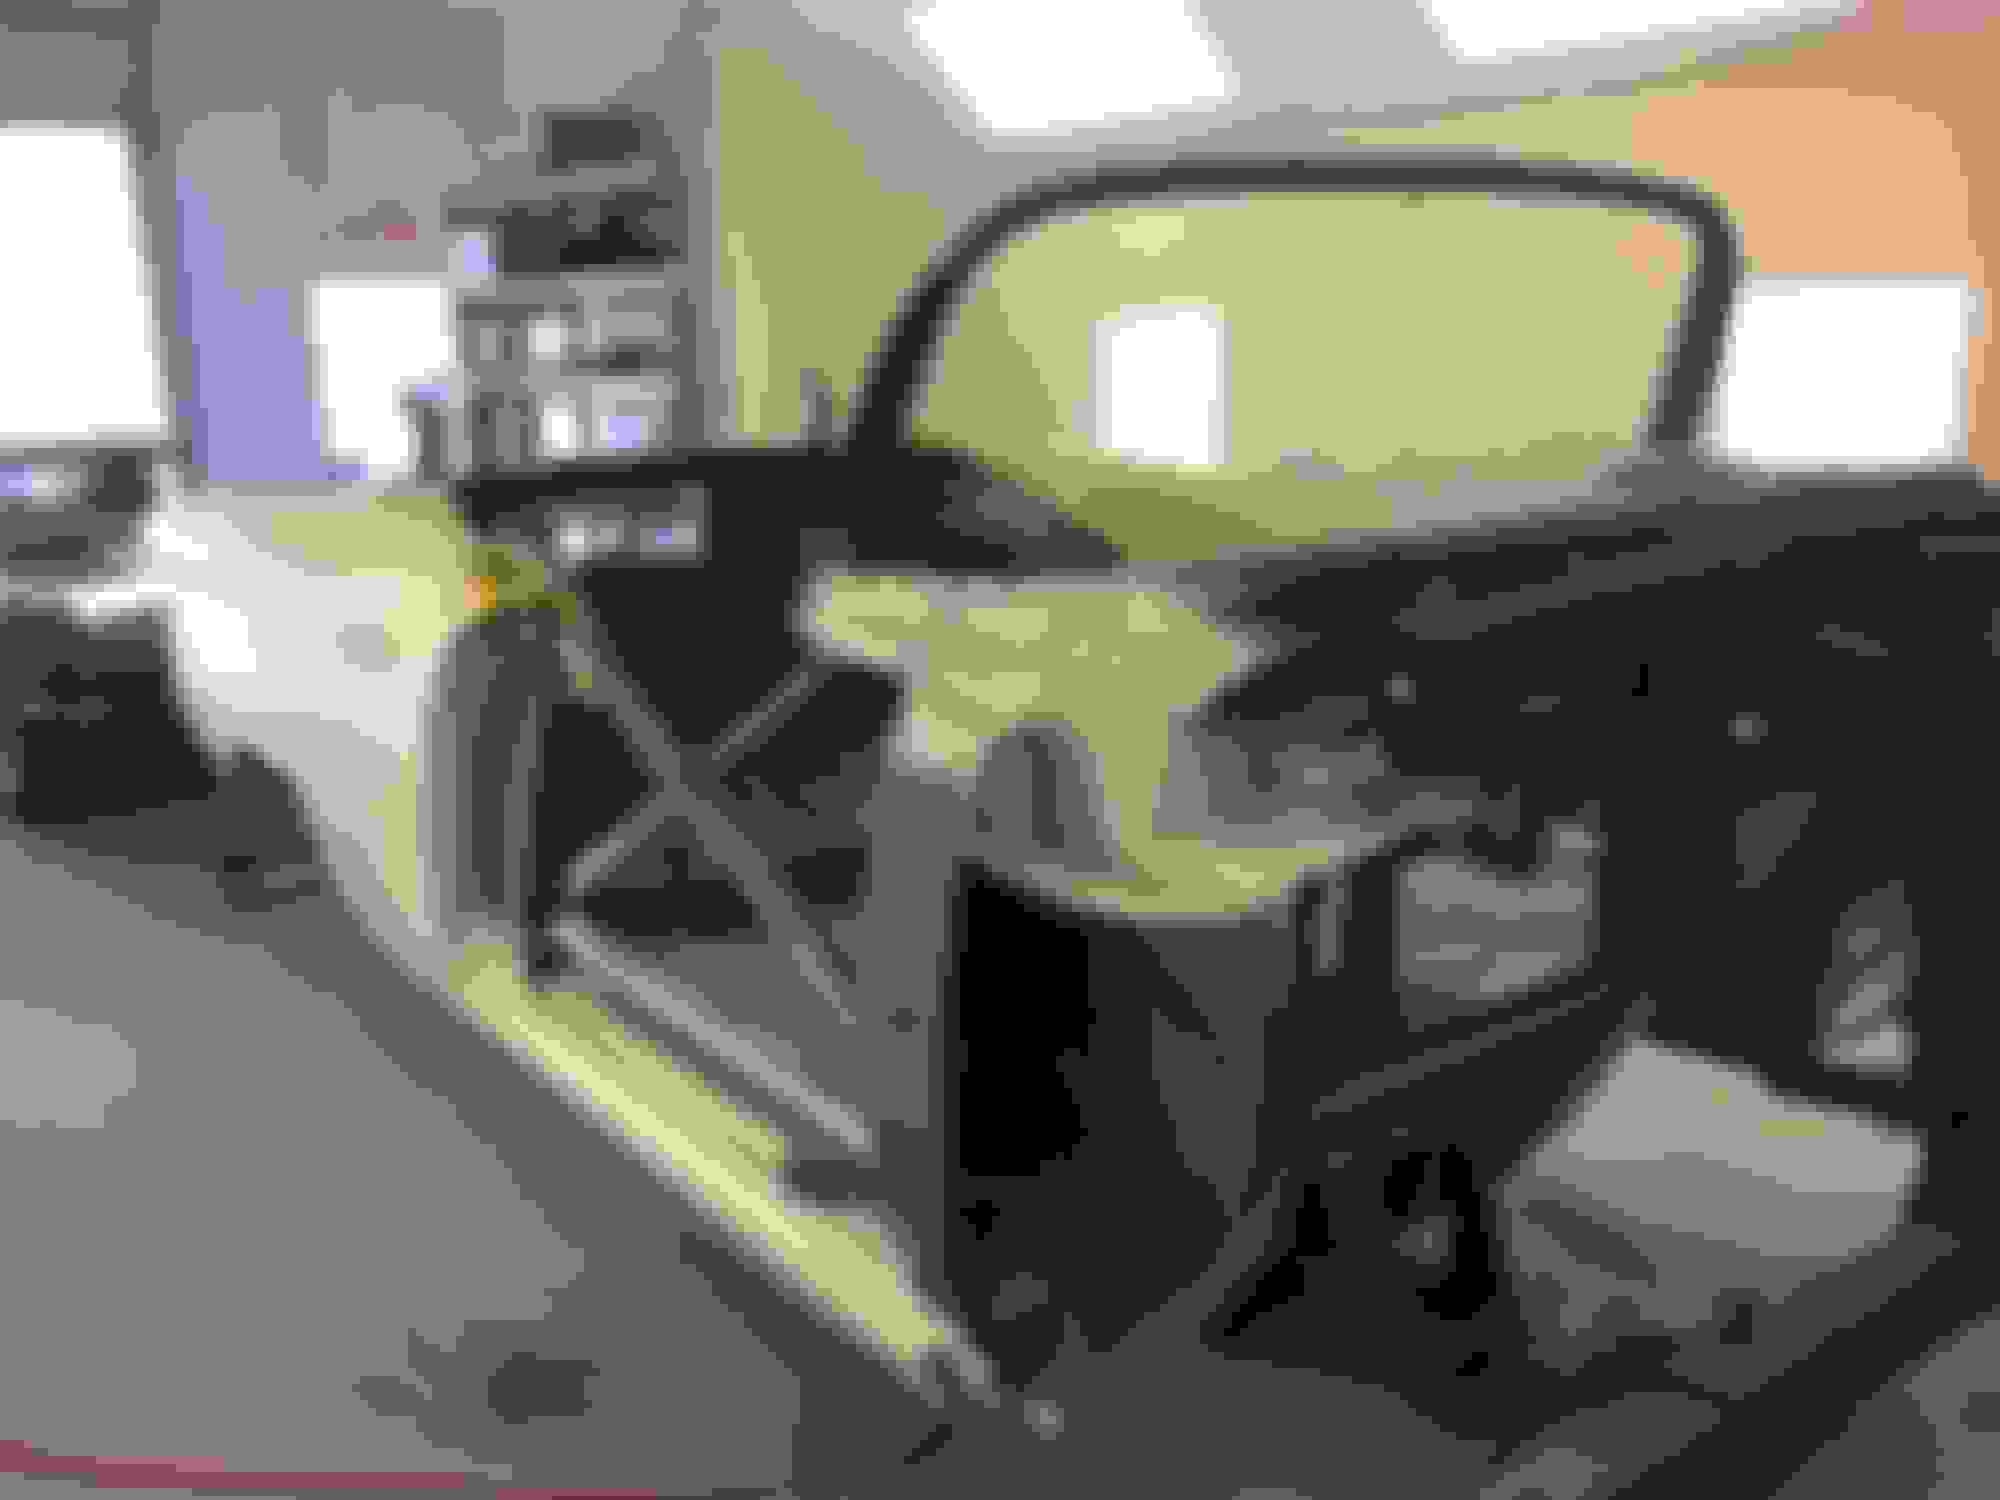
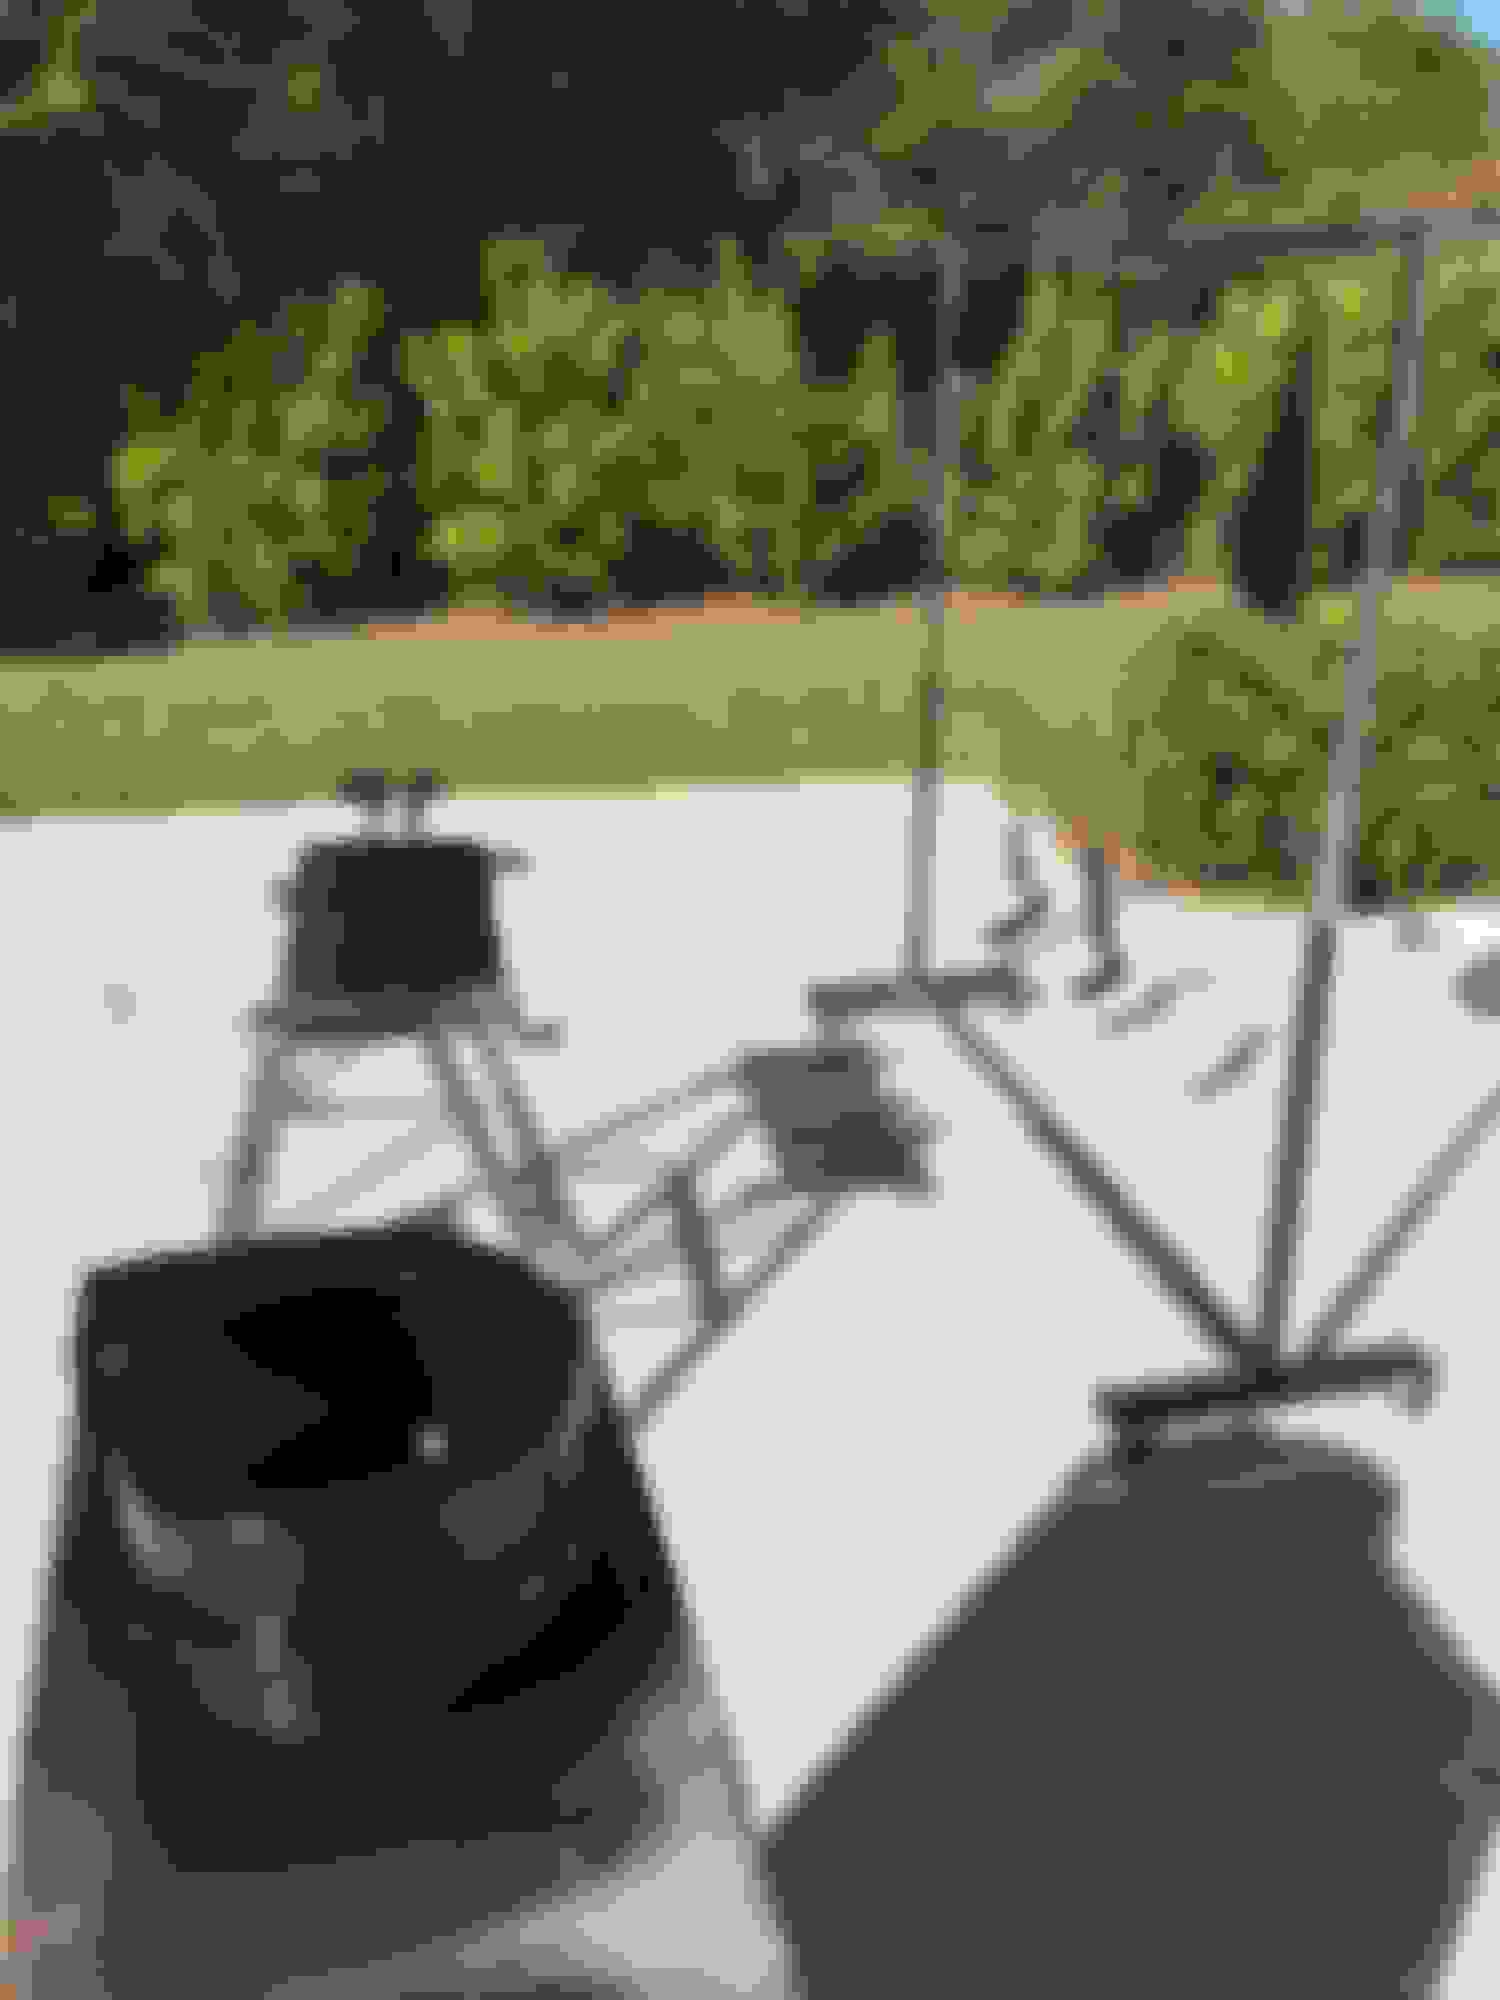
The big girl on the rotisserie awaiting glass removal and transport to the media blaster to see what evil lies below the black paint
I tried to take some pictures of the inner rockers and rusted through floor braces but its hard to take pictures of black holes in bright sunlight... will try try agin in better light
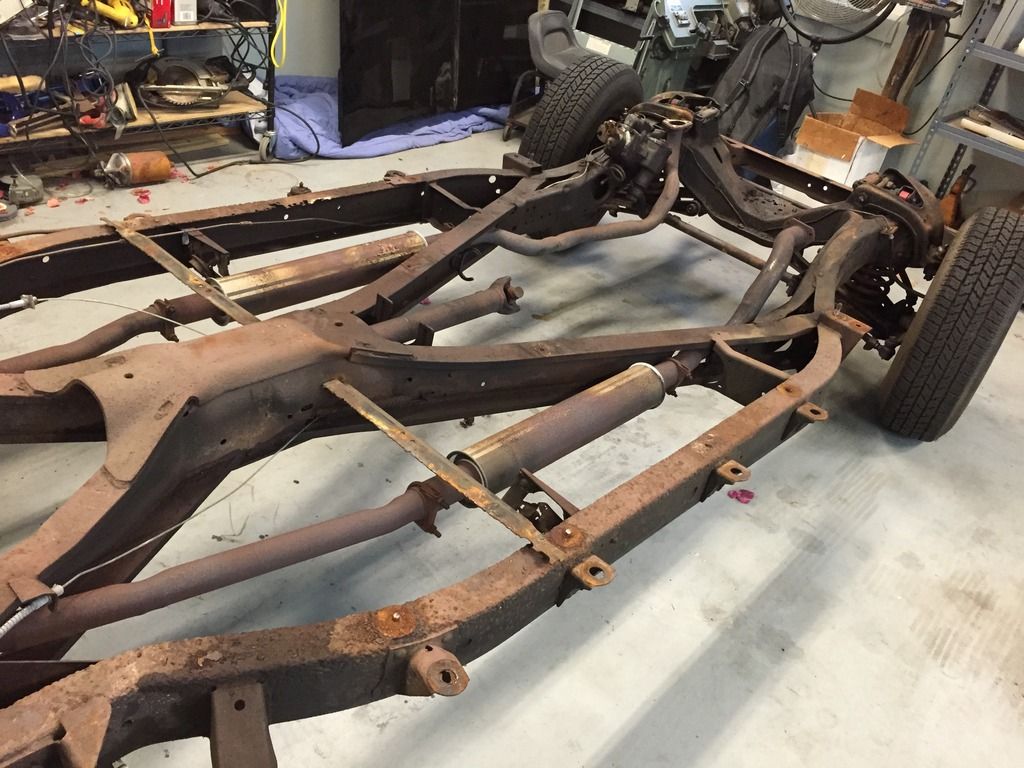
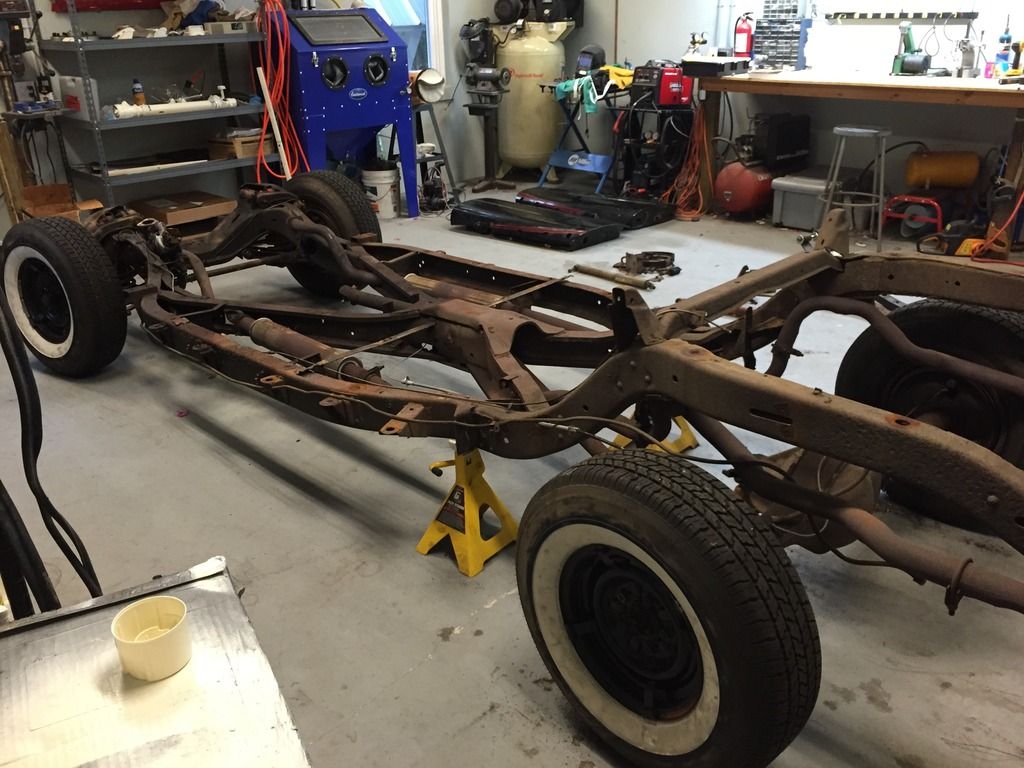
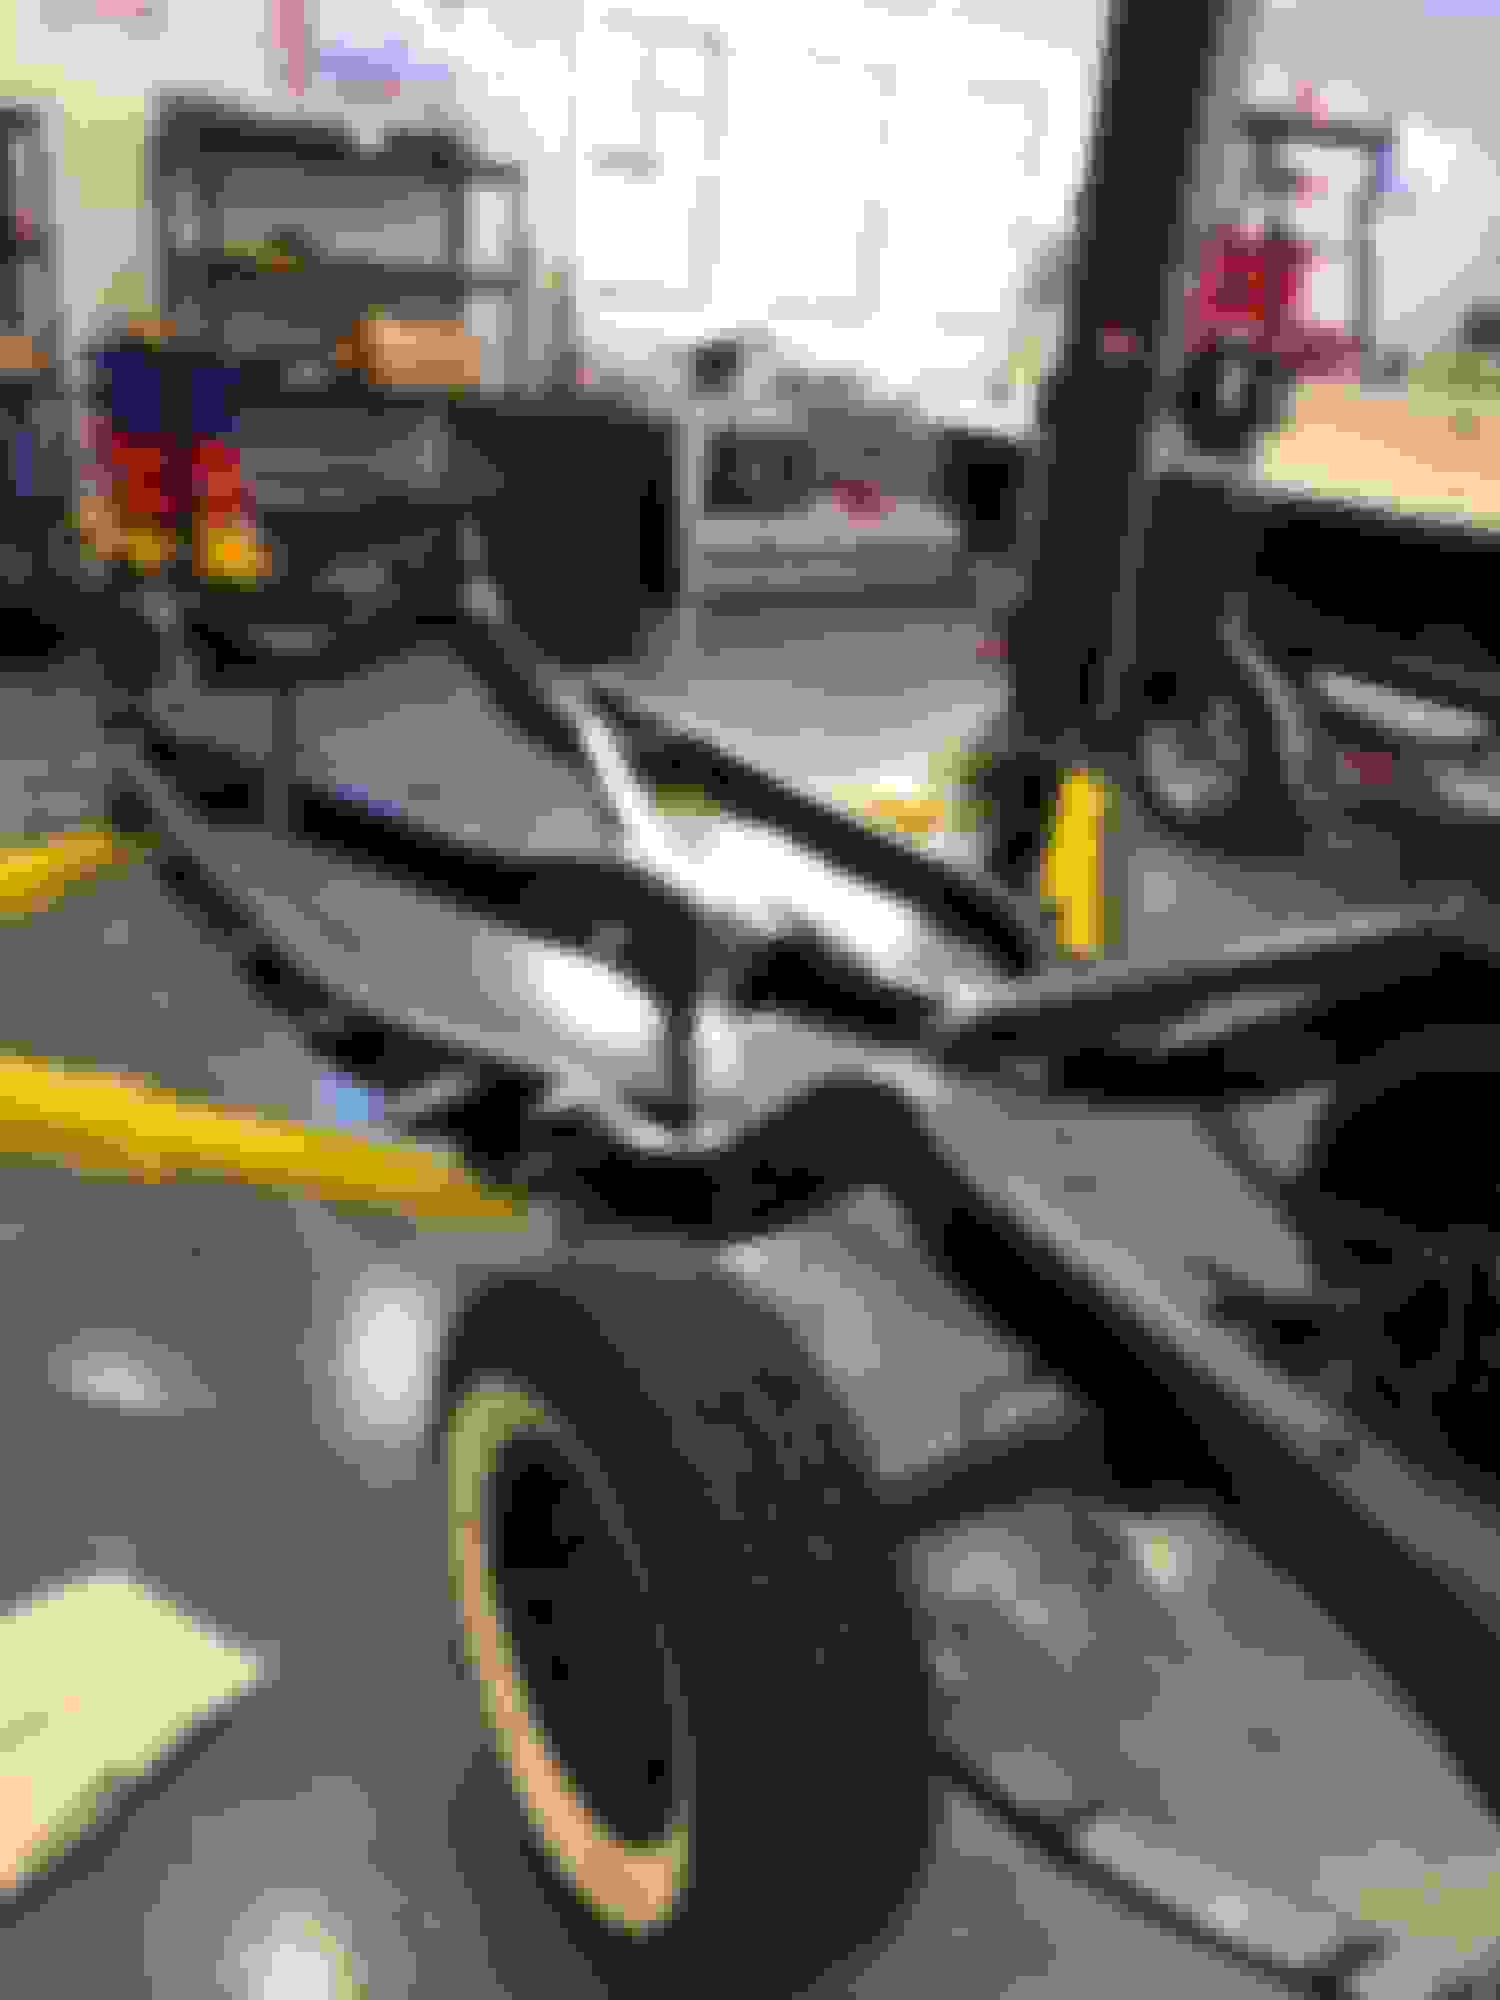
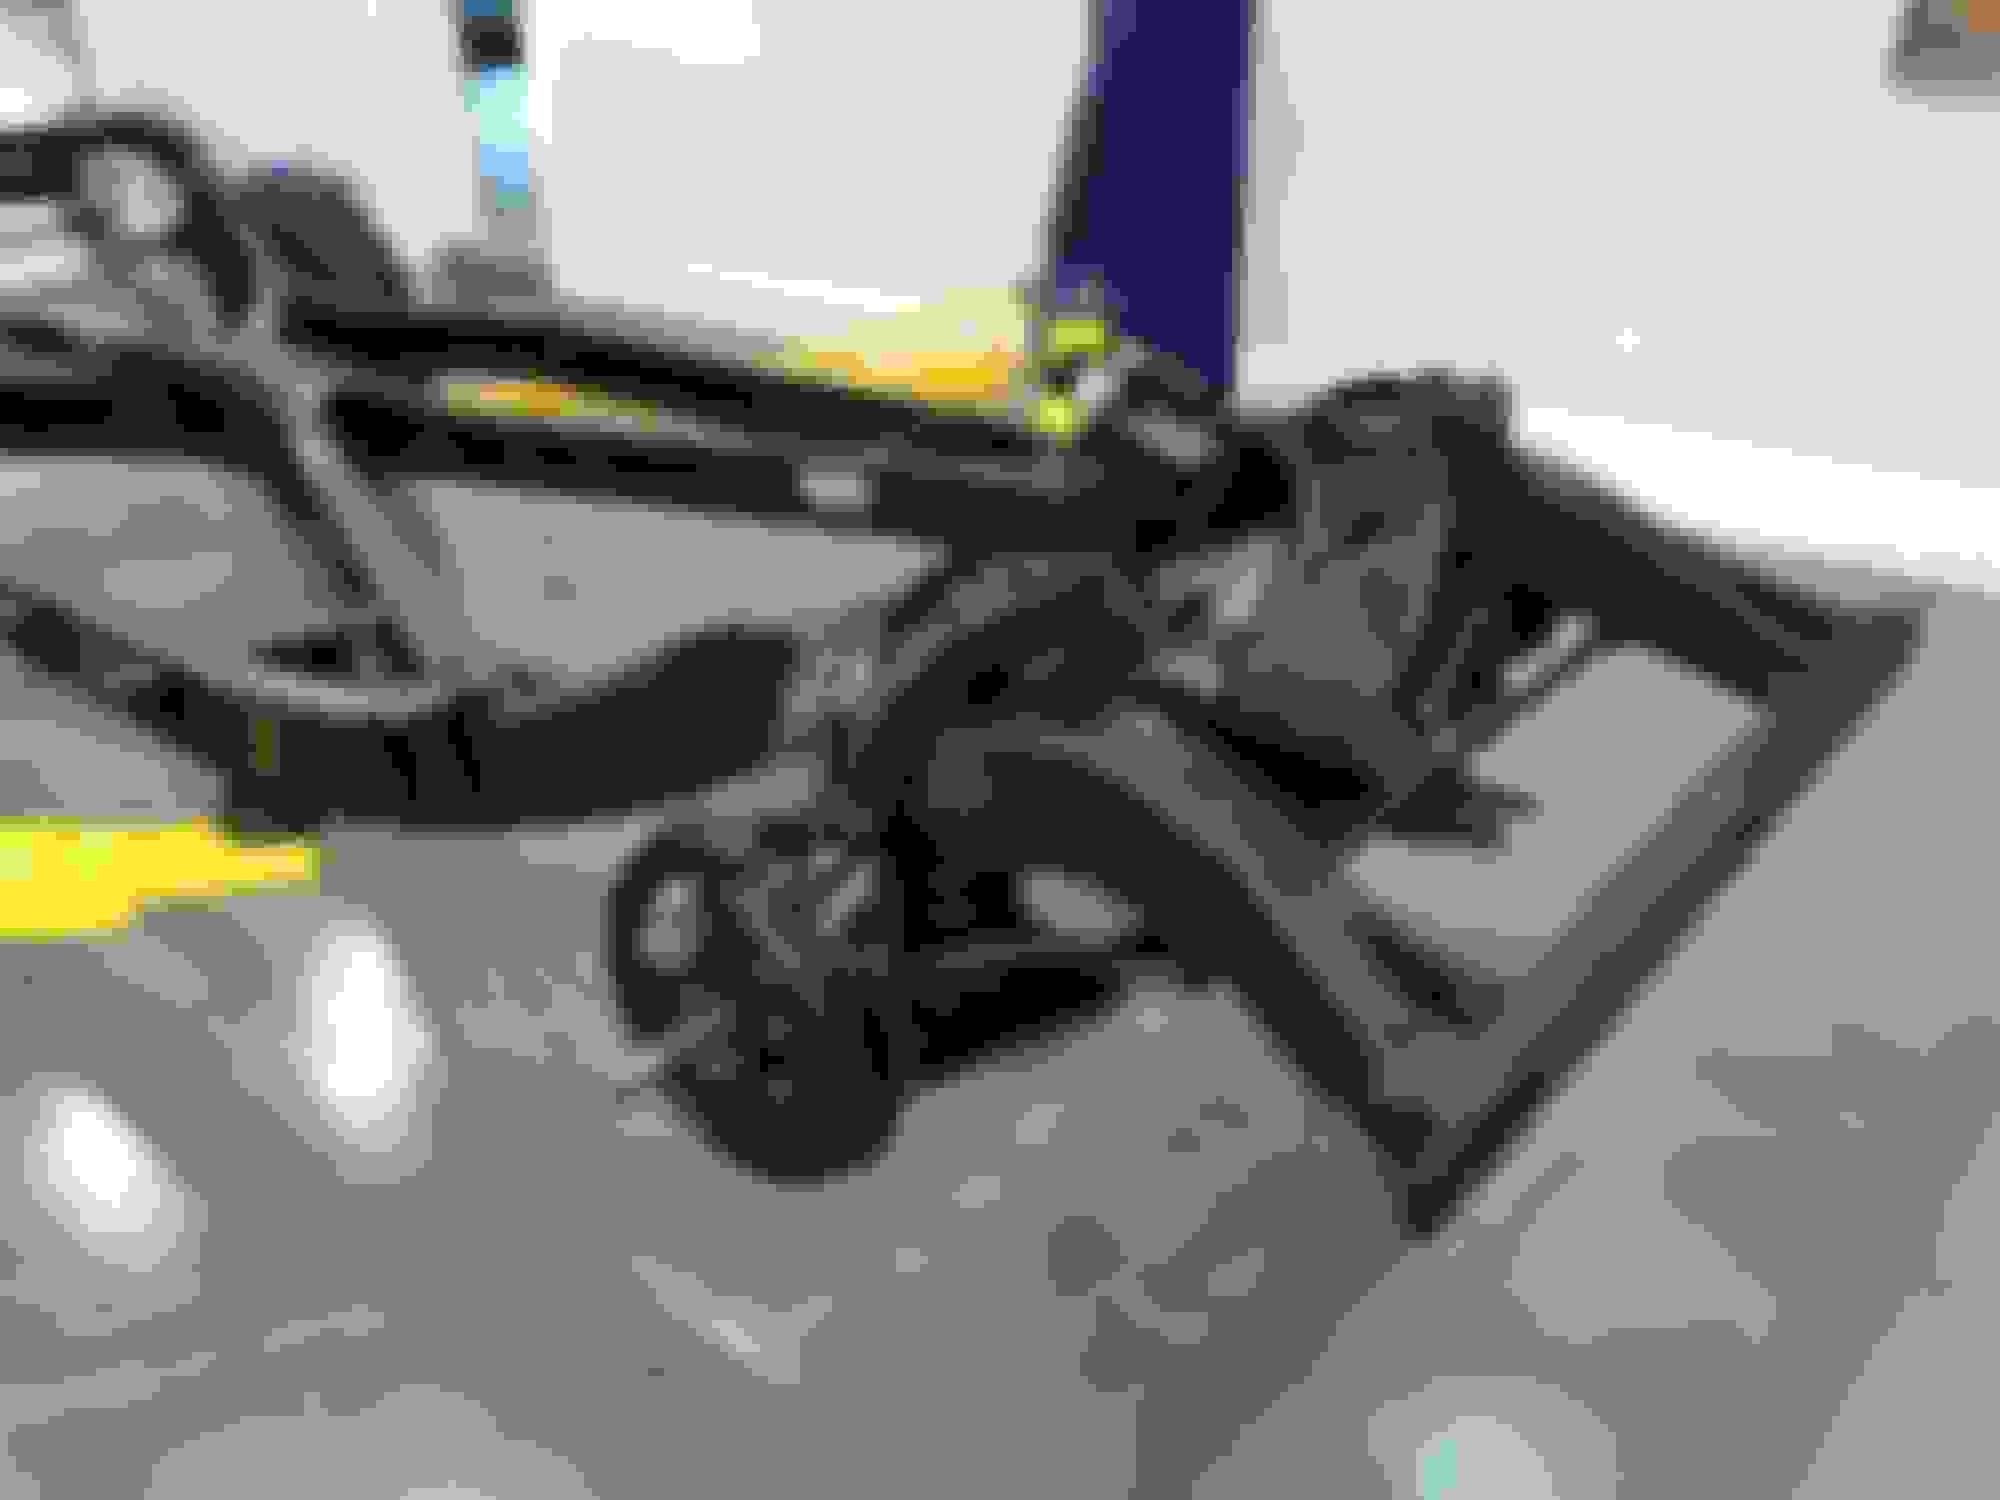
Frame has some "accessory braces" provided by a previous owner.
So I am working back to front with disassembly. Next up is front suspension. The spring compressor I have for the Chevy won't work with this suspension. With no engine in the car, a floor jack is not going to be much help. Think a rental spring compressor from the AutoZone will work with these springs?
Thanks!
Actually, your thread was my inspiration to go ahead full speed...so this is basically your fault
The big girl on the rotisserie awaiting glass removal and transport to the media blaster to see what evil lies below the black paint
I tried to take some pictures of the inner rockers and rusted through floor braces but its hard to take pictures of black holes in bright sunlight... will try try agin in better light
Frame has some "accessory braces" provided by a previous owner.
So I am working back to front with disassembly. Next up is front suspension. The spring compressor I have for the Chevy won't work with this suspension. With no engine in the car, a floor jack is not going to be much help. Think a rental spring compressor from the AutoZone will work with these springs?
I do front end work with motor in for the weight. As for your question don't know.Cool car for a maws. Two other choice names i use when finding conditions of rework in bad shape. Snafu and fubar!!
So I guess the only thing I can say is I'll take full responsibility. Ironically, I just heard of two of my coworkers who have been asking about my progress over the last year say they are itchin' at getting their Galaxie and Nova out to work on it. Something about the same "inspiration".
A few weeks ago I had to hook my upper control arms back up to the king pins. The motor was out and any time I jacked it up the car would go up. I tried a tow strap around the frame but that wasn't budging. My only choice was the autozone spring compressor. I removed the shocks and shoved that thing through the middle. It worked like a charm to compress the springs and lower the arm to the pins.
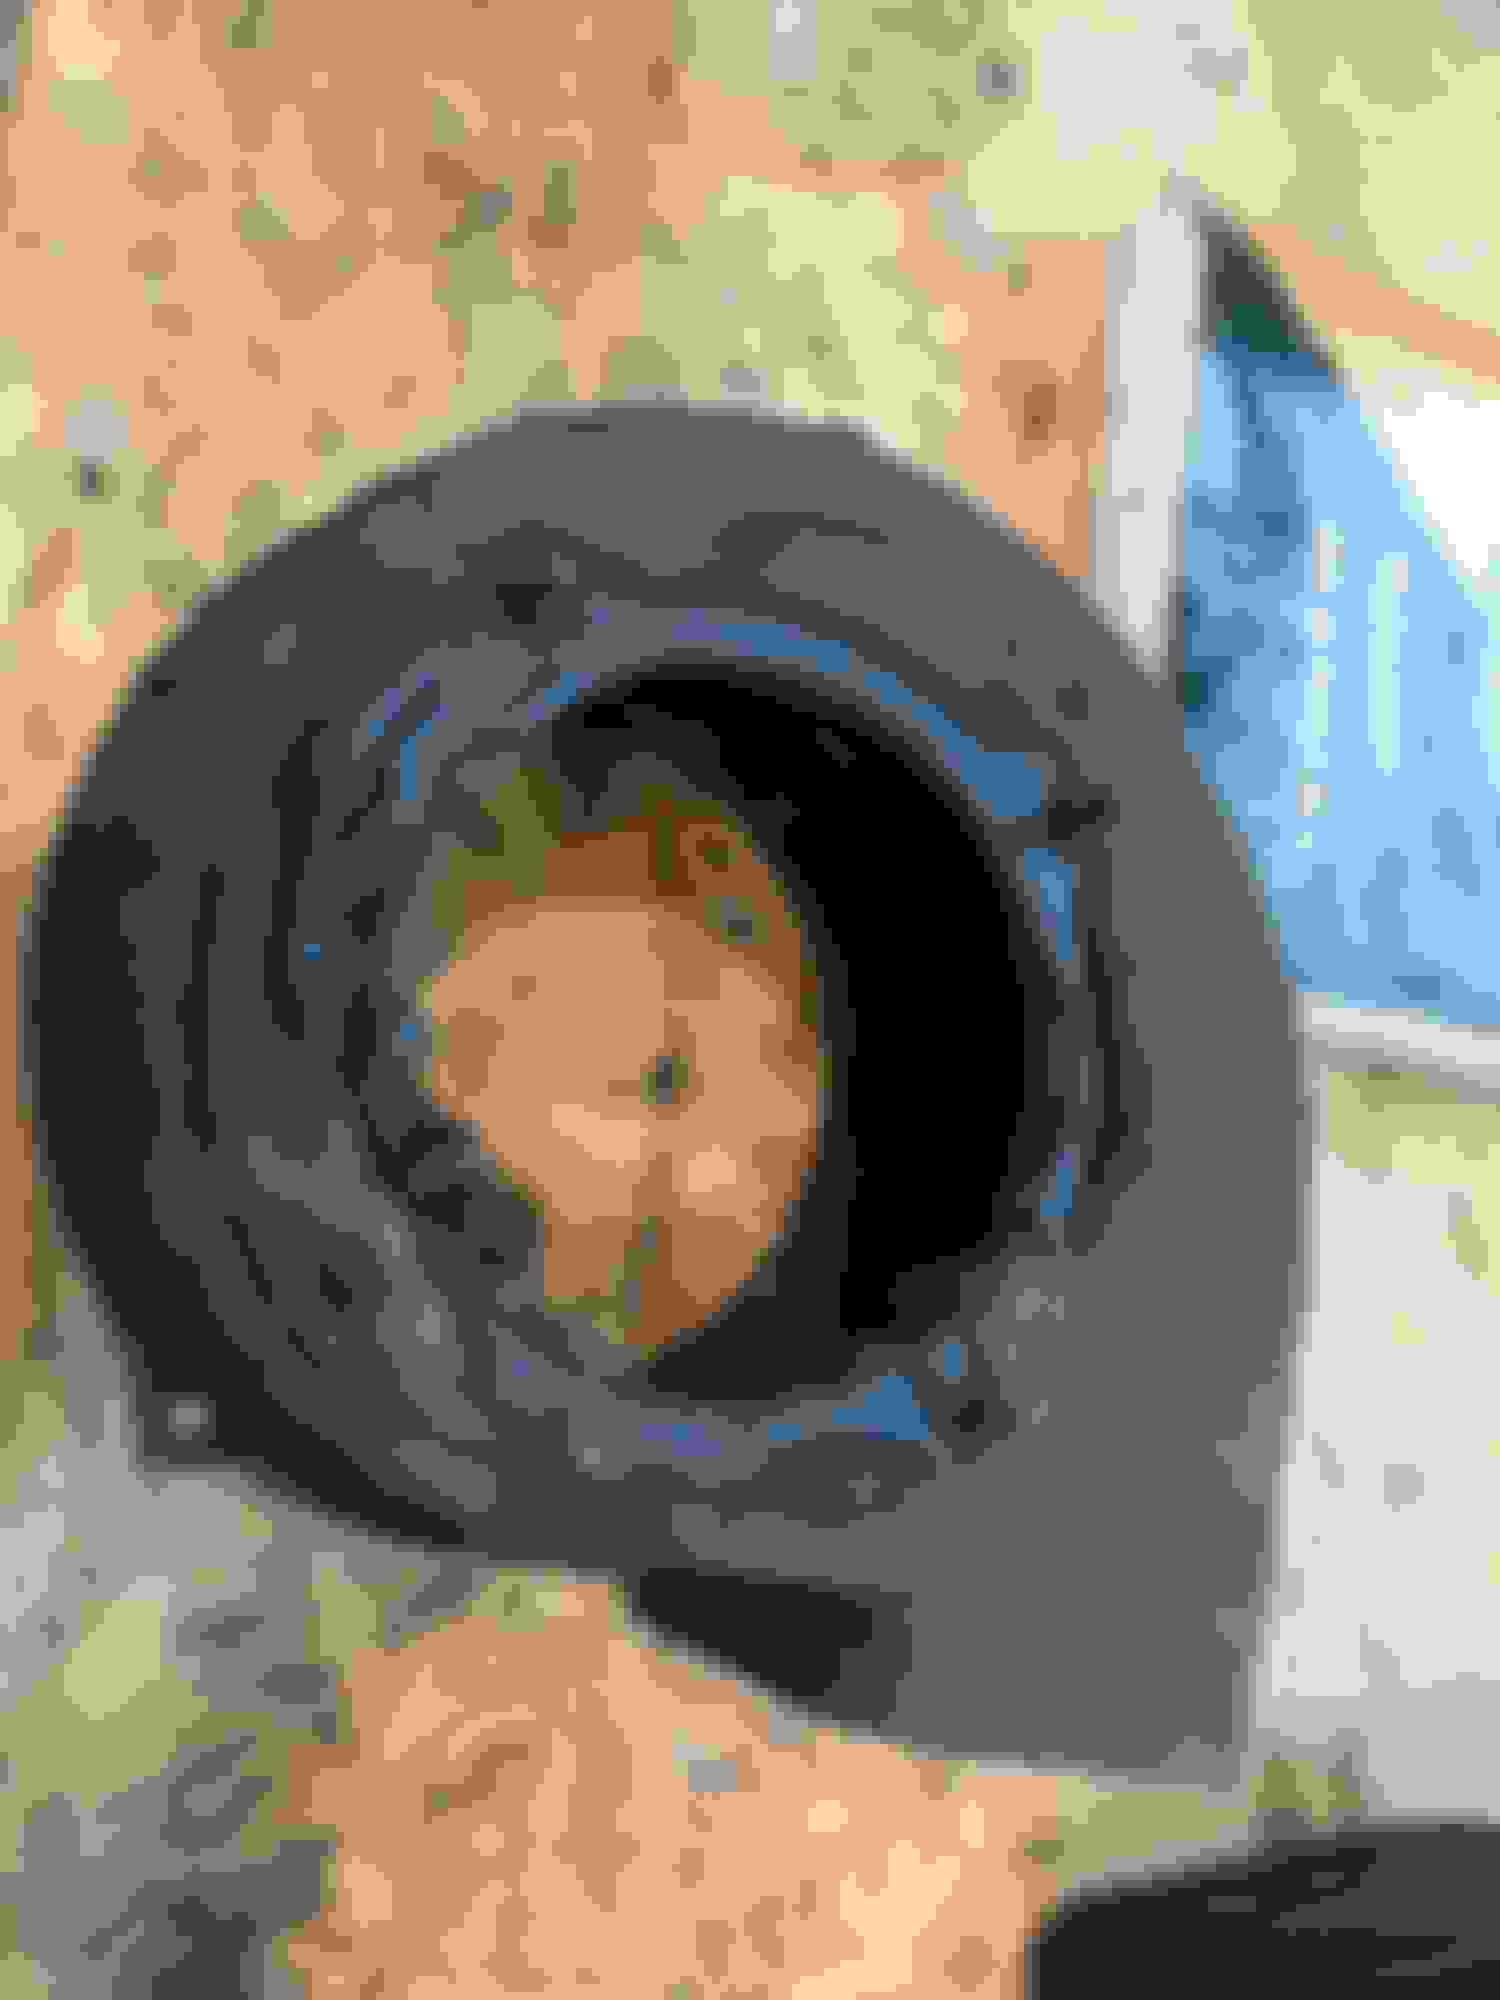
Last night I was able to celebrate victory, following a violent battle, to remove the riveted lower balljoints. There was much rejoicing. However, I am at my wits end with regard to the front brake drums. I can not remove them from the hubs.
I have soaked them (for days!) with penetrating oil, used a BFH, an air hammer, heat, prayer and my entire inventory of curse words but not a budge.
Am I missing something?
Should I post this in general discussions?
Wow... Very Nice work, and relatively fast, I am not sure you have the mother of all MAW projects but you Might have LOL.. I heard rumors of one member putting some air in a tire , thinking the valve cap looked a little worn, and a full frame off was started LOL. but that is only rumors
following along
Well here I am 2 years since the last addition to this thread.
A lot was happened since.
The body is STILL at the body shop but is now in primer with much of the work done. The original shop determined that it was too big of a welding job and subbed it out to another shop. There it underwent replacement of the inner and outer rockers, the floor braces and the floor. It basically had to be cut into two separate pieces and then be reattached. It took a long time but the welder did a wonderful job with a pretty badly rusted out car.
I knew there was some rust when I bought the car but I didn't think that it was all that bad. Wrong.
Some prior owner had covered much of the rust with bondo and black paint (which was all that was holding it together, apparently).
Bottoms of the doors were rusted through and had to be repaired as well
I got the frame back and started working on putting things back together about 3 weeks ago.
Thank God I took a lot of pictures when I took the car apart because I have trouble remembering what I did yesterday, much less three years ago.....
It's starting to look like a 57 again! Very similar journey as you are experiencing, I have been building my 64 F-85 Pro Touring car for almost 7 years and getting to the finish line. I bought the car site unseen ( that was my first big mistake) The car was rusted out pretty bad, however I had my heart set on a base model F-85 "granny post car" and it still took me about a year to decide to take on this project or junk it. So I decided to explode the car, took a lot of pictures, bagged and tagged the parts.I needed to replace the doors, floor and trunk braces and the floor and trunk pans, left front fender and the section between the tail lights. I bought a new Miller-mactic 190 welder and learned how to weld. Then I took the car to the body and restoration service. I saved a lot of money because they worked on the body as a "fill in" between other jobs. So after about 2.5 years I hauled the completed rolling chassis there and they put the body back and took her home. To bad your not closer I love to wrench with you on your 57 vert. It's like putting a real life size model car together!! I have a thread in "major projects" with a ton of pictures on this project. Great job...
Wow. Your story sounds very familiar! It looks great. 7 years is a long time to keep the faith.....I know that I have been ready to pack it in a number of times along the way here.
You are right about the model car analogy too, except I don't remember having to clean rust off of every part when I was a kid.
It's hard staying after a long term build. Life gets in the way and as I get older I just don't want to work on the car here in the summer when its 95-107 degrees. Then I get complacent! The rust part is very true, but when you to build her back it's fun, most of the time. I have run into "new" parts the either did not fit or failed. Example, the car has a highly modified 200-4R trans. Ordered a new B@M Bandit Shifter put it all in and tried it out. In drive the trans shifted fine. Drop into 1st gear, car started out in 2nd. HMM what in the heck is going on here? Looked up Summit Racing where I bought, it states it's for a 200-R4. HMM again went out to the shop doubled checked all my handy work and it's all good. Now I'm thinking something is wrong with the trans. 2nd thought, I called B@M. So get a load of this:they tell me it's for a 200-4R BUT the shifter comes with a power-glide shift gate!! NO where does it mention the product description online JEGS included too, that I need to order a 200-4R shift gate and swap them out. So ordered the 200-4R shift gate and installed it ( pain in the butt taking the shifter apart with the bucket seats in) I digress!
The '57 is looking better and better. I shudder to think what I have in store when I drag my '57 2 door sedan out of the woods. I am hoping to get it on inflated rubber tires in the next month and "maybe" begin next spring. I have enjoyed the pics and it is inspiring. Keep going, things are looking beautiful.
Where did you get engine overhaul parts ? Where did you get the gold engine paint ? Where and what paint did you use on the tranny ?
Thanks Ralph. I'm not sure wether my thread is inspiring or a study in why you shouldn't buy a rusty car.....
The parts and the gold paint are from Fu$ick. The tranny paint is called Ironcast from NAPA.
The wheel studs are swaged on. You need a special tool to cut the swaged surfaced and then you can lightly press the wheel studs out. If they don't need to come off don't take them out. Doing so makes you go to a larger wheel stud shoulder which doesn't look good at all. I just went through this on my 60 Olds Fiesta Wagon front driver side drum (left hand thread studs).
I just went through this on my 60 Olds Fiesta Wagon front driver side drum (left hand thread studs).
That is actually a very timely response to a question I posted here two years ago!
Yesterday, I reassembled the front brakes and put on the hubs. As I was putting on the left hand threaded spindle nut on the driver's side I wondered why there were left hand threaded lugs on the passenger side hub......
During the disassembly of the car, I was really careful about labeling the side the parts came from and bagged and tagged everything separately.
Apparently, the hubs were switched to the wrong side sometime previously.
So while I was looking through the shop manual to see if there was an answer to the "correct side for left handed threads" question, I came across this picture:
Then I realized that the backing plate is also on the wrong side. You can see that the primary shoe only has one spring holding it on in my assembly (which is the way it was when I took it apart).
I guess I should now assume that my careful picture taking before I took everything apart is like the blind leading the blind.
The backing plate can't be on the wrong side because the slot for the star adjuster would be toward the back shoe and the new wheel cylinders (which are side specific) wouldn't fit.
Somewhere in the car's past someone must have changed the drums/hubs side for side .
The " left hand studs , left hand side " idea was dreamed up by some engineer in the late twenties or early thirties .
Some , but not all , GM divisions subscribed to it . Chevrolet didn't . Mopar was also a proponent , but not Ford .
By the mid sixties this theory was de-bunked , and left hand studs disappeared .
That's interesting that it wasn't used by all the GM divisions.
I know it provided me with my first Oldsmobile "what the heck" moment.
As in "man these lug nuts are on tight!........Oh."
So this week I made some new brake lines. I used copper nickel alloy tubing and a vise mounted, Eastwood flaring tool which made it pretty easy as long as I didn't get into a hurry....
The differential has started to leak so I decided to take that down for new oil seals, gaskets and pinion bearing.
Of course, one of the axle bearings seemed a little dry so new bearings for those too........
Visited the body shop. The hood had some rust perforations and required welding in some new sheet metal. That was completed and the hood is now in primer.
Spent the weekend working on the fuel line running from the tank to the fuel pump. When I got the car, the line ended just behind the fender well and then had a very scary patched in piece of copper tube running under the center of the front cross member (!!!!) to the fuel pump.
I found this picture on the internet after spending a few hours looking at Google images trying to figure out the correct routing of the fuel line
I mocked up the front portion of the new line with some 3/8 diameter copper line from the hardware store to use as a template.
Now just waiting for the UPS man with all the stuff I ordered.............
Slow but steady progress.
Gave birth to the fuel line. Not a fun project at all....
Realized I was missing the brake line retaining tabs on the rear end so I fabbed some up and welded them on
Put new oil seals in and then assembled the rear brakes
Made some new rear brake lines and attached the shocks
Spent a LOT of time turning crusty parts into clean parts
Then applied epoxy primer
Now I'm waiting on the drive shaft and the exhaust system (8-10 week lead time!!).
Would love to put the engine and tranny in but the body shop guys don't want that done yet.....


 Ironically, I just heard of two of my coworkers who have been asking about my progress over the last year say they are itchin' at getting their Galaxie and Nova out to work on it. Something about the same "inspiration".


