
1967 Delmont, bags and rims


Thread Starter
Registered User
Joined: Mar 2008
Posts: 43
From: Sweden
1967 Delmont, bags and rims
Hi!
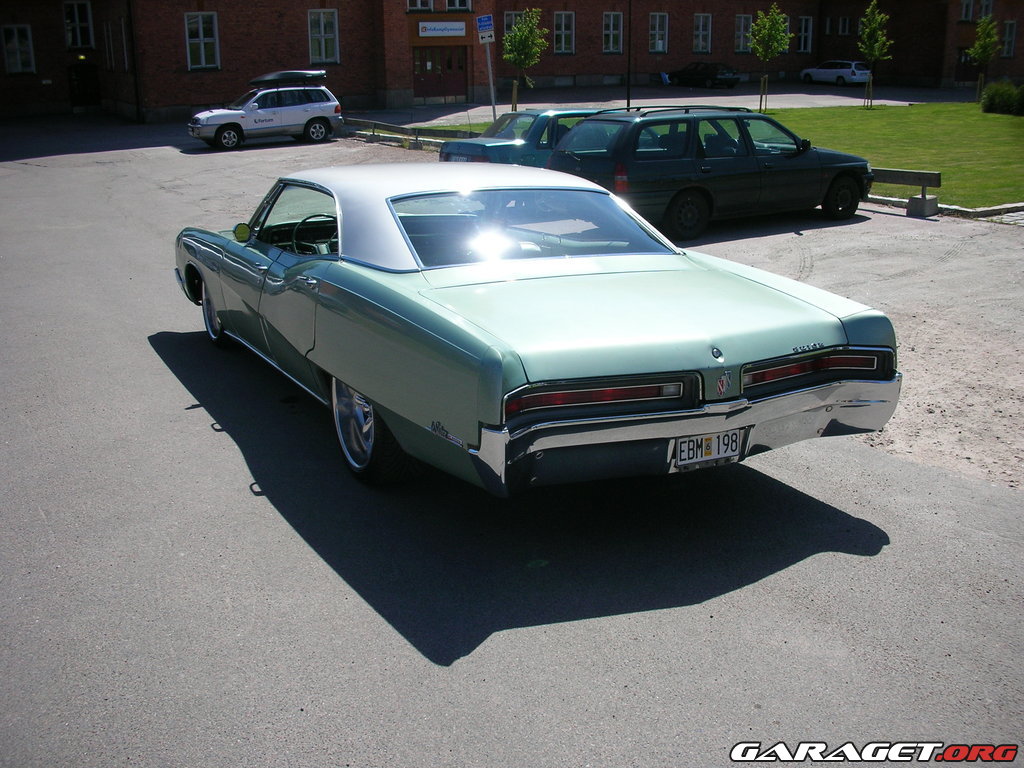
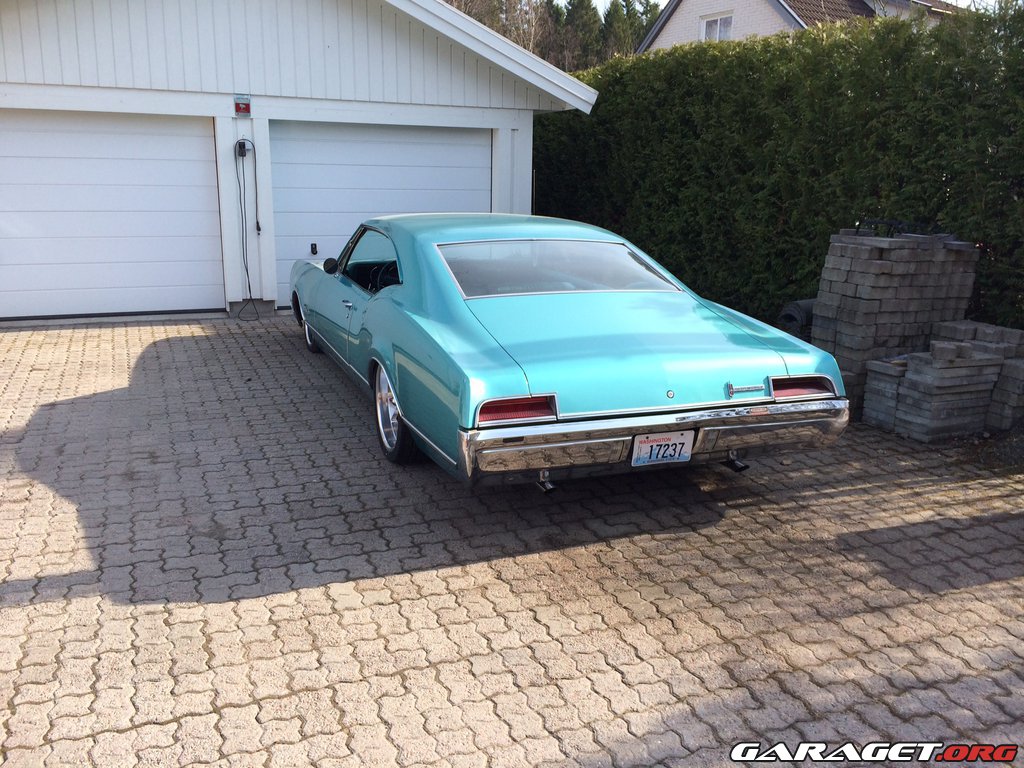
In this thread I will show an air suspension build, step by step, on my -67 Delmont 88 Holiday Coupe.
If you are interested in how I found and bought the car, it is all covered in this thread:
https://classicoldsmobile.com/forums...7-delmont.html
About me:
I�m a guy from Sweden with a passion for american classic cars, these are my previous cars:
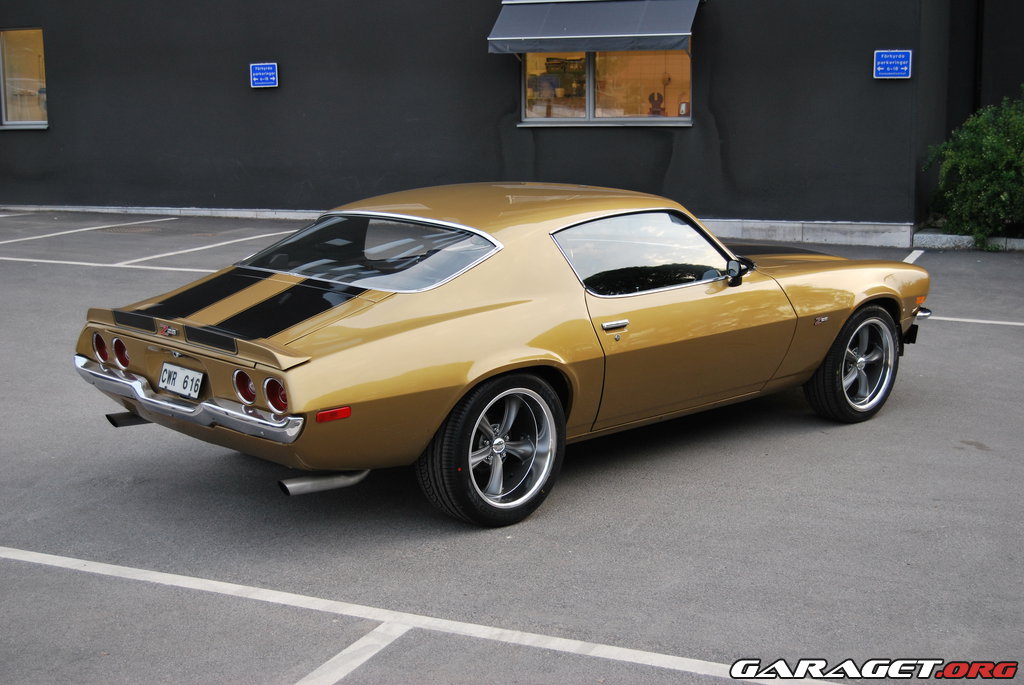
-70 Z28 with 500hp 454 LS6 and 5-speed Tremec, sold september 2014
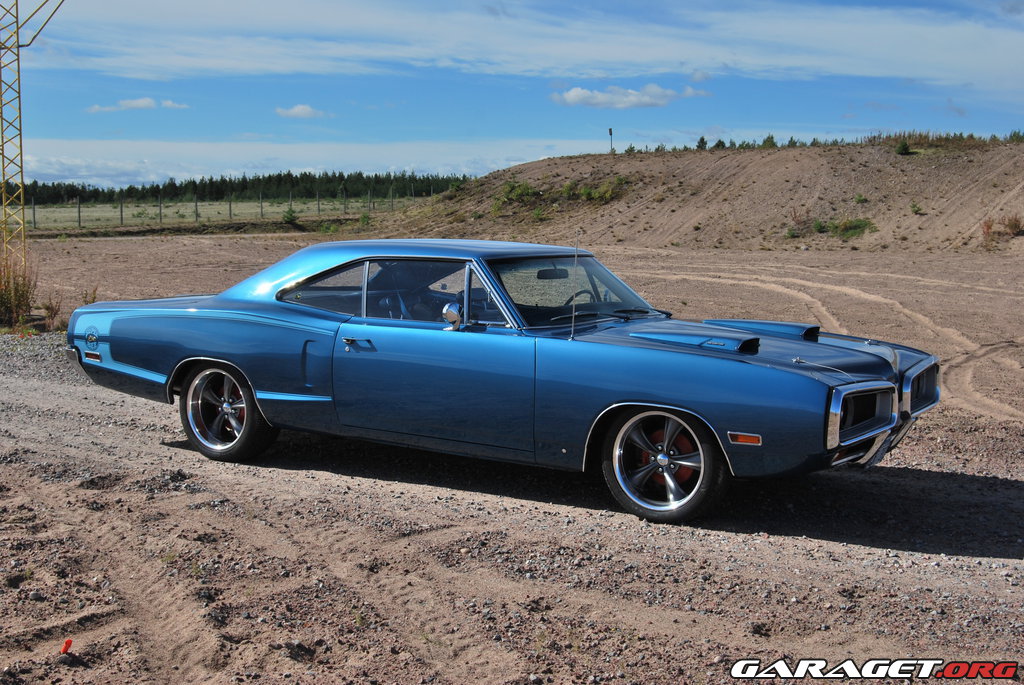
-70 Super Bee, stock 383 Ramcharger and 4 speed w. pistol grip. Sold february 2014
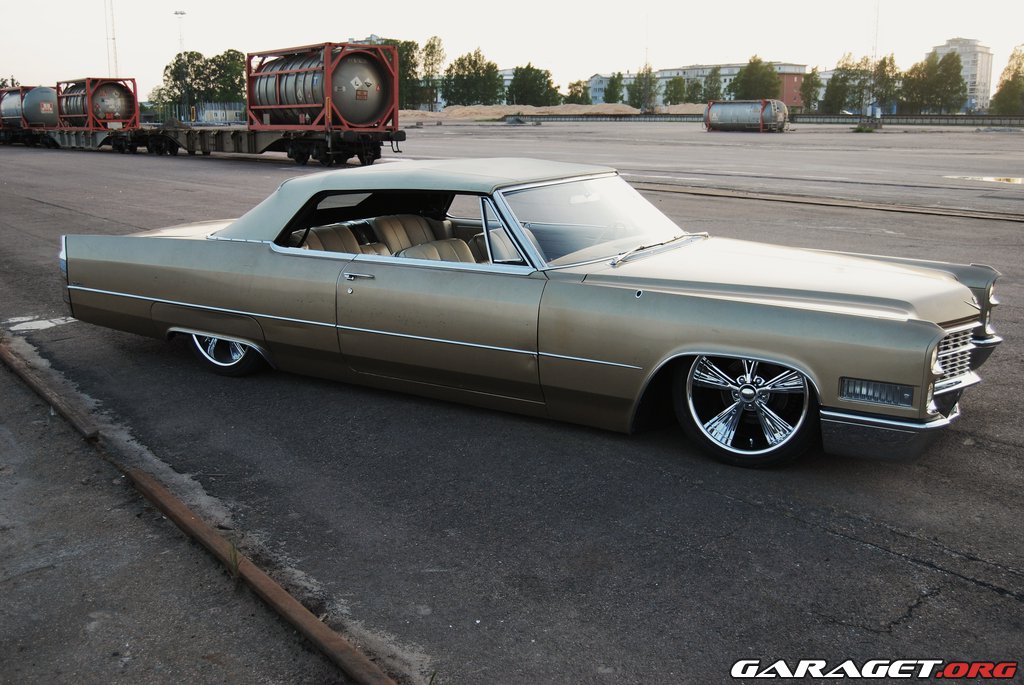
-66 Cadillac convertible, stock except from bags and rims. Sold may 2013.
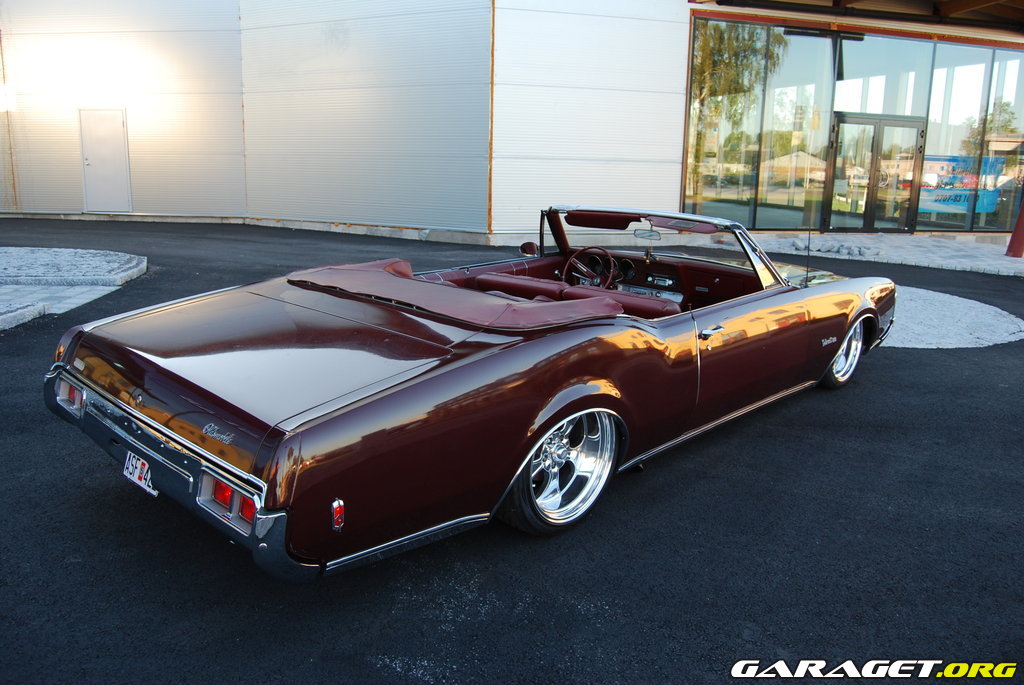
-68 Olds Delmont convertible, stock 455 with three on the tree and LSD. Bags and rims.
-67 Buick LeSabre, stock except from rims and cut coils
In this thread I will show an air suspension build, step by step, on my -67 Delmont 88 Holiday Coupe.
If you are interested in how I found and bought the car, it is all covered in this thread:
https://classicoldsmobile.com/forums...7-delmont.html
About me:
I�m a guy from Sweden with a passion for american classic cars, these are my previous cars:
-70 Z28 with 500hp 454 LS6 and 5-speed Tremec, sold september 2014
-70 Super Bee, stock 383 Ramcharger and 4 speed w. pistol grip. Sold february 2014
-66 Cadillac convertible, stock except from bags and rims. Sold may 2013.
-68 Olds Delmont convertible, stock 455 with three on the tree and LSD. Bags and rims.
-67 Buick LeSabre, stock except from rims and cut coils
Thread Starter
Registered User
Joined: Mar 2008
Posts: 43
From: Sweden
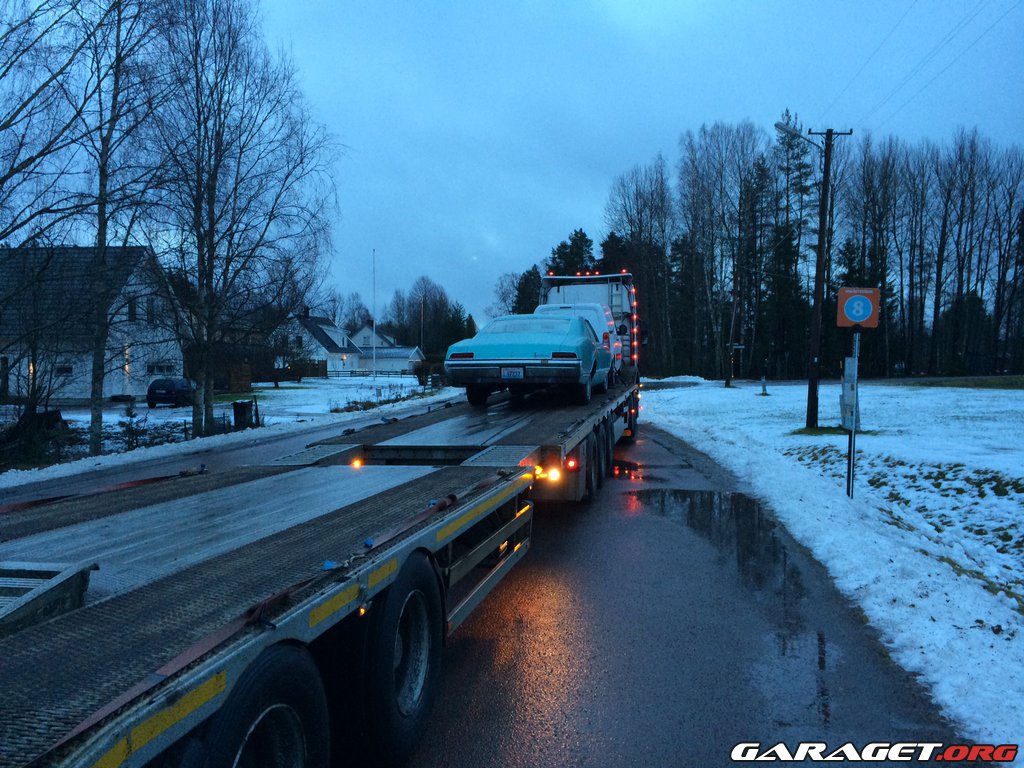
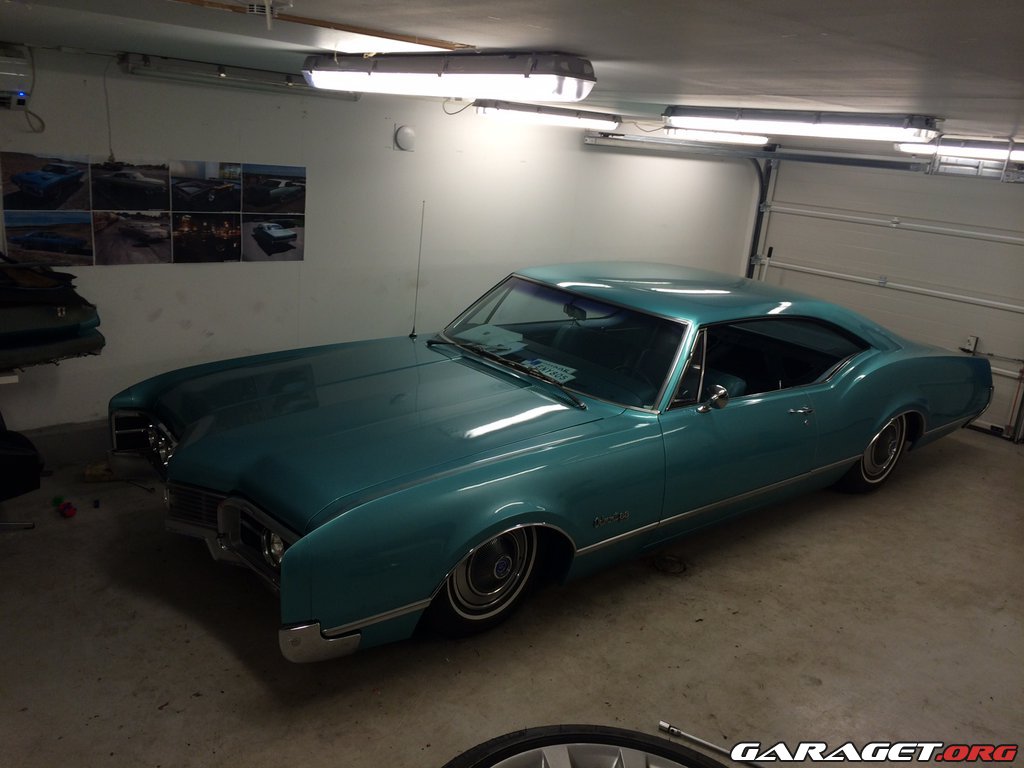
I had the car delivered to my door, I washed it off and parked it in the garage.
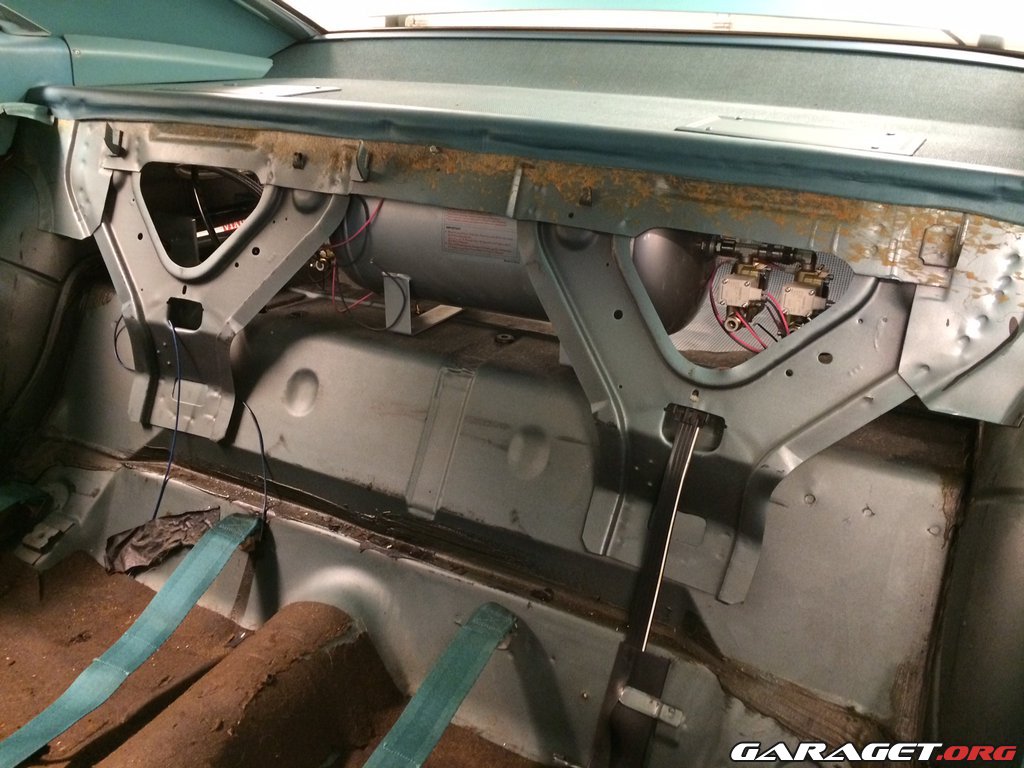
I bought the air suspension system a couple of months ago. Here I have made a mock up of the installation in the trunk:
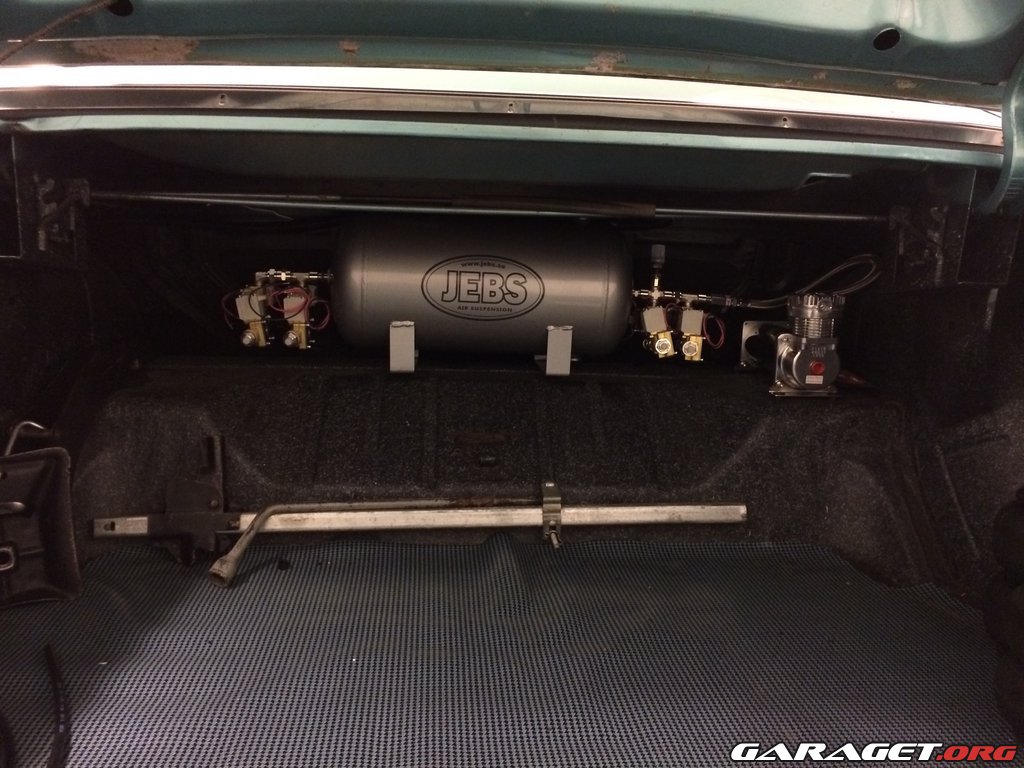
I think it will fit perfect up there! The system is: Slam Specialities RE6 bags for the front and AirLift bags for the rear, 5 gallon tank and 8 pcs electric valves, Viair compressor and a 200 psi pressure switch.
Since I have to register the car in Sweden I will not start mounting bags until the car has passed the registration inspection.
This is why I started the project "in the wrong end" by mounting air pressure gauges.
The car was fitted with 3 extra gauges for oil pressure, water temp and amps.
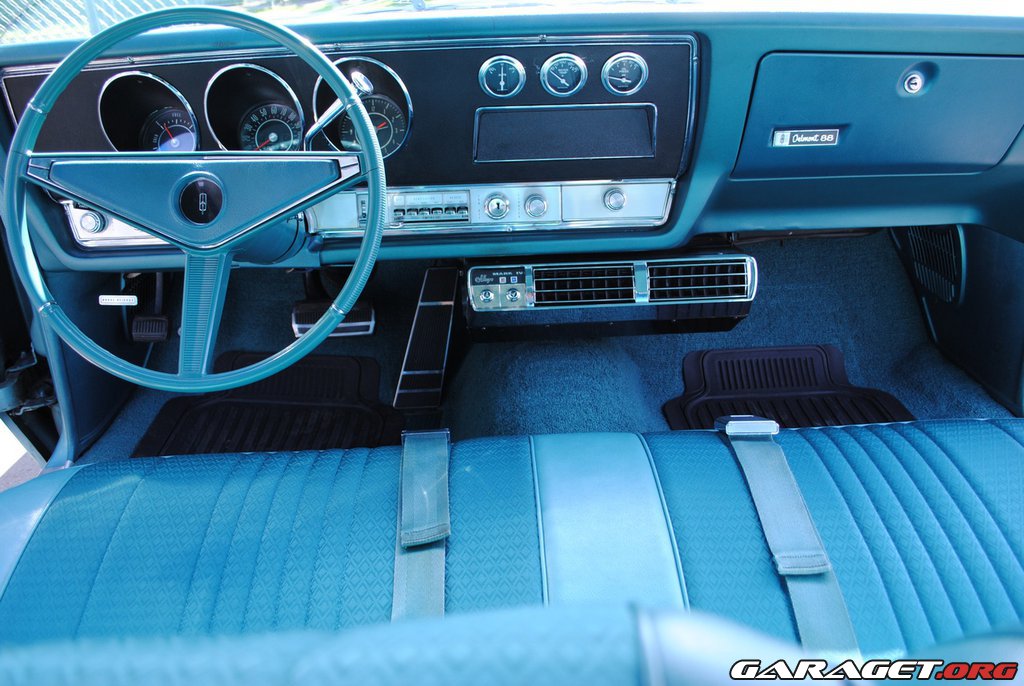
I decided to keep water temp and replace the two others with air gauges from Viair.
I loosened the steering column, unscrewed the dash panel and tilted it so I could get enough clearance.
Here I have mounted the gauges and connected air and electricity for the light bulbs.
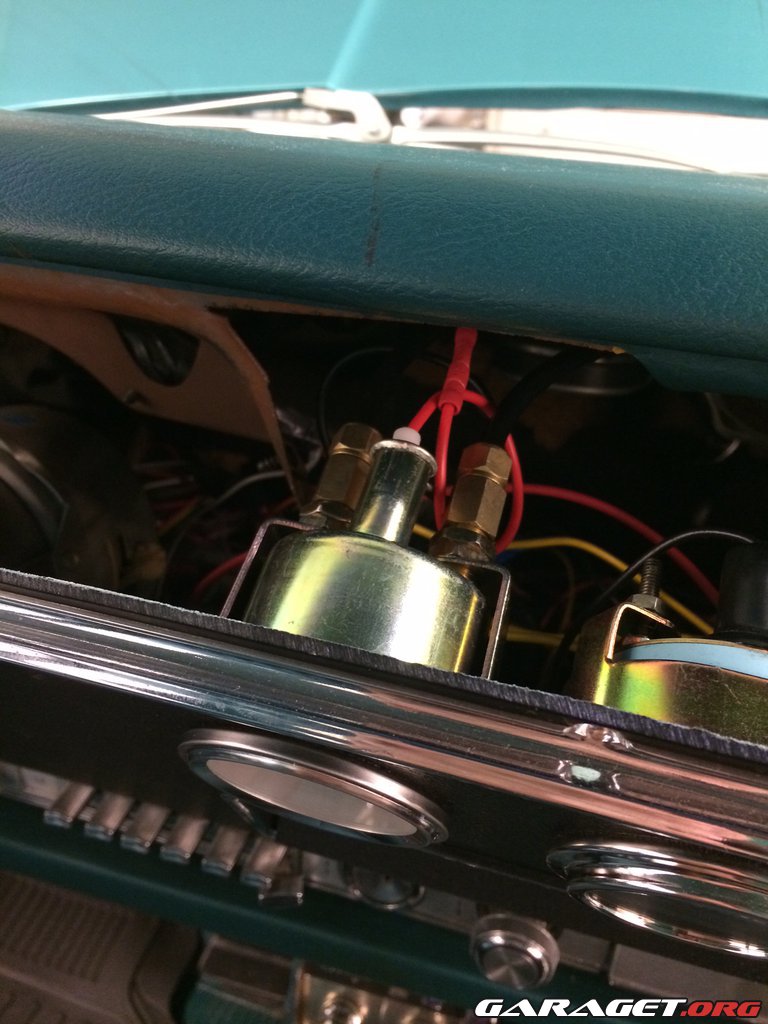
Finished result:

The left gauge is for the front bags, the air hoses from that gauge I have pulled through a hole in the firewall (behind the dash) and will be connected with Tees to the front bags air hoses in the engine bay. Hoses from the right gauge I will hide underneath the carpet and connect with Tees to the rear bags air hoses in the trunk.
I bought the air suspension system a couple of months ago. Here I have made a mock up of the installation in the trunk:
I think it will fit perfect up there! The system is: Slam Specialities RE6 bags for the front and AirLift bags for the rear, 5 gallon tank and 8 pcs electric valves, Viair compressor and a 200 psi pressure switch.
Since I have to register the car in Sweden I will not start mounting bags until the car has passed the registration inspection.
This is why I started the project "in the wrong end" by mounting air pressure gauges.
The car was fitted with 3 extra gauges for oil pressure, water temp and amps.
I decided to keep water temp and replace the two others with air gauges from Viair.
I loosened the steering column, unscrewed the dash panel and tilted it so I could get enough clearance.
Here I have mounted the gauges and connected air and electricity for the light bulbs.
Finished result:
The left gauge is for the front bags, the air hoses from that gauge I have pulled through a hole in the firewall (behind the dash) and will be connected with Tees to the front bags air hoses in the engine bay. Hoses from the right gauge I will hide underneath the carpet and connect with Tees to the rear bags air hoses in the trunk.
Beer Connoisseur
Joined: Aug 2008
Posts: 2,092
From: Daly City, California
Nice cars. Love that convertible
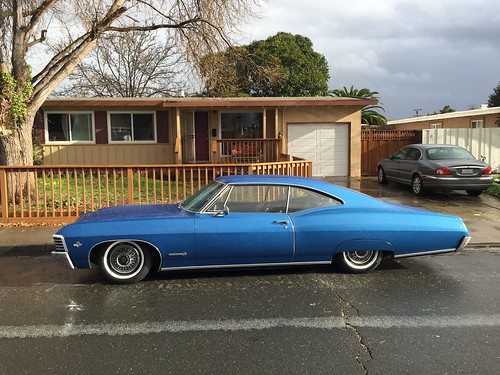
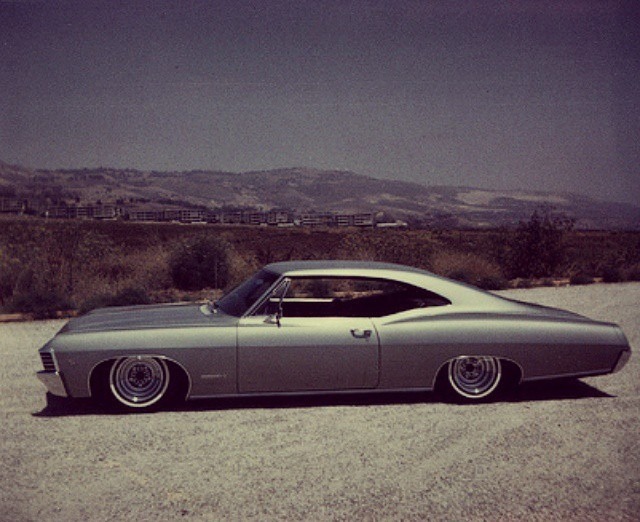
I had Airlift on all 4 corners, they are huge and they tend to swell, which cause them to rub against spring pocket and rear end so I replaced them with Slam SS-6 on all 4 corners. The car rides better with Slam bags and they don't swell. I am running 2 5g tanks with 2 compressors. I also upgraded the alternator so it can handle the compressors.
edit: forgot to mention that pictures are of my 67 Impala SS which should be similar to your car.
Last edited by 70cutty; Jan 17, 2015 at 02:54 PM.
Thread Starter
Registered User
Joined: Mar 2008
Posts: 43
From: Sweden
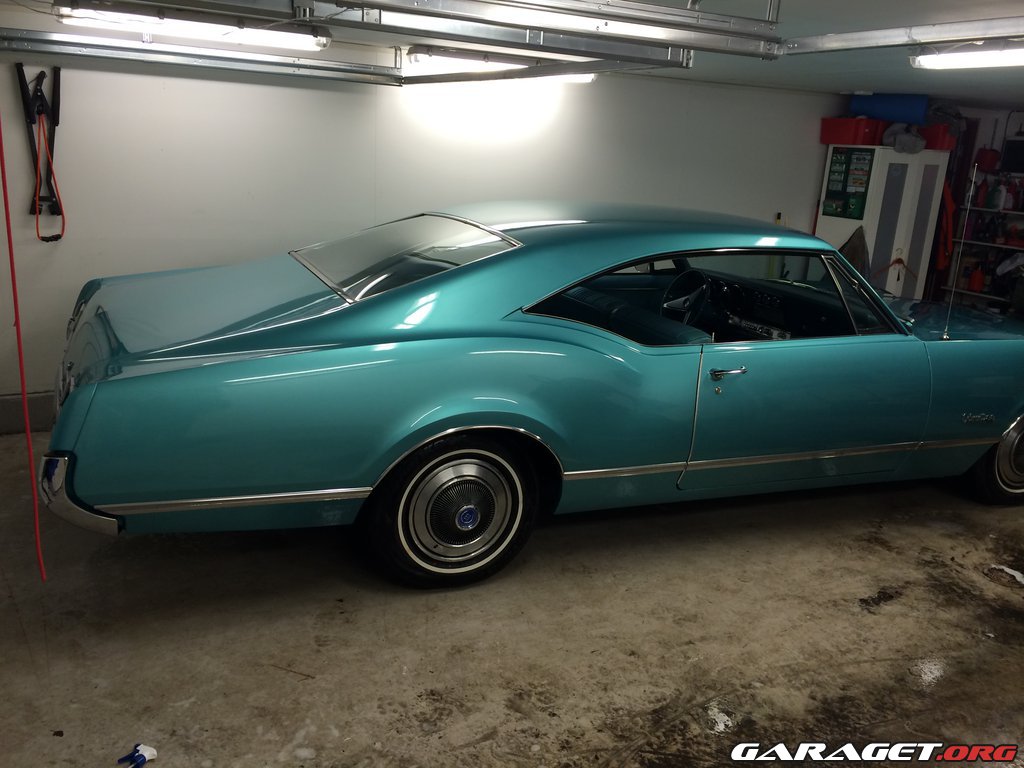
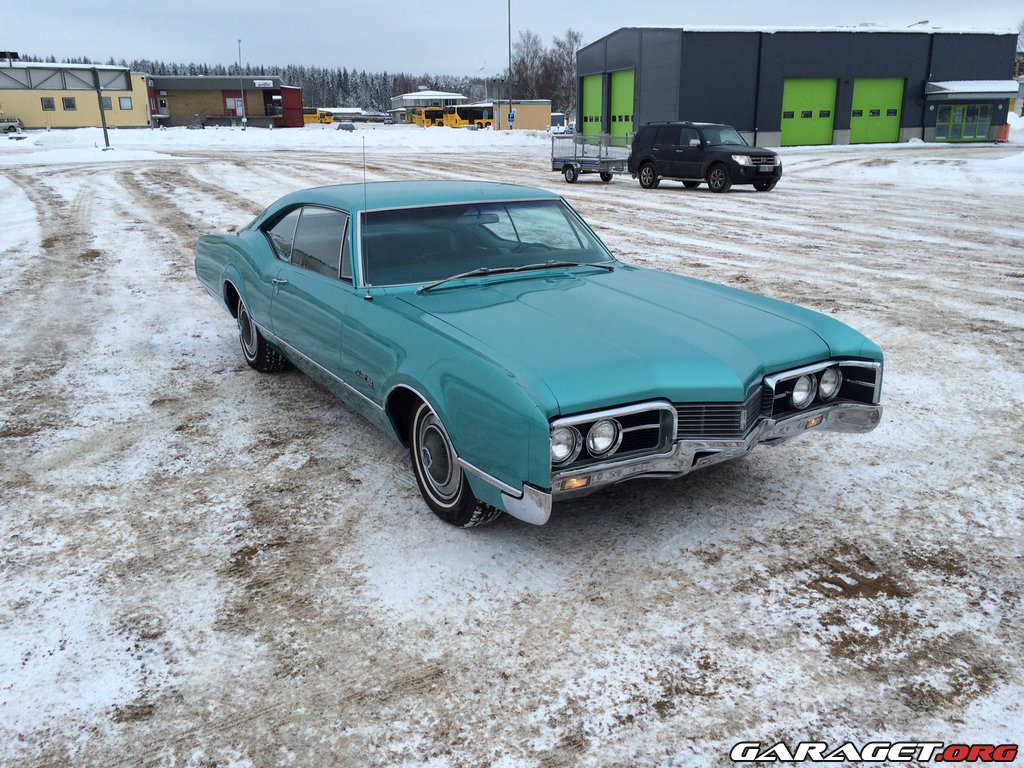
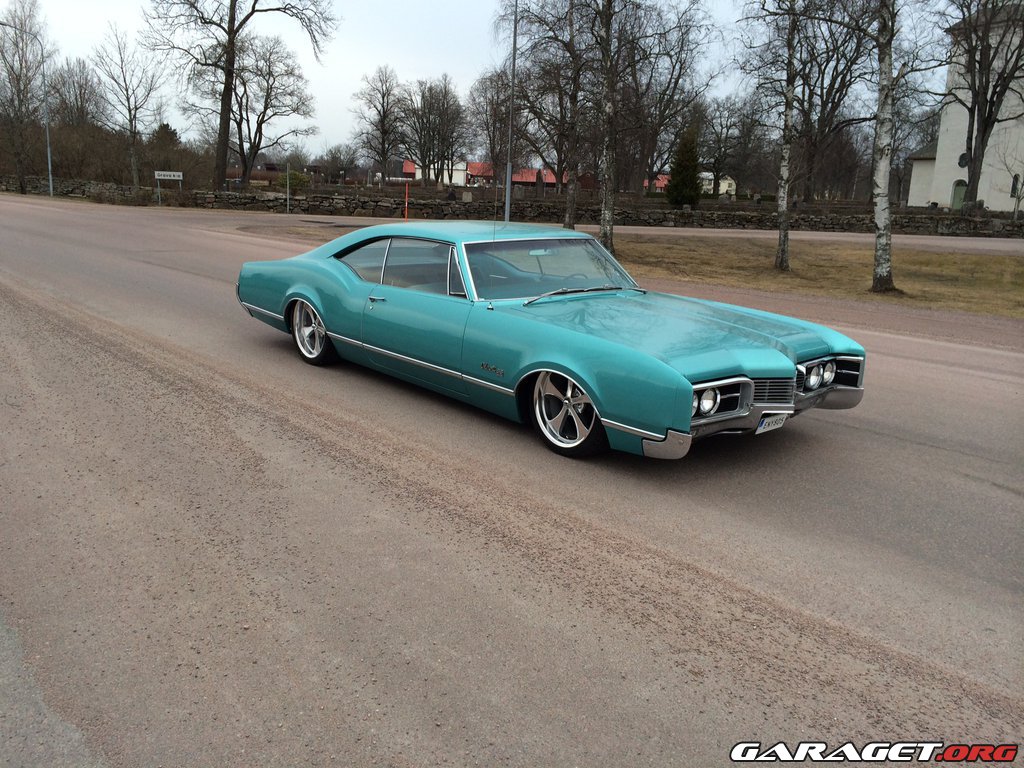
The car is now registered in Sweden, it passed the registration inspection this Friday!!! 
I drove from my home to the inspection (~ 5 mi) in perfect weather conditions, -4�F and no salt on the road, the car didn�t even get dirty. It drove fantastic - like brand new!
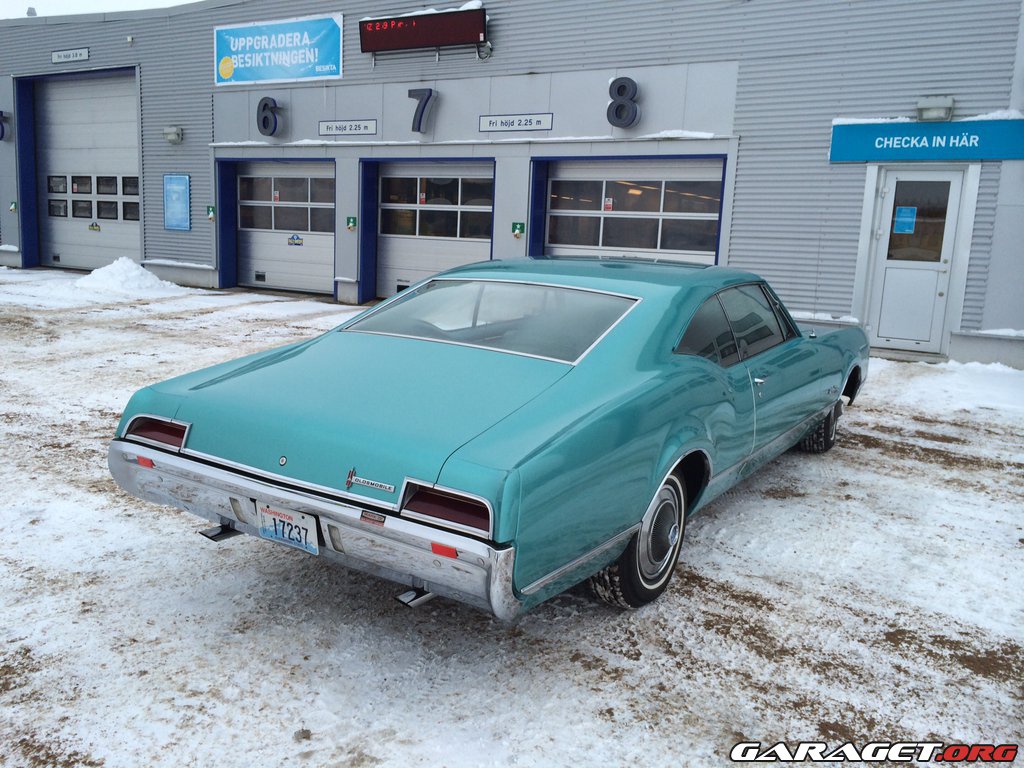
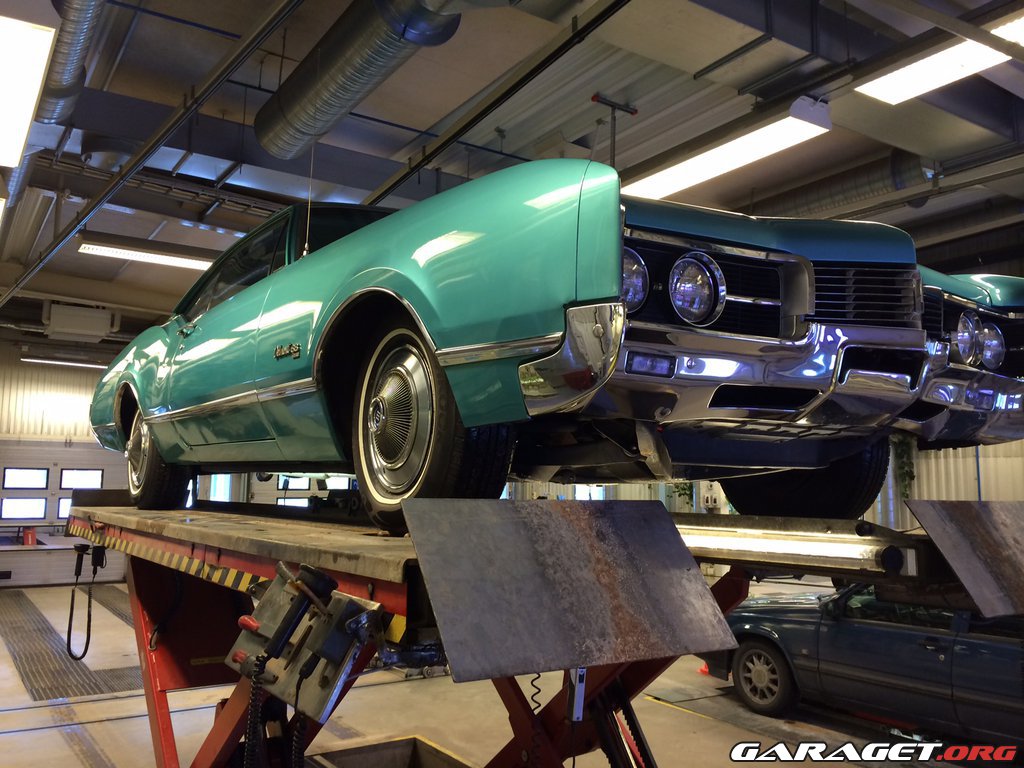
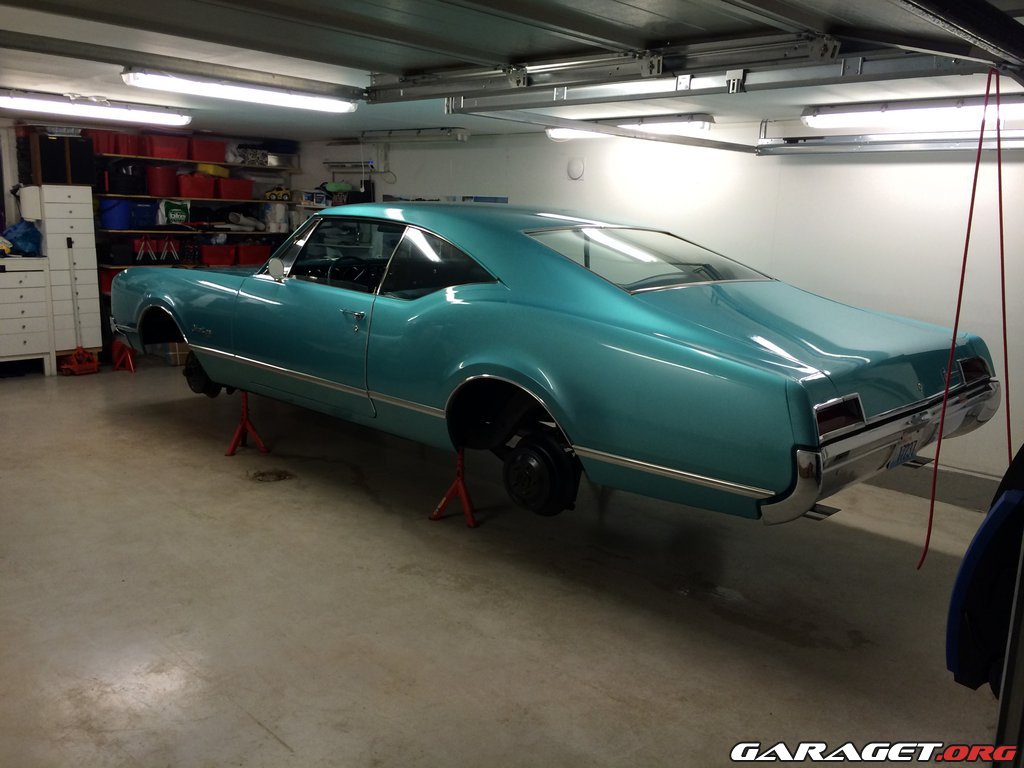
I haven�t spent a lot of time in the garage this weekend - but at least I had the floor cleaned, jacked the car up and put it on jack stands. I will demount the springs this evening (hopefully).
I drove from my home to the inspection (~ 5 mi) in perfect weather conditions, -4�F and no salt on the road, the car didn�t even get dirty. It drove fantastic - like brand new!
I haven�t spent a lot of time in the garage this weekend - but at least I had the floor cleaned, jacked the car up and put it on jack stands. I will demount the springs this evening (hopefully).
Thread Starter
Registered User
Joined: Mar 2008
Posts: 43
From: Sweden
Nice cars. Love that convertible
I had Airlift on all 4 corners, they are huge and they tend to swell, which cause them to rub against spring pocket and rear end so I replaced them with Slam SS-6 on all 4 corners. The car rides better with Slam bags and they don't swell. I am running 2 5g tanks with 2 compressors. I also upgraded the alternator so it can handle the compressors.
edit: forgot to mention that pictures are of my 67 Impala SS which should be similar to your car.
My friend is actually building air suspension on his -67 Impala coupe this winter, he has the exact same set up as me - and he has experienced problems with clearance due to swelling of the rear Airlifts.
I would love to see some more pictures of your Impala!
Thread Starter
Registered User
Joined: Mar 2008
Posts: 43
From: Sweden
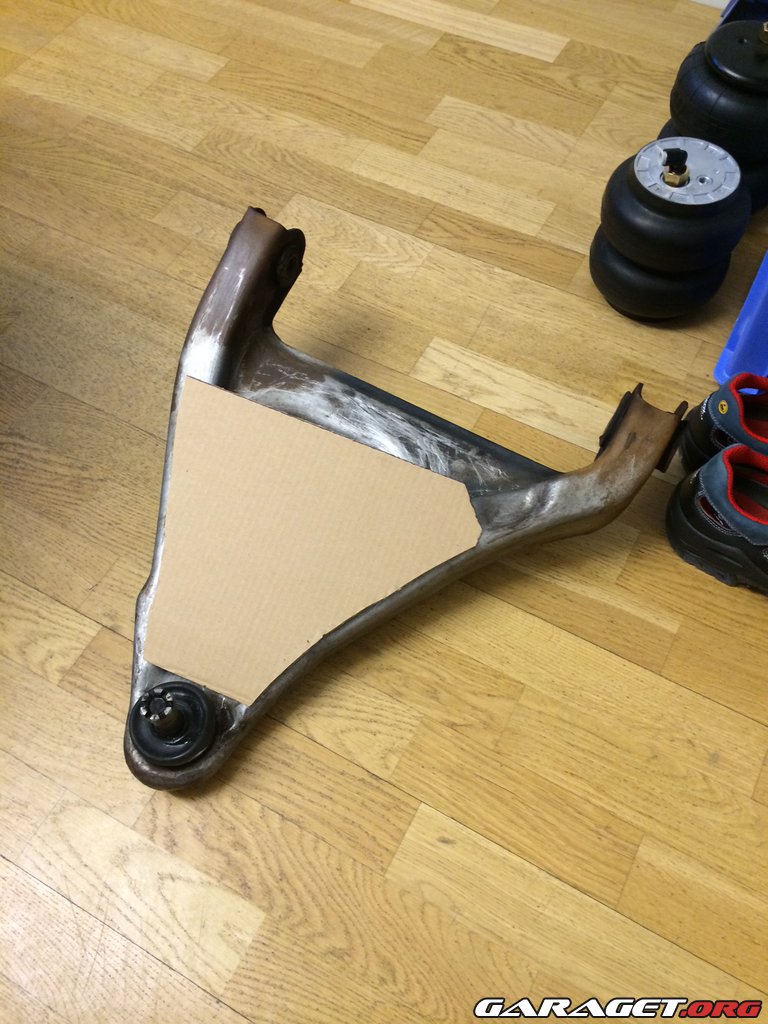
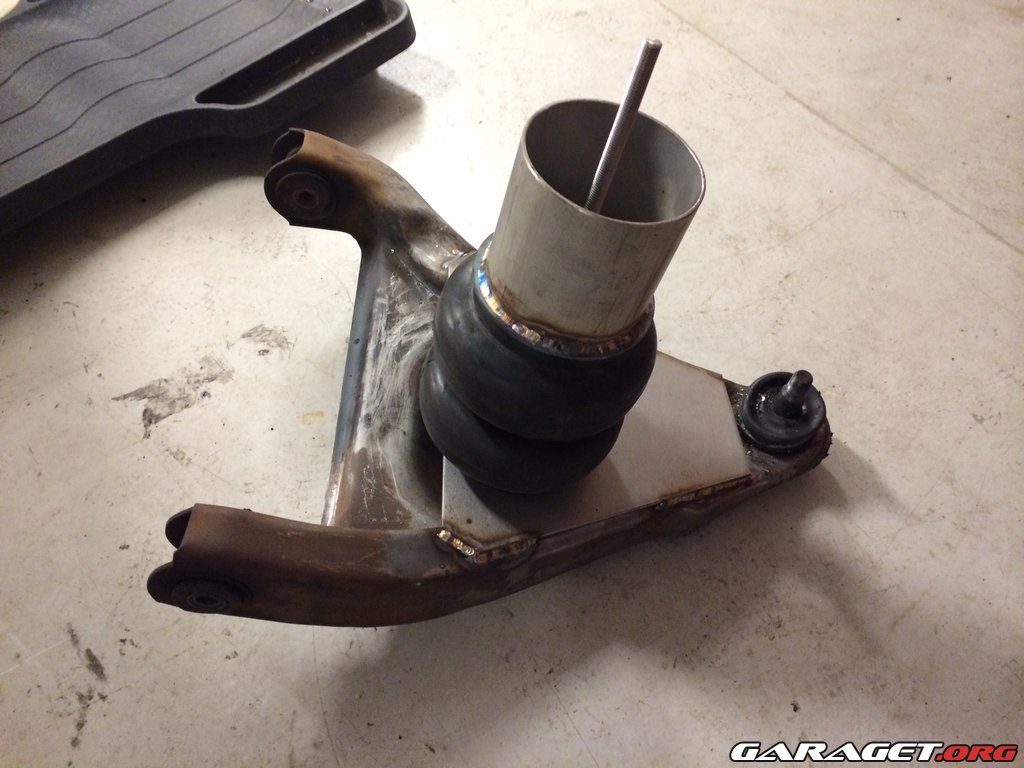
I had a hard time with the lower ball joints, I have never experienced such stubborn ball joints. After massive abuse with the sledge hammer I could finally demount front springs and lower control arms.

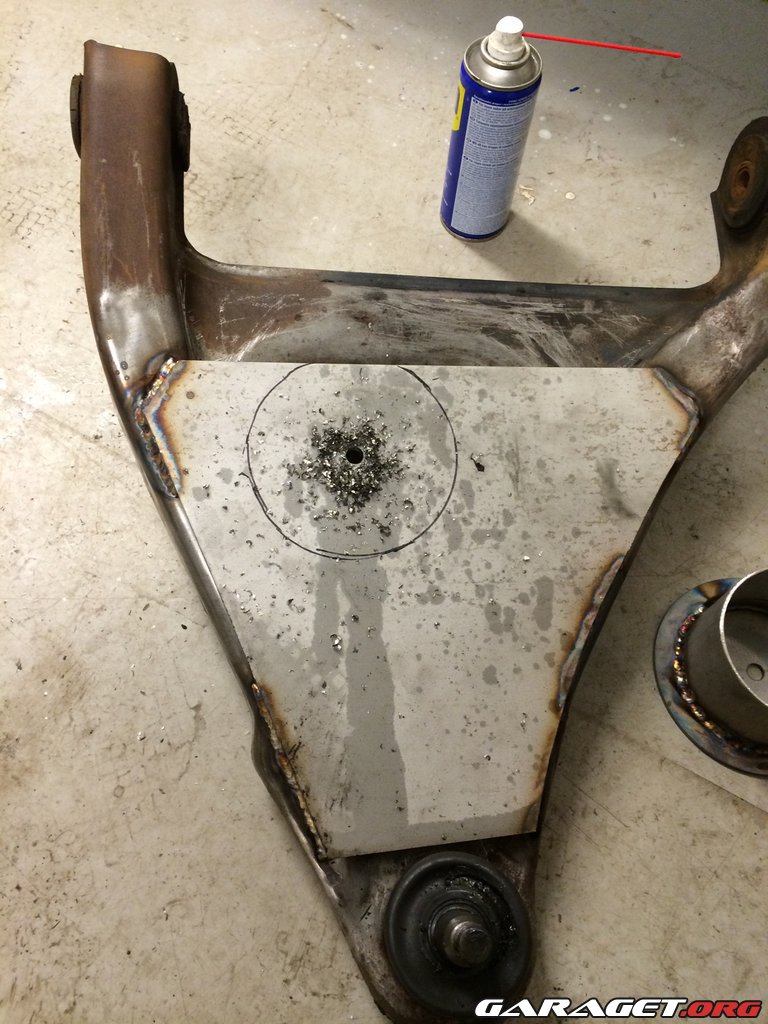
The control arms were full of grease and dirt so I gave them a good scrub with degreaser:
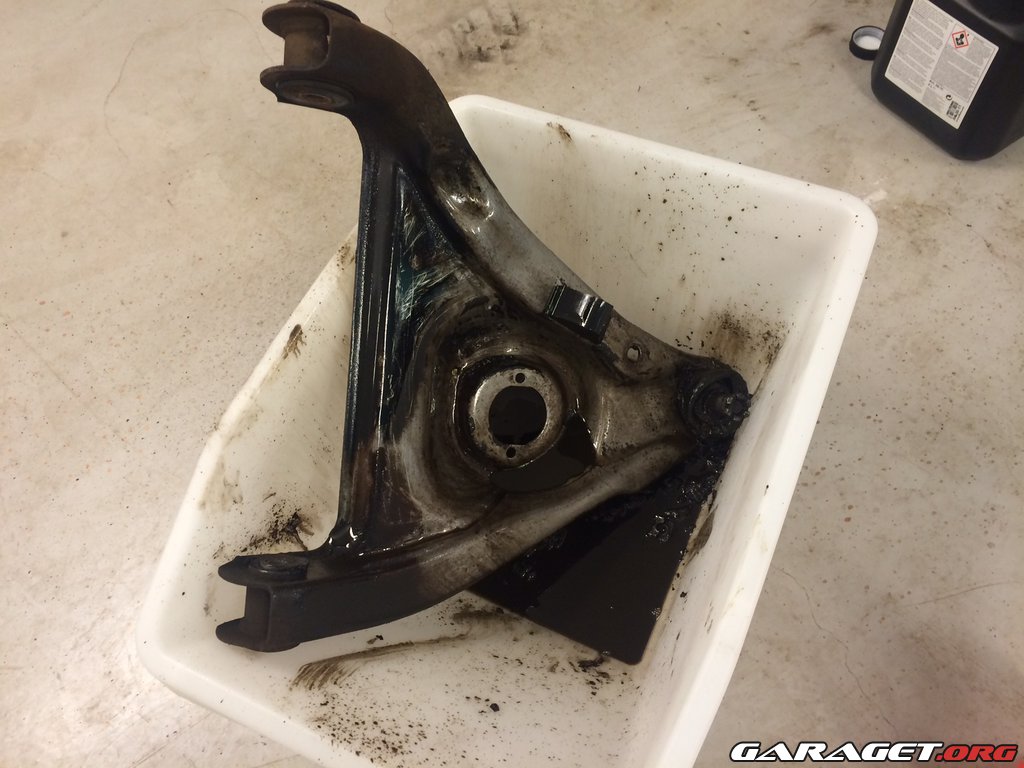
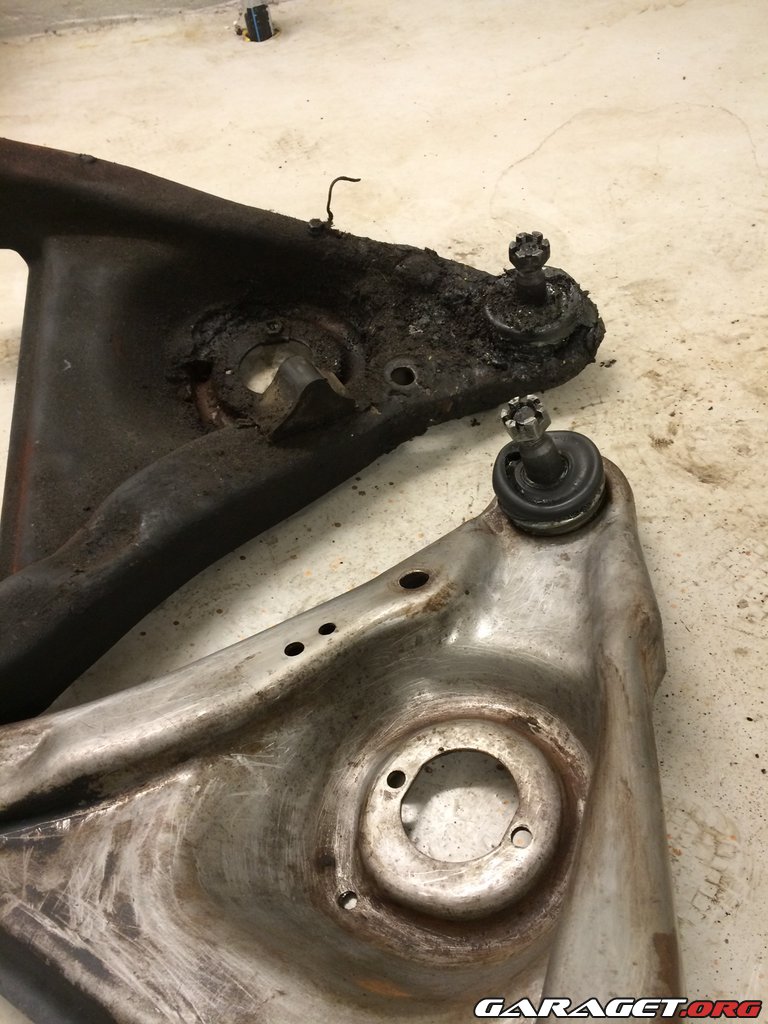
They turned out pretty good, at least you can see the difference from before
Today I will cut plates for lower bag mount which I will either weld or bolt on the top surface of the control arms. stay tuned for more updates!
The control arms were full of grease and dirt so I gave them a good scrub with degreaser:
They turned out pretty good, at least you can see the difference from before
Today I will cut plates for lower bag mount which I will either weld or bolt on the top surface of the control arms. stay tuned for more updates!
Thread Starter
Registered User
Joined: Mar 2008
Posts: 43
From: Sweden
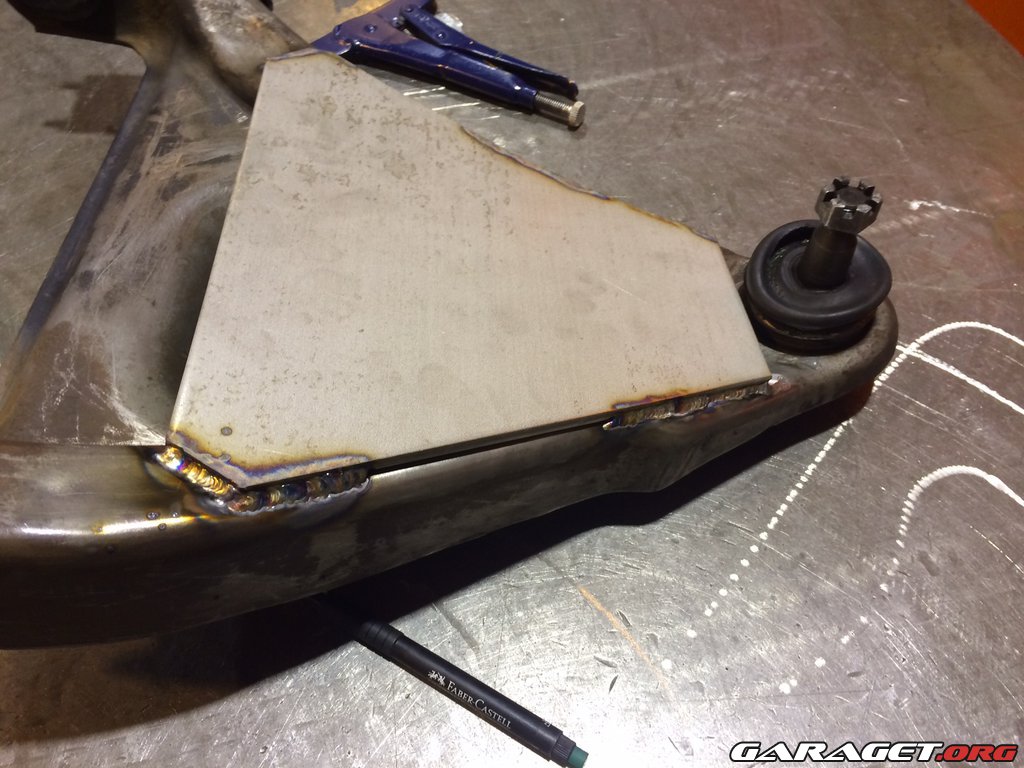
Just made a card board template which I will use to cut out a 1/4" thick plate.
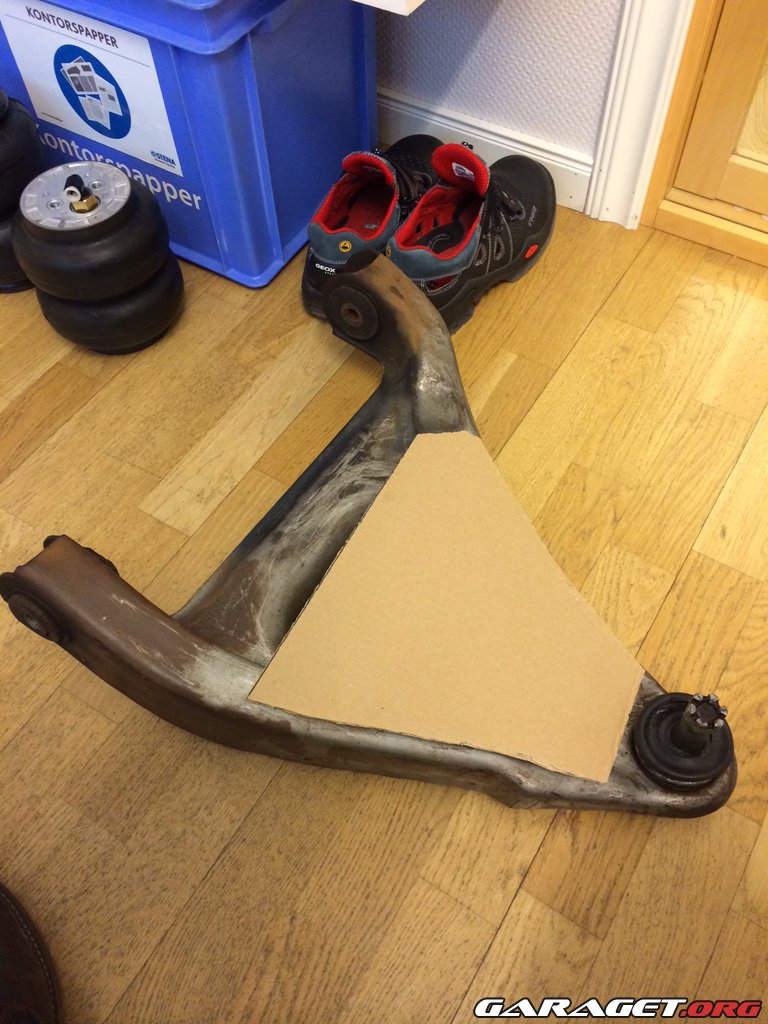
The plate will be welded to the control arm, on my last Delmont build I drilled additional holes in the control arm and bolted the plate.
The plate will be welded to the control arm, on my last Delmont build I drilled additional holes in the control arm and bolted the plate.

Thread Starter
Registered User
Joined: Mar 2008
Posts: 43
From: Sweden

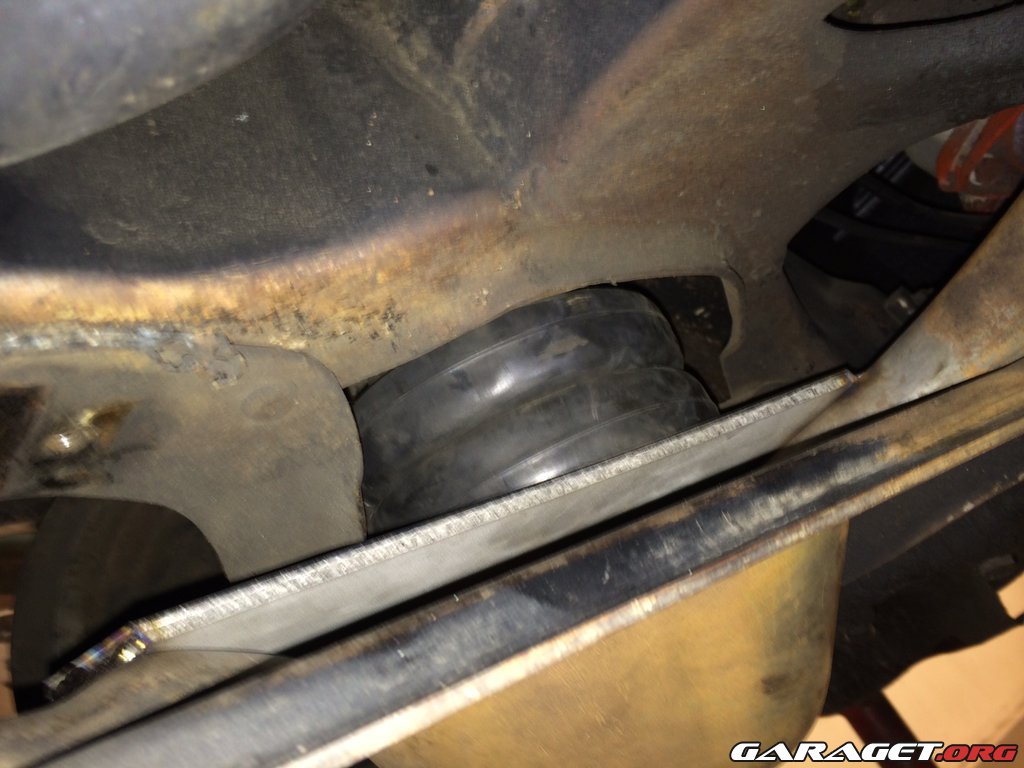
Demounted rear springs and bump stops yesterday and jacked up the axle as far as possible with the wheels mounted.

I have an issue with the custom built dual exhaust system - rear axle collides and pushes up the exhaust on the drivers side. I will have to evelaute what kind of modification to do.
I welded all the bag mounts yesterday and I hope to have the plates for the front control arms cut and welded today!
Thread Starter
Registered User
Joined: Mar 2008
Posts: 43
From: Sweden
Thread Starter
Registered User
Joined: Mar 2008
Posts: 43
From: Sweden
I can only get better
Test fitted control arms and upper bag mounts yesterday evening.
The trick is to get the best possible position for the bag inside the frame. This time i tried to get it centered in the spring "pocket" (the hole in the frame where the spring used to be) in order to reduce the need of cutting the frame to a minimum.
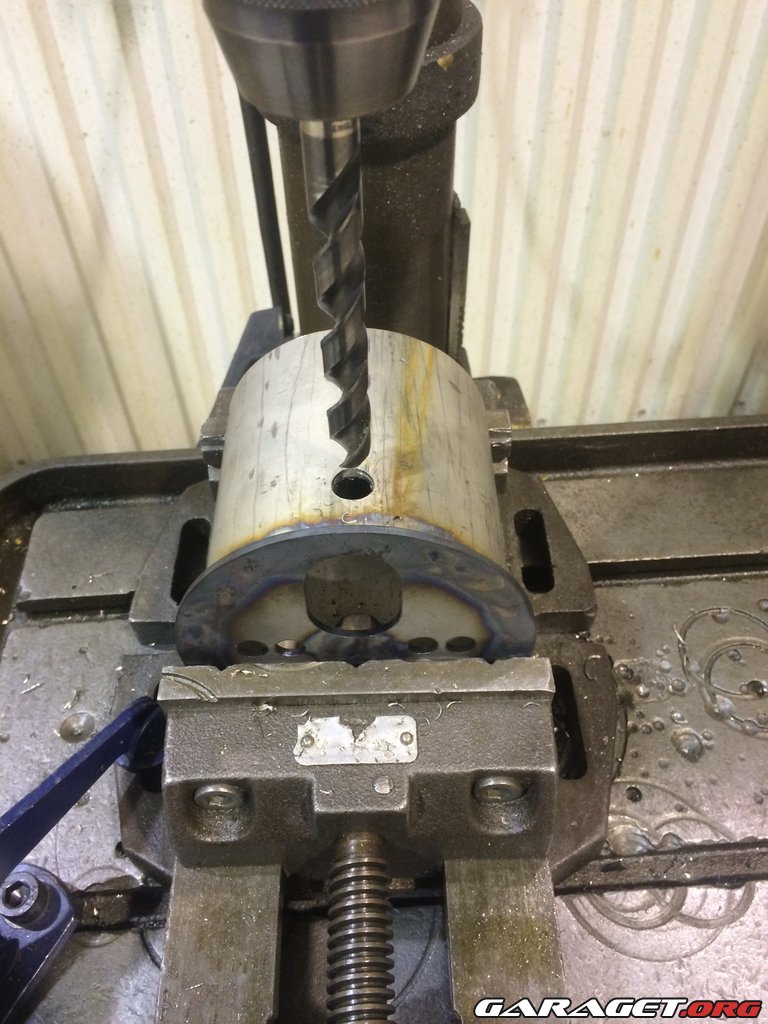
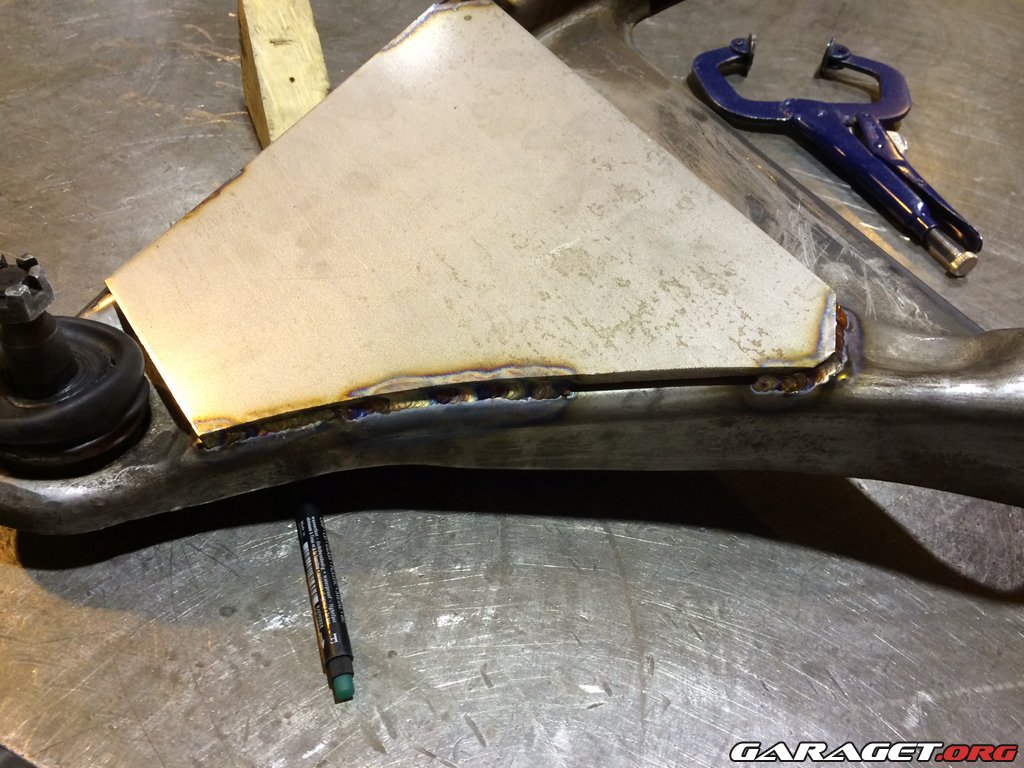
When I had found what seemed to be the best position for the upper bag mount, I took a pen and marked a circle on the lower control arm for the position of the bag. I then demounted the control arm and started drilling a hole in the centre of the circle.
Bolted up and ready for a test mount.
This time I noticed that when the bag is centered in the "spring pocket", it is far from centered in the upper spring seat - this causes the upper bag mount to tilt du to an uneven contact surface. This causes problems and I realize that I nedd to profile cut the bag mount tube to make it fit the spring seat.
On my previous Delmont build - I centered the upper bag mount in the spring seat instead and had to cut the frame quite much due to the fact that the bag was not centered in the "spring pocket".
This time I will try do it the opposite way - centre the bag in the "spring pocket" and cut the bag mount so it will fit the off centre position in the spring seat.
I will try to show this in photos later on.
Test fitted control arms and upper bag mounts yesterday evening.
The trick is to get the best possible position for the bag inside the frame. This time i tried to get it centered in the spring "pocket" (the hole in the frame where the spring used to be) in order to reduce the need of cutting the frame to a minimum.
When I had found what seemed to be the best position for the upper bag mount, I took a pen and marked a circle on the lower control arm for the position of the bag. I then demounted the control arm and started drilling a hole in the centre of the circle.
Bolted up and ready for a test mount.
This time I noticed that when the bag is centered in the "spring pocket", it is far from centered in the upper spring seat - this causes the upper bag mount to tilt du to an uneven contact surface. This causes problems and I realize that I nedd to profile cut the bag mount tube to make it fit the spring seat.
On my previous Delmont build - I centered the upper bag mount in the spring seat instead and had to cut the frame quite much due to the fact that the bag was not centered in the "spring pocket".
This time I will try do it the opposite way - centre the bag in the "spring pocket" and cut the bag mount so it will fit the off centre position in the spring seat.
I will try to show this in photos later on.
Thread Starter
Registered User
Joined: Mar 2008
Posts: 43
From: Sweden
Just realized that I haven�t updated this thread for a while! There have been progress though
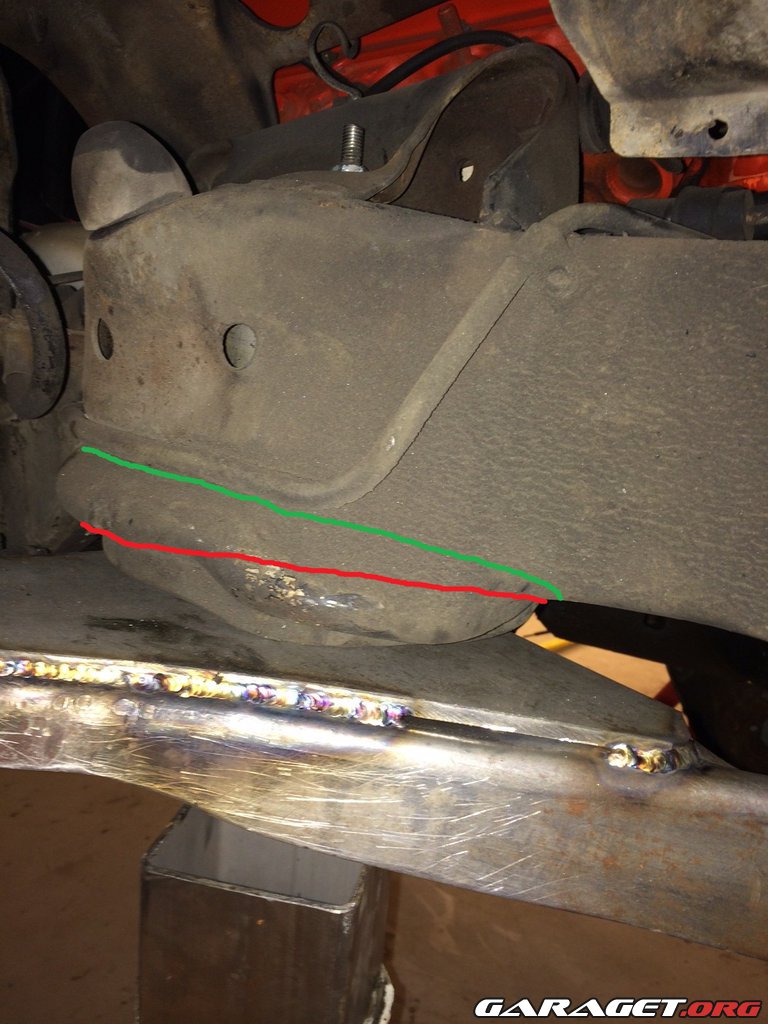
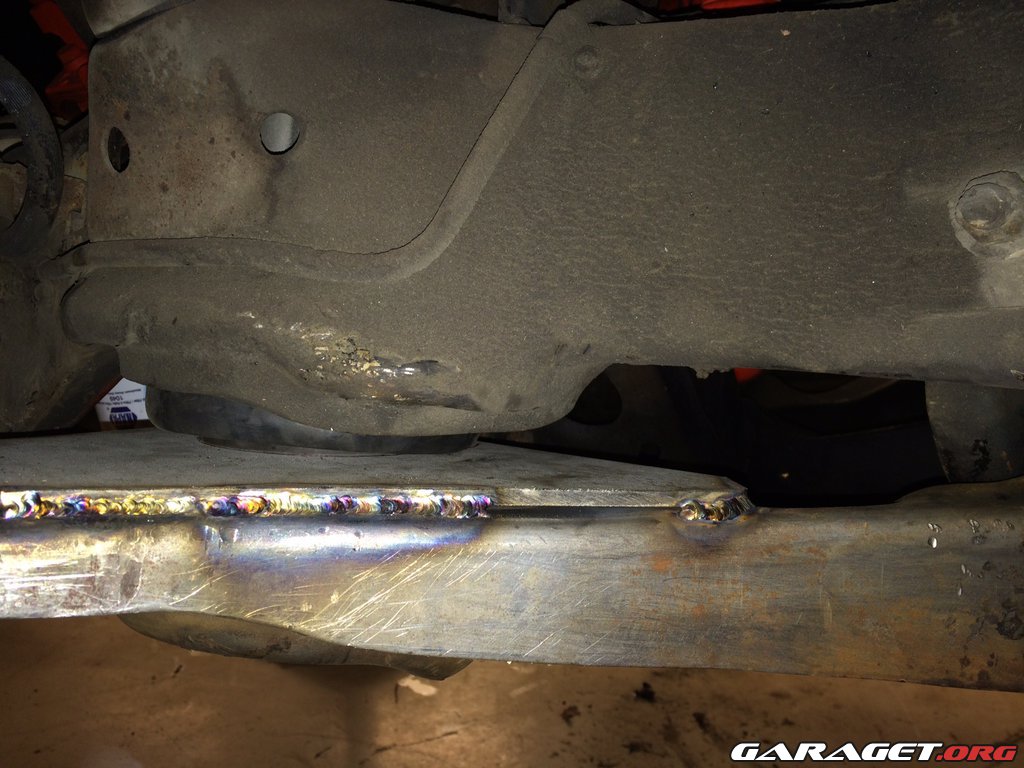
This is frame with the spring pocket on the passengers side - as you can see the trailing arm collides with the frame. The green line symbolizes where I trimmed the frame of my previous Delmont, the red line is where I aimed to trim the frame this time.
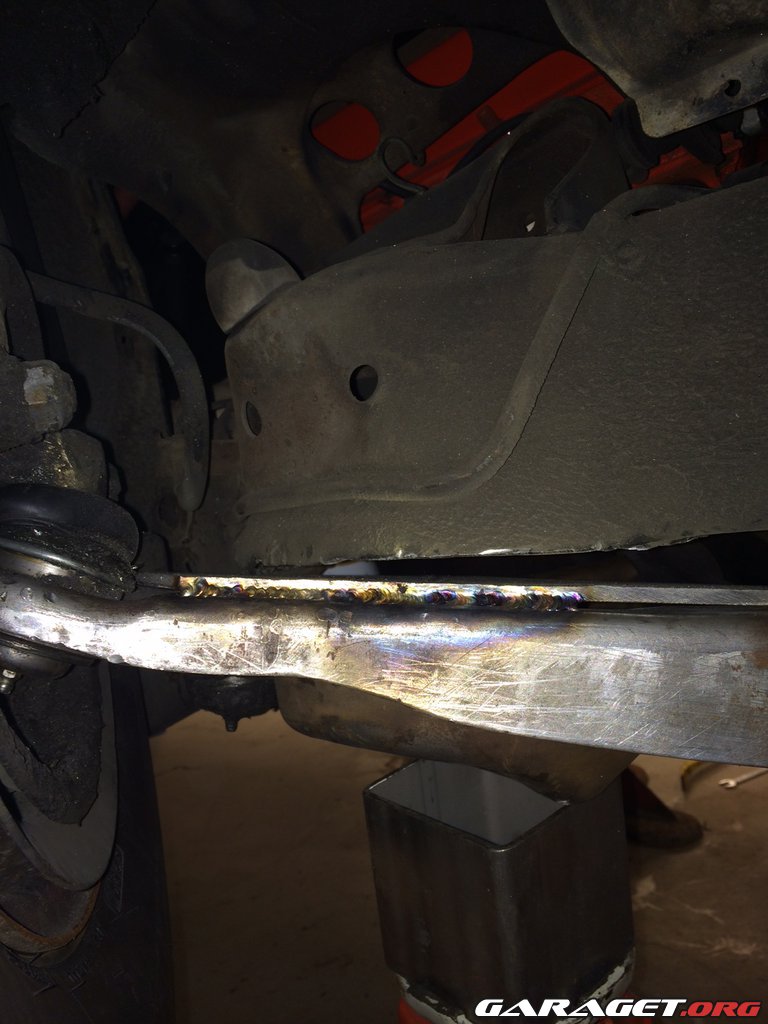
Passengers side after trimming.
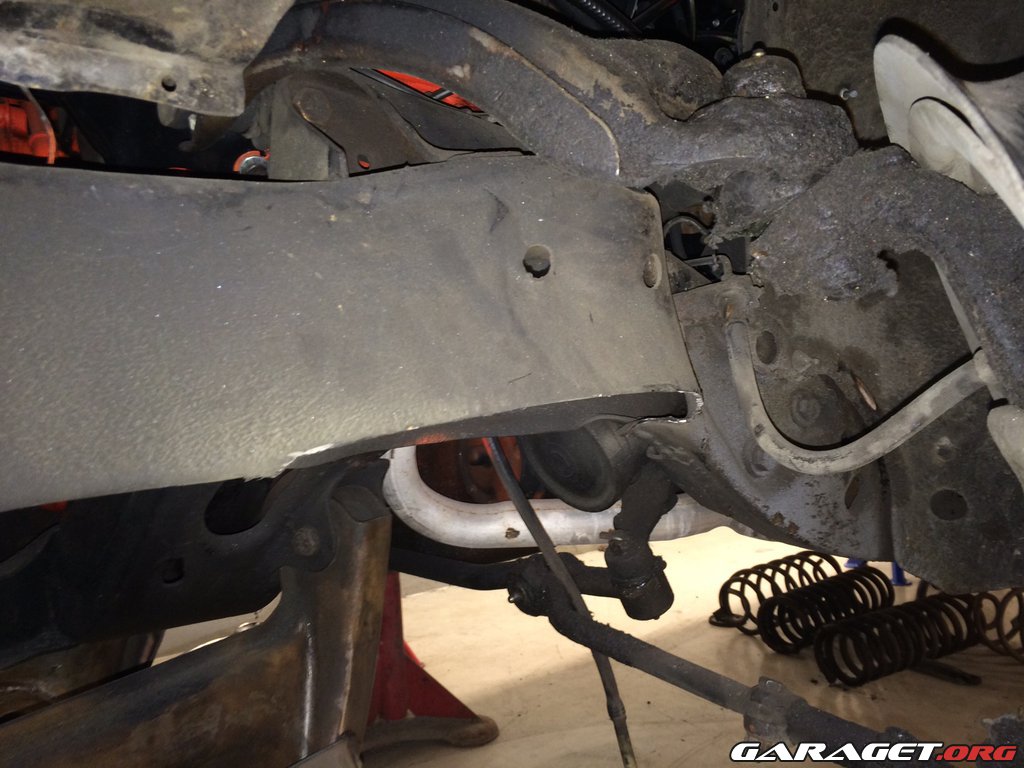
Drivers side after trimming.
This is frame with the spring pocket on the passengers side - as you can see the trailing arm collides with the frame. The green line symbolizes where I trimmed the frame of my previous Delmont, the red line is where I aimed to trim the frame this time.
Passengers side after trimming.
Drivers side after trimming.
Thread Starter
Registered User
Joined: Mar 2008
Posts: 43
From: Sweden
Due to the shape of the upper coil seat I had to profile cut the upper bagmount of the passengers side. On the drivers side however this was no issue so I didn�t have to profile cut.
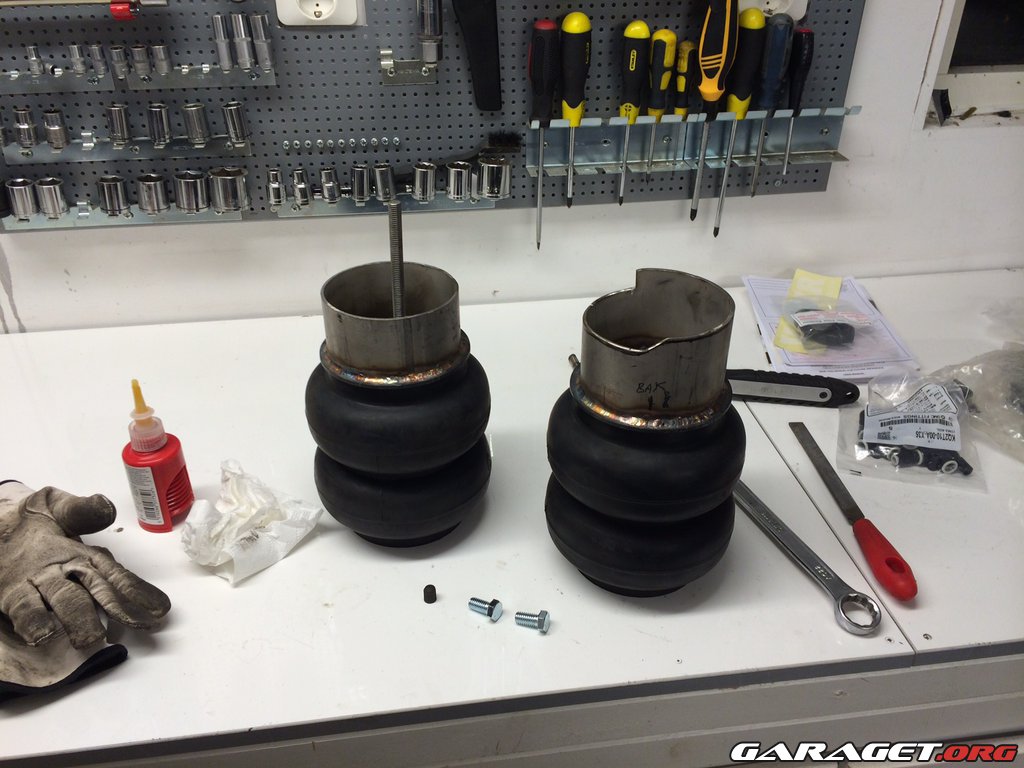
Here you can see the difference of the front upper bagmounts.
Here you can see the difference of the front upper bagmounts.
Thread Starter
Registered User
Joined: Mar 2008
Posts: 43
From: Sweden
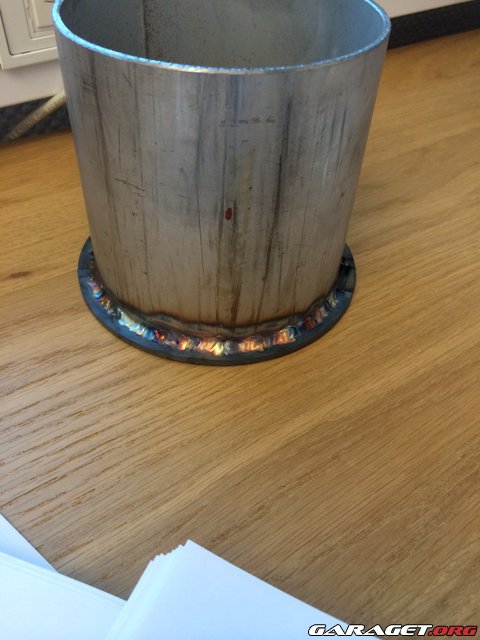
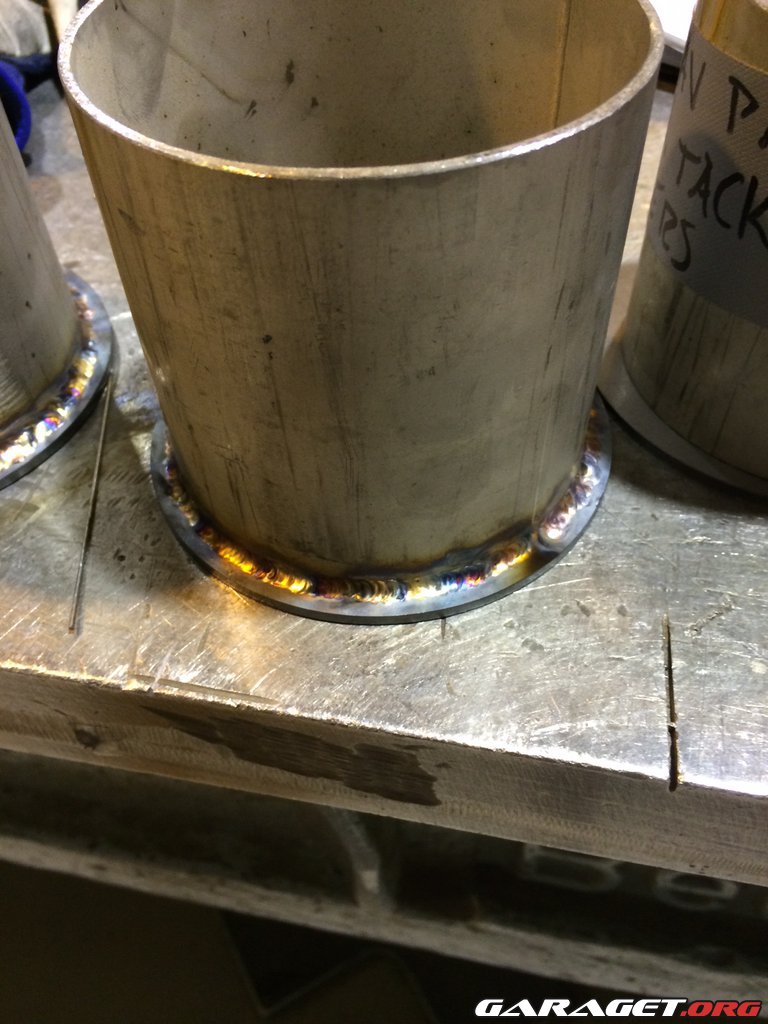
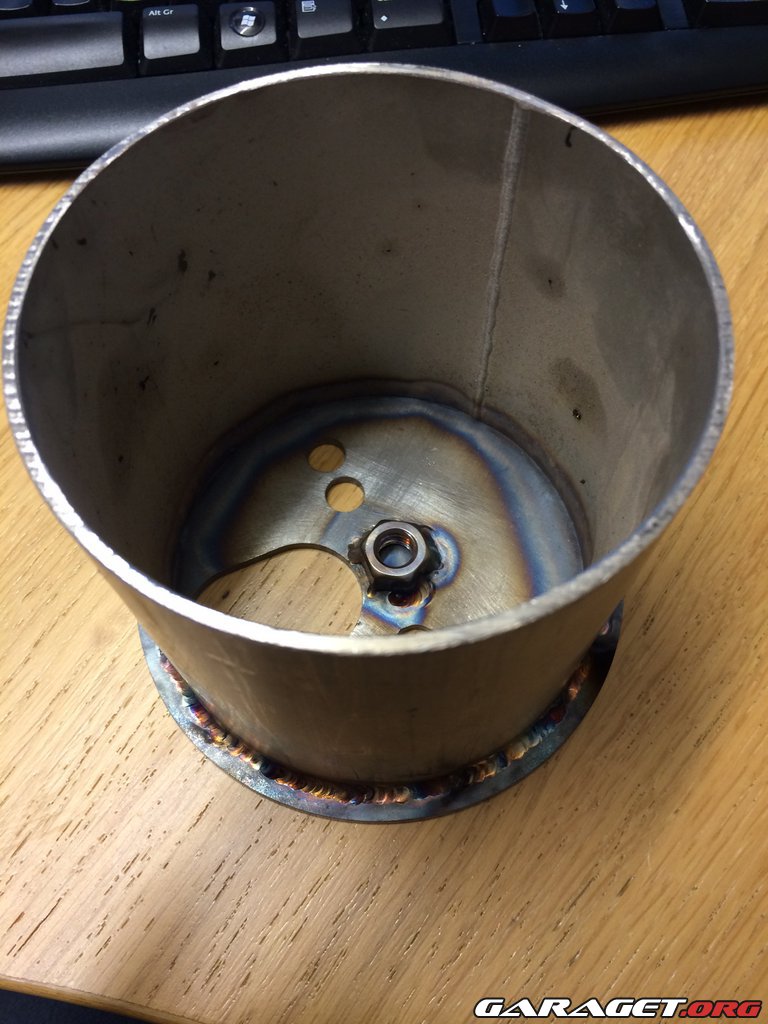
Rear bags are much easier to mount. I cut the tubes to the right length and welded the lower mount directly to the rear axle.
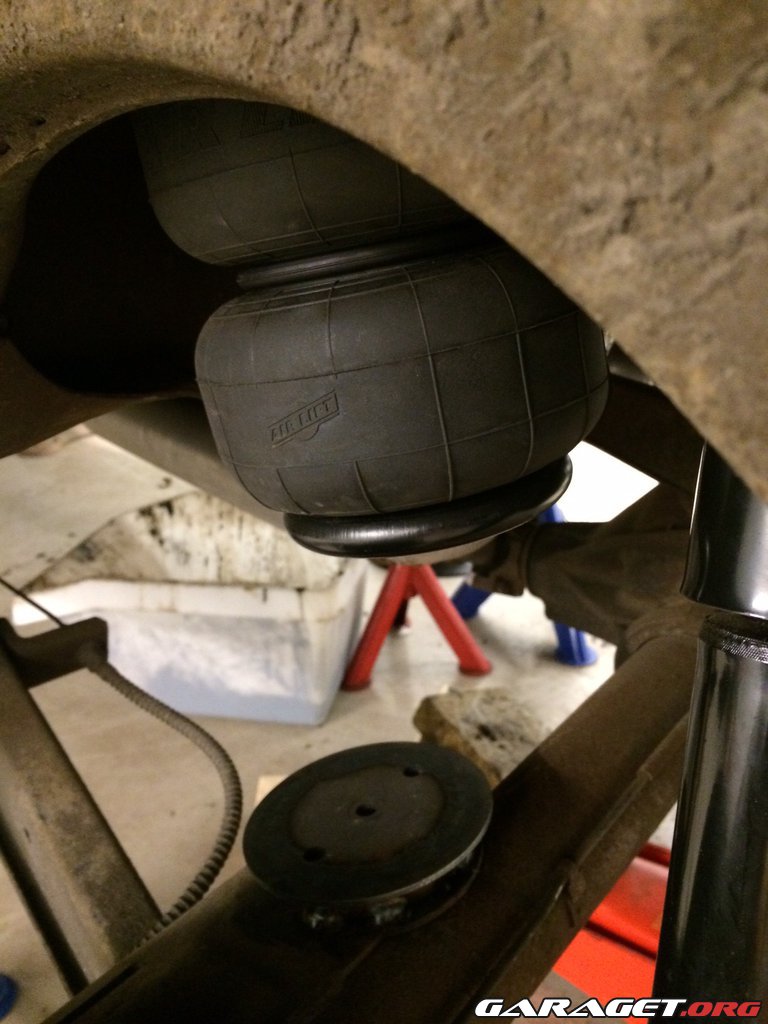
For the upper mount I tack welded a nut so I could screw the whole bag+mount in place.
For the upper mount I tack welded a nut so I could screw the whole bag+mount in place.
Thread Starter
Registered User
Joined: Mar 2008
Posts: 43
From: Sweden
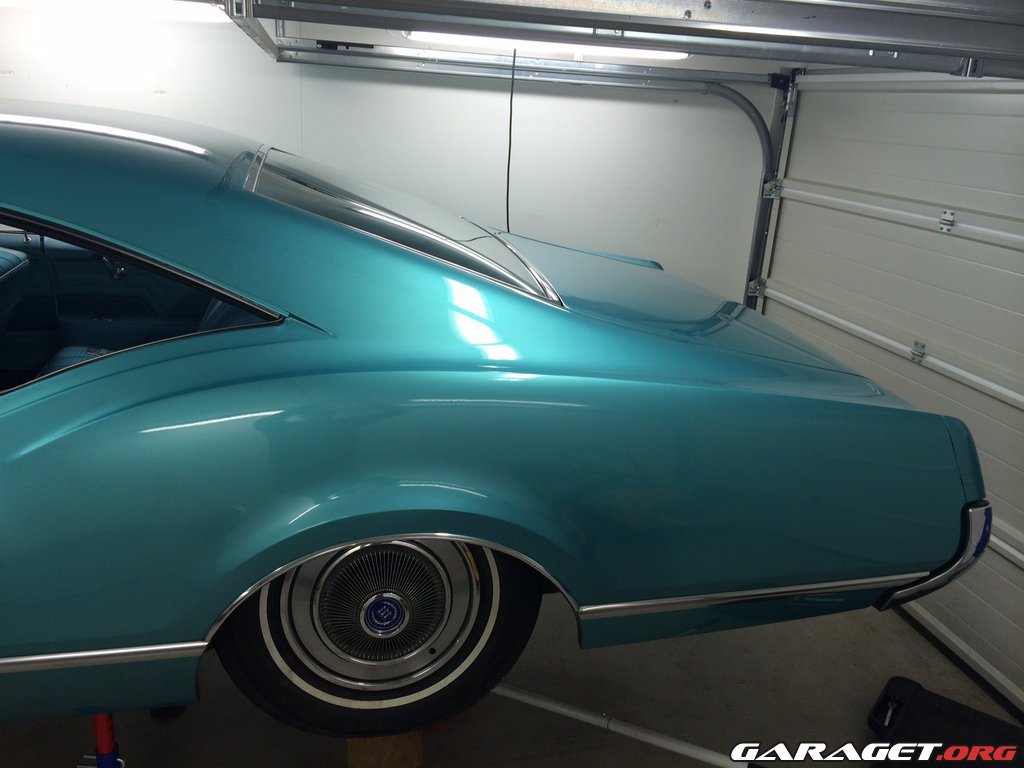
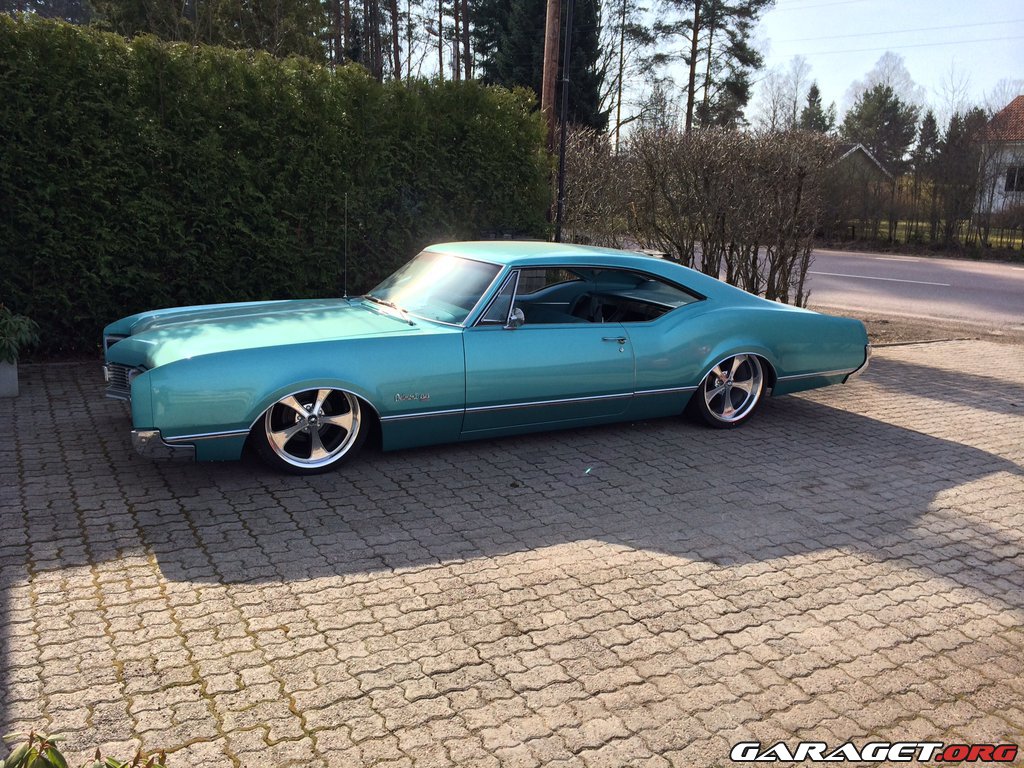
Yesterday - when all the bags were mounted and the hoses was connected an routed from each bag to the trunk, I just had to put it on it on the ground
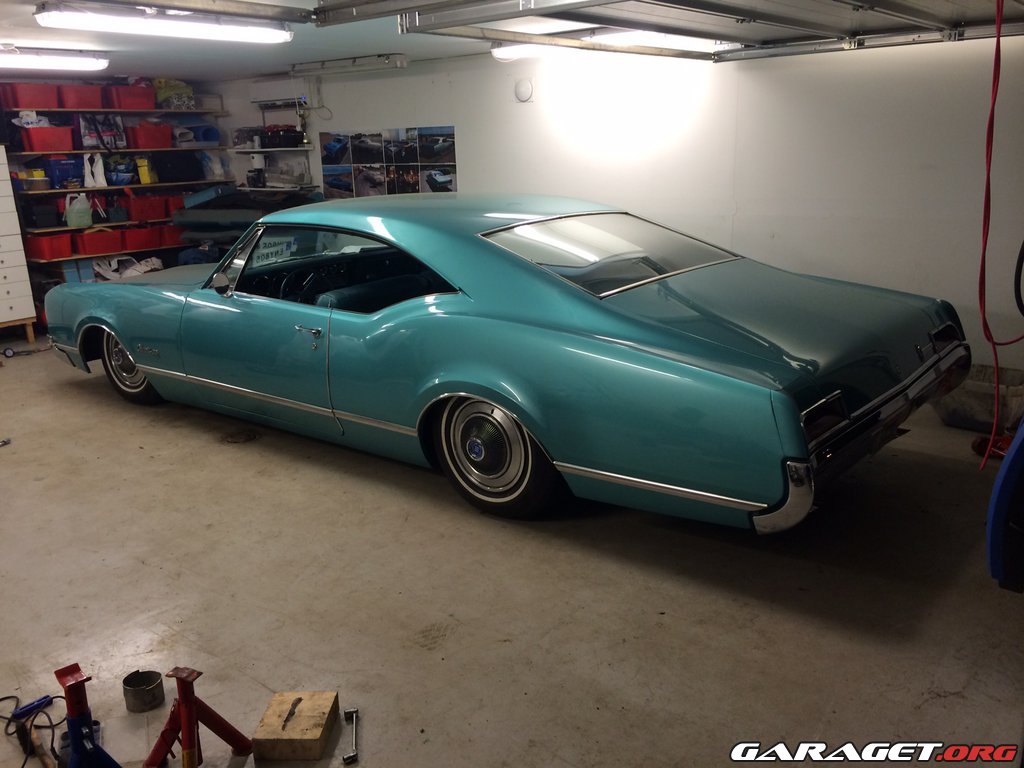
Laid out
The reason why the car sits lower in the front is the fact that the exhaust system is pretty tight mounted above the rear axle. I will modify this after I have tried the new 10x 20" wheels on.
Laid out
The reason why the car sits lower in the front is the fact that the exhaust system is pretty tight mounted above the rear axle. I will modify this after I have tried the new 10x 20" wheels on.

Registered User
Joined: Dec 2011
Posts: 7,286
VERY nice car, so pretty
under all that grease your suspension parts are PERFECT
Interesting way to jack the rear wheels up, how does that not spit the wood piece out at you?
So, you are just going to do without front shock absorbers.... or?
Keep the updates going!
under all that grease your suspension parts are PERFECT
Interesting way to jack the rear wheels up, how does that not spit the wood piece out at you?
So, you are just going to do without front shock absorbers.... or?
Keep the updates going!
Registered Luser
Joined: Aug 2006
Posts: 3,785
From: LI,NY
The bags will take the place of the shock absorbers. This is a very interesting thread! Now I have to ask, if ever you sell the car, and the next owner wants to put the shocks back for a stock look and ride height, what are the options ? The pieces cut out of the frame would be re-welded in I would think is the only logical, other than replacing the frame.....although, I think part of the appeal of the car now is the stance, bags, ride quality and future rims!
Registered User
Joined: Dec 2011
Posts: 7,286
I see that the air bags occupy the space where the springs and shocks once were, but an air bag is a spring and a shock absorber is a damping device, and the two functions are different. Therefore, the car now has no dampers in the front spring/ mass/ damper system. This seems like an engineering faux pas to me. I guess it gets done all the time though.
Beer Connoisseur
Joined: Aug 2008
Posts: 2,092
From: Daly City, California
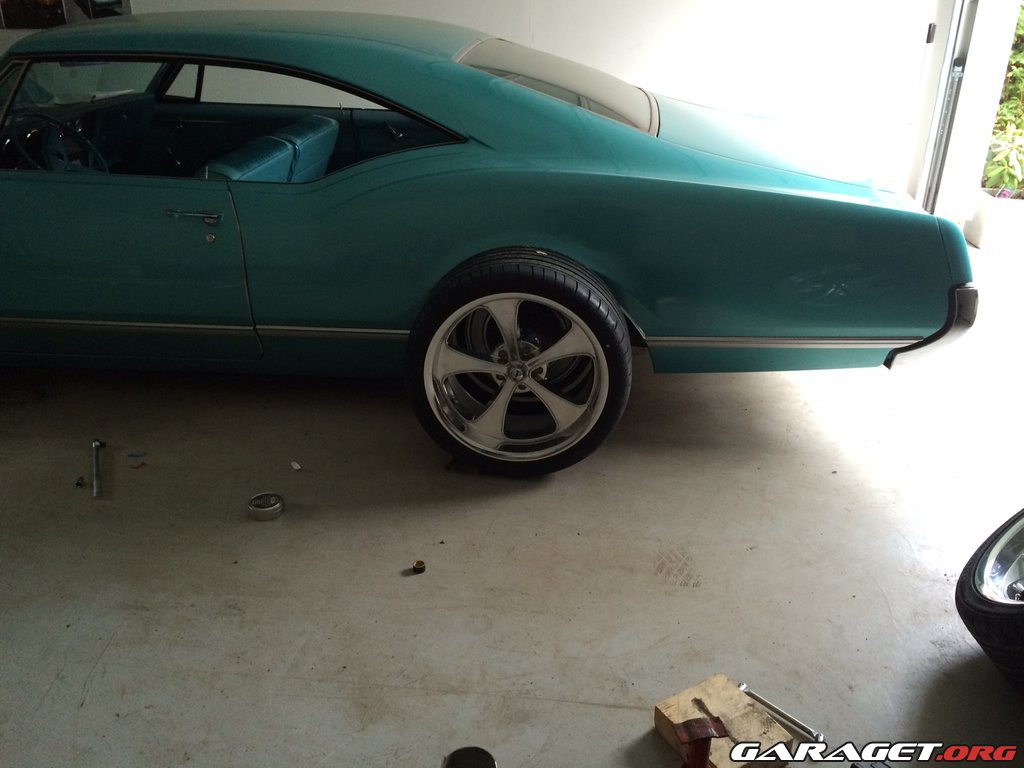
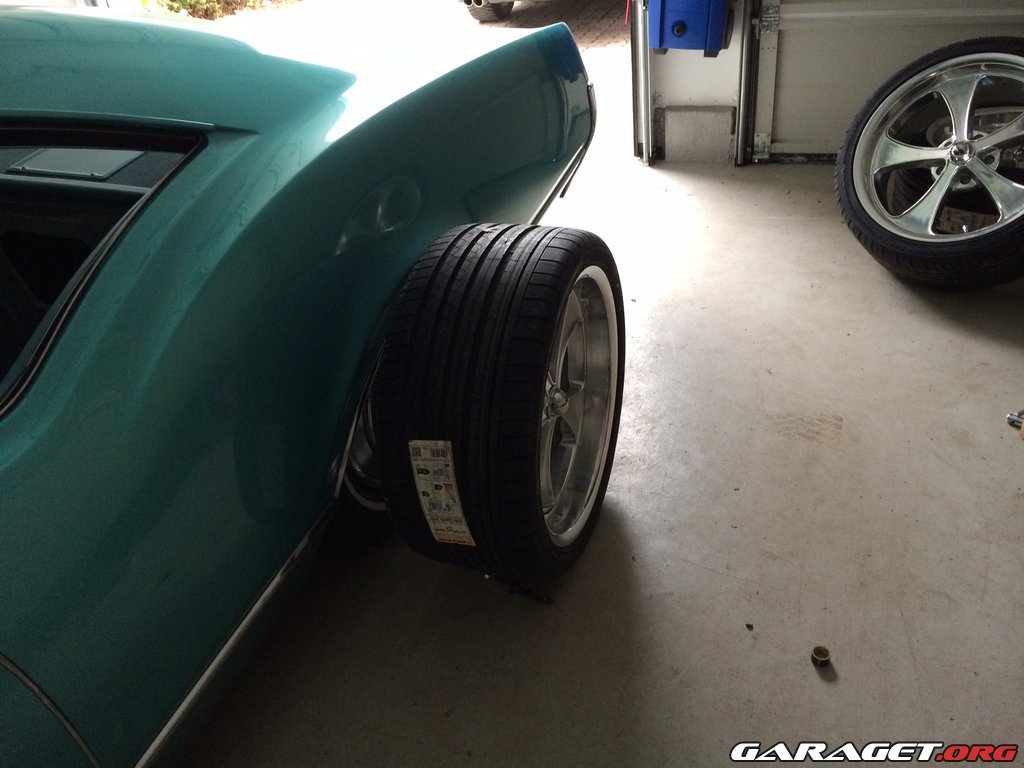
On my Impala, after installing the air bags, I only had shocks in the rear for a while. Later I installed relocation brackets and shocks, there was a difference but not much. Bags are much more forgiving than springs, I still like to have shocks though. I also left the bump stops in place.
Here is the relocation kit link.
If you are interested I can give you contact info to one one of the owners, great guy and very knowledgeable. He helped me fix my issues.
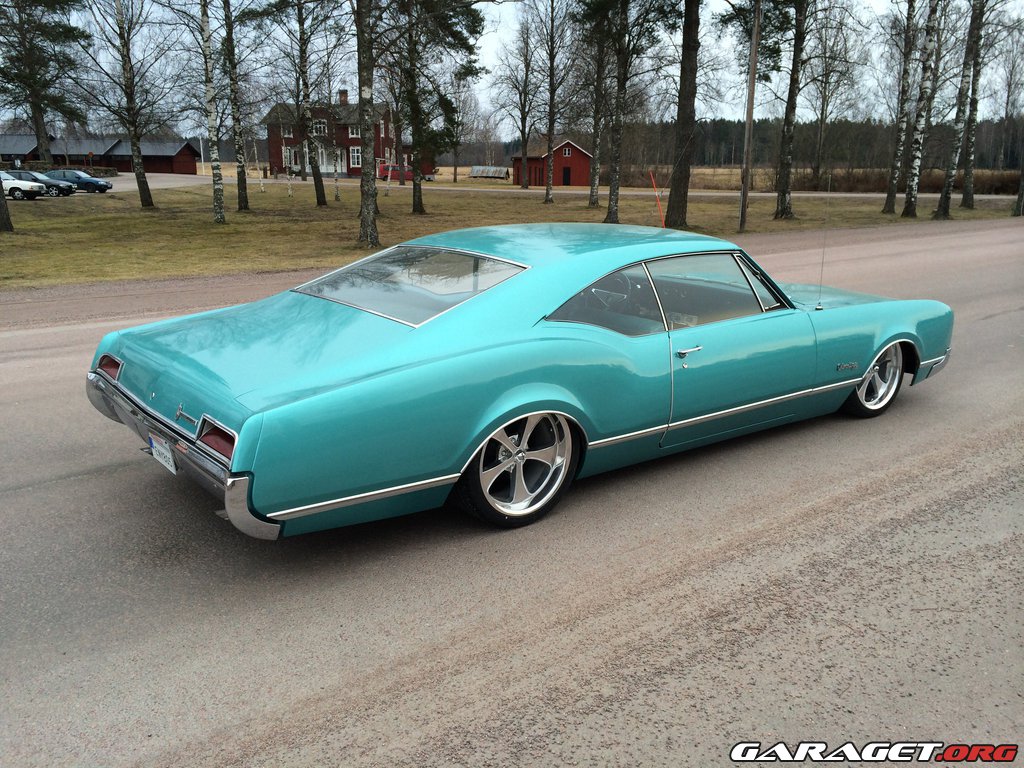
Here my Impala with cruising wheels and show only wheels.
 [/IMG]
 [/IMG]
Here is the relocation kit link.
If you are interested I can give you contact info to one one of the owners, great guy and very knowledgeable. He helped me fix my issues.
Here my Impala with cruising wheels and show only wheels.
[/IMG][/IMG]
Thread Starter
Registered User
Joined: Mar 2008
Posts: 43
From: Sweden
No updates today, I have been in Paris over the weekend

Thank you!
Thanks! Haha, actually I had the large jack under the differential housing
but needed to give the left side an "extra push".
Thank you! If someone wants to mount the original suspension - it can be done quite easy (in a day I would say).
I have built two bagged cars previously (the -68 Delmont and the -66 Cadillac) - I have driven both these without front shocks the first season and then mounted shocks. Shocks does make a difference but you can�t compare an airbag with a coilspring - the bag damps itself in a way that the coil doesn�t. However - shocks will be mounted. The trick is to find the right location for the brackets that will be welded outside the lower arm and on top of the frame. But I need the new wheels before I can do this!
Thank you!
but needed to give the left side an "extra push".
The bags will take the place of the shock absorbers. This is a very interesting thread! Now I have to ask, if ever you sell the car, and the next owner wants to put the shocks back for a stock look and ride height, what are the options ? The pieces cut out of the frame would be re-welded in I would think is the only logical, other than replacing the frame.....although, I think part of the appeal of the car now is the stance, bags, ride quality and future rims!
I see that the air bags occupy the space where the springs and shocks once were, but an air bag is a spring and a shock absorber is a damping device, and the two functions are different. Therefore, the car now has no dampers in the front spring/ mass/ damper system. This seems like an engineering faux pas to me. I guess it gets done all the time though.
Thread Starter
Registered User
Joined: Mar 2008
Posts: 43
From: Sweden
On my Impala, after installing the air bags, I only had shocks in the rear for a while. Later I installed relocation brackets and shocks, there was a difference but not much. Bags are much more forgiving than springs, I still like to have shocks though. I also left the bump stops in place.
Here is the relocation kit link.
If you are interested I can give you contact info to one one of the owners, great guy and very knowledgeable. He helped me fix my issues.
Here my Impala with cruising wheels and show only wheels.
Here is the relocation kit link.
If you are interested I can give you contact info to one one of the owners, great guy and very knowledgeable. He helped me fix my issues.
Here my Impala with cruising wheels and show only wheels.
Thanks for the tips and link! I have been doing my own shock-brackets previously and probably will this time as well. Prefer to use small shocks with stud bolts in both ends and then cut a square pipe with a 45� and drill a hole in the bottom.
Trying to find pics of when I mounted the brackets on my last Delmont but can�t seem to find them

Thread Starter
Registered User
Joined: Mar 2008
Posts: 43
From: Sweden
I agree - slamming is a huge "trend", much due to availibility of good airride kits these days I guess. Lowered cars though has been a part of the scene since the 1940�s I guess.
I like the fact that this Impala was fitted with hydraulics a couple of weeks after the first owner took delivery in 1967.
Thread Starter
Registered User
Joined: Mar 2008
Posts: 43
From: Sweden


