When you click on links to various merchants on this site and make a purchase, this can result in this site earning a commission. Affiliate programs and affiliations include, but are not limited to, the eBay Partner Network.
I would like to improve the condition of the center console of my 1971 Oldsmobile 442.
I will soon remove the floor upholstery to clean up that area, so it may be a good time to see what the center console needs and leave it in optimal condition.
I leave you a couple of photos of the external state of the gear shift area.
Also, I have seen in other olds that the shift travel is covered.
The gray bezel is not in very good condition either, you can see it in the photo.
What do you recommend I do to improve it and get it as close as possible to how it came out of the factory?
Thanks in advance.
you can buy most parts needed at H&H including the chrome top plate, gear indicator lens and high quality wood grain inserts. If you want to touch up the paint SEM landau black is a spot on match to the factory color and sheen. http://hhclassicauto.com/products.html
Thanks for the help.
Possibly with the websites you send me could be enought to fix the center console of my 442.
I will let you know when I will buy all the items.
Thanks.
Hello guys, just a clarification.
In the end, I bought the parts at H&H, and honestly, they seem to be of very good quality; the wood grain is incredible, just like the factory one.
I also bought the gear shift cover, and this raises a question: How do I install the cover and attach the screws that go next to the gear shift lever? I need to install the cover along with the center console, so I’m not sure how to do it.
Thanks in advance.
It looks like the console is missing the plastic "tabs" that rest on top of the circled metal you show. A #8 screw is used to attach the console plastic to the those metal pieces (part of the shifter assembly).
Inline Tube (and others) sell a nice repro version of part #25....it's a blue plastic "slider/filler" piece so the area around the shifter is closed up (keeps stuff from falling down in there).
You are better off just repainting the WHOLE console....use SEM Landau Black as previously mentioned.
You'll need to remove the shifter ball and the "T" handle (immediately below the shifter ball) to install the blue plastic "slider" piece...also remove the console woodgrain insert...thus, might as well pull the whole console and rehab it properly.
Pic below shows what your console is missing (the plastic that gets screwed down onto the metal shifter tabs).
Hello, sir.
Yes, I do have the plastic tabs. One of them was broken, and at H&H, they told me that those screws are used to center the console and that with just one, it could potentially work fine. However, I bought a part from a broken console and managed to adapt it to my console. Apparently, it turned out quite well.
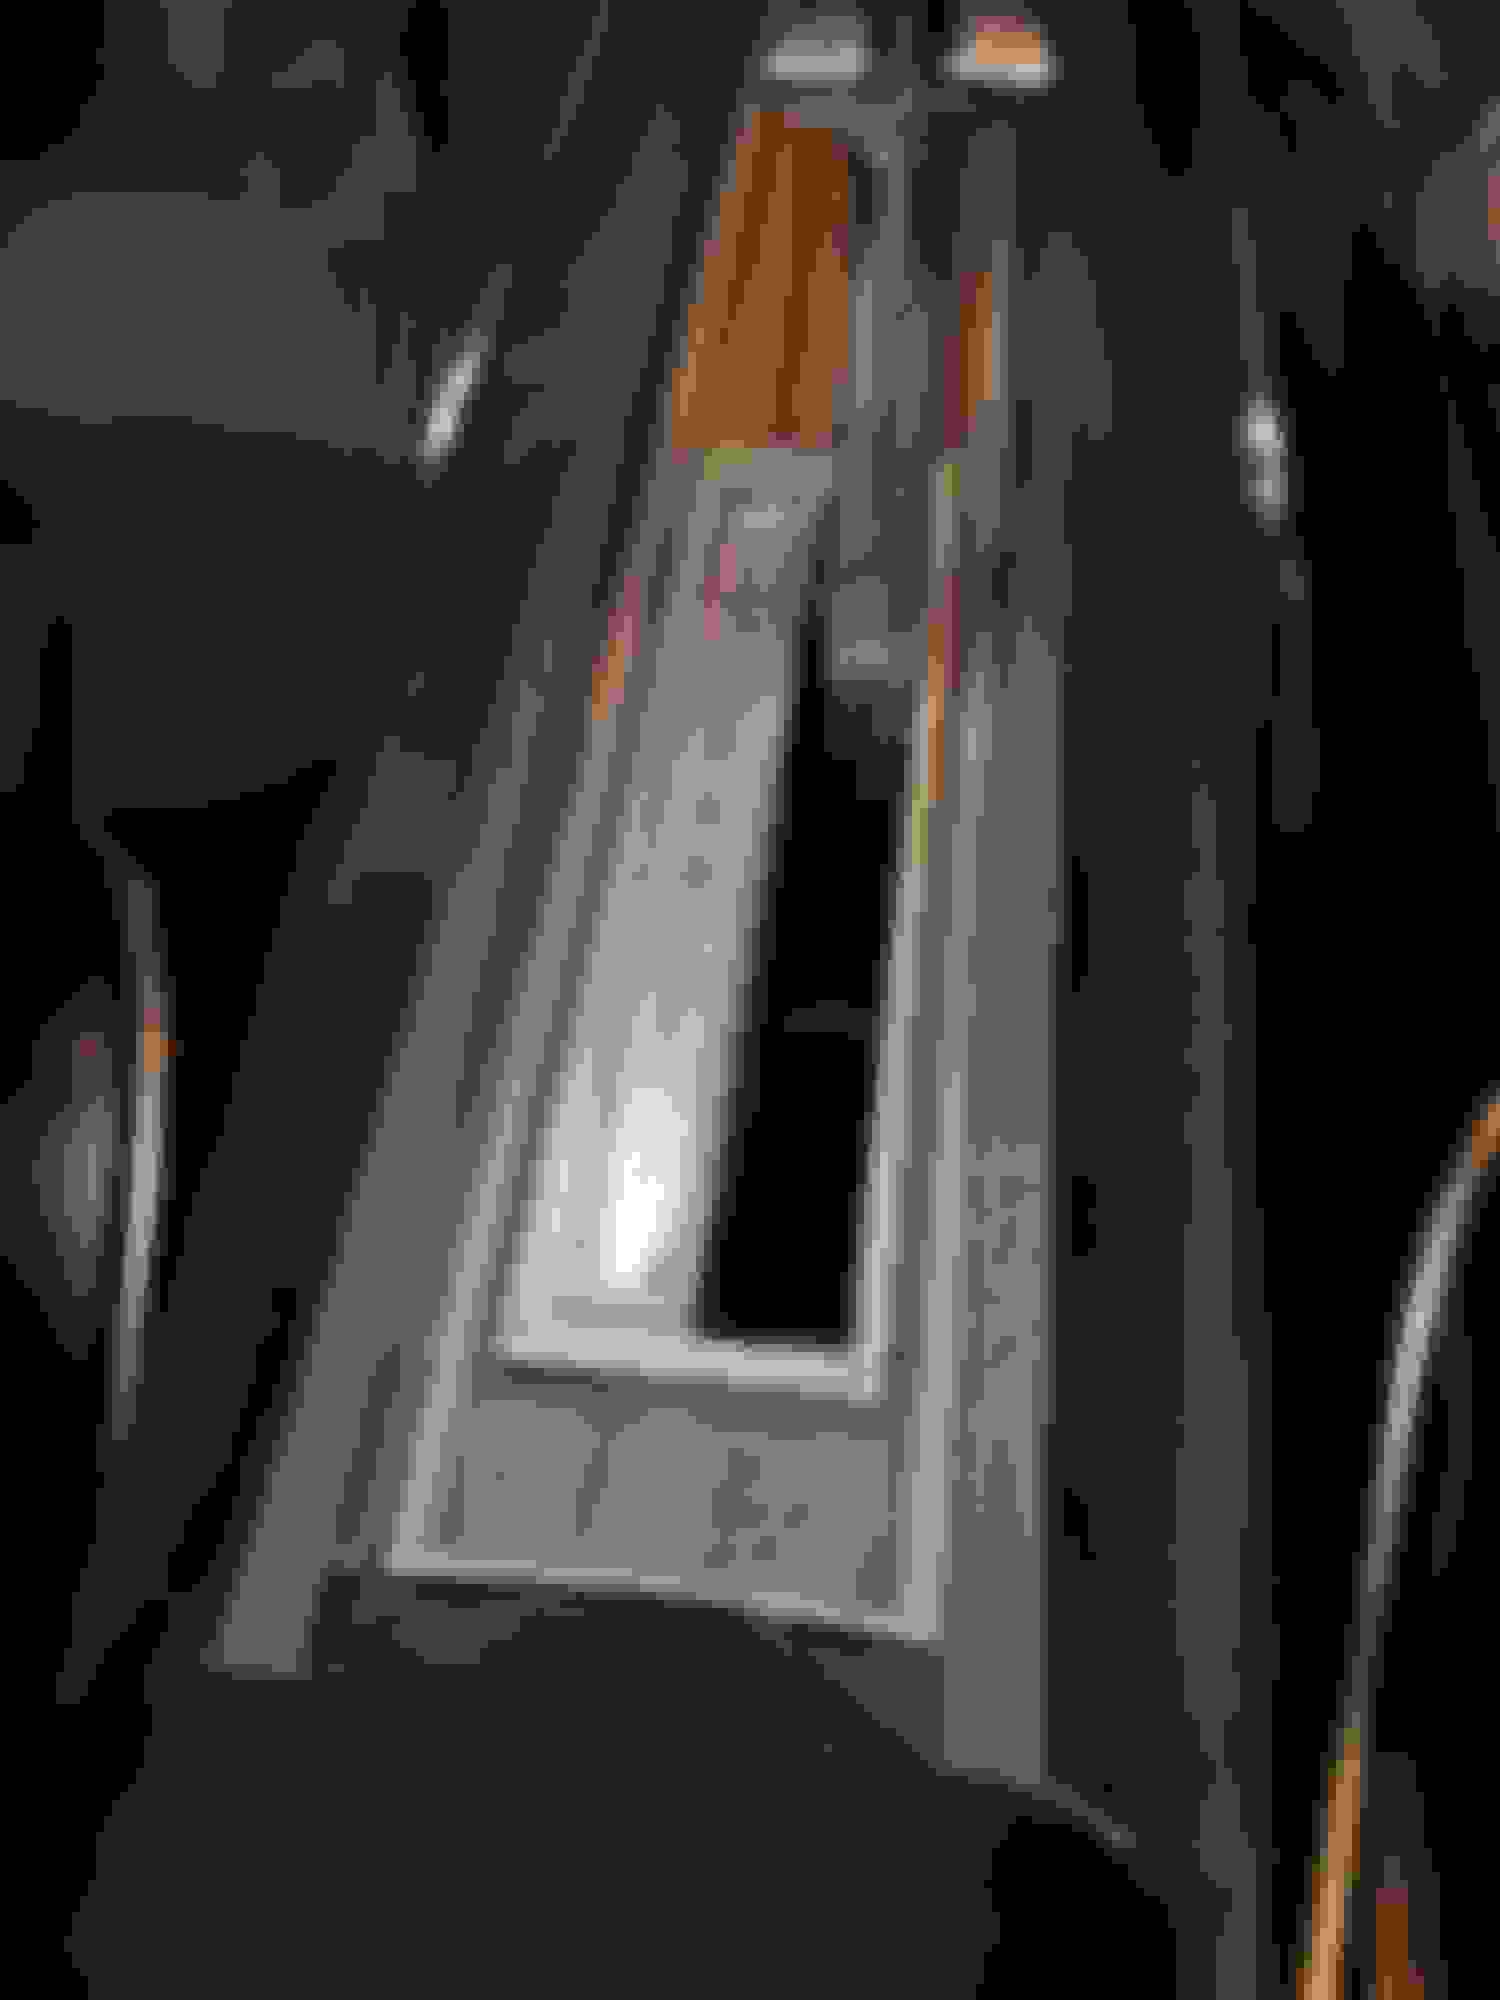
I bought the sliding plastic through eBay, but it was not of the quality I expected. The layer of paint was so thin that, during the first test, a large part of the paint peeled off. Now I have that plastic for testing before finally assembling the console. I understand it is installed exactly as I have it in the next photo, correct?
According to what I understand, I first place the console, secure it with the screws, and then�removing the **** and the gearshift �T� (it will be a bit challenging to locate the rod that secures it, but I�ll manage)�I install the dust-cover plastic by bending it slightly to fit into the area.
Lastly, here is the material I bought from H&H. I hope I can assemble it this April if everything goes well�fingers crossed.