When you click on links to various merchants on this site and make a purchase, this can result in this site earning a commission. Affiliate programs and affiliations include, but are not limited to, the eBay Partner Network.
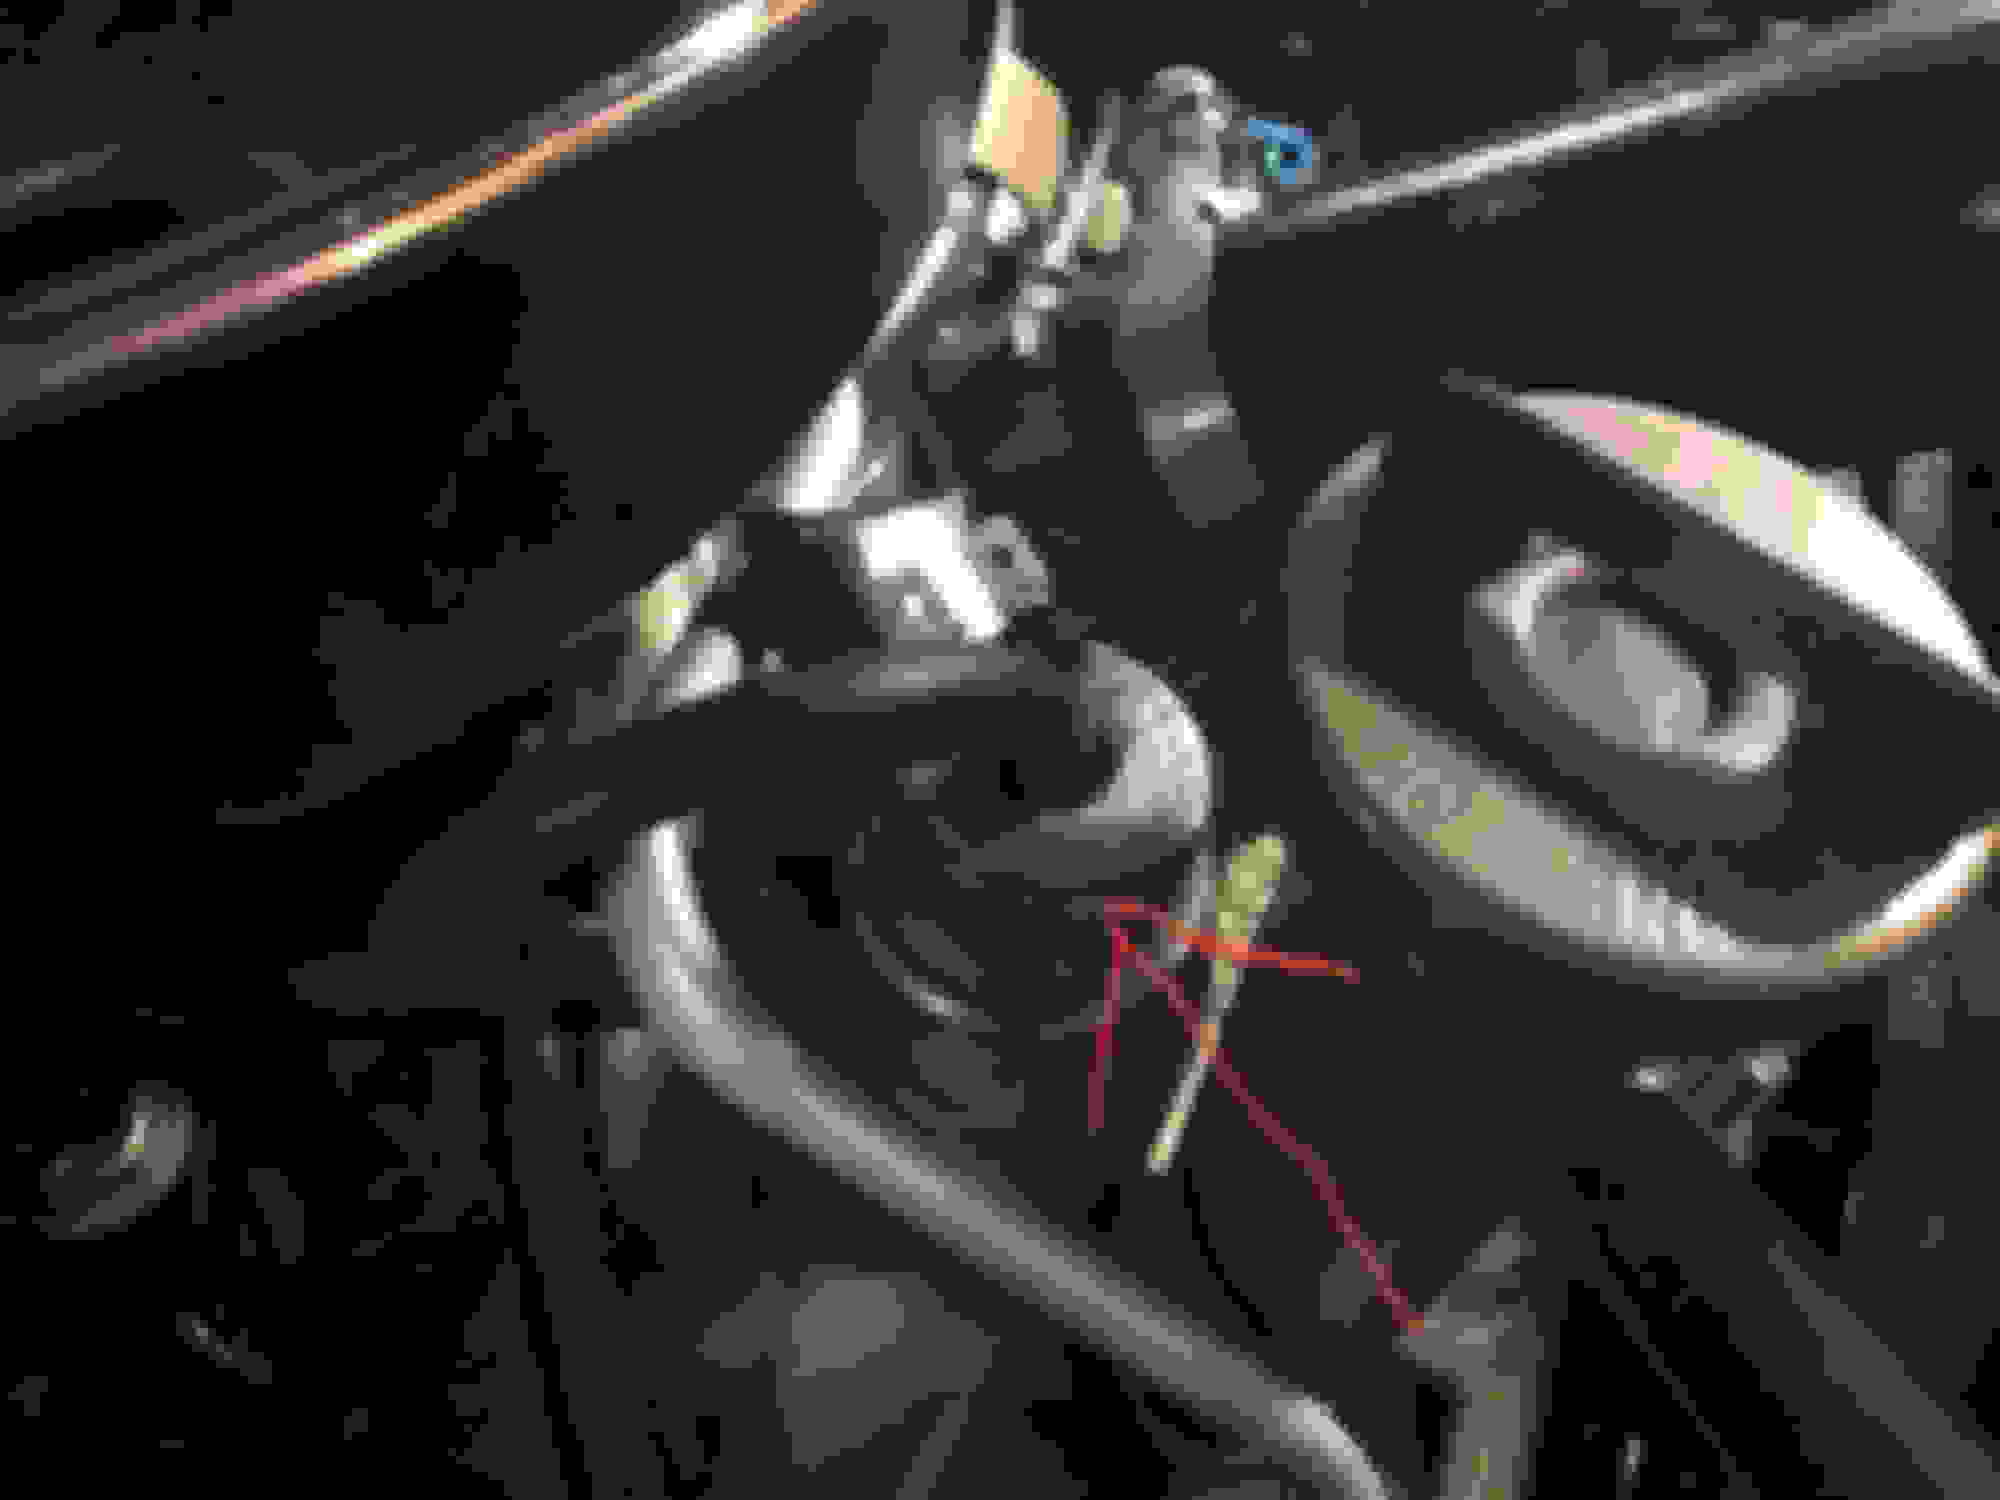
Can anyone show me the vacuum hose routing for the thermal vacuum switch? Not sure it is hooked up properly. Middle hose on port jumped to top of canister on switch. Car running hotter. Not sure switch is operating correctly. Help.
Thank you. Yes my Vacuum hoses are all in the wrong spots off this switch. Is this drawing good for a 1972 350 4bbl with air conditioning? Thanks again!
Last edited by Neuby7297; Jun 19, 2019 at 05:37 AM.
Reason: Will this drawing work for a 1972 350 with air conditioning?
Thank you. Yes my Vacuum hoses are all in the wrong spots off this switch. Is this drawing good for a 1972 350 4bbl with air conditioning? Thanks again!
Yes, 71 and 72 were the only years for this specific application
Mine also has the electrical connection on top of the switch.
Mine also has the electrical connection on top of the switch. Is it the same hookup on the vacuum hoses being the switch has the electrical connection?
Yes, all the 71/72 350/455 engines (2bbl or 4bbl) had the same electrical connections and vacuum. If you look at the OP's post you will see the connections bent to the side and not hooked up. IMO if he's not hooking that up, he might as well not bother with hooking up the vacuum either.
If you are interested in deleting the DVCS, here is an image I posted on another thread which demonstrates the vacuum hose routings w/ the DVCS deleted. You can either cut the wire to the DVCS (which will shorten its length) and tie it off at the wire bundle near the firewall, or simply wrap the wire up tightly and tie it off at the wire bundle near the firewall - your choice. If you have additional questions I may have a couple more pictures of my DVCS delete.
EDIT: I forgot to mention. Simply plug off the two carburetor ports which you will not be using (with proper plugs) and re-route the vacuum lines as I have them labeled in the link I sent to you.
Last edited by Vintage Chief; Jun 19, 2019 at 02:35 PM.
Here are a couple additional images. Added information for the caps in the image captions. Cap the identified port: DVCS Vent Port 'V' (Delete/Capped) - Rear of carburetor view. You can remove the DVCS and use a standard H20 FIP plug DVCS Delete Cap the identified port: DVCS (Delete) Vent Port 'V' (Capped) - Rear of carburetor view. Cap this port on the front of the carburetor - DVCS/Delete (Cap) Carb Port Top of DVCS. This is the vacuum line from the front carburetor port to the top of the DVCS.
I disabled mine for a time and saw absolutely no difference in idle, but did see some changes in higher heat range. I have it hooked up now the way it came from the factory and it runs just fine.
Did deleting the dvcs help with the idle and shifting?
On a factory engine, probably not. On my engine, full manifold vacuum smoothed out the idle and prevented the RPM from dropping when turning the AC on. I can't imaging it would have any affect on shifting.
Having the switch connected will disable the distributor vacuum advance until the engine is at operating temperature and the transmission is in high gear in order to reduce emissions. The reduced ignition advance will decrease part throttle response and efficiency somewhat, and also makes the engine run warmer than it would otherwise. If for whatever reasons the engine temperature gets too high, the switch will change to full manifold vacuum advance, which allows more ignition advance (and raises the idle RPM / fan speed) to facilitate cooling.
So will you notice any difference in driving with the switch connected vs disconnected? That will probably vary from driver to driver.
Buy a 1972 CSM - save yourself the headaches of not owning one. Install your used DVCS and make certain you tune your engine correctly. Your tuning specifications are located on a label on the radiator fan shroud cover - follow them exactly and exactly in this order:
1) Set Dwell (30*) @ 1100RPM;
2) Set Timing w/ vacuum advance hose disconnected & plugged (12*BTC); and
3) Adjust carburetor for highest vacuum. When you adjust your carburetor, use a vacuum gauge. You should be able to pull between 16.0" - 17.5" Hg. When setting your two carburetor mixture needle screws, adjust the screws for the HIGHEST vacuum possible on your vehicle. It doesn't matter what that is, just be certain you adjust the carburetor mixture screws for the highest vacuum possible.
When satisfied w/ above tune-up specifications, adjust slow idle speed screw:
w/o AC 500 RPM w/ AT trans. in drive;
w/ AC 575 RPM w/ AT trans. in drive.
Are you running distributor points/contacts or an HEI? The above assumes distributor points/contacts.
As I recall, but I am not 100% certain, it was a standard thread 3/4 in. Flare x 1/2 in. Diameter Brass FIP. I purchased mine from my local Ace Hardware. I took the old TVS to the store and matched it up to a standard water pipe fitting - the fit is perfect. Sorry I cannot be 100% positive, but you'll have no issues finding the exact size. Just remember, it's a standard water pipe threading.
Yes, all the 71/72 350/455 engines (2bbl or 4bbl) had the same electrical connections and vacuum. If you look at the OP's post you will see the connections bent to the side and not hooked up. IMO if he's not hooking that up, he might as well not bother with hooking up the vacuum either.
Do you happen to know what the electrical plug does?
I have the plug, has power to it but I do not get ported vacuum to distributor unless I unplug it??
Do you happen to know what the electrical plug does?
I have the plug, has power to it but I do not get ported vacuum to distributor unless I unplug it??
Is it time for the Transmission Controlled Spark question again ALREADY?
The 1970-72 cars used a system called Transmission Controlled Spark to reduce NOx emissions. This system inhibits vacuum to the distributor vacuum advance can unless the transmission is in high gear (third on three speed, fourth on four speed). A switch in the trans closes to ground unless the trans is in high gear, causing the solenoid in this valve to close and prevent the flow of vacuum to the distributor. Unplugging the connector disables the normally open solenoid, allowing vacuum to flow all the time. The thermal sensor part of this switch bypasses all of that and runs full manifold vacuum to the distributor if the engine starts to overheat at idle or low speeds.