When you click on links to various merchants on this site and make a purchase, this can result in this site earning a commission. Affiliate programs and affiliations include, but are not limited to, the eBay Partner Network.
Ok a little fun and excitement for everyone. I am going to upload a set of pictures for 3 lower dash pieces. Each has been hacked on for an aftermarket radio. I have a plan, but want to see if you all agree. Also, one of the pieces has a factory mistake let�s see. The first to spot that too. Are you ready?
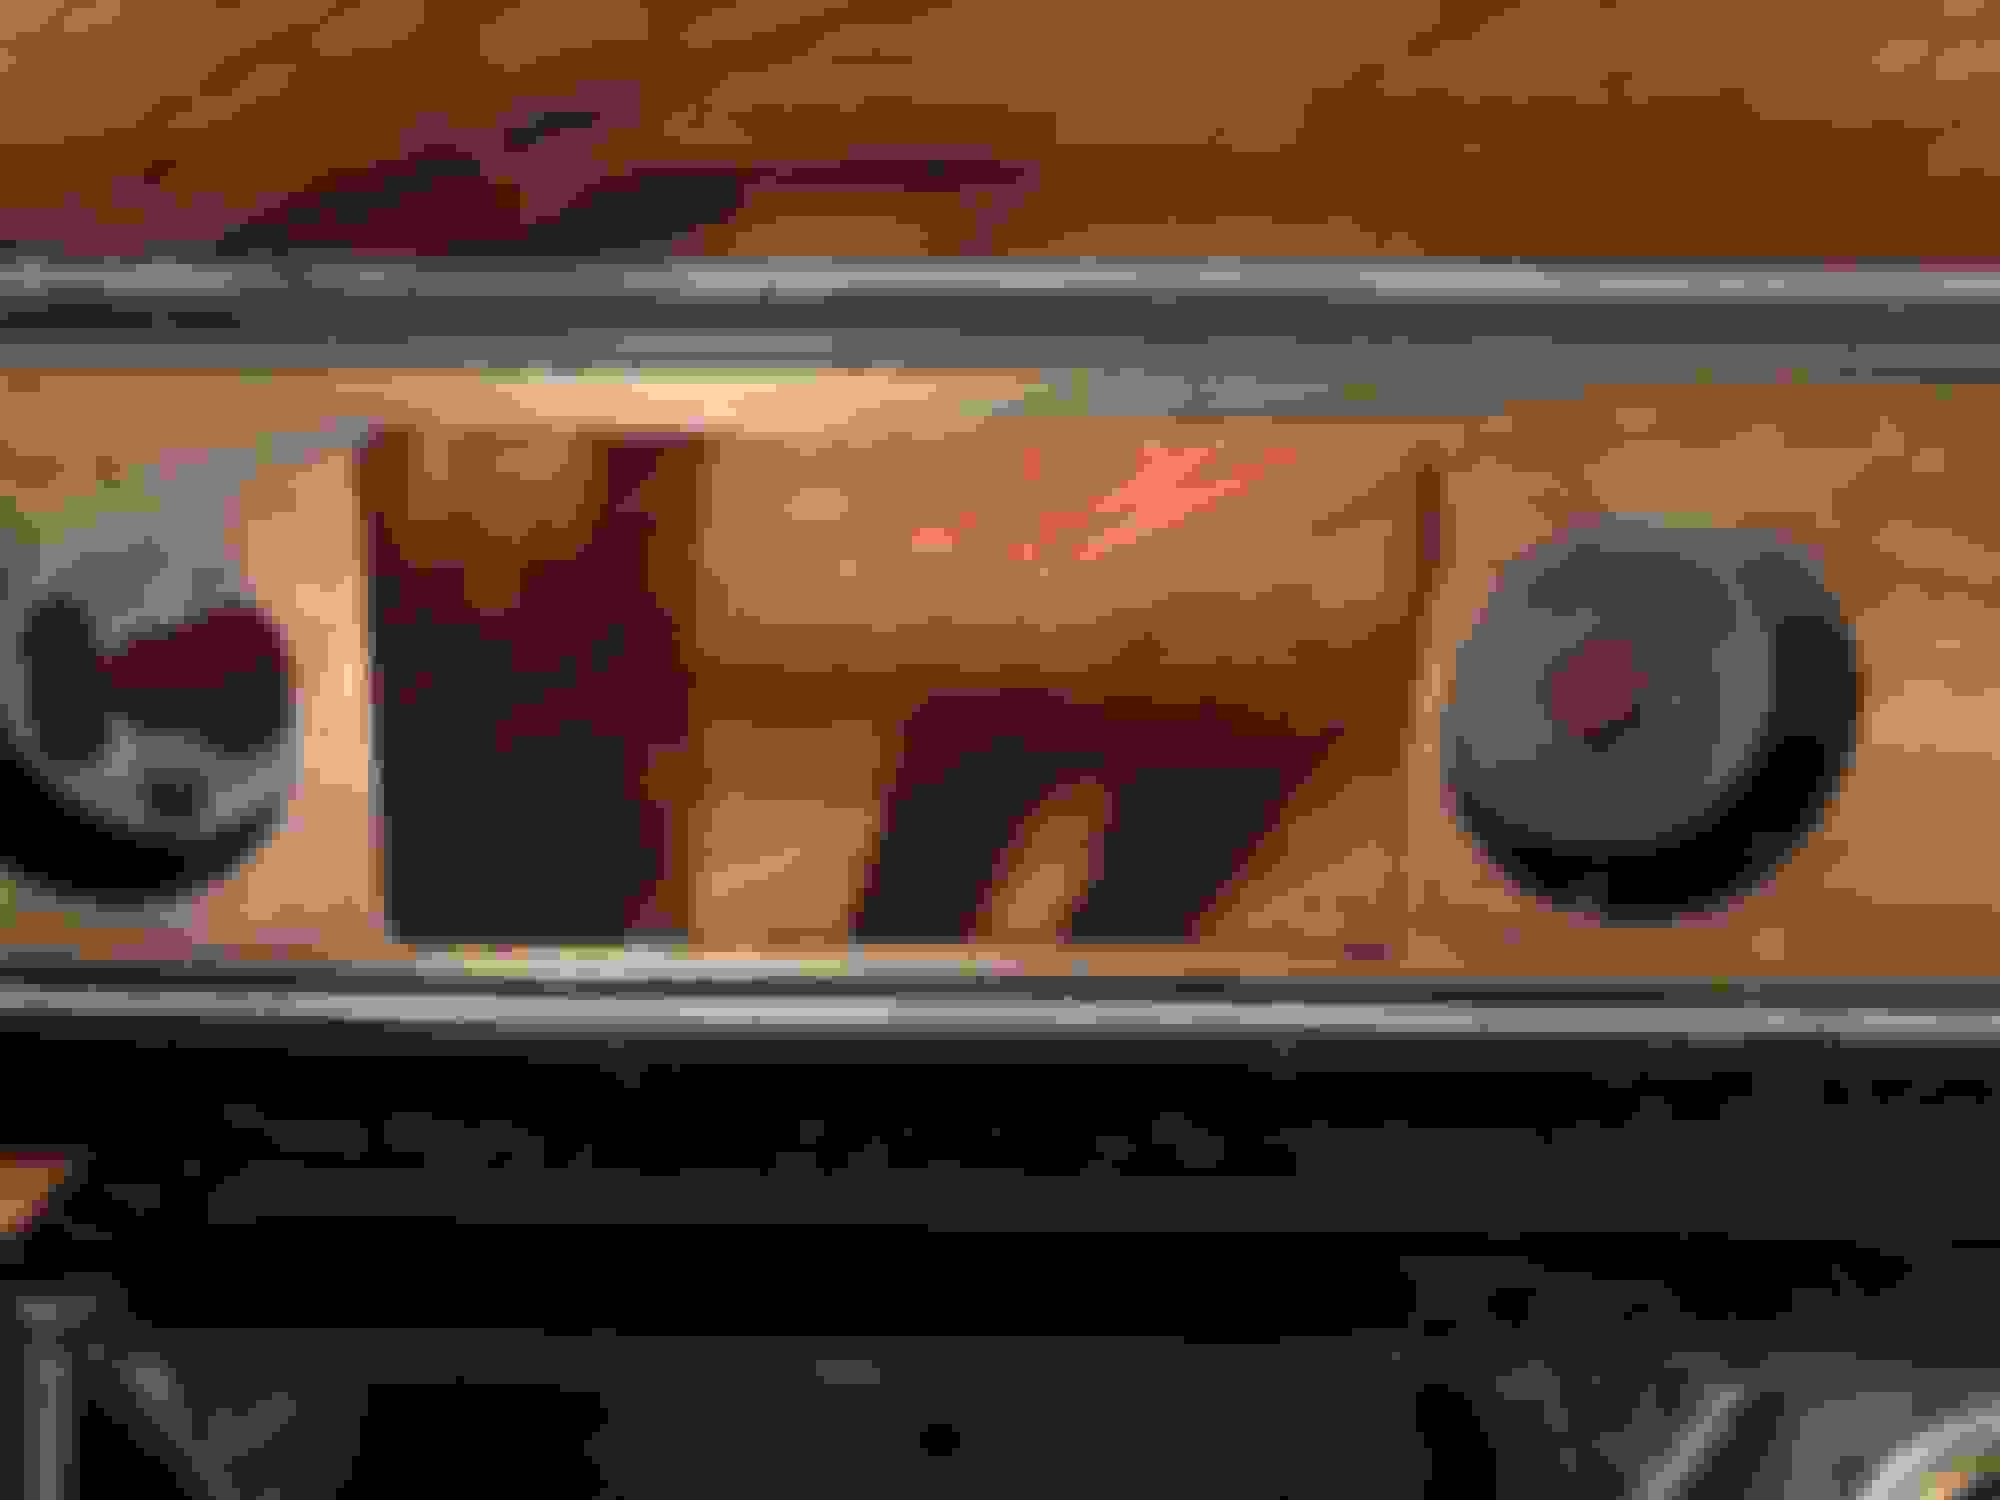
Option 1) This unit has the least amount of hacking around the radio, but has three of the mounting tabs broken.
Here we have a wonderful specimen as far as no rust, but alast someone really went to town on the radio. The unfortunate part is that I cannot keep it with the dash pad it came with. The dash pad is great and I am using the pad for the 442,
My thought is to use the 442, and fix the corners. I will have a factory radio in the hole, and I believe the new burl wood piece will cover the majority of my repair. I am thinking I will disassemble option two and use the grounding strips off of it.
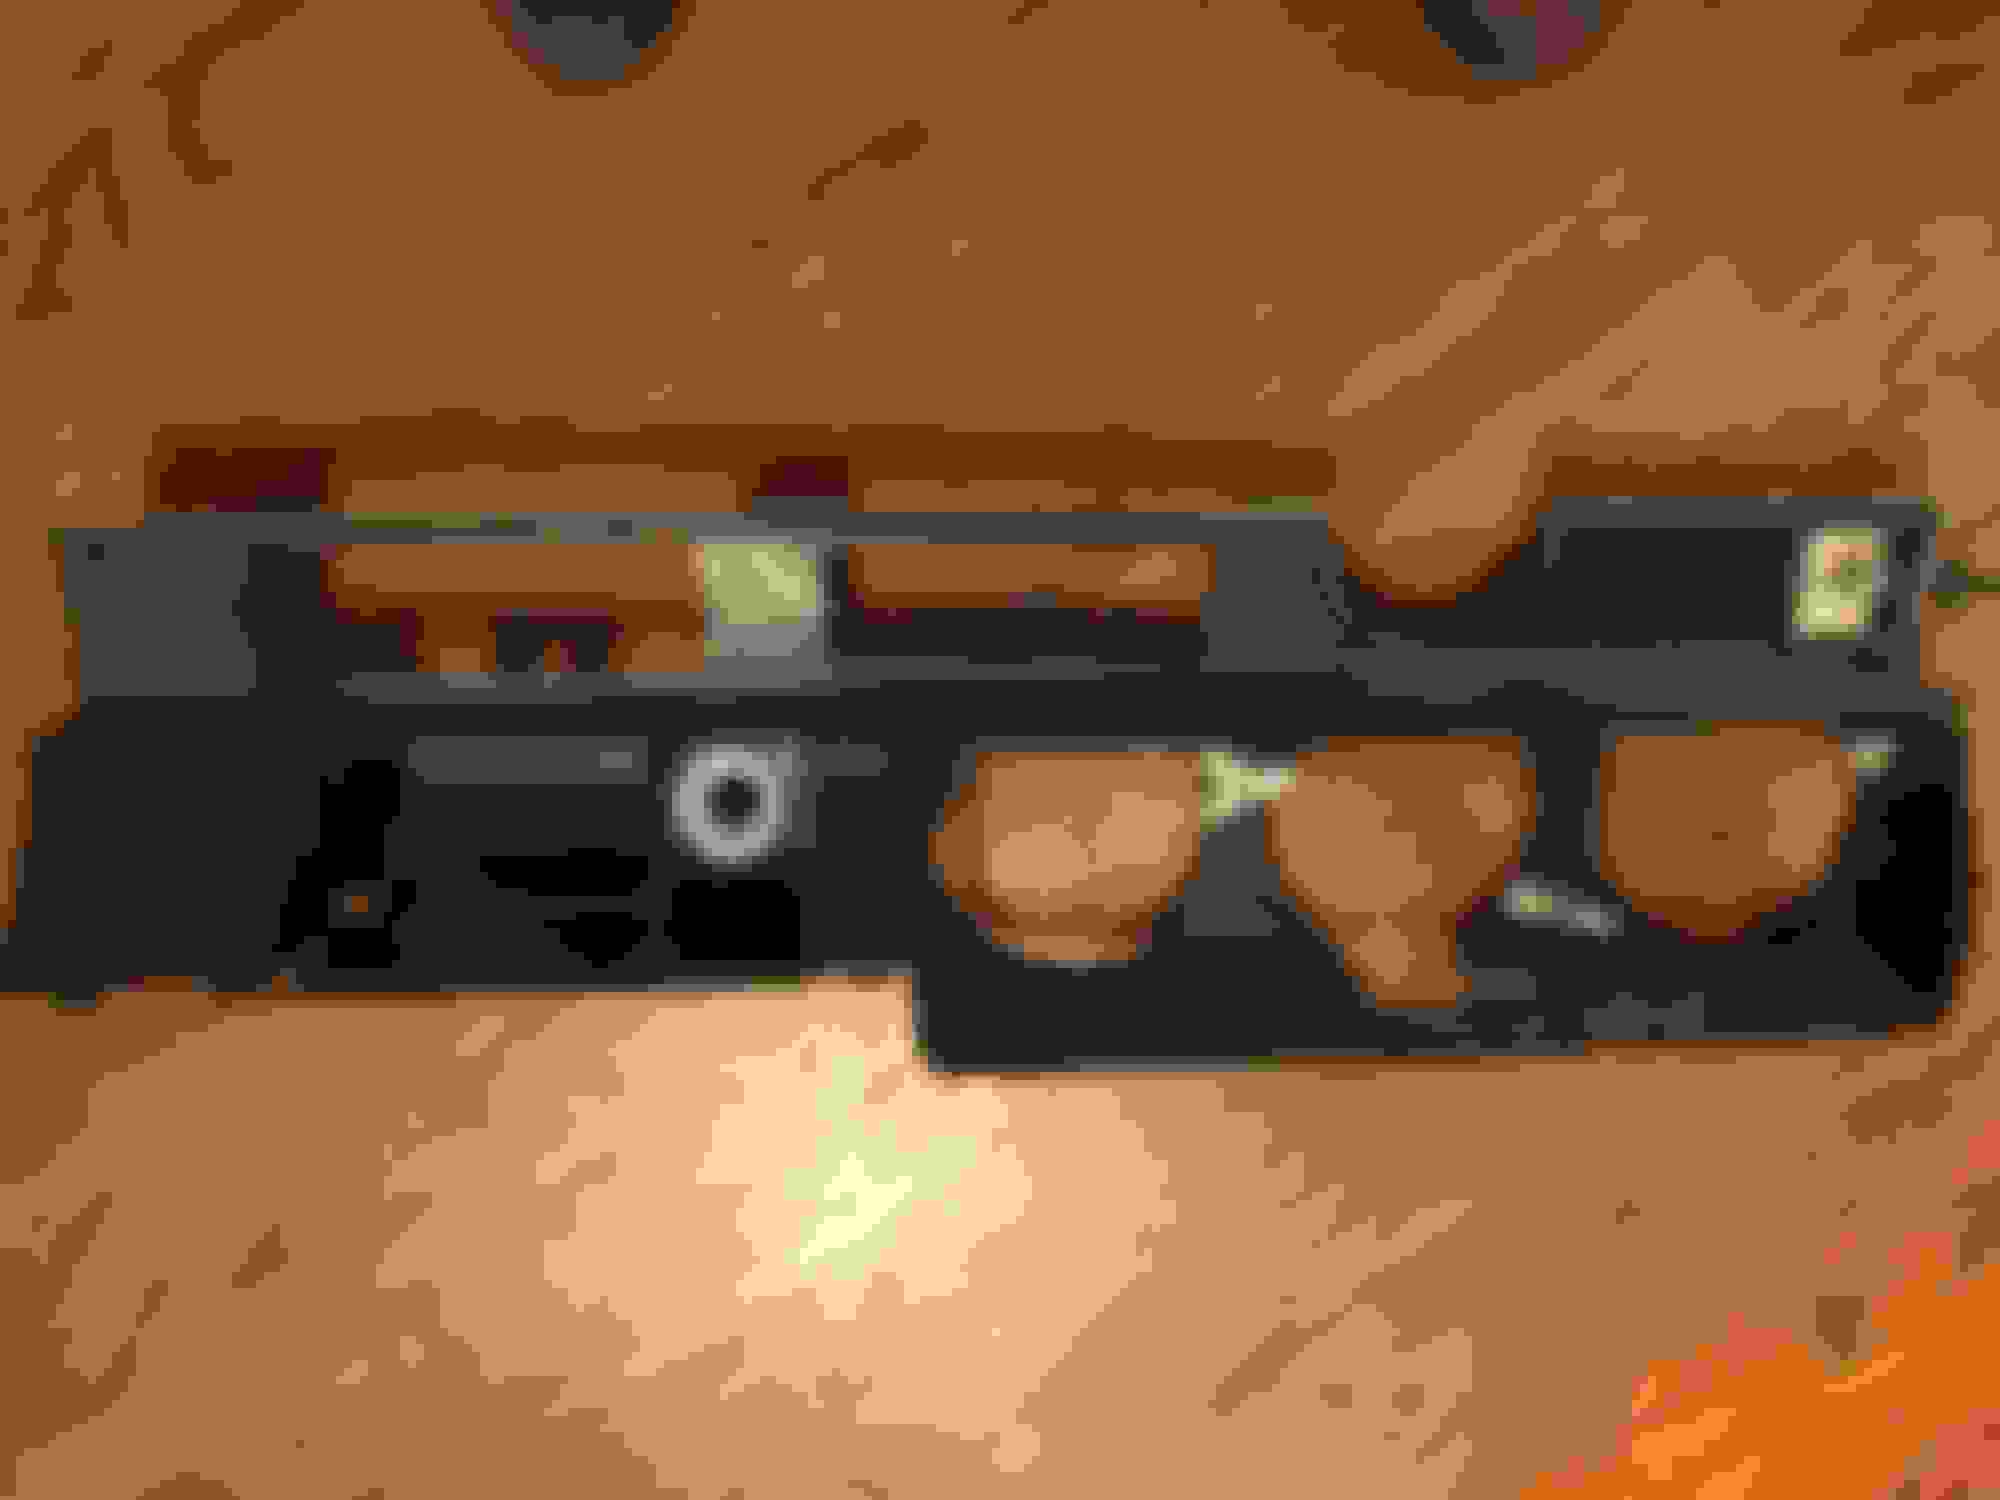
Sounds like a good plan. Option 2 appears to be missing what I assume is a Capacitor bracket.
I will give you partial credit. Option 2 is the one with the defect.
I think the bracket you are referencing is the courtesy light bracket for the ashtray. Option 2 did not have courtesy lights, but the other two did. If that was the bracket you were referencing, then no that was not the defect.
Option 2 has the factory defect as mentioned before has the factory defect. The metal ash deflector that goes over the top of the ash tray is completely outside the ash tray. The part that is pop rivited to the backside of the top of the ashtray should have been on the inside.
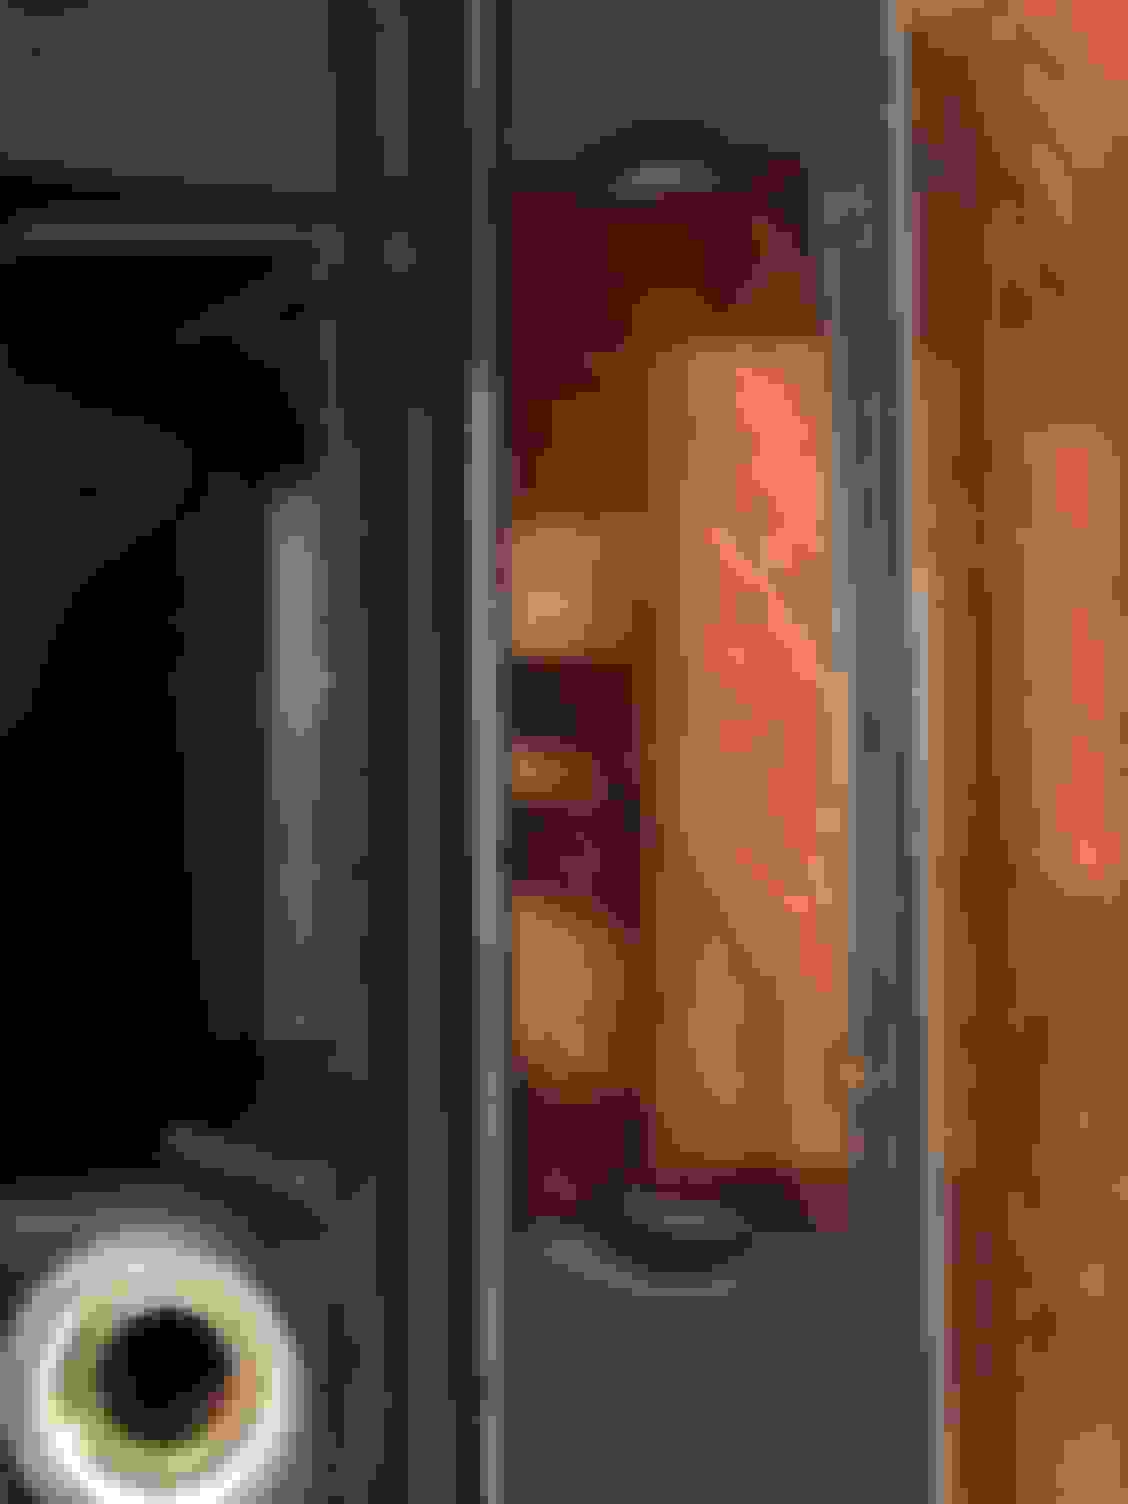
So the first thing is to understand that the radio is not centered in the dash. It is closer to the top. This was going to present a problem as I was going to use the right side to make the left side repair. You can see it as I flipped the wood trim over.
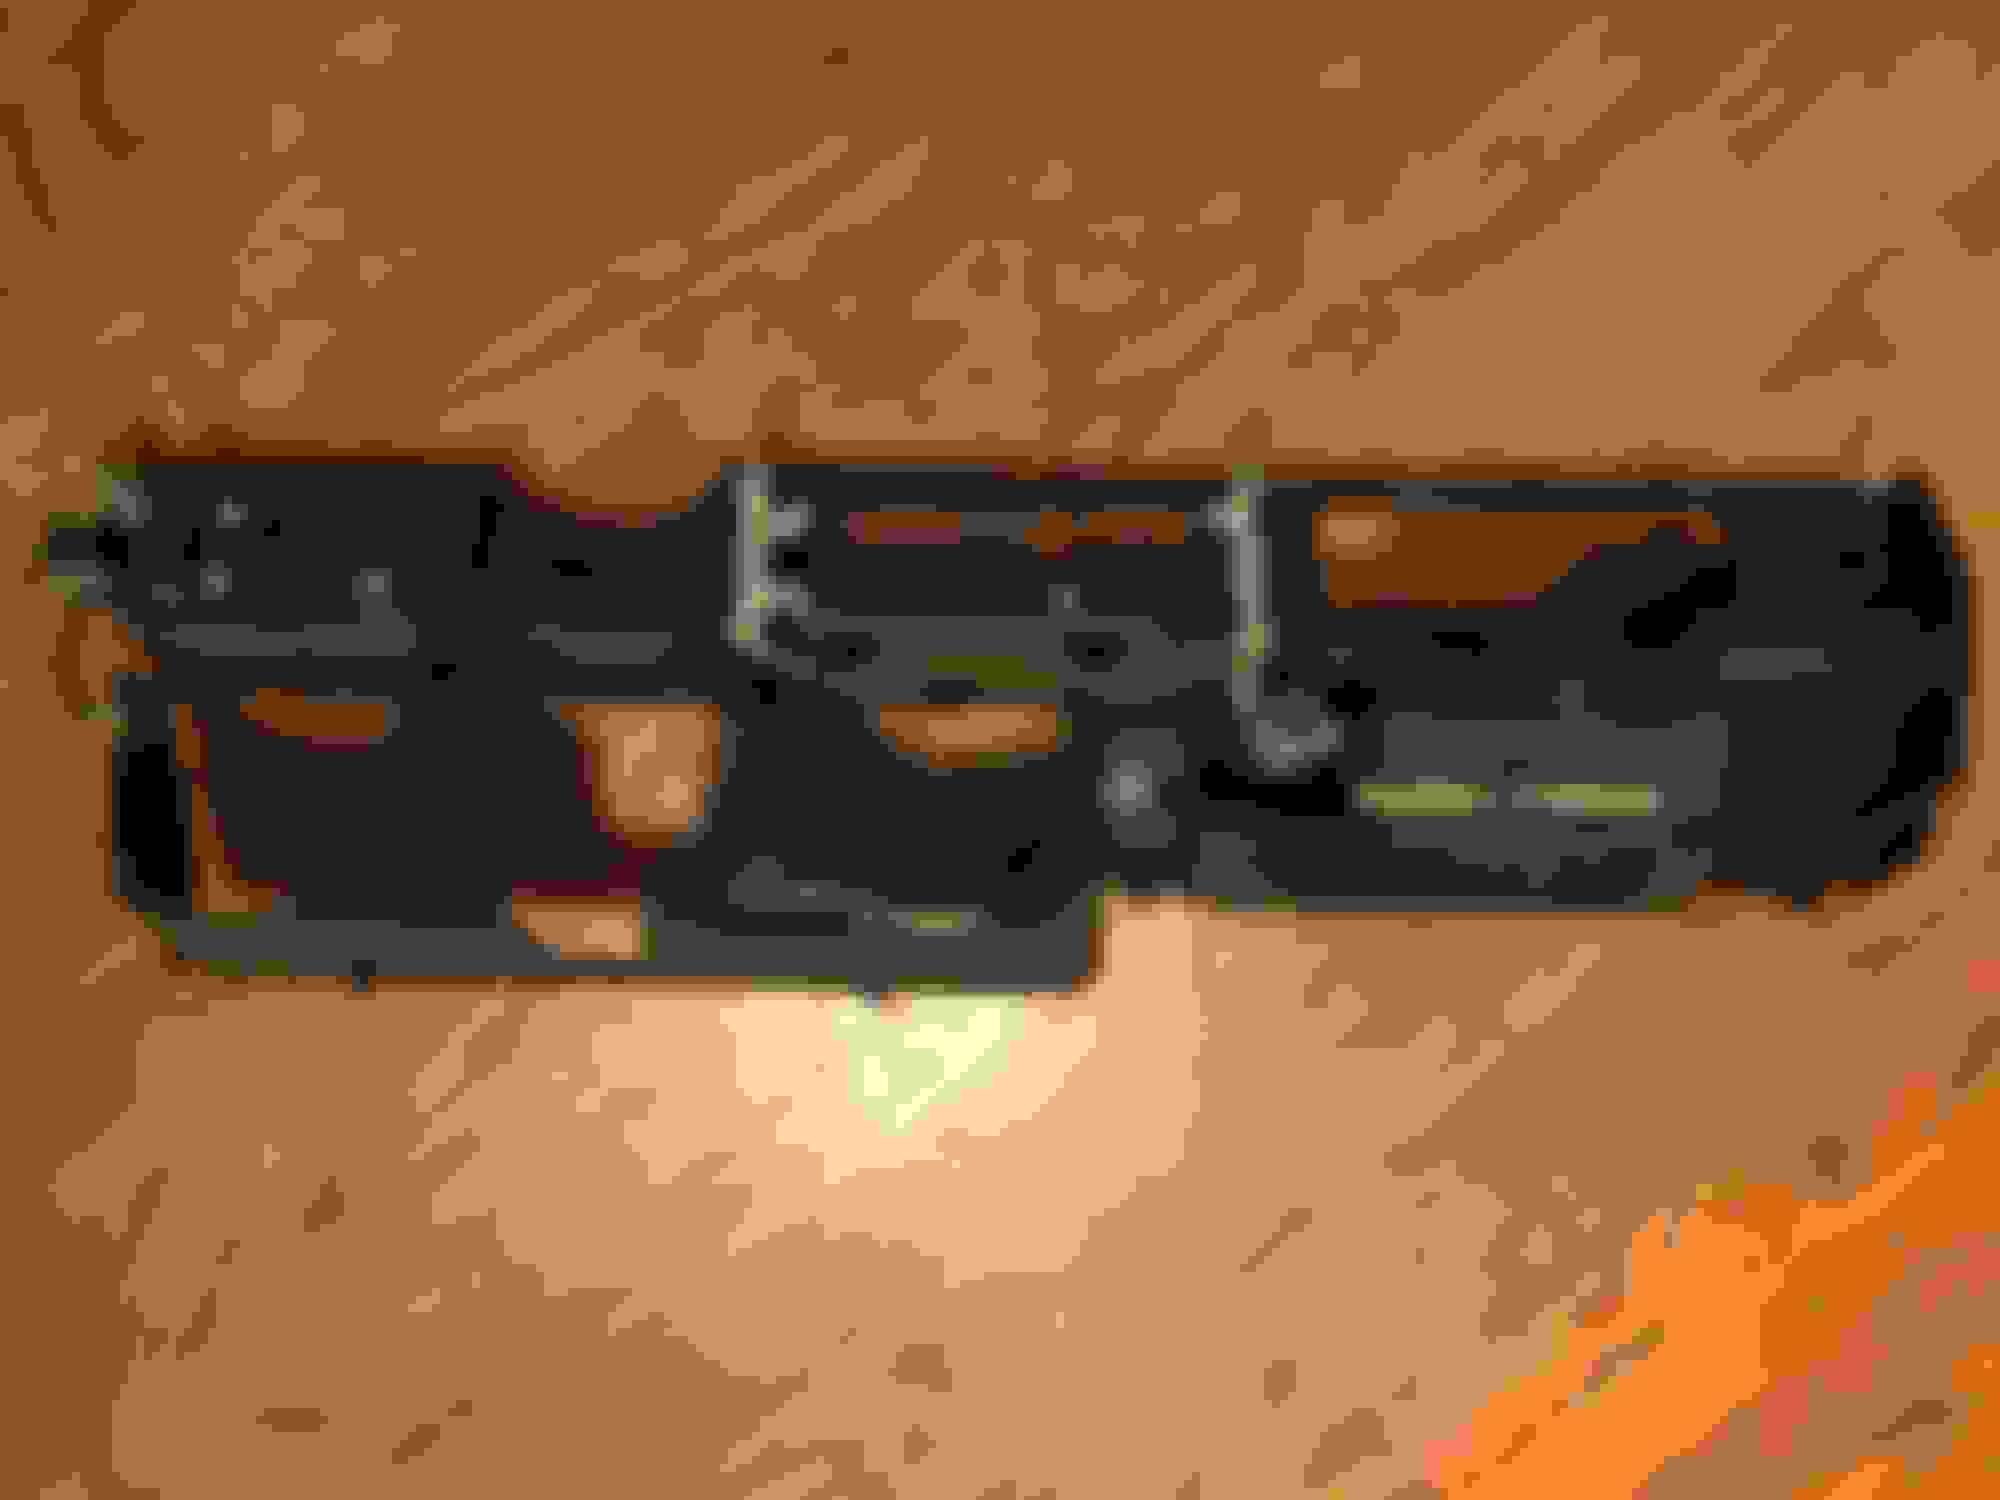
Final trimming done and it is now glued in place. I still have a little bit of finishing to do, but I am not going to get too crazy as the wood grain and ***** cover the majority of the repair. One item to note, the opening is very close to 4� on the nose. I initially measured the opening at 4 1/16�. I kept it just shy of 4� 1/16, but this was still way to big, this made my replacement piece too narrow, which I filled with a mixture of glue and shavings. I think it turned out pretty good.
Thanks, I did not think it was a bad first attempt. Just a little more finish work and paint it, and wood grain and I do not think anyone will be able to see it.
Wow, that satin black looks great!! I used landau black on my dash and I think it looks to shiny.
Thanks! I would like to claim that after extensive research and trial and error I found the color. However, a fellow Olds enthusiasts turned me on to it. So, he gets the credit for all the research as it really looks nice. It looks better in person than the pics.
H&H's do not have an adhesive on them.
I strongly recommend a spray contact adhesive. Just mask up the dash real well (including holes from the back side...........) and spray on the dash and the back side of the trim.
I had problems with liquid glue squeezing out in places and it's a real pain to get into the smaller areas like around the A/C controls and radio. Left without adhesive those narrow bits will rattle.