When you click on links to various merchants on this site and make a purchase, this can result in this site earning a commission. Affiliate programs and affiliations include, but are not limited to, the eBay Partner Network.
Restoring rear view mirror - a "how to" for the DIYer
So I've seen quite a few posts on doing this, but no one actually doing it. So I thought I would try - no harm, no foul. I had a map light mirror with bad glass and a dent in the back.
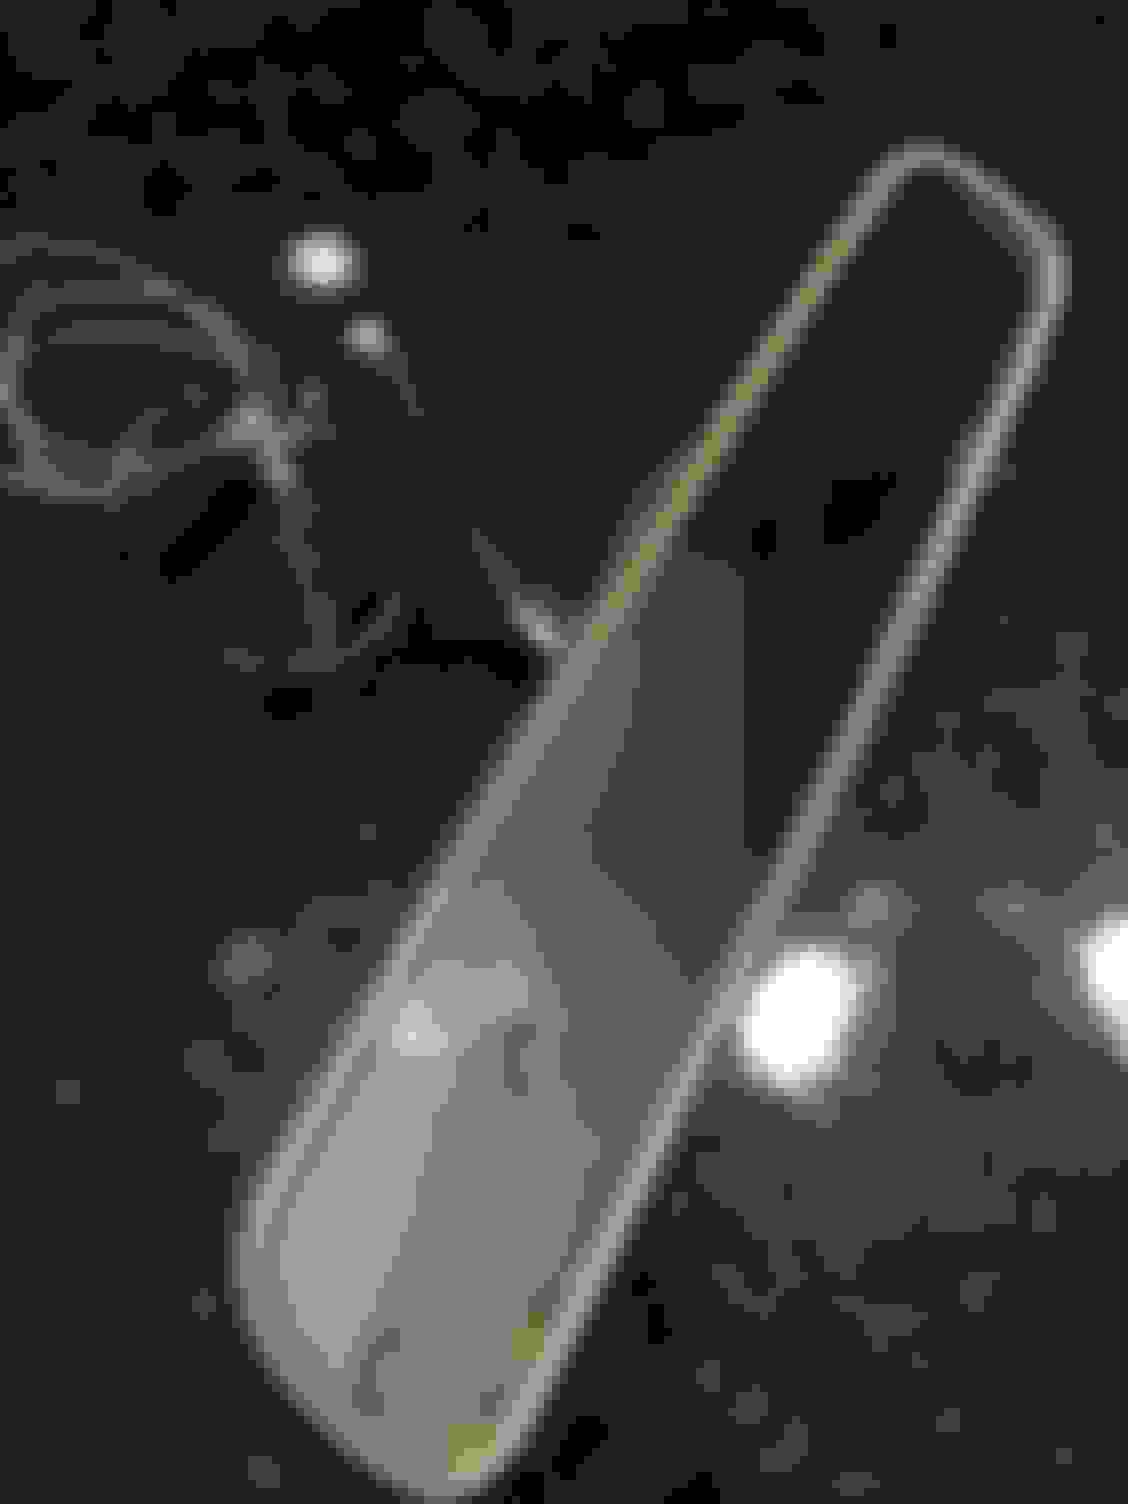
I noticed that the attachment of the front to the metal back wasn't perfect, and with a very small screwdriver I found a gap and began slowly working my way down the long side, carefully separating the pieces. Don't pry, or you'll bend the soft metal. Just slowly push and it will let go.
Once a full side was separated and I could gently pull the pieces away from each other, I used a knife to slowly slide through the opposite side from the inside out. Again, go slowly and carefully.
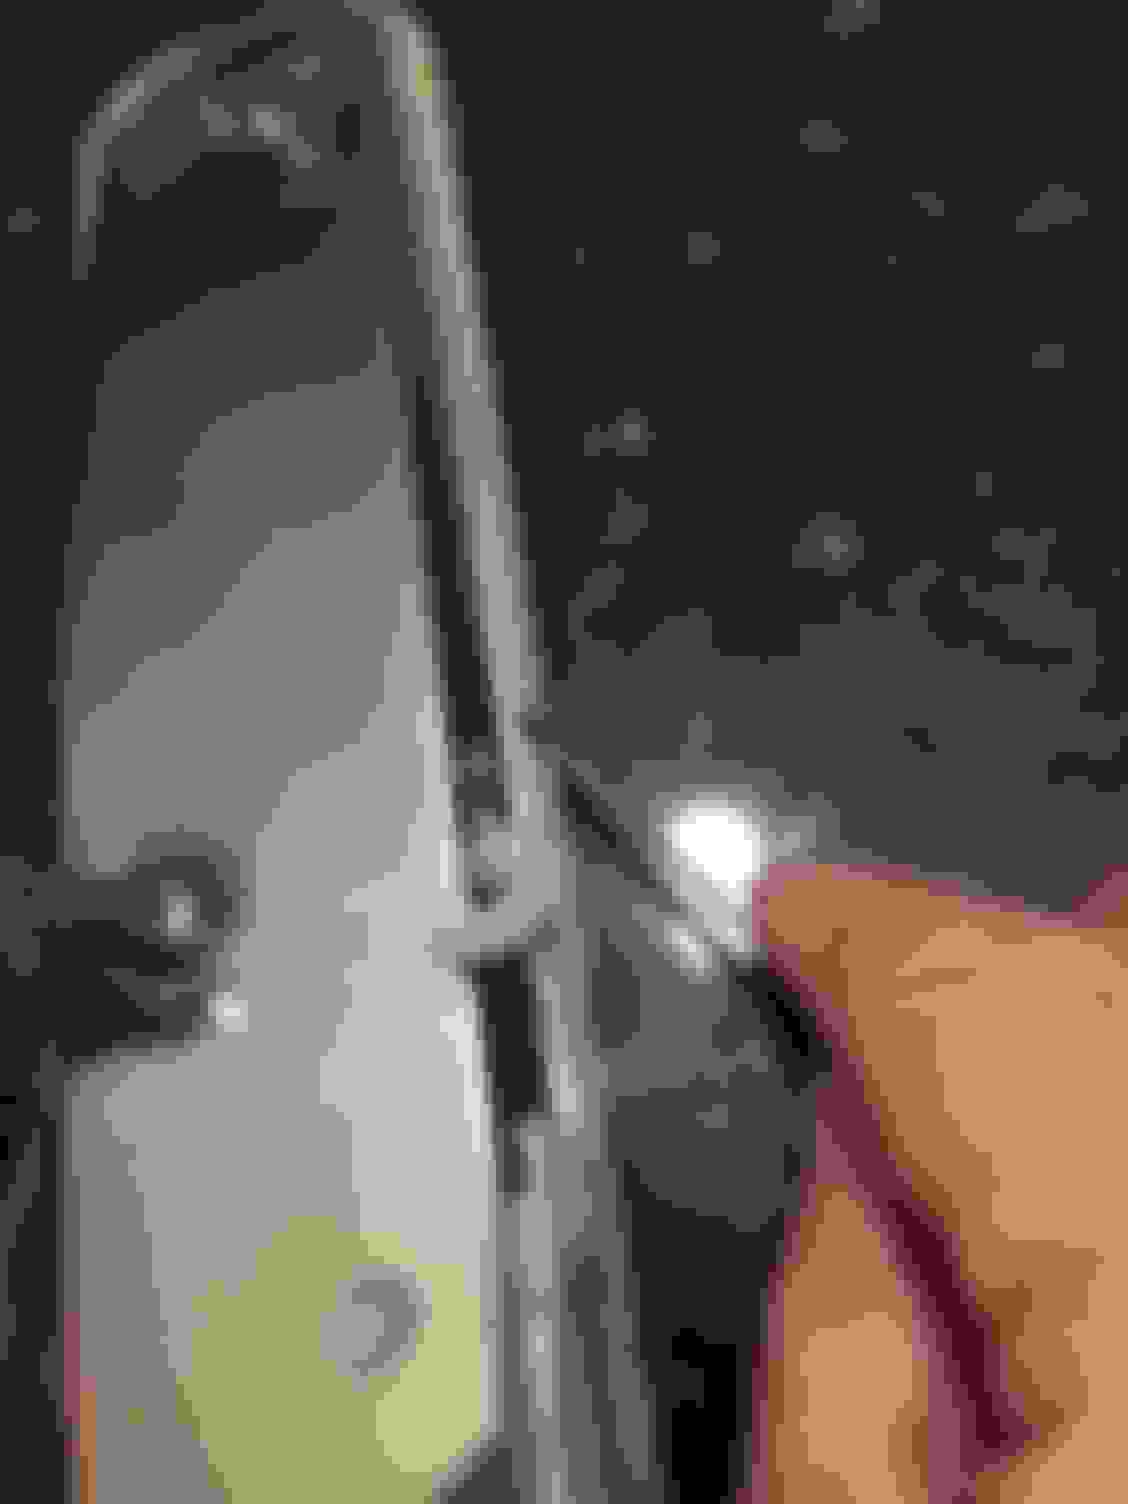
When the two pieces were apart, I used a hair dryer on low setting to slightly soften the rubber surround and pry it back from the glass all around.
Now I had the glass separate and I needed to strip the mirror off the surface. I used Lysol Toilet bowl cleaner - the gel - soaking the back completely for about 30 minutes, then rubbing lightly with 4-0 steel wool. The Lysol turned blue and I could see the back of the mirror turning a copper color as it worked.
I still had some mirror remaining on the glass, and I had heard that oven cleaner did a good job in removing this, so I applied some Easy Off spray and let it sit for about 5 minutes. This really took off almost all of the remaining silver, but there was a slight black cast on the glass remaining. This was removed by a quick application of straight bleach.
This left a perfectly clear glass.
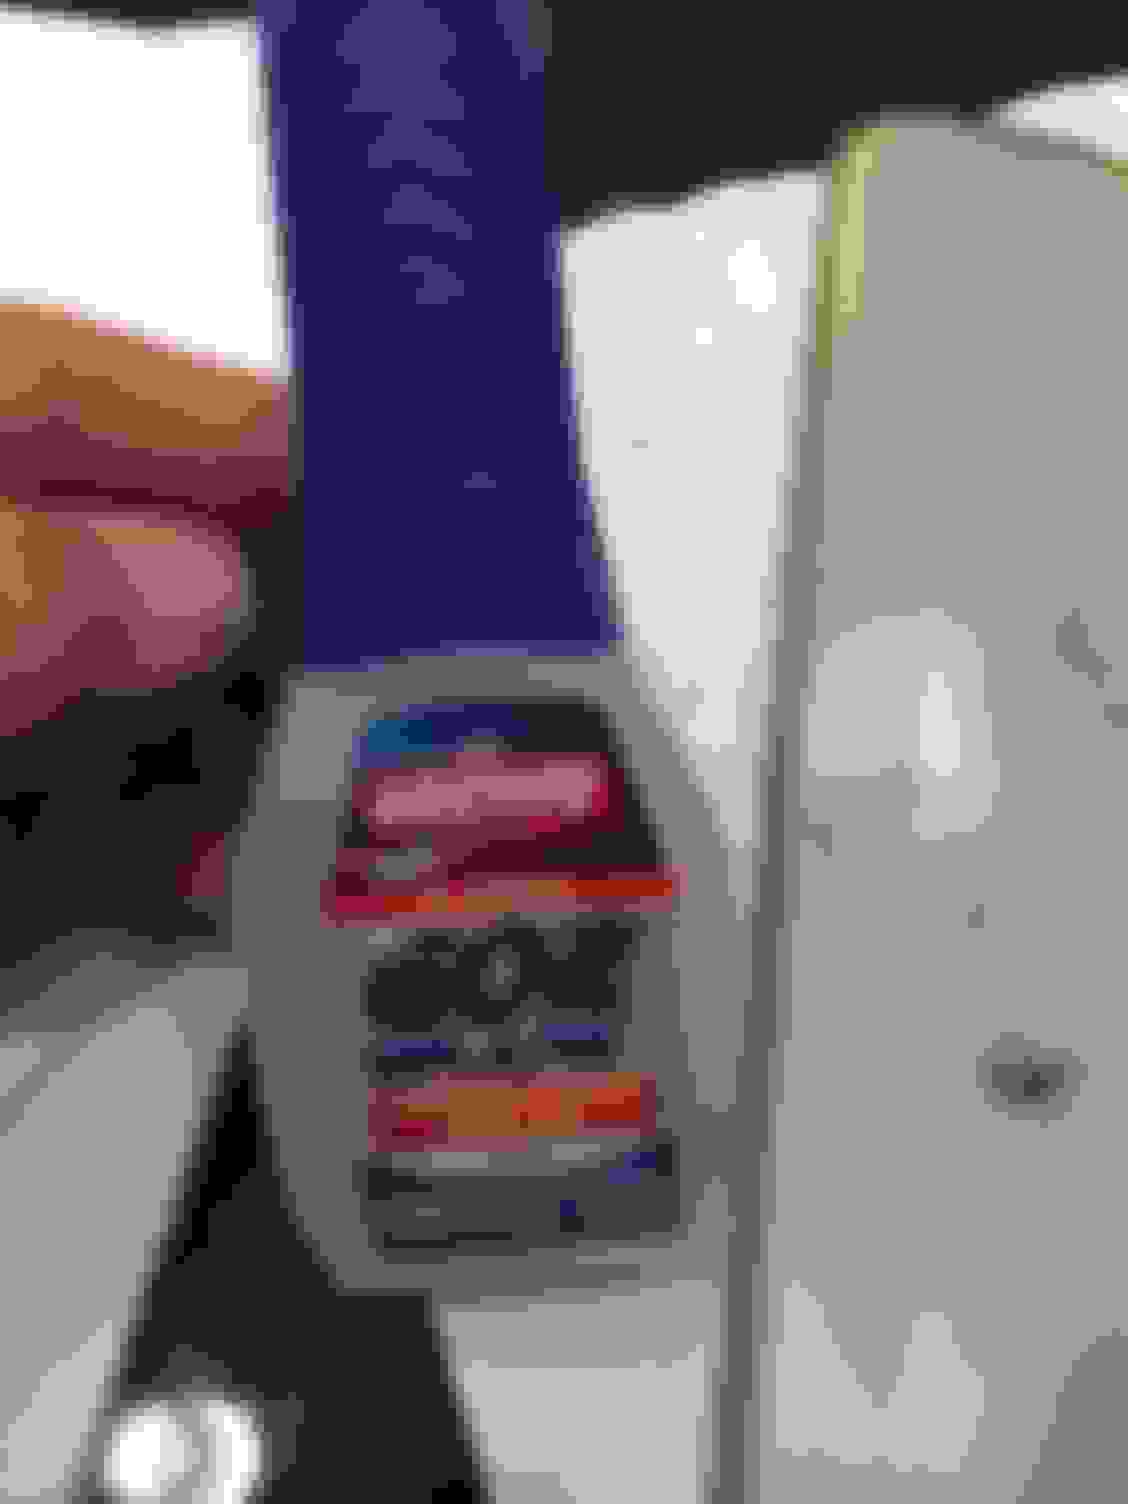
I purchased a mini silver kit from Angel Gilding - the only one I could find on the internet. Delivered it was about $68.
I followed their directions, which are simple. They supply measuring cups and enough material to do about three mirrors.
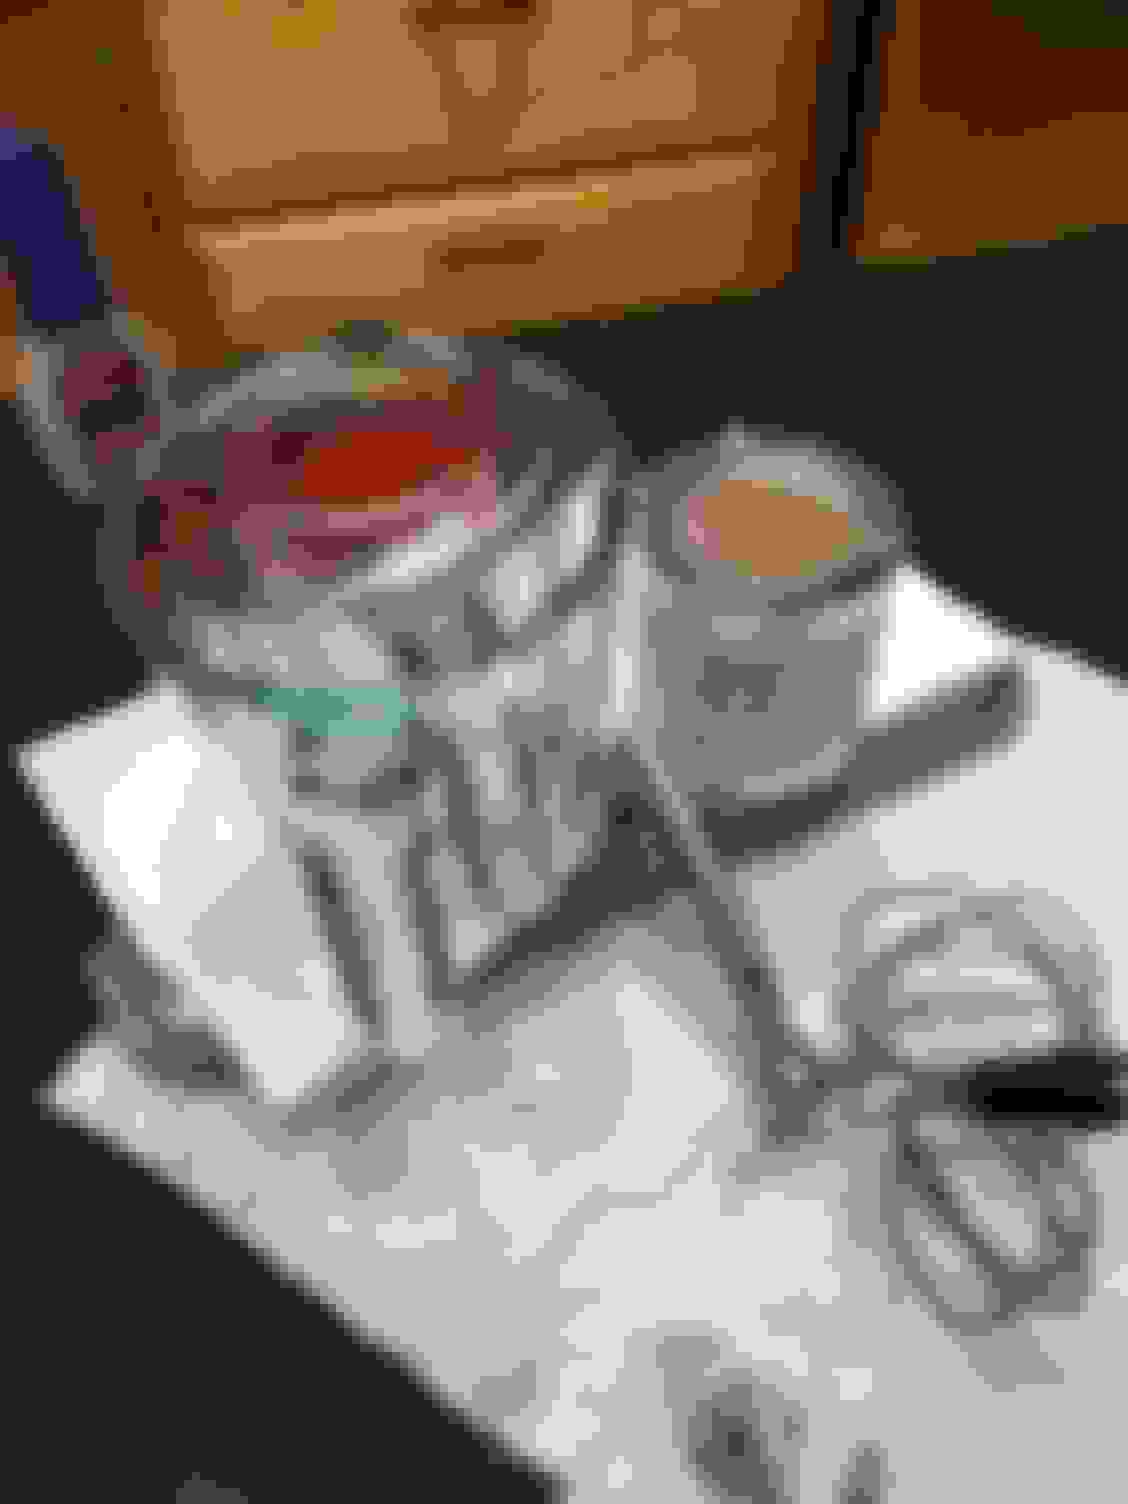
I bought two long silverware separators to put the chemicals in - just need to be big enough to lay the mirror inside.
Pick the side that will be the mirror surface and keep that up. That means the front of the mirror will be face down in the trays all the time.
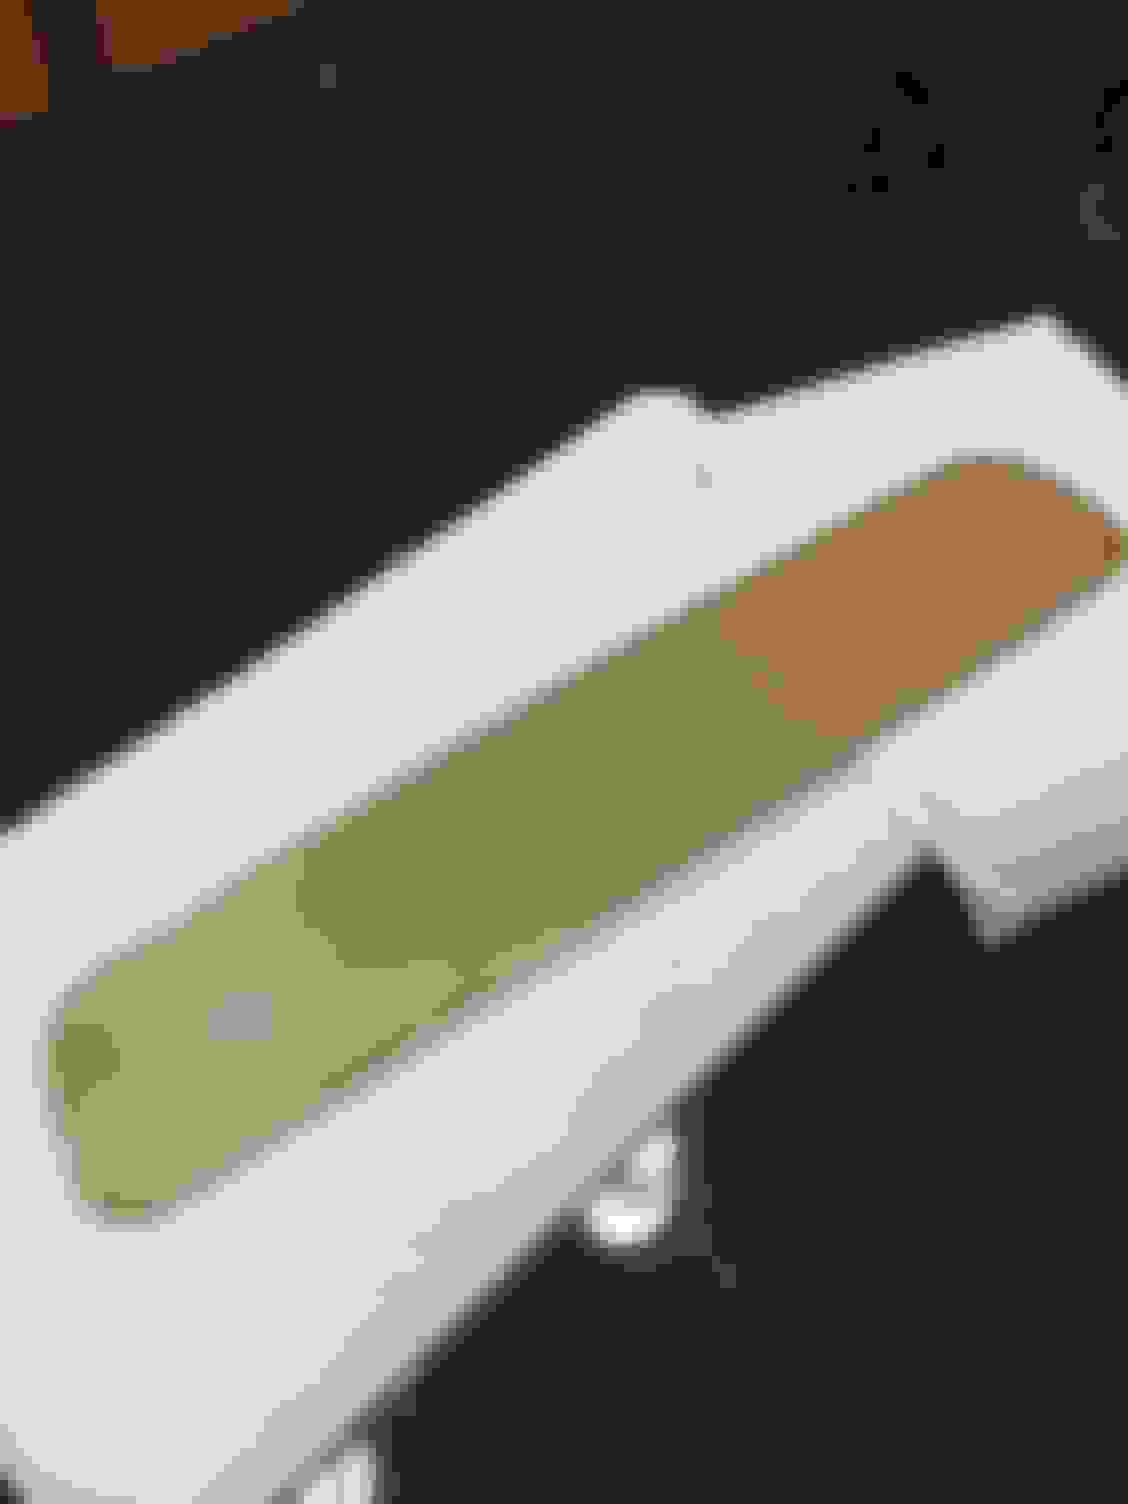
The first step involves mixing two mL of Tin of Silver with 2 oz of water. Lay the mirror in the tray and pour the mixture on top. Slosh it around for 30 seconds. Remove the mirror (use gloves!!! No hand oil!!!) and pour distilled water over it to rinse clean. It looks like you have done nothing at all because the glass is still clear.
Second, mix the three separate ingredients - cleverly marked as one, two, and three - in equal amounts and lay the glass into the second container. Pour the mix on top - you will see the glass start to darken right away. For this mix you will slosh the liquid around for about 5 minutes. The chemicals will appear darker and darker and you will see the mirror start to reflect.
Remove the mirror and rinse again by pouring distilled water over it. Let it dry - I used a low hair dryer; don't wipe it.
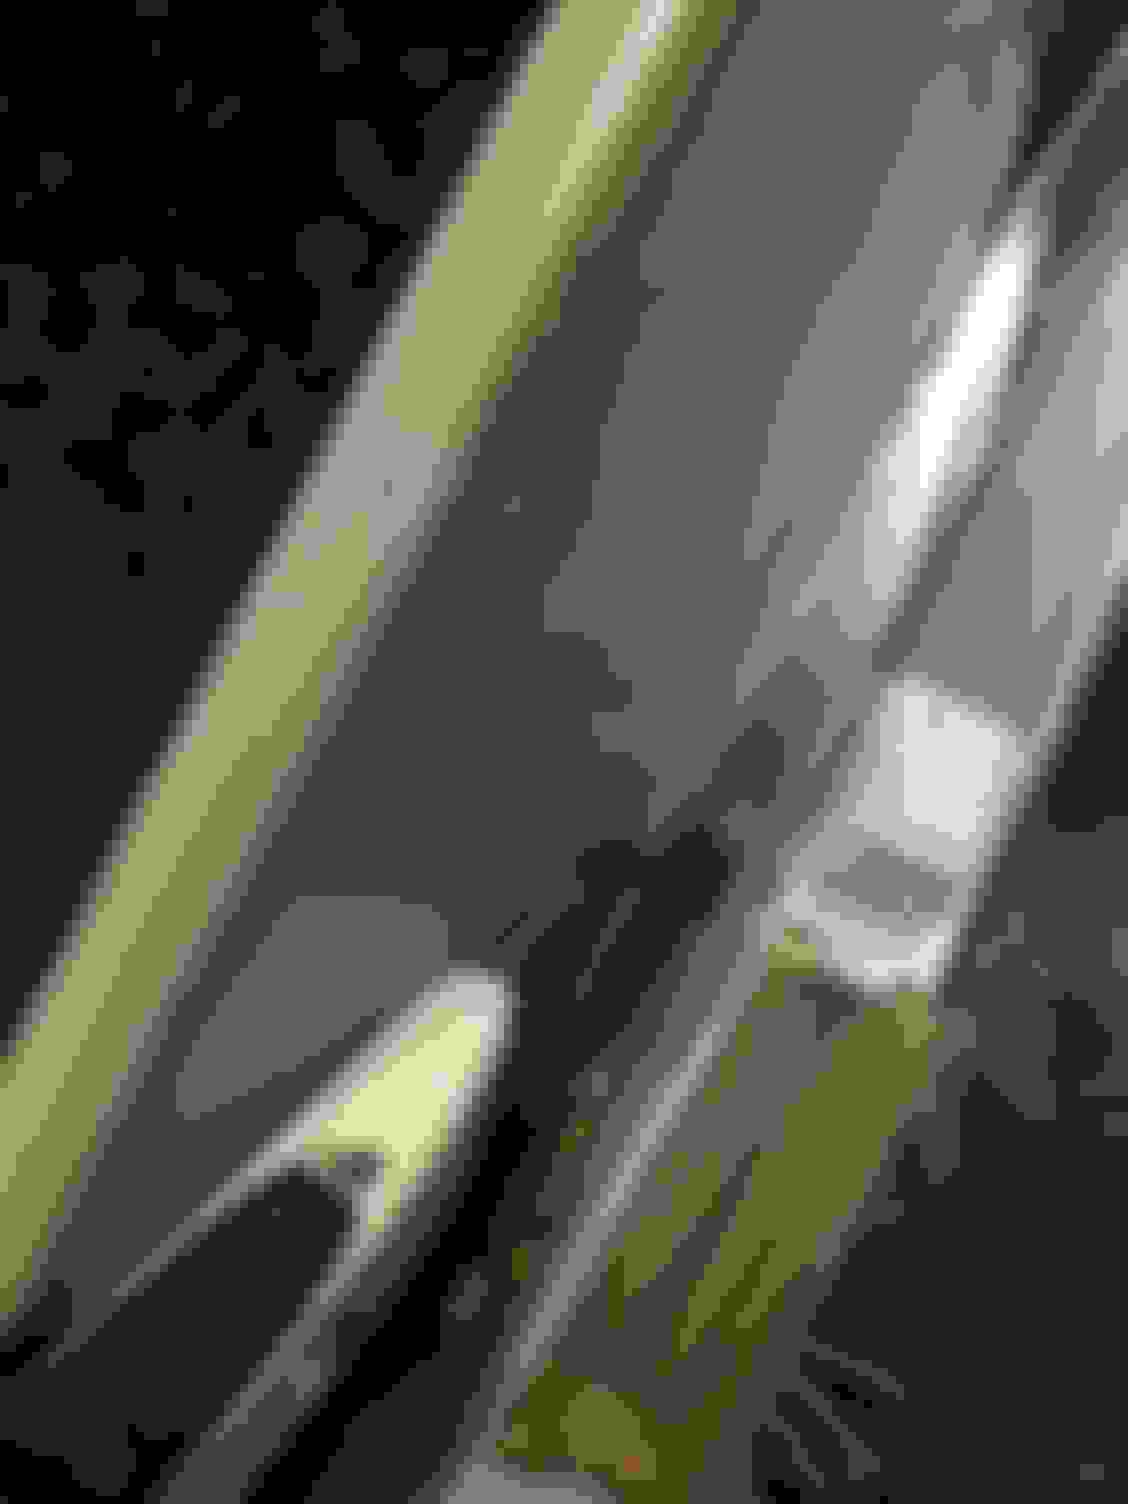
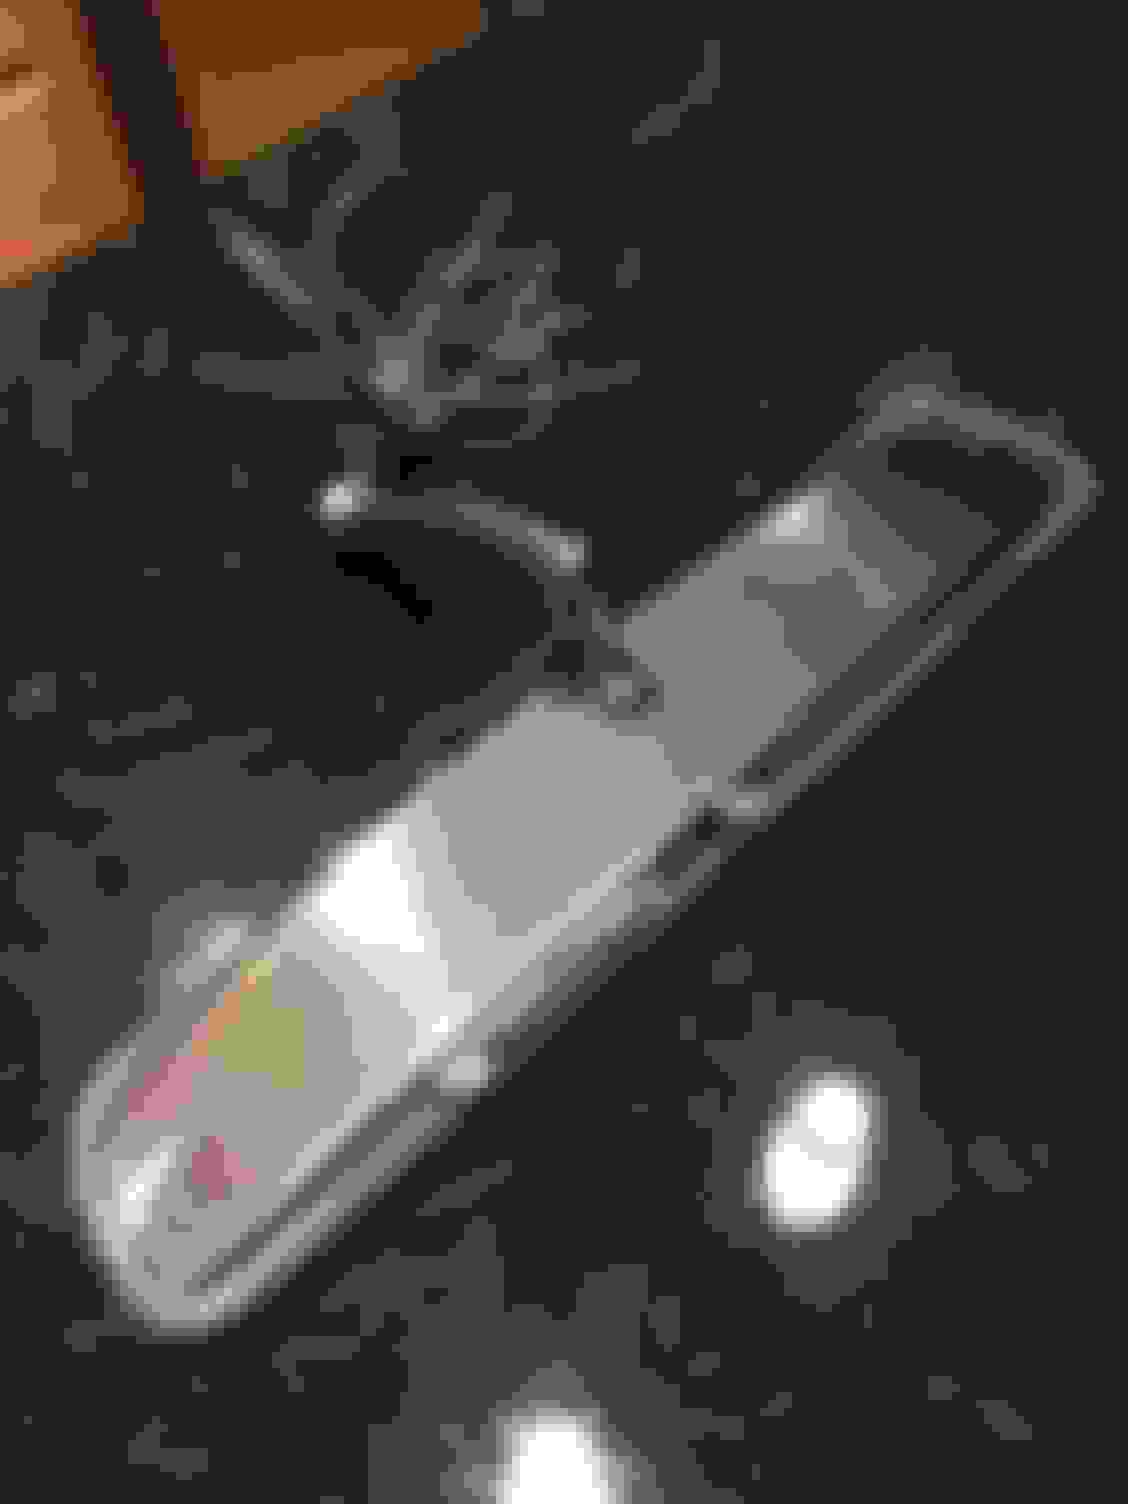
When it is dry, it will look like this:
It's got a pretty good reflection, but this is the back! You want to now apply the black backing paint, which is oil base, so keep thinner handy if you are sloppy or want to keep your brush.
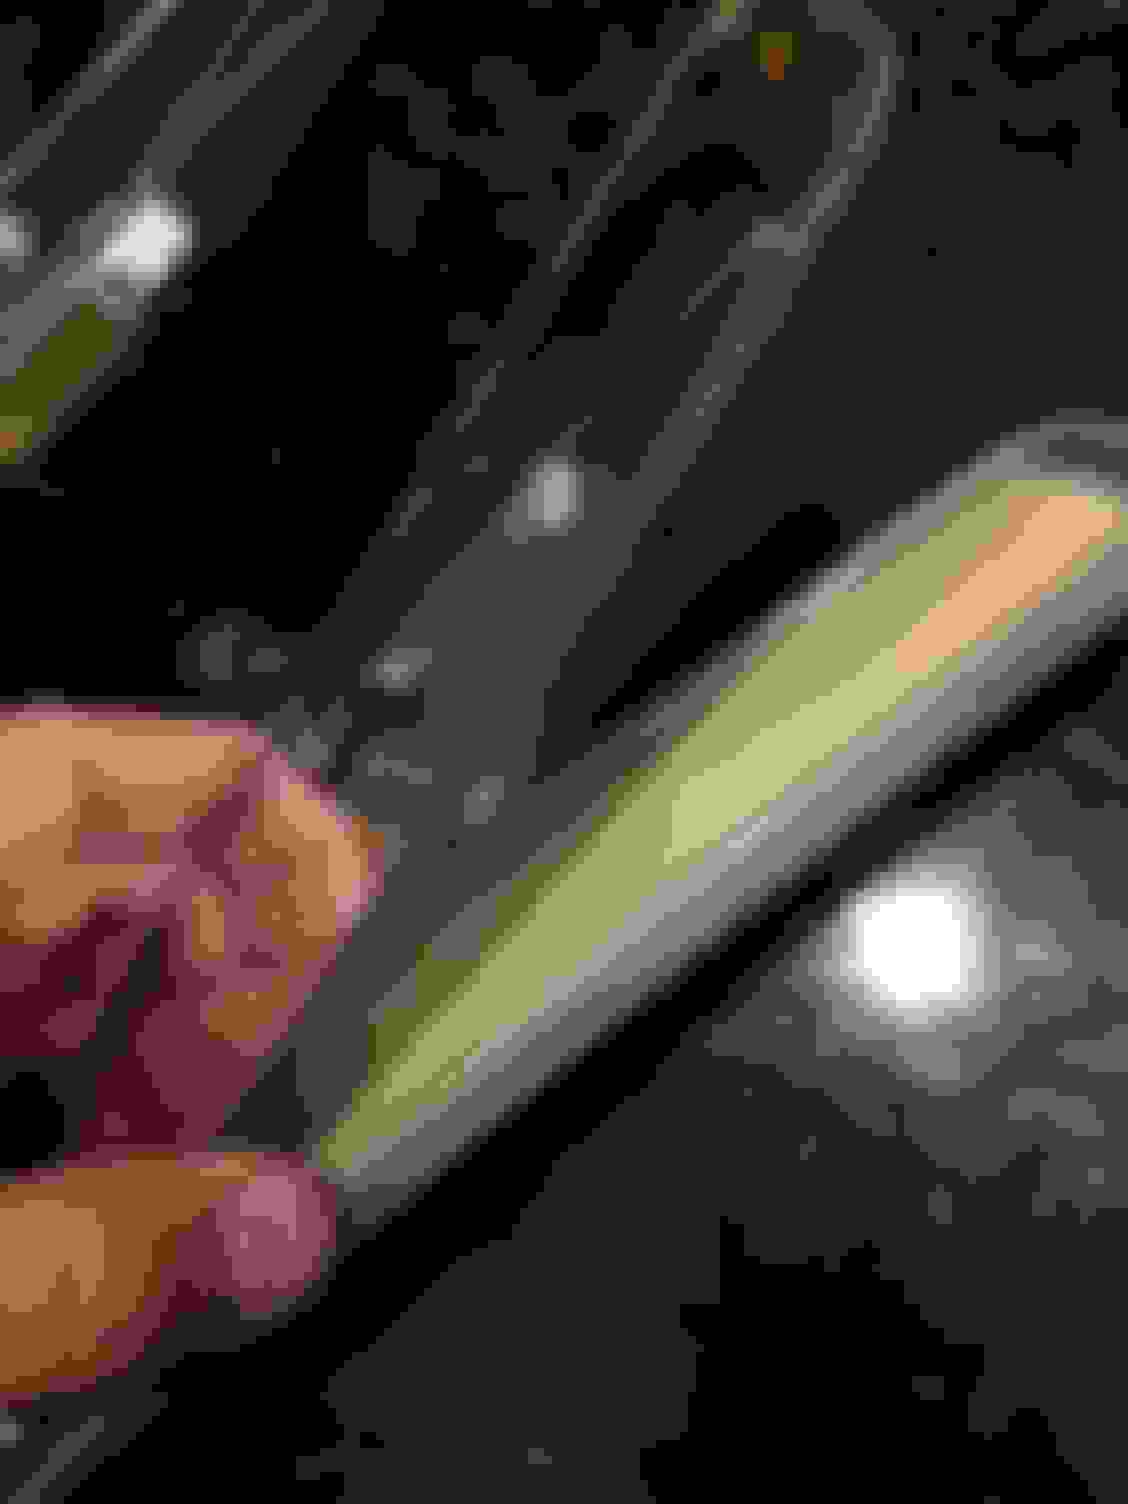
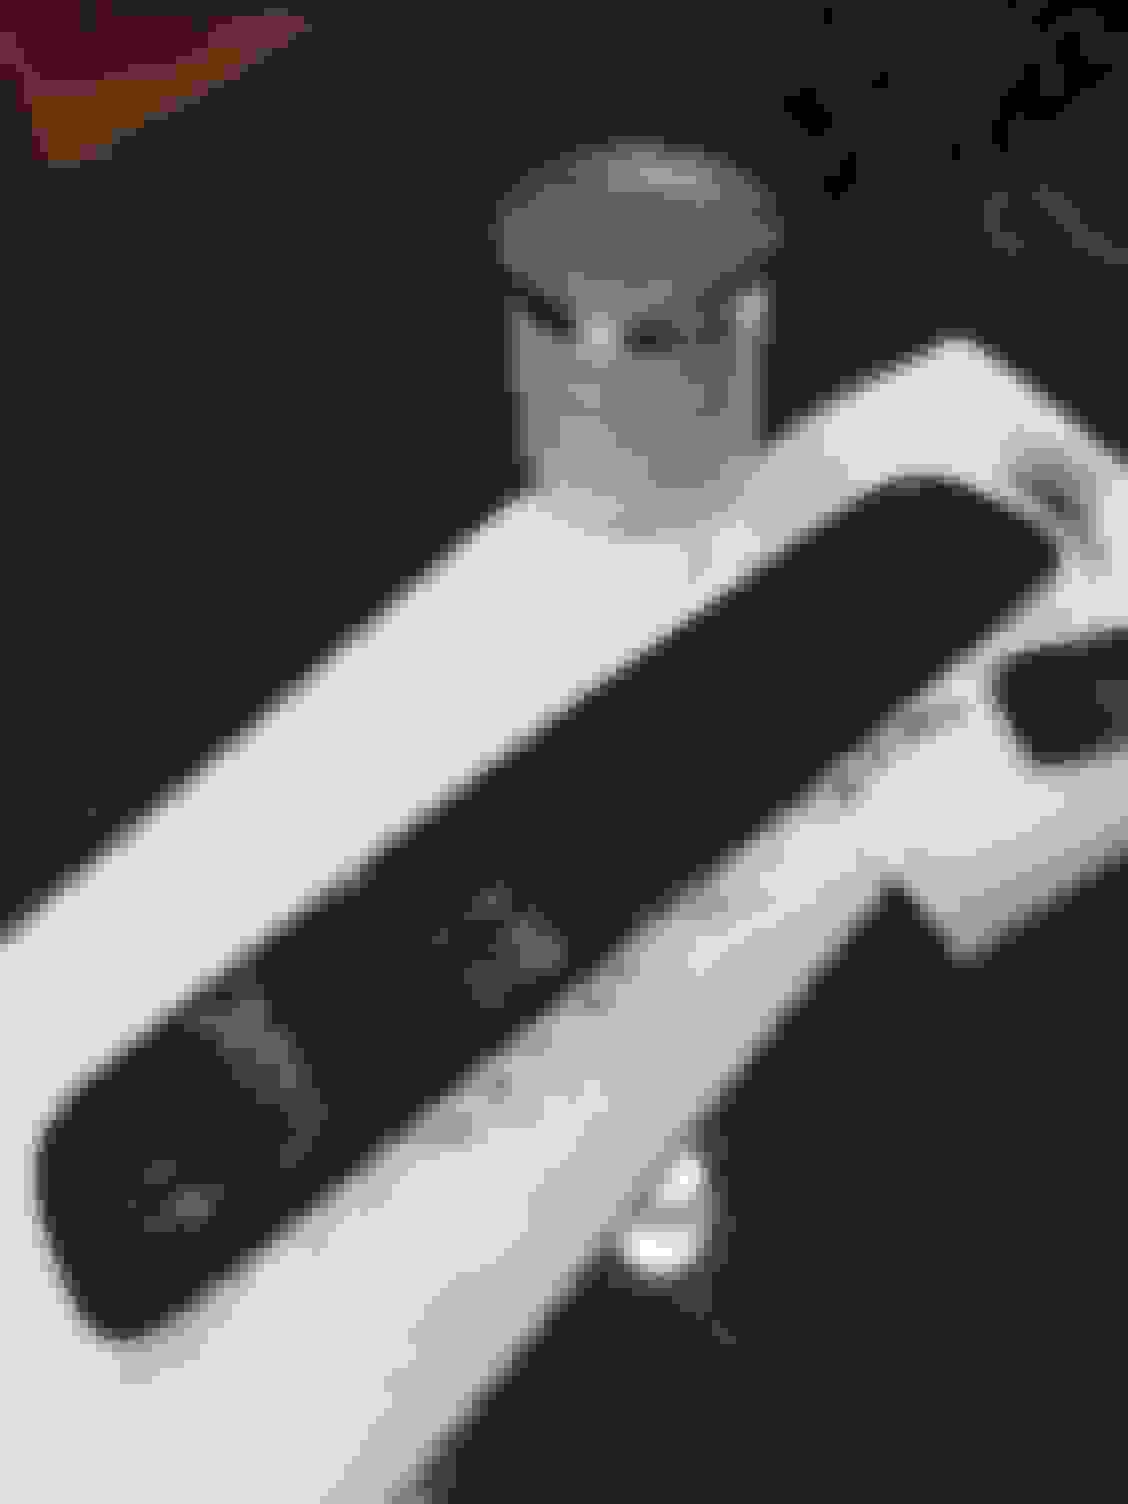
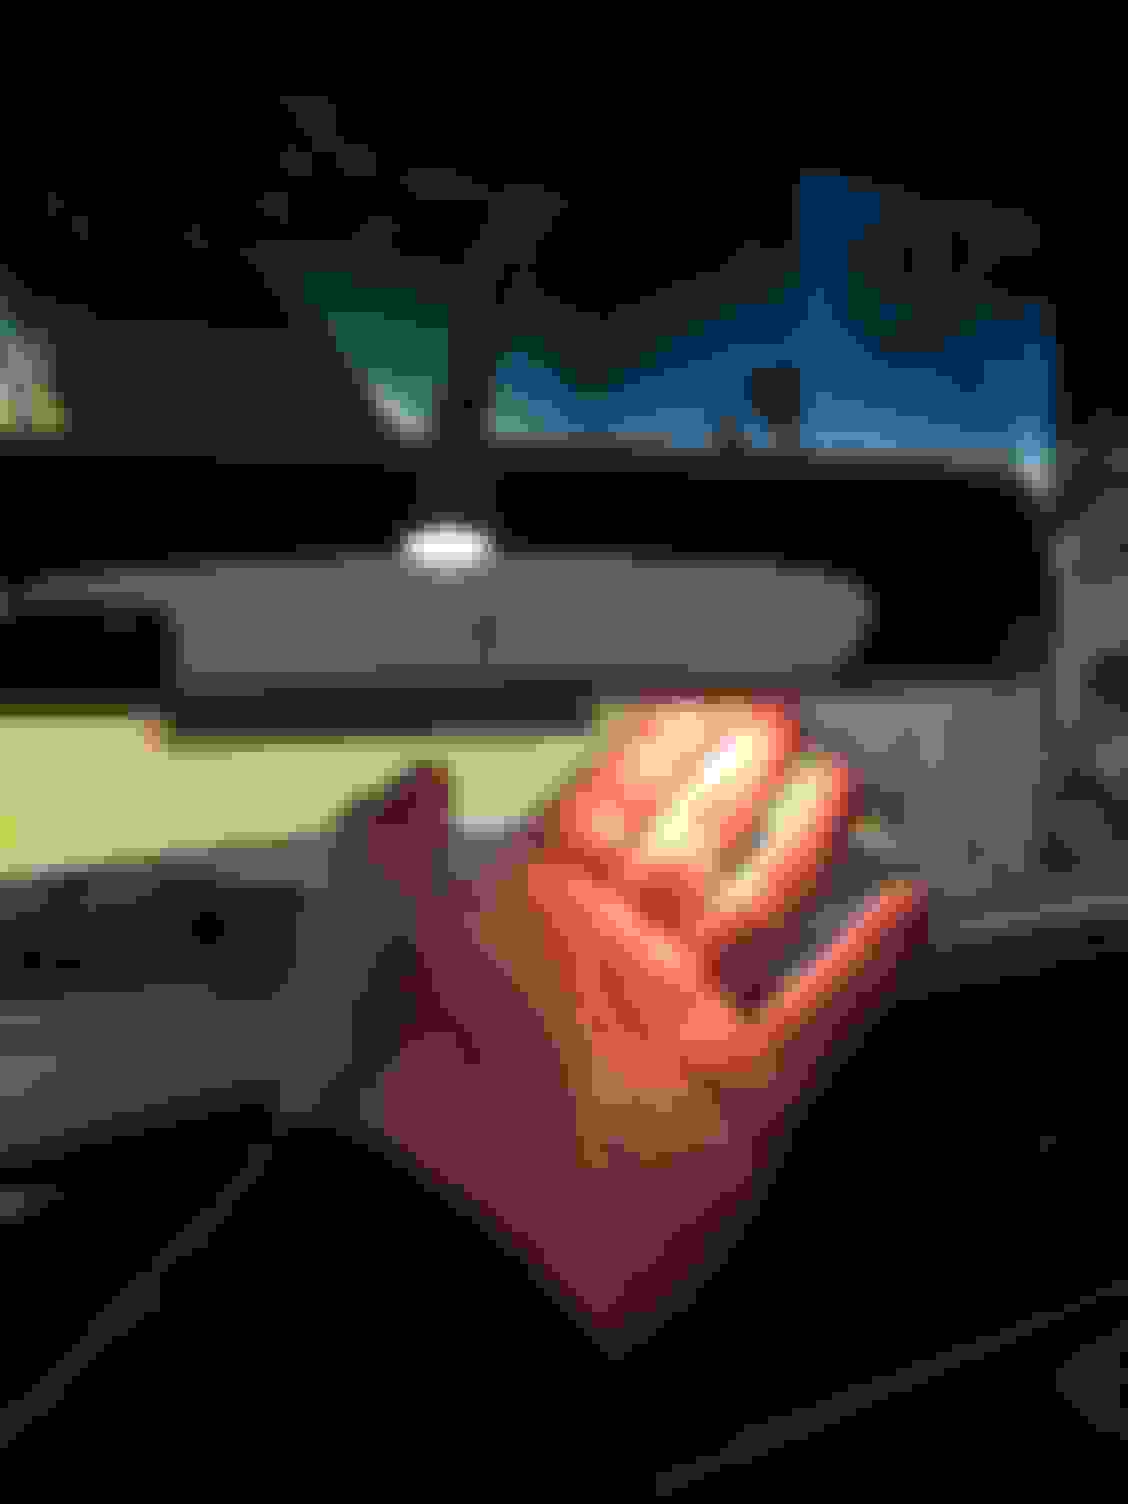
When this is dry - again, I used a hair dryer - flip it over. You'll see the same finish as you saw before painting, but this is residual silver. Using the silver remover, wipe off the excess material from the front.
Soften/heat the rubber surround and reinstall.
I had a dent in the metal back which I rolled out with the round end of a ball peen hammer. This metal is really soft. No need to hammer or hit - just press. Then I polished the whole back with Nevr Dull.
I made sure the metal connector for the light bulb was bent properly and made connection, then I glued the front and back assembly together, weighting it and leaving it overnight.
great write-up. I first soaked the mirror in hot water to help break the seal of the rubber holding the glass in. Also for even less money you can send your glass to this company and they will re-silver it for you.
Silver Service, Inc.
16120 Vandustrial Lane
South Holland, Illinois 60473
708-331-5501
I couldn't tell - is the front glued onto the back or melted on? I sure thought about sending the glass out - if there was a place in Cleveland, I would have taken it there. My recent luck with shipping glass stuff recently hasn't been good... The silvering kit was $55, but $13 to ship it. And if you have some bigger stuff to do, there's enough material to do more than just the one mirror. It was a fun project!
Hey this is great! Seems all the used mirrors has the silver coming off. Now I know you can do it at home. Does the glass still retain the "high /low" or whatever it's called that you flip when someone is blinding you with high beams? Thanks so much for this thread.
Hey this is great! Seems all the used mirrors has the silver coming off. Now I know you can do it at home. Does the glass still retain the "high /low" or whatever it's called that you flip when someone is blinding you with high beams? Thanks so much for this thread.
As long as you still have the angled original glass, nothing changes as far as the function of the day/night effect
I probably don't live more than 5 mi. from you. Would like to see your car sometime. I live off of Akins. I've got a '68 convertible.
Regards,
Dave
Hi, Dave!
I guarantee I have seen you driving around, but I wasn't in the Olds and we were always going opposite ways. I'm right off Boston near Bennett's Corner. Love to meet up sometime!
Some of you may know that I have restored MANY mirrors for customers. This write up is a good way to do it yourself but if you want to send them to me I can restore them for you also. I also am looking for nice core mirrors & that could help with the cost. I charge $75.00 to restore them plus shipping back to you.
great write-up. I first soaked the mirror in hot water to help break the seal of the rubber holding the glass in. Also for even less money you can send your glass to this company and they will re-silver it for you.
Silver Service, Inc.
16120 Vandustrial Lane
South Holland, Illinois 60473
708-331-5501
 January 12th, 2018, 01:29 PM